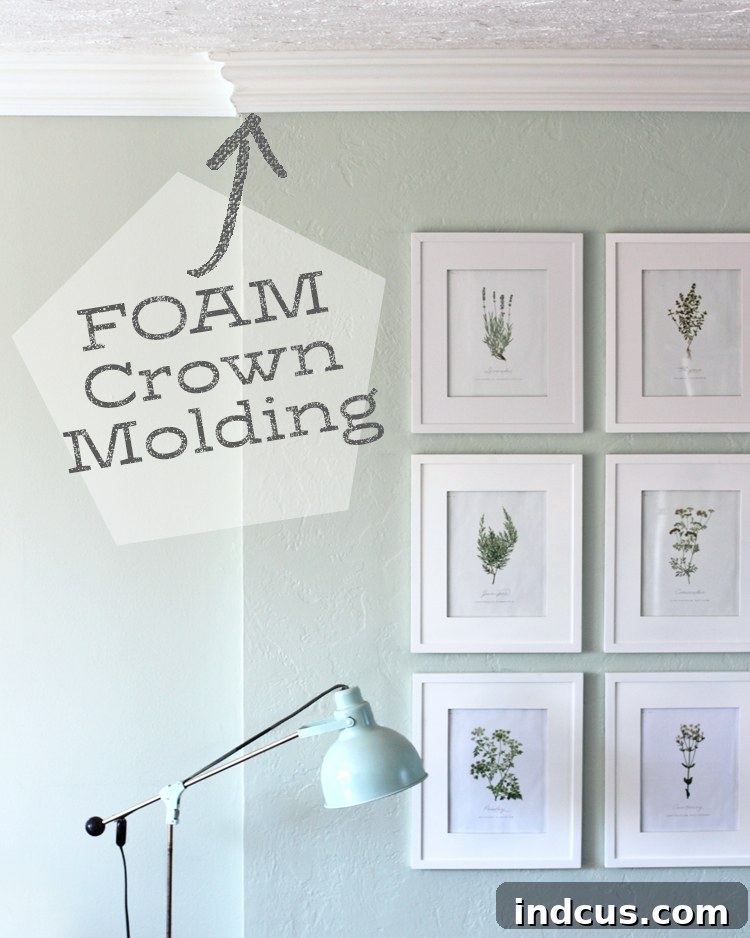
Easy Elegance: Discover the Benefits and DIY Installation of Foam Crown Molding
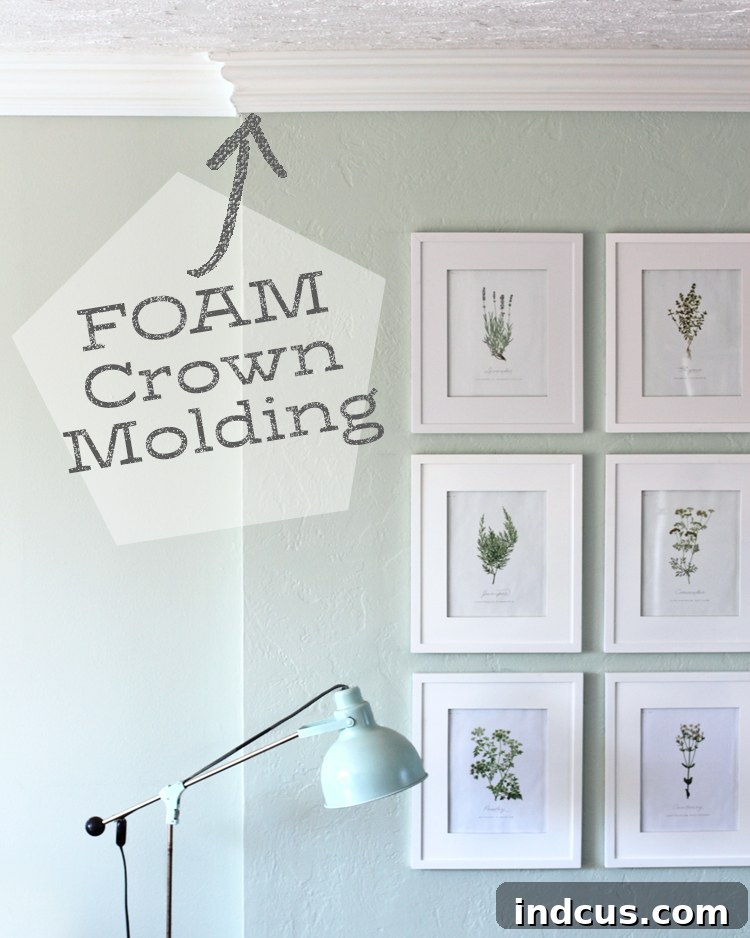
In the exciting, yet often challenging, world of home remodeling, discovering innovative solutions can turn a daunting task into a rewarding DIY project. Today, we’re diving into an incredible product that completely revolutionized a significant hurdle in our own renovation journey: foam crown molding. It’s a game-changer for anyone looking to add architectural detail without the complexities often associated with traditional wood molding.
This post is brought to you in collaboration with Crown Molding Solutions, who generously provided the product for our project. We’re excited to share our genuine experience and insights.
The Remodeling Roadblock: When Traditional Molding Just Won’t Do
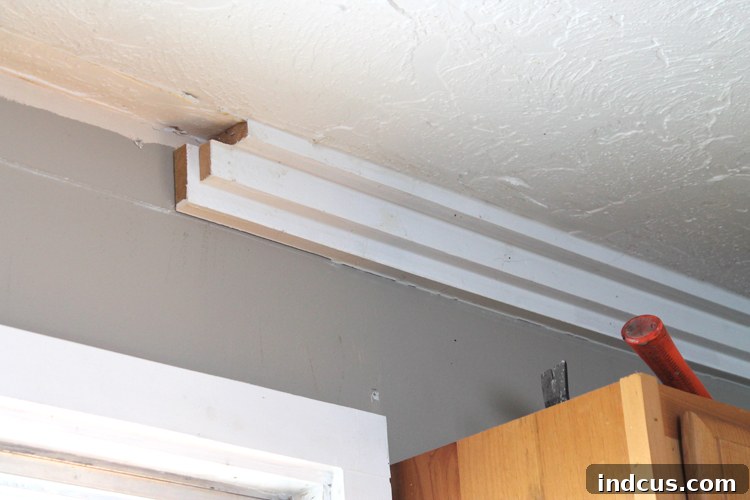
Our upstairs renovation presented us with two significant obstacles that traditional crown molding simply couldn’t overcome. When we first moved into our home, the entire upper level was “decorated” with a rather peculiar trim job. It wasn’t proper molding but a haphazard collection of different-sized wood pieces, poorly nailed together to create a flimsy imitation. This unappealing, shoddy trim was one of the first things to go during our initial clean-out. Its poor installation and even worse paint job made it an eyesore that desperately needed to be removed.
The immediate consequence of removing this faux-molding was significant damage to both the ceiling and walls. The old trim had been affixed without much care, tearing away bits of plaster and drywall upon removal. Patching these areas would have been an incredibly time-consuming, difficult, and frankly, disheartening endeavor, demanding extensive plaster work, sanding, and repainting. It became abundantly clear that adding new crown molding wasn’t just an aesthetic choice; it was a practical necessity to flawlessly conceal the imperfections left behind by the previous trim.
Problem #1: Extensive Wall and Ceiling Damage
The haphazard removal of the old “molding” left our walls and ceilings looking far from pristine. We were faced with a mosaic of gaps, cracks, and uneven surfaces that would be a nightmare to repair meticulously. A fresh layer of paint would only highlight these flaws, making the room look unprofessional. We needed a robust, elegant solution that could effectively mask these imperfections and provide a polished, unified finish.
Problem #2: The Unique Challenge of Ceiling Heat
However, an even bigger complication arose that truly dictated our molding choice: our upstairs features radiant ceiling heat. This meant a strict “no-nails-in-the-ceiling” policy was in effect. Accidentally puncturing one of the delicate heating coils embedded within the ceiling would lead to a permanently disabled heating system – a nightmare scenario, especially during colder months. This critical limitation immediately ruled out conventional wood crown molding, which typically requires nailing into both the wall studs and ceiling joists for secure installation. We were in a real bind: we desperately needed crown molding to hide damage, but couldn’t use any standard installation methods.
This is precisely where my research led me to Crown Molding Solutions, proving to be our perfect saviour for this seemingly insurmountable problem.
The Game-Changer: Discovering Lightweight Foam Crown Molding
Driven by the necessity to find an alternative, I began an extensive search for molding options that didn’t involve nails. That’s when I stumbled upon the brilliant concept of foam crown molding. It offered everything we needed: a lightweight, durable, and aesthetically pleasing alternative that didn’t require a single nail for installation. The pricing was surprisingly comparable to traditional wood molding, making it an accessible and budget-friendly choice for our extensive remodel.
The fundamental difference and primary advantage of foam crown molding lies in its installation method: instead of cumbersome nailing, it adheres directly to the wall and ceiling using a strong construction adhesive. This innovative approach was the ideal solution for our ceiling heat dilemma, allowing us to achieve the desired classic look without any risk to our heating system. It was truly a moment of relief and excitement to find such an ingenious product.
Choosing Your Style and Design
With our major problem solved, the exciting part began: selecting the perfect style and size to complement our home’s aesthetic. Crown Molding Solutions offers a diverse range of designs, from simple, modern profiles to more ornate, traditional patterns, ensuring there’s something to suit every interior. We opted for the elegant 4.5-inch molding in Style #4, which features a timeless profile that adds character without overpowering the room. Our chosen molding arrived swiftly at our doorstep, securely packaged and ready for transformation.
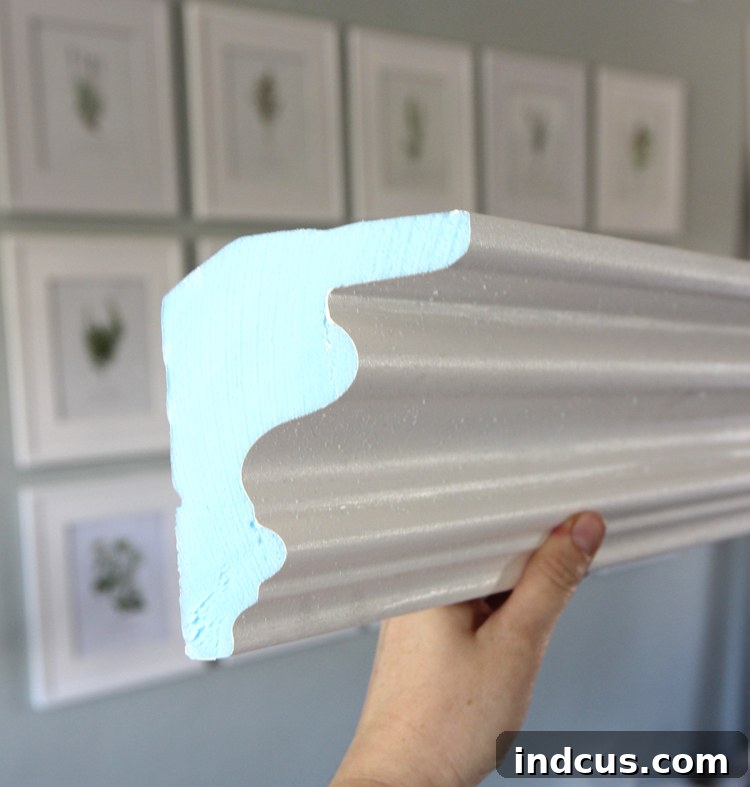
One of the most valuable tips we discovered, and one I highly recommend, was to paint the molding *before* installation. Trust me, this minor extra step saves immense time, effort, and frustration. Painting an entire 8-foot section while it’s flat on sawhorses or a workbench is infinitely easier than balancing precariously on a ladder, meticulously taping off edges, and battling neck strain. We applied a quality primer coat followed by two coats of semi-gloss latex paint, which provides a durable, washable, and attractive finish.
The molding itself is thoughtfully designed with flat backs and tops. These crucial flat surfaces provide ample area for adhesive application, ensuring a strong, reliable bond and a seamless fit against your walls and ceiling. This design element is key to the product’s ease of installation and long-term stability.
Step-by-Step Installation: A True DIY Project for Anyone
Installing foam crown molding is surprisingly straightforward, making it an ideal project for even novice DIYers. Its forgiving nature and simple tools requirement empower homeowners to tackle a task that traditionally intimidates many. Here’s a comprehensive breakdown of the process:
Essential Tools and Materials You’ll Need:
- Foam Crown Molding (e.g., from Crown Molding Solutions)
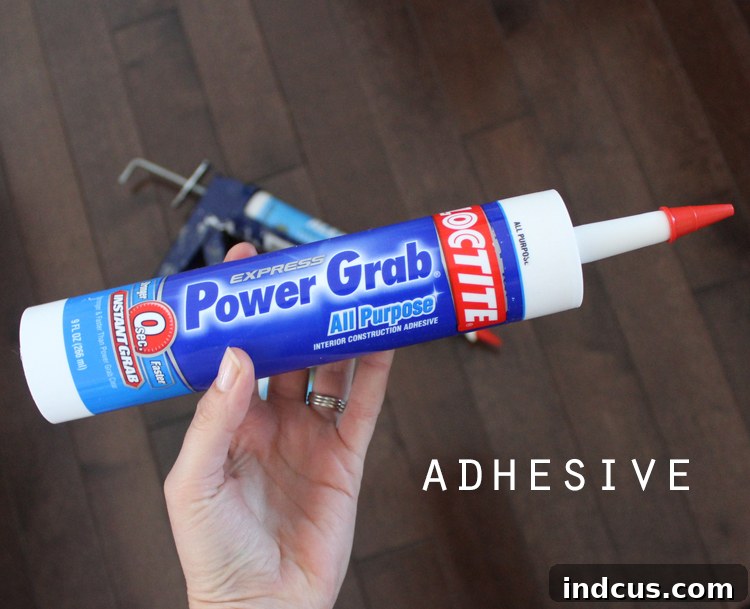
- LocTite Power Grab All Purpose Adhesive (or similar heavy-duty construction adhesive)
- Caulk Gun
- Hand Saw or Miter Saw (for cutting angles, a hand saw is often sufficient for foam)
- Measuring Tape
- Pencil
- Speed Square or Angle Finder (for precise cuts)
- Utility Knife (for trimming any excess)
- Sponge or damp cloth (for cleaning excess adhesive/caulk)
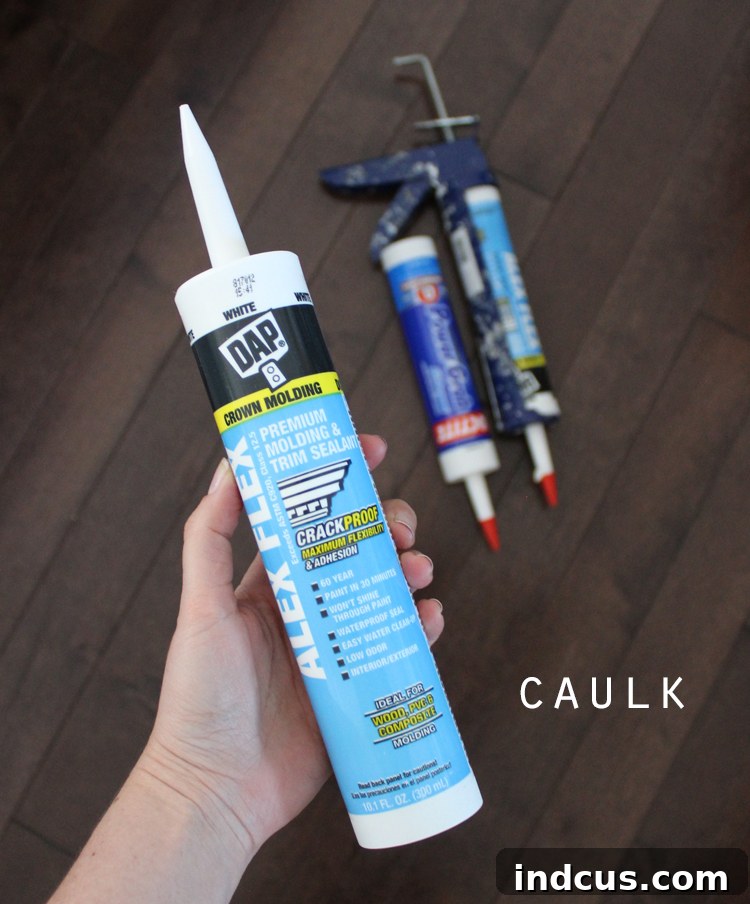
- Painter’s Caulk (paintable, acrylic latex caulk)
- Drop Cloths or Plastic Sheeting (for protecting floors during painting and installation)
- Safety Glasses
- Stepladder or step stool (if working on ceilings)
- Work gloves (optional, for adhesive application)
The Straightforward Installation Process:
- Measure and Plan: Begin by accurately measuring the length of each wall where molding will be installed. Sketch out a simple plan of your room, noting where each piece will go and where corners will occur. This helps in minimizing waste and ensuring all cuts are planned.
- Make Your Cuts: For corners, you’ll need to make mitered cuts. While a power miter saw offers unparalleled precision, the beauty of foam molding is its ease of cutting – a simple hand saw with a miter box often suffices! For inside corners, aim for a 45-degree angle on the molding itself, which will combine with another 45-degree piece to form a 90-degree corner. For outside corners, the angle will be cut in the opposite direction. Always test-fit your cuts before applying adhesive.
- Apply Adhesive: Load your caulk gun with LocTite Power Grab All Purpose adhesive. Apply a generous, continuous bead of adhesive to both the flat back and the flat top surfaces of the molding. Ensure good, even coverage to create a strong and reliable bond with both the wall and ceiling surfaces.
- Position and Press: Carefully lift the cut molding section into place. Align it perfectly with the wall and ceiling, ensuring it’s snug against both surfaces. Press firmly along the entire length of the molding to ensure the adhesive makes solid contact. You might need to hold it in place for a few moments, or use painter’s tape to temporarily secure longer pieces or tricky corners while the adhesive begins to set.
- Clean Excess: Immediately wipe away any excess adhesive that squeezes out with a damp cloth or sponge. It’s much easier to clean when wet than once it dries.
- Repeat for All Sections: Continue this process for all remaining sections of molding, ensuring a snug fit at all joints and corners. Take your time, especially on the first few pieces, to get a feel for the material and adhesive.
- Visual Guidance: For those who learn best by watching, there’s an excellent YouTube video demonstrating the installation process step-by-step. You can watch the full tutorial HERE.
The Power of Caulk: Achieving a Flawless, Professional Finish
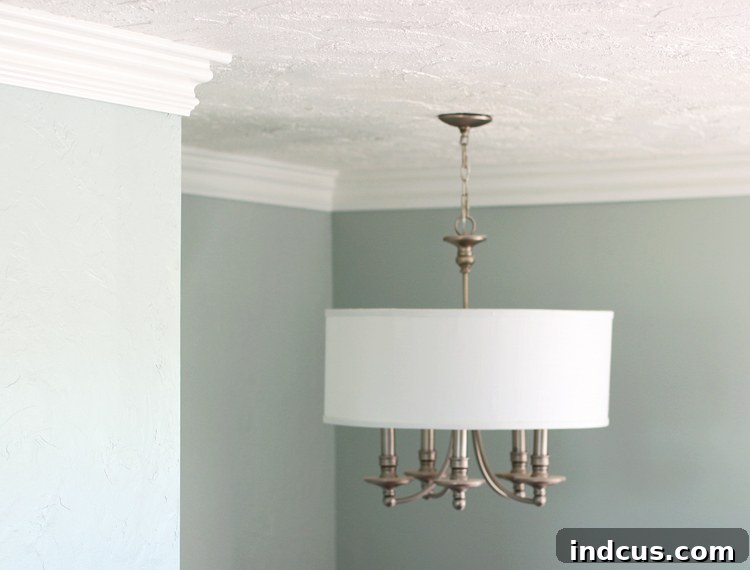
Once your foam crown molding is securely in place and the adhesive has cured, the next crucial step, often underestimated, is caulking. Caulk is the unsung hero that truly transforms a good installation into a professional, seamless finish. Even with the most precise cuts and careful adhesion, tiny gaps and imperfections between the molding and the wall/ceiling surfaces are almost inevitable. These small imperfections can cast shadows and detract from the overall polished look.
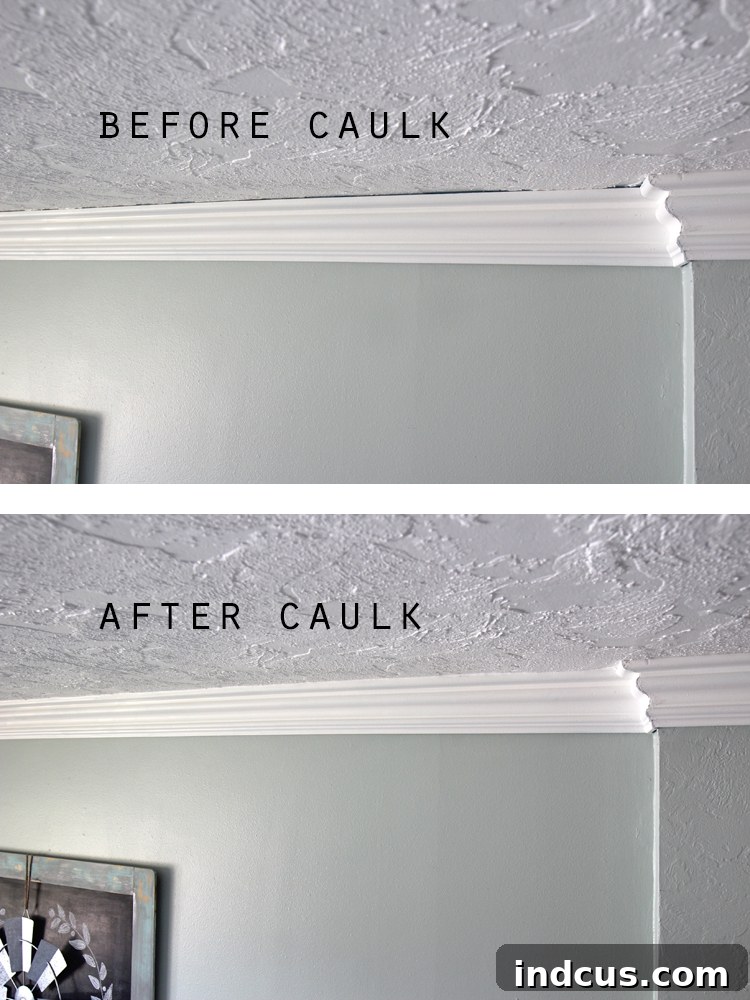
Applying a thin, even bead of high-quality, paintable caulk along all the edges, joints, and seams effectively fills these imperfections. It creates crisp, clean lines that make the molding appear as though it’s always been an integral part of the room’s architecture. As you can clearly see in the comparison photographs, the transformation is dramatic. Before caulking, there were noticeable shadows, unevenness, and visual “breaks”; after, everything looks smooth, intentional, and beautifully integrated, giving the room a truly custom and high-end appearance.
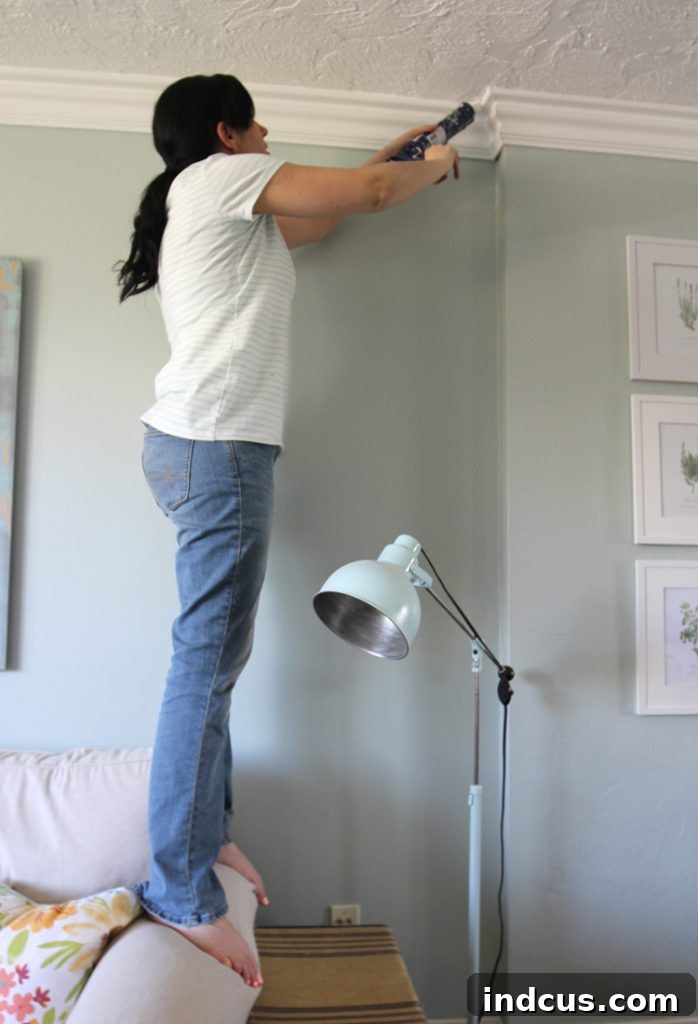
Don’t be afraid to get a little messy during the caulking process! Apply the caulk, then use a wet finger, a damp sponge, or a specialized caulking tool to smooth it out for a pristine finish. Wipe away any excess immediately. This step, though requiring a bit of patience (and perhaps some precarious balancing acts on furniture, as seen below!), is absolutely worth the effort for that flawless, polished, and professional-looking result. It’s the final touch that elevates the entire project.
Room Transformations: Before & After, Showcasing the Power of Molding
The aesthetic impact of crown molding on a room’s overall appeal cannot be overstated. It’s often referred to as the “jewelry” or “finishing touch” of a room, adding a layer of sophistication, elegance, and completeness that simple paint cannot achieve. Our living room, for instance, underwent a truly remarkable transformation that delighted us.
Living Room Elegance Redefined
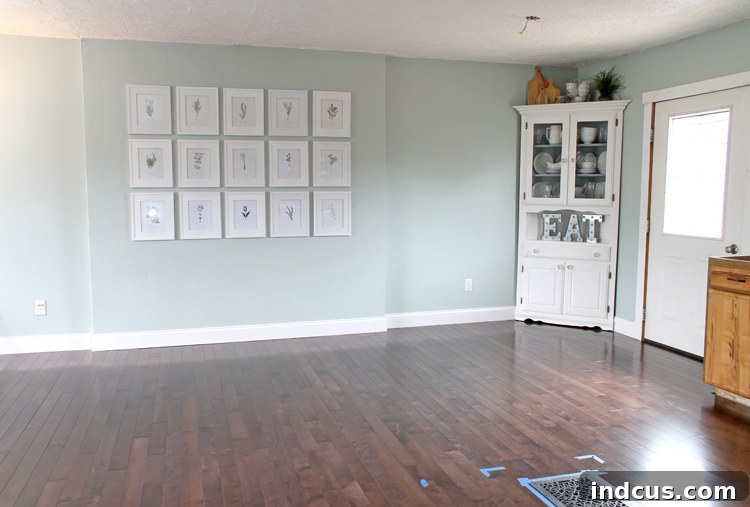
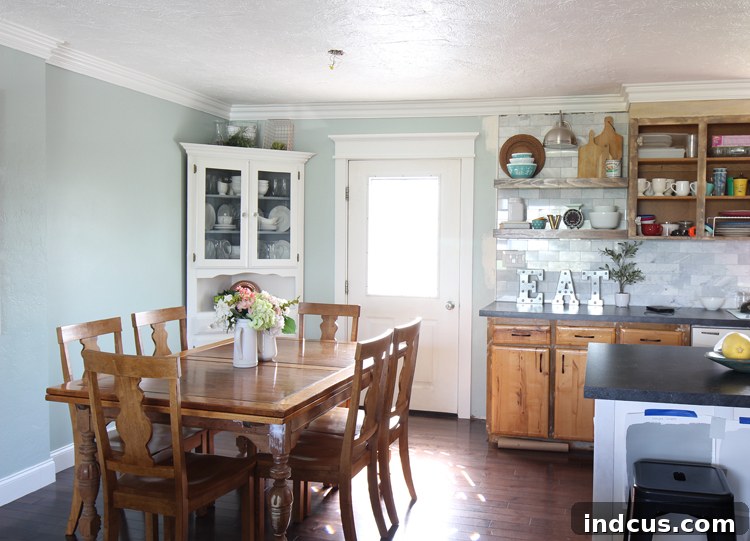
Before the molding was installed, the living room, while functional and pleasant, felt somewhat unfinished and lacked a distinct architectural definition. The transition from wall to ceiling was abrupt, leaving the space feeling a bit stark and uninspired. It was missing that subtle element that ties all design components together. After installing the foam crown molding, the entire room instantly felt more cohesive, luxurious, and polished. It created a visual boundary that not only enhanced the perceived height of the ceilings but also gave the room a custom, high-end appeal that instantly elevated its style. The added character is undeniable, enriching the overall ambiance and making the space feel more inviting and thoughtfully designed.

Custom Kitchen Cabinets: Beyond the Ceiling Line
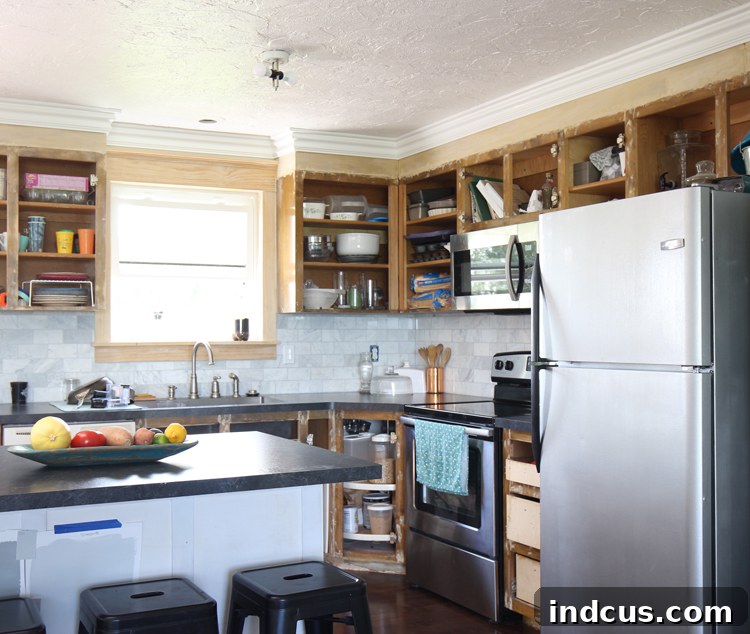
Our application of foam crown molding wasn’t limited to just the ceiling-to-wall transition. We also ingeniously used it to enhance our kitchen cabinets, creating a truly custom, built-in look. We had long disliked the dust-collecting “dead space” above our cabinets, which often looked unfinished and awkward. To solve this, we decided to extend our kitchen cabinets all the way to the ceiling. My husband, with his excellent carpentry skills, expertly built custom boxes to bridge this gap, then we meticulously trimmed the entire structure with the same beautiful foam molding. This creative application dramatically elevated the kitchen’s aesthetic, making it feel far more bespoke and expensive than it was.
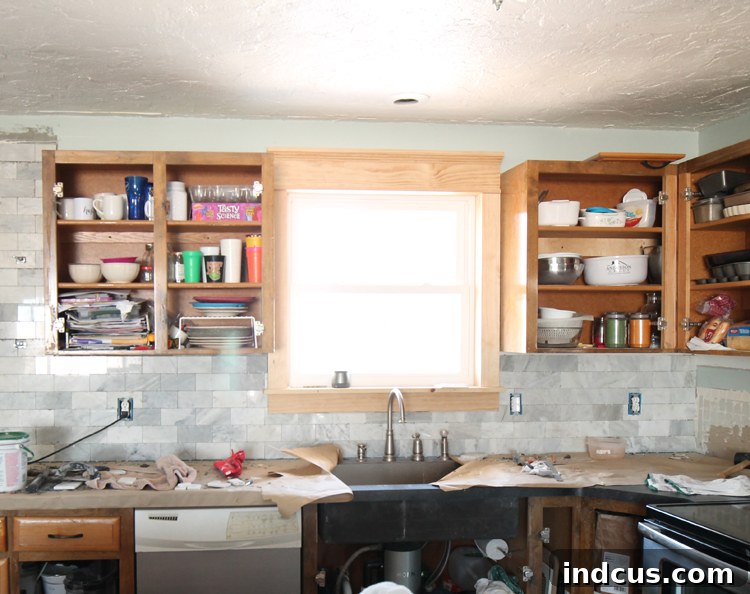
The transformation is striking! The molding adds incredible “drama” and a truly custom feel, making the entire kitchen appear more luxurious, thoughtfully designed, and seamlessly integrated into the home. While we still have cabinet doors to build and the entire cabinetry to paint for a complete makeover, this initial step with the foam crown molding has set a fantastic foundation for a stunning kitchen renovation. We are incredibly pleased with the progress and the undeniable custom touch the molding provides, proving its versatility beyond just ceiling applications.
Why Choose Foam Crown Molding? Key Advantages and Practical Tips
If you’re considering enhancing your home with crown molding, here are compelling reasons and practical tips for choosing lightweight foam options:
- DIY-Friendly Installation: Foam molding is a dream come true for DIY enthusiasts, especially those hesitant about using power tools or tackling complex carpentry. Its lightweight nature and easy-to-cut material mean you can install it throughout an entire house using just a simple hand saw and a miter box, eliminating the need for expensive, complex, or dangerous equipment.
- Paint-Ready Finish: The molding arrives unpainted, offering you complete flexibility to match your existing decor perfectly. We highly recommend starting with one coat of a quality primer designed for foam or plastics, followed by two smooth coats of semi-gloss latex paint. While an angled brush works perfectly for precision, a paint sprayer can provide an even quicker, smoother, and professional-looking finish for larger projects.
- Incredibly Lightweight: Unlike heavy, cumbersome wood molding, foam is exceptionally light. This makes handling, transporting, and especially installing long sections overhead significantly easier and less physically demanding. Even individuals with limited upper body strength can lift an entire 8-foot section effortlessly, reducing strain and making overhead work much more manageable and safer.
- Seamless Aesthetics: Once installed and properly painted and caulked, foam crown molding is virtually indistinguishable from traditional wood molding. Its ability to replicate classic profiles, intricate details, and sharp lines means you get the elegant, high-end look without the high-end cost, the heavy lifting, or the complex installation hassle typically associated with wood.
- Durability with Care: While durable for its intended purpose, foam is inherently softer than wood. It’s important to handle it with a bit of care during cutting and installation to avoid accidental dents or indentations. A gentle touch with tools and during transport is all that’s required to maintain its pristine surface. Once installed and painted, it’s quite robust for everyday use.
- No Miter Cuts Needed (Optional Feature): For those intimidated by the precise angles required for mitered corner cuts, Crown Molding Solutions offers a fantastic, user-friendly alternative: pre-made inside and outside corners! These ready-to-install pieces significantly simplify the process. You simply install the pre-made corners first, then measure and cut straight pieces to fit in between, caulking all the seams for a perfect finish. You can find these convenient pre-made corners HERE.
- Cost-Effective Elegance: Compared to custom wood molding, which often requires professional installation and premium material costs, foam options provide a significantly more budget-friendly and accessible way to add architectural value and sophistication to your home. You achieve a luxurious, custom look without breaking the bank.
- Versatile Application: As demonstrated with our kitchen cabinets, foam crown molding isn’t limited to just ceiling-wall transitions. It’s perfectly suited for enhancing built-ins, shelving units, doorways, archways, and any area where you want to add a refined touch of architectural detail and visual interest.
- No Nailing Required: For homes with unique structural considerations like radiant ceiling heat, or simply for those who prefer not to deal with nail guns or hammers, the adhesive-only installation method of foam crown molding is a revolutionary benefit. It prevents damage to underlying pipes, wires, or heating elements, offering peace of mind.
Final Thoughts: Embrace the Beauty and Simplicity of Foam Crown Molding
Our experience with foam crown molding from Crown Molding Solutions was overwhelmingly positive. It provided an elegant, practical, and incredibly DIY-friendly solution to what initially seemed like insurmountable renovation problems. It allowed us to achieve a beautifully finished, custom-looking home without compromising on quality, aesthetic appeal, or our budget. The dramatic transformations in our living room and kitchen are powerful testaments to its effectiveness, versatility, and aesthetic appeal. The product delivered on its promise, solving our specific challenges with ease and style.
If you’re looking for an accessible, affordable, and visually stunning way to elevate your home’s interior, add architectural value, and deftly conceal imperfections, foam crown molding is an outstanding choice. It truly proves that achieving a custom, polished, and sophisticated look doesn’t always require expert carpentry skills, heavy equipment, or a hefty financial investment. Embrace the simplicity of installation, revel in the dramatic transformation, and create a home environment you’ll truly love and be proud to showcase.