Pucker Up for Fun: Crafting the Most Adorable DIY Lip Balm Valentine Cards
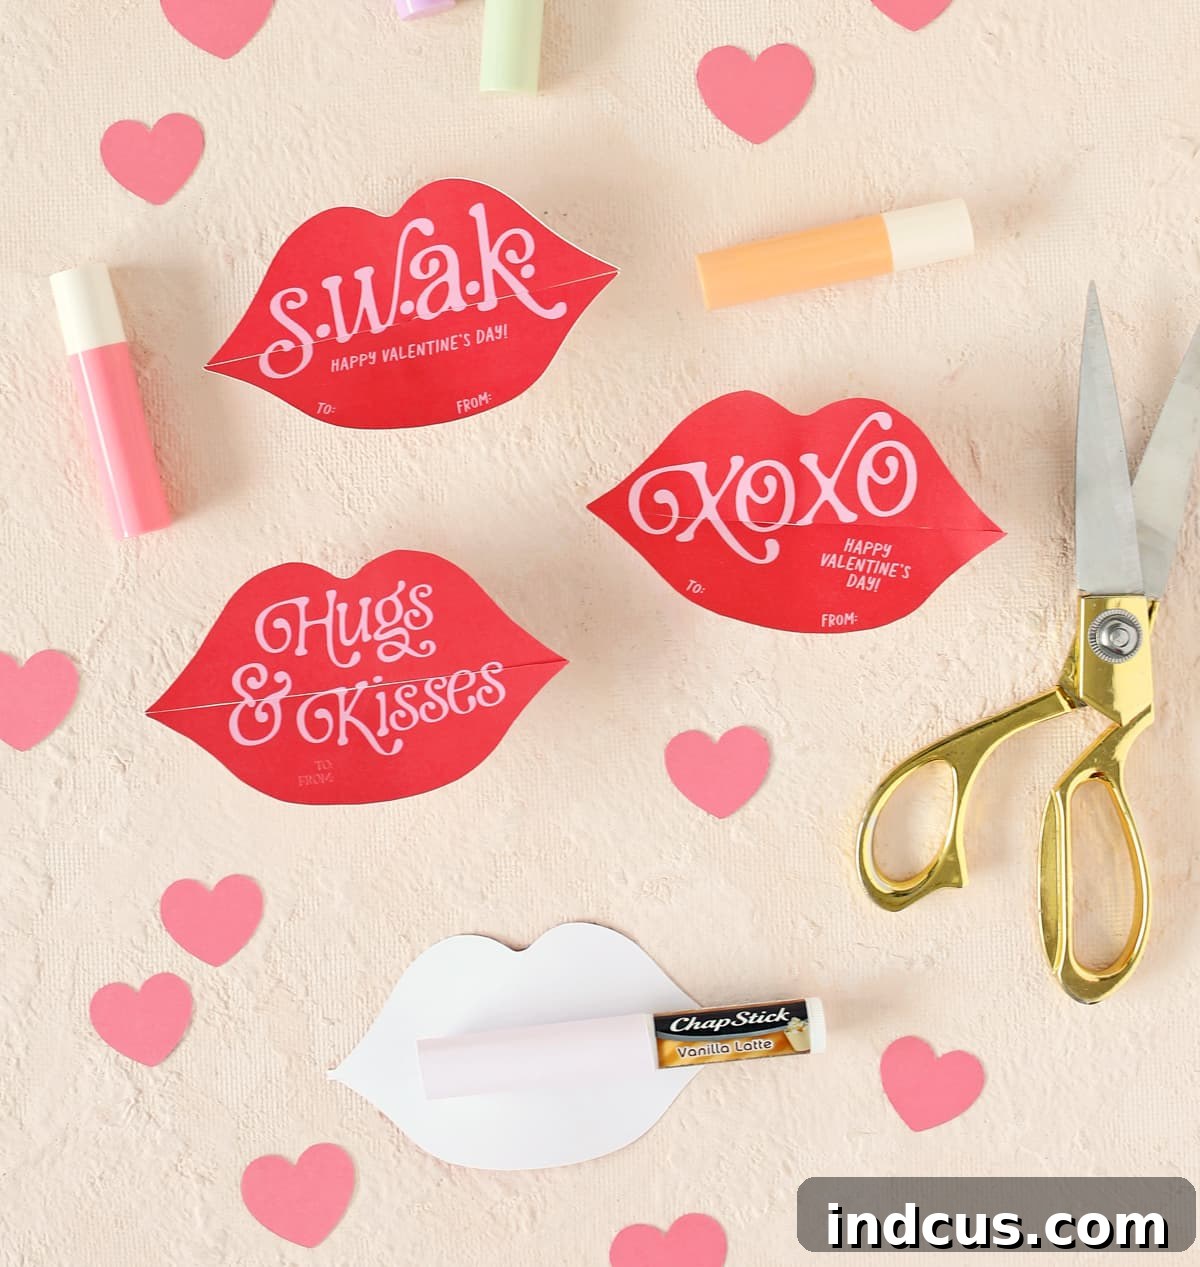
Valentine’s Day is a time for sharing love, kindness, and thoughtful gestures. While store-bought cards are convenient, there’s something truly special about a handmade gift that conveys warmth and personal effort. Today, we’re diving into a project that combines creativity, practicality, and a whole lot of charm: DIY printable lip balm Valentine cards! These aren’t just any cards; they feature an incredibly clever design where the lips ingeniously slide together to form the perfect snug loop to hold a tube of lip balm. Get ready to impress your loved ones with a Valentine that’s as sweet as it is useful!
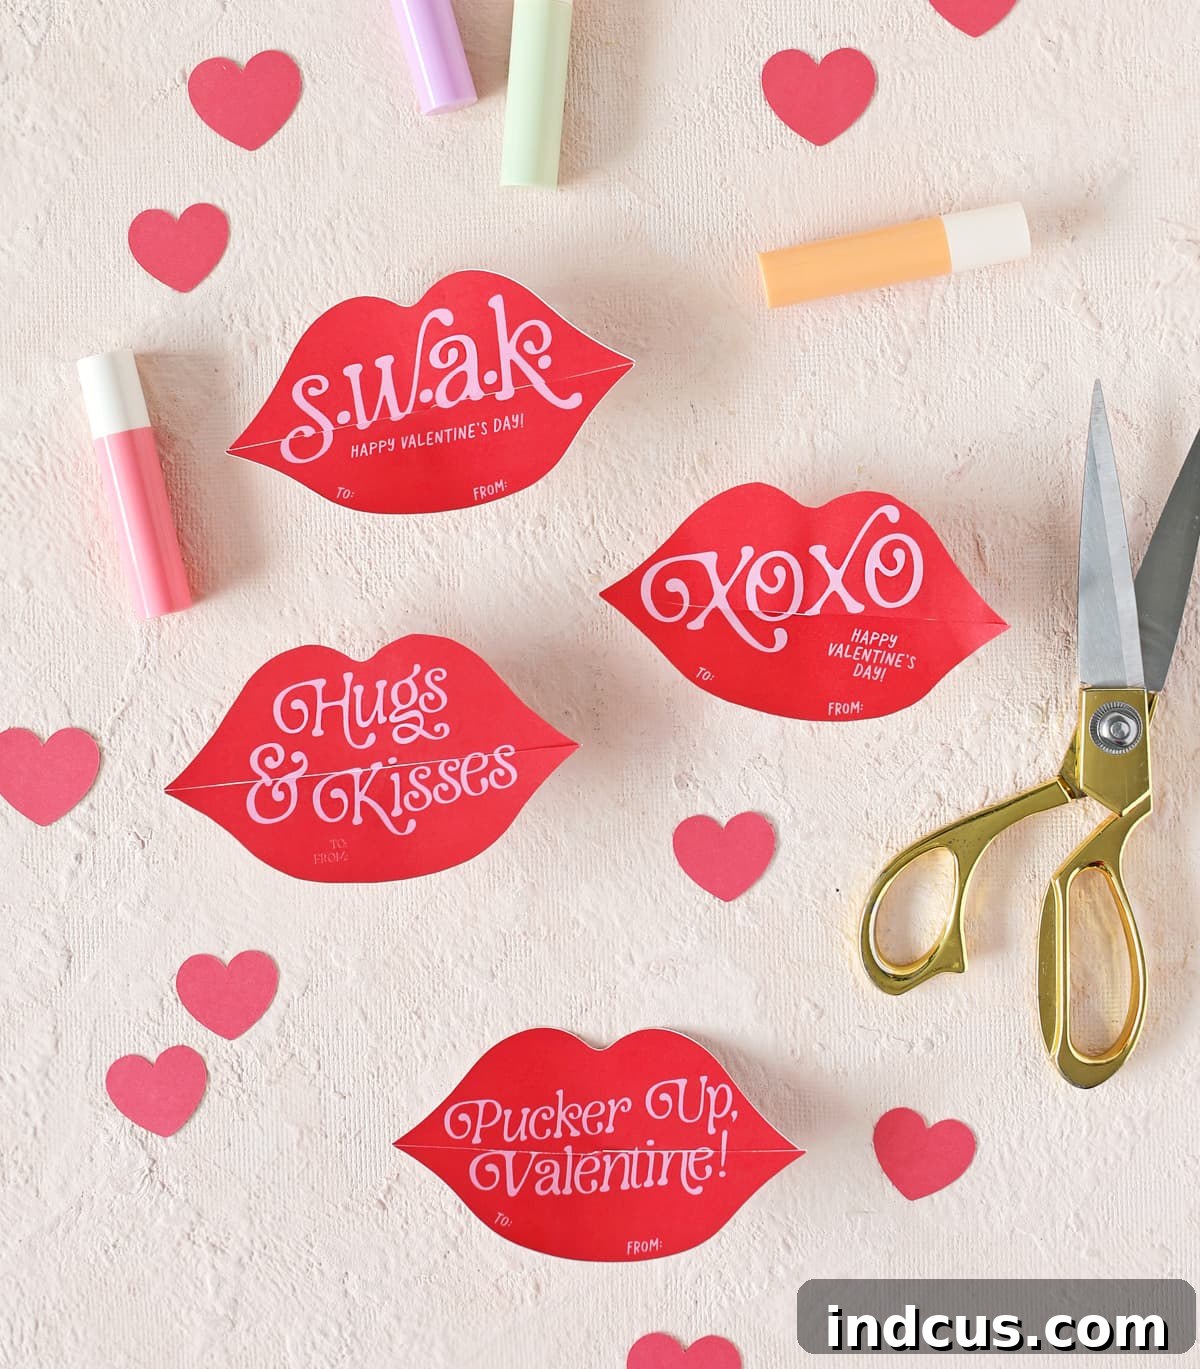
There’s nothing quite like a clever craft, and this project certainly delivers. These lip-themed Valentine’s Day cards are incredibly fun to make and even more delightful to give. All you need is our specially designed printable file, a pair of sharp scissors (or an electronic cutting machine for extra precision), and a few tubes of your favorite lip balm or chapstick. It’s a simple, affordable, and incredibly thoughtful way to spread some Valentine’s cheer.
We absolutely adore a good pun, and these lip Valentines are packed with them! Each card features endearing phrases like, “Pucker Up, Valentine!” and classic expressions of affection such as “XOXO,” “S.W.A.K.” (Sealed With A Kiss), and “Hugs & Kisses.” These playful messages add an extra layer of sweetness, making them ideal for friends, classmates, teachers, or anyone who appreciates a touch of humor with their heartfelt gifts.
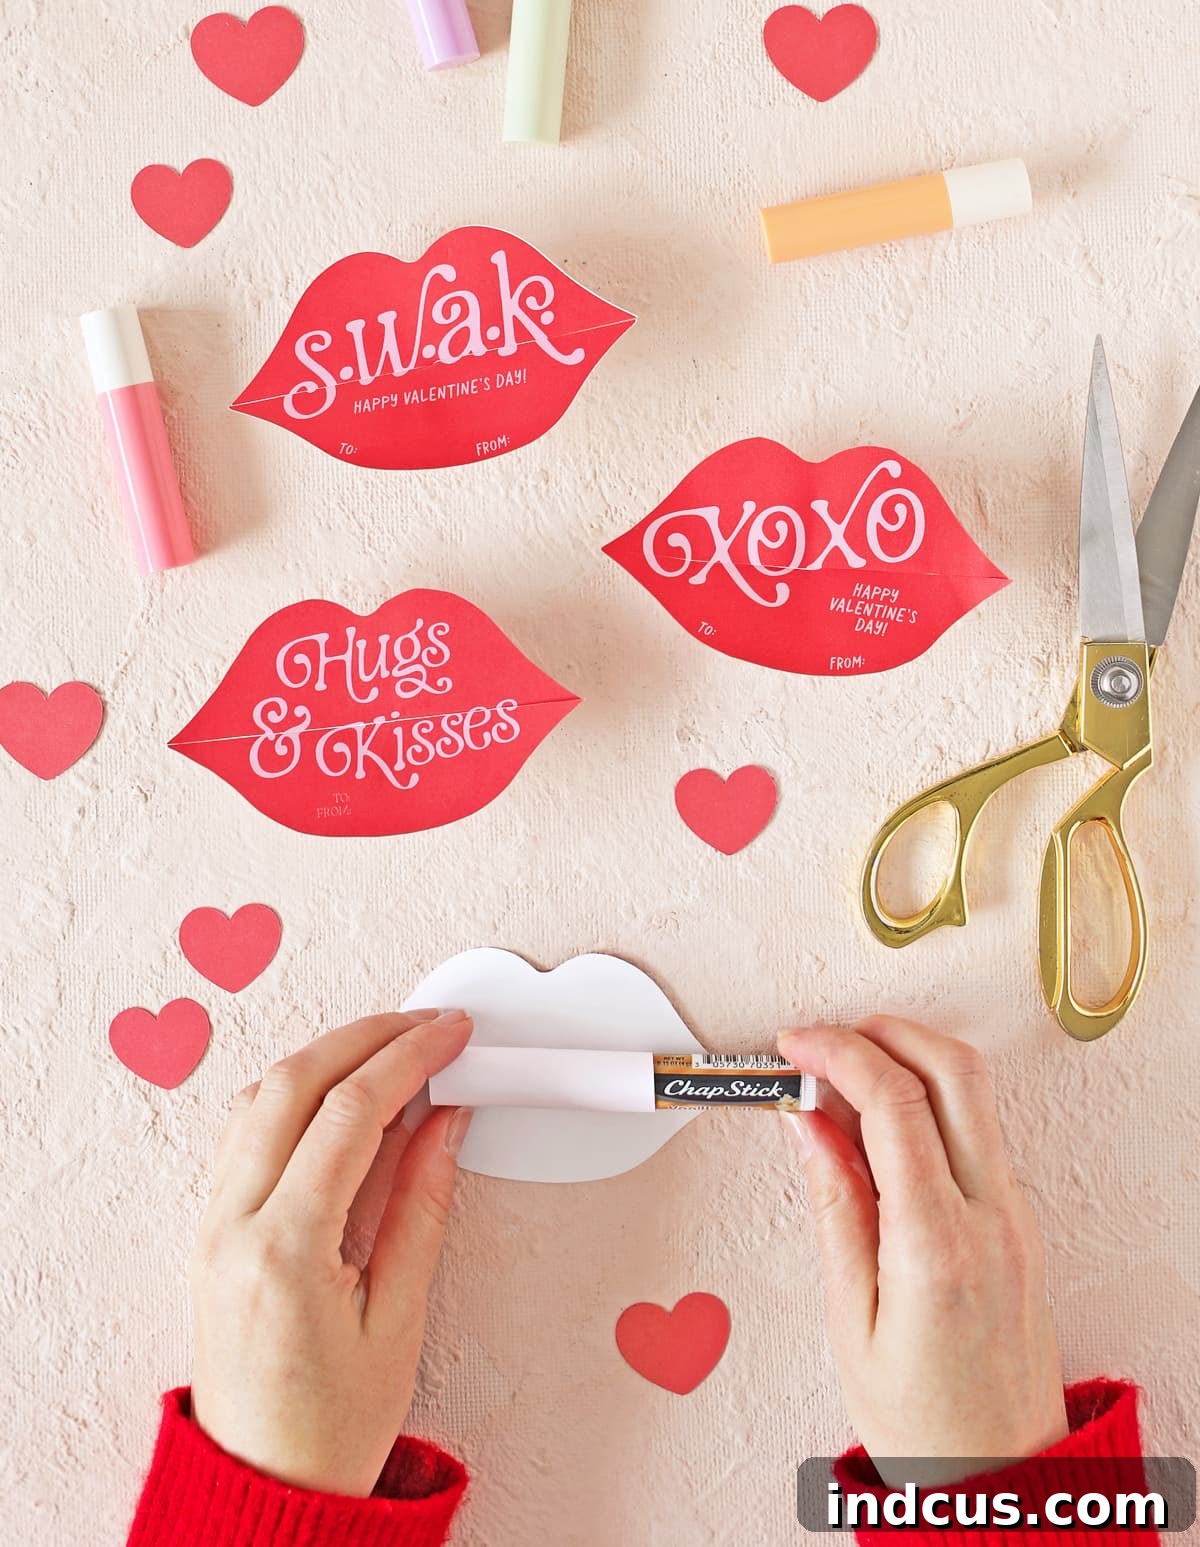
But the true magic of these cards lies in their innovative design. The whimsical lip shape isn’t just for aesthetics; it’s intricately designed so that once assembled, the two halves form a perfectly sized, secure loop on the back. This loop is custom-made to hold a standard tube of lip balm, transforming a simple card into a fun, functional, and unexpected gift. This ingenious feature is what truly sets these Valentines apart, and we are absolutely thrilled with how they turned out!
Why Choose Handmade Valentines This Year?
In a world often dominated by digital interactions and mass-produced items, handmade Valentines offer a refreshing return to sincerity and personal connection. Opting for DIY cards isn’t just about saving money; it’s about investing time and effort into creating something truly unique and meaningful. When you hand a personalized, crafted Valentine to someone, it communicates a level of thoughtfulness that a store-bought card simply cannot replicate.
Beyond the personal touch, crafting these lip balm Valentines can be a wonderful activity for families. It provides an opportunity for kids to engage in creative expression, practice their fine motor skills, and learn the value of giving. For adults, it’s a relaxing and rewarding project that yields charming results. The joy of creating something beautiful with your own hands, knowing it will bring a smile to someone else’s face, is an incomparable feeling.
Perfect for Every Valentine on Your List
The versatility of these lip balm Valentines makes them suitable for almost anyone. Imagine the delight on a classmate’s face receiving a “Pucker Up” card with a flavored lip balm, or a teacher appreciating a thoughtful and practical gift. They are fantastic for:
- Classroom Exchanges: Easy enough for kids to help assemble, and a much-loved alternative to candy.
- Friends and Besties: A cute and quirky way to show appreciation.
- Family Members: A sweet gesture for siblings, cousins, or even parents.
- Teachers and Mentors: A practical gift that shows you care.
- Co-workers: A fun and lighthearted way to brighten someone’s day at the office.
Each card is a miniature token of affection, designed to be both playful and functional, ensuring your Valentine’s message leaves a lasting impression.
Get Started: What You’ll Need
One of the best aspects of this DIY project is how minimal the required supplies are. You likely have most of these items already, making it an accessible craft for everyone.
- Our Printable Template: The core of this project! Make sure to download the file provided at the bottom of this post. It includes both a PDF for easy printing and cutting by hand, and an SVG file for those who prefer to use an electronic cutting machine.
- Cardstock: This is crucial for durability. Regular printer paper will be too flimsy to hold its shape or a tube of lip balm securely. Opt for a sturdy cardstock, around 65lb (176 gsm) to 110lb (270 gsm), for the best results. White cardstock is perfect as the template provides the design.
- Scissors: A good pair of sharp craft scissors will make cutting much easier and more precise.
- Electronic Cutting Machine (Optional): If you own a Silhouette or Cricut machine, the included SVG file will allow your machine to cut out the shapes and slits perfectly, saving you time and ensuring professional-looking results.
- Lip Balm Tubes: Standard-sized lip balm or chapstick tubes work best. Choose an array of fun flavors or colors to match the personality of your recipient!
- Glue Dots or Double-Sided Tape (Optional): For securing the lip balm inside the loop, though it often fits snugly on its own.
- Pen/Marker: For personalizing the “To” and “From” sections.
Step-by-Step Guide to Crafting Your Lip Balm Valentines
Ready to bring these adorable lip balm Valentines to life? Follow these detailed instructions, and you’ll have a batch of unique, handcrafted gifts in no time. While we’ll explain every step thoroughly, remember that seeing it in action can be incredibly helpful – we encourage you to look for a video tutorial if you prefer visual learning!
Step 1: Download & Print Your Template
Your crafting journey begins with the template. Scroll down to the bottom of this post to find the download link. Our file includes two versions: a PDF for direct printing and manual cutting, and an SVG file specifically designed for electronic cutting machines like Silhouette or Cricut. Ensure you select the version that best suits your crafting method.
Once downloaded, print the template onto your chosen cardstock. For optimal results, check your printer settings to ensure it’s set to print at “Actual Size” or “100% scale” and select the highest quality print setting your printer offers. This ensures the design prints true to size and colors are vibrant.
Step 2: Precise Cutting for Perfect Lips
Whether you’re cutting by hand or using a machine, precision is key for a flawless finish.
- Manual Cutting: Carefully cut around the outer edge of the lip shape and the light pink square located in the middle of the design. Take your time to follow the lines smoothly, especially around the curves of the lips. The cleaner your cuts, the more professional your finished Valentine will look.
- Electronic Cutting: If you’re using a Silhouette or Cricut, load your cardstock onto the mat and follow your machine’s software instructions for cutting the SVG file. These machines will accurately cut out both the lip shape and the intricate slits in the next step, ensuring perfect results every time.
Step 3: Making the Clever Slits
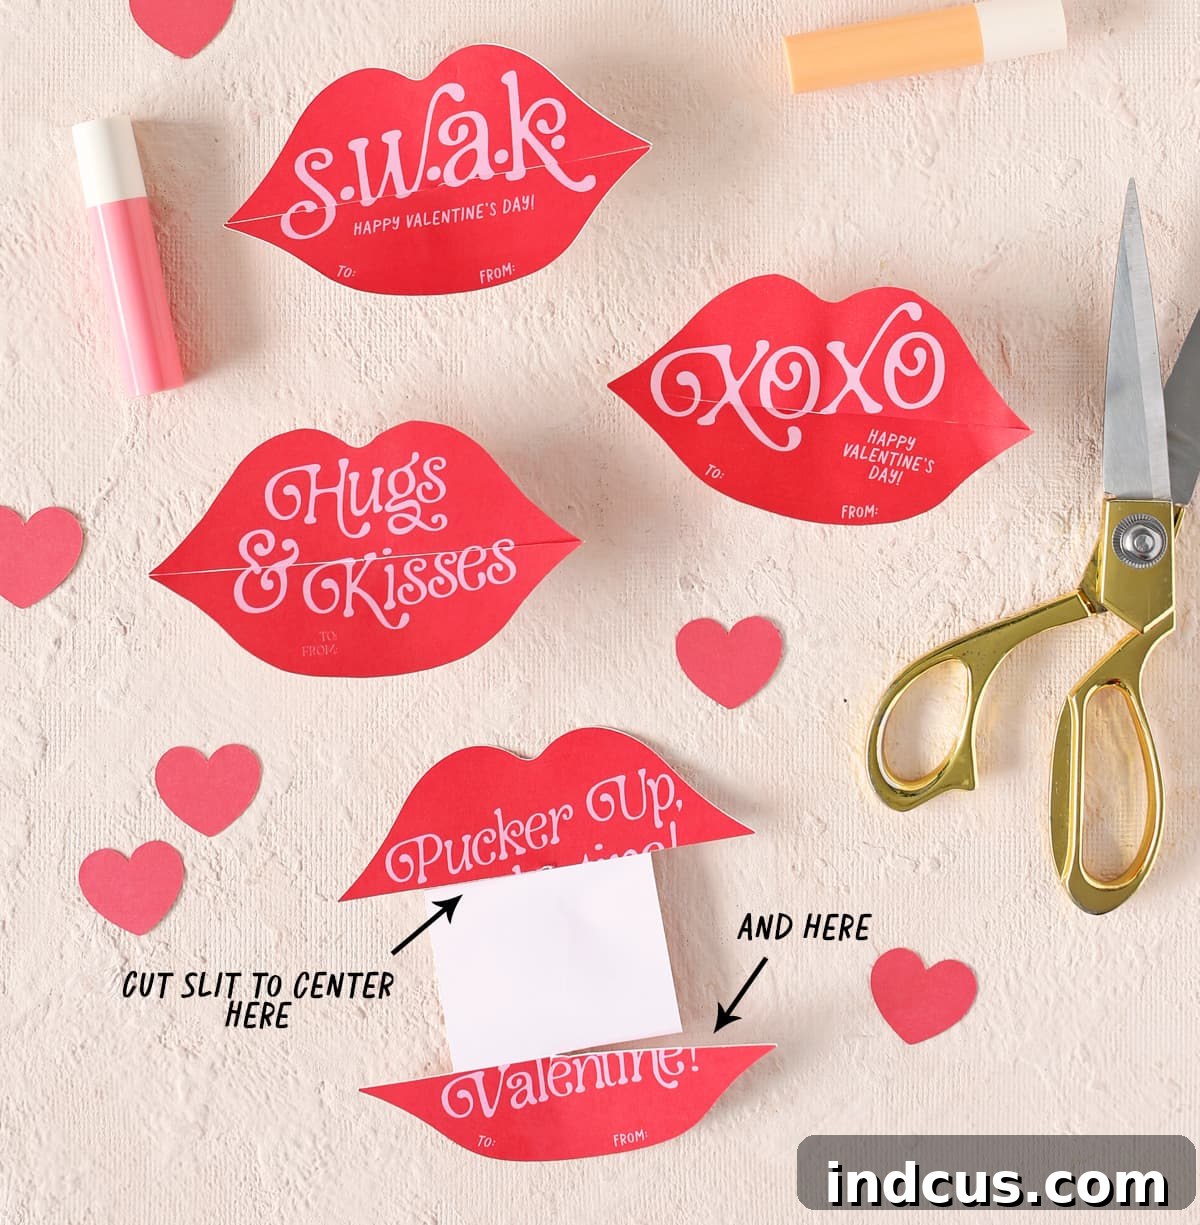
This is where the magic of the lip balm holder truly takes shape. If you’re cutting by hand, use your craft knife or scissors to carefully cut two specific slits. These slits are integral to the interlocking design:
On the top of the light pink square, cut halfway across the left side. Then, on the bottom of the light pink square, cut halfway across the right side. It’s crucial that these cuts are clean and precise, as they will allow the two lip pieces to slide and lock into each other seamlessly.
Step 4: Preparing the Loop (The Lip Balm Secret!)
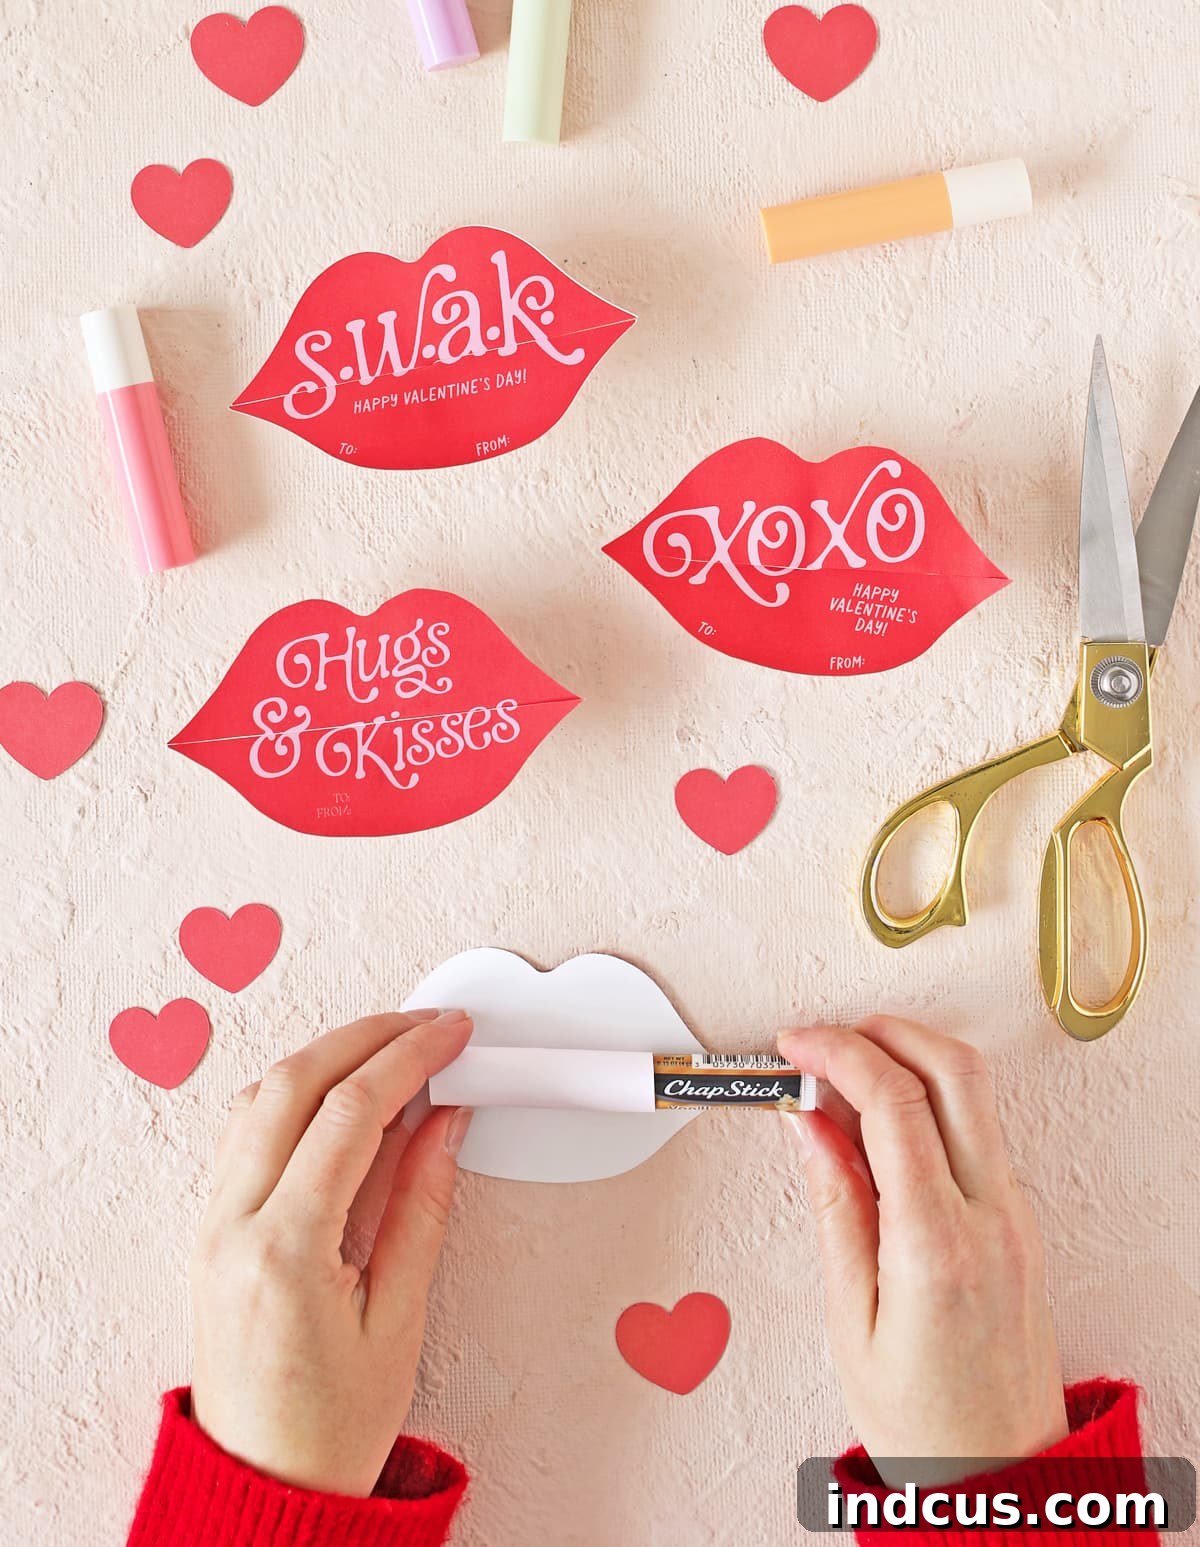
Before you assemble the card, grab a tube of chapstick or lip balm. Gently roll it around the blank center area of the card (the space where the lip balm will eventually sit). Do this for about a minute. This simple technique helps to pre-condition the cardstock, encouraging it to form a smooth, rounded loop rather than creasing sharply when you assemble it. This step ensures a professional, polished look and an easier assembly process.
Step 5: Assemble Your Lip Balm Holder
Now for the satisfying part! Carefully bend the two lip pieces inward. Guide the two slits you cut in Step 3 until they slide into each other. It should create an interlocking mechanism, forming a perfect tube shape on the back of the card. Take your time to align the lips on the front, ensuring they meet neatly to form a complete, lovely lip shape.
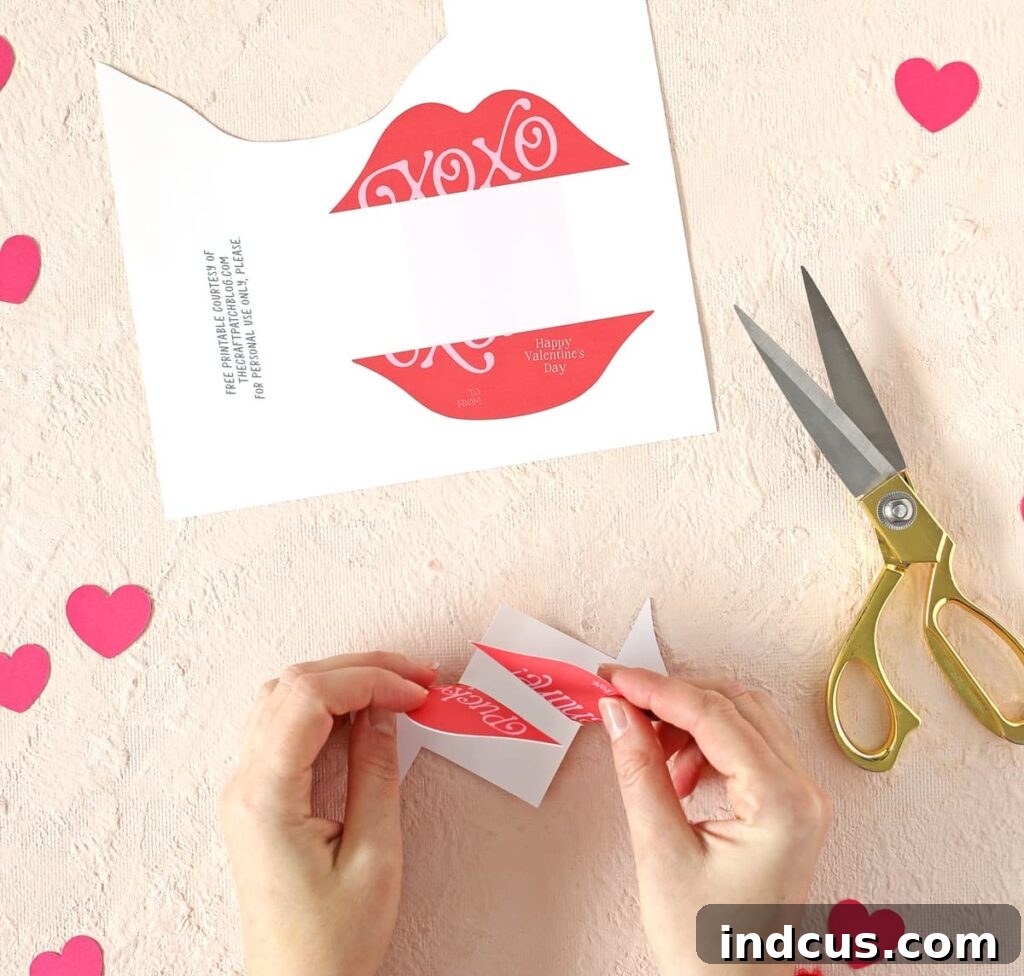
Once the slits are securely interlocked and the front lips are perfectly aligned, you’ll discover that the tube shape formed on the back is the ideal size for a standard lip balm. Voila! You’ve created an adorable and functional lip balm holder that’s ready for its special cargo.
Step 6: Final Touches & Personalization
With your lip balm holder assembled, it’s time for the finishing touches.
We highly recommend adding a small glue dot or a tiny piece of double-sided tape inside the newly formed loop before inserting the lip balm. This will help keep the lip balm securely in place, preventing it from sliding out unexpectedly. While it often fits snugly, a little extra adhesive provides peace of mind.
Don’t forget to fill in the “To” and “From” sections on your card! It’s much easier to write on the cardstock when it’s still flat, before assembly. So, consider writing your messages right after cutting and before sliding the pieces together. You can also add other personal touches like glitter, stickers, or a handwritten note on the back to make each Valentine truly unique.
Tips for a Flawless DIY Valentine’s Day Experience
To ensure your lip balm Valentines turn out absolutely perfect, here are a few extra tips and tricks:
- Test Print: Always do a test print on plain paper first to ensure the size and alignment are correct before using your good cardstock.
- Variety of Lip Balms: While standard lip balms fit perfectly, experiment with different brands or flavors to offer a personalized touch. Mini hand sanitizers or small candy tubes might also fit, expanding your gift-giving options!
- Batch Production: If you’re making a large number for a classroom or event, consider cutting all the pieces first, then pre-rolling the centers, and finally assembling them in a batch process. This can make the entire workflow more efficient.
- Kid-Friendly Crafting: For younger crafters, pre-cut the pieces and let them handle the assembly and personalization (writing, decorating). It’s a fantastic way to involve them in the Valentine’s Day spirit.
- Storage: If you’re making these in advance, store them flat before assembly to prevent creasing. Assemble them closer to Valentine’s Day.
Watch the Video Tutorial
For those who are visual learners or simply want to see each step come to life, we highly recommend watching our comprehensive video tutorial. It provides a clear, step-by-step demonstration of the entire crafting process, from cutting the slits to assembling the lip balm holder. Seeing the technique in action can make all the difference, ensuring you achieve perfect results effortlessly. You’ll find the link to the tutorial right below, or embedded within the post.
Looking for more creative ways to celebrate? Check out even more Printable Valentine’s Day Cards here.
More Printable Valentine’s Day Ideas
If you’ve enjoyed crafting these lip balm Valentines, you’re in luck! Our collection is brimming with a variety of printable Valentine’s Day cards and craft ideas that are perfect for celebrating the season of love. From whimsical designs for kids to elegant options for adults, there’s something to inspire every crafter and recipient. Explore our full range of printable Valentines to find your next creative project and keep the crafting fun going strong.
Making your own Valentine’s Day cards is a rewarding experience that adds a personal touch to your celebrations. These DIY lip balm Valentines are not just cards; they’re memorable gifts that combine creativity, practicality, and heartfelt affection. So, gather your supplies, follow our guide, and get ready to spread some serious love this Valentine’s Day. Don’t forget to share your creations with us – we love seeing your unique spins on our projects!