Irresistible Chocolate Covered Potato Chips: The Ultimate Sweet and Salty Snack Sensation
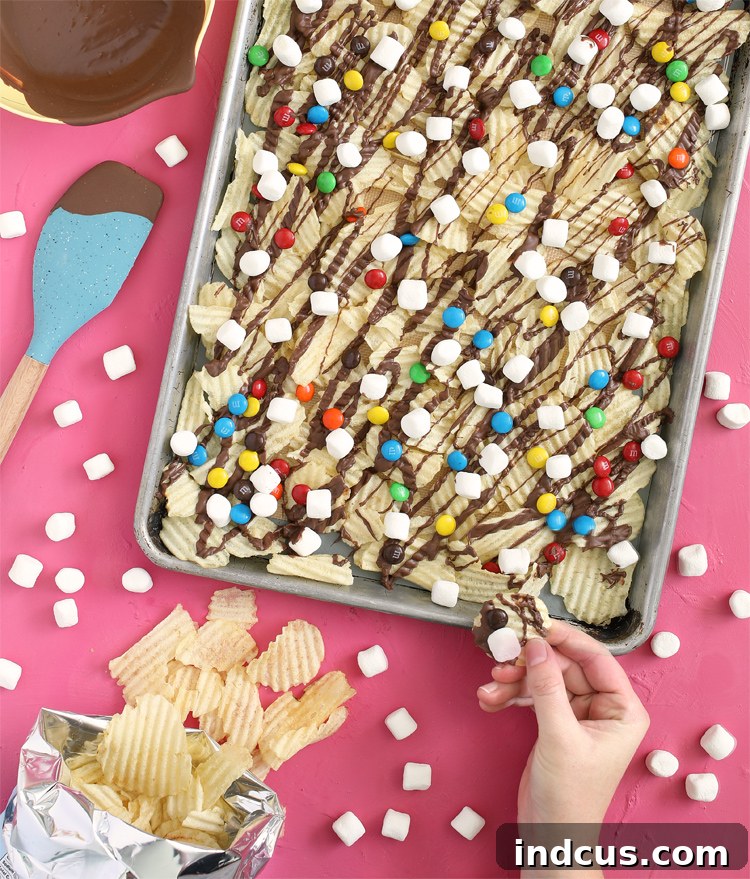
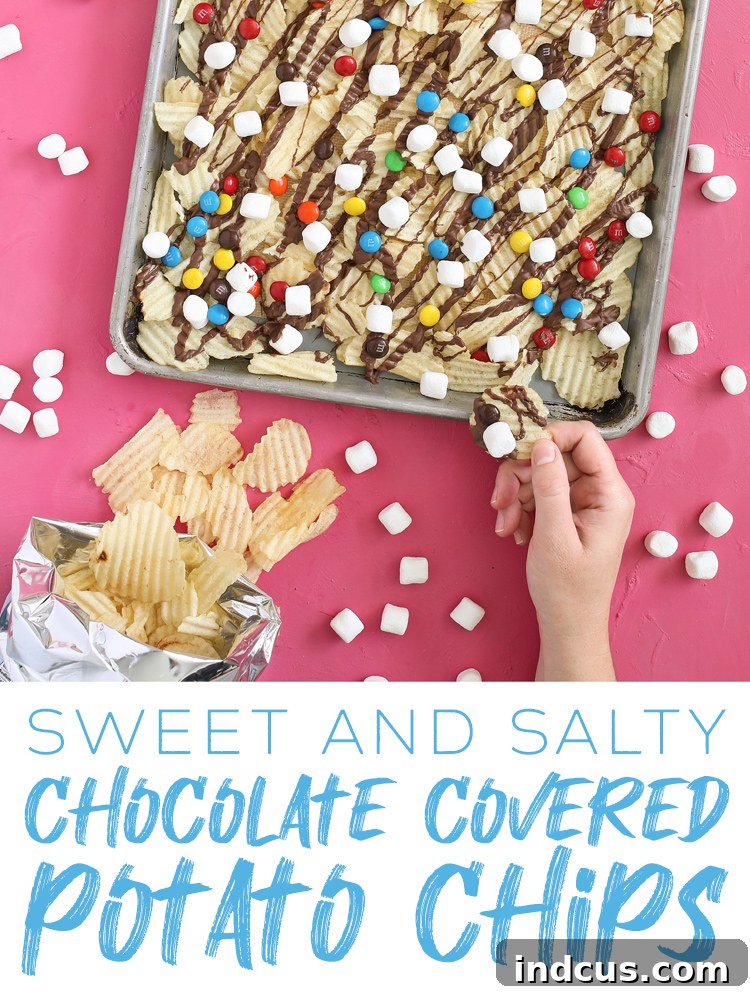
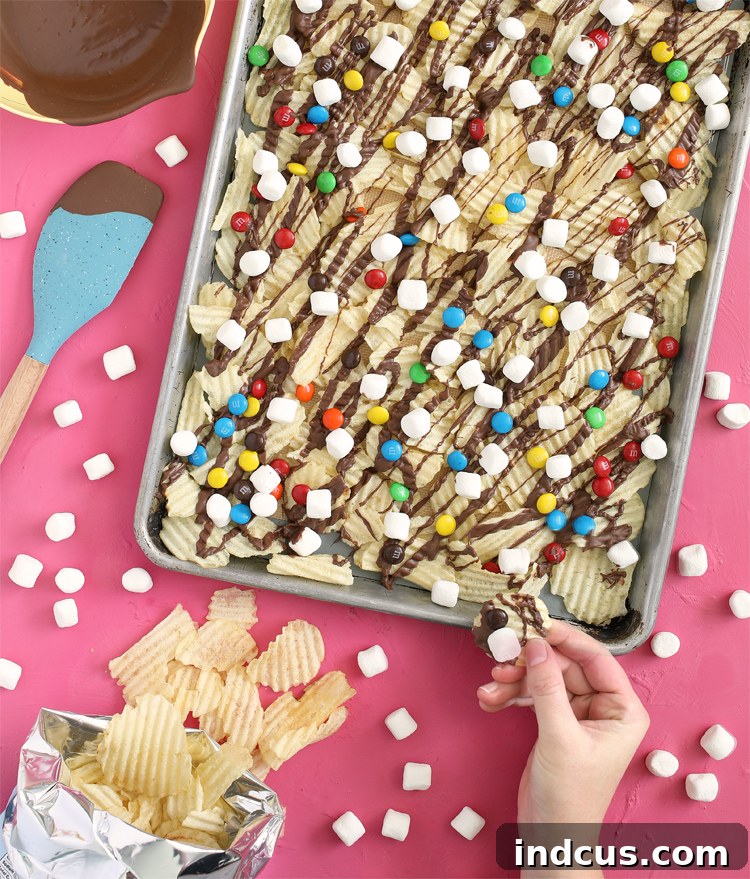
There’s an undeniable magic in the combination of sweet and salty flavors, a culinary symphony that tantalizes taste buds and creates an utterly addictive experience. If you’re a fan of this delightful duo, prepare to meet your new favorite treat: homemade chocolate covered potato chips. These aren’t just any chips; we’re talking about buttery, crisp potato chips generously coated with rich, melted chocolate and then adorned with a medley of colorful and delicious toppings. It’s a simple concept that yields extraordinary results, transforming humble potato chips into a gourmet snack that’s perfect for any occasion.
This irresistible concoction has quickly become a family favorite in our home. What started as an experimental weekend treat for my husband, a true connoisseur of sweet and salty delights, quickly won over everyone, from the pickiest eaters to the most discerning palates. The balance is just right – the satisfying crunch and savory notes of the potato chips perfectly complement the decadent sweetness of the chocolate and the added toppings. It’s a snack that’s easy to make, fun to customize, and incredibly difficult to stop eating once you start.
The Perfect Party Pleaser and Holiday Treat
Beyond being a fantastic everyday snack, chocolate covered potato chips are an absolute showstopper at parties and gatherings. Imagine a platter of these vibrant, tempting bites gracing your dessert table – they’re guaranteed to spark conversation and disappear quickly! Their customizable nature also makes them incredibly versatile for holiday celebrations. With a simple swap of toppings, you can effortlessly tailor this treat to fit any festive theme.
- **Christmas:** Use red and green M&M’s, peppermint bits, or festive sprinkles.
- **Halloween:** Opt for candy corn, spooky sprinkles, or crushed Oreos.
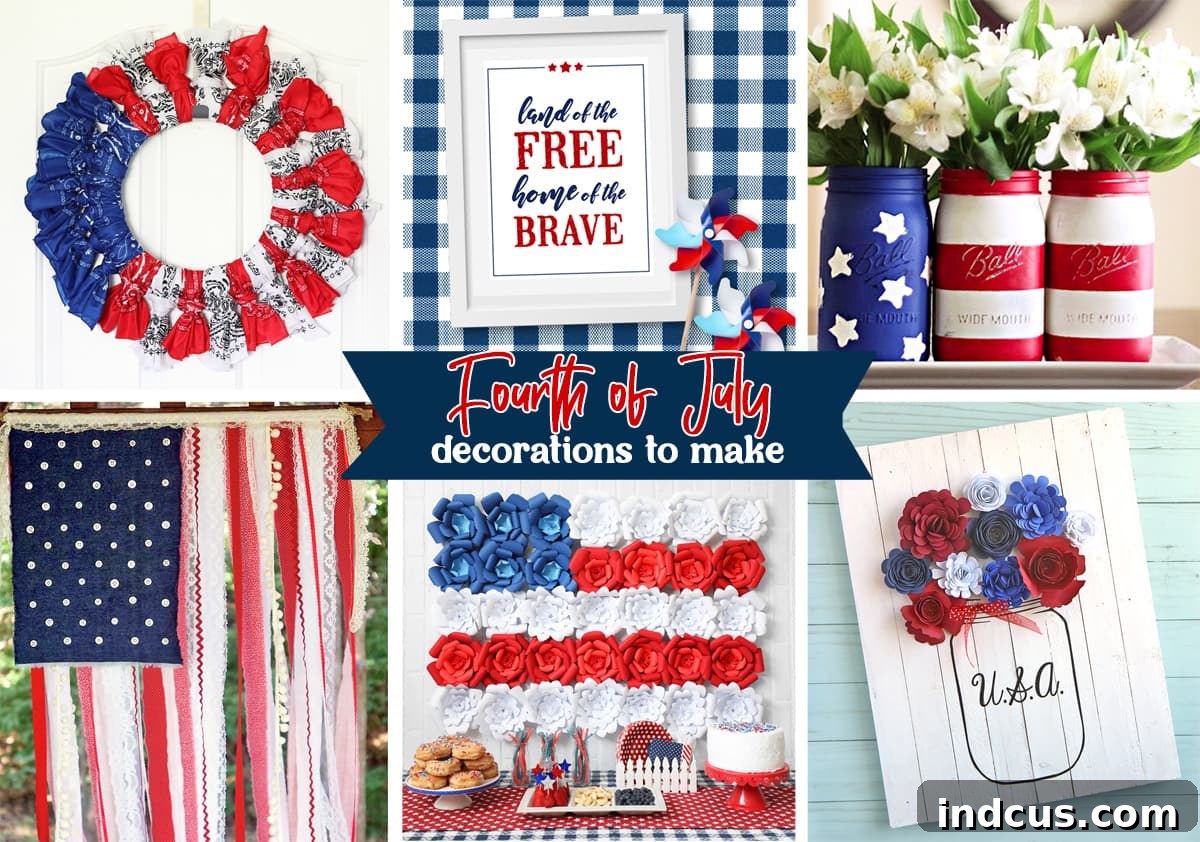
- **Fourth of July:** Red, white, and blue candies or patriotic sprinkles will make them shine.
- **Valentine’s Day:** Pink and red sprinkles, heart-shaped candies, or raspberry bits.
- **Birthdays:** Match the toppings to the birthday person’s favorite colors or interests.
The possibilities are truly endless, allowing you to unleash your creativity and make each batch unique. While M&M’s and mini marshmallows are classic choices that offer a delightful pop of color and texture, don’t hesitate to experiment with your own favorite additions.
Creative Topping Ideas to Elevate Your Snack
The beauty of this recipe lies in its adaptability. You can stick to the basics or go all out with an array of exciting toppings. Here are some fantastic ideas to get you started:
- **Chopped Nuts:** Almonds, pecans, walnuts, or peanuts add a wonderful crunch and earthy flavor.
- **Candy Corn:** A seasonal favorite for a chewy, sweet addition.
- **Peanut Butter Cups or Reese’s Pieces:** For an ultimate peanut butter and chocolate experience.
- **Caramel Bits:** Chewy caramel pieces create an extra layer of sweetness and texture.
- **Crushed Heath Candy Bars:** Toffee bits provide a delightful buttery crunch.
- **Melted Peanut Butter Chips:** Drizzle these on top for a rich, nutty flavor boost.
- **Sprinkles:** A simple way to add color and fun, perfect for any celebration.
- **Pretzels:** For an extra salty, crunchy dimension.
- **Flaky Sea Salt:** A sprinkle of sea salt enhances both the sweet and salty notes.
- **Dried Fruit:** Chopped cranberries or cherries can add a tangy counterpoint.
- **Shredded Coconut:** For a tropical twist.
- **Cinnamon Sugar:** A warm, comforting flavor.
Don’t be afraid to mix and match! A combination of crunchy nuts, chewy candies, and colorful sprinkles can create a truly spectacular treat.
Mastering the Art of Melting Chocolate
Melting chocolate might seem straightforward, but a few key tips can ensure a smooth, glossy result every time. The goal is to melt the chocolate gently and evenly, without overheating, which can cause it to seize up (become thick and grainy) or even burn.
The microwave method is quick and convenient:
- Place your chocolate chips (or finely chopped chocolate bars) in a microwave-safe plastic or glass bowl.
- Microwave on medium power for 30 seconds.
- Remove the bowl and stir the chocolate thoroughly, even if it doesn’t look melted yet. The residual heat will continue to melt the chocolate.
- Return to the microwave for another 15-20 seconds.
- Stir again until smooth and completely melted. If needed, repeat in 10-second intervals, stirring vigorously after each, until the chocolate is perfectly smooth and free of lumps.
Be extremely cautious not to overheat the chocolate! Overheating can ruin its texture and flavor. It usually takes less than 1 minute of total microwaving time for a cup of chocolate chips. If you prefer, a double boiler method (placing a heatproof bowl over a saucepan of simmering water, ensuring the bowl doesn’t touch the water) offers more controlled melting and is an excellent alternative, especially for larger quantities or delicate chocolates.
Preparing Your Canvas: Laying Out the Potato Chips
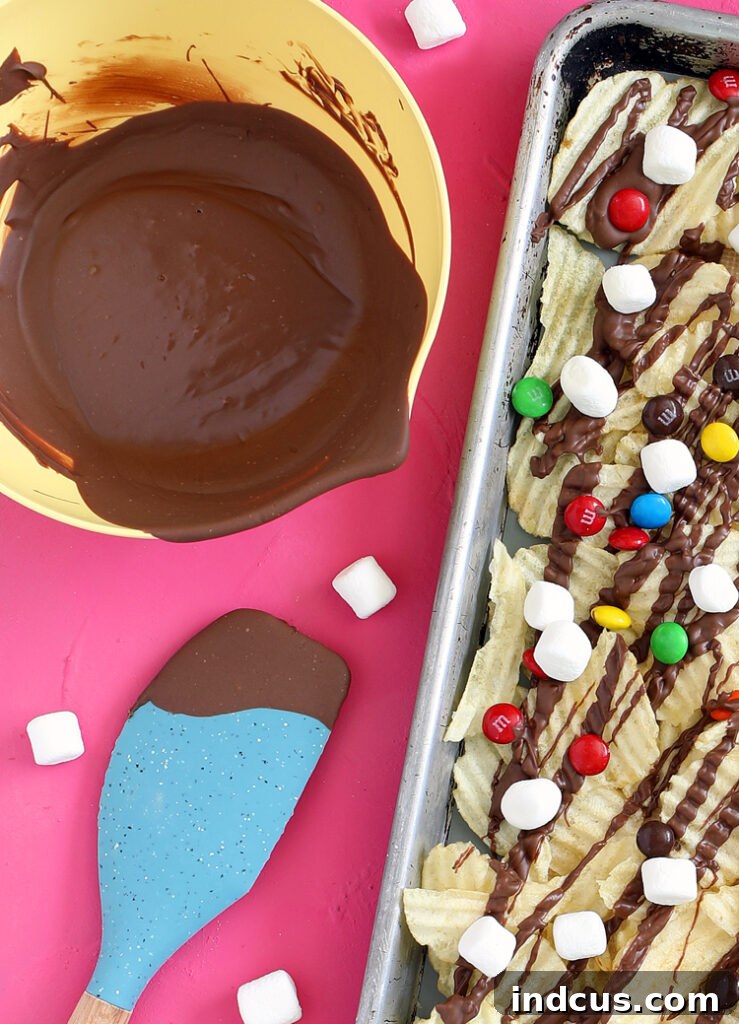
The foundation of this delectable snack is, of course, the potato chip. For the best results, choose a sturdy, plain potato chip, preferably with some ridges. Ruffled chips hold up well to the chocolate and provide excellent surface area for toppings. Lay out your chosen potato chips on a large cookie sheet or baking pan. The key here is to arrange them in a single, even layer. Think of it like making nachos: you want every chip to have direct access to the delicious toppings. If chips are piled too high, some will miss out on the chocolatey goodness and crunchy extras.
A large serving platter can also work beautifully, as there’s no baking involved. Just ensure your chosen surface is flat and wide enough to accommodate your chips without crowding. The type of chip matters too! While classic plain or lightly salted chips are ideal, you could experiment with kettle-cooked chips for an extra firm crunch, or even sweet potato chips for a different flavor profile, though be mindful of the salt content if they are heavily seasoned.
Choosing Your Chocolate: A Matter of Taste
The type of chocolate you use significantly influences the final taste of your treat. I often lean towards milk chocolate chips for their creamy texture and classic sweet flavor, which beautifully contrasts with the salty chips. However, the world of chocolate is vast and inviting:
- **Dark Chocolate:** If you’re a dark chocolate enthusiast, a semi-sweet or bittersweet chocolate would be fantastic, offering a more intense cocoa flavor that beautifully cuts through the richness of the chips.
- **White Chocolate:** For a sweeter, creamier option, white chocolate can create a stunning visual contrast, especially when paired with colorful toppings.
- **Chocolate Melts/Candy Melts:** These are designed for easy melting and hardening, often coming in various colors, making them excellent for themed treats.
- **High-Quality Chocolate Bars:** For a truly gourmet experience, chop up your favorite premium chocolate bar.
Whatever your preference, ensure you’re using good quality chocolate. The better the chocolate, the more delicious your sweet and salty chips will be.
Assembly and Serving: The Final Touches
Once your chocolate is perfectly melted and your chips are spread out, it’s time for the fun part: assembly! Drizzle the melted chocolate evenly over the single layer of potato chips. You can use a spoon, a fork, or even a piping bag with a small hole snipped off the corner for more control. Don’t worry about perfection; a rustic drizzle adds to the charm.
Immediately after drizzling the chocolate, sprinkle your chosen toppings generously over the chips. Work quickly, as the chocolate will start to set. The warmth of the melted chocolate will help the toppings adhere perfectly. Once all your chips are decorated, the only thing left to do is let the chocolate cool and harden. There’s absolutely no baking required! You can let them set at room temperature, which usually takes about 30-60 minutes, or pop the cookie sheet into the refrigerator for 15-20 minutes to speed up the process.
Once the chocolate is firm, your irresistible sweet and salty potato chips are ready to be served! Break them into individual pieces and arrange them on a platter. They are best enjoyed fresh, but leftovers can be stored in an airtight container at room temperature for up to 3-4 days, though they seldom last that long!
The Ultimate Chocolate Covered Potato Chips Recipe
Chocolate Covered Potato Chips
The perfect sweet and salty treat that’s incredibly easy to make and customize!
Ingredients
- 1/2 bag (approximately 5-6 oz) ruffled plain potato chips
- 1 cup chocolate chips (milk, dark, or semi-sweet)
- 10 ounces M&M’s, or other preferred small candies/toppings (approximately)
- 1 cup miniature marshmallows, or other preferred topping (approximately)
Instructions
- Carefully melt chocolate chips in a microwave-safe bowl. Heat in 30-second intervals, stirring well after each, until smooth. Alternatively, use a double boiler method.
- Space the potato chips evenly on a large cookie sheet or serving platter, ensuring they are arranged in a single layer.
- Drizzle the melted chocolate evenly over the prepared chips, covering as much surface as possible.
- Immediately add your chosen toppings (M&M’s, marshmallows, nuts, sprinkles, etc.) while the chocolate is still wet, pressing gently if needed to help them adhere.
- Allow the chocolate to cool and harden completely at room temperature (about 30-60 minutes) or in the refrigerator (15-20 minutes).
- Once firm, break the chocolate-covered chips into individual pieces and serve. Store any leftovers in an airtight container.
Notes
Measurements are approximate, as this recipe is all about personal preference! Feel free to adjust quantities and add whatever toppings sound delicious to you. This recipe is super customizable and forgiving.
Did You Make This Sweet and Salty Masterpiece?
We’d love to see your creations! Share your delicious chocolate covered potato chips with us on Instagram @thecraftpatch and follow us on Pinterest for more inspiring recipes and DIY ideas!
Don’t let this amazing recipe slip away! Pin it now so you can easily find it later.