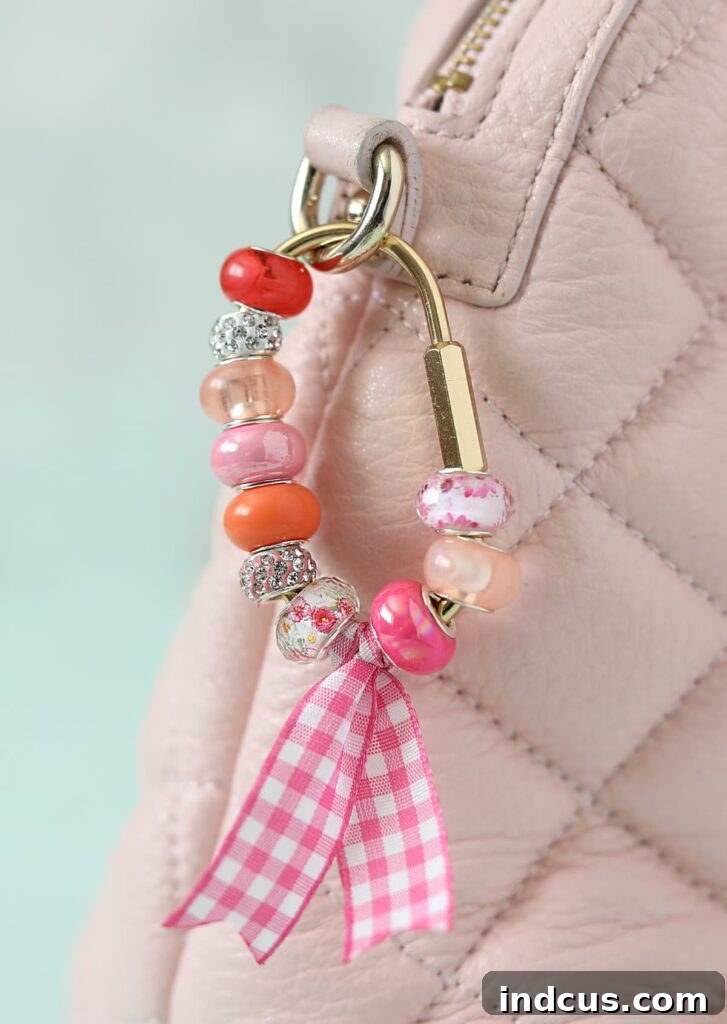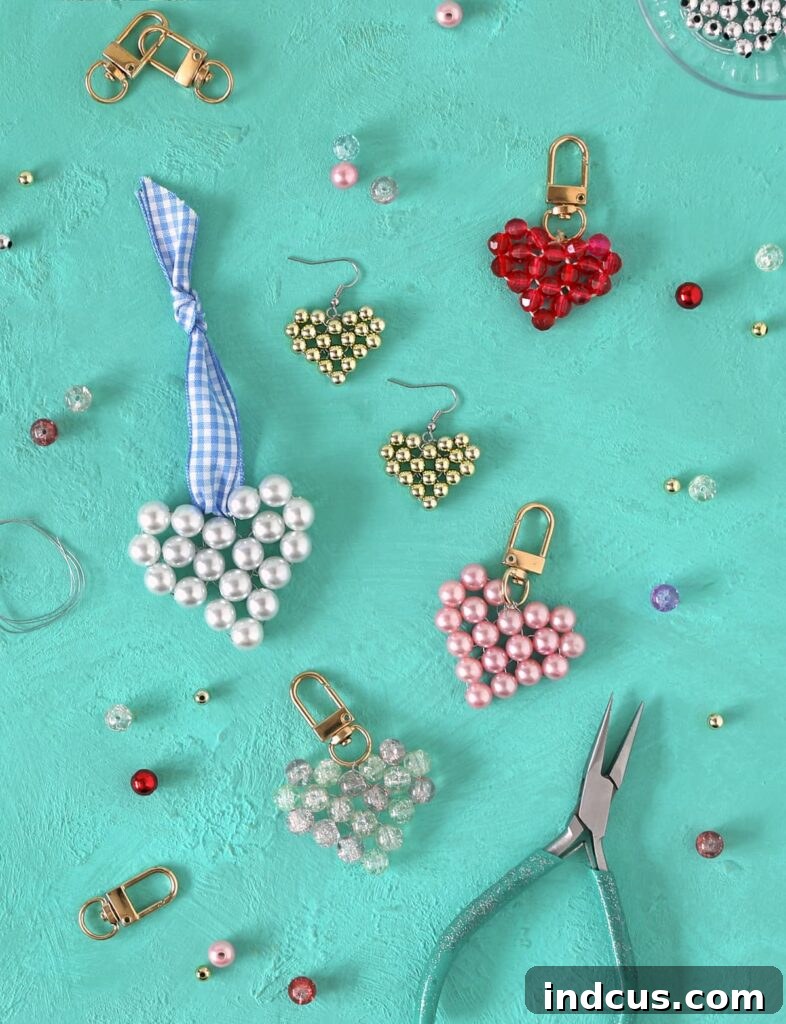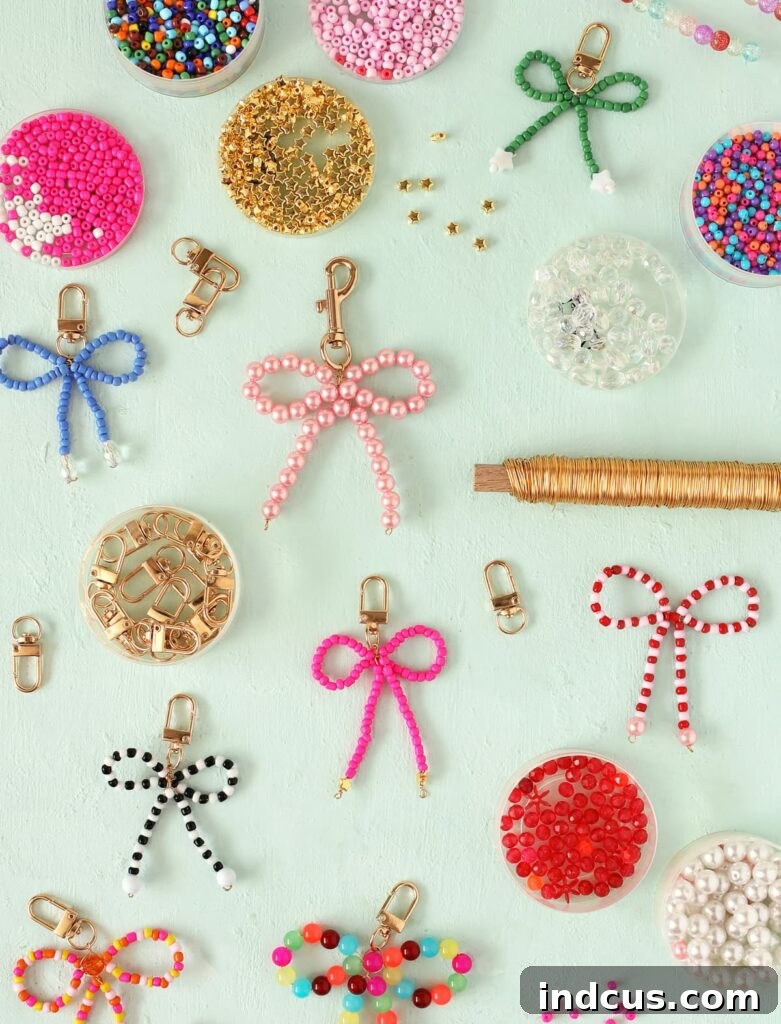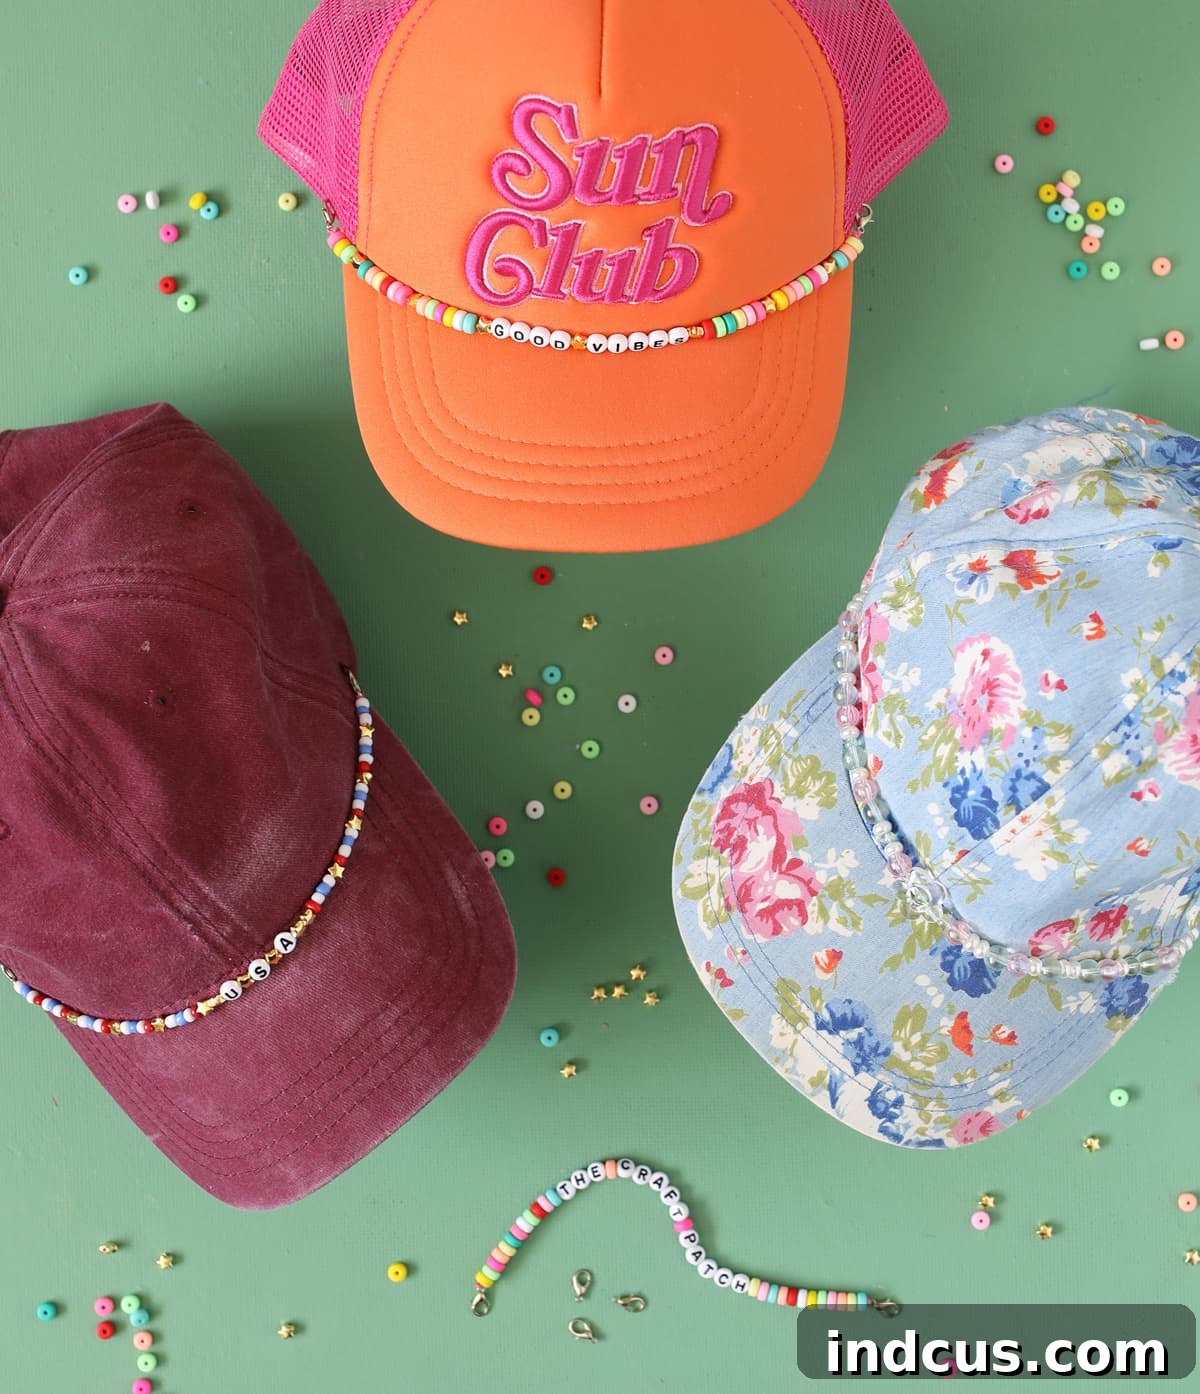
Learn how to make the cutest beaded hat charms to add a fun and unique personal touch to any baseball cap.
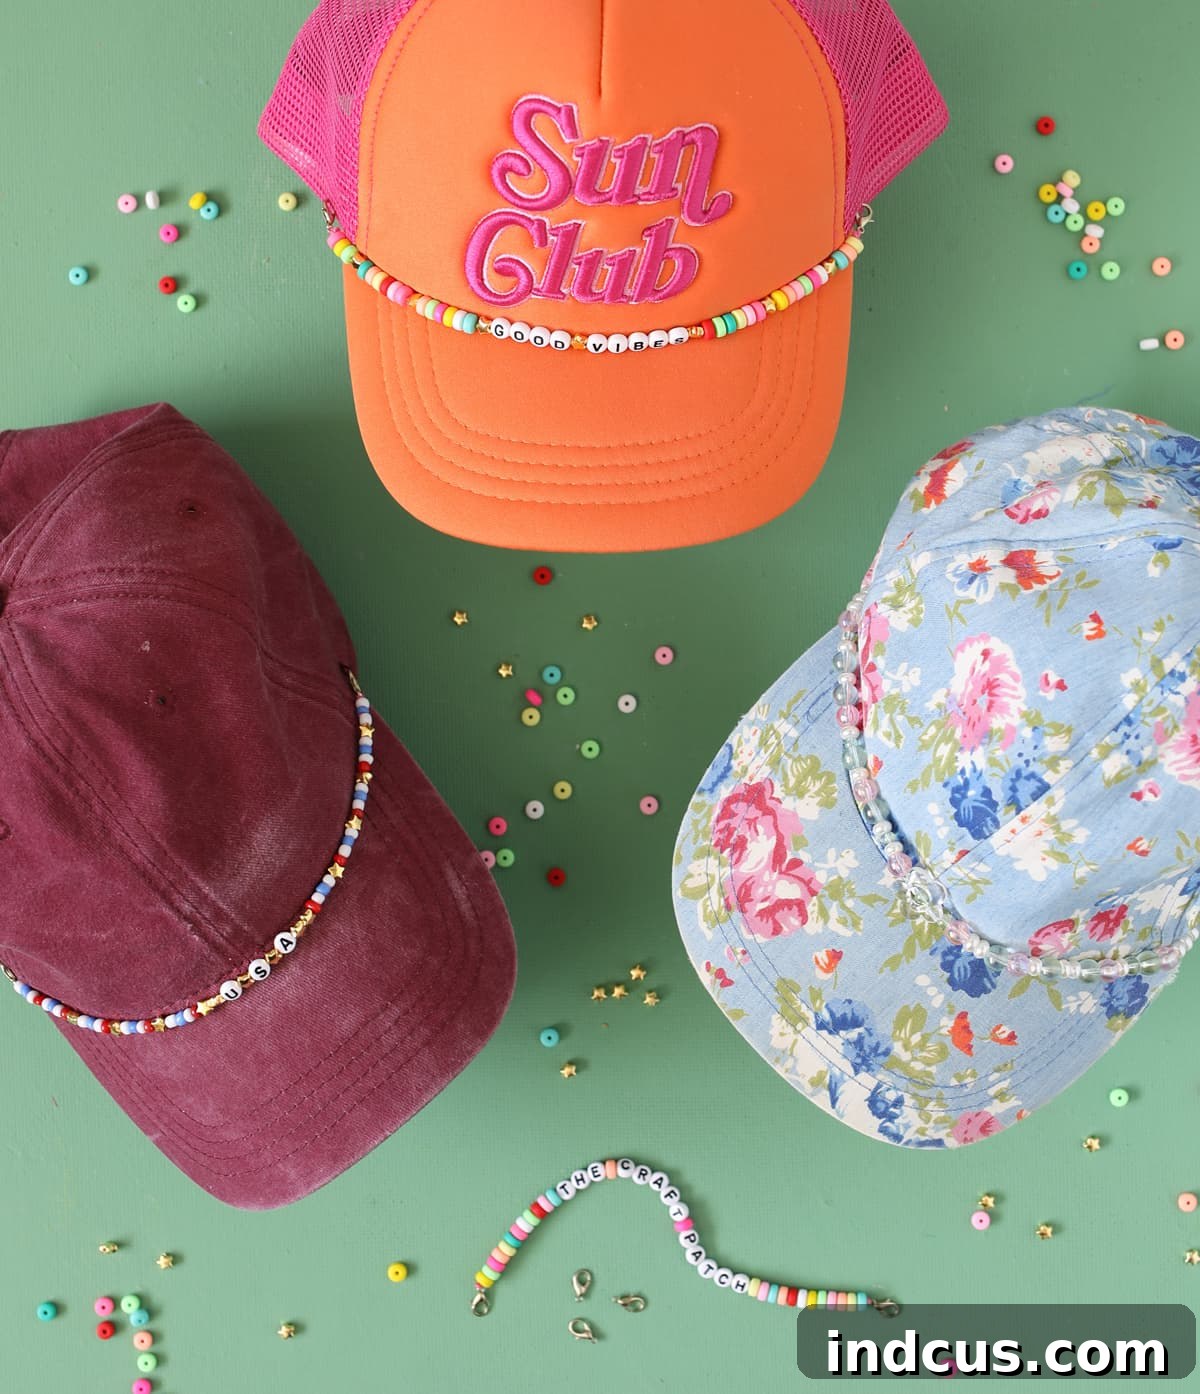
Today I’m sharing an easy, colorful craft: beaded hat charms you can clip onto any baseball cap. These charms are simply a string of beads finished with a small clasp, and they add instant personality and flair to plain hats. The project is quick, affordable, and highly customizable—perfect for gifting or making a small collection you can swap depending on your mood or outfit.
Below is a straightforward materials list and step-by-step instructions so you can make your own with confidence.
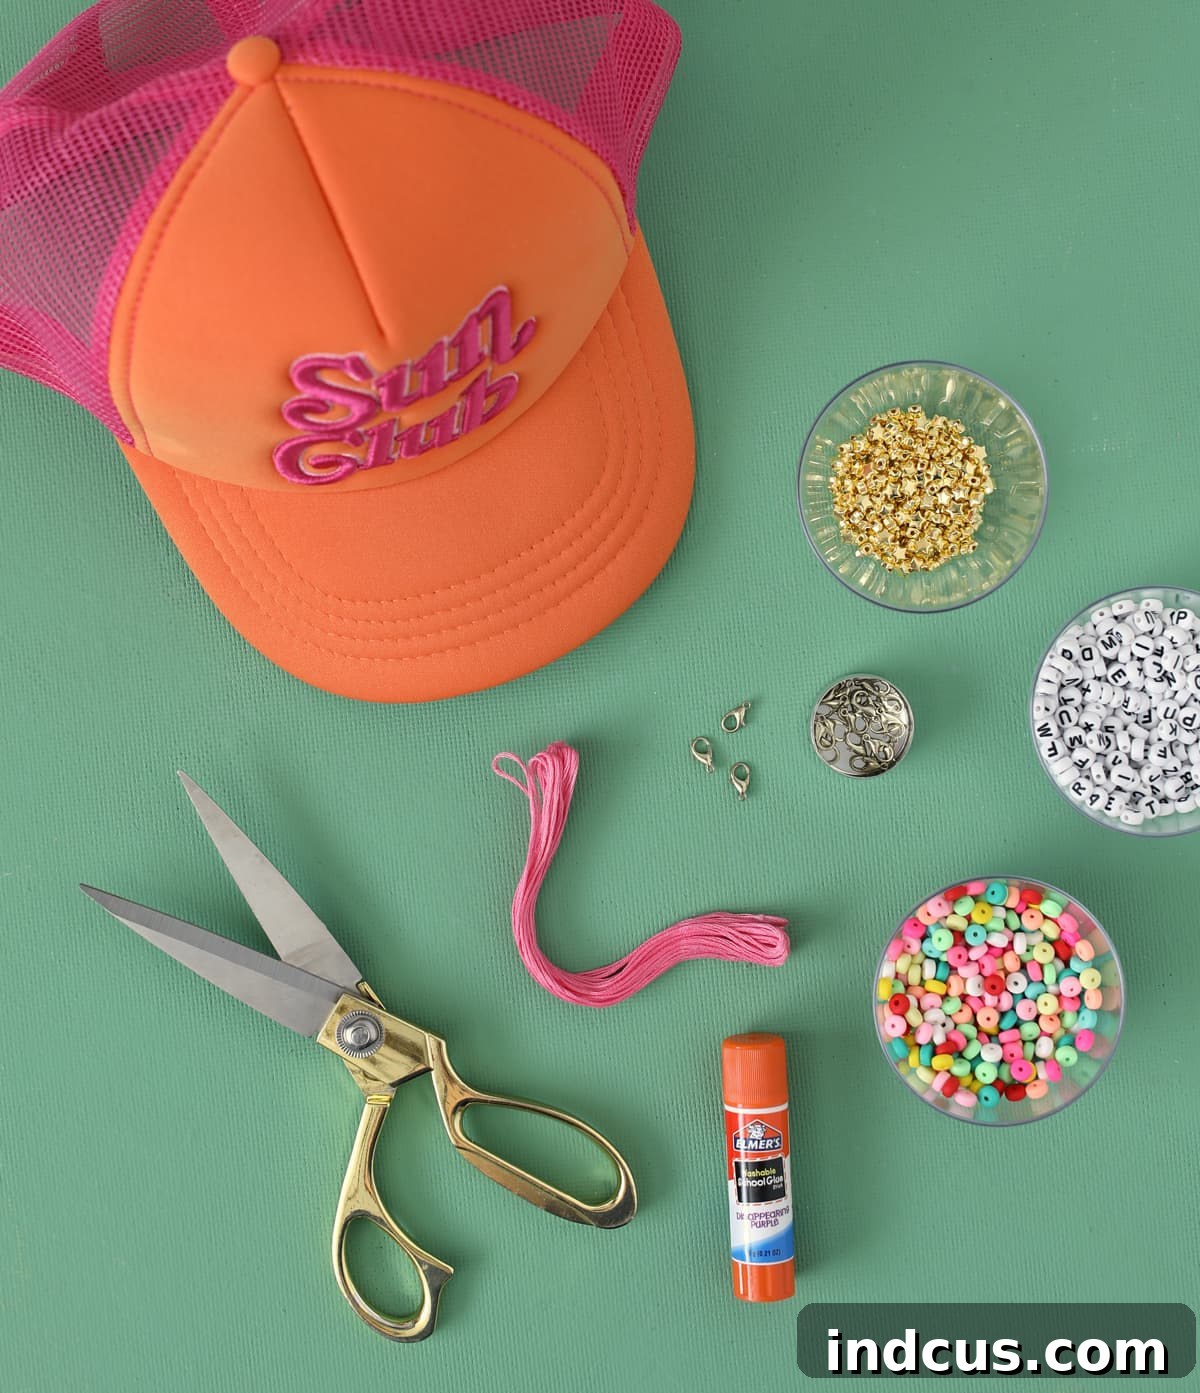
Materials Needed
- Baseball cap (any style; mesh-back trucker hats make attaching especially simple)
- Embroidery thread or thin cord in a coordinating color
- Small lobster jewelry clasps
- Beads of your choice:
- Colorful clay or acrylic beads
- Letter beads for personalization
- Accent beads like gold stars or pearls
- Glue stick
- Scissors
Instructions
Step 1: Prepare the thread so it will pass easily through beads. Measure the brim of your hat and add 6–8 extra inches for tying. Cut a length of embroidery thread or thin cord, then rub each end across the glue stick so the fibers bind together. Let the glue dry for about an hour—the stiffened ends act like a makeshift needle and prevent the strands from splitting while you string beads.
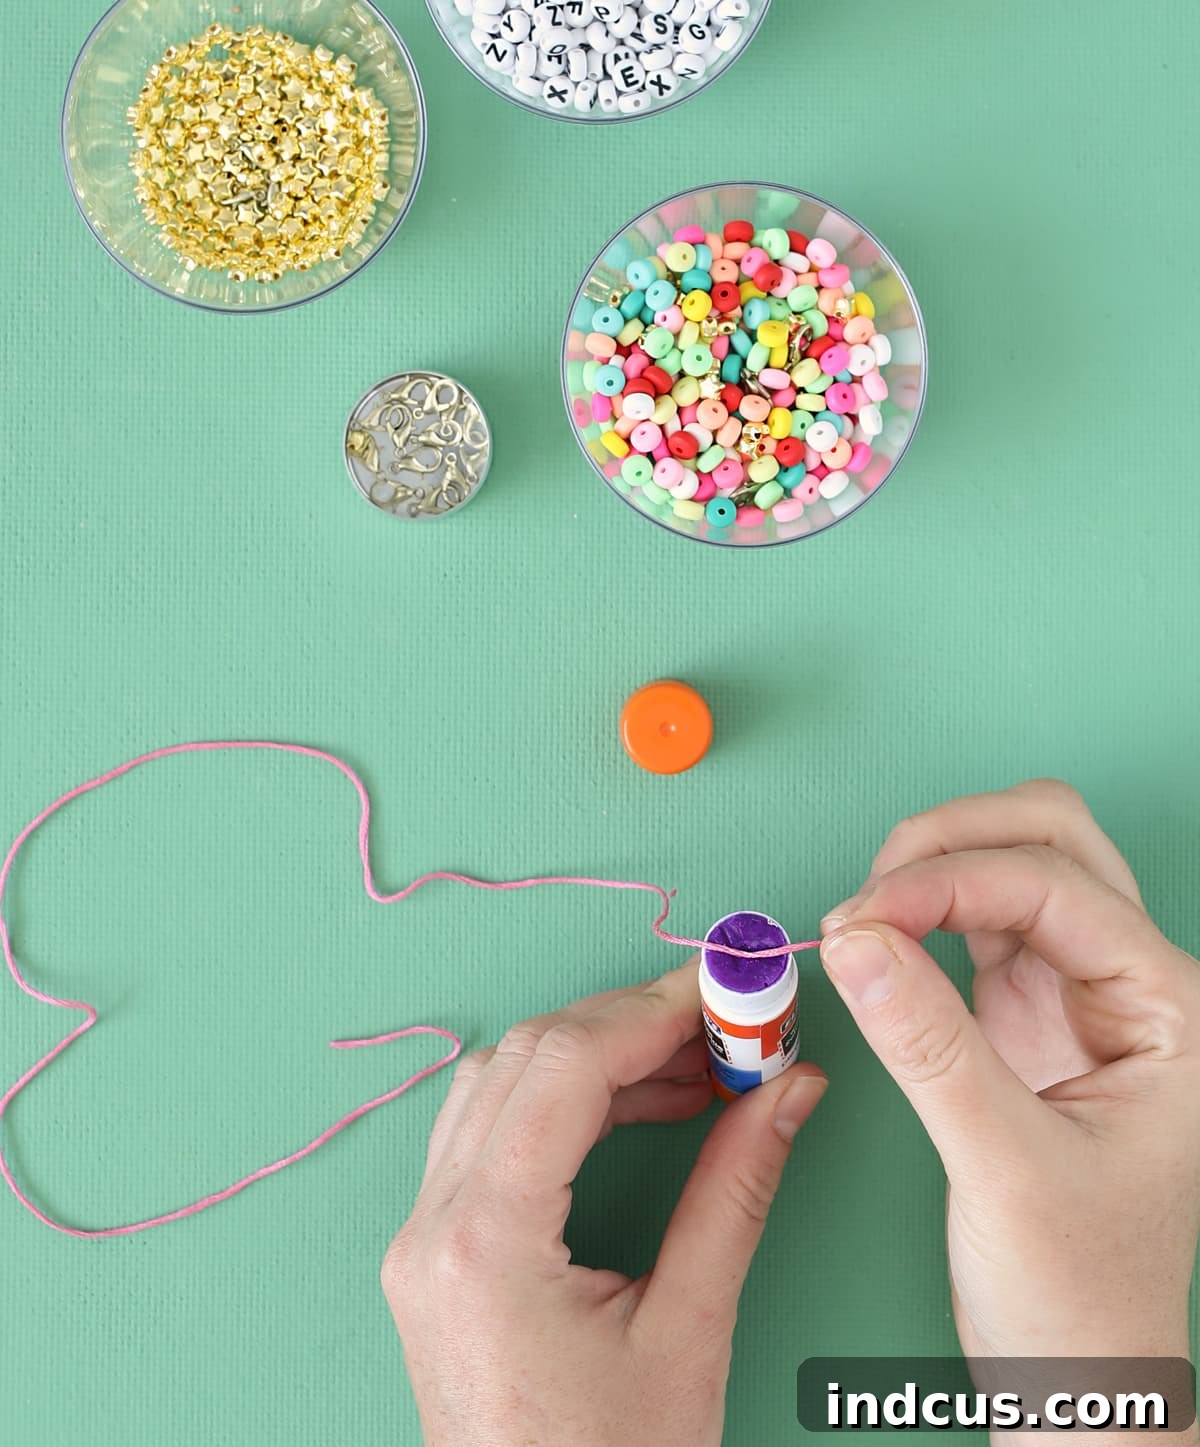
Step 2: String your beads onto the prepared thread. I like to choose a central focal bead or a word with letter beads and then work symmetrically outward so the charm looks balanced when worn.
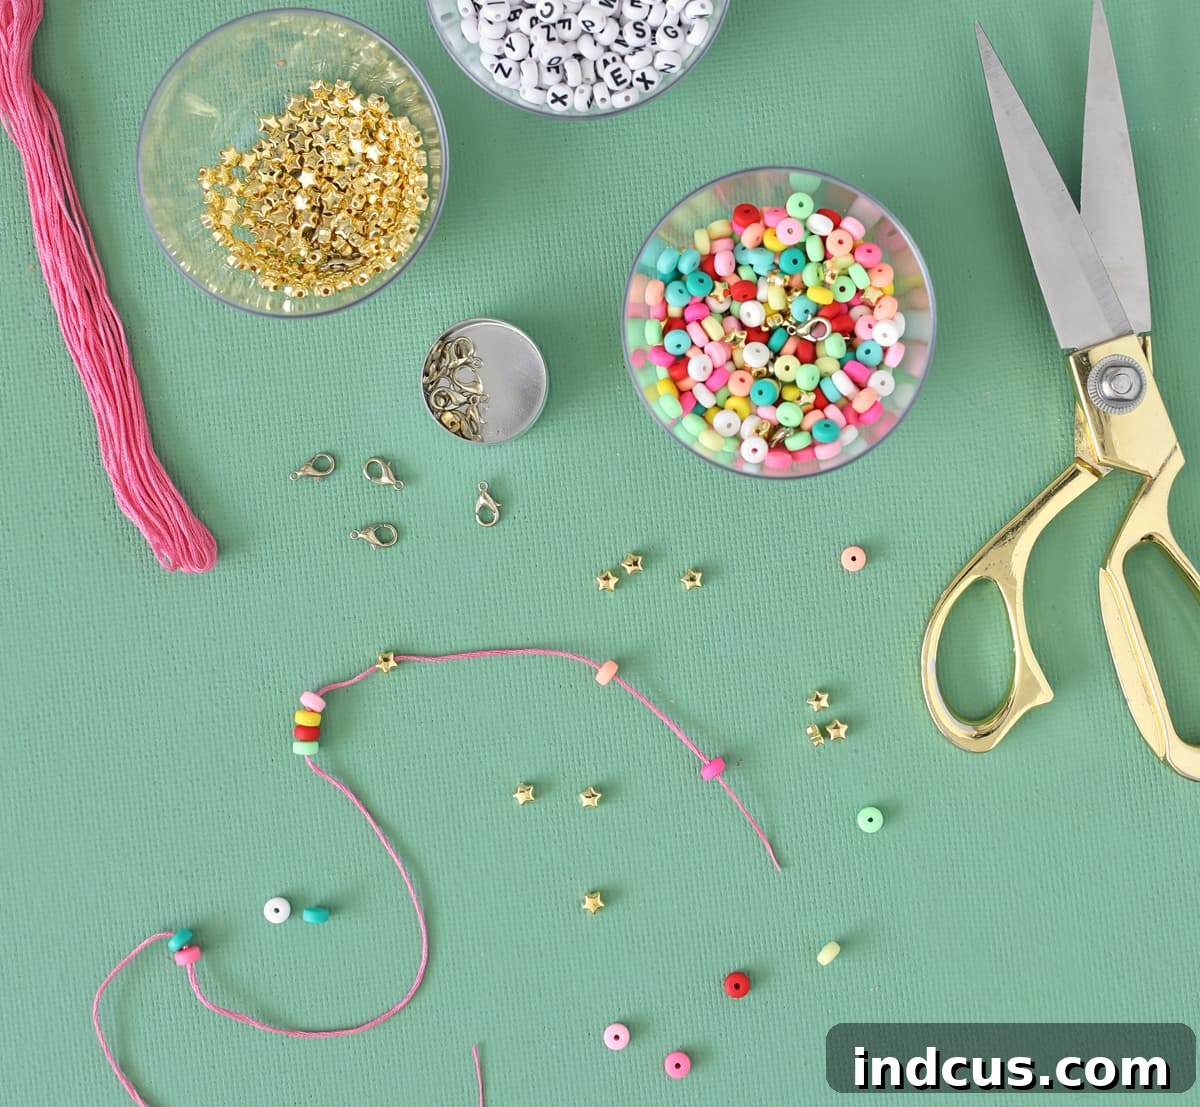
Step 3: When the beaded section reaches the length of the hat brim, finish both ends with lobster clasps. Tie a double knot at one end to secure a clasp, make sure beads are snug against one another, then tie a double knot and attach the second clasp.
Step 4: For a neat finish, thread the tail back through three or four nearby beads and trim any excess thread close to the beads so knots are hidden and secure.
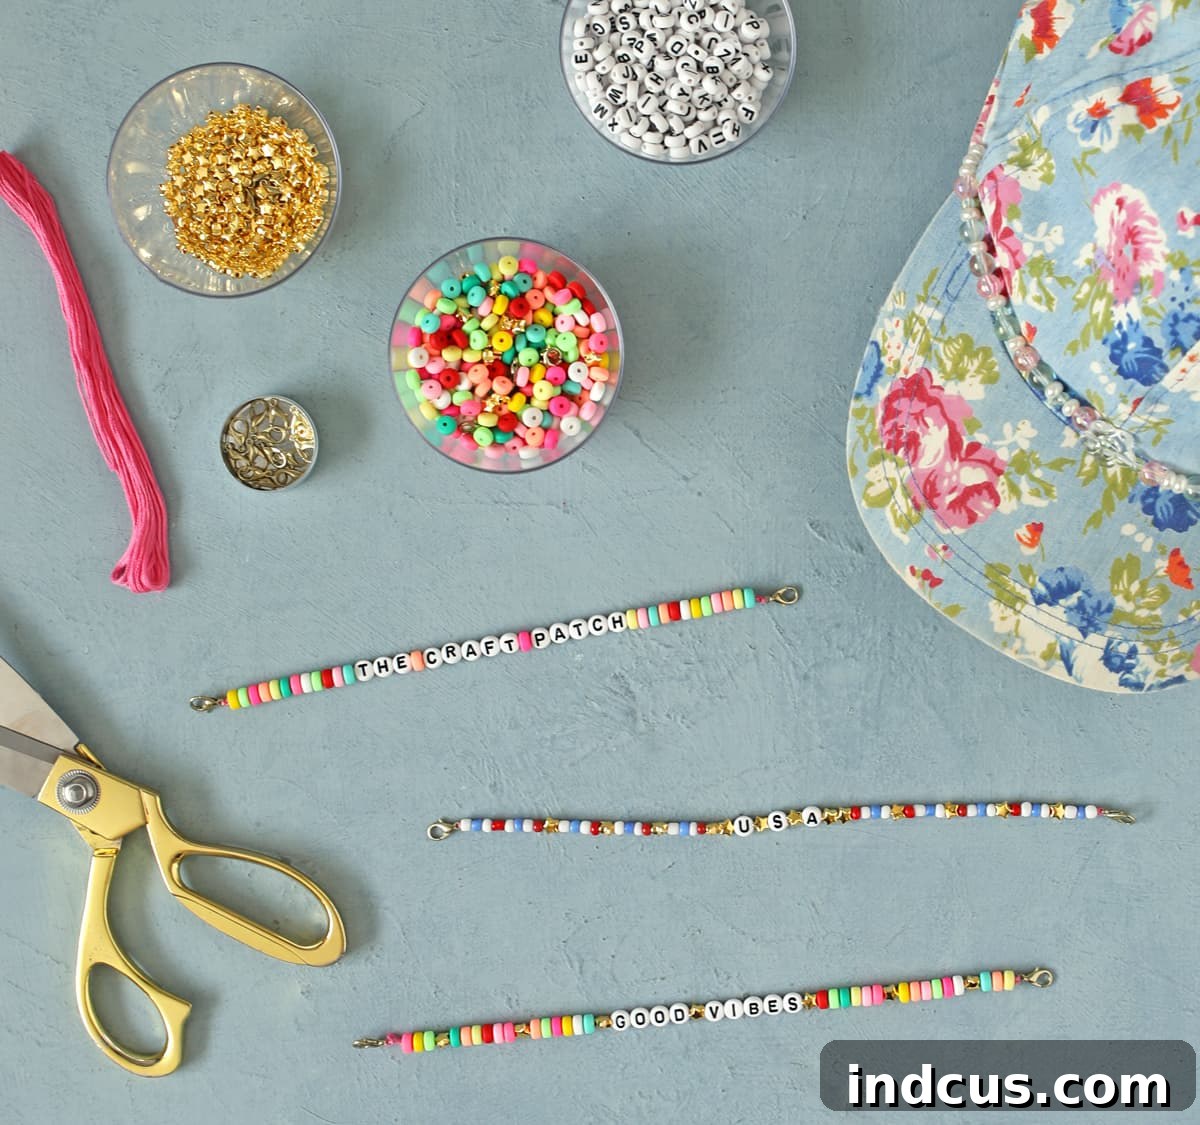
Step 5 (for mesh-back caps): Open the lobster clasp and hook it through the mesh at the edge of the brim. The clasp will hold securely and the charm will hang as a decorative accent.
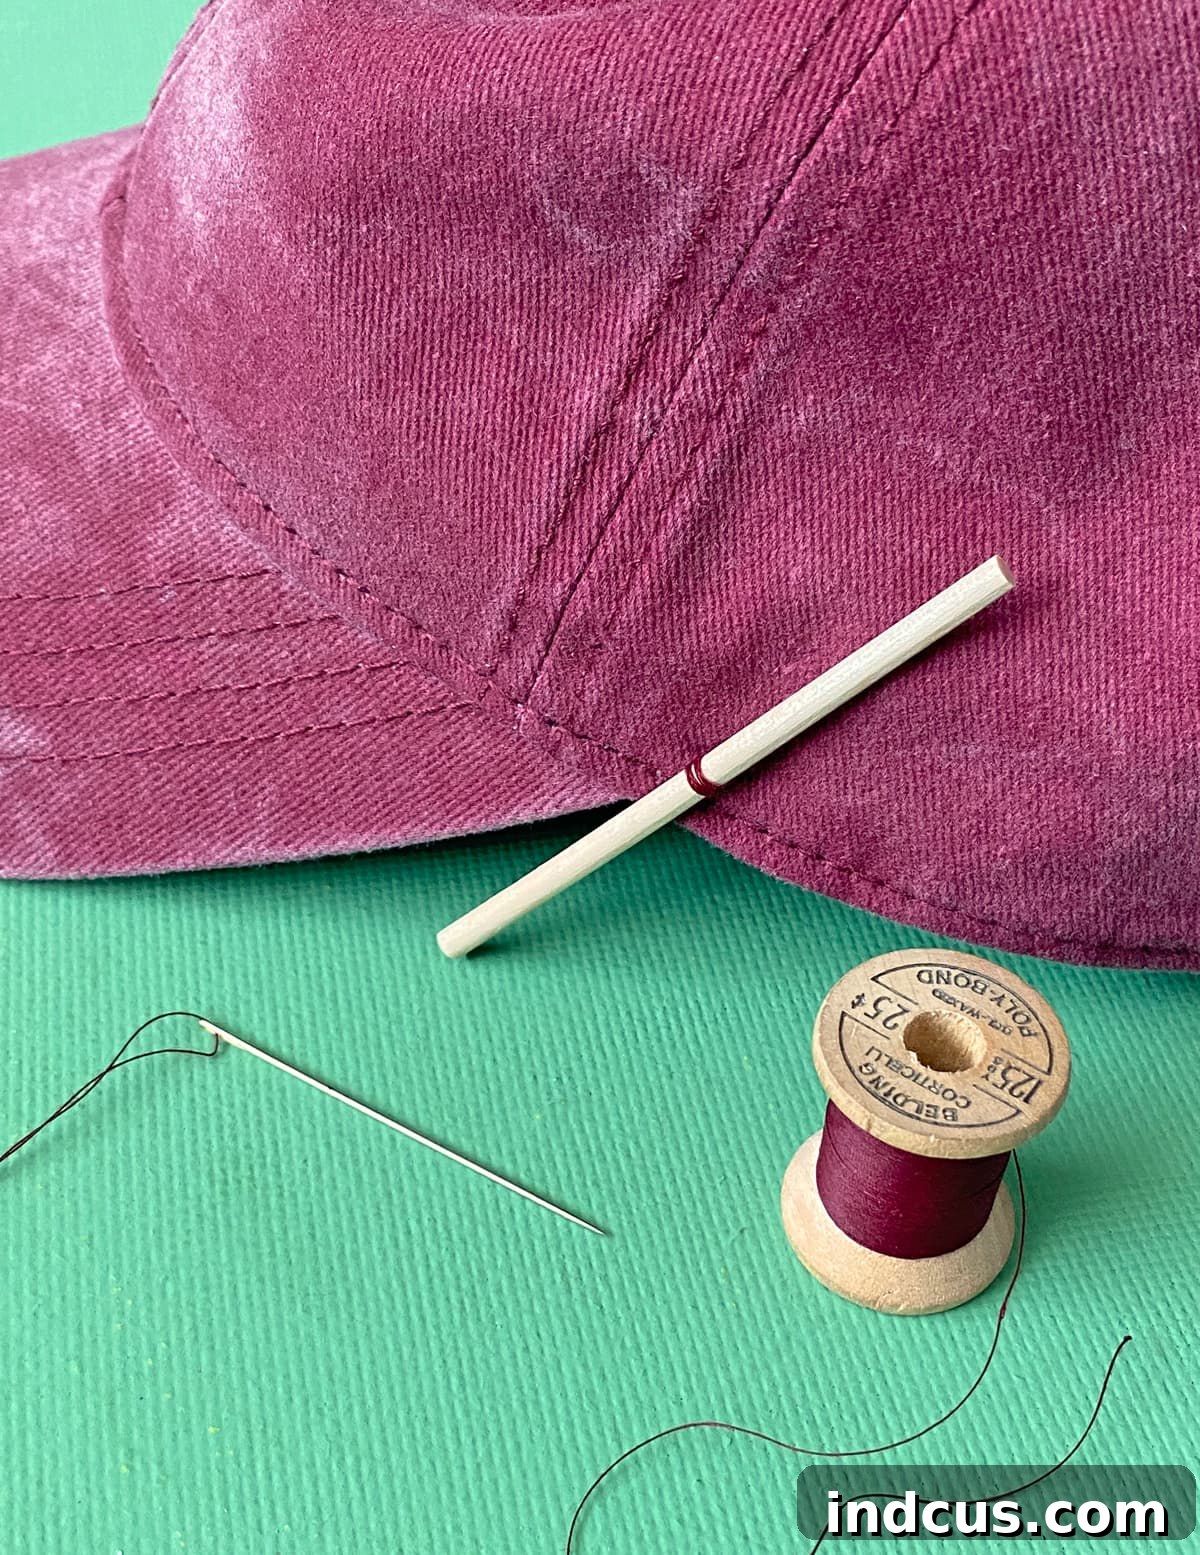
Step 6 (for all-fabric caps): Make a small thread loop to attach your charm. Use a length of matching embroidery floss or sewing thread and a sturdy needle. Poke up from the inside of the hat where you want the charm to sit, wrap the thread around a short dowel or small tube placed against the hat, then pass the needle back down through the same hole. Repeat a few times to build a strong loop, tie off on the inside, and remove the dowel. Slip the lobster clasp onto the loop to secure the charm.
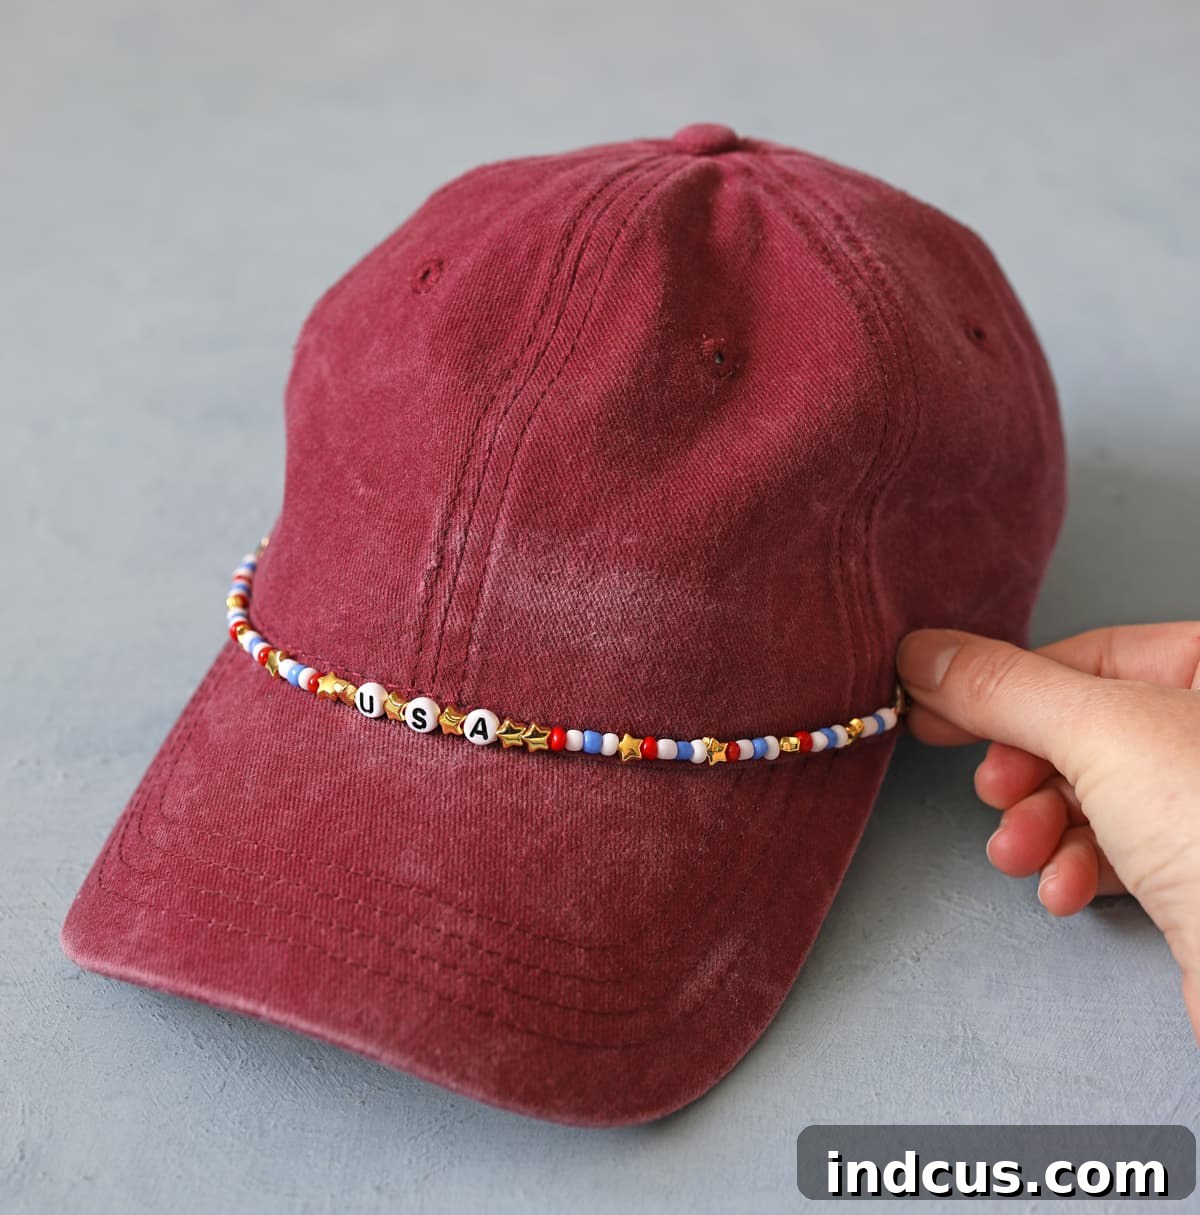
These charms are versatile—make a patriotic version for holidays, a sparkly feminine design with pearls and crystal-like beads, or a simple initialed charm using letter beads. You can also add dangly charms or tassels for extra movement. Making several allows you to switch styles quickly and keep your caps feeling fresh.
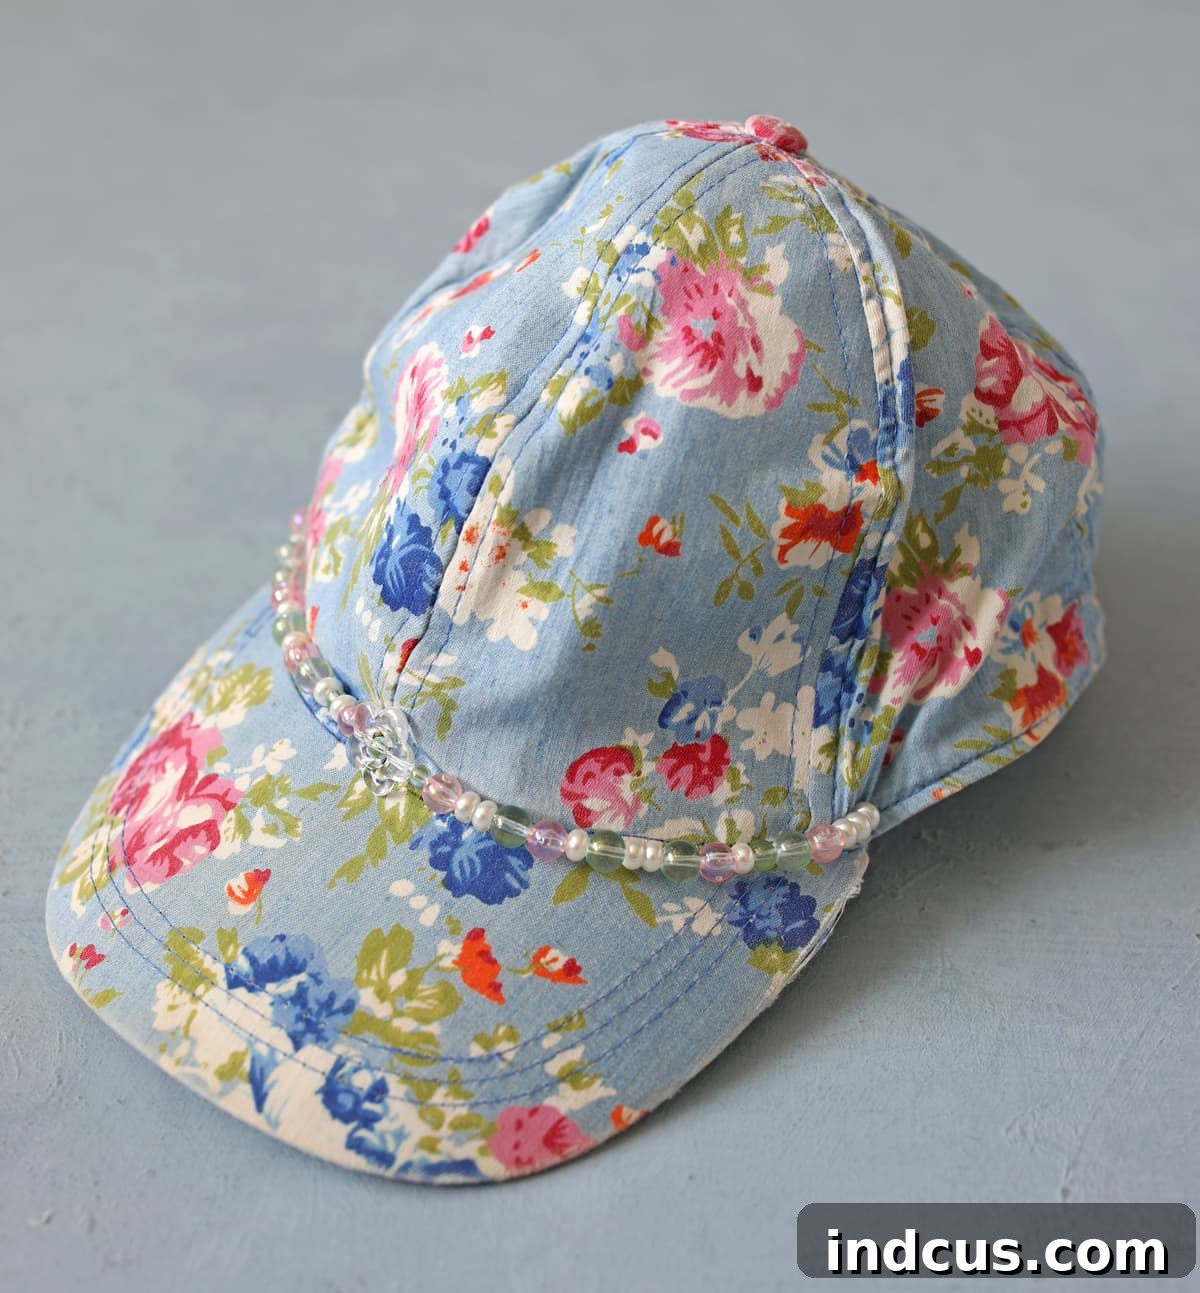
The project is forgiving and customizable—mix bead sizes, colors, and focal pieces to match your style or to create themed sets for gifting.
Beaded Hat Charms Video Tutorial
If you enjoy this idea, try making a few different styles and experiment with bead combinations—you’ll be surprised how many looks you can create from simple supplies.