
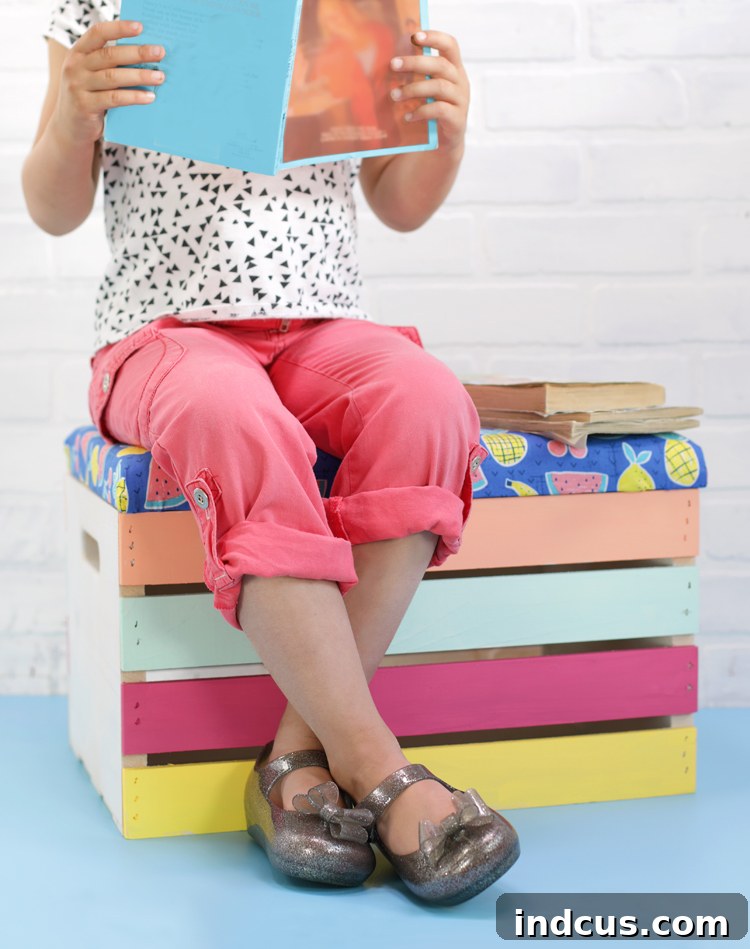
Transform a Simple Wooden Crate into a Stylish Upholstered Storage Seat
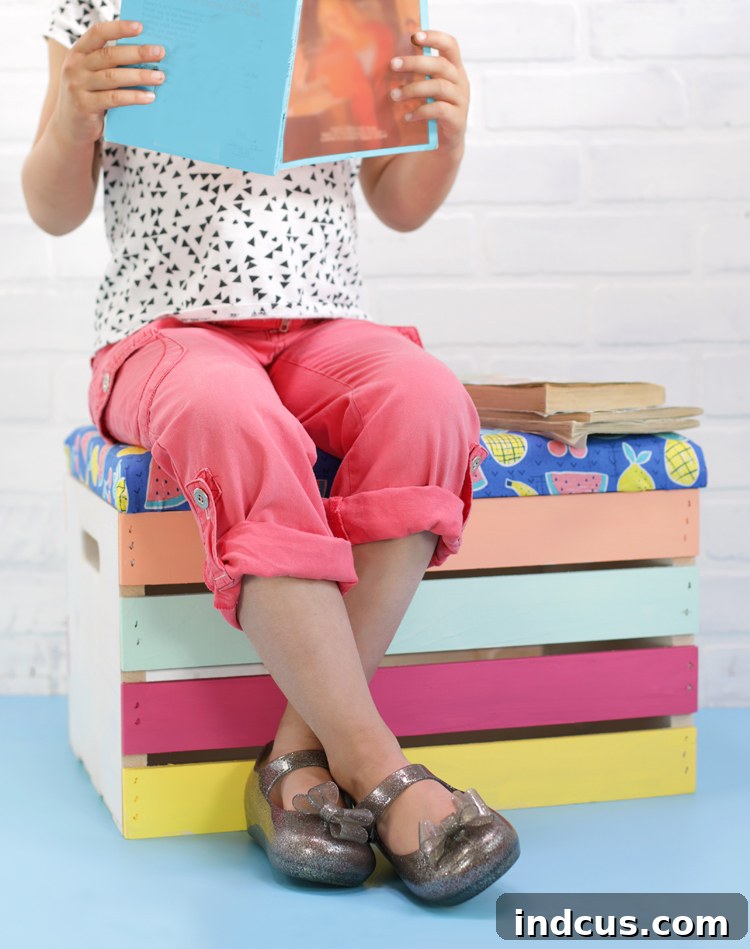
Are you searching for an ingenious way to add both style and functionality to your home without breaking the bank? Look no further! This comprehensive guide will walk you through the exciting process of transforming a basic wooden crate into a chic, upholstered storage seat – a true DIY furniture hack that combines practicality with personalized decor. Whether you need extra seating in a child’s room, a convenient spot to store blankets in the living area, or a smart organizational solution for your craft space, this project is remarkably versatile and surprisingly simple to achieve.
This fantastic project is proudly brought to you in partnership with Arrow Fastener, whose exceptional tools make DIY endeavors not just possible, but genuinely enjoyable. We’ll show you precisely how to craft a plush, upholstered lid designed to perfectly fit a standard wooden crate, instantly elevating its status from a simple container to a multi-purpose storage ottoman. These adorable and incredibly useful seats have become a favorite in my home. My kids adore having their own portable seating that they can easily move from room to room, and I love the discreet storage they provide for everything from books and small toys to cozy throws.
Essential Materials and Tools for Your Upholstered Crate Project
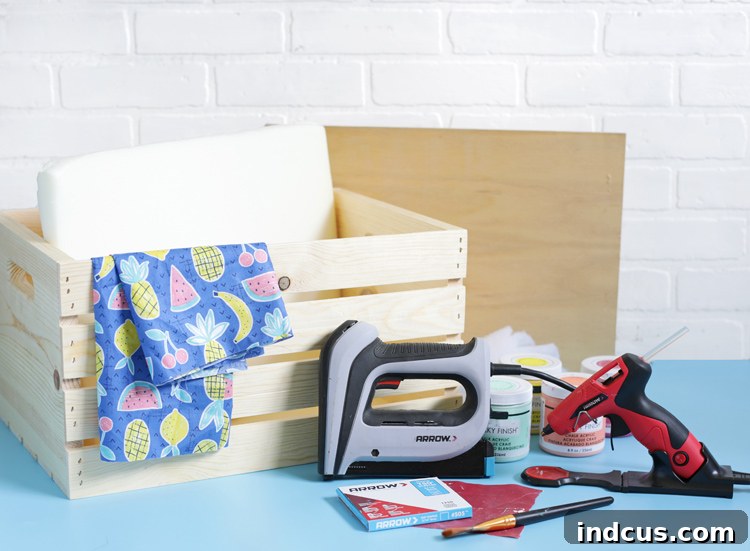
Gathering your supplies is the first exciting step toward creating your custom storage seat. Most of these items are readily available at craft stores, hardware stores, or online. Here’s what you’ll need:
- Wooden Crate: The foundation of our project. Available in various sizes at craft stores, home decor outlets, or even flea markets.
- Plywood: To create a sturdy, flat base for your upholstered lid. Aim for a thickness of at least 1/2 inch for durability.
- 1×1 Wood Strips + Nails (Optional but Recommended): These small strips will be used to create a lip on the underside of your lid, preventing it from sliding off the crate.
- Upholstery Foam: Provides the comfortable cushioning for your seat. Available in different densities and thicknesses; choose one that suits your desired comfort level.
- Batting: Adds an extra layer of softness and helps smooth out the edges of the foam, giving your upholstery a professional finish.
- Fabric: The decorative element that allows for endless customization. Select a durable, appealing fabric that complements your home decor. Upholstery fabric is ideal for wear and tear.
- Arrow GT12M MiniPlus Glue Gun: An indispensable tool for securing the foam to the plywood base.
- Arrow T50ACD Compact Electric Staple Gun: The hero for all your upholstery needs, making stapling quick and effortless.
- Arrow Glue Sticks: High-quality glue sticks for reliable adhesion.
- Arrow Staples: The correct size and type of staples for your electric staple gun.
- Sandpaper: Various grits (e.g., 120-grit and 220-grit) for smoothing rough wooden surfaces.
- Paint or Wood Stain: To customize the look of your wooden crate.
- Paintbrush: For applying paint or stain evenly.
Finding a pre-made wooden crate is typically straightforward, with most craft stores stocking a variety of sizes and styles. While crafting a crate from scratch is certainly an option for experienced woodworkers, the convenience and affordability of a ready-made crate – often available for under $10 during sales – make it a highly practical choice for this DIY project.
Step 1: Preparing and Personalizing Your Wooden Crate
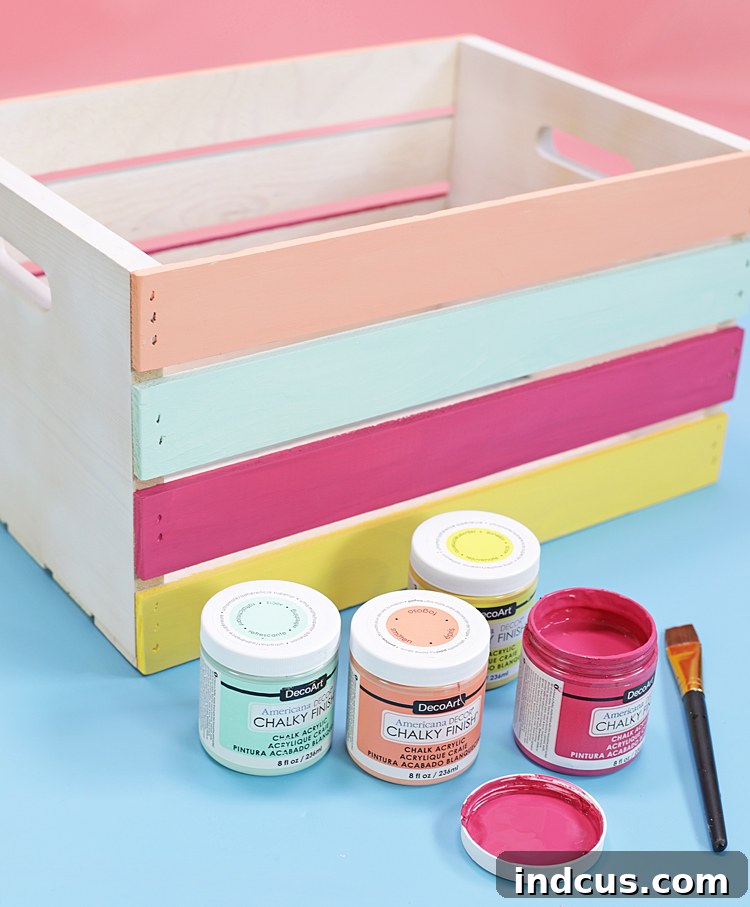
Before diving into the upholstery, let’s give our wooden crate a fabulous makeover. Depending on the initial condition of your crate, you may find some rough patches or splintered edges. Take the time to meticulously sand these areas using medium-grit sandpaper (around 120-grit) followed by fine-grit sandpaper (220-grit) for a silky-smooth finish. This step is crucial not only for safety, preventing splinters, but also for ensuring that any paint or stain adheres beautifully and evenly, resulting in a professional-looking end product.
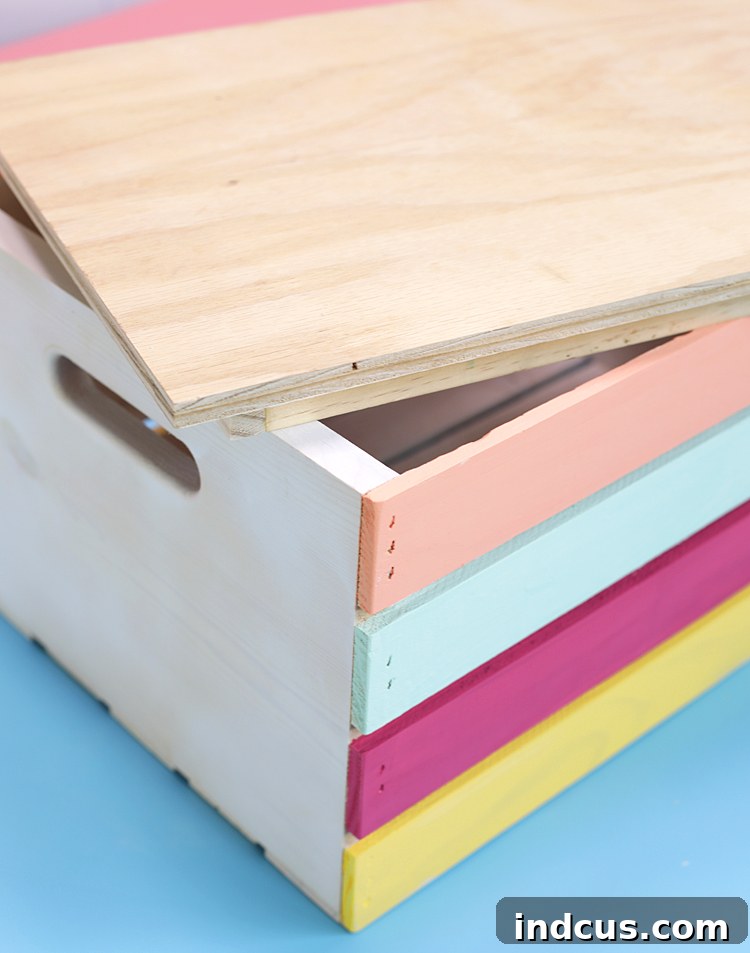
Once your crate’s surface is impeccably smooth and dust-free, it’s time to unleash your creativity with paint or stain. The possibilities are endless! You can opt for a rustic wood stain to highlight the natural grain, choose a vibrant paint color to make a bold statement, or even go for a distressed, shabby chic look. For my project, I chose several complementary shades of chalk paint. Chalk paint is fantastic because it offers excellent coverage and a matte finish, perfect for achieving that charming vintage aesthetic. By coordinating the paint colors with the fabric I selected for the upholstered top, I ensured a cohesive and stylish final design.
Step 2: Crafting the Perfect Lid Base for Your Storage Seat
The next pivotal step involves creating a sturdy plywood base for your upholstered lid. Begin by accurately measuring the outer dimensions of your wooden crate’s top. Precision is key here; you want the plywood to sit flush with the crate’s edges without any overhang or gaps. Carefully transfer these measurements to your plywood sheet and use a saw (a jigsaw or circular saw works well) to cut out the square or rectangular piece. Always remember to prioritize safety when operating power tools, wearing appropriate eye and hand protection.
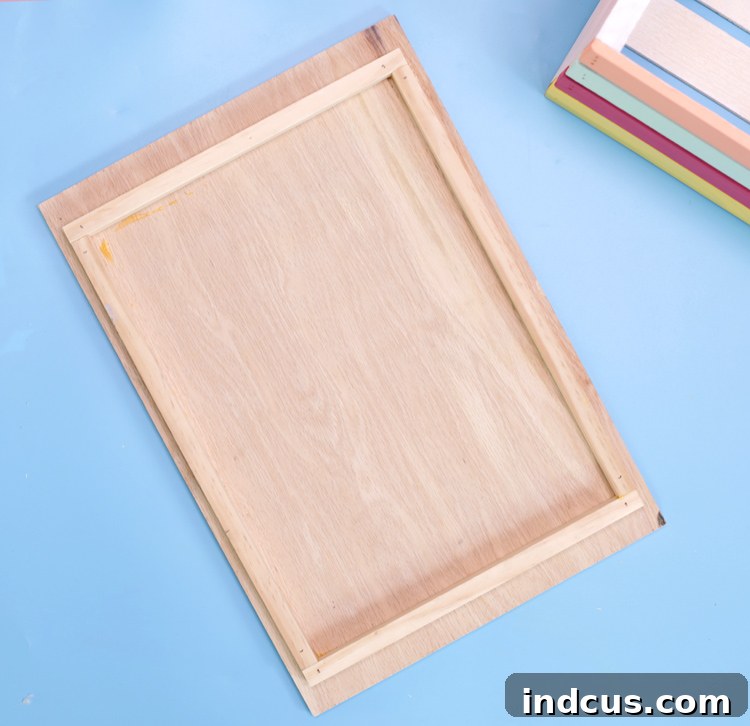
Now, let’s talk about an optional, yet highly recommended, enhancement: adding 1×1 wood strips to the underside of the lid. While this step might seem like an extra complication, it significantly improves the stability and safety of your storage seat, especially if little ones will be using it. These strips create a small lip or ledge that nestles inside the crate’s opening, effectively preventing the upholstered lid from sliding off when someone sits on it or moves the crate. To do this, measure the inside dimensions of your crate’s opening. Cut four pieces of 1×1 wood strips to fit snugly along the inner perimeter of your plywood lid base. Secure these strips to the underside of the plywood using small nails or wood screws, ensuring they are positioned to create a snug fit when the lid is placed on the crate. While technically optional, the added stability and peace of mind these strips provide make them a worthwhile inclusion for a truly robust and child-friendly upholstered storage solution.
Step 3: Attaching the Upholstery Foam with Precision
With your lid base ready, it’s time to add the plush comfort of upholstery foam. Cut your chosen foam to the exact dimensions of your plywood lid. A sharp utility knife or even an electric carving knife can make this task easier, ensuring clean, straight edges. This foam layer is what will make your storage seat incredibly comfortable and inviting.
For this crucial step, you’ll reach for your Arrow GT12M MiniPlus Glue Gun. Seriously, if you don’t already own this glue gun, prepare to be impressed! It stands out from the competition for several reasons. Unlike many frustrating glue guns that drip constantly and create a mess, the Arrow GT12M boasts a superior no-drip nozzle, keeping your workspace tidy. Its innovative design allows it to be used both with and without its stand; simply detach it for up to five minutes of cordless operation, offering unparalleled freedom and maneuverability for intricate gluing tasks. This cordless capability is a game-changer, allowing you to easily move around your project without the hassle of a power cord getting in the way. Its quick heating time and consistent glue flow ensure strong, reliable bonds. Apply a generous, even layer of hot glue to the top surface of your plywood lid, working in sections if necessary. Then, carefully align and firmly press the upholstery foam onto the glued surface, ensuring full contact and adhesion. Allow the glue to set completely before moving on.
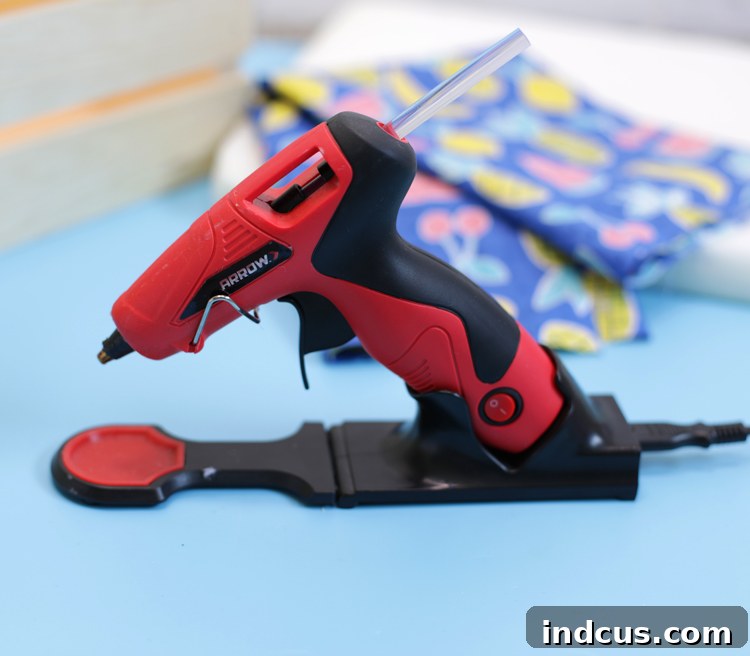
The reliability and ease of use of Arrow Fastener tools significantly enhance the DIY experience. The GT12M MiniPlus Glue Gun, with its intelligent design, transforms what could be a messy, frustrating step into a quick, clean, and efficient process. Trust me, investing in quality tools like this one makes all the difference in achieving professional-looking results with minimal effort.
Step 4: The Upholstery Process – Batting, Fabric, and Stapling
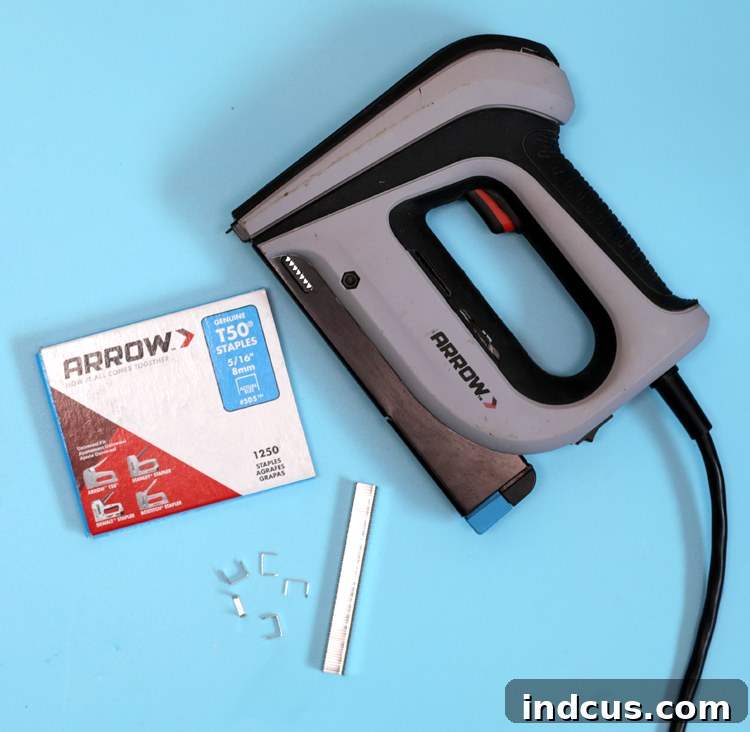
Now for the main event: upholstering your seat! While a classic Arrow T-50 Manual Staple Gun would certainly get the job done, I highly recommend upgrading to the Arrow T50ACD Compact Electric Staple Gun. This tool is a true game-changer for upholstery projects. Its electric power eliminates the strain and fatigue associated with manual staplers, allowing you to work faster, easier, and with far less effort. Loading is a breeze: simply open the bottom chamber, drop in a strip of Arrow staples, and clip it securely back into place. Its ergonomic design ensures comfortable handling, even during extended use, making it ideal for both beginners and seasoned DIY enthusiasts.
To begin upholstering, clear a large, flat, and clean work surface. Lay your chosen fabric right side down, ensuring it’s centered and large enough to completely wrap around the foam and plywood base with several inches to spare on each side. Next, place a layer of batting on top of the fabric. The batting serves a dual purpose: it adds an extra touch of softness and, more importantly, it helps to smooth out any potential imperfections or lumps from the foam edges, giving your upholstered piece a more refined and finished appearance. Finally, place your foam-side-down lid on top of the batting, ensuring everything is perfectly centered.
Using your Arrow T50ACD Electric Staple Gun, begin securing the fabric to the underside of the plywood lid. Start by stapling the centers of each of the four sides. As you work your way around, constantly pull the fabric taut and smooth it out, removing any wrinkles or slack. This consistent tension is vital for a firm, professional-looking upholstered finish. Work from the center outwards, stapling approximately every 1-2 inches. Don’t worry if you don’t get it perfect on the first try – one of the beauties of upholstery is that staples can usually be carefully removed, allowing you to readjust the fabric and try again until you achieve the desired smoothness.
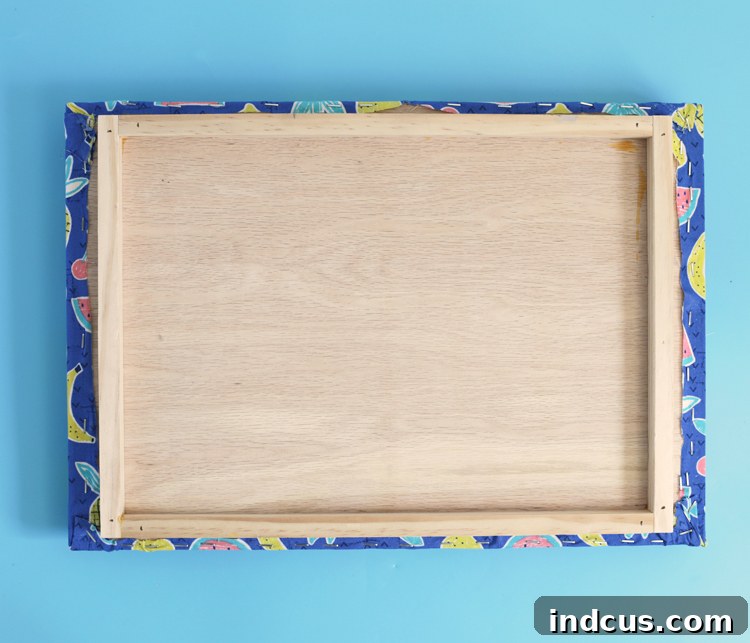
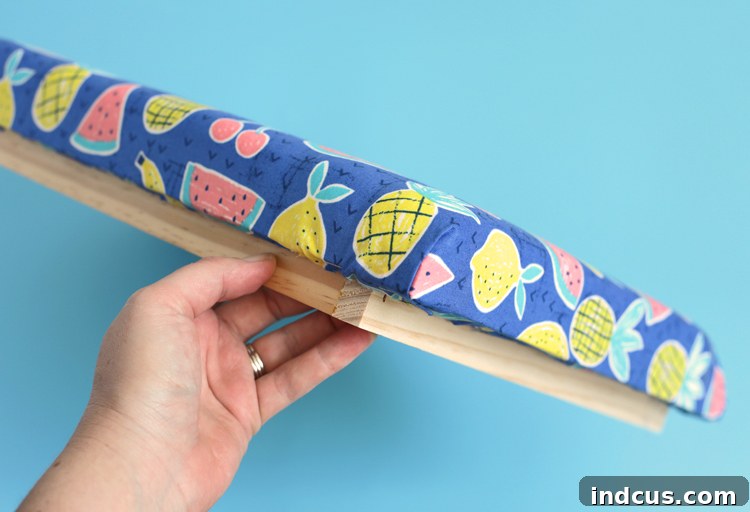
Once the main sides are securely stapled, it’s time to tackle the corners – often the trickiest part of any upholstery project. The key to neat corners is a smooth pleat. Begin by pulling one side of the fabric firmly down and around the corner edge, securing it with a few staples. Then, take the adjacent side of the fabric and fold it over, creating a crisp, smooth pleat directly at the corner point. Tuck any excess fabric neatly and secure it with additional staples. The goal is to minimize bulk and create a clean, tailored finish. Take your time with each corner, adjusting and stapling until you are satisfied with the result.
Step 5: Finishing Touches and Enjoying Your New Storage Seat
With all the fabric securely stapled in place, the penultimate step is to trim off any excess fabric from the underside of the lid. Use sharp scissors to cut close to the staples, ensuring a neat and tidy finish that won’t fray or interfere when placing the lid on the crate. This final trim adds to the professional appearance of your DIY storage seat.
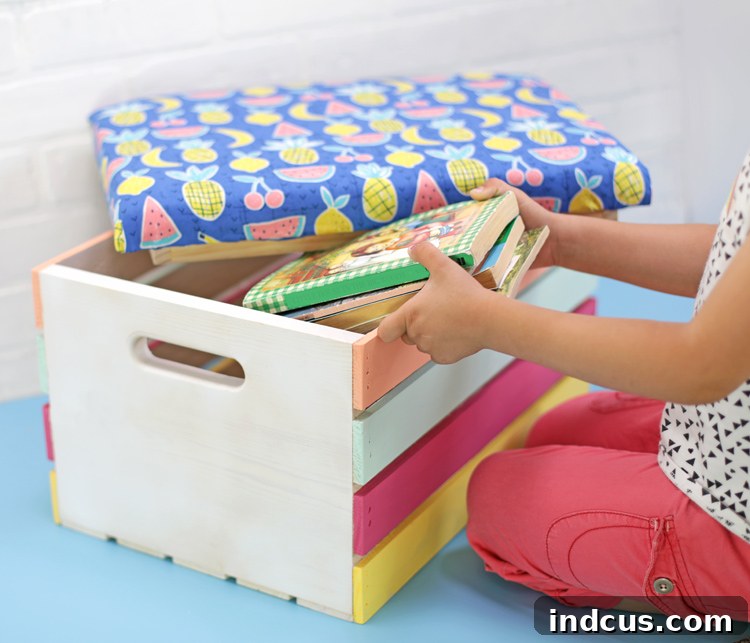
And just like that, you’re done! Place your beautifully upholstered lid onto your personalized wooden crate, and step back to admire your handiwork. You’ve successfully transformed a humble crate into a versatile, comfortable, and stylish piece of furniture that offers both extra seating and valuable storage. This upholstered storage seat is not only a testament to your DIY skills but also a functional addition that can enhance the decor and organization of any room in your home.
Upholstered Wood Crate Storage Seat Video Tutorial
For those who prefer visual guidance, this video tutorial provides a step-by-step walkthrough of the entire process, demonstrating each technique in detail. Watch and learn how easy it is to create your very own upholstered storage seat with the right tools and a little creativity!
This insightful post was made possible through a collaboration with Arrow Fastener. All opinions expressed are genuinely my own and reflect my positive experience with their outstanding range of tools.







