
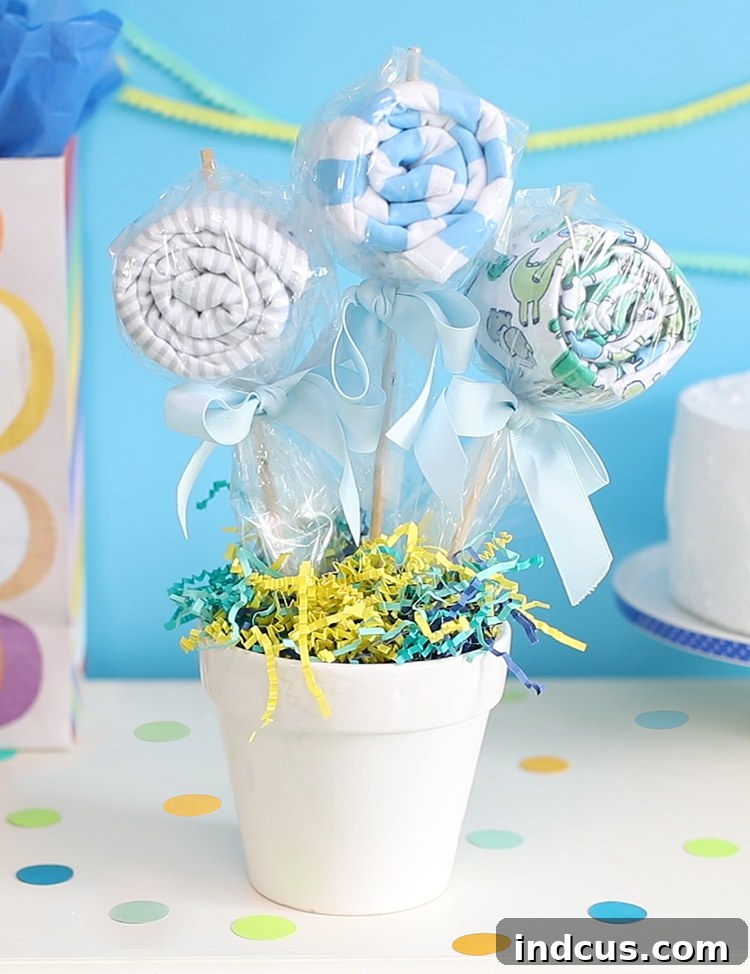
Craft the Perfect Baby Shower Gift: A DIY Burp Cloth or Receiving Blanket Bouquet That Doubles as Decor!
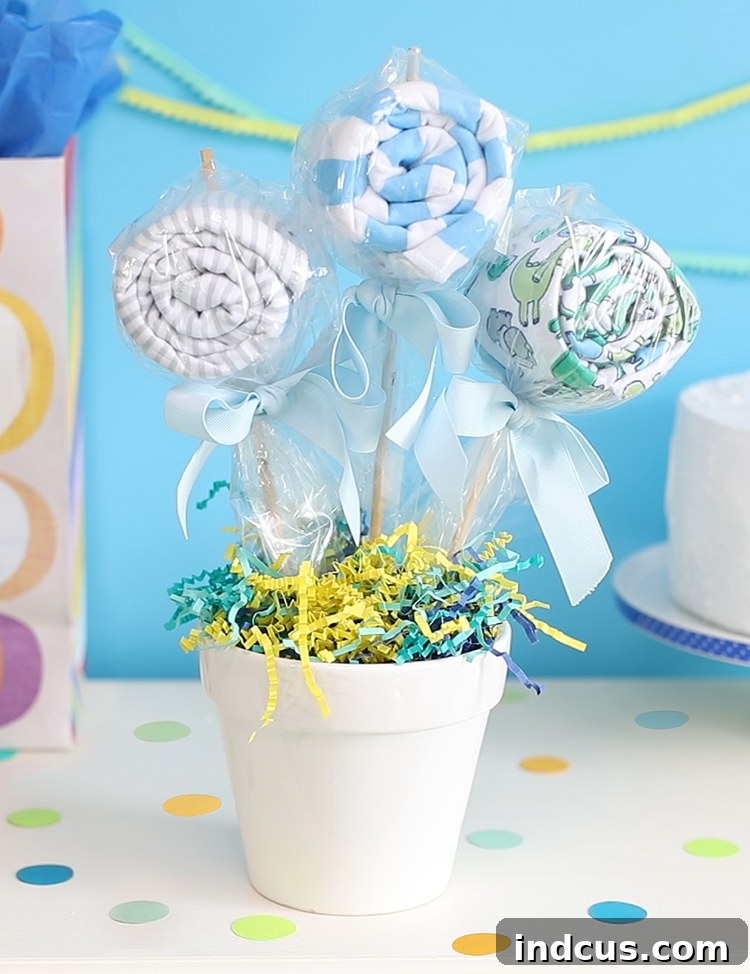
Baby showers are joyous occasions, celebrating new life and showering expecting parents with love and essential items. While practical gifts are always appreciated, there’s an undeniable charm in presenting them creatively. This comprehensive guide will walk you through crafting an adorable and immensely practical baby shower gift: a beautiful bouquet made from burp cloths or receiving blankets. This thoughtful DIY project not only provides new parents with much-needed baby essentials but also serves as a charming, unique decoration that will surely be the talk of the party.
Forget generic gift bags and mundane wrapping paper. Imagine the delight on the mother-to-be’s face when she receives a “floral” arrangement that’s as functional as it is beautiful. This burp cloth bouquet is designed to impress, offering a personal touch that demonstrates your care and creativity. It’s an ideal choice for anyone looking for a distinctive, budget-friendly, and truly useful baby shower present. Let’s dive into how you can make this enchanting gift!
Why Choose a Burp Cloth or Receiving Blanket Bouquet?
The beauty of this gift lies in its dual functionality and inherent practicality. New parents can never have too many burp cloths or receiving blankets. They are indispensable for everyday baby care, from protecting clothes during feeding to providing a clean surface for changing. By transforming these essentials into a beautiful bouquet, you:
- Provide Practicality: Every “flower” is a useful item the baby will need daily.
- Offer a Unique Presentation: It stands out from traditional gifts and looks incredibly festive.
- Double as Decoration: The bouquet can be placed on the gift table or as a centerpiece, enhancing the party’s ambiance.
- Show Thoughtfulness: A handmade gift conveys extra love and effort, making it more personal and memorable.
- Are Budget-Friendly: You can choose materials that fit your budget, making it an accessible DIY project.
- Allow for Customization: Easily tailor the colors, patterns, and themes to match the baby’s nursery or the shower’s decor.
Crafting Your Own Baby Burp Cloth Bouquet: A Step-by-Step Guide
Materials You’ll Need
Gathering your supplies is the first exciting step. Choose items that are soft, absorbent, and visually appealing. Consider the nursery colors or the baby shower theme when selecting your fabrics.
- Burp Cloths, Receiving Blankets, or Bibs: You’ll need 8-12 pieces, depending on the desired size of your bouquet. Opt for soft, high-quality fabrics like cotton or flannel.
- Florist Foam: A sturdy block of foam that will fit snugly into your chosen flower pot. This provides the base for your “stems.”
- Wooden Dowels: Cut into varying lengths (e.g., 8, 10, 12 inches) to create a natural, layered look for your bouquet.
- A Decorative Flower Pot: This is your “vase.” Thrift stores are excellent places to find unique and affordable pots that you can even paint or embellish.
- Clear Plastic Wrap: Gallon-sized Ziploc bags with the zipper cut off, cello wrap, or clear decorative treat bags work perfectly for wrapping your “flowers.”
- Straight Pins: Essential for securing your rolled fabrics. Always warn the mother-to-be about their presence for safety.
- Clear Scotch Tape: For attaching dowels to the plastic wrap.
- Ribbon: Choose a variety of widths and colors to tie off your “flowers” and add decorative accents to the pot.
- Decorative Filler: Moss, shredded paper, craft grass, tissue paper, or even small baby items like socks or pacifiers can be used to hide the florist foam.
- Scissors: For cutting ribbon and plastic.
Detailed Instructions for Assembly
Follow these steps carefully to create a beautiful and professional-looking baby shower bouquet. Remember, attention to detail makes all the difference!
For a visual guide, consider searching for video tutorials online to complement these written instructions.
- Prepare Your Fabric “Flowers”: Take each burp cloth, receiving blanket, or bib and roll it up very tightly, starting from one end. The tighter you roll, the more realistic and firm your “flower” bud will be. Once rolled, secure the end with a straight pin, pushing it through a few layers to ensure it holds. Remember to politely warn the recipient about the pins when they unwrap the gift.
- Attach Dowels to Plastic Wrap: Cut your chosen clear plastic wrap (Ziploc bag, cello wrap, etc.) into squares or rectangles large enough to wrap around your rolled fabric. Place one end of a wooden dowel inside the plastic wrap, approximately 1-2 inches from the bottom edge. Secure the dowel to the inside of the plastic with a small piece of clear scotch tape. This creates a sturdy stem for your “flower.”
- Assemble Your “Flower” Bud: Carefully place a rolled fabric item on top of the secured dowel, inside the plastic wrap. The bottom of the rolled fabric should rest just above where the dowel is taped. Gather the plastic wrap around the base of the fabric roll, creating a small “stem” for the plastic. Tie this gathered plastic tightly with a piece of ribbon, forming a neat bow or knot. This secures the fabric to the dowel and creates the elegant base of your “flower.” Ensure the ribbon is tied securely to prevent the fabric from slipping.
- Prepare the Flower Pot Base: Place a piece of florist foam firmly inside your chosen flower pot. If the foam doesn’t fit snugly, you can trim it or add crumpled newspaper around the edges to stabilize it. The foam should be level with or slightly below the rim of the pot. This will be the foundation for your bouquet.
- Arrange Your Bouquet: Begin inserting the wooden dowels (with their attached fabric “flowers”) into the florist foam. Start with the longest dowels in the center and gradually work your way outwards with shorter dowels, creating a natural, tiered bouquet effect. Poke the dowels deep enough into the foam to ensure they are stable and upright. Experiment with different heights and angles until you achieve a pleasing arrangement.
- Add Decorative Filler: Once all your fabric “flowers” are in place, add your chosen decorative filler (moss, shredded paper, craft grass, etc.) on top of the florist foam to conceal it. This adds to the aesthetic appeal and gives the bouquet a finished, polished look. Distribute the filler evenly around the base of your “flowers.”
And there you have it! A super cute, incredibly practical gift that beautifully doubles as a charming decoration for the baby shower!
An Alternative for Extra Warmth: The Flannel Blanket Base
If you’re looking to add an extra cozy touch or simply want to simplify the base, consider using a rolled flannel blanket instead of florist foam and decorative filler. Here’s how:
- Roll the Flannel Blanket: Take a soft flannel receiving blanket and roll it up very tightly, creating a dense cylindrical shape.
- Place in Pot: Insert the tightly rolled flannel blanket into the flower pot. It should fit snugly, providing a firm base.
- Insert Dowels Directly: Carefully poke the wooden dowels with your burp cloth “flowers” directly into the tightly rolled flannel blanket. The dense roll will provide enough support to hold the dowels upright, eliminating the need for florist foam or additional decorative filler. This option provides the mommy-to-be with an extra, useful blanket!
Tips for an Even More Impressive Bouquet
- Theme it Up: Match the burp cloths and ribbons to the baby shower’s theme or the nursery’s color scheme (e.g., pastel colors for a gender reveal, animal prints for a safari theme).
- Add Small Extras: Tuck in tiny baby socks, pacifiers, rattles, or baby washcloths among the burp cloth “flowers” for added delight and utility. Secure them with extra ribbon or string.
- Personalize the Pot: Decorate the flower pot with paint, stickers, or a personalized message for the parents-to-be.
- Safety First: Always include a small tag or a verbal warning about the straight pins used to secure the burp cloths. Emphasize that these should be removed carefully before use.
- Presentation Matters: Once assembled, you can wrap the entire pot in clear cellophane and tie it with a large coordinating bow for an even grander presentation.
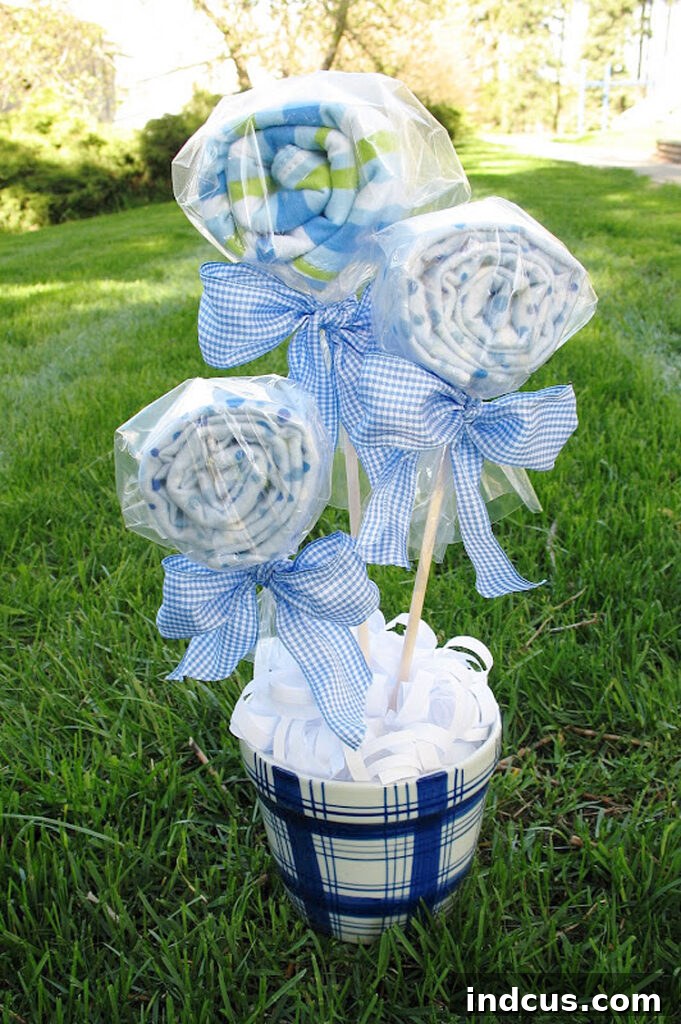
Found this idea inspiring? Pin it to your favorite DIY or baby shower boards to save for later and share with friends!
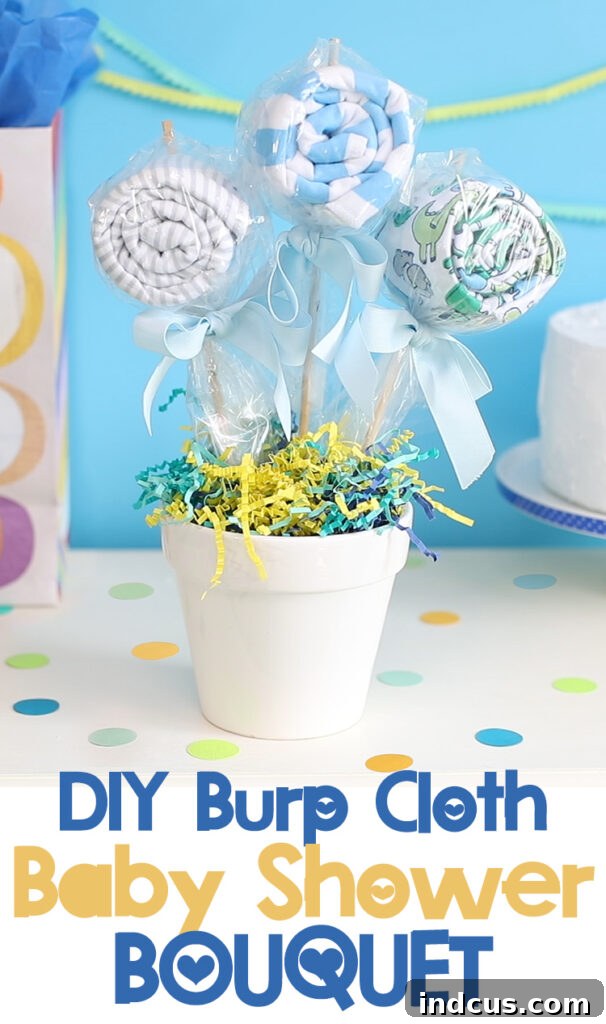
A Thoughtful Gift That Will Be Cherished
Creating a burp cloth or receiving blanket bouquet is more than just making a gift; it’s crafting a memorable token of love and support for new parents. In a world saturated with mass-produced items, a handmade gift stands out. It shows you’ve invested not just money, but your time and creativity, making the present truly special and deeply appreciated. This unique bouquet will not only be admired at the baby shower but will also provide essential, soft items for the baby long after the party is over.
So, the next time you’re invited to a baby shower, skip the usual and opt for this delightful DIY project. It’s a wonderful way to offer practicality with a generous dash of charm and personal flair. Happy crafting, and enjoy creating a gift that truly blossoms!







