
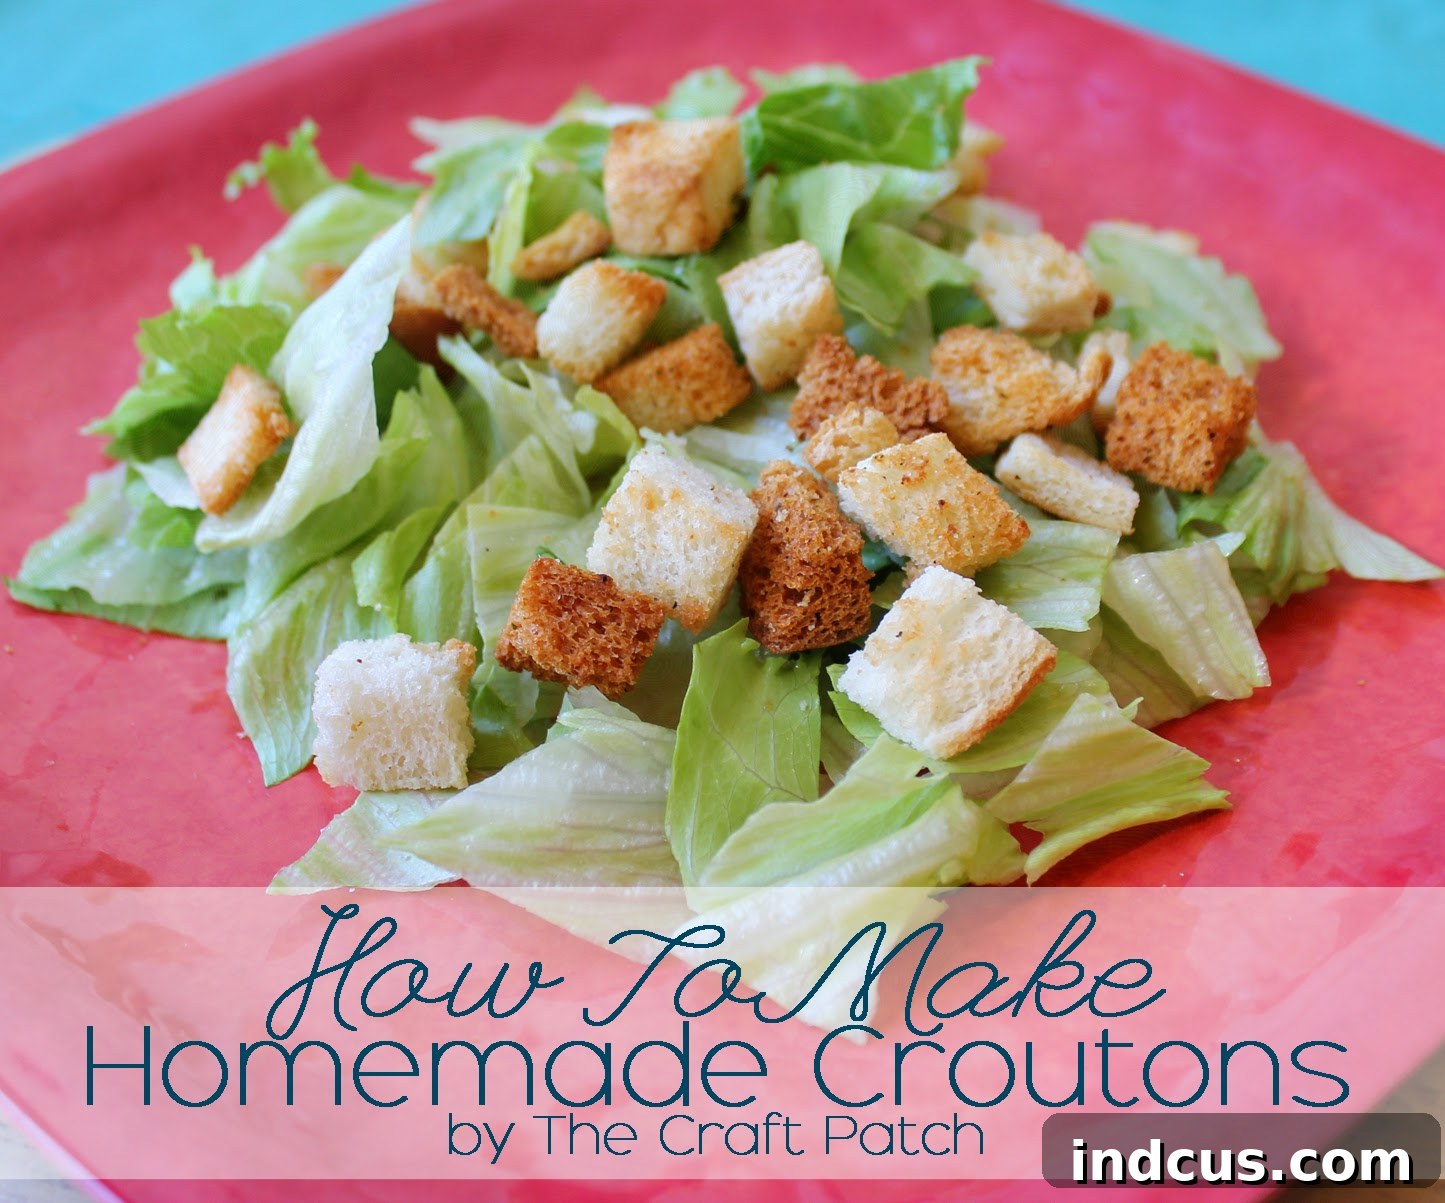
Unlock Deliciousness: Transform Bread Heels into Irresistible Homemade Croutons
In a world where every penny counts and sustainability is increasingly vital, finding clever ways to maximize our resources is a true win. As someone who prides themselves on being incredibly thrifty and mindful of waste, I must admit to a common kitchen conundrum that, for years, silently plagued me: the dreaded bread heels. You know, those end pieces of a loaf that often go untouched, unloved, and, let’s be honest, frequently discarded.
For the longest time, no one in our household would touch them. Loaf after loaf, the heels were left behind, eventually finding their way into the bin. Considering we go through 2-3 loaves of bread each week, that added up to a significant amount of perfectly good food being wasted. It was a habit that, despite my best intentions, I couldn’t seem to break. Until now.
A recent stroke of culinary necessity led to an epiphany, a simple yet revolutionary solution that has completely transformed our kitchen habits and elevated our mealtime experiences. It all started when I needed a quick, crowd-pleasing salad for a gathering but had no time for a grocery run. Desperately rummaging through the pantry, I stumbled upon a collection of forgotten bread bags, each containing only those scorned bread heels. A brilliant idea sparked, and I honestly wondered why it hadn’t occurred to me sooner. What if these unloved bread ends could be given a new, delicious purpose?
That day, those neglected bread heels were reborn as homemade croutons – a revelation so simple, so delicious, that I’m still wondering why I didn’t embrace this thrifty trick sooner. The result was not just a topping for a salad; it was a testament to how easy it is to elevate simple ingredients and drastically reduce food waste. These homemade versions didn’t just meet expectations; they surpassed them, proving far superior in taste and texture to any store-bought alternative.
Why Homemade Croutons Are a Game-Changer for Your Kitchen and Wallet
Beyond the sheer satisfaction of zero waste, making your own croutons offers a plethora of benefits that store-bought options simply can’t match:
- Unbeatable Flavor and Freshness: There’s no comparison. Freshly baked croutons have a warm, robust flavor and a perfect crunch that processed, packaged versions lack. You control the ingredients, ensuring the freshest taste.
- Cost-Effective: This is a true money-saver. Instead of buying expensive croutons or tossing out bread, you’re utilizing what you already have, turning potential waste into a valuable ingredient. It’s the epitome of thrifty cooking.
- Customizable to Perfection: Want garlic and herb? Spicy? Cheesy? The possibilities are endless. Homemade croutons allow you to tailor the seasonings precisely to your taste or the dish you’re pairing them with.
- Reduced Food Waste: This is perhaps the most significant benefit. By giving bread heels and even slightly stale bread a new life, you contribute to a more sustainable kitchen, minimizing your environmental footprint and maximizing your grocery budget.
- No Unwanted Additives: Store-bought croutons often contain preservatives, artificial flavors, and unhealthy fats. When you make them at home, you know exactly what goes into them – just simple, wholesome ingredients.
Your Easy Guide to Perfect Homemade Croutons
Ready to transform those bread heels into golden, crispy perfection? This incredibly simple process will have you kicking yourself for not trying it sooner. Gather your bread ends and let’s get started!
Ingredients You’ll Need:
- Bread heels or slightly stale bread (any type works – white, whole wheat, sourdough, challah)
- Olive oil (or melted butter, avocado oil)
- Salt (fine sea salt works best)
- Your favorite seasonings (garlic powder, onion powder, dried oregano, basil, thyme, black pepper, paprika, chili flakes, nutritional yeast, grated Parmesan cheese)
Equipment:
- Sharp knife and cutting board
- Large baking sheet
- Mixing bowl (optional, but recommended for even coating)
Step-by-Step Instructions:
Step 1: Cube Your Bread
The first crucial step is to prepare your bread. Using a sharp knife, cut your bread heels into uniform cubes, roughly ½ to ¾ inch in size. Consistency is key here; evenly sized cubes will ensure they bake at the same rate, preventing some from burning while others remain soft. Don’t worry if your bread is a little stale – it actually works better, as it holds its shape during baking and crisps up beautifully.
Step 2: Drizzle with Oil
Spread the bread cubes evenly across a large baking sheet. Ensure they are in a single layer to allow for even crisping. Drizzle them generously with olive oil. While olive oil is a classic choice for its flavor and crisping properties, melted butter or even avocado oil can also work well. For best results and even coverage, transfer the cubes to a large mixing bowl, add the oil, and toss gently with your hands or a spatula until every cube is lightly coated. Then, spread them back onto the baking sheet.
Step 3: Season to Taste
Now comes the fun part: seasoning! Sprinkle your oiled bread cubes liberally with salt. This is non-negotiable for flavor. Beyond salt, get creative with your favorite herbs and spices. I often use a classic combination of garlic powder and freshly ground black pepper for a savory punch. Other fantastic options include:
- Italian Herbs: A blend of dried oregano, basil, and thyme for a Mediterranean touch.
- Spicy Kick: A pinch of red pepper flakes or smoked paprika.
- Cheesy Goodness: A sprinkle of grated Parmesan cheese (add towards the end of baking or right after for best results).
- Nutritional Yeast: For a cheesy, umami flavor without dairy.
- Everything Bagel Seasoning: For a unique and flavorful twist.
Toss again lightly on the baking sheet to distribute the seasonings evenly.
Step 4: Bake to Golden Perfection
Preheat your oven to 350°F (175°C). Place the baking sheet in the preheated oven and bake for 10-15 minutes. The baking time can vary depending on your oven and the moisture content of your bread, so keep a close eye on them. You’re looking for a beautiful golden-brown color and a firm, crispy texture. Halfway through, give the croutons a gentle stir or flip to ensure even browning on all sides. They should be uniformly crunchy when removed from the oven.
Step 5: Cool, Crunch, and Enjoy!
Once your croutons are golden brown and perfectly crispy, remove them from the oven. Let them cool completely on the baking sheet. As they cool, they will become even crunchier. This cooling period is crucial for achieving that irresistible texture. Once cool, they’re ready to be devoured! You’ll find yourself reaching for these tasty little cubes for more than just salads.
Beyond the Salad Bowl: Creative Uses for Your Homemade Croutons
While often associated with salads, your homemade croutons are incredibly versatile. Don’t limit their delicious potential!
- Soup Topping: Elevate any soup, from creamy tomato to hearty minestrone, with a scattering of crunchy croutons. They’re essential for classic French Onion Soup.
- Snack Attack: Honestly, these are so good, they make a fantastic stand-alone snack!
- Stuffing Base: If you make a large batch, slightly softer croutons can be an excellent base for holiday stuffings.
- Crushed Breadcrumbs: If you have any leftover or prefer a finer texture, pulse them in a food processor to create gourmet breadcrumbs for coating chicken, fish, or topping casseroles.
- Roasted Vegetable Garnish: Add crunch and flavor to roasted broccoli, asparagus, or Brussels sprouts.
- Egg Dishes: Sprinkle over scrambled eggs or omelets for added texture.
Tips for Achieving the Best Homemade Croutons Every Time
- Don’t Overcrowd the Pan: Give your bread cubes space to breathe on the baking sheet. Overcrowding will steam them instead of crisping them, leading to soft, chewy croutons.
- Use Day-Old Bread: While fresh bread works, slightly stale bread is ideal as it has less moisture, resulting in crispier croutons faster.
- Experiment with Bread Types: Different breads offer different flavor profiles. Sourdough creates tangy croutons, while challah can yield a slightly sweeter, richer crunch.
- Control Your Heat: A moderate oven temperature (350°F/175°C) ensures they dry out and crisp without burning too quickly. If they’re browning too fast, reduce the temperature slightly.
- Proper Storage: Once completely cooled, store your homemade croutons in an airtight container at room temperature for up to a week. If they lose some crispness, a quick toast in a dry pan or a few minutes in a low oven can revive them.
Embrace the Joy of Zero Waste Cooking
Since adopting this simple habit, our family meals have become more exciting, our grocery budget has stretched further, and the satisfaction of knowing we’re contributing to less food waste is immeasurable. The crunch, the flavor, the sheer versatility of homemade croutons has made salad a daily favorite and given me a fantastic way to utilize every bit of our bread.
This isn’t just about making croutons; it’s about embracing a mindset where every ingredient has potential, and creativity in the kitchen leads to both savings and delicious discoveries. So, next time you reach for that last slice of bread, remember the humble heel. Don’t discard it. Transform it. Your taste buds, your wallet, and the planet will thank you.
Go ahead, open your bread bin, retrieve those forgotten heels, and embark on a culinary journey that promises crunchy delights and a touch of kitchen magic!







