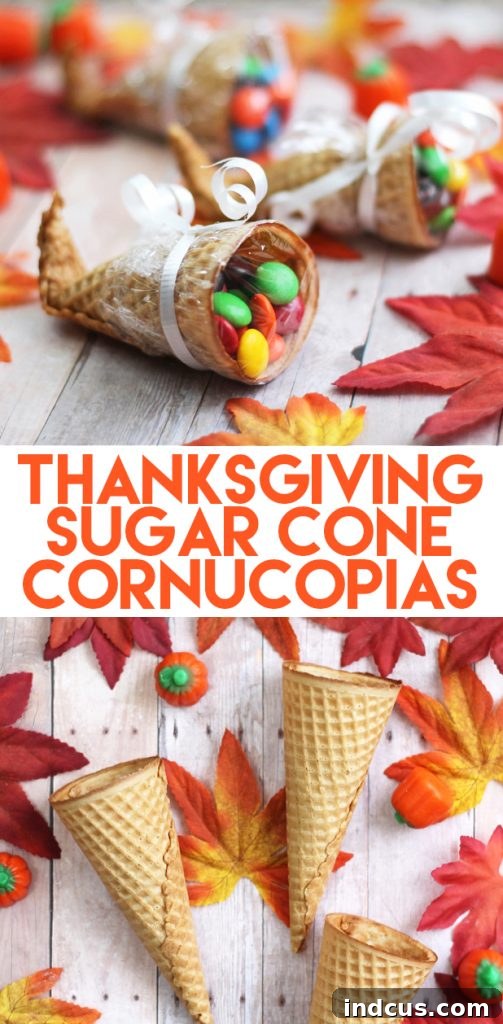
Delightful DIY Sugar Cone Cornucopias: A Festive Thanksgiving Treat for Your Table
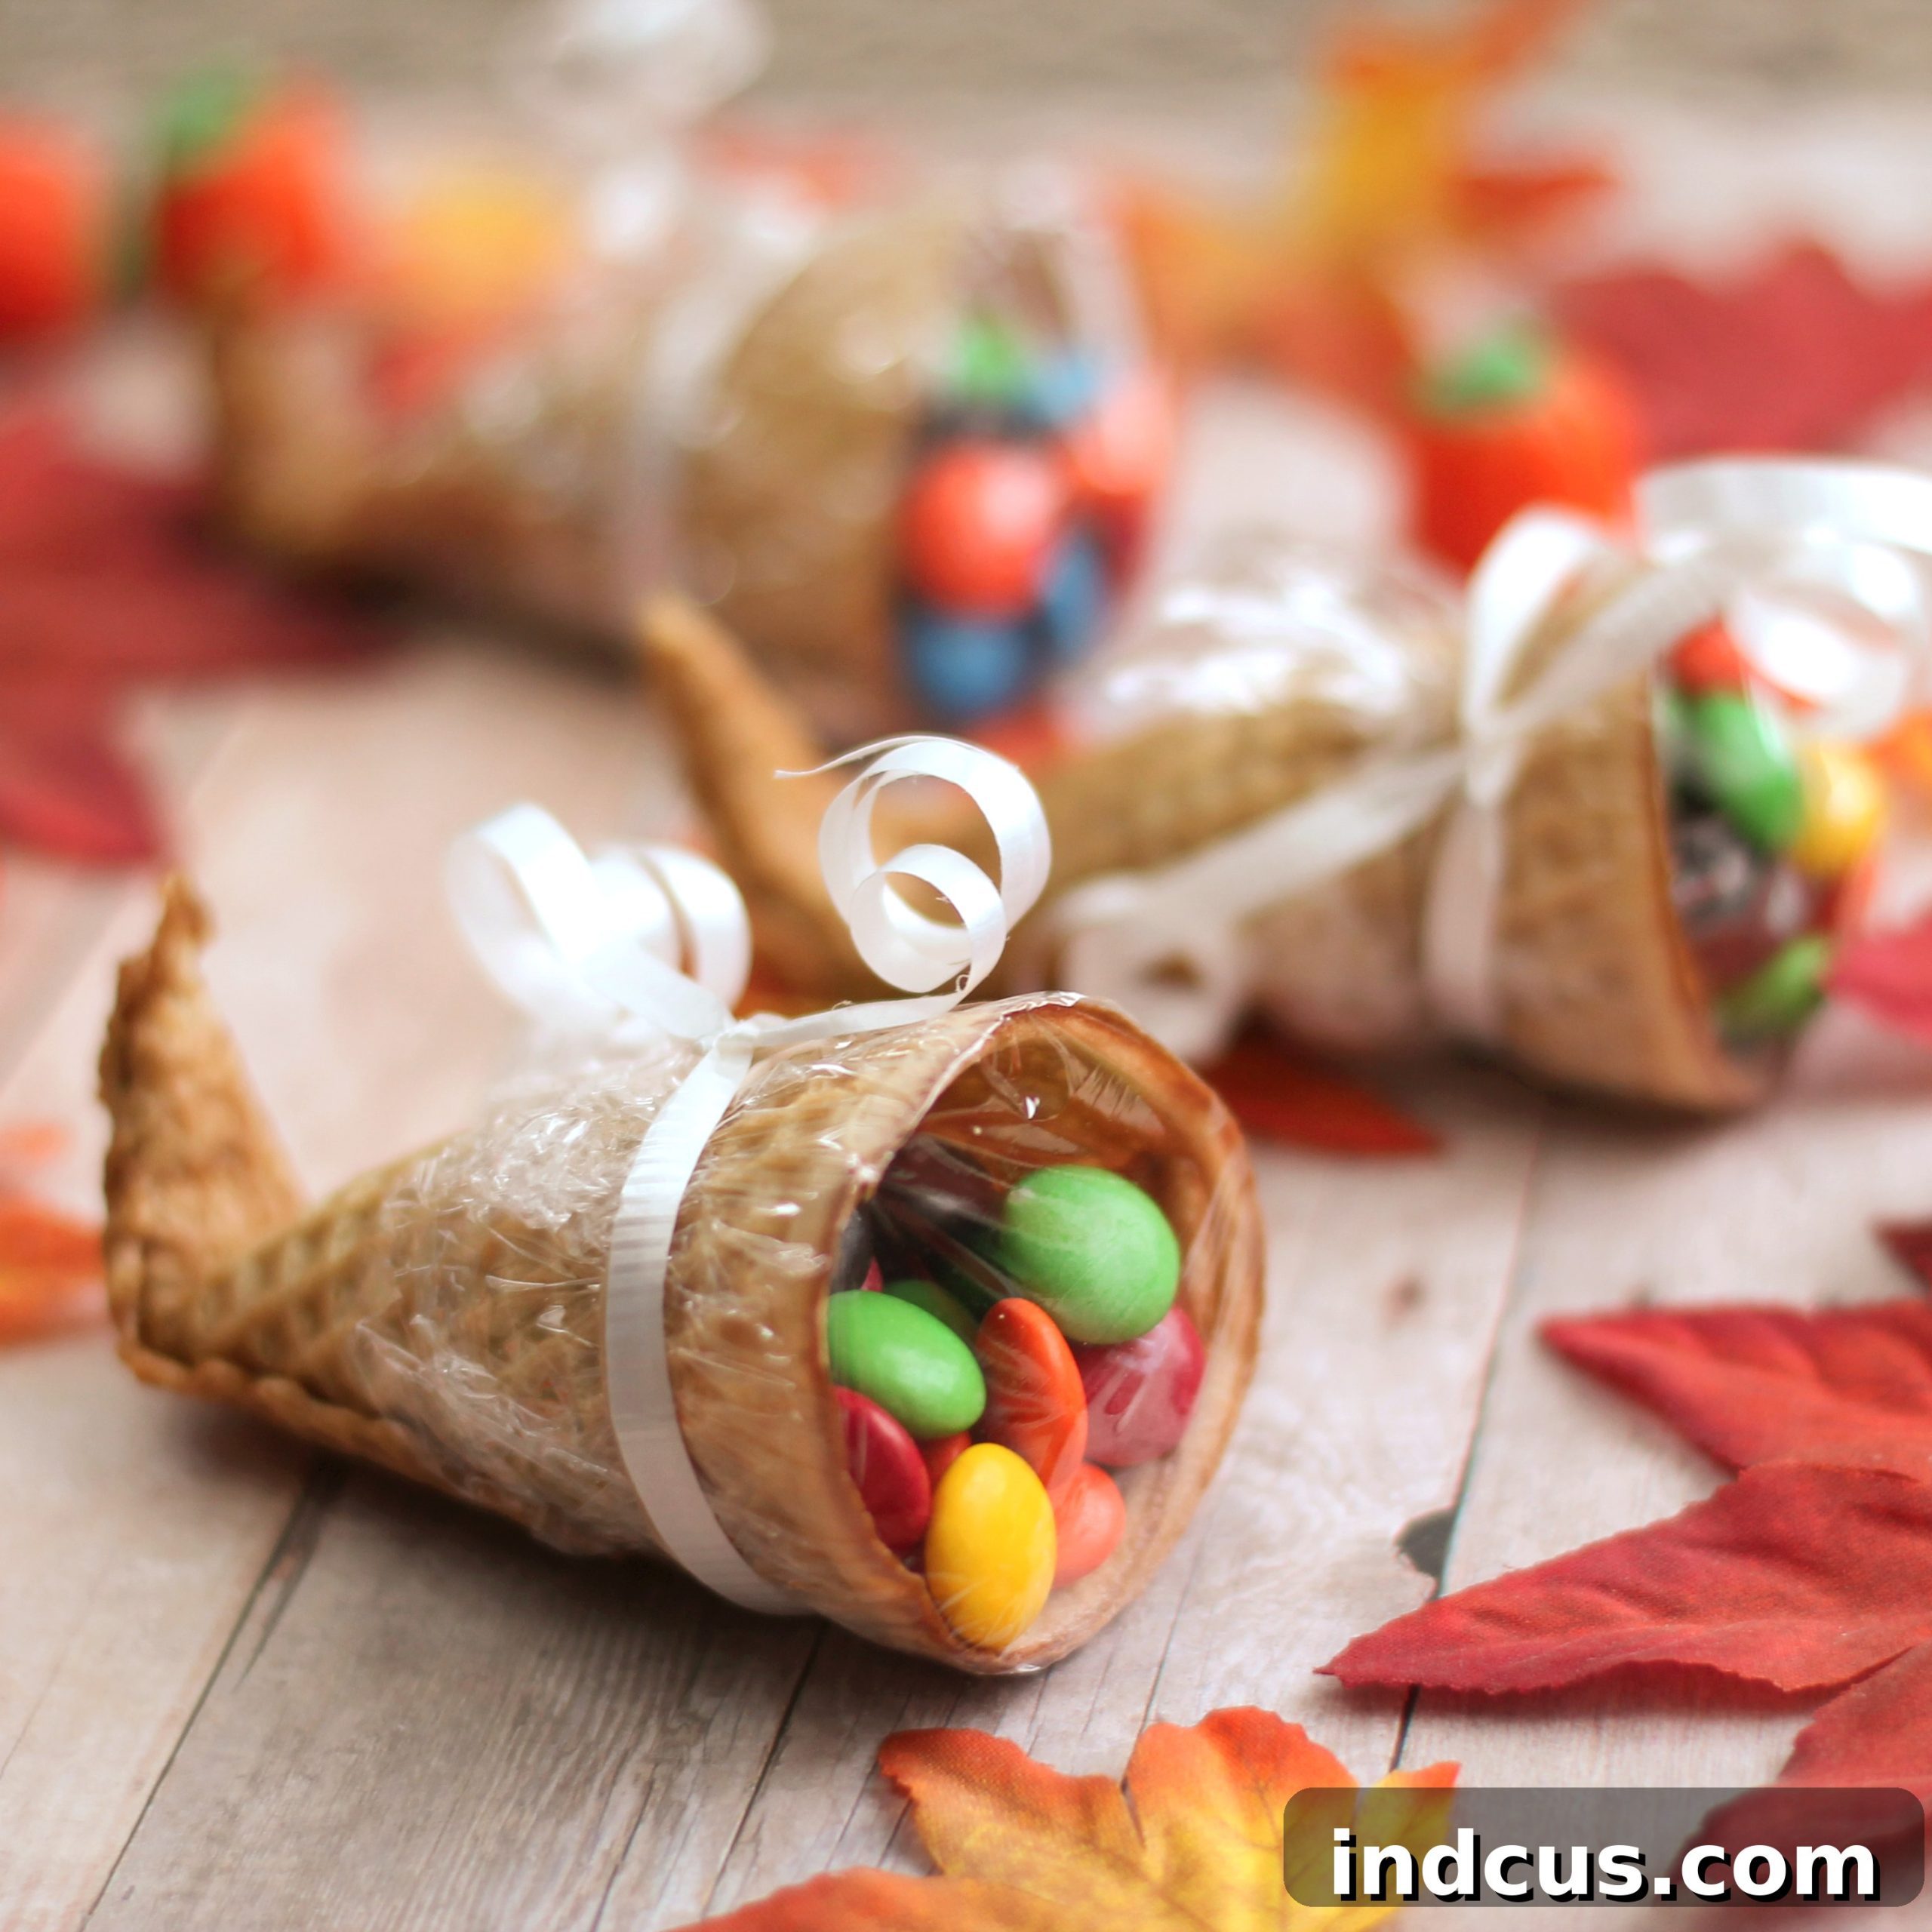
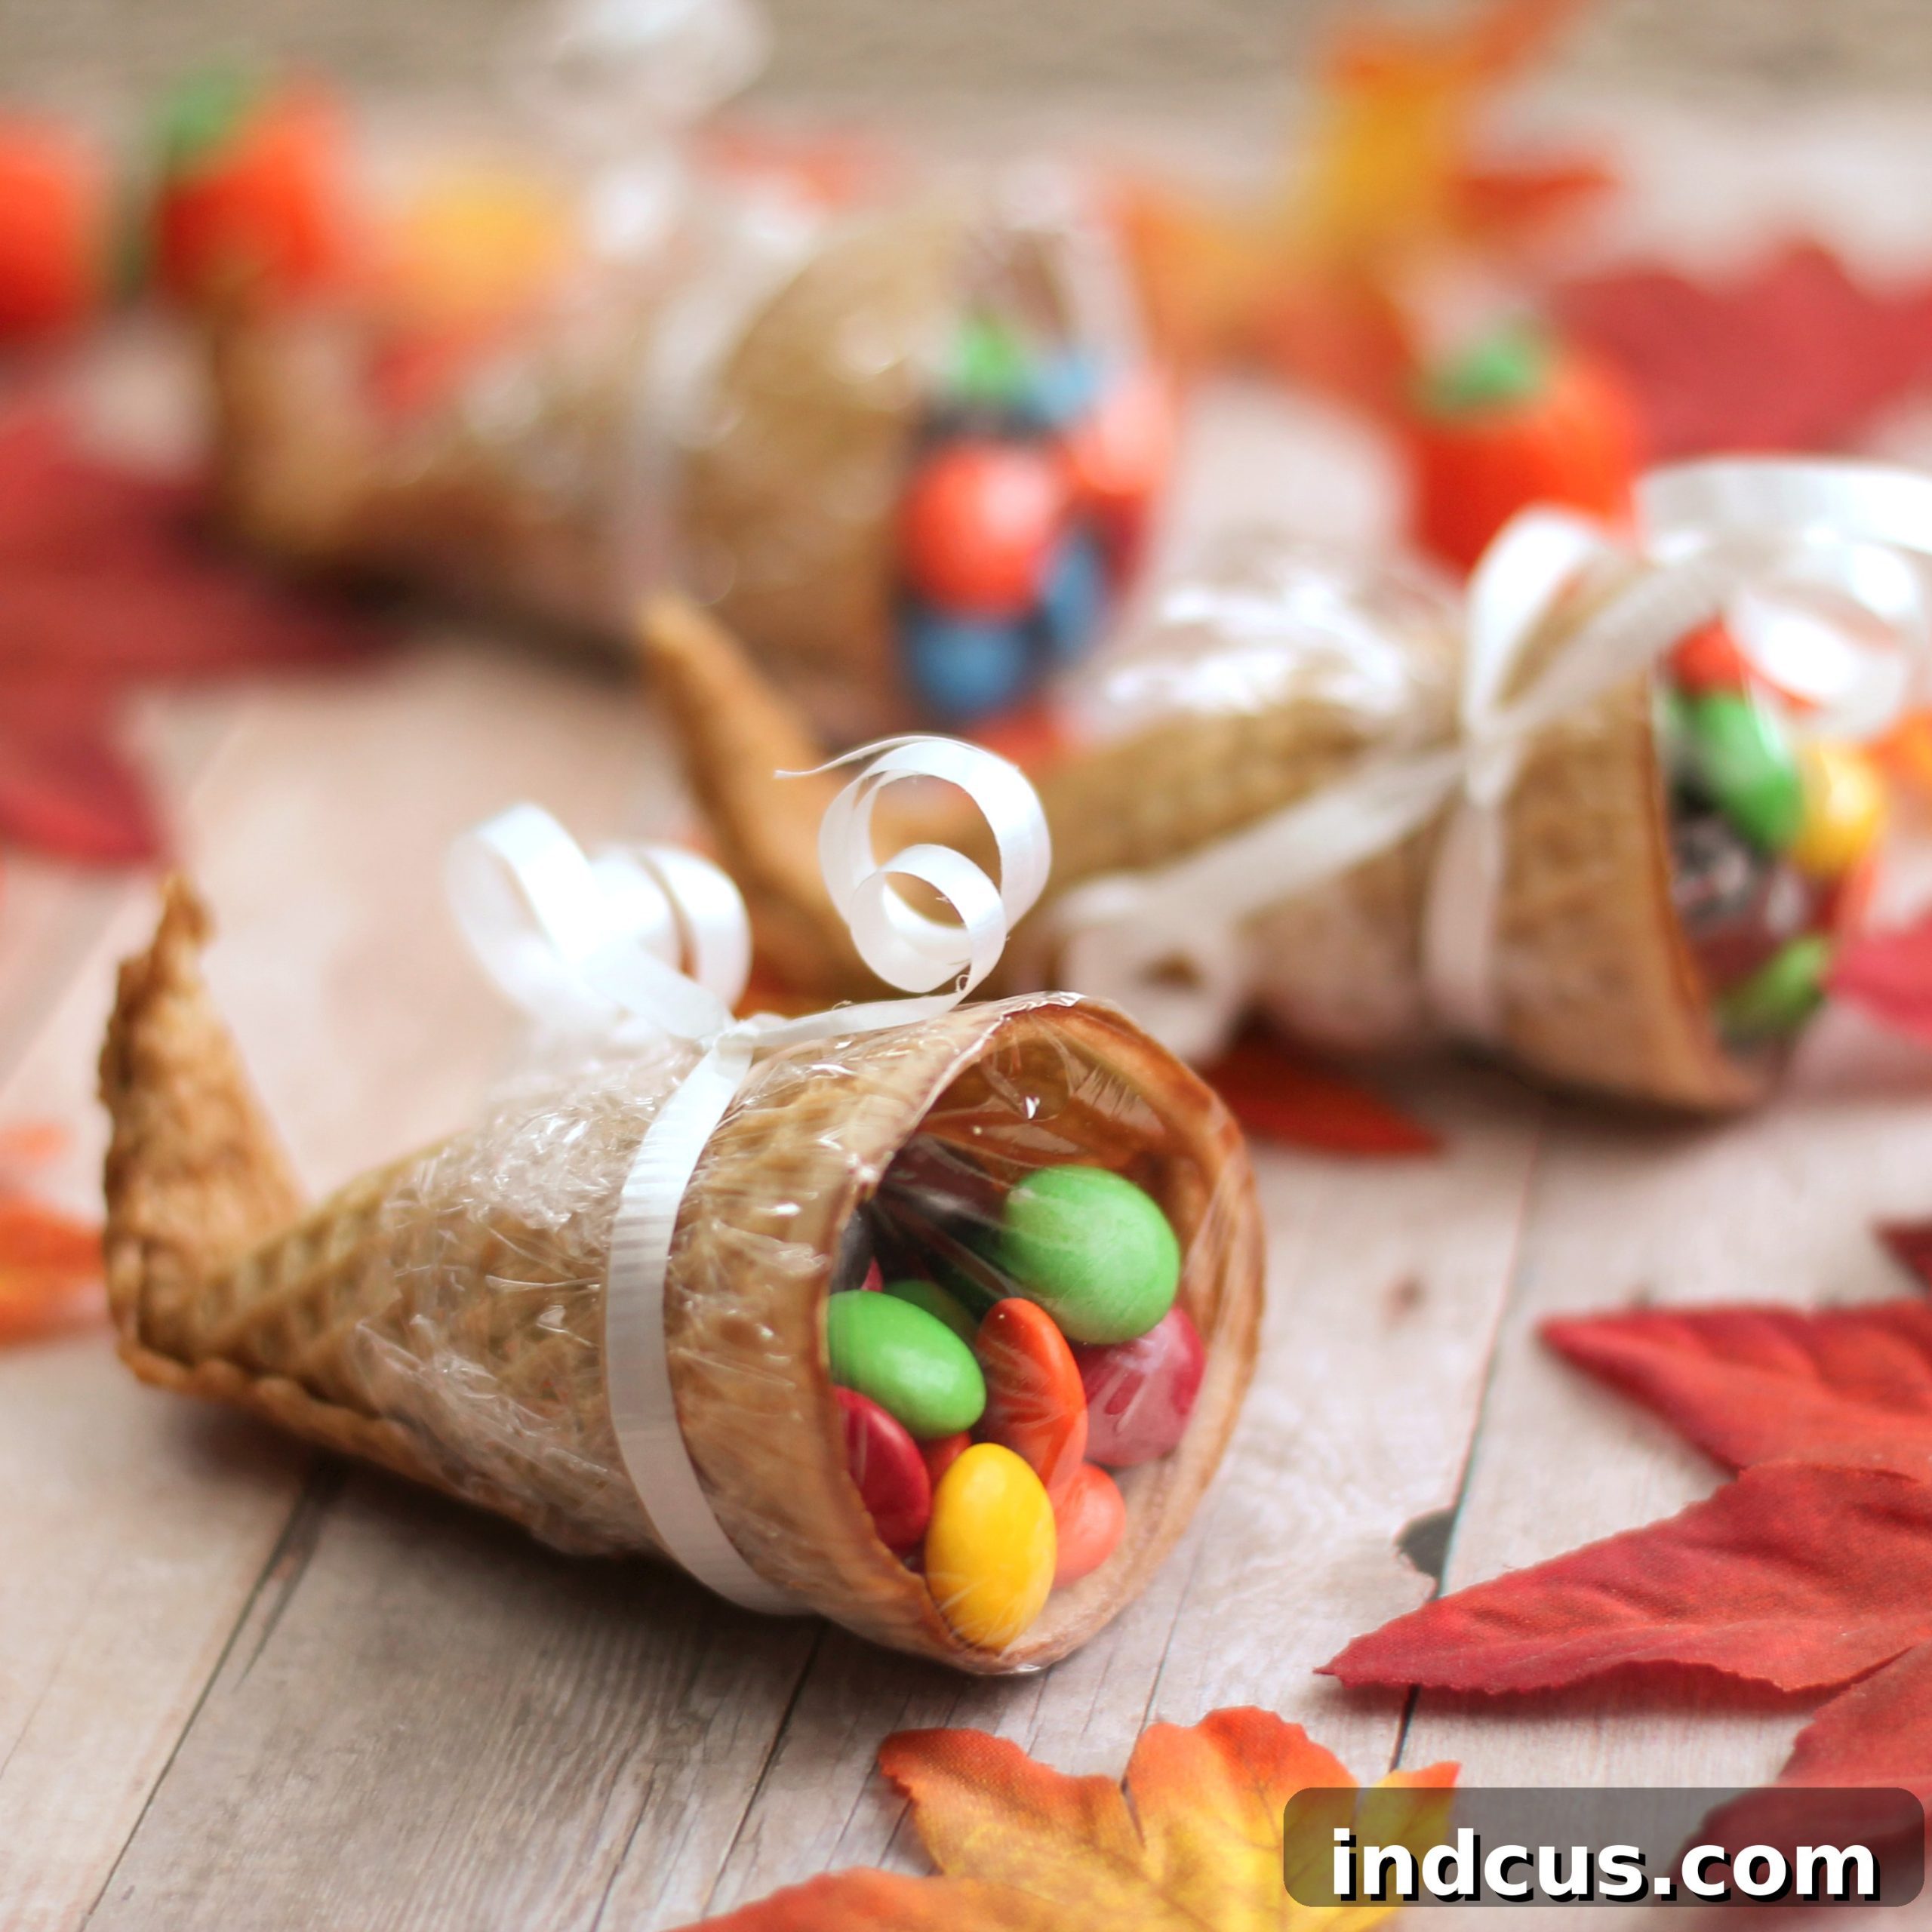
As Thanksgiving approaches, families eagerly search for unique ways to celebrate gratitude, abundance, and togetherness. While the turkey takes center stage, side dishes and desserts add their own magic. This year, imagine a charming and edible centerpiece that doubles as a delightful snack: miniature cornucopias crafted from humble sugar cones. These adorable, horn-of-plenty treats are not only incredibly fun to make but also add a whimsical and festive touch to any Thanksgiving gathering. Their simple charm makes them a perfect activity for all ages, creating lasting memories alongside delicious results.
These sweet cornucopia treats are incredibly versatile. They can serve as a thoughtful gesture for a class party, a delightful thank-you gift for neighbors, or simply a fun pre-Turkey snack to keep hunger at bay while the feast cooks. Envision one placed elegantly on each plate around your Thanksgiving table, offering a personalized welcome and an immediate treat for guests as they anticipate dinner. Beyond just a snack, they can even function as unique place markers; simply attach a small tag with each person’s name to the ribbon, adding a personalized and heartwarming element to your festive decor. The possibilities for these charming crafts are endless, promising smiles and a touch of homemade warmth to your holiday.
Symbolism and Tradition: Why the Cornucopia?
The cornucopia, often referred to as the “horn of plenty,” is a classic symbol deeply intertwined with the spirit of Thanksgiving. Originating from ancient Greek and Roman mythology, it represents abundance, nourishment, and prosperity. Traditionally depicted as a horn overflowing with harvest fruits, vegetables, and flowers, it embodies gratitude for nature’s bounty and the blessings of the season. Crafting these sugar cone cornucopias allows you to bring this rich symbolism directly to your table in a creative, edible form. It’s a wonderful way to teach children about the meaning behind the holiday and to visually represent the gratitude we feel for all that we have, making your celebration even more meaningful and visually appealing.
Gather Your Essentials: Materials for Your Edible Cornucopias
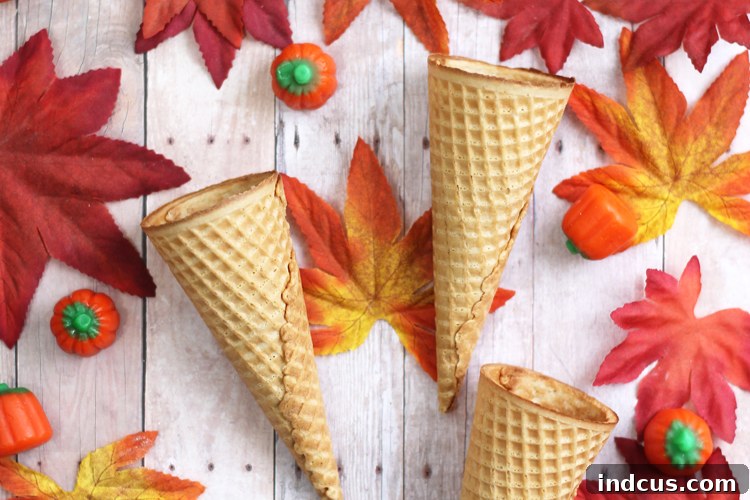
Creating these charming sugar cone cornucopias requires just a few simple and readily available materials. Success often starts with selecting the right ingredients, so pay attention to the details for the best results. Here’s what you’ll need to gather before you begin your crafting adventure:
- Small Waffle or Sugar Cones: The foundation of your cornucopia! The type of cone can significantly impact how easily it bends. Some brands are more pliable than others. We’ve found that Keebler brand cones tend to work exceptionally well, offering good flexibility without being too brittle. When purchasing, opt for fresh cones, as older ones might be drier and more prone to breaking. You can find these in the ice cream aisle of any grocery store.
- M&M’s or Other Candies: This is where you can truly personalize your cornucopias! While M&M’s are a classic choice, consider other small, colorful candies like Skittles, Reese’s Pieces, jelly beans, candy corn, or even mini chocolate chips. For a healthier or more sophisticated touch, you could use dried cranberries, nuts (if no allergies are present), or small pieces of dried fruit. Choose candies that complement your Thanksgiving color scheme or simply ones that your guests will enjoy.
- Rubber Bands: These humble bands play a crucial role in securing the plastic wrap over the opening of your filled cornucopias. Opt for standard-sized rubber bands that are strong enough to hold the wrap taut but not so tight that they might damage the cone.
- Plastic Wrap: Essential for keeping your delicious fillings safely inside the cornucopia until it’s time to enjoy them. Standard kitchen plastic wrap works perfectly. It creates a hygienic barrier and prevents candies from spilling out.
- Ribbon: The finishing touch! Ribbon adds an elegant and decorative flair, while also serving the practical purpose of hiding the rubber band. Choose ribbons in autumnal colors like deep reds, oranges, golds, browns, or even festive plaids to enhance your Thanksgiving theme. Satin, grosgrain, or even burlap ribbons can create different textures and aesthetics.
- Clean Pencil or Cylindrical Object: You’ll need this for shaping the cone. A standard pencil works perfectly, but any clean, smooth, cylindrical object of similar diameter (like a dowel or even a thick marker) will do.
Having all your materials organized and ready before you start will make the crafting process smoother and more enjoyable.
Crafting Your Festive Cornucopias: A Step-by-Step Guide
Creating these adorable sugar cone cornucopias is a rewarding and relatively simple process. Patience and gentle handling are key, especially during the bending stage. Follow these detailed instructions to transform ordinary ice cream cones into delightful edible decorations for your Thanksgiving celebration:
- Soften the Cone Tip: Begin by carefully soaking just the pointed tip of a waffle or sugar cone in warm water. Aim for about 20 seconds. It’s incredibly helpful to also gently pour or brush a little warm water on the inside of the tip as well, ensuring it’s thoroughly moistened. The goal here is to make the cone pliable without making it soggy. This step prepares the sugar cone for bending by relaxing its crisp structure. If the water isn’t warm enough, or if the cone isn’t saturated sufficiently, it might not soften properly.
- Gentle Warming for Pliability: After soaking, remove the cone from the water. Place the wet tip of the cone into a microwave and heat it for approximately 20 seconds. This brief warming further enhances the cone’s flexibility, making it even easier to bend without cracking. Be careful not to overheat, as this can make the cone too brittle or too soft. The combination of water and heat works synergistically to create the perfect texture for shaping.
- Shaping the Horn of Plenty: This is the most delicate but satisfying step. Immediately after microwaving, gently roll the softened tip of the cone around a clean pencil or a similar cylindrical object. Carefully hold it in place, maintaining the desired curve, for about 20 seconds. Extreme patience is crucial here; rushing this step is the easiest way to tear or break the cone. Apply steady, gentle pressure. If, after 20 seconds, the cone doesn’t bend easily or starts to resist, do not force it. Instead, remove the cone, re-soak the tip in warm water for another 20 seconds, and repeat the microwave and bending process. Different brands of cones may require slightly different timing or levels of moisture, so be prepared to adjust.
- Drying and Hardening: Once you’ve achieved the perfect cornucopia curl, it’s vital to allow the cone to cool, dry, and harden completely. This process can take anywhere from a few hours to overnight, depending on the humidity and how wet the cone got. Place the shaped cones on a wire rack or parchment paper, ensuring they retain their shape as they dry. Do not rush this step; a fully hardened cone will maintain its shape and structural integrity when filled. If filled too soon, the cone might lose its curl or become too soft.
- Filling and Adorning Your Creation: After your cornucopias are fully cooled and hardened, it’s time for the fun part: filling them! Carefully spoon your chosen candies (M&M’s, jelly beans, nuts, etc.) into the wide opening of the cone. Once filled, take a small piece of plastic wrap and gently cover the opening to hold the candies securely inside. Use a rubber band to firmly secure the plastic wrap around the base of the cone’s opening. Finally, tie a festive ribbon around the outside of the cone, strategically positioning it to hide the rubber band and add a beautiful decorative touch. You can tie a simple bow or a more elaborate knot, depending on your preference.
That’s all there is to it! With these detailed steps, you’ll create simple, cute, and utterly charming Thanksgiving cornucopia treats that are sure to impress your guests.
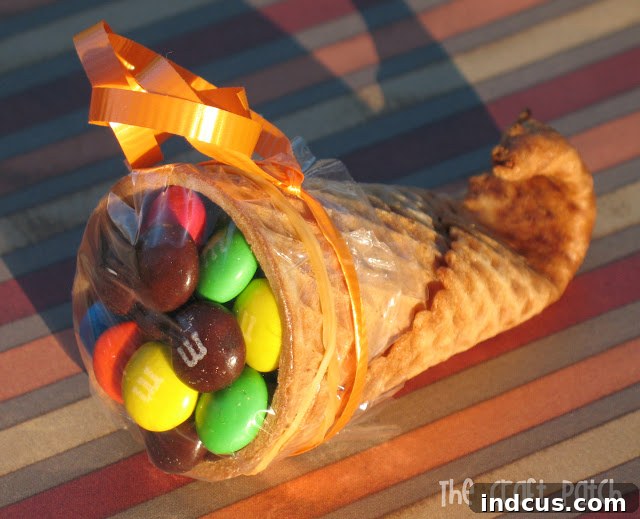
Troubleshooting & Tips for Perfect Cornucopias
While making these sugar cone cornucopias is generally straightforward, sometimes challenges can arise. Don’t be discouraged if your first attempt isn’t perfect! Many readers have shared varied experiences, often depending on the brand of sugar cones purchased. Here are some common issues and helpful tips to ensure your success:
- Cone Breakage During Bending: This is the most common issue.
- Cause: Often, the cone wasn’t adequately softened, or it was bent too quickly or forcefully. Some brands are naturally more brittle.
- Solution: Ensure the cone tip is thoroughly soaked in warm water (inside and out) and microwaved for the recommended time. If it still feels stiff, re-soak and re-microwave. Apply very gentle, consistent pressure when bending. If a cone breaks, set it aside; it’s difficult to salvage, and it’s better to start fresh.
- Cone Not Bending Easily:
- Cause: Insufficient moisture or heat, or a particularly stubborn cone brand.
- Solution: Increase soaking time slightly (up to 30 seconds), ensuring all parts of the tip are wet. You can also try microwaving for an additional 5-10 seconds, but watch it closely to prevent scorching.
- Soggy or Flabby Cones:
- Cause: Over-soaking or too much microwave time, leading to a loss of structure.
- Solution: Stick to the recommended 20-second intervals for both soaking and microwaving. The goal is pliable, not mushy. If a cone becomes too soft, it might not hold its shape.
- Brand Variation is Key: As mentioned, the brand of sugar cones truly makes a difference. I’ve had consistent success with Keebler brand cones due to their good balance of crispness and flexibility when softened. While other brands might work, be aware that you may encounter more difficulty getting them to bend without breaking. If you’re struggling, consider trying a different brand for better results.
- Making Ahead: You can prepare the shaped and hardened cornucopias several days in advance. Store them in an airtight container at room temperature to maintain their crispness. Fill them with candies and add the ribbon closer to the event day to ensure the fillings are fresh and the ribbons look their best.
- Experiment with Tools: While a pencil works well for shaping, you can experiment with other cylindrical objects like the handle of a wooden spoon or a small rolling pin to achieve different curl diameters and looks.
By keeping these tips in mind, you’ll be well on your way to crafting a batch of beautiful and resilient sugar cone cornucopias for your Thanksgiving festivities!
Creative Variations and Presentation Ideas
Beyond the classic candy-filled cornucopia, there are numerous ways to customize and present these delightful treats to perfectly suit your style and occasion:
- Decorating the Cones Themselves: Before filling, you can add extra flair to the cones. Use edible food coloring pens to draw designs, or gently brush melted chocolate or royal icing onto the cones and immediately sprinkle with edible glitter or colorful sprinkles. Allow any decorations to fully dry and set before filling.
- Themed Fillings:
- Autumn Harvest: Fill with a mix of candy corn, mellowcreme pumpkins, miniature pretzel sticks, and maybe a few roasted pumpkin seeds for a textural contrast.
- Gourmet: Opt for small, high-quality chocolates, gourmet nuts (like candied pecans), or even espresso beans for an adult-friendly treat.
- Healthy Option: For a lighter snack, fill with dried fruits like raisins, cranberries, apricot pieces, or small granola clusters.
- Savory Options: While less common for a “cornucopia” shape, you could adapt the concept. Use a sturdy waffle cone (that doesn’t need much bending) and fill it with mini cheese straws, small breadsticks, or veggie sticks with a dip at the bottom (lined with plastic wrap first).
- Other Holidays: The technique isn’t limited to Thanksgiving! Use green ribbons and red/white candies for Christmas, pastels for Easter, or specific colors for birthday parties. Shape them slightly differently for a festive party hat or a wizard’s cap.
- Presentation as Place Settings: As mentioned, adding a small name tag to the ribbon transforms each cornucopia into a personalized place card, adding a thoughtful and decorative element to your table.
- Centerpiece Enhancement: Arrange a collection of filled cornucopias in a large bowl or basket amidst fall foliage, miniature pumpkins, and gourds to create an stunning and edible centerpiece. They also look lovely nestled around a main dish or dessert platter.
- Gift Packaging: Wrap individual cornucopias in clear cellophane bags, tied with a matching ribbon, to create charming party favors or gifts for teachers, friends, and neighbors.
With a little imagination, these sugar cone cornucopias can become a truly versatile and beloved part of your holiday traditions, offering endless possibilities for creativity and delight.
Watch the Magic Unfold: A Visual Tutorial
For those who prefer a visual guide or need a little extra reassurance with the bending technique, many helpful video tutorials are available online. Searching for “sugar cone cornucopia tutorial” or “DIY edible cornucopias” on video platforms can provide step-by-step demonstrations, making the crafting process even easier to master. Watching someone perform the delicate softening and shaping steps can clarify any uncertainties and build your confidence before you begin your own batch.
Like this idea? Don’t forget to Pin this delightful concept to your holiday boards to save it for later inspiration and share the festive fun with others!