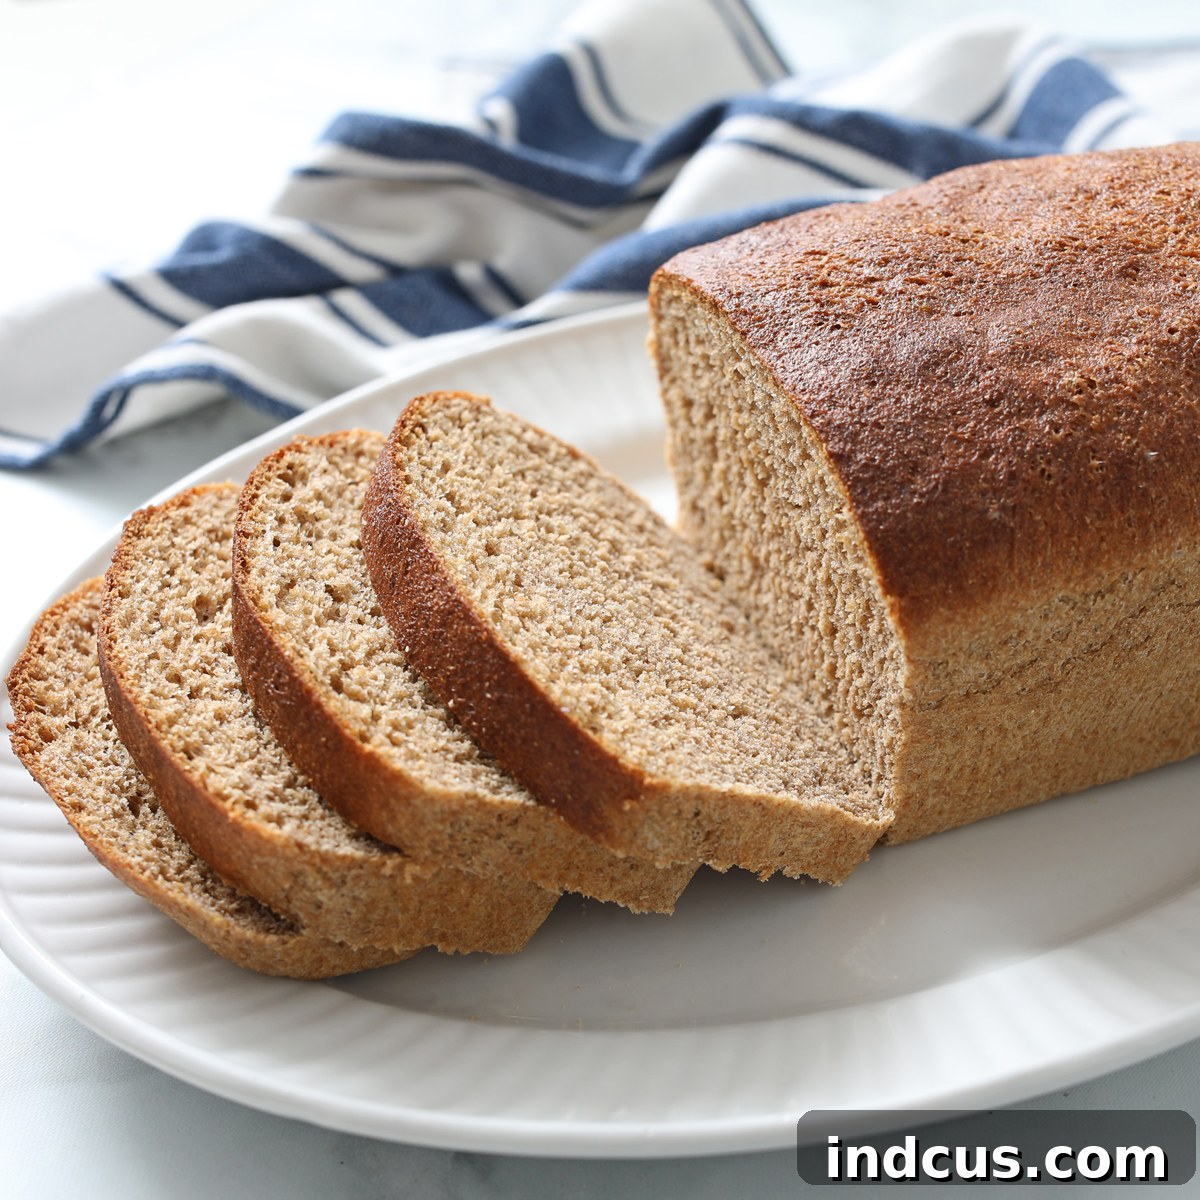
The Best Fluffy Whole Wheat Bread Recipe You’ll Ever Bake
Are you searching for a whole wheat bread recipe that’s truly exceptional? One that combines the wholesome goodness of whole grains with an incredibly light and airy texture? Look no further! This homemade whole wheat bread recipe is a game-changer, producing a loaf so delicious and perfectly textured, it will become your new go-to. Forget dense, heavy whole wheat loaves – our secret ingredient ensures a fluffy, moist, and utterly irresistible bread every single time.
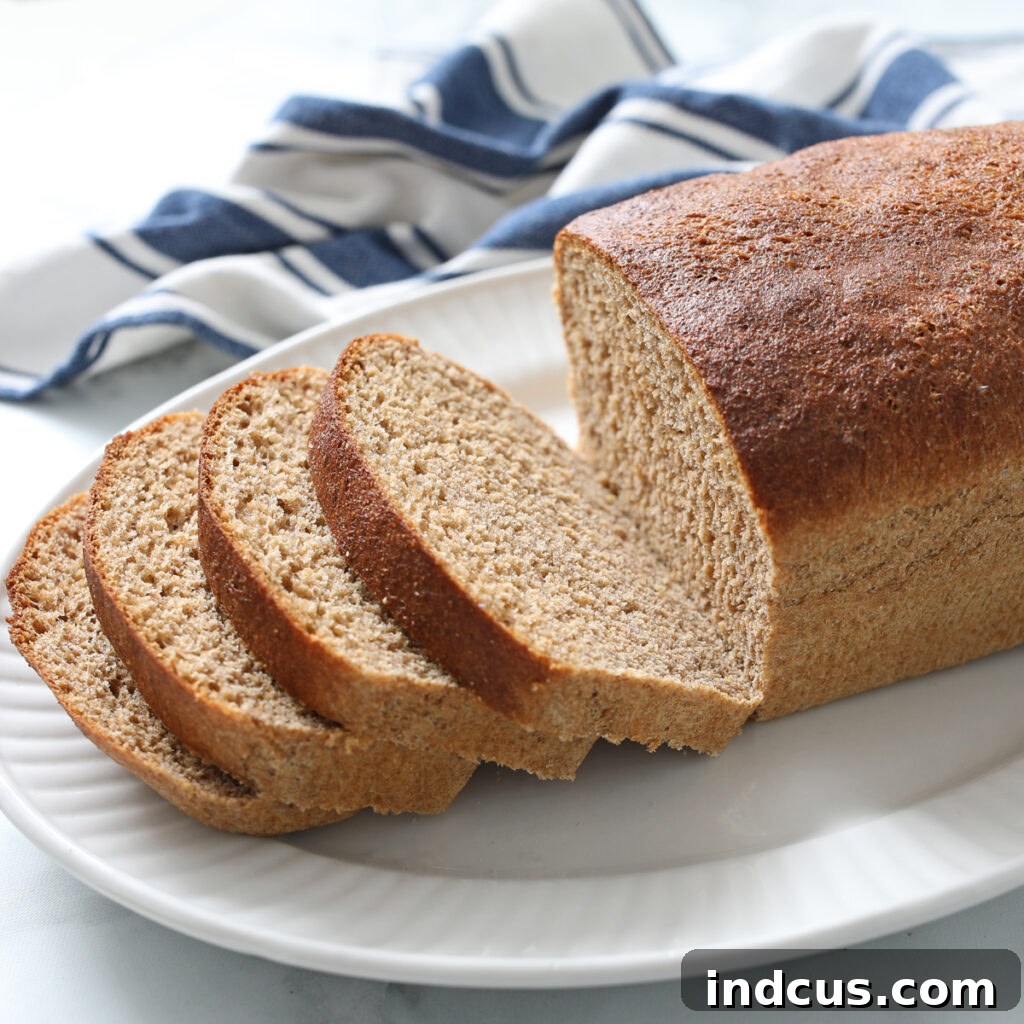
My journey to finding the best whole wheat bread recipe began nearly a decade ago. I confess, I wasn’t always a fan of whole wheat bread, often finding it too heavy and lacking in flavor compared to its white counterpart. So, when a friend brought over a loaf of homemade whole wheat bread, I was admittedly skeptical. However, one bite was all it took to completely change my perspective. This wasn’t just good; it was phenomenal. The crust was perfectly golden, the interior was soft and tender, and the flavor was rich and satisfying. I was absolutely captivated and couldn’t rest until I had pried the recipe from her!
This recipe is designed for flexibility, allowing you to create this incredible loaf using your preferred method. Whether you enjoy the tactile experience of hand kneading, rely on the power of a stand mixer like a KitchenAid or Bosch, or prefer the convenience of a bread machine, you can achieve fantastic results. We’ll walk you through each approach to ensure your success.
Overcoming the Whole Wheat Challenge: Achieving Lightness
One of the most common complaints about baking with whole wheat flour is its tendency to produce dense, heavy loaves. This is due to the bran and germ components of the whole grain, which can interfere with gluten development, leading to a less elastic dough and a smaller, tougher crumb. Many bakers struggle to find that perfect balance of whole grain nutrition and delightful texture. But don’t despair! My solution for achieving a truly light and fluffy whole wheat bread is simple, yet incredibly effective.
The Secret Ingredient: Vital Wheat Gluten
The key to transforming ordinary whole wheat bread into an extraordinary, light, and airy masterpiece lies in adding a small amount of vital wheat gluten to your dough. This powerful ingredient is essentially concentrated gluten protein extracted from wheat flour. When added to whole wheat flour, it significantly boosts the dough’s elasticity and strength, allowing it to trap more gas produced by the yeast. This results in a much better rise and a wonderfully soft, open crumb structure.
Adding vital wheat gluten to your bread dough offers a multitude of benefits, particularly when working with whole wheat flour:
- Increases the protein level: This is crucial for developing a strong gluten network, which is essential for trapping gas and creating volume.
- Helps improve the rise and texture: A stronger gluten network allows the dough to expand more efficiently, leading to a higher, lighter loaf with a softer crumb.
- Helps retain moisture: Gluten helps create a structure that locks in moisture, preventing the bread from drying out too quickly and keeping it fresh for longer.
- Helps prevent crumbling: A well-developed gluten network gives the bread structure and resilience, making it less likely to crumble when sliced.
- Controls expansion and contributes to the uniformity of the dough: It provides a consistent structure, ensuring an even rise and a more uniform texture throughout the loaf.
You might be wondering where to find this magical ingredient. I usually pick up my vital wheat gluten from the bulk bins at stores like Winco Foods, but it’s increasingly available in the baking aisle of most major grocery stores, often alongside other specialty flours or baking enhancers. If you’re having trouble locating it locally, it’s also readily available online, for instance, through Amazon, or at health food stores. A small bag goes a long way, making it a cost-effective investment for superior homemade bread.
The Subtle Magic of Cinnamon
Another element that sets this recipe apart is the inclusion of cinnamon. Now, before you think this will taste like cinnamon rolls, let me assure you: it won’t! The cinnamon in this recipe is not meant to be a dominant flavor. Instead, it plays a supporting role, subtly enhancing the natural, earthy, and nutty notes inherent in whole wheat flour. It adds a depth of flavor that is truly remarkable, making people wonder what makes your bread so uniquely delicious.
I’ve witnessed countless people take a bite of this bread, their eyes widening in surprise as they try to pinpoint the elusive, wonderful flavor. It’s that little hint of warmth and sweetness from the cinnamon that elevates the entire experience, without ever tasting like a spiced bread. Trust me on this: do not skip the cinnamon! It’s one of those unexpected additions that makes all the difference, transforming a great whole wheat bread into an unforgettable one.
Essential Equipment for Perfect Bread
Successful bread baking often hinges on having the right tools, but don’t worry, you don’t need a professional bakery setup to make this fantastic whole wheat bread. Here’s a quick overview of the equipment options:
Hand Mixing: The Traditional Approach
If you love the tactile experience of baking, making this bread by hand is incredibly rewarding. You’ll need a large mixing bowl, a sturdy spoon or spatula for combining ingredients, and a clean, floured surface for kneading. Hand kneading allows you to truly feel the dough’s development and adjust flour as needed. It’s a wonderful way to connect with the baking process.
Using a Stand Mixer: For Efficiency
A stand mixer, such as a KitchenAid or Bosch, with a dough hook attachment, makes the kneading process significantly easier and less labor-intensive. It ensures thorough kneading, which is crucial for developing strong gluten in whole wheat dough. Simply add your ingredients to the bowl, attach the dough hook, and let the machine do the hard work for about 8-10 minutes. This method is perfect for busy bakers or those who prefer a hands-off approach to kneading.
With a Bread Machine: Ultimate Convenience
For the ultimate in convenience, a bread machine can handle everything from mixing and kneading to rising and baking. Most bread machines have a “whole wheat” or “dough” cycle that is ideal for this recipe. Simply add the ingredients in the order specified by your machine’s manual (often liquids first, then dry, with yeast last). The machine will mix, knead, and allow the dough to rise. You can then bake it directly in the machine or remove the dough after the first rise to shape and bake it in a conventional oven for a crisper crust.
Mastering the Dough: Tips for Success
Whether you’re a seasoned baker or new to the world of homemade bread, a few fundamental principles will ensure your whole wheat bread turns out perfectly. The beauty of bread baking lies in its simplicity, but understanding these basics can make all the difference.
If you’re new to making homemade bread, I’ve compiled a comprehensive guide with helpful tips and tricks for making bread here. These principles apply just the same to whole wheat bread as they do to white bread, covering everything from activating yeast to understanding dough consistency. Don’t hesitate to refer to it for a deeper dive into the art of bread making.
The key to success with any yeast bread is patience and observation. Pay attention to how the dough feels – its stickiness, its elasticity. The temperature of your water, the warmth of your kitchen for rising, and the precise measurements of ingredients all contribute to the final product. Don’t be afraid to adjust slightly; baking is an art as much as it is a science. Now, let’s get to the recipe!
The Ultimate 100% Whole Wheat Bread
Ingredients
- 1 5/8 cup warm water (105-115°F or 40-46°C – essential for activating yeast)
- 1/3 cup brown sugar (packed, helps activate yeast and adds flavor/moisture)
- 3 teaspoons active dry yeast (ensure it’s fresh for best results)
- 4 cups whole wheat flour (plus about 2/3 cup more for kneading; measure by spooning into cup then leveling)
- 2 teaspoons salt (fine sea salt or table salt)
- 3/4 teaspoon cinnamon (don’t skip this for depth of flavor!)
- 1 teaspoon vital wheat gluten (our secret to light and fluffy bread!)
Instructions
-
Activate the Yeast: In the mixing bowl of your stand mixer (or bread machine pan), pour in the warm water, then add the brown sugar and active dry yeast. Give it a gentle stir and let it sit for 5-10 minutes until the yeast begins to foam and gets bubbly. This “blooming” indicates your yeast is active and ready to work!
-
Combine Dry Ingredients: Once the yeast is active, add the 4 cups of whole wheat flour, salt, cinnamon, and vital wheat gluten to the bowl. Secure the dough hook attachment on your stand mixer (or start the dough cycle on your bread machine).
-
Mix and Knead: Begin mixing the ingredients on low speed. The dough will start to come together. Gradually increase the speed to medium-low and knead for 8-10 minutes. If mixing by hand, turn the dough onto a lightly floured surface and knead for 10-12 minutes. During kneading, add more flour (from the extra 2/3 cup) gradually, one tablespoon at a time, if the dough is too sticky, until it forms a smooth, elastic ball that pulls away cleanly from the sides of the bowl (or your hands) and is no longer excessively sticky. It should feel soft and slightly tacky, but not wet.
-
First Rise (Bulk Fermentation): Lightly grease a large bowl with oil. Place the kneaded dough in the bowl, turning it once to coat the entire surface with oil. Cover the bowl tightly with a clean kitchen towel or plastic wrap. Let it rise in a warm place (ideally around 75-80°F or 24-27°C) until the dough doubles in size, which typically takes about 1.5 hours. This first rise develops the flavor and structure of the bread.
-
Shape the Loaf and Second Rise: Gently punch down the risen dough to release the air. Turn it out onto a lightly floured surface and shape it into a neat loaf. A simple method is to flatten it into a rectangle, then roll it tightly into a log, pinching the seam closed. Place the shaped loaf into a greased 9×5-inch bread pan. Cover the pan again with a towel and let it rise in a warm place for another 30 minutes, or until the dough has roughly doubled in size again and fills the bread pan, cresting slightly over the top.
-
Bake to Perfection: Preheat your oven to 350°F (175°C) during the last 15 minutes of the second rise. Bake the bread for approximately 30-35 minutes, or until the top is beautifully golden brown. To test for doneness, gently tap the top of the loaf; it should sound hollow. For ultimate accuracy, use a food thermometer to check the internal temperature; the bread is perfectly baked when it reaches 200-210°F (93-99°C).
-
Cool and Enjoy: Once baked, immediately remove the bread from the pan and place it on a wire cooling rack. Allow it to cool completely (or at least mostly!) before slicing. Slicing warm bread can sometimes result in a gummy texture. Patience will be rewarded with the best slices!
Serving Suggestions for Your Homemade Whole Wheat Bread
Once your beautiful loaf of whole wheat bread is baked and cooled, the possibilities are endless! Its robust flavor and soft texture make it incredibly versatile. Enjoy it simply sliced with a pat of butter, or elevate it with your favorite toppings:
- Classic Toast: Perfect for breakfast, topped with jam, honey, or avocado.
- Hearty Sandwiches: Its sturdy structure holds up wonderfully to deli meats, cheeses, and fresh vegetables.
- Soup Dippers: An ideal accompaniment to a warm bowl of soup or chili.
- Garlic Bread: Slice, spread with garlic butter, and toast for a delicious side dish.
- Croutons: Cube stale bread, toss with olive oil and herbs, and bake until crispy for salads.
Storage Tips: Keeping Your Bread Fresh
Freshly baked bread is a joy, and with proper storage, you can extend that joy for several days. After your whole wheat bread has fully cooled:
- Room Temperature: For consumption within 2-3 days, store the bread in an airtight container or a bread bag at room temperature. Avoid refrigerating, as it can cause bread to stale faster.
- Freezing: For longer storage, slice the bread and place the slices in a freezer-safe bag. Slicing before freezing allows you to take out just what you need. It will stay fresh in the freezer for up to 3 months. Thaw slices as needed, or pop them directly into a toaster.
Troubleshooting Common Whole Wheat Bread Issues
Even with the best recipes, baking can sometimes present challenges. Here are a few common issues you might encounter with whole wheat bread and how to address them:
Not Rising Enough?
If your dough isn’t rising as expected, several factors could be at play. The most common culprit is inactive yeast. Ensure your water temperature is within the recommended range (105-115°F or 40-46°C) – too hot will kill the yeast, too cold won’t activate it. Also, check the expiration date of your yeast. A warm, draft-free environment for rising is also crucial. If your kitchen is cold, try placing the covered bowl in a slightly warm oven (turned off, with just the light on) or near a sunny window.
Is Your Bread Too Dense?
Whole wheat bread can be naturally denser than white bread, but this recipe aims for lightness. If yours is still too dense, you might have added too much flour during kneading, making the dough stiff. Or, you might not have kneaded enough, preventing proper gluten development. The vital wheat gluten is key here, so ensure you’ve added the correct amount. Finally, make sure your yeast is active and the dough has had sufficient time for both its first and second rises.
Crust Too Hard or Thick?
A hard or thick crust can result from over-baking or baking at too high a temperature. Ensure your oven temperature is accurate (an oven thermometer can help!). You can also try adding a shallow pan of water to the bottom rack of your oven during baking to create steam, which helps keep the crust softer. If it’s already baked, brushing the warm loaf with butter immediately after removing it from the oven can soften the crust.
Craving White Bread Instead?
While this whole wheat bread is truly amazing, sometimes you just want a classic white loaf! If you’re looking for a simple, soft, and delicious white bread recipe, I’ve got you covered. This is truly the best homemadewhitebread recipe EVER:
Did You Make This?
We’d love to see your creations! Share your beautiful loaves with us on Instagram @thecraftpatch and follow pinterest for more delicious recipes and creative inspiration!
Pin Recipe
Share Recipe