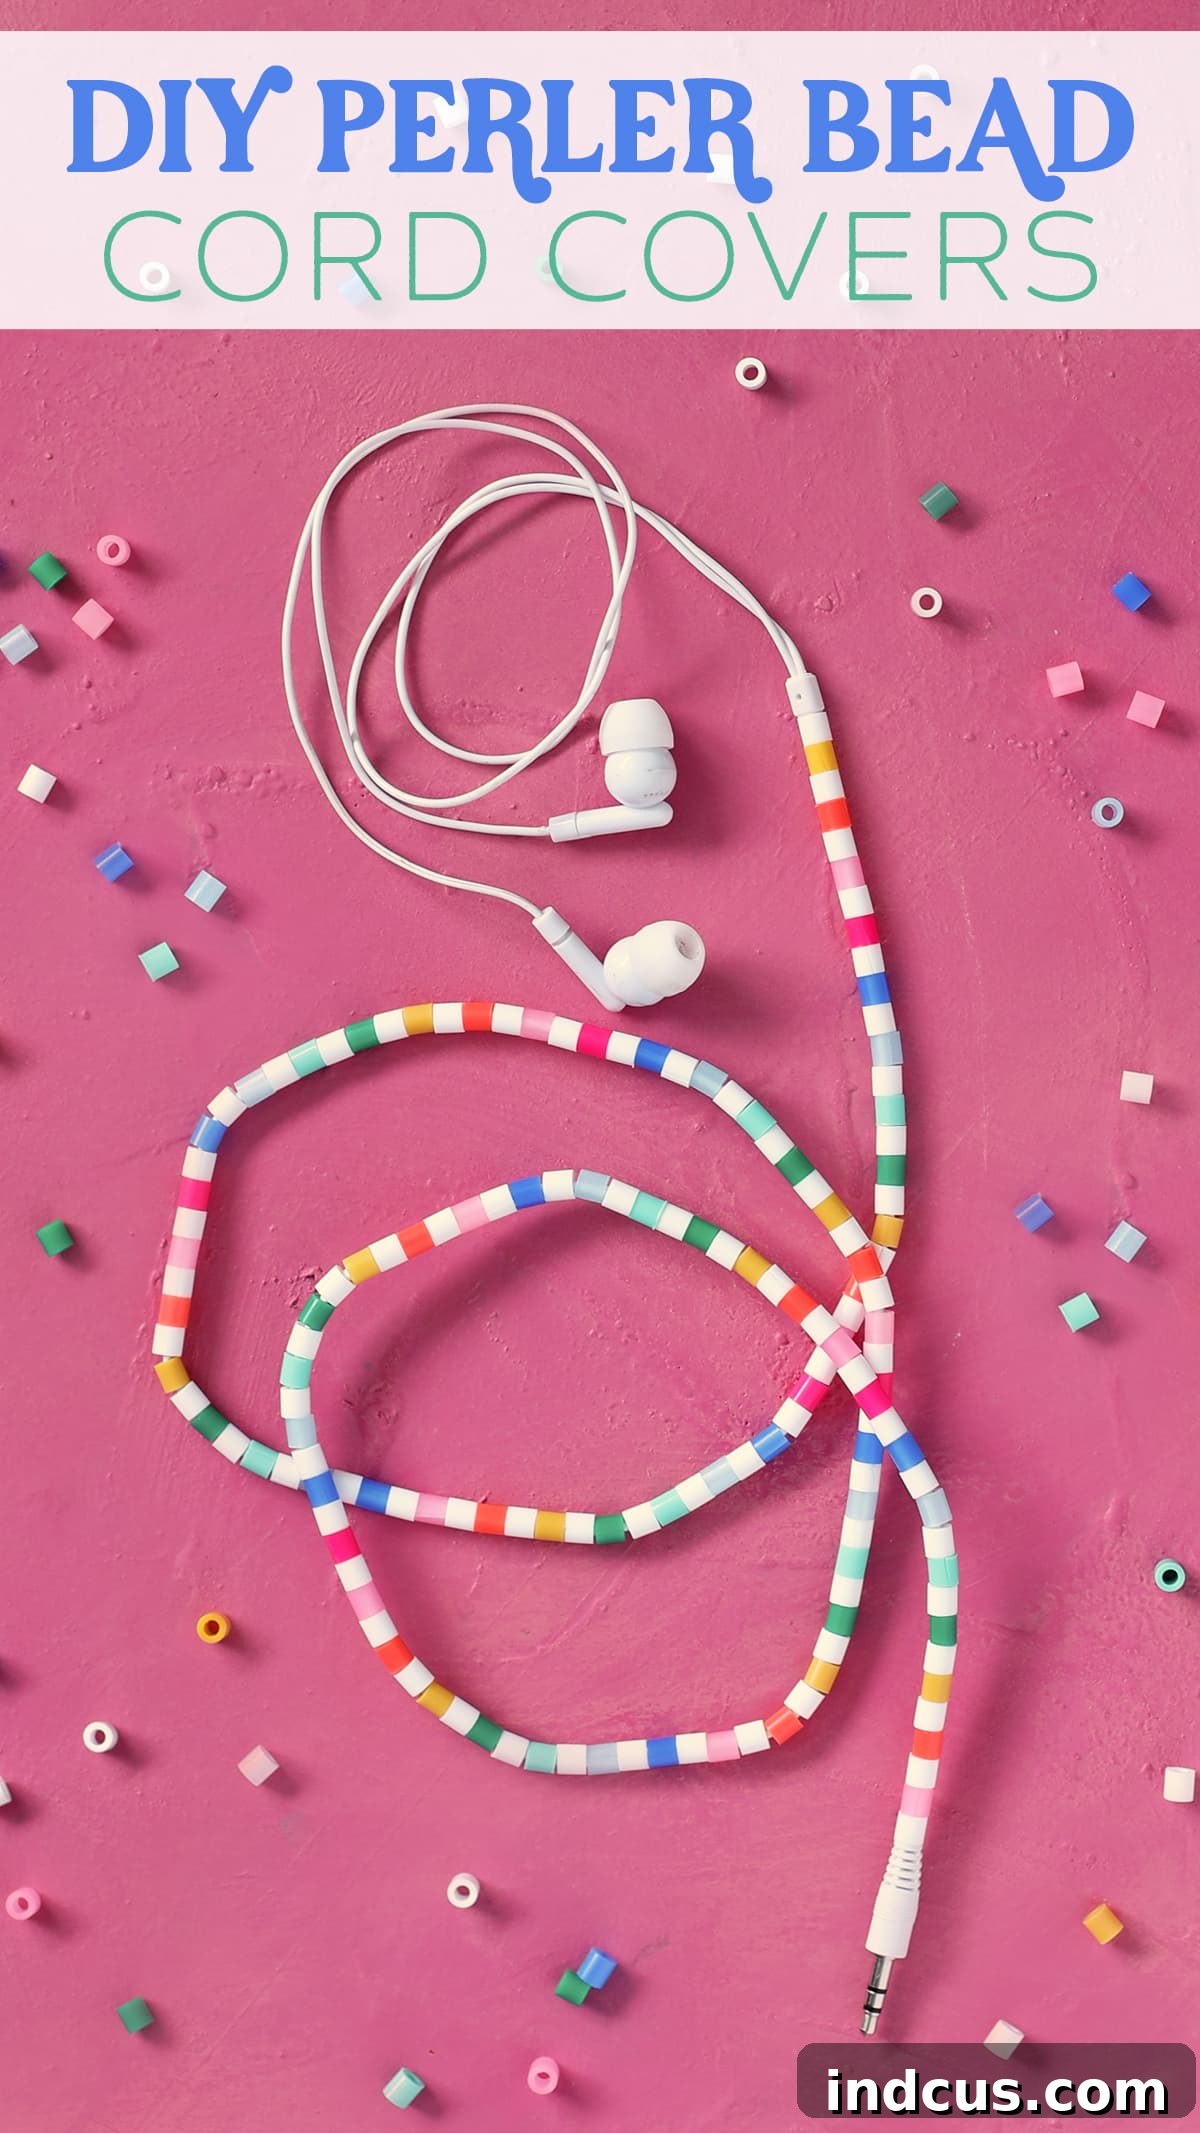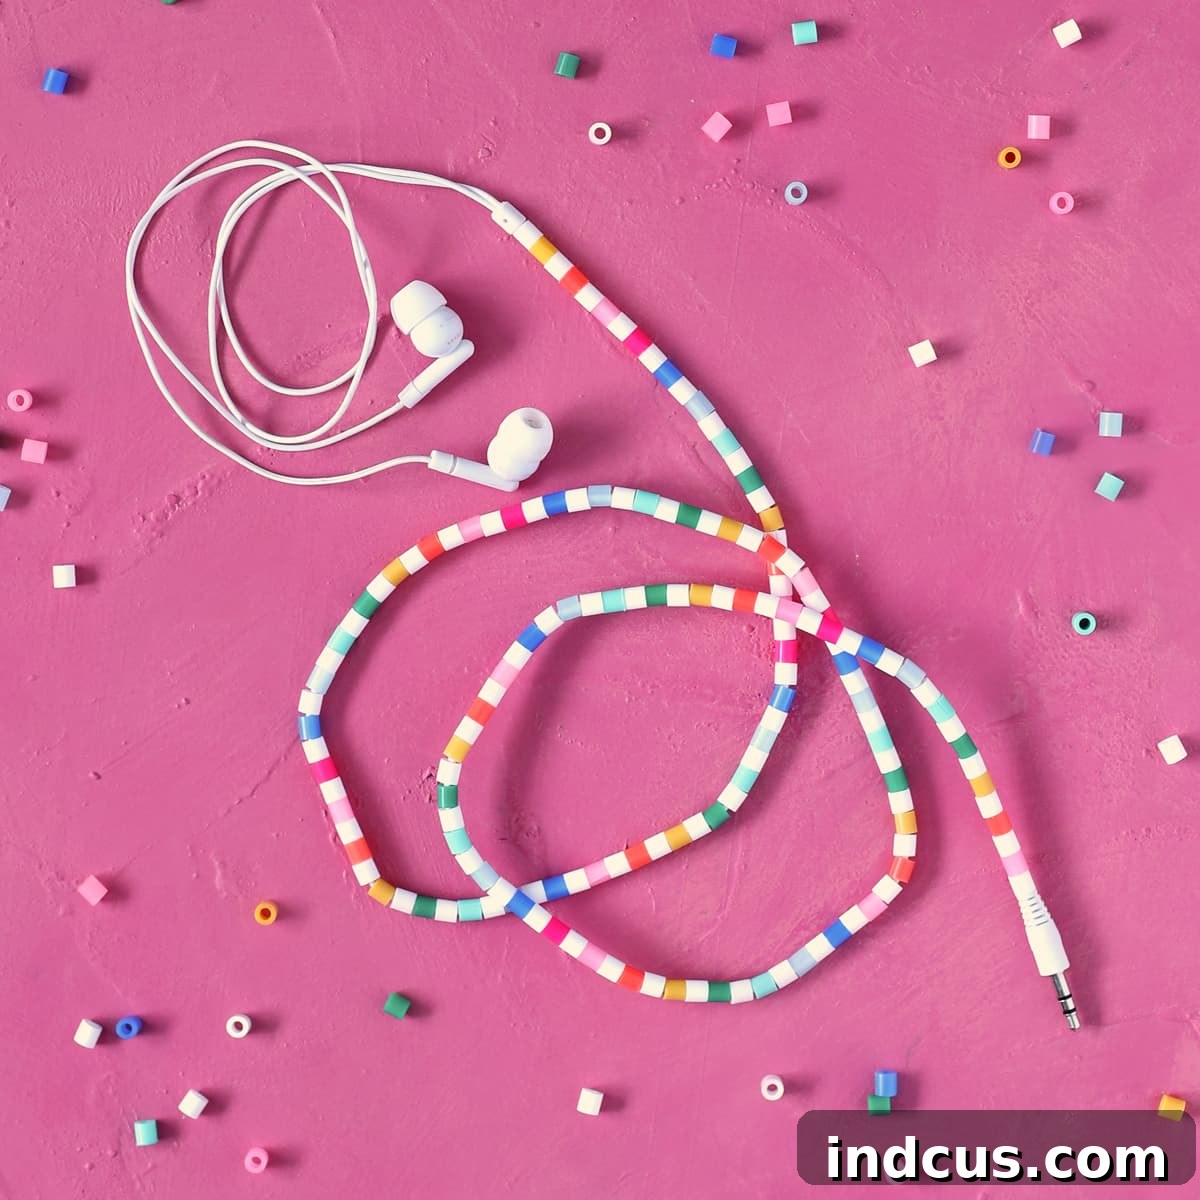
Transform Your Headphones: The Ultimate Guide to DIY Perler Bead Cord Covers
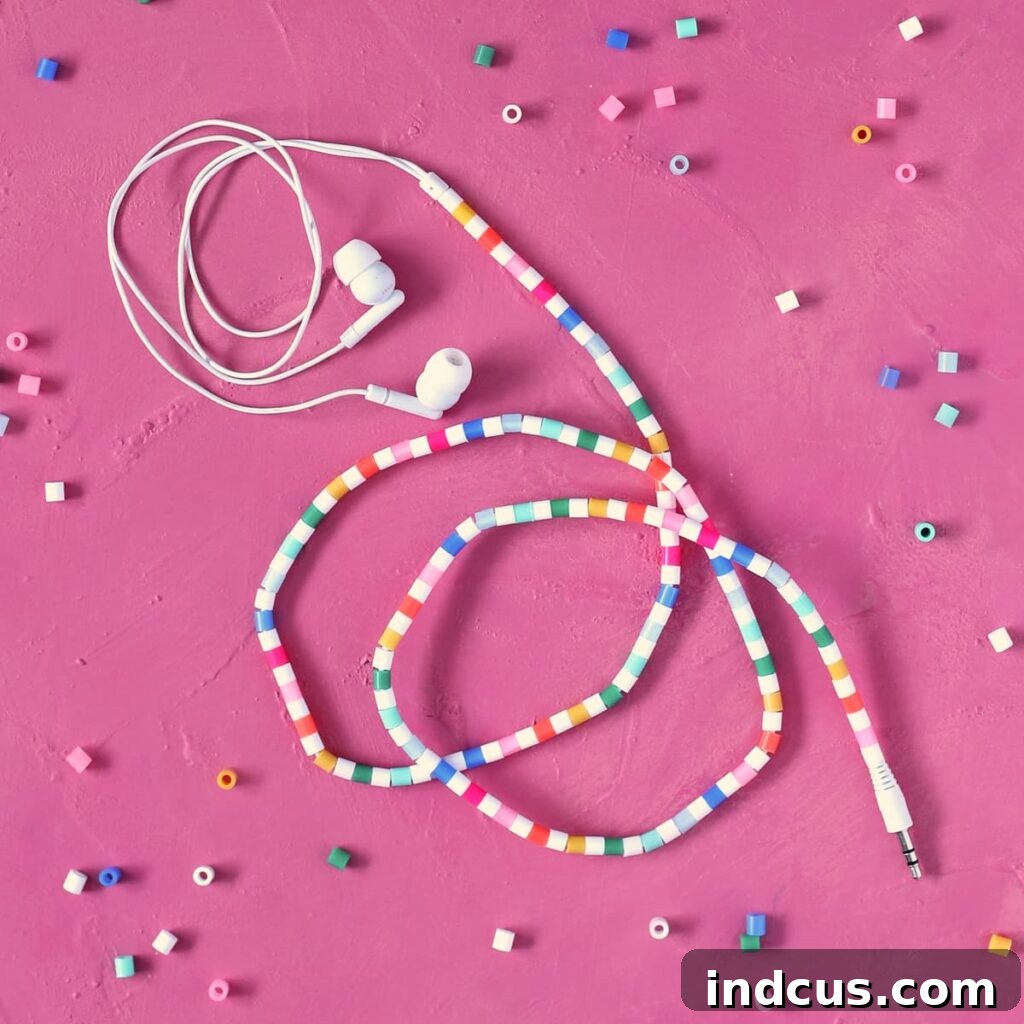
Are you tired of tangled headphone cords, or perhaps wishing your tech accessories had a bit more personality? Today, we’re diving into a delightfully simple yet incredibly impactful craft that will revolutionize the way you see your headphones. We’re going to explore how to cover the cord of your favorite headphones using vibrant Perler beads, also widely known as Hama beads or melty beads. This isn’t just a fun project; it’s a practical solution to several common frustrations, transforming a mundane item into a unique statement piece.
Traditionally, Perler beads are arranged on a pegboard to form intricate flat designs, which are then fused together with heat from an iron. However, we’re about to embark on a completely different application that unlocks a world of creativity and utility. By applying these small, colorful cylinders directly to your headphone cord, you’ll not only infuse them with bright, personalized flair but also achieve some remarkable functional benefits. This craft offers an ingenious way to safeguard your cords, prevent frustrating tangles, and make them distinctly yours. Prepare to add a splash of joy and practicality to your everyday essentials with this clever DIY project.
The Multifaceted Benefits of Perler Bead Cord Covers
This simple craft offers a surprising array of advantages, making it much more than just a decorative endeavor. Covering your headphone cords with Perler beads provides practical solutions to common problems while allowing for unparalleled personalization.
Say Goodbye to Tangles and Knots
One of the most frustrating aspects of using headphones is the inevitable tangle that forms, often seemingly out of thin air, every time you put them in your bag or pocket. The smooth, individual strands of a headphone cord are prone to twisting and knotting, leading to wasted time untangling and potential damage. By encasing the cord in a continuous sleeve of Perler beads, you significantly increase its rigidity and surface area. This structured covering prevents the cord from bending and twisting into tight knots, making it far easier to manage and store. Imagine reaching for your headphones and finding them ready to use, every single time.
Instant Personalization and Easy Identification
In a world where many headphones look alike, it can be challenging to distinguish yours from others, especially in a shared household or workspace. Perler bead covers offer an unparalleled opportunity for personalization. With an almost endless palette of colors and the freedom to create any pattern imaginable – from stripes and spirals to abstract designs or even themed color schemes – your headphones will instantly become unique. This isn’t just about aesthetics; it’s also highly practical. You’ll never again confuse your headphones with someone else’s, making identification effortless and adding a personal touch that truly reflects your style.
Enhanced Cord Protection and Extended Lifespan
Headphone cords are delicate and often the first part of the device to fail due to wear and tear. Constant bending, kinking, friction against surfaces, and accidental pulls can fray wires, expose internal components, and ultimately lead to breakage. The durable plastic shell of Perler beads acts as a protective armor around your cord. Each bead shields a segment of the wire from external stressors, reducing the impact of daily use and safeguarding against common damage points. This added layer of protection significantly prolongs the life of your headphones, saving you money on replacements and ensuring your favorite tunes or podcasts are always within reach.
Aesthetic Appeal: From Bland to Brilliant
Beyond the functional benefits, the visual transformation achieved with Perler bead covers is truly remarkable. Standard headphone cords are often drab and unremarkable. With a rainbow of Perler bead colors at your disposal, you can transform a plain black or white cord into a vibrant, eye-catching accessory that complements your personality, outfit, or mood. Whether you prefer a bold, multicolored statement or a subtle, elegant pattern, this craft allows you to express your creativity and turn a simple utility item into a stylish accessory you’ll be proud to show off. It’s a craft that is both cute and immensely useful, a perfect blend of form and function!
Materials You’ll Need for Your DIY Project
One of the best aspects of this craft is how few materials are required, most of which you might already have on hand. Gather these simple items, and you’ll be ready to embark on your creative journey to a tangle-free, personalized headphone experience.
- Perler Beads (or Hama Beads / Melty Beads): These are the stars of our project. You’ll need a good quantity, as even a standard headphone cord can require hundreds of beads. Consider purchasing a multi-color bucket or specific color packs based on your desired design. The classic 5mm size works perfectly for most standard headphone cords.
- Sharp Scissors: A pair of small, sharp scissors with a pointed tip is crucial for making precise cuts. Craft scissors, embroidery scissors, or even a sturdy pair of nail scissors can work well. The sharper the blades, the cleaner your cuts will be, which helps the beads close seamlessly.
- Headphones: Naturally, you’ll need the headphones you intend to customize. Ensure the cord is clean and free of any existing damage before you begin.
- Felt Pad or a Shallow Dish/Plate: While optional, having a dedicated surface to contain your beads is highly recommended. A piece of felt prevents beads from rolling away and makes them easier to pick up. Alternatively, a small dish, plate, or a shallow box lid can serve the same purpose, keeping your workspace tidy and your beads organized.
- Needle-Nosed Pliers: These specialized pliers are incredibly helpful for gently prying open the cut beads without breaking them. Their fine tips allow for delicate manipulation, ensuring the beads are opened just enough to slip onto the cord, making the process much smoother and more efficient.
Having your materials organized before you start will make the crafting process much more enjoyable and efficient. Lay everything out on a clean, well-lit surface, and prepare to bring your creative vision to life!
Step-by-Step Guide: Crafting Your Perler Bead Cord Cover
Transforming your headphone cord with Perler beads is a surprisingly straightforward process. Follow these detailed steps to create a beautiful and functional cord cover that will make your headphones stand out.
Preparing Your Perler Beads
Step 1: Precisely Cut Each Bead
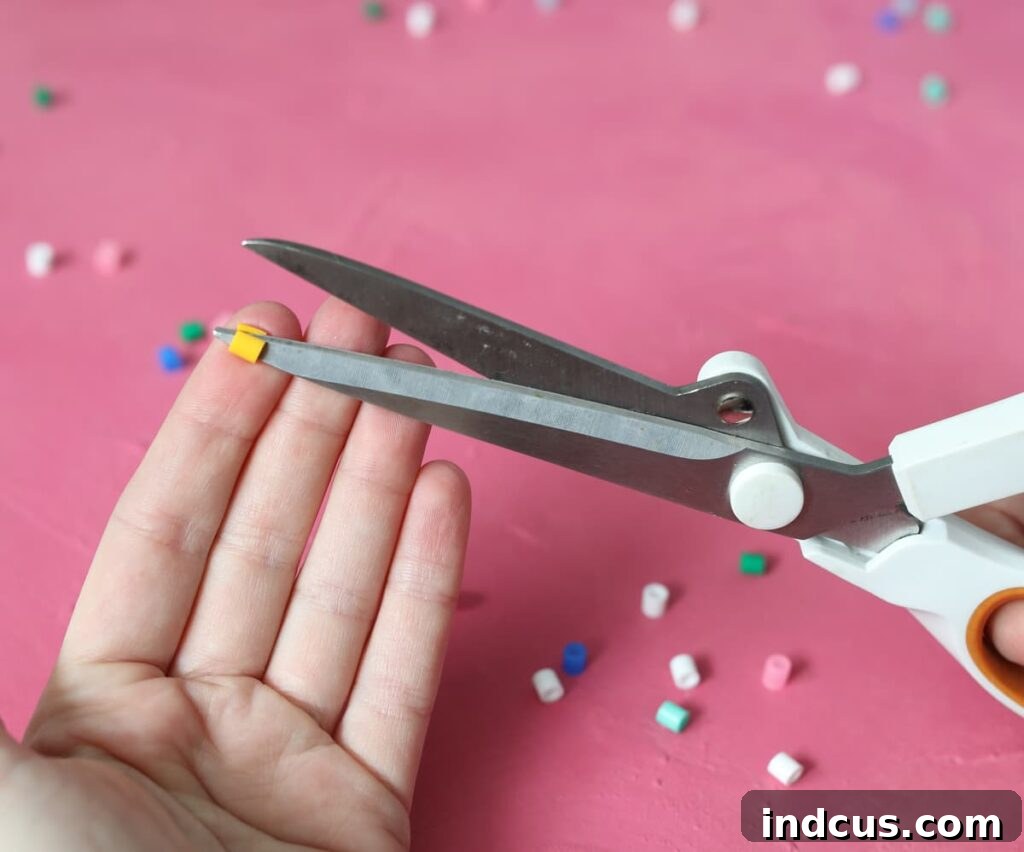
This is the most crucial step, as it allows the beads to be placed onto the cord without needing to thread them. Take one Perler bead at a time. Using the tip of your sharp scissors, carefully insert one blade into the central hole of the bead. Apply gentle but firm pressure and cut a straight slit all the way through the bead, from one side to the other. Imagine you’re splitting the bead perfectly in half along its length. The goal is to create a clean, continuous opening that runs the entire length of the bead. Aim for a single, smooth cut rather than multiple small cuts, as this will help the bead close up seamlessly later. Practice on a few spare beads if you’re feeling unsure to get a feel for the required pressure and angle. Precision here makes a big difference in the final look and functionality.
Step 2: Gently Open the Bead Slit with Pliers
Once you’ve cut a bead, it needs to be opened slightly to accommodate the headphone cord. Pick up the cut bead and hold it between your thumb and forefinger. Then, take your needle-nosed pliers and carefully place the tips of the pliers into the slit you just made. Gently squeeze the handles of the pliers to pry open the slit just a tiny bit – enough for the headphone cord to slip in, but not so much that the bead breaks or becomes distorted. The plastic of the Perler bead is somewhat flexible, so it will resist slightly. Be delicate and avoid forcing it open too wide, as this can weaken the bead or cause it to snap. The goal is to create a temporary opening that springs back into place once the cord is inserted.
Attaching Beads to Your Cord
Step 3: Slip the Bead Onto the Headphone Cord
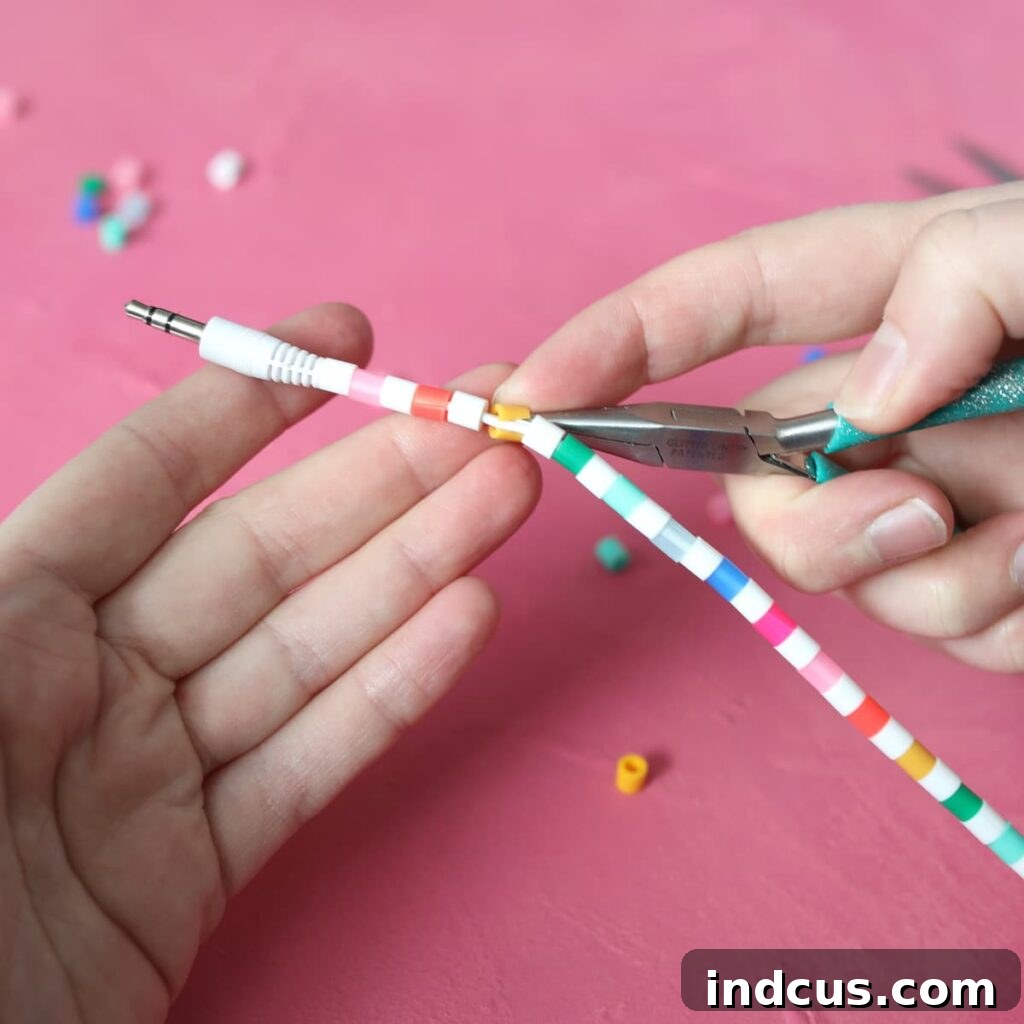
With the bead slit gently pried open, carefully position it over the headphone cord at your desired starting point. Gently push the cord into the opening of the bead. As you release the pliers and the bead, the slit will naturally close up around the cord. If you’ve made a clean cut, the seam will be barely noticeable, creating a smooth and continuous appearance. Continue this process, adding beads one by one, until you have covered the entire length of the cord to your liking. Many people choose to stop where the two wires split to go to each earbud, creating a solid, colorful main cord. However, for an even more vibrant and protective look, you can certainly continue adding Perler beads to both of those individual strands as well. Simply repeat the cutting and attaching process for each branch of the cord. Take your time, enjoy the rhythmic process, and watch your personalized cord come to life!
It’s genuinely that straightforward! The repetitive nature of adding beads can be quite meditative and satisfying, and the end result is always impressive.
Unleash Your Creativity: Design Ideas and Inspirations
The beauty of Perler bead cord covers lies in the endless design possibilities. While a simple rainbow pattern is a fantastic starting point, don’t limit your imagination. Here are some ideas to spark your creativity and help you design a cord cover that truly reflects your style:
- Rainbow Spectacle: As featured, a classic rainbow pattern transitioning through red, orange, yellow, green, blue, indigo, and violet is always a winner. You can add a neutral spacer bead (like white, black, or clear) between each color segment for a clean, defined look, or blend them directly for a continuous gradient.
- Gradient Glamour: Choose shades of a single color, moving from light to dark (e.g., sky blue to navy, or pale pink to fuchsia). This creates a sophisticated and cohesive gradient effect.
- Striped Sensations: Alternate two or three complementary colors in a repeating pattern (e.g., black and white, blue and yellow, or school colors). You can create thin stripes, thick stripes, or even a Morse code-like pattern with varying lengths.
- Themed Collections: Think about your favorite fandoms, seasons, or holidays. For example, use red, green, and white for a festive holiday cord, or house colors for a Harry Potter fan. Ocean themes with blues and greens, or autumnal hues with reds, oranges, and browns, also work beautifully.
- Ombre Elegance: This is a more subtle gradient, where colors gradually transition from one to another. For instance, start with white, slowly introduce light blue, then medium blue, and finally dark blue.
- Random & Whimsical: Don’t feel pressured to follow a strict pattern! Simply pick beads at random and apply them for a playful, eclectic, and unique look that embraces spontaneity. This can be especially fun for kids’ headphones.
- Monochromatic Mastery: If you prefer a minimalist aesthetic, choose varying shades of a single color, or simply stick to one solid color like sleek black, crisp white, or a vibrant solid hue.
- Glow-in-the-Dark Fun: Did you know Perler beads come in glow-in-the-dark varieties? Imagine a cord that illuminates in low light! This is a fantastic option for adding a unique, magical touch.
Before you begin attaching beads, it can be helpful to lay out a small section of your desired pattern on your felt pad or dish. This allows you to visualize the design and make any adjustments before committing. The possibilities are truly endless, so have fun experimenting and let your personality shine through your personalized cord cover!
Beyond Headphones: Other Applications for Perler Bead Covers
The innovative technique of covering cords with Perler beads isn’t limited to just headphones. This versatile DIY hack can be applied to a multitude of other cables and wires around your home and office, bringing the same benefits of protection, tangle-prevention, and personalization. As long as the diameter of the cord fits comfortably within the hole of a standard Perler bead, you can apply this method!
- Charging Cords: This is arguably the second most popular application. Smartphone, tablet, and laptop charging cables are notorious for tangling and fraying near the connectors. A Perler bead cover can protect these vulnerable areas and make your charger easily identifiable in a sea of similar cords.
- USB Cables: Whether for external hard drives, cameras, or other peripherals, USB cables can also benefit from this colorful upgrade and added durability.
- Mouse Cables: If you use a wired mouse, covering its cord can prevent tangles and add a fun, personalized touch to your desk setup.
- Small Appliance Cords: Think about the cords for your desk lamp, fan, or even kitchen gadgets. If the cord is thin enough, you can bead it to match your decor or simply make it more vibrant.
- Auxiliary Cables: Perfect for car audio systems or connecting older devices, these often get tangled or lost among other cables. A bead cover solves both issues.
- Stylus Cords: Some graphic tablets or digital pens come with tethered styluses. Beading the cord can prevent it from tangling with other wires on your desk.
Imagine a home where every cable is a vibrant expression of style, neatly organized and protected from wear and tear. This simple craft empowers you to transform boring, utilitarian cords into functional pieces of art. No more boring cords! Bead all the cords and bring a burst of color and order to your electronic life.
Troubleshooting Tips & Best Practices
While this project is simple, a few tips can ensure a smoother process and a flawless finish:
- Sharp Scissors are Key: As mentioned, good quality, sharp scissors make clean cuts. Dull scissors can crush the beads, making them harder to open and prone to breaking.
- Gentle Prying: Over-forcing the pliers can snap the bead. Aim for just enough opening to slide the cord in. The bead should spring back to a closed position easily.
- Work in Sections: If you have a very long cord, don’t try to add all beads at once. Work in manageable sections, pushing beads down as you go to make room for more.
- Plan Your Pattern: For complex designs, lay out a segment of your pattern on your workspace before cutting and applying beads. This helps visualize and prevent mistakes.
- Bead Quantity: A standard pair of headphone cords can take several hundred beads. It’s better to have too many than too few, so buy a generous amount, especially if you’re experimenting with patterns.
- Cord Length Variation: Remember that different headphones have different cord lengths. Measure or estimate before you start if you want a complete coverage.
- Stopping Points: Consider where you want your beaded section to end. Many choose to stop before the cord splits into two for the earbuds, but you can certainly continue onto those thinner strands for full coverage.
- Protecting Connectors: While the beads protect the main cord, remember that the connectors (jack, USB port ends) are still vulnerable. Avoid excessive bending or pulling on these areas.
Why This Craft is a Must-Try
In a world of mass-produced goods, there’s immense satisfaction in creating something with your own hands, especially when it’s both aesthetically pleasing and incredibly useful. This Perler bead cord cover project ticks all these boxes and more. It’s a craft that’s accessible to nearly everyone, regardless of prior crafting experience, requiring only a few inexpensive materials and a little patience.
The immediate gratification of seeing your plain, easily tangled cord transform into a vibrant, structured, and personalized accessory is truly rewarding. You’ll not only enjoy the process of making it but also the daily benefits it brings: no more fumbling with knots, instant recognition of your gear, and the peace of mind that your beloved headphones are better protected against the rigors of everyday use. This simple DIY project offers a powerful combination of creativity, utility, and personal expression.
Conclusion: Embrace the Colorful Transformation!
As you can see, covering your headphone cords with Perler beads is a brilliantly simple yet incredibly effective way to infuse personality, prevent frustrating tangles, and extend the lifespan of your audio accessories. It’s a craft that appeals to all ages, providing a rewarding experience and a highly functional end product. Whether you opt for a dazzling rainbow, a subtle gradient, or a completely custom design, the results are always unique and eye-catching.
So, gather your beads, unleash your inner artist, and embark on this fun and practical DIY journey. Say goodbye to dull, tangled cords and hello to vibrant, personalized tech! Don’t be surprised if you find yourself rediscovering a love for Perler beads and start looking for other cords around your home that could use a touch of color and protection. We encourage you to try this project and share your amazing creations with the world. Happy crafting!
Like this idea? Pin it for later inspiration!