Elevate Your Thanksgiving Table with Charming DIY Utensil Pouches and Napkin Wraps: Free Printables for a Festive Feast
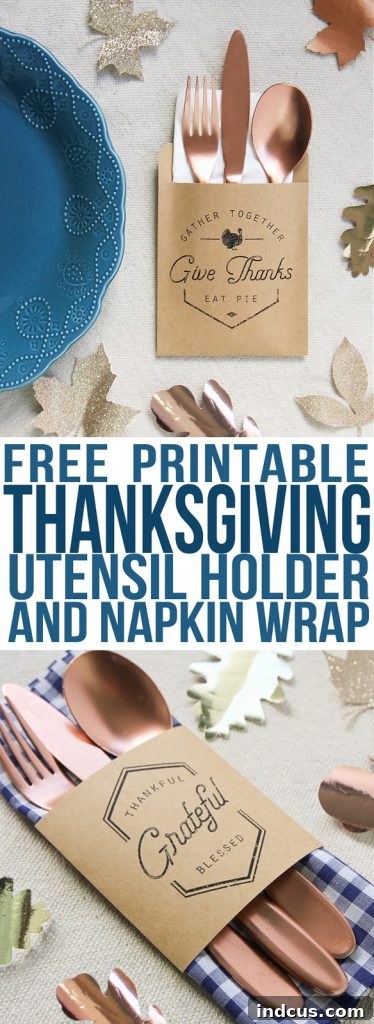
As the aroma of pumpkin pie and roasted turkey fills the air, Thanksgiving beckons us to gather with loved ones, share gratitude, and create cherished memories. Beyond the delicious food, a beautifully set table plays a pivotal role in establishing that warm, inviting holiday atmosphere. This year, why not add a uniquely personal and effortlessly stylish touch to your Thanksgiving table decor with these delightful DIY utensil pouches and napkin wraps? We’ve crafted some free Thanksgiving printables designed with a charming vintage aesthetic that will instantly elevate your holiday spread.
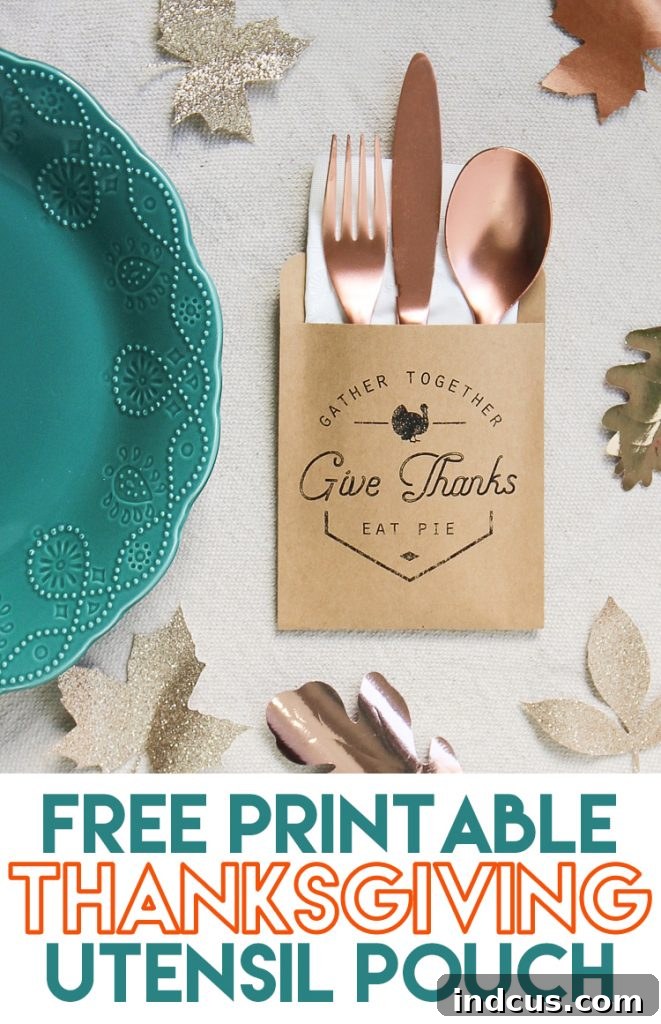
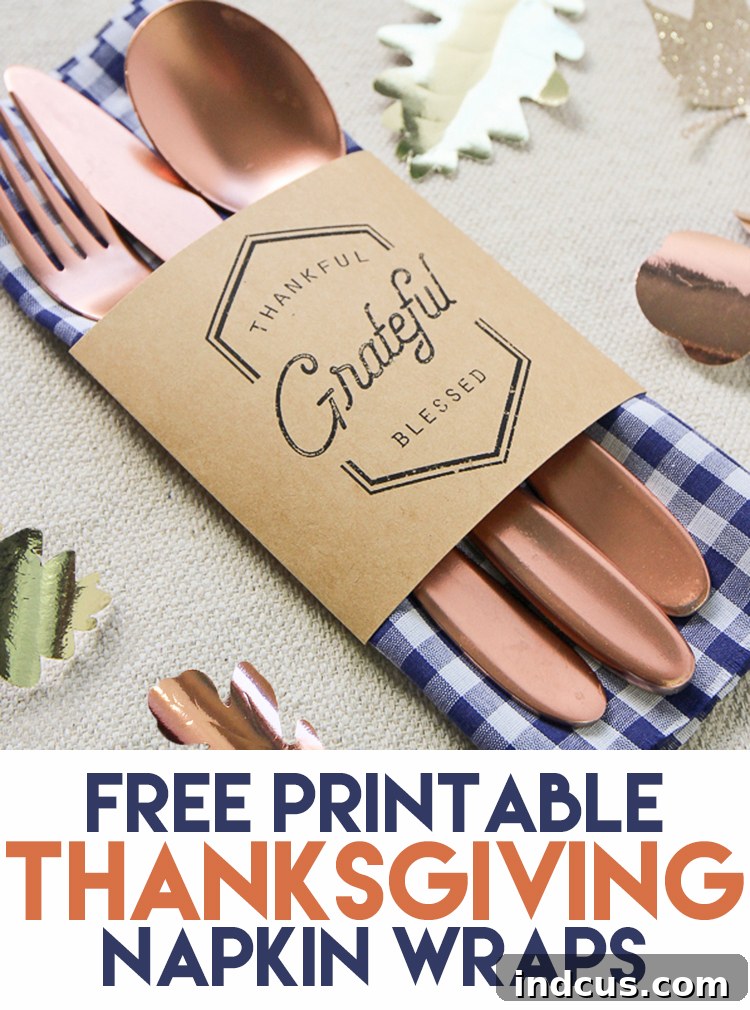
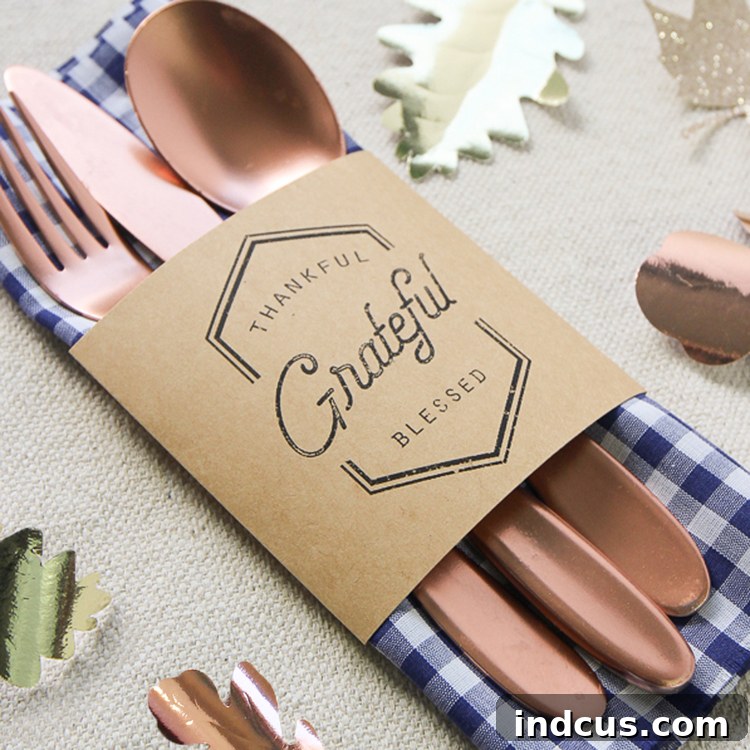
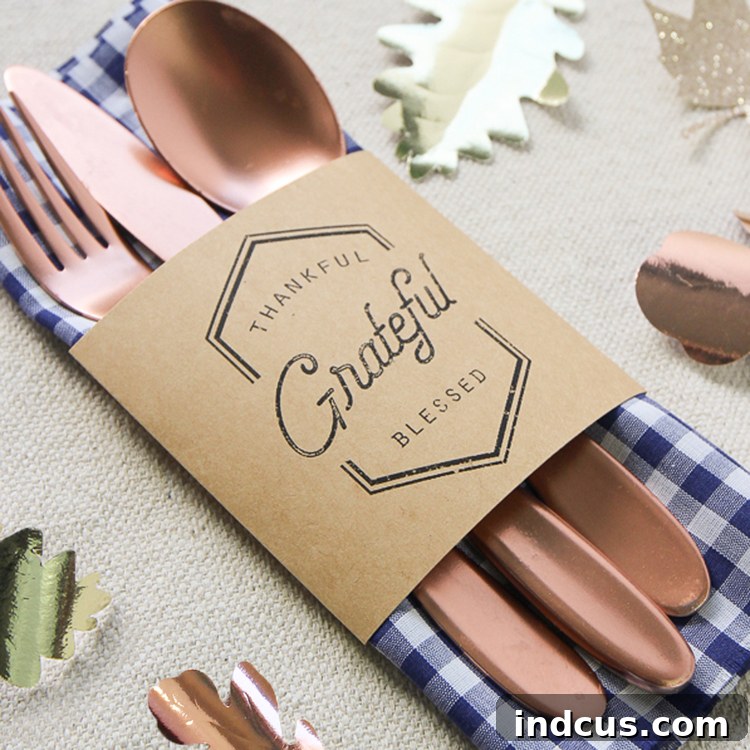
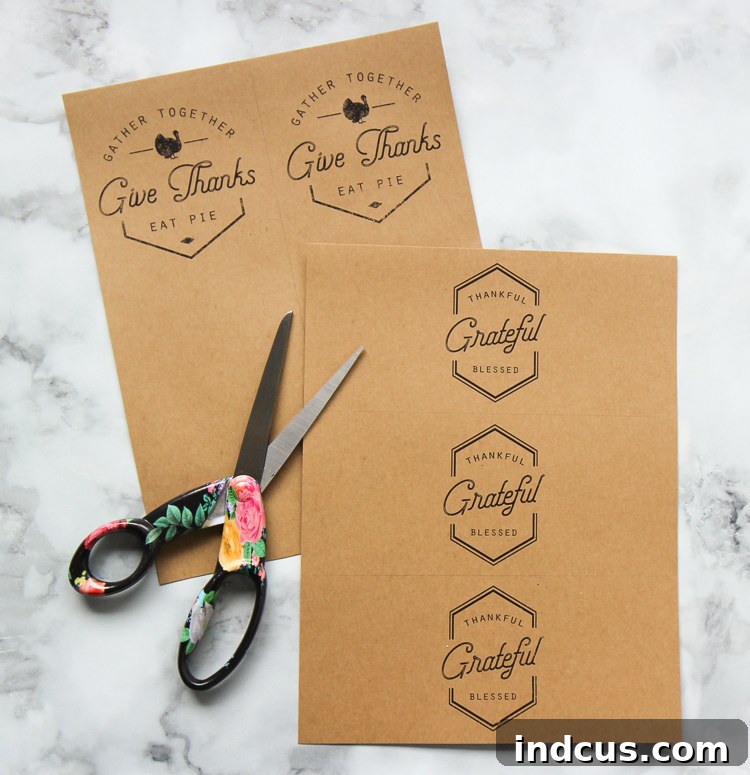
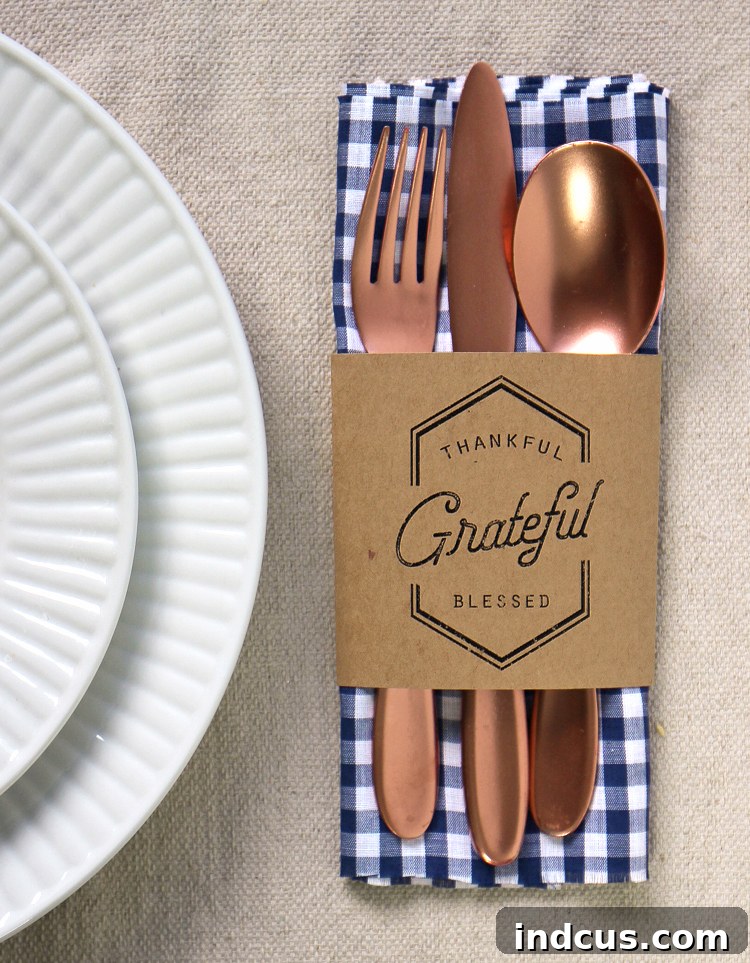
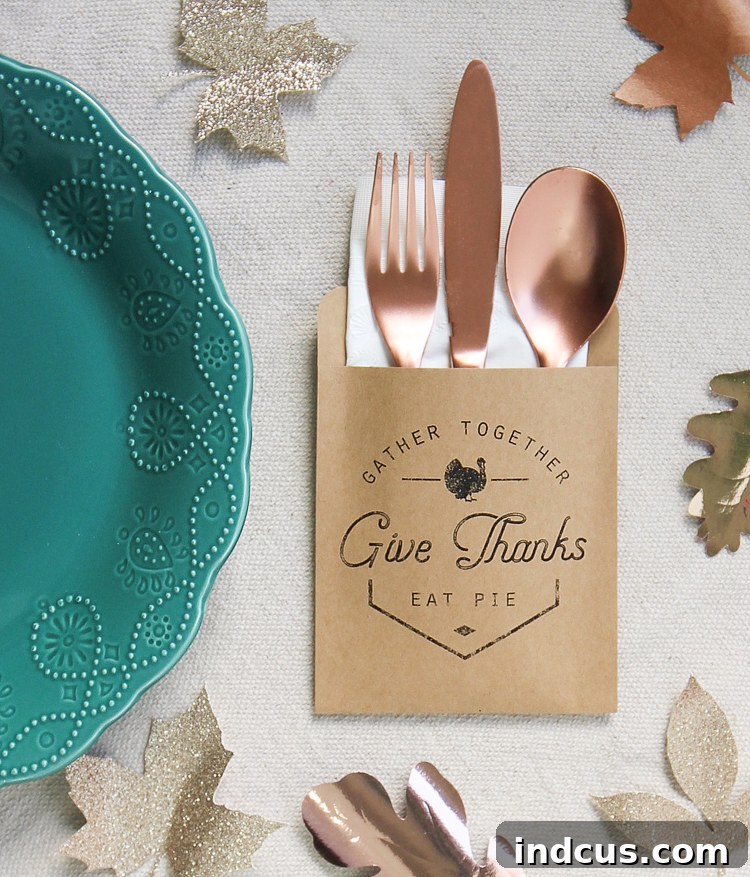
These printables offer two versatile options, allowing you to choose the perfect fit for your Thanksgiving feast. The first design transforms into a small, elegant pouch, ideal for neatly holding silverware and a folded napkin. The second option serves as a chic wrap, designed to encircle your utensils and napkin with a cohesive, festive flourish. Both versions are incredibly simple to make, yet their impact on your table setting will be profound, leaving your guests impressed by your thoughtful attention to detail.
Why DIY Your Thanksgiving Table Decor?
In the hustle and bustle of Thanksgiving day preparations, finding ways to add elegance without adding stress is key. These DIY Thanksgiving decorations offer numerous benefits:
- Personalized Charm: Store-bought decor can be lovely, but handmade touches bring an unmatched level of warmth and personality to your celebration. These printables, with their classic vintage appeal, offer a timeless look.
- Budget-Friendly Elegance: Crafting your own decor using free printables is a fantastic way to achieve a sophisticated look without breaking the bank. All you need are a few basic supplies, and you’re ready to create.
- Effortless Organization: Utensil pouches keep your cutlery neatly organized and hygienically presented, while napkin wraps add a polished finish to your place settings. This small detail makes a big difference in presentation.
- Stress-Free Preparation: This is a craft you can easily complete days or even weeks before Thanksgiving, allowing you to focus on cooking and enjoying the company of your guests on the actual holiday. Imagine the ease of simply placing pre-assembled pouches at each setting!
- Fun for All Ages: This project is simple enough for older children to help with, making it a wonderful opportunity to involve the whole family in Thanksgiving preparations and foster a sense of togetherness.
Gather Your Supplies: What You’ll Need
Before diving into the creative process, ensure you have these essential items on hand:
- Your chosen free Thanksgiving printables (download link at the bottom of this post).
- 8.5×11 inch cardstock (the sturdiness of cardstock is crucial for durability).
- Sharp scissors or a paper trimmer.
- Adhesive (hot glue, craft glue, or strong double-sided tape).
- Optional: A corner punch (for a rounded, professional finish on the pouches).
When selecting your cardstock, consider the aesthetic you’re aiming for. We recommend kraft paper for its rustic, earthy texture, which perfectly complements a traditional Thanksgiving theme and enhances the vintage feel of the designs. However, don’t be afraid to experiment! Printing on crisp white cardstock will give a clean, modern farm-style look, while colored cardstock could add a vibrant pop to your table. For an exceptionally elegant and translucent effect, try printing on vellum – the possibilities are endless for creating a look that’s uniquely yours.
Step-by-Step Guide to Crafting Your Thanksgiving Utensil Holders
STEP 1: Download and Print Your Free Thanksgiving Printables
The journey to a beautifully adorned Thanksgiving table begins with accessing your free printables. You’ll find the download link conveniently located at the bottom of this post. Once downloaded, it’s time to print. For the best results, print these designs onto sturdy 8.5×11 inch cardstock. While the rustic charm of kraft paper is undeniably perfect for Thanksgiving, remember that your choice of paper can dramatically alter the final look. Experiment with different colors or even textures like vellum to achieve a truly unique table setting that reflects your personal style. Always select the “best quality” print setting on your printer to ensure crisp lines and vibrant colors.
STEP 2: Precision Cutting for a Polished Finish
With your printables ready, the next step is to carefully cut each sheet into individual pieces following the provided lines. For the cleanest, most professional edges, we highly recommend using a paper trimmer. If you’re using scissors, make sure they are sharp, and take your time to cut precisely along the guidelines. A steady hand here will ensure your utensil pouches and napkin wraps look perfectly crafted.
STEP 3: Crafting the Elegant Napkin Wraps
For the sophisticated napkin wraps, the process is wonderfully straightforward. First, fold your napkins neatly into a rectangular shape that will fit comfortably within the wrap. Then, simply encircle the folded napkin with the printed paper strip. Secure the ends firmly in place using your chosen adhesive. Hot glue offers an instant bond, while a strong craft glue or double-sided tape will also work effectively. Ensure the ends overlap slightly for a secure and seamless finish. These wraps instantly transform a simple napkin into an eye-catching element of your table decor.
STEP 4: Folding the Utensil Pouches for Structure
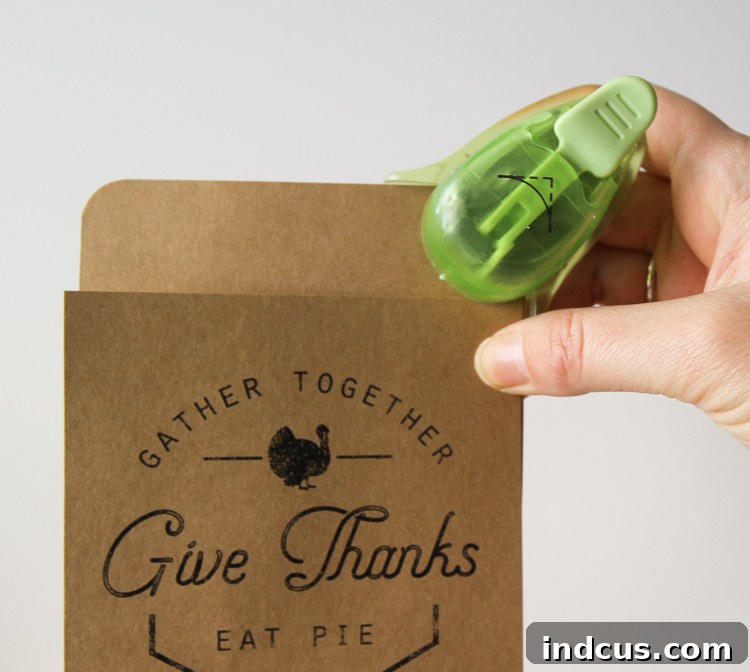
To create the charming utensil pouches, begin by taking one of the longer printed strips. Fold the bottom part of the strip back onto itself, leaving approximately an inch of overhang at the top. This overhang creates the top flap of your pouch and adds a visual interest. For an extra touch of refinement and a professional, store-bought look, use a corner punch to gently round the top two corners of this overhang. This small detail makes a big difference in the overall aesthetic of your finished pouch.
STEP 5: Securing Your Pouches with Adhesive
The final step in crafting your utensil pouches is to secure the sides, forming a functional pocket. Apply a line of adhesive along the left and right edges of the folded section, making sure to avoid the bottom edge which will form the base of your pouch. Carefully press the edges together, ensuring a firm and secure bond. We found that hot glue works exceptionally well for this step, providing a quick and strong hold. Allow the glue to set completely before inserting any utensils. Once dry, your beautiful, custom-made Thanksgiving utensil pouches are ready to grace your table!
Pro Tips for Your Thanksgiving Crafting
- Prepare Ahead: These pouches and wraps are perfect for making in advance. Complete them weeks before Thanksgiving, store them safely, and simply add utensils on the day of the feast. This greatly simplifies your holiday prep.
- Consider Plastic Utensils: If you’re hosting a large gathering or want to minimize post-dinner cleanup, pre-filling these pouches with plastic utensils is a game-changer. It makes setting the table incredibly fast and efficient.
- Add Extra Embellishments: For an even more personalized touch, consider adding a thin piece of twine or ribbon tied around the pouch or wrap. You could also attach small handwritten tags with guest names or a simple “Happy Thanksgiving” message.
- Mix and Match: Don’t feel limited to just one design or paper type. Create a mix of both utensil pouches and napkin wraps, or use different colored cardstock for a varied and dynamic table setting.
Discover More Holiday Crafting Fun!
If you’ve enjoyed creating these Thanksgiving utensil pouches and napkin wraps, you’ll be thrilled to know we have designed similar charming options for other holidays too! These versatile designs allow you to carry your personalized table decor theme through different celebrations all year long. Be sure to check out these other free printables:
- Valentine’s Day Utensil Pouch: Add a touch of romance to your February gatherings.
- Summer BBQ Utensil Pouch: Perfect for outdoor entertaining and casual summer meals.
- St. Patrick’s Day Utensil Pouch: Bring some luck of the Irish to your festive table.
Love this project and want to save it for later? Pin it so you don’t forget it and can easily find it for next year’s Thanksgiving preparations!