The Best Paint for Kitchen Cabinets: Achieve a Professional, Smooth Finish Yourself
Kitchen cabinet painting has exploded in popularity over recent years, and for good reason. It offers an incredibly cost-effective way to revitalize your kitchen and breathe new life into your home without the hefty expense of a full renovation. The allure of a fresh, updated kitchen is undeniable, and doing it yourself can save you thousands of dollars. However, the thought of painting kitchen cabinets can be daunting. With countless tutorials available, the gap between admiring beautiful photos online and achieving a truly professional, durable finish in your own home often feels vast. Many wonder if a DIY approach can truly stand up to the daily wear and tear, scrubbing, and general chaos of a busy kitchen.
I understand that apprehension firsthand. Despite consuming dozens of guides and tips, I felt a significant amount of nervousness before tackling my own kitchen cabinets. The stakes felt high – this wasn’t just a decorative piece; it was a functional heart of our home. Yet, I took the plunge, meticulously followed a researched process, and the results were nothing short of spectacular. My painted kitchen cabinets are not just “good”; they are genuinely awesome. The finish is remarkably smooth, professional, and has exceeded all my expectations for durability and aesthetic appeal. I couldn’t be happier with the transformation.
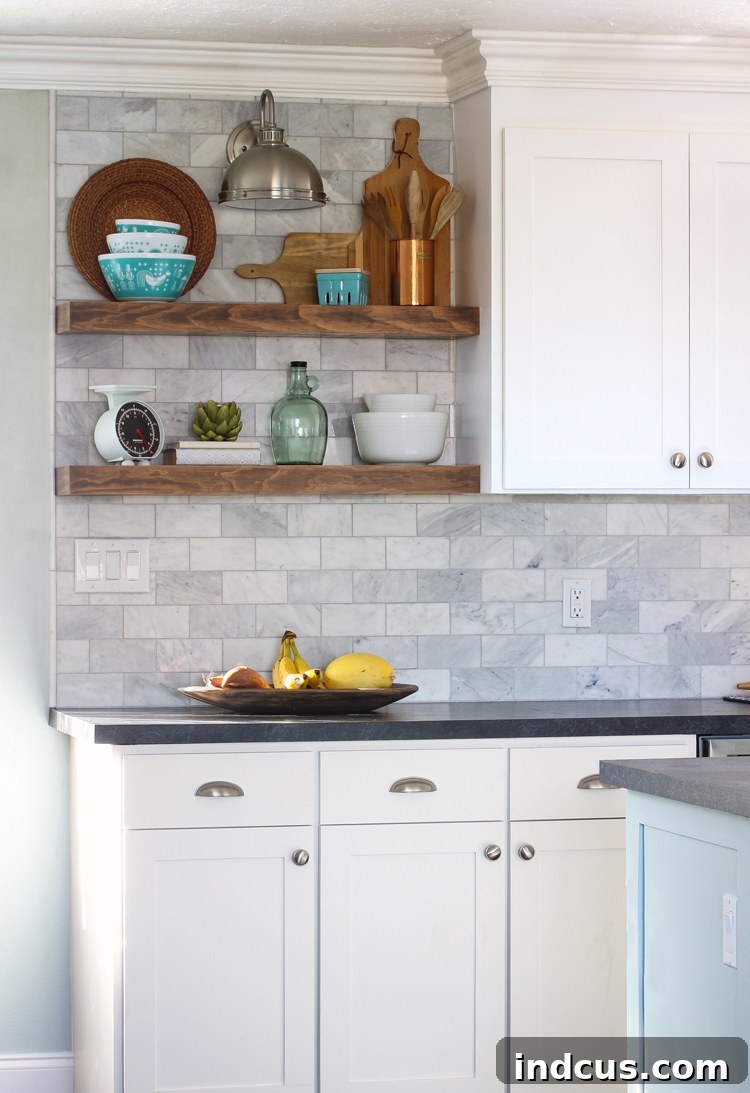
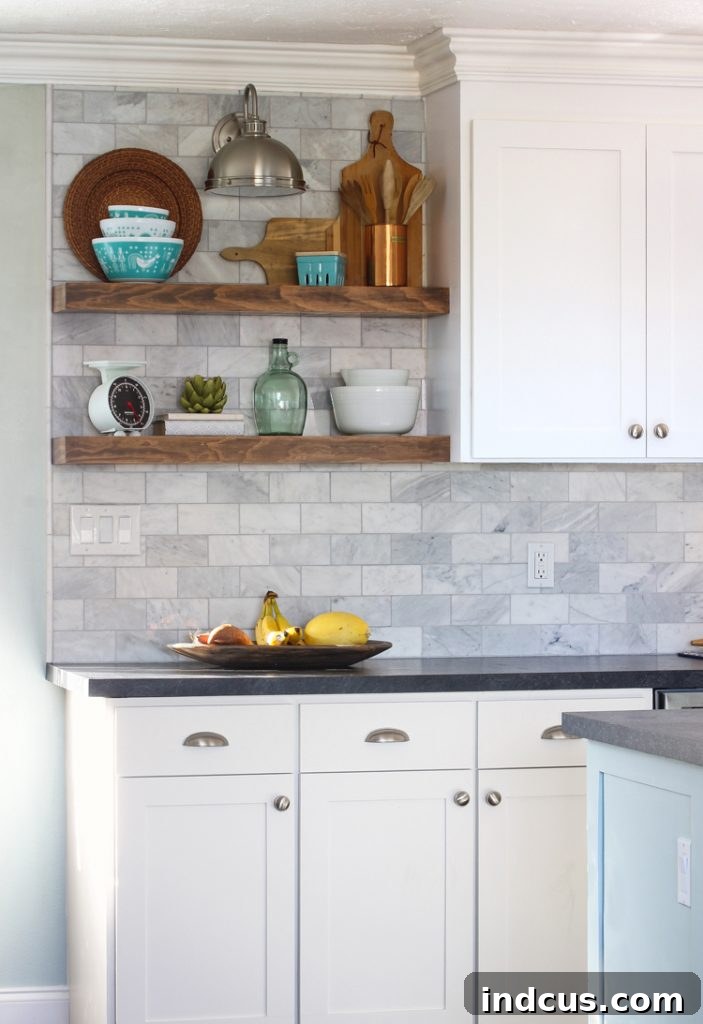
For those curious about the exact shades that brought my vision to life, I chose Sherwin-Williams Pure White for the main cabinets, creating a bright and airy foundation. The kitchen island, a focal point, was painted in the soothing hue of Sherwin-Williams Rainwashed, adding a subtle touch of color and depth. Today, I’m eager to share every detail of my journey, the lessons learned, and the precise steps I took to achieve such impressive, long-lasting results. Prepare for a comprehensive guide that will equip you with all the knowledge you need to transform your own kitchen. Let’s dive in!
The Ultimate Guide to Painting Kitchen Cabinets for a Flawless Finish
Why Undertake a DIY Cabinet Painting Project?
Beyond the simple desire for a fresh look, painting your kitchen cabinets yourself offers several compelling advantages:
- Cost Savings: Professional cabinet painting can be expensive, and replacing cabinets even more so. DIY painting significantly reduces costs, making a kitchen refresh accessible on almost any budget.
- Customization: You have complete control over color and finish, allowing you to personalize your kitchen to perfectly match your aesthetic preferences and home decor.
- Increased Home Value: A well-executed cabinet painting project can dramatically improve the visual appeal of your kitchen, potentially increasing your home’s market value.
- Personal Satisfaction: There’s immense pride in stepping back and admiring a professional-looking transformation you’ve achieved with your own hands.
Essential Preparations: The Key to a Flawless Finish
The success of any paint job, especially on high-traffic surfaces like kitchen cabinets, hinges entirely on thorough preparation. This is not the step to rush or cut corners on. Think of it as laying the foundation for a masterpiece.
Disassembly, Cleaning, and Degreasing
Before any paint touches your cabinets, a meticulous cleaning and disassembly process is paramount. Start by carefully removing all cabinet doors and drawer fronts. Label each piece with a numbering system (e.g., “U1” for upper cabinet 1, “D1” for drawer 1) and mark its corresponding location on the cabinet box. This seemingly tedious step will save you immense frustration during reassembly. Also, remove all hinges, handles, and any other hardware. Store them safely in labeled bags, or consider replacing them for a completely new look.
Kitchen cabinets accumulate years of grease, grime, and food splatter, even if they appear clean. This invisible layer is a paint killer, preventing proper adhesion. Use a strong degreaser, such as a solution of TSP (Trisodium Phosphate) or a dedicated cabinet degreaser, to thoroughly clean every surface of your cabinets, both inside and out. Rinse well with clean water and allow everything to dry completely. Any residual grease will cause paint to peel or bubble over time, so be diligent here.
Sanding for Superior Adhesion and Smoothness
Sanding is a non-negotiable step, regardless of what some quick-fix tutorials might suggest. It serves two critical purposes: creating a rough surface for the primer and paint to adhere to (known as mechanical adhesion) and smoothing out existing imperfections. If your cabinets have a glossy finish, sanding will remove that sheen, which is essential for proper paint bonding.
For initial sanding, use 120-180 grit sandpaper. A random orbital sander can significantly speed up this process for flat surfaces, while hand sanding blocks are best for profiles and edges. Don’t press too hard; the goal is to scuff the surface, not to remove all the existing finish (unless it’s peeling or heavily damaged). After sanding, vacuum all dust thoroughly and then wipe down all surfaces with a tack cloth or a damp microfiber cloth to ensure no dust particles remain. Dust is the enemy of a smooth finish!
Addressing Imperfections: Filling and Caulking
Paint has a cruel way of highlighting every flaw. Before priming, meticulously inspect your cabinets for any dents, dings, or scratches. Use a high-quality wood filler to repair these imperfections. Apply the filler, let it dry completely, and then sand it smooth with fine-grit sandpaper (220 grit). For any gaps or seams in the cabinet boxes or around trim pieces, apply a paintable acrylic caulk. Smooth it with a wet finger for a seamless transition. Allow all fillers and caulk to cure fully according to manufacturer instructions.
The Unsung Hero: Choosing the Right Primer
Primer is the crucial intermediary layer that ensures your paint adheres beautifully and lasts for years. When it comes to kitchen cabinets, not all primers are created equal.
Why Oil-Based Primer is Essential for Cabinets
Despite the strong fumes and more challenging cleanup (requiring mineral spirits), an oil-based primer is almost always the superior choice for kitchen cabinets. Its benefits far outweigh its inconveniences:
- Exceptional Adhesion: Oil-based primers grip surfaces incredibly well, creating a strong bond even on challenging or previously finished wood.
- Stain Blocking: They effectively block tannins from bleeding through the paint, especially important for older or darker wood cabinets.
- Sandability: Once dry, oil-based primers can be sanded to a perfectly smooth, almost powder-like finish. This crucial step allows you to eliminate any minor imperfections from the wood or primer application, providing an immaculate base for your topcoat.
- Durability: It creates a hard, durable foundation that contributes to the overall longevity of your painted cabinets.
I cannot overstate how glad I am that I opted for an oil-based primer. The ability to sand it after drying was instrumental in achieving that coveted glass-smooth finish. Ensure you work in a well-ventilated area and wear appropriate respiratory protection when applying oil-based products.
Primer Application Tips
Apply one to two thin, even coats of primer. Allow each coat to dry thoroughly, typically 2-4 hours, or longer in humid conditions. After the first coat is dry, very lightly sand the primed surfaces with 220-grit sandpaper. This helps knock down any raised grain or minor brush strokes, creating an ultra-smooth canvas for your paint. Wipe clean with a tack cloth before applying the next coat of primer, if needed, or before moving on to paint.
Selecting the Best Paint for Kitchen Cabinets: A Detailed Look
Once your cabinets are prepped and primed, the choice of topcoat paint becomes critical. This is where durability, appearance, and ease of maintenance are determined.
Understanding Paint Types for Cabinets
- Traditional Oil-Based Paint: While incredibly durable and self-leveling, traditional oil-based paints have a significant drawback for white or light-colored cabinets: they tend to yellow over time. This was a deal-breaker for my crisp white vision.
- Traditional Latex Paint (Wall Paint): Regular wall paint is simply not designed for the heavy wear and tear of cabinetry. It lacks the hardness and durability needed, making it prone to chipping, dings, and not standing up to frequent cleaning.
- Alkyd Urethane Enamel (Hybrid Paints): This is the sweet spot for cabinet painting. These paints offer the best of both worlds: the hardness, durability, and self-leveling properties of oil-based paints, combined with the easy cleanup and non-yellowing characteristics of water-based latex paints.
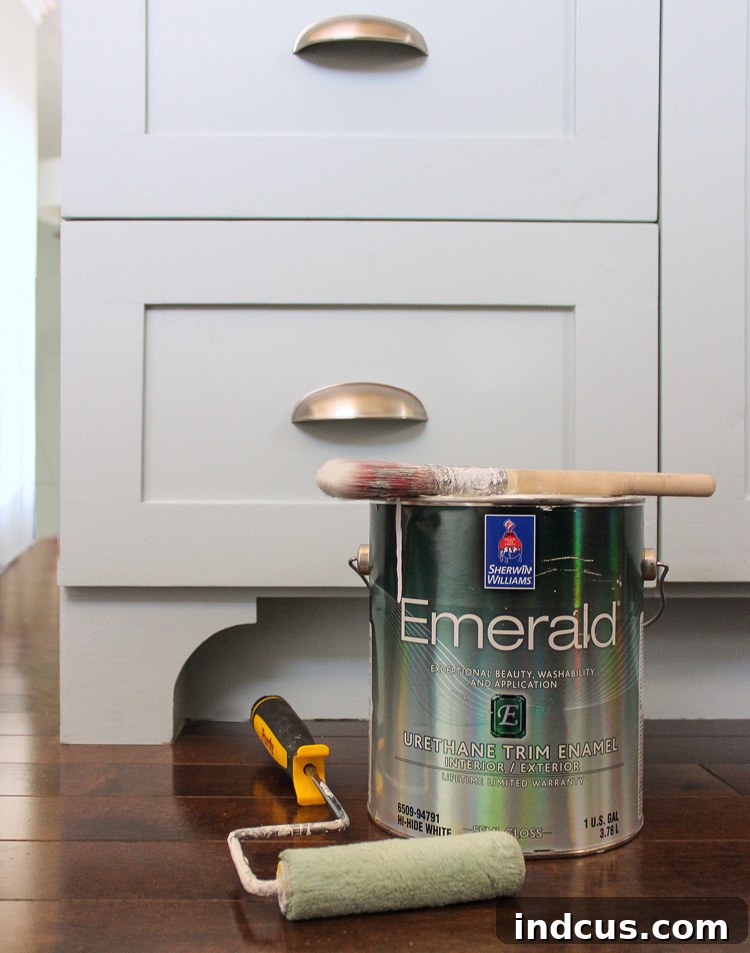
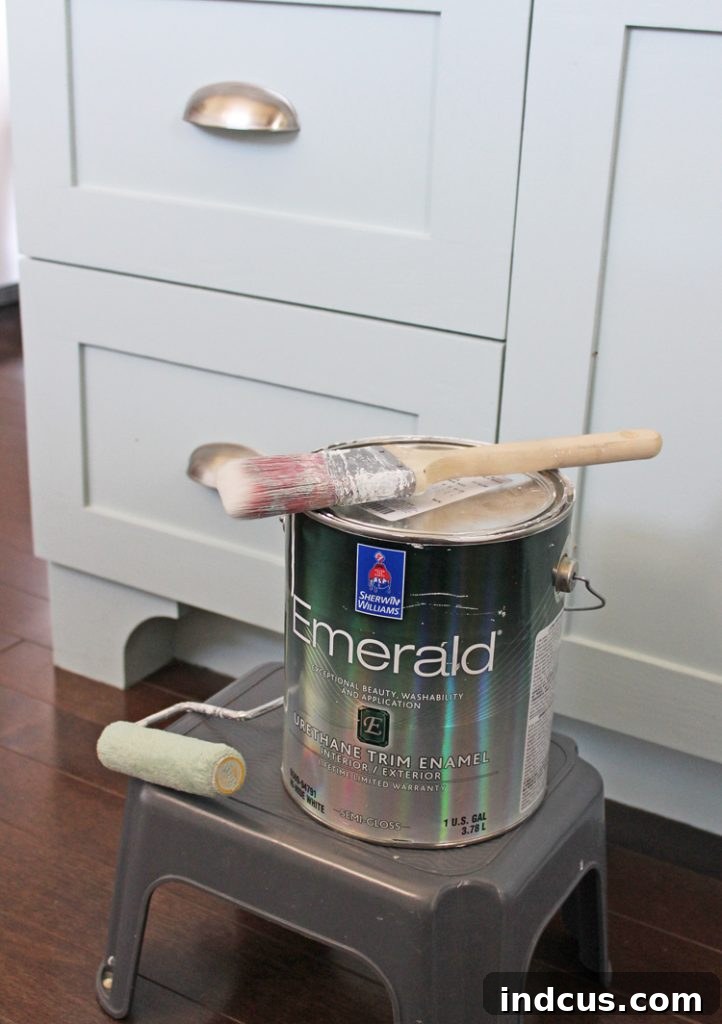
Sherwin-Williams Emerald Urethane Trim Enamel: A Detailed Review
After extensive research, I confidently settled on Sherwin-Williams Emerald Urethane Trim Enamel, and I can’t recommend it enough. This paint is specifically formulated for high-traffic surfaces like cabinets, doors, and trim, offering a host of benefits:
- Exceptional Durability: It dries to an incredibly hard finish that resists chipping, scratching, and dings, making it perfect for busy kitchens.
- Self-Leveling Properties: This is a game-changer for achieving a smooth finish. The paint essentially “flattens out” as it dries, minimizing brush strokes and roller marks.
- Water-Based Convenience: Despite its oil-like performance, it’s water-based, meaning easy cleanup with soap and water – a huge relief after a long day of painting.
- Non-Yellowing: Crucially, it won’t yellow over time, preserving the pristine white or light color you initially chose.
- Rich Pigmentation: Higher quality ingredients and pigment mean better coverage and a richer, more vibrant color with fewer coats.
While the Emerald Urethane Trim Enamel is more expensive than standard “off-the-shelf” paints, consider it an investment. Its superior performance often means you use less paint, and the longevity of the finish translates into less work down the line. I’ve found this to be true across the entire Sherwin-Williams Emerald line. While Benjamin Moore Advance is another highly-regarded alkyd hybrid, my positive experience with Sherwin-Williams Emerald has made me a loyal user.
My husband insisted on a semi-gloss finish, and I initially worried it might be too shiny. However, the result is absolutely perfect. It’s not a high-gloss, reflective surface. Instead, it offers a sophisticated, subtle sheen – I describe it as feeling like velvet rather than silk. It’s a rich, beautiful finish that isn’t overtly flashy, providing just the right amount of luminescence without being “in-your-face” shiny. After months of daily use with three active children, I can confirm it’s incredibly easy to wipe clean, maintaining its fresh appearance effortlessly.
Mastering Application Techniques for a Professional Look
With the right prep and paint, application becomes the final step in achieving that coveted professional finish. You have options: rolling, brushing, or spraying.
Brushing & Rolling for Smoothness
Since taping off my entire kitchen for spraying wasn’t feasible due to daily use, I opted to roll the paint onto the cabinet bases and island. Achieving excellent results with a roller is entirely possible with the right tools and technique:
- Angled Brush: Use a high-quality angled brush (synthetic bristles for water-based paint) to meticulously paint into any cracks, corners, and along the edges where a roller can’t reach. Load the brush moderately and apply even strokes.
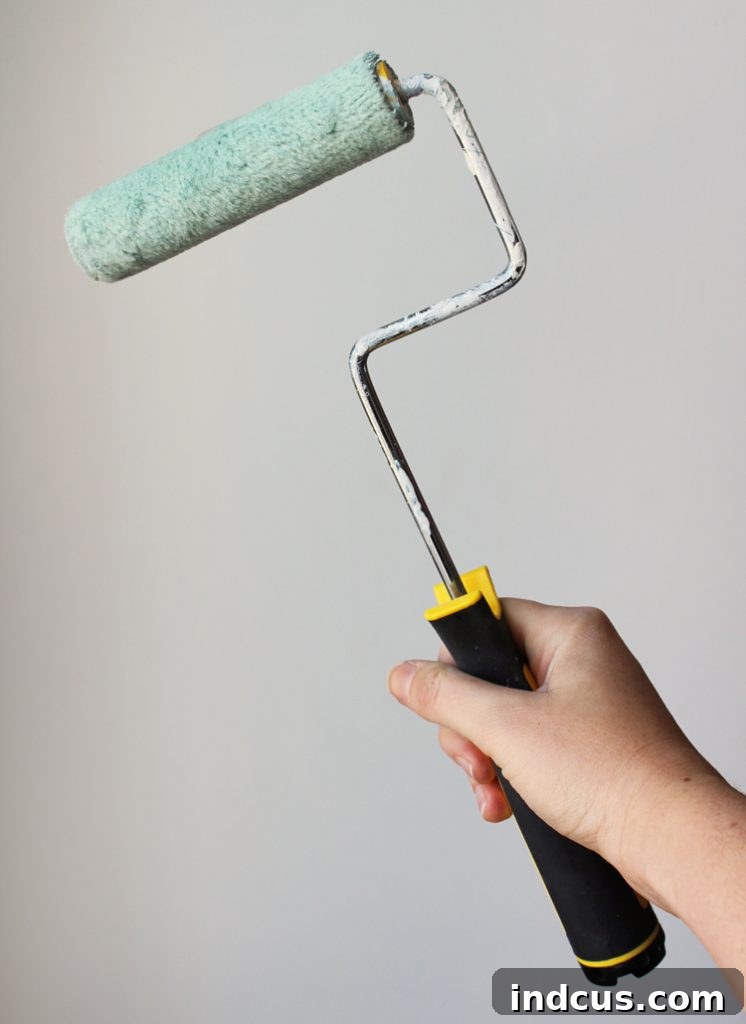
- Mohair Roller Cover: This is the secret weapon for a smooth, bump-free rolled finish. I had never used a mohair roller before, but I was utterly astonished by its performance. It applies paint incredibly smoothly, leaving virtually no texture or stippling. It truly creates a factory-like finish.
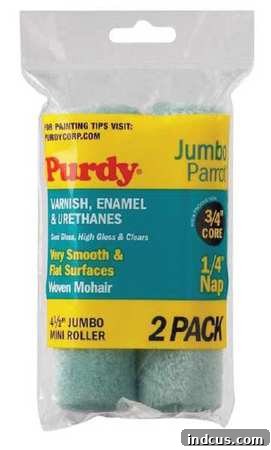
To use, roll the paint across flat surfaces with light, even pressure, overlapping your strokes slightly. The self-leveling nature of the Emerald Urethane Trim Enamel, combined with the mohair roller, works wonders. You can find these essential roller covers and roller handles at your local Sherwin-Williams store.
Achieving Airless Perfection with a Sprayer
For all 30+ cabinet doors, I chose a paint sprayer to achieve the smoothest possible finish. This requires a dedicated setup and careful execution. If you have an empty garage, laying doors flat on tarps would be ideal. My garage, however, doubles as a workshop and storage, demanding a more creative approach.
I utilized the HomeRight Spray Shelter as my primary painting area. This portable tent provided an excellent contained environment, protecting surrounding areas from overspray. I placed a plastic-covered folding table inside the shelter, orienting the opening towards the garage door for ventilation.
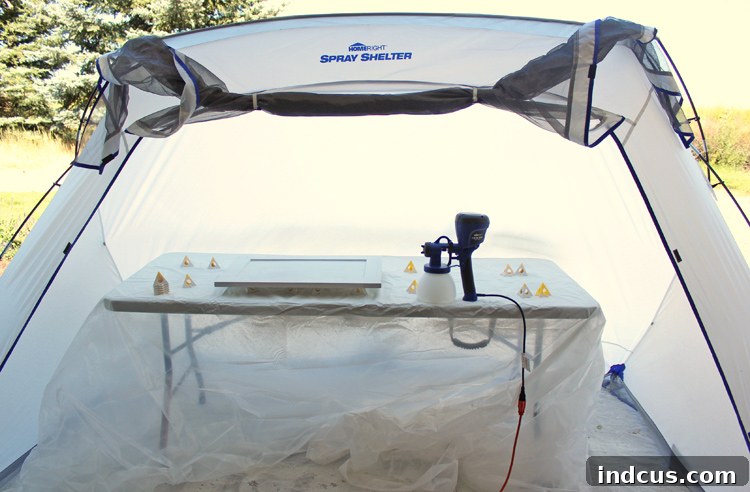
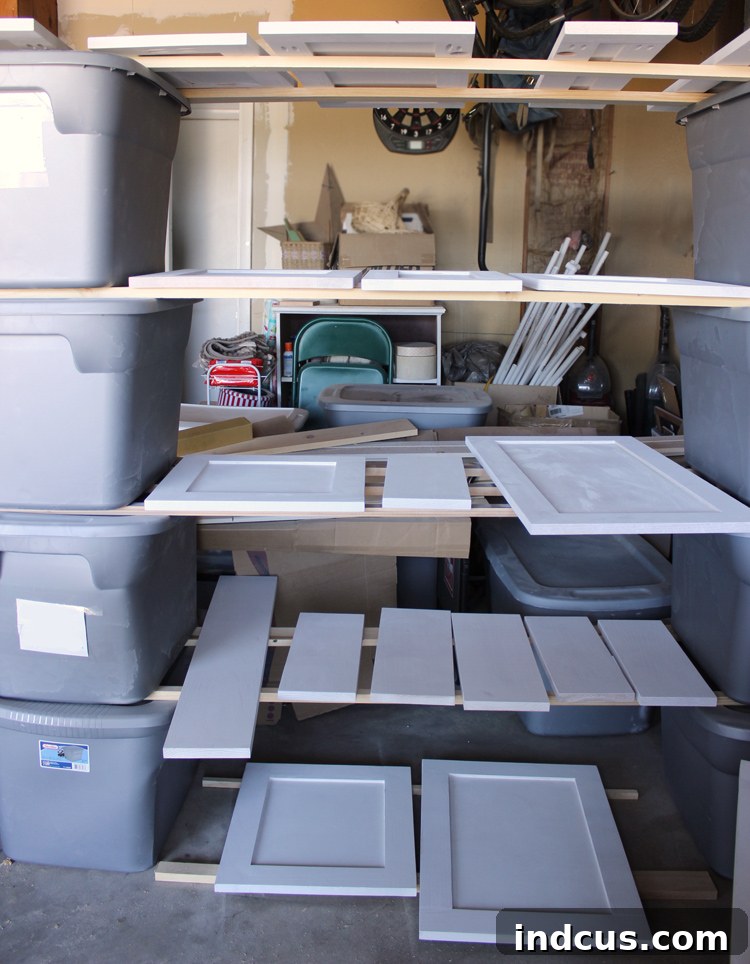
My process involved spraying one side of a few doors within the shelter, then carefully transferring them to a makeshift drying rack. This rack consisted of long wooden boards sandwiched between stacks of storage totes, which worked surprisingly well despite the nerve-wracking task of moving freshly painted surfaces.
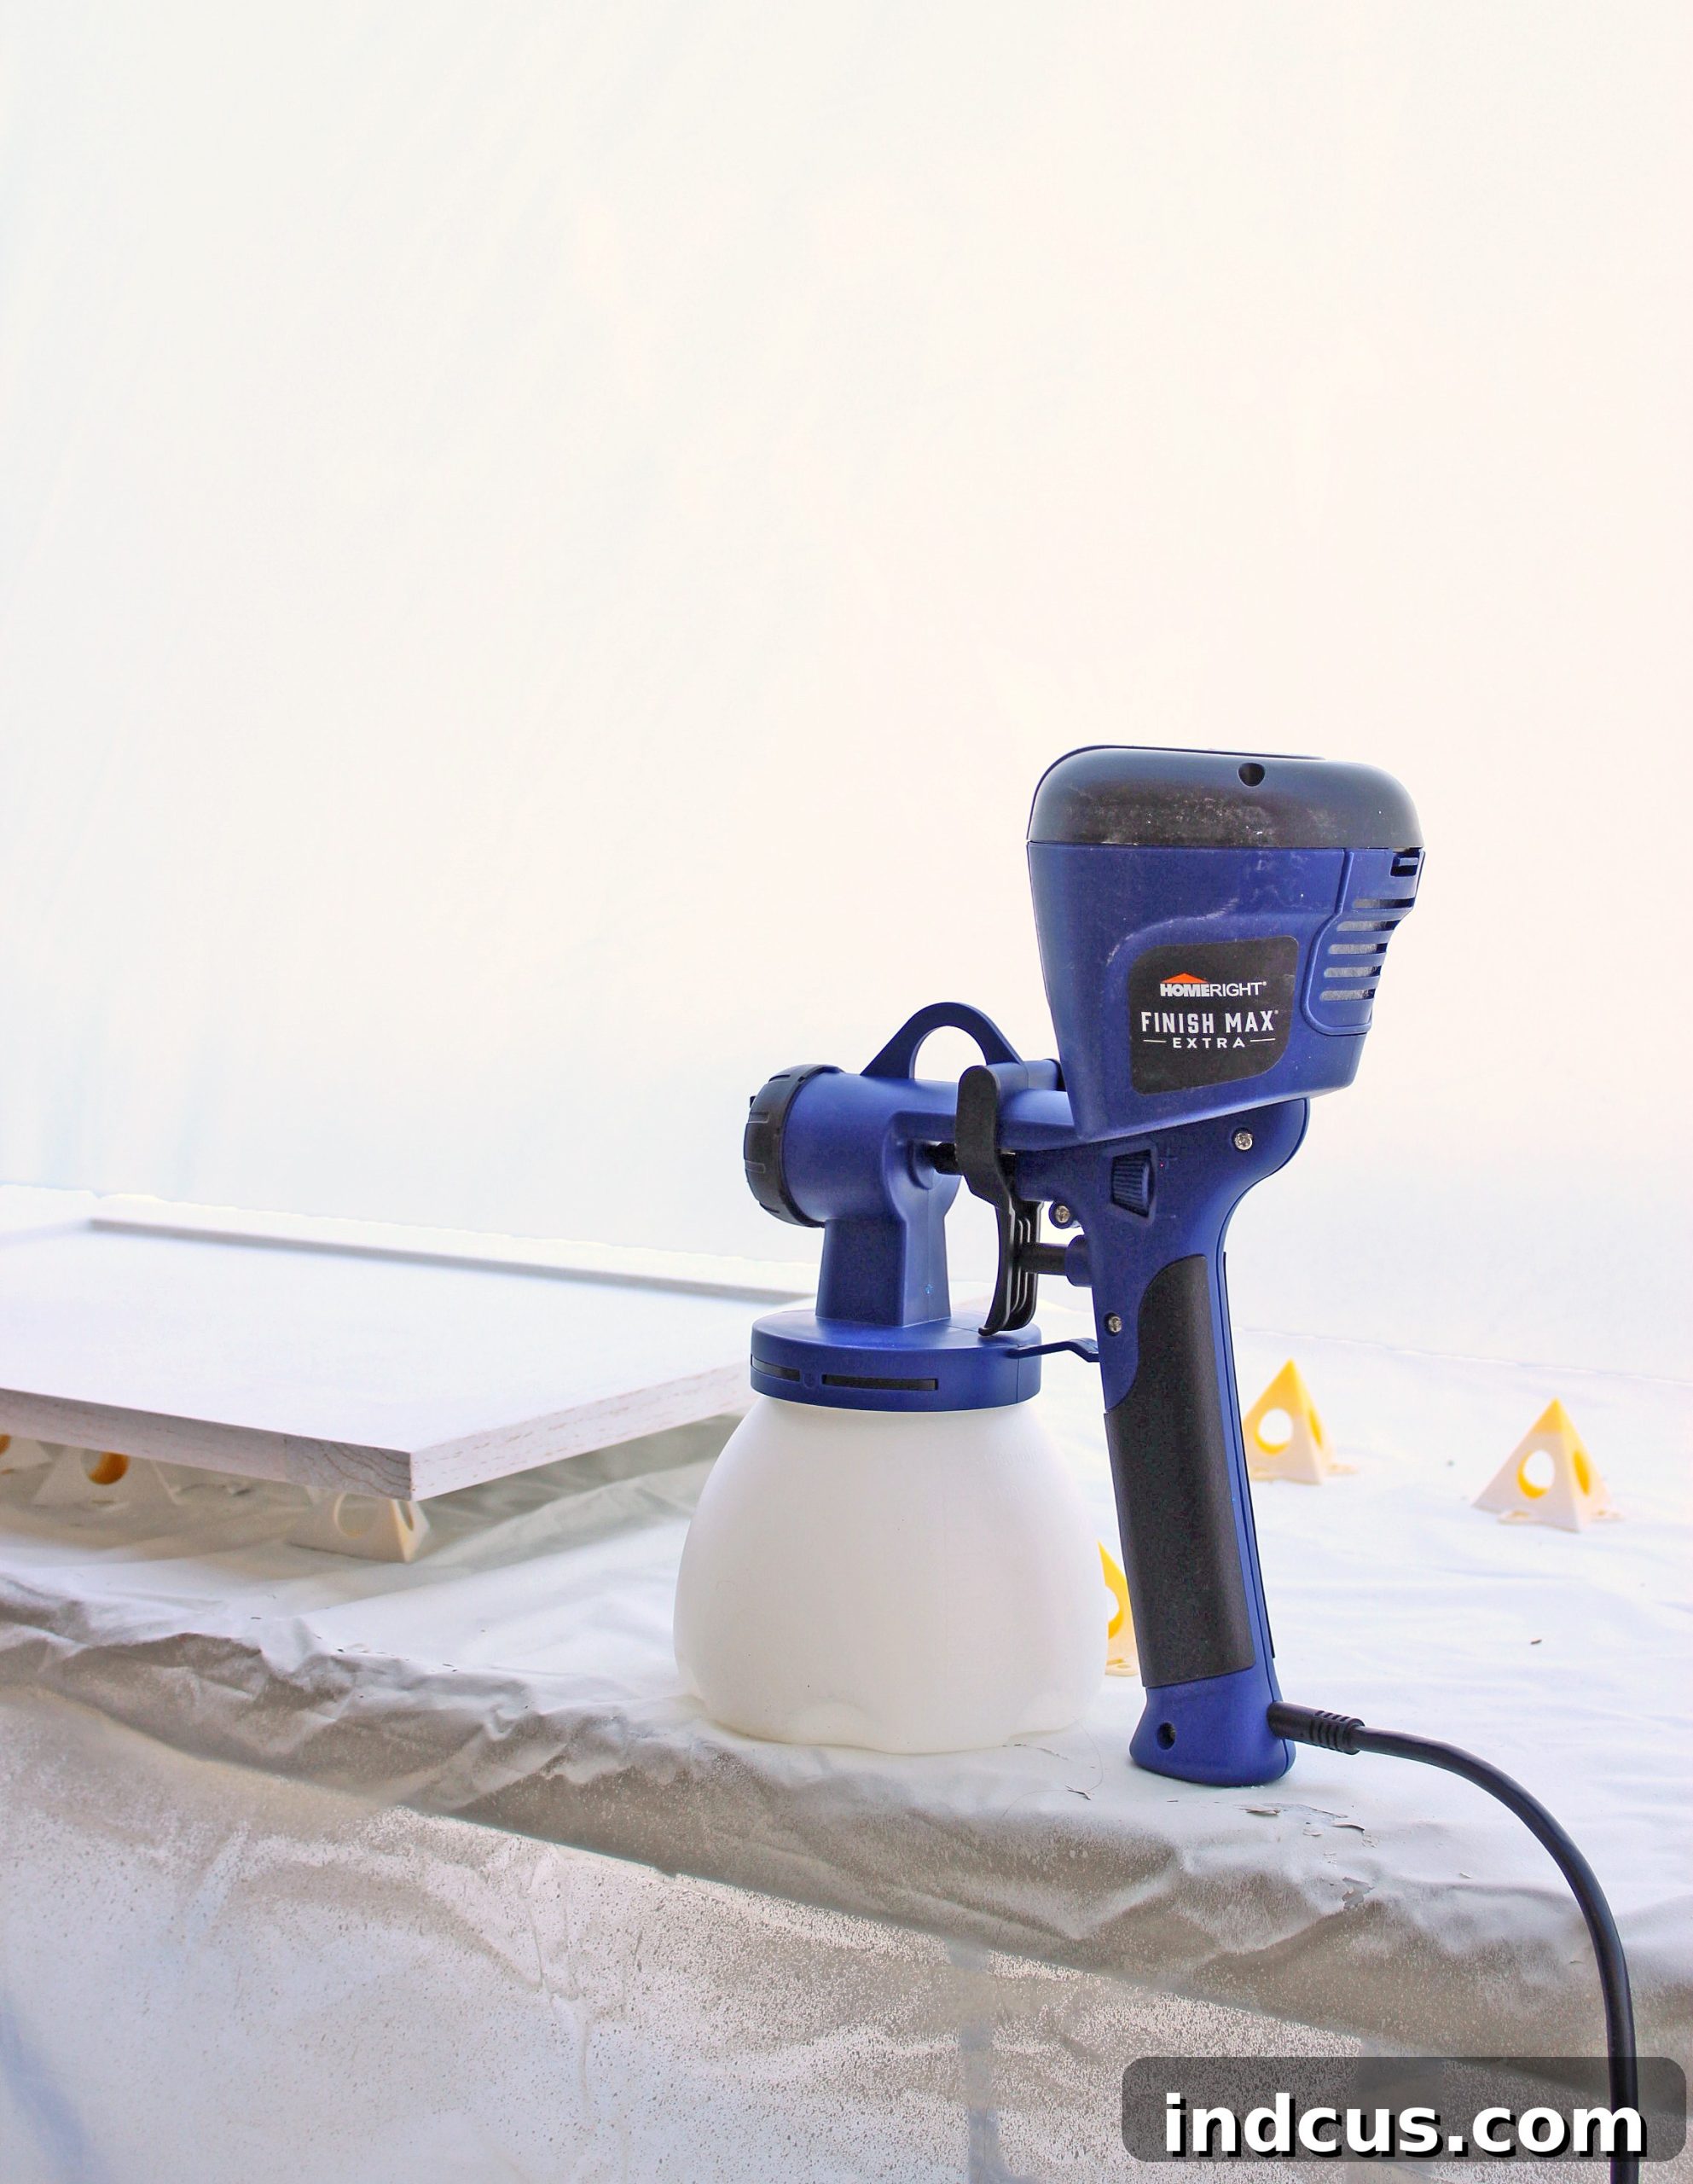
I used the HomeRight Finish Max Extra sprayer. It took a few test runs on cardboard to get the settings (paint thinning, spray pattern) just right, but once dialed in, it performed wonderfully. When spraying, always prioritize safety: wear a respirator or high-quality mask to protect your lungs from fine paint particles. A scarf or hat is also advisable to keep paint dust out of your hair.
The Indispensable Painter’s Pyramids
A small but mighty tool that made a huge difference during spraying was the Painter’s Pyramids. These clever yellow triangles elevate your cabinet doors slightly off the working surface, allowing you to paint the edges and even flip them without marring the freshly painted side. Only their tiny tips touch the surface, leaving minimal contact points. They are incredibly handy for cabinet painting and I now use them for all sorts of small painting and crafting projects.
The Critical Dry, Sand, and Recoat Cycle
Patience truly is a virtue in painting, especially between coats. After applying each coat of paint (whether rolled or sprayed), you must allow it to dry for at least four hours – longer if you live in a humid climate. This is not merely a suggestion; it’s a critical step. Rushing the recoat process can lead to “tacky” or “sticky” paint that never fully hardens, attracting dust and becoming prone to damage.
Once thoroughly dry, lightly sand the painted surface with very fine-grit sandpaper (220-320 grit). This step is crucial for removing any minor imperfections, dust nibs, or slight texture, creating a perfectly smooth surface for the next coat. It also slightly scuffs the surface, improving adhesion for the subsequent layer. Wipe off all sanding dust with a tack cloth before applying the next coat. I applied three coats of paint for maximum durability and depth of color. Remember: do NOT sand the final coat.
No Clear Coat Needed: A Time-Saving Benefit
Here’s some excellent news that simplifies your project: thanks to its advanced formulation, Sherwin-Williams Emerald Urethane Trim Enamel does not require a separate clear coat. This eliminates an entire step, saving you time, effort, and money, while still providing superior protection and durability. One less thing to worry about – boom shaka laka!
Patience Through the Curing Process
While the paint may feel dry to the touch within hours, all latex-based paints (including alkyd hybrids) take approximately 30 days to fully cure and reach maximum hardness. During this crucial month, the paint is still hardening and can be more susceptible to dents and scratches. If possible, leave cabinet doors safely tucked away in a garage or spare room for as long as you can manage. If immediate reinstallation is necessary, handle the cabinets with extreme care and “baby” them for the first 30 days to ensure the finish achieves its full potential for durability.
Conclusion: Your Path to Beautiful, Durable Kitchen Cabinets
Painting your kitchen cabinets is a rewarding DIY project that can dramatically transform your home. By understanding and committing to the critical steps – meticulous preparation, thoughtful material selection (especially the oil-based primer and high-quality alkyd urethane enamel), and careful application – you can achieve a truly professional, smooth, and incredibly durable finish that will stand the test of time. It requires patience and attention to detail, but the results are an investment in your home’s beauty and value that you’ll enjoy for years to come.
Do you have any questions about painting your kitchen cabinets or my experience? Leave a comment below, and I’ll be happy to share more insights!
*** UPDATE February 2023 – Six-Year Durability Review ***
It has now been over six years since I painted our kitchen cabinets, and I am absolutely thrilled with how the paint has held up. Despite the daily demands of a busy household with three messy children, the finish remains remarkably intact. We have one or two minor spots where the kids have created small dings, exposing the primer underneath, but these are easily touched up with the leftover paint, rendering them virtually invisible. Crucially, there is absolutely no bubbling, peeling paint, or any major flaws whatsoever. The cabinets still look amazing, exceeding all my expectations for both durability and ease of cleaning. I confidently attribute this long-term success to the diligent sanding, the foundational strength of the oil-based primer, and the exceptional performance of the Sherwin-Williams Emerald Urethane Trim Enamel. This combination truly delivered a professional and lasting transformation.