
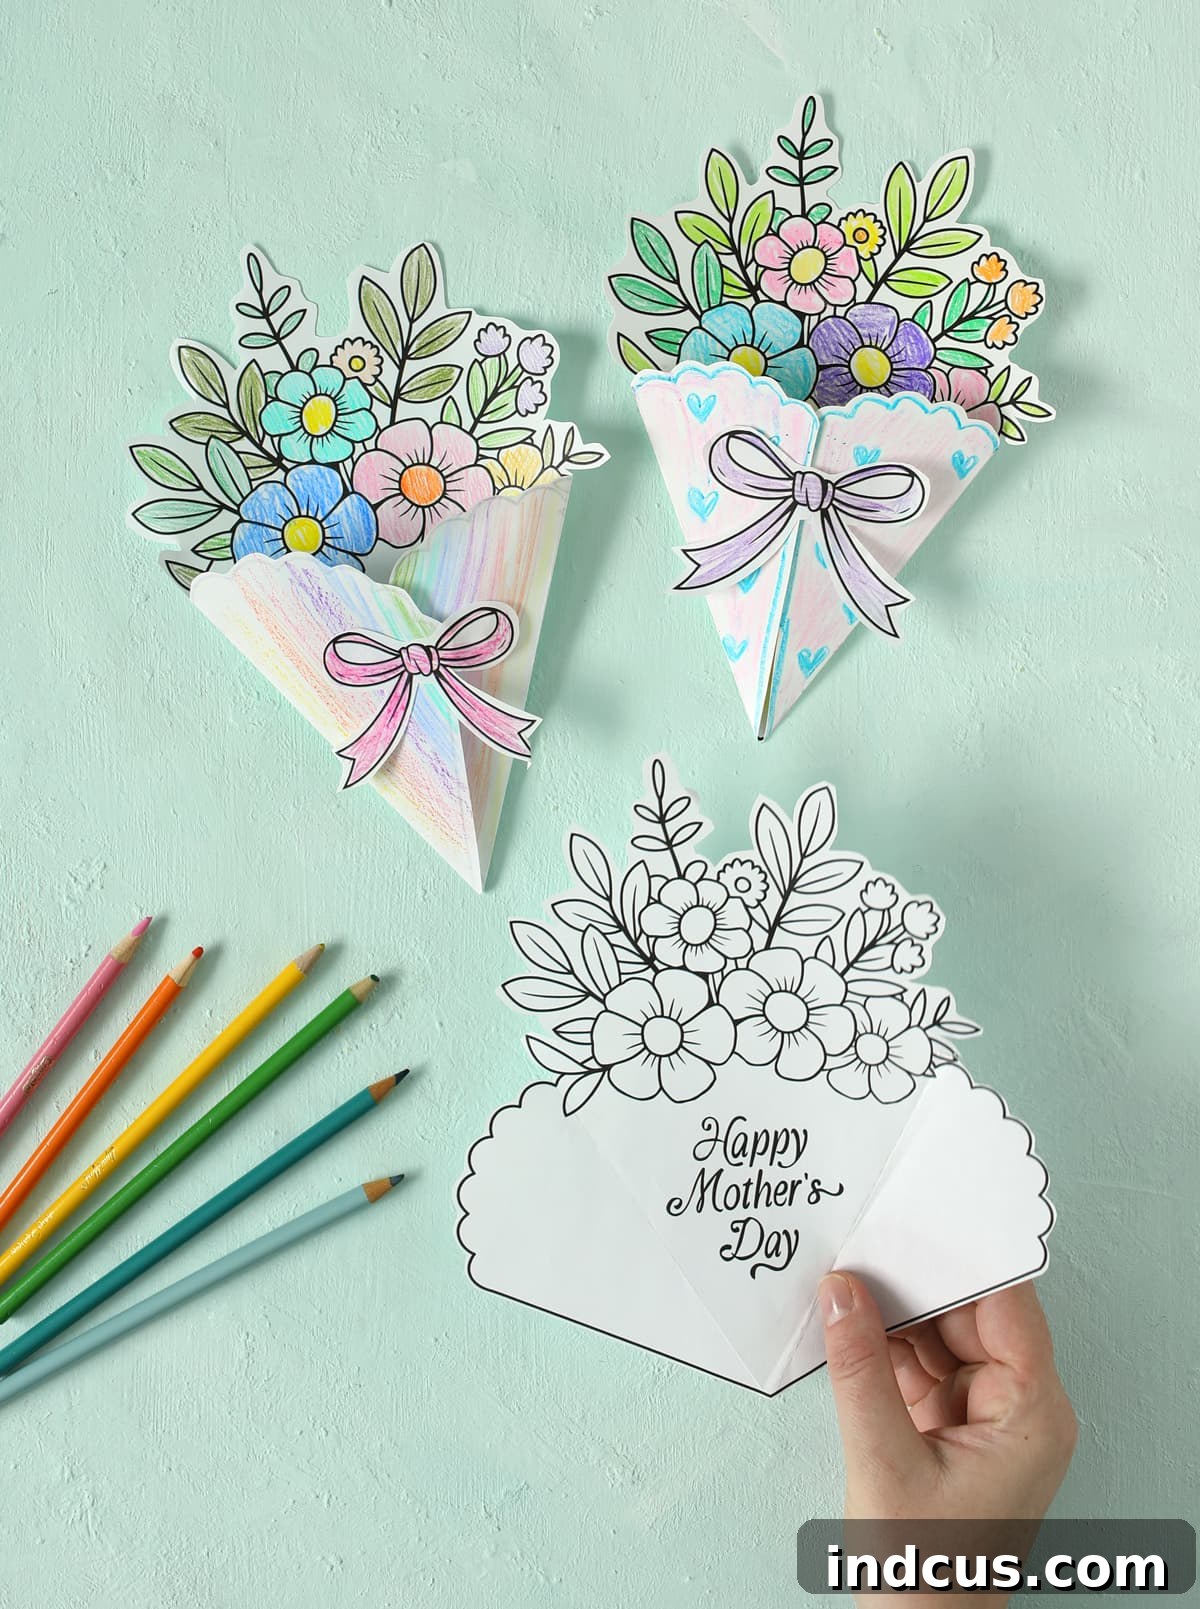
Craft a Heartfelt Mother’s Day Bouquet Card: A Delightful Printable Kids’ Craft
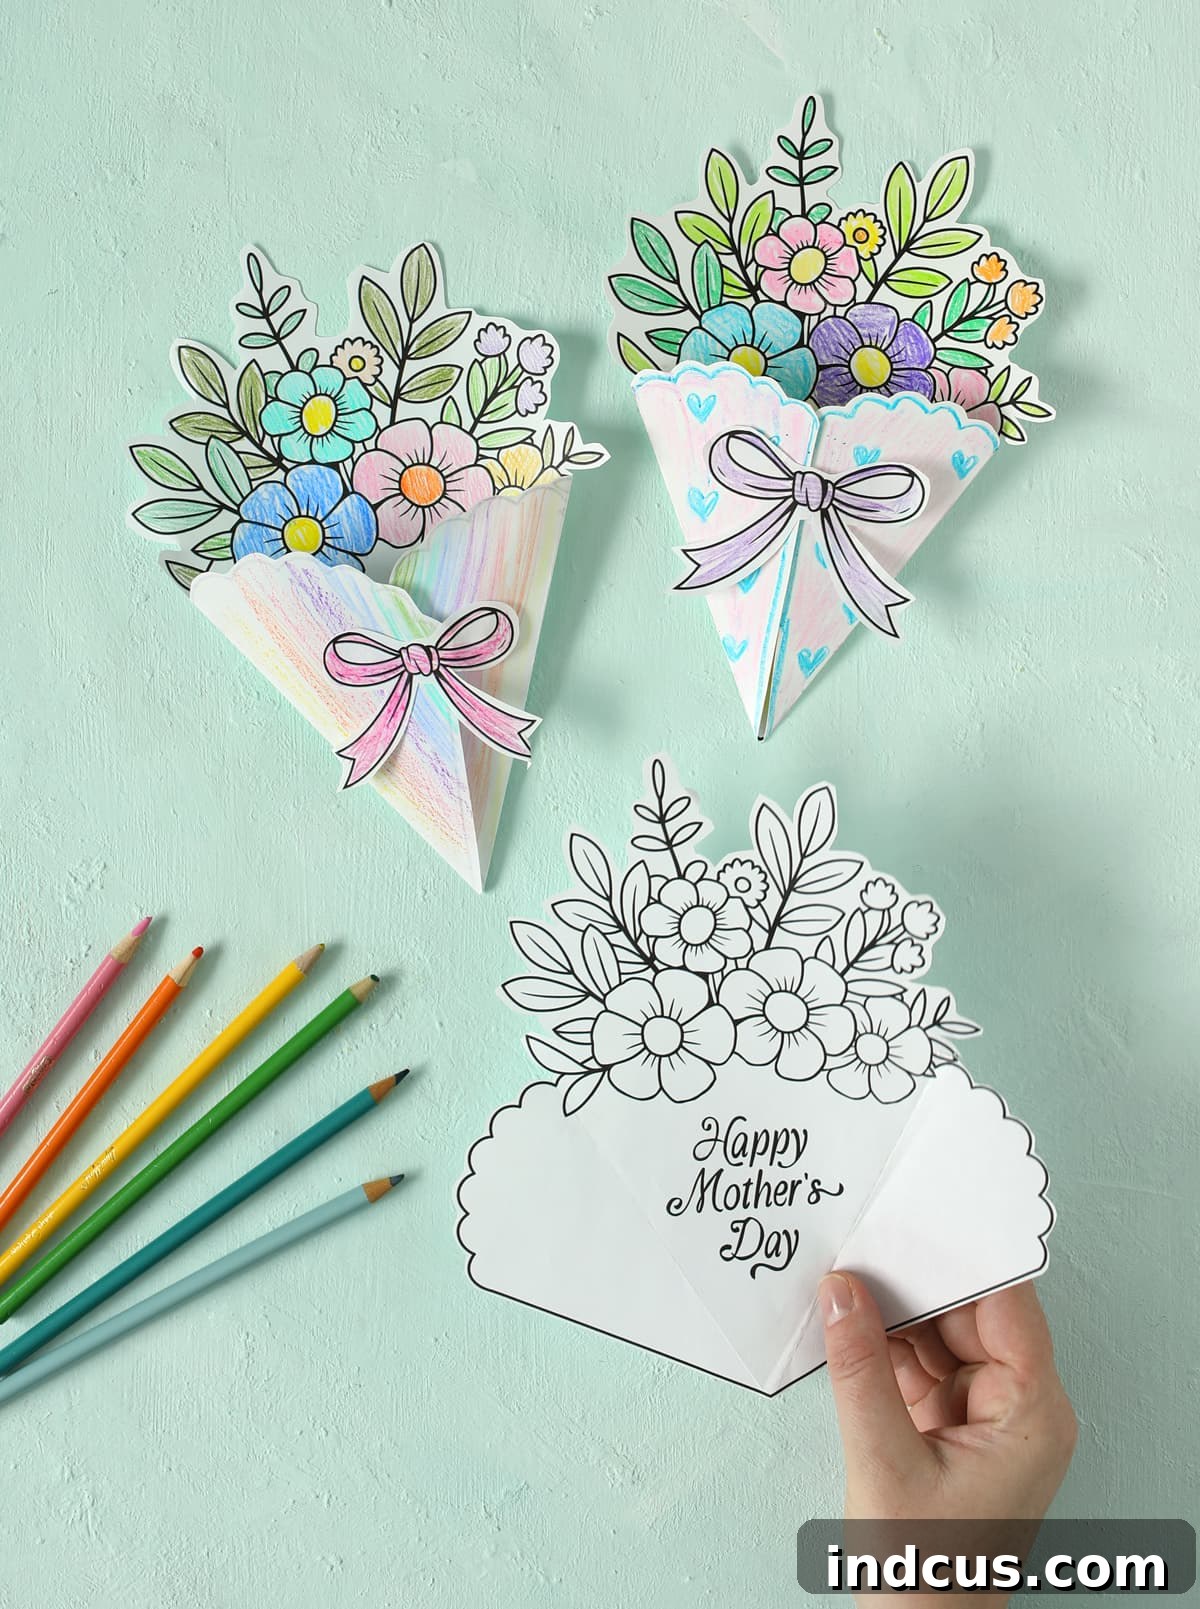
Searching for the perfect Mother’s Day gift that comes straight from the heart? Look no further! This enchanting Mother’s Day bouquet card allows children to express their love through a beautiful, handmade creation. Imagine the joy on Mom’s face as she opens a vibrant paper bouquet, only to discover a secret message inside: “Happy Mother’s Day!” This craft isn’t just simple; it’s an incredibly sweet and personalized gesture that kids of all ages can proudly make and present to their incredible moms on this special day. It’s an ideal project for home, a fantastic group activity for classrooms, or even a fun weekend family bonding session.
Handmade gifts hold a unique charm, carrying the warmth and effort of the giver. For Mother’s Day, a customized card crafted by little hands can often mean more than any store-bought present. This printable flower bouquet card offers an accessible and engaging way for children to channel their creativity, practice fine motor skills, and create a truly memorable keepsake. The best part? You only need our specially designed printable template and a few common household or classroom supplies. It’s budget-friendly, mess-minimal, and delivers maximum emotional impact. Get ready to create some unforgettable memories and a stunning Mother’s Day card!
Essential Materials for Your Bouquet Card Craft
Before diving into the fun, gather these straightforward supplies. Most are likely already in your craft drawer or easily found at any store:
- Printable Template: Your starting point for this adorable project. You’ll find the download link at the bottom of this page.
- White Paper: Standard copy paper works wonderfully for ease of coloring and cutting, making it perfect for younger children. For a more durable, premium feel, consider using white cardstock. Both options yield fantastic results, so choose what best suits your preference and availability.
- Colored Pencils, Markers, or Crayons: Let your child’s imagination run wild! Provide a variety of vibrant colors to decorate the flowers, leaves, and bouquet wrapping.
- Scotch Tape: Essential for securely assembling the card and attaching the decorative bow. A clear, strong tape works best for a neat finish.
- Scissors: A good pair of child-safe scissors is needed for cutting out the card components. Adult supervision is highly recommended, especially for younger crafters.
Having all your materials ready beforehand ensures a smooth and enjoyable crafting experience for everyone involved!
Step-by-Step Instructions: Crafting Your Mother’s Day Bouquet Card
Follow these simple steps to bring your beautiful Mother’s Day bouquet card to life. Each stage is designed to be easy and engaging for children, with a little help from an adult where needed.
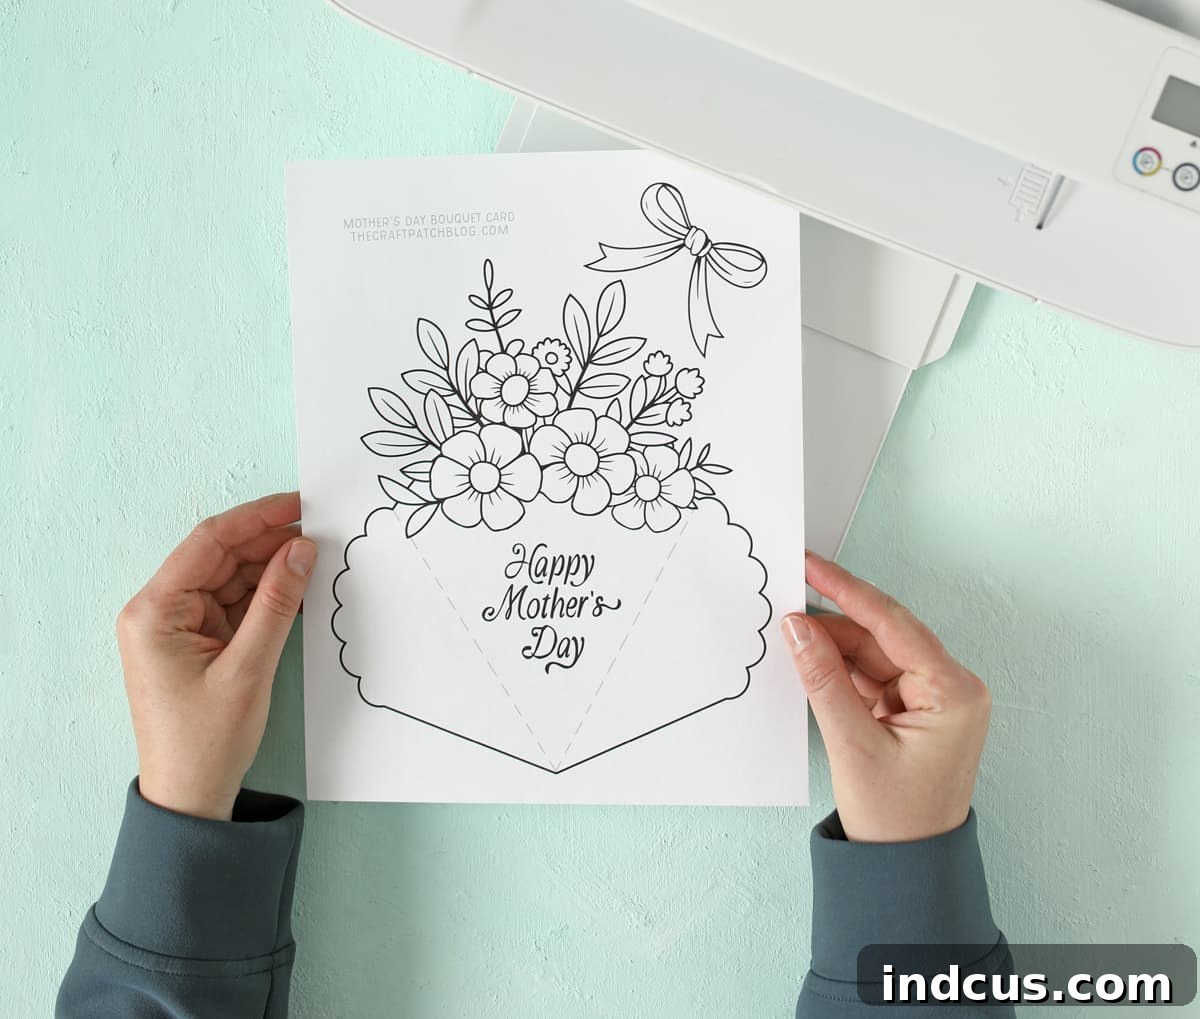
Step 1: PRINT. Begin by downloading our exclusive bouquet card design, conveniently located at the bottom of this post. Once downloaded, print the template onto your chosen white paper or cardstock. If you’re deciding between the two, remember that standard copy paper is easier for little hands to cut and fold, while cardstock provides a sturdier, more luxurious feel to the finished card. Ensure your printer settings are configured for “actual size” or “100%” to maintain the correct proportions of the design. A test print can often save ink and paper if you’re unsure!
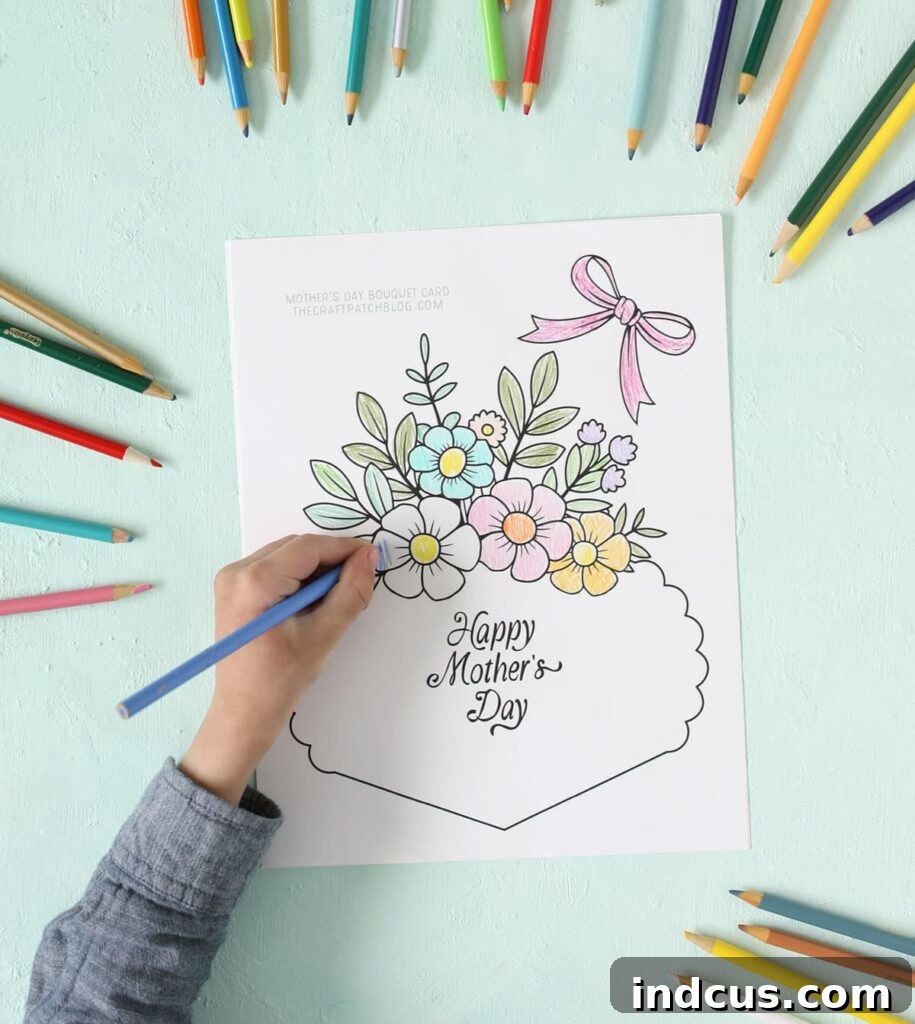
Step 2: COLOR. This is where the magic happens and personality shines! Encourage your child to unleash their creativity by coloring the beautiful flowers, the elegant bow, and any other decorative elements on the card. They can use colored pencils for fine detail, markers for bold hues, or crayons for a classic, textured look. This step is also the perfect opportunity to add a heartfelt, personalized message for Mom. Children can write “I love you, Mom!” or a special note directly onto the designated area or even draw additional loving elements. Remember that the card will fold, so your child might want to add designs or color to the back side of the flaps as well. While coloring the main part of the card is easiest before cutting, decorating the back flaps might be simpler once the cutting is complete.
Step 3: CUT. Carefully cut out the main card shape, staying just outside the provided lines for a neat finish. Then, precisely cut around the individual flowers and the separate bow piece. For younger children, this step might require a bit of assistance from an adult to ensure accuracy and safety with scissors. Older children can practice their cutting skills, enhancing their hand-eye coordination and fine motor development. Take your time with the intricate parts of the flowers to make them truly pop!
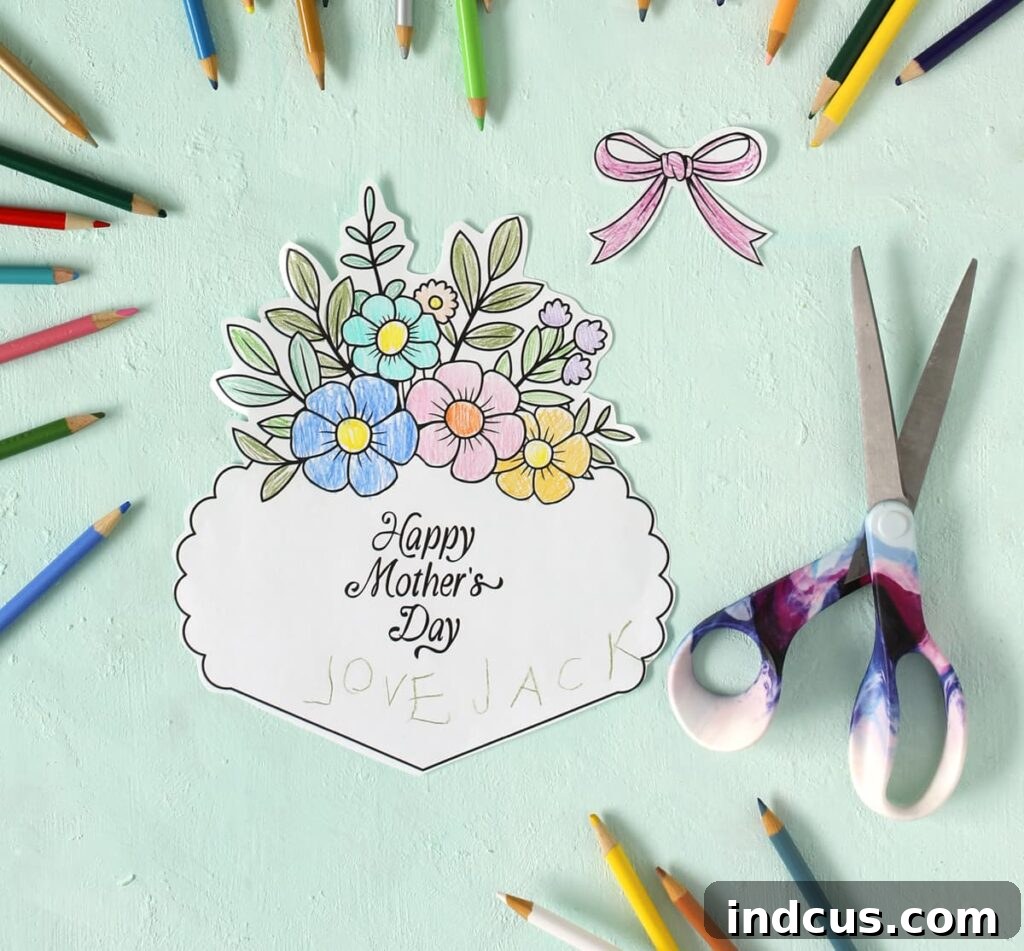
Step 4: FOLD. Now it’s time to give your bouquet card its unique three-dimensional shape. Fold the bottom section of the card inward along the two dotted lines. These folds will meet in the center, forming a distinctive triangular shape at the base of the bouquet. This folding action creates the “wrapping” effect for your flower bouquet. Once folded, these two flaps create additional surfaces for decoration. Your child might want to add more personal touches, colors, or tiny drawings to these flaps, perhaps a pattern or even their initials, before the card is sealed.
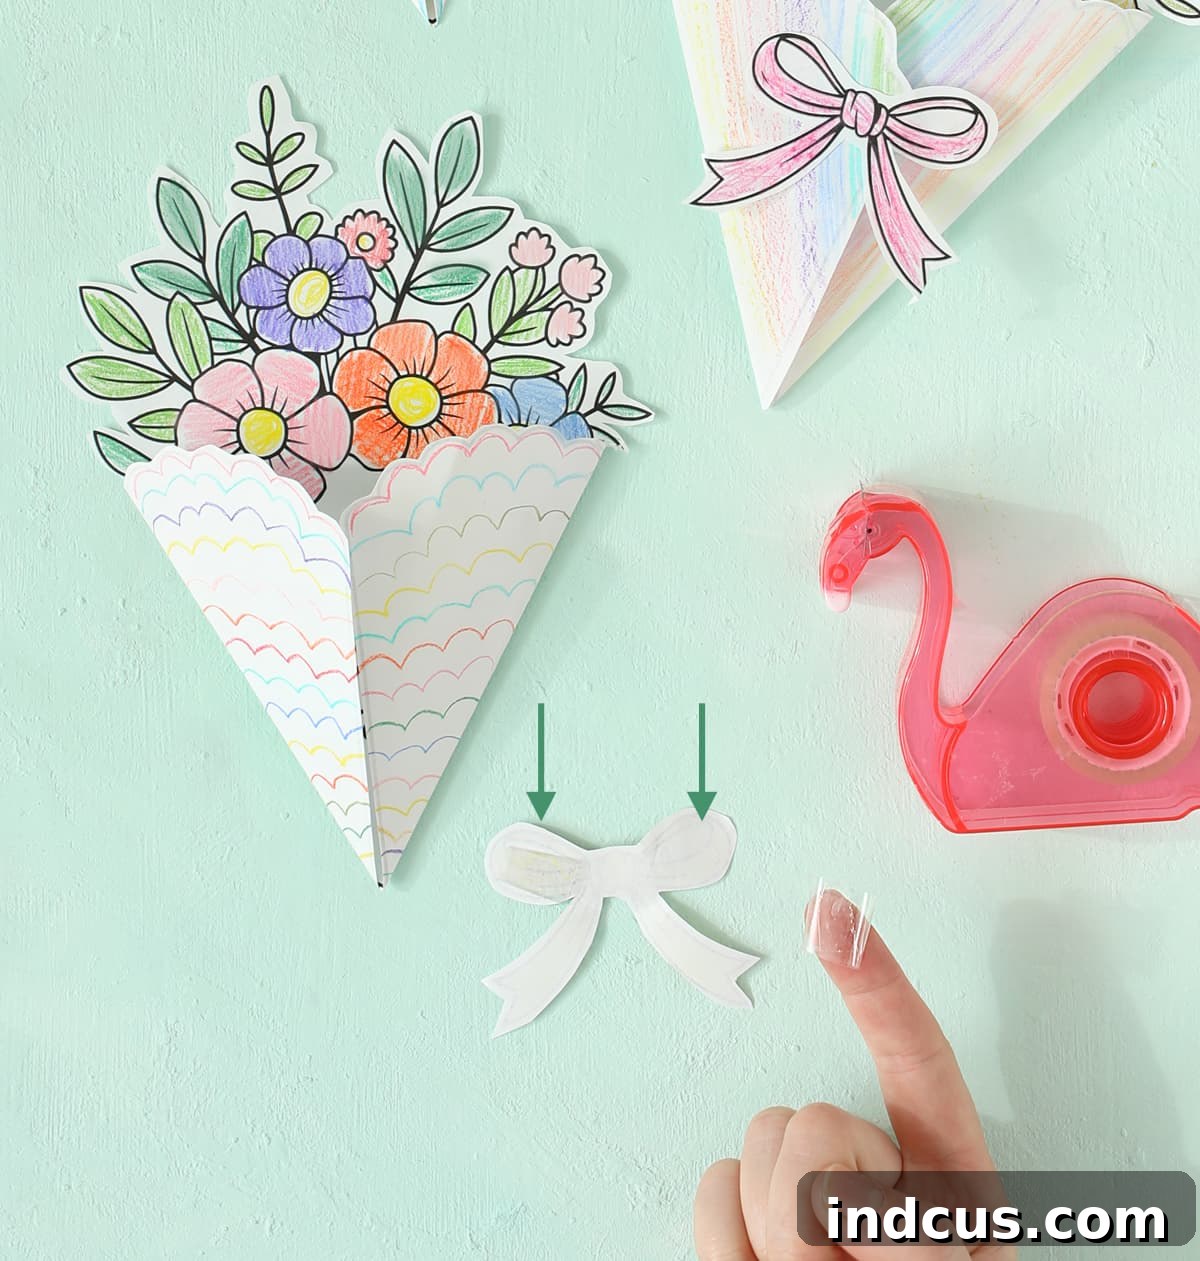
Step 5: TAPE. To complete your adorable bouquet card, prepare two small loops of Scotch tape. Place one tape loop on the back side of the bow, on the left side, and another on the right side. Next, fold the card’s “bouquet wrapping” flaps up towards the center. Position the cut-out bow over the seam where the two folded flaps meet, ensuring one piece of tape adheres to the left flap and the other to the right. Gently press down to secure the bow, which will hold the card closed, beautifully concealing the “Happy Mother’s Day!” message until Mom opens it. The bow acts as both a decorative element and a functional clasp.
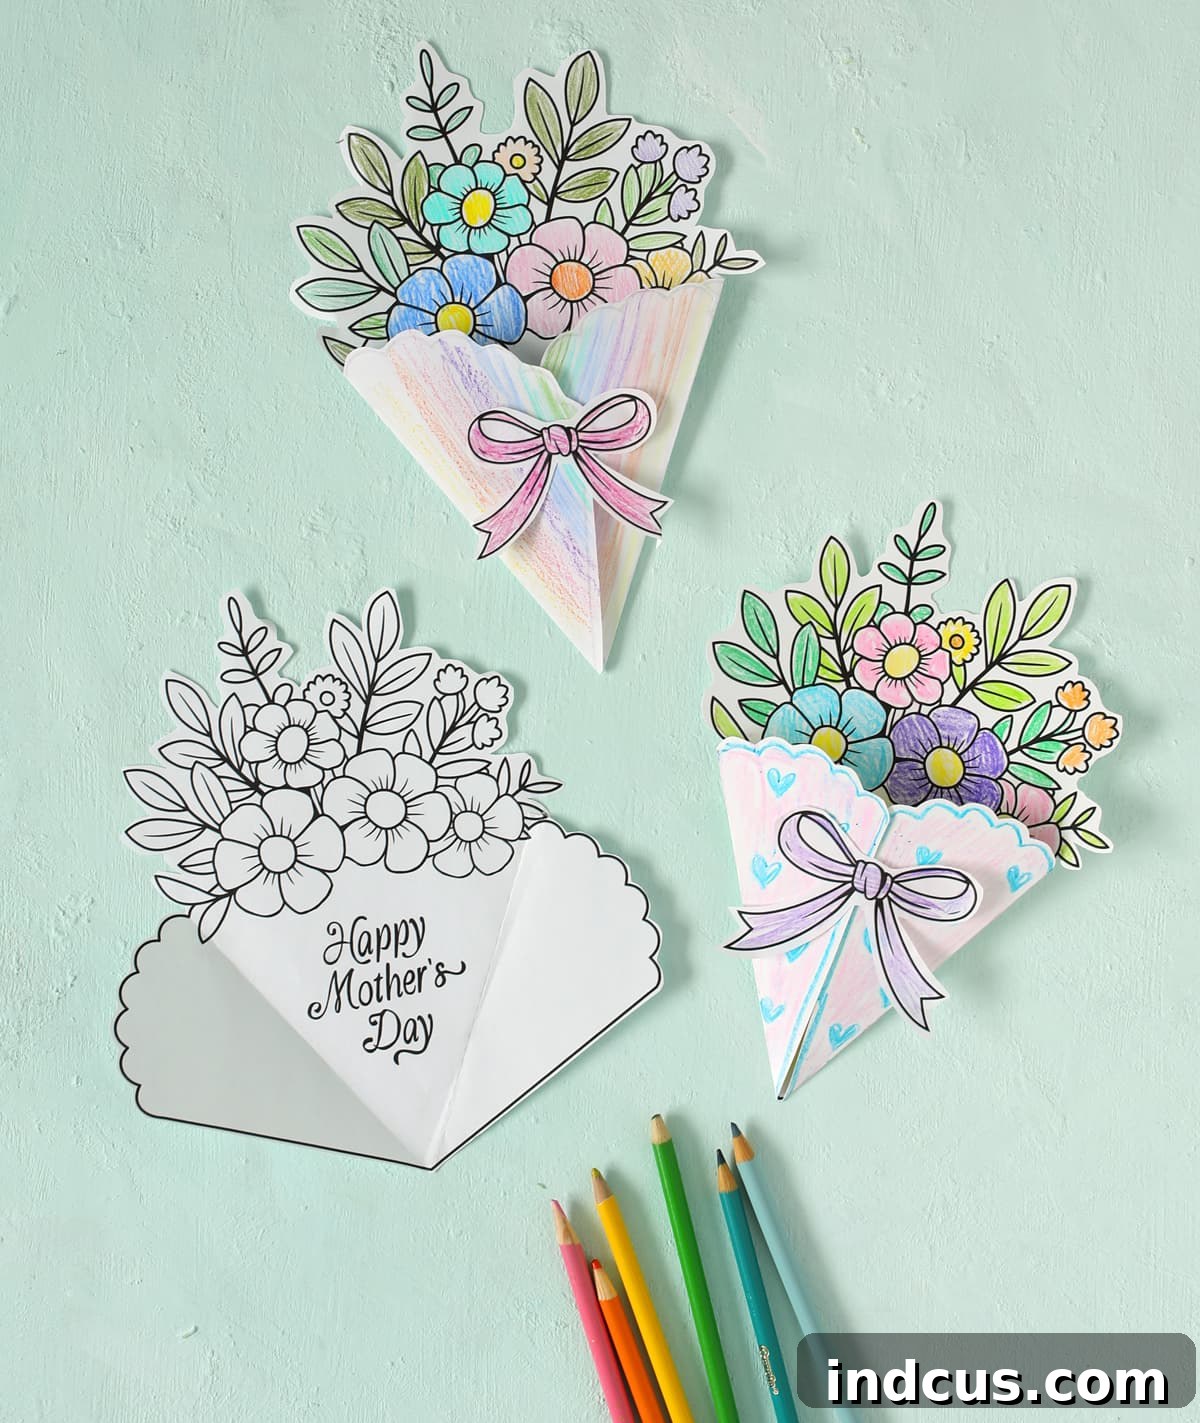
And just like that, your beautifully crafted Mother’s Day bouquet card is complete! This charming handmade gift is now ready to bring an enormous smile to any mom’s face. The anticipation of opening the flower wrap to reveal a sweet message makes this card extra special and incredibly personal.
Why Handmade Gifts Make Mother’s Day Unforgettable
In a world filled with mass-produced items, a handmade gift stands out as a beacon of genuine affection and effort. For Mother’s Day, a card crafted by a child isn’t just paper and glue; it’s a tangible representation of their love, dedication, and creativity. Moms cherish these gifts because they tell a story – a story of tiny hands carefully coloring, focused minds thinking of “Mom,” and hearts pouring love into every detail. It’s a unique piece of art that no money can buy, an irreplaceable keepsake that captures a moment in time and the purest form of appreciation. These cards often become treasured mementos, stored away and revisited years later, bringing back fond memories of a child’s early craft projects and their boundless love.
Tips for Crafting with Young Children
Crafting with kids, especially younger ones, is an adventure! Here are a few tips to make the process enjoyable and successful:
- Embrace Imperfections: Remember, the beauty of a child’s craft lies in its uniqueness. Don’t strive for perfection; celebrate their effort and individual style.
- Pre-cut if Needed: For very young children or those still developing scissor skills, an adult can pre-cut some of the more intricate parts, like the flowers, allowing the child to focus on coloring and assembly.
- Supervise and Assist: Always supervise children when using scissors. Offer gentle guidance during folding and taping steps to help them achieve the desired result without frustration.
- Variety of Materials: Offer different coloring tools to keep them engaged – pencils, crayons, and markers provide varied tactile experiences and results.
- Keep it Fun: The primary goal is to have a positive and creative experience. Play music, tell stories, and make it a special bonding activity.
Personalize Your Bouquet Card Even More!
While the card is already special, there are many ways to add extra personal touches:
- Glitter and Sparkles: A touch of glitter glue can make the flowers sparkle, adding an extra layer of magic.
- Stickers and Embellishments: Let kids add small heart stickers, rhinestones, or other craft embellishments to the flowers or the bouquet wrapping.
- Photos: A tiny photo of the child or the family tucked inside the card can make it even more sentimental.
- Handwritten Notes: Encourage older children to write a longer, heartfelt message inside the card, listing all the reasons they love their mom.
- Fingerprint Art: For the littlest ones, a few colorful fingerprint “dots” can add a cute and personal touch to the bouquet.
Mother’s Day Bouquet Card Video Tutorial
Sometimes, seeing the steps in action makes all the difference! Watch our helpful video tutorial to get a visual guide for creating this delightful Mother’s Day bouquet card. It’s perfect for understanding each step, especially the folding and taping process, and seeing how effortlessly this charming craft comes together.
This video walks you through each instruction, ensuring you and your child can confidently create a beautiful card with ease. Pause, rewind, and watch at your own pace!
Important Note: This printable template is hosted securely on Google Drive. Please be aware that some schools or employers may block access to external file-sharing sites. If you encounter any difficulties downloading the file, we recommend trying again from a personal computer at home or on an unrestricted network.
Frequently Asked Questions (FAQ)
- Q: What age group is this craft suitable for?
- A: This craft is perfect for kids aged 3 and up. Younger children will need more adult assistance with cutting and folding, while older children (6+) can largely complete the project independently with minimal guidance.
- Q: Can I use colored paper instead of white?
- A: Absolutely! While white paper allows for full creative coloring, printing on light-colored paper (like pastel pink or yellow) can add an interesting base tone to your bouquet. Just ensure the color is light enough for printed lines and coloring to show up clearly.
- Q: How long does this craft take to complete?
- A: The total time can vary depending on the child’s age and attention span, and how much detail they put into coloring. Generally, expect it to take anywhere from 20 to 45 minutes from printing to final assembly.
- Q: What if I don’t have Scotch tape?
- A: While Scotch tape is recommended for its neatness, any strong clear tape will work. For a slightly different approach, you could use a small dab of glue stick or liquid glue to attach the bow, but allow extra time for drying.
Loved this craft? Don’t let it get lost in your bookmarks! Pin it to your favorite Pinterest board so you can easily find it again for future Mother’s Day celebrations or other special occasions. Share the joy of crafting with friends and family!
Pin this adorable Mother’s Day Bouquet Card Craft!
We hope you and your child have an amazing time creating these beautiful, personalized Mother’s Day bouquet cards. There’s truly nothing quite like a handmade gift to show appreciation and love. Happy crafting, and Happy Mother’s Day to all the wonderful moms out there!







