
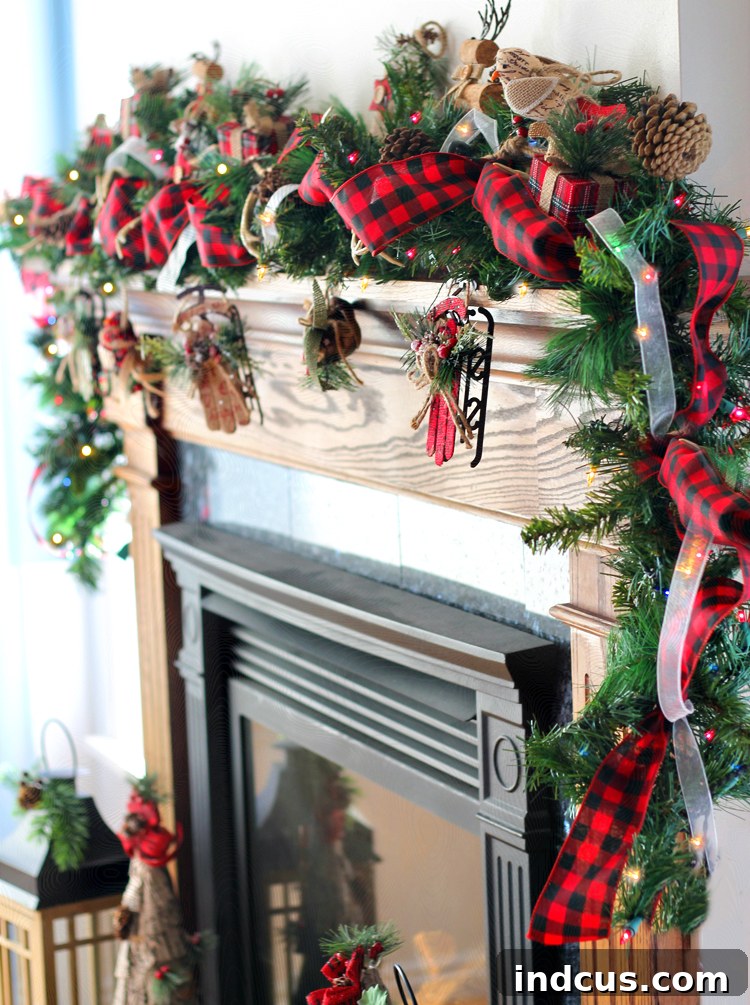
Craft a Breathtaking DIY Christmas Garland: Your Guide to Professional Holiday Decor
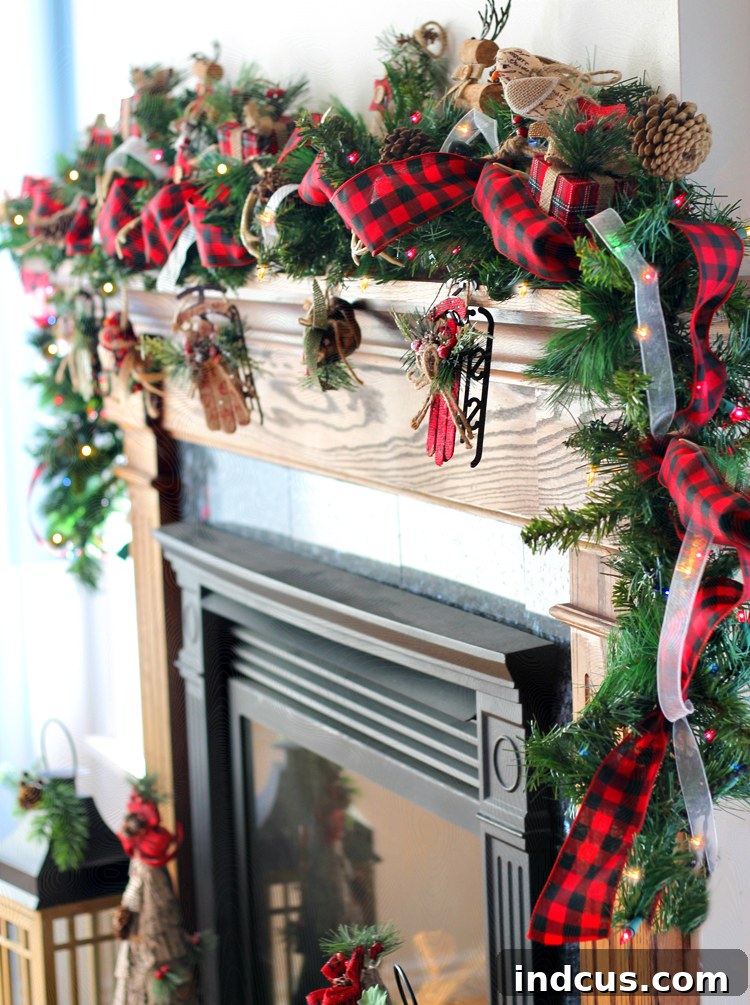
Transform your home into a festive wonderland this holiday season with a stunning, custom-made Christmas garland. Garlands are a quintessential element of festive decor, gracing fireplace mantels, staircases, doorways, and windows with their timeless charm. While store-bought options can be appealing, crafting your own DIY garland allows for unparalleled personalization, a touch of handcrafted elegance, and often, a more luxurious look without the hefty price tag.
Today, we’re diving deep into the art of creating a gorgeous, professional-looking Christmas garland. Forget flimsy, sparse greenery; we’ll share insider tips and tricks to achieve that coveted full, opulent, and “expensive” aesthetic. This comprehensive guide will empower you to design a show-stopping holiday masterpiece that reflects your unique style and brings warmth and cheer to your home for years to come. Get ready to unleash your inner holiday decorator – let’s craft some magic!
Looking for more holiday decorating inspiration? Check out my new post: How To Decorate Your Christmas Tree Like A Pro!
Step-by-Step Guide: How to Craft a Luxurious DIY Christmas Garland
Creating a truly magnificent Christmas garland is simpler than you might think. By following these detailed steps, you’ll build a layered, textured, and illuminated piece that looks professionally designed. Here’s a quick overview of the process:
- Double or triple up your greenery base for ultimate fullness.
- Incorporate a generous amount of sparkling lights.
- Weave in your first selection of wired ribbon.
- Add a second, contrasting ribbon for depth and interest.
- Embellish with decorative details and floral picks.
1. Build a Lush Base: Double Up the Greenery
The secret to an expensive-looking garland begins with a robust and full base. Most single strands of artificial pine garland sold in stores tend to be too thin on their own, resulting in a sparse appearance. The simple yet transformative solution is to combine two, or even three, strands of greenery. Winding them together creates immediate volume and a significantly more luxurious foundation.
Beyond simply doubling up, consider mixing different types of greenery for added texture and visual interest. Imagine the rich, dark needles of traditional pine interwoven with the delicate, feathery branches of cedar, the vibrant tones of juniper, or the subtle elegance of eucalyptus. Frosted or flocked varieties can also be introduced for a wintry, ethereal touch. Once your base strands are intertwined, dedicate ample time to “fluffing” out every single branch. Bend and spread the individual wire branches to fill out any gaps and create a truly dimensional, lifelike appearance. This crucial step alone elevates your garland from ordinary to extraordinary.
2. Illuminate with Sparkle: Add Layers of Lights
No Christmas garland is complete without the warm glow of twinkling lights. When adding lights, don’t be shy – string them generously throughout your doubled-up greenery. Aim to tuck the wires deep into the branches as much as possible to create a seamless, professional finish where only the bulbs are visible. Even if your base garland comes pre-lit, consider adding additional strands. More lights mean more brightness and a captivating twinkle that truly shines at night.
For an extra layer of dimension and visual intrigue, experiment with mixing different types of lights. Combine standard mini-lights with larger, retro-style C9 bulbs, enchanting fairy lights, or unique star-shaped lights. LED lights are a fantastic energy-efficient choice, offering a variety of color temperatures from warm white to cool white. Also, think about proximity to power outlets. If your garland will be draped in an area without easy access, battery-operated light strings are a fantastic solution, preventing unsightly extension cords from detracting from your beautiful decor. Safety is paramount, so always ensure your lights are rated for indoor use and inspect them for any frayed wires before installation.
3. Weave in Elegance: Introduce Your First Ribbon
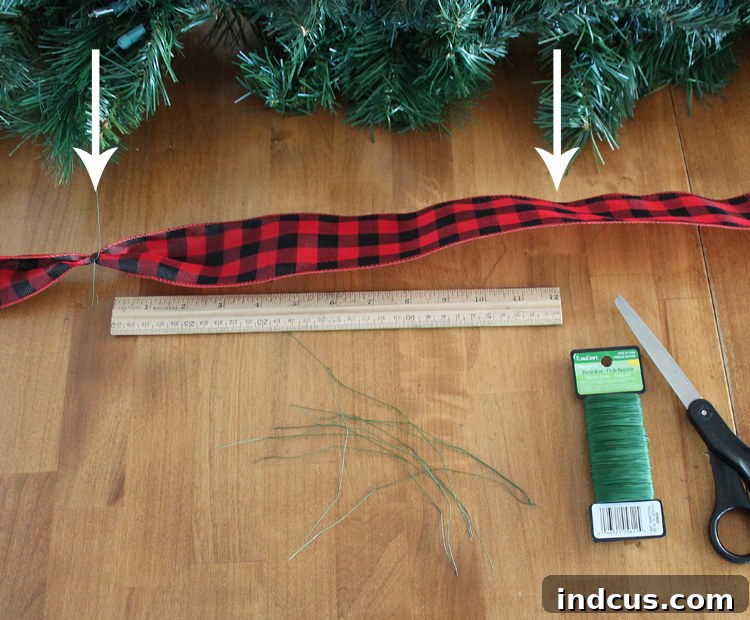
Ribbon adds an undeniable touch of festive flair and sophistication to any garland. The key to achieving that perfectly draped, voluminous look is to use wired ribbon. Wired ribbon allows you to shape and hold its form, giving your garland a dynamic, sculptural quality that soft, unwired ribbon simply can’t achieve. To prepare your ribbon, take an eight-inch piece of florist wire and twist it around the ribbon every 12 to 18 inches. This creates secure attachment points.
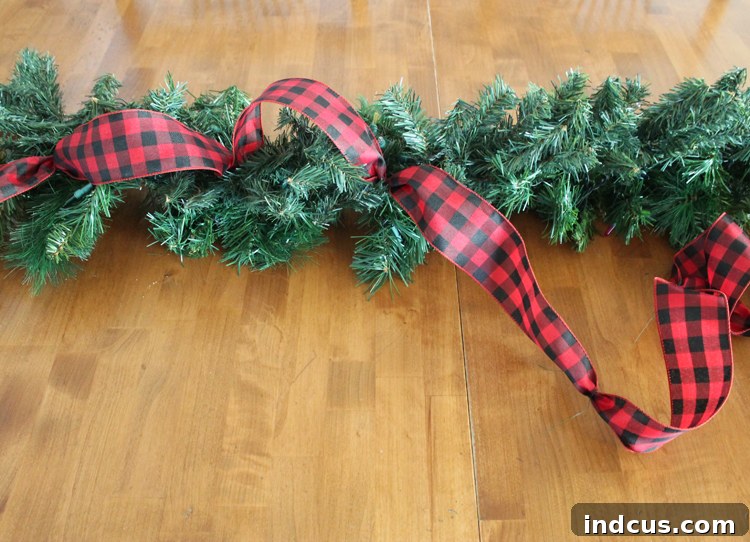
Once prepped, use the florist wire to securely attach the ribbon to the greenery base. As you attach it, gently “poof” out the ribbon sections between the attachment points. This technique creates beautiful loops and folds, giving the ribbon fullness and movement rather than a flat, limp appearance. Experiment with how you weave the ribbon – you can drape it in gentle swags, weave it through the branches, or create small bows at intervals. The goal is to make it look integrated and luxurious, not just simply laid on top.
4. Enhance with Contrast: Add a Second Ribbon Layer
Elevate your garland even further by introducing a second, contrasting ribbon. This layer adds depth, texture, and visual excitement that a single ribbon cannot achieve alone. When selecting your second ribbon, consider how it complements the first. If your initial ribbon is wide and features a bold print, a thinner, solid-colored, or sheer ribbon can provide a beautiful balance. For example, a rustic buffalo check ribbon might be paired with a shimmering gold or transparent red ribbon.
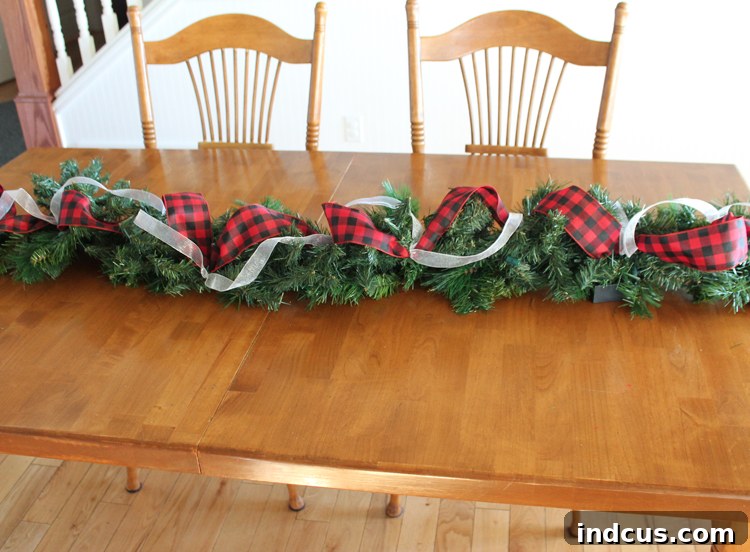
Transparent or sheer ribbons are particularly magical on a garland because they catch and reflect the light from your strands, creating a beautiful sparkle and glow, especially at night. You can weave this second ribbon in a similar manner to the first, or you might choose to drape it more loosely, allowing it to subtly peek through the primary ribbon. The interplay of colors, patterns, and textures between the two ribbons will make your garland look incredibly rich and thoughtfully designed.
5. Personalize with Charm: Add Details and Embellishments
This is where your garland truly comes to life and expresses your personal style! Adding decorative details and embellishments takes your creation from a beautiful base to a unique, show-stopping focal point. The possibilities here are endless, allowing you to tailor your garland to your existing decor theme. Consider incorporating items such as:
- Ornaments: Shatterproof ornaments are an excellent choice, especially if the garland is in a high-traffic area. Mix sizes, finishes (matte, glossy, glitter), and colors.
- Floral Picks: Faux poinsettias, magnolias, berries (red, frosted, gold), mistletoe, or delicate frosted leaves can add pops of color and natural texture.
- Pinecones: Natural, glittered, or snow-dusted pinecones are classic garland enhancements.
- Bells: Small jingle bells or larger rustic bells can add a delightful sound and visual appeal.
- Rustic Elements: Faux antlers, wood slices, or cinnamon sticks can contribute to a cozy, farmhouse aesthetic.
- Themed Accents: Think miniature gifts, candy canes, snowflakes, or even small stuffed animals for a whimsical touch.
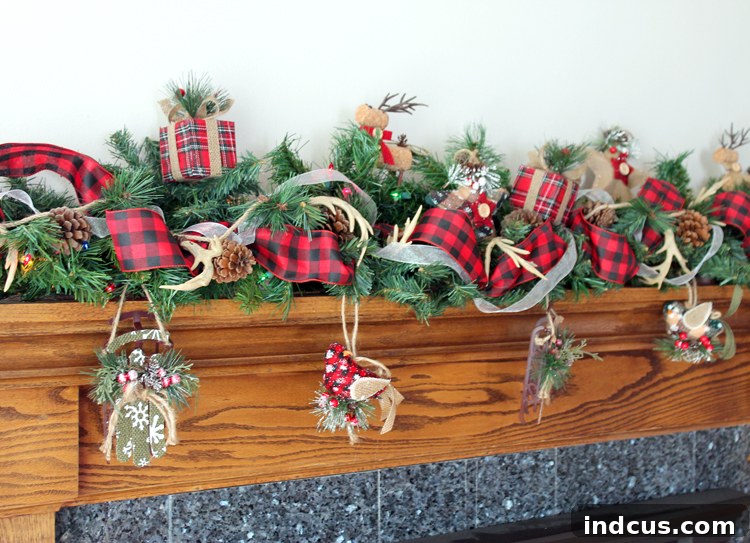
When attaching embellishments, security is key, especially for anything fragile or heavier. Florist wire is your best friend here, allowing you to firmly secure items without damaging the garland base. For lighter items, hot glue can also be effective. A pro tip: try to place your garland in its intended home before adding the final details. This allows you to stand back, assess the overall balance, and ensure the placement of each ornament and pick looks just right from every angle.
Watch the Magic Unfold: Christmas Garland Video Tutorial
Sometimes, seeing is believing! Watch this quick 3-minute video tutorial to get a visual demonstration of exactly how these steps come together to create a stunning Christmas garland. It’s an invaluable resource to help you visualize the process and refine your technique.
Investing in Quality: The Longevity of Your DIY Garland
You might initially be surprised by the price of quality artificial garland bases, especially if you’re aiming for something fuller or more unique than a basic bushy pine. However, it’s crucial to view this purchase as a long-term investment. A well-constructed, durable garland base can easily last you for 10+ years, if not more! Unlike trend-driven ornaments or seasonal themes, the base greenery remains a timeless foundation.
Because the garland base serves as the canvas for all your decorative additions – lights, ribbons, and embellishments – it will always look fantastic with your evolving Christmas decor. You can completely change your holiday theme each year simply by swapping out the ribbons and ornaments, all while utilizing the same high-quality garland base. This makes DIY garland not only a creative outlet but also a smart, sustainable choice for your holiday decorating budget over time.
Where to Find the Best Christmas Garland and Supplies
Scouting for the perfect garland base and embellishments can be part of the fun! My go-to stores for Christmas decor and craft supplies include Hobby Lobby, Big Lots, Joann, and Michaels. These retailers often have incredible sales, especially as the holiday season approaches, making it the ideal time to stock up. Don’t overlook larger stores like Walmart and Target, which also offer a good selection of cute and affordable garlands and accessories.
When shopping, always double-check the length of the garland strands to ensure they are sufficient for your space. Remember, for a typical fireplace mantel, staircase railing, or larger doorway, you will very likely need to connect two or even three strands end-to-end to achieve the desired fullness and length. Here are some of my favorite garlands that I’ve used and loved over the years:
My Top Garland Picks for Your DIY Project
- Walmart Flocked Pine Garland: Absolutely gorgeous and wonderfully fluffy, just be prepared for a little “snow” shedding from the flocking!
- Hobby Lobby Cedar Garland: This is a perennial favorite! It often sells out online, so grab the SKU number and head to your local store – you might find it in person. See how I styled it HERE.
- Hobby Lobby Pine & Pinecone Garland: Features that charming, classic “Charlie Brown tree” look, perfect for a nostalgic feel.
- Big Lots Pre-Lit Green Pine Garland: A fantastic option if you prefer a pre-lit, traditional style without flocking.
- Amazon Cypress Garland: Offers a more natural and rustic aesthetic, making it an excellent choice to mix with a traditional pine garland for varied texture.
Garland Placement and Styling Inspiration
Once your magnificent DIY Christmas garland is complete, it’s time to showcase it! The fireplace mantel is a classic and beloved spot, creating an instant focal point of festive cheer. Observe how the finished garland transforms the space, with its lights creating a soft glow and the textures adding warmth.
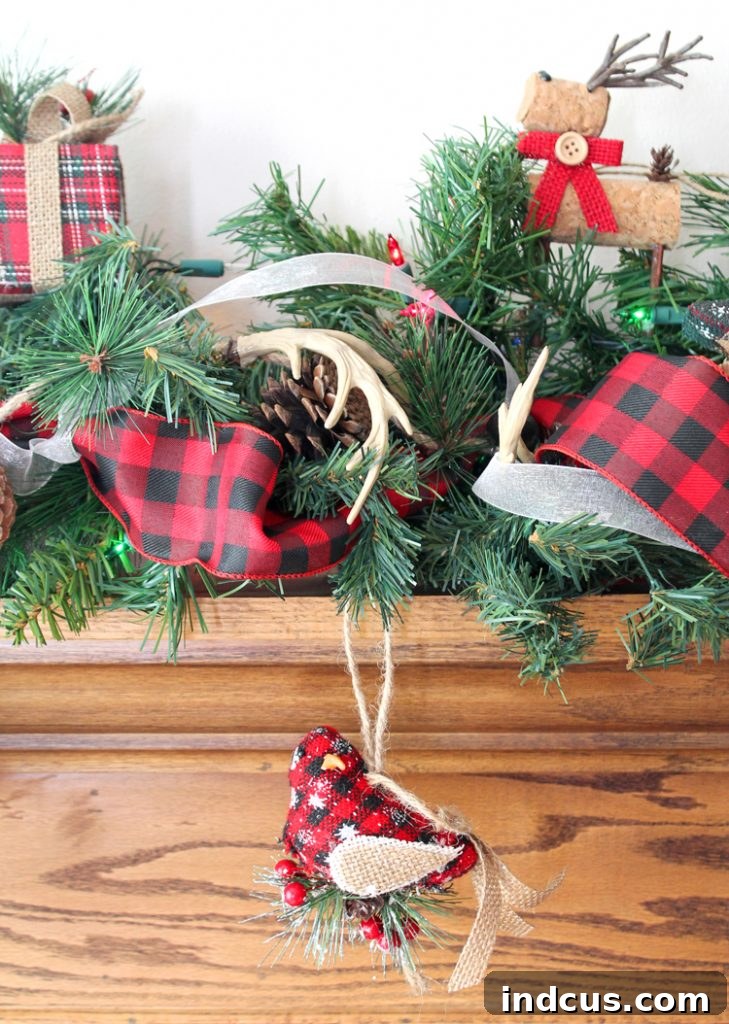
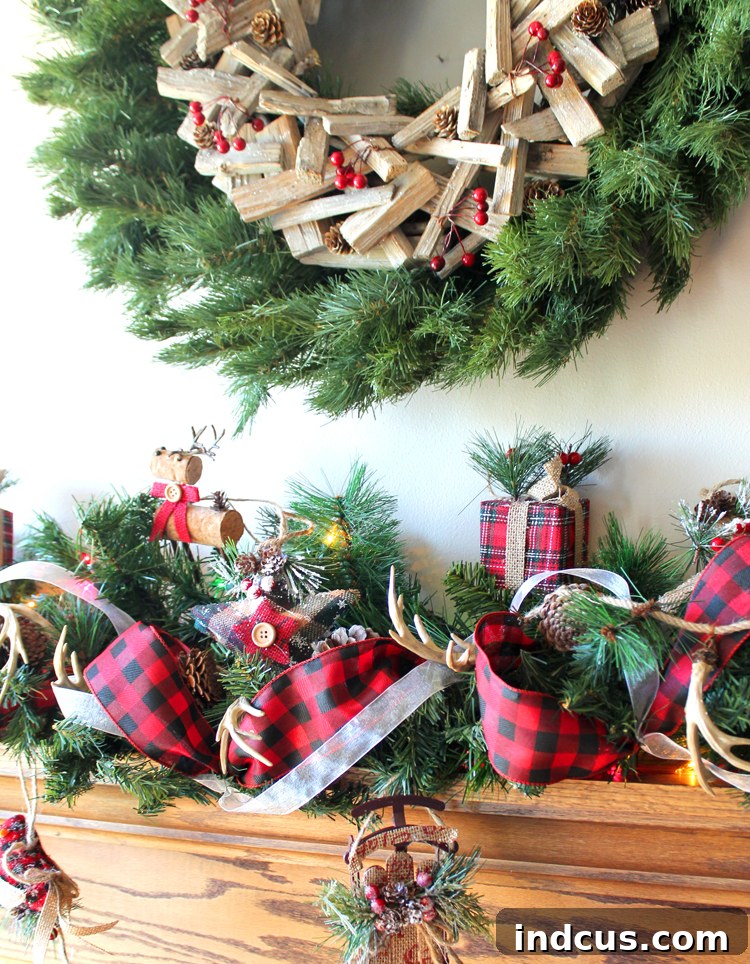
A closer look reveals the intricate details – the layered ribbons, the varied greens, and the charming embellishments. The antler garland, in particular, adds a unique rustic touch that really stands out.
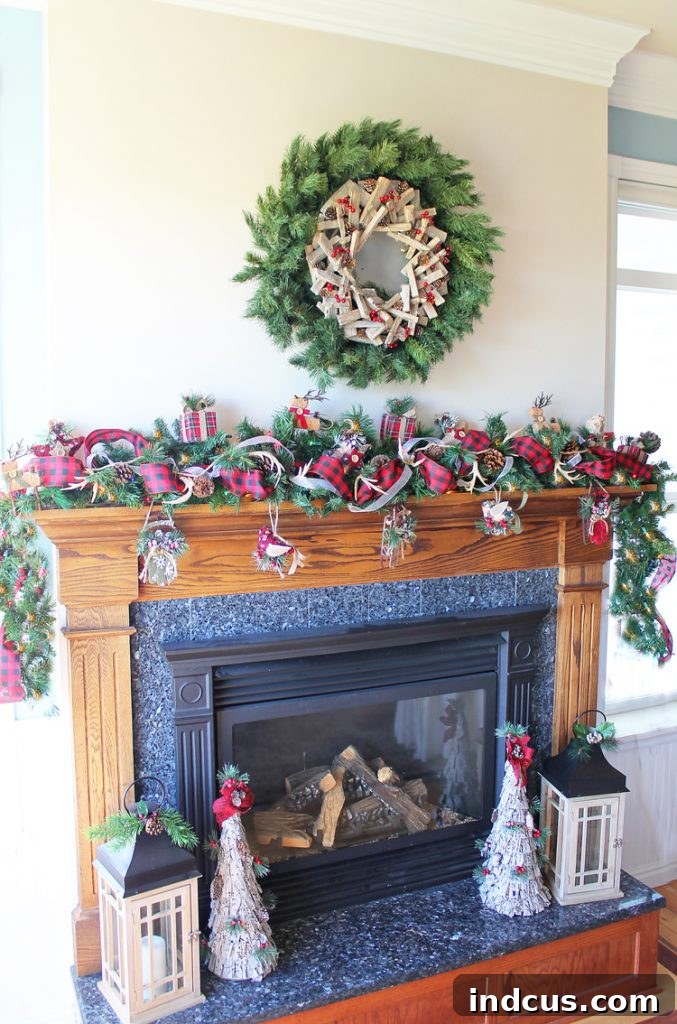
Here’s another little holiday decorating tip that goes beyond garland: consider layering wreaths for maximum impact! This amazing wreath on the wall is actually two wreaths combined for a richer, fuller appearance.
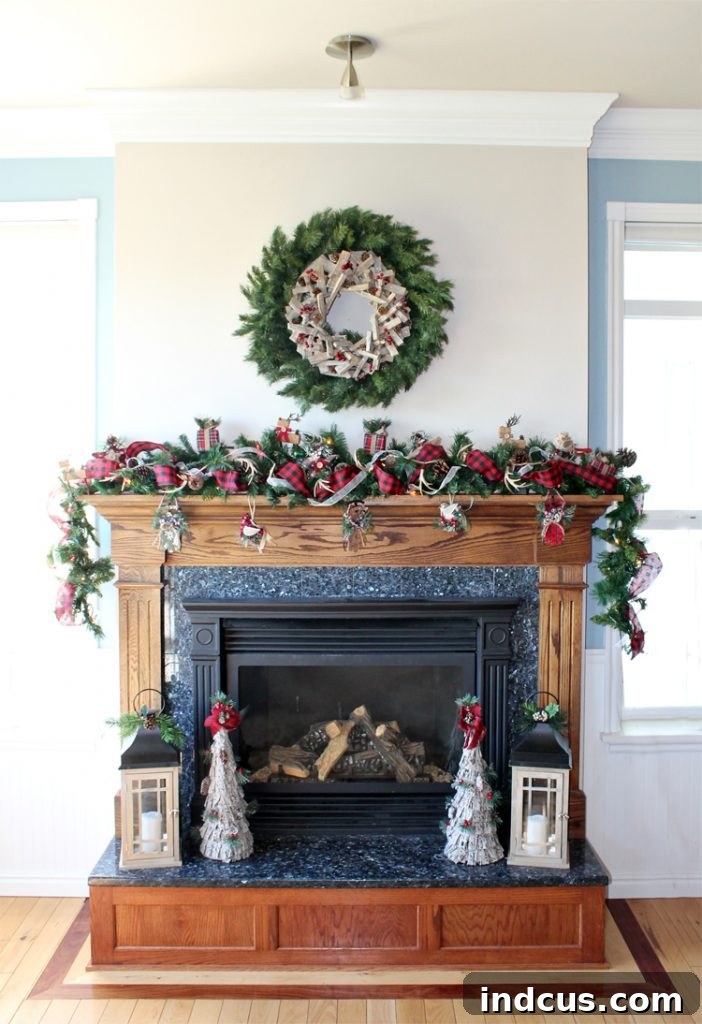
I loved the rustic appeal of the wood wreath but found it a bit too small for the scale of the wall. By wiring it securely on top of a plain, fuller pine wreath, it instantly became a more significant showpiece. The combination creates a beautiful layered effect that adds depth and visual interest, much like our garland technique.
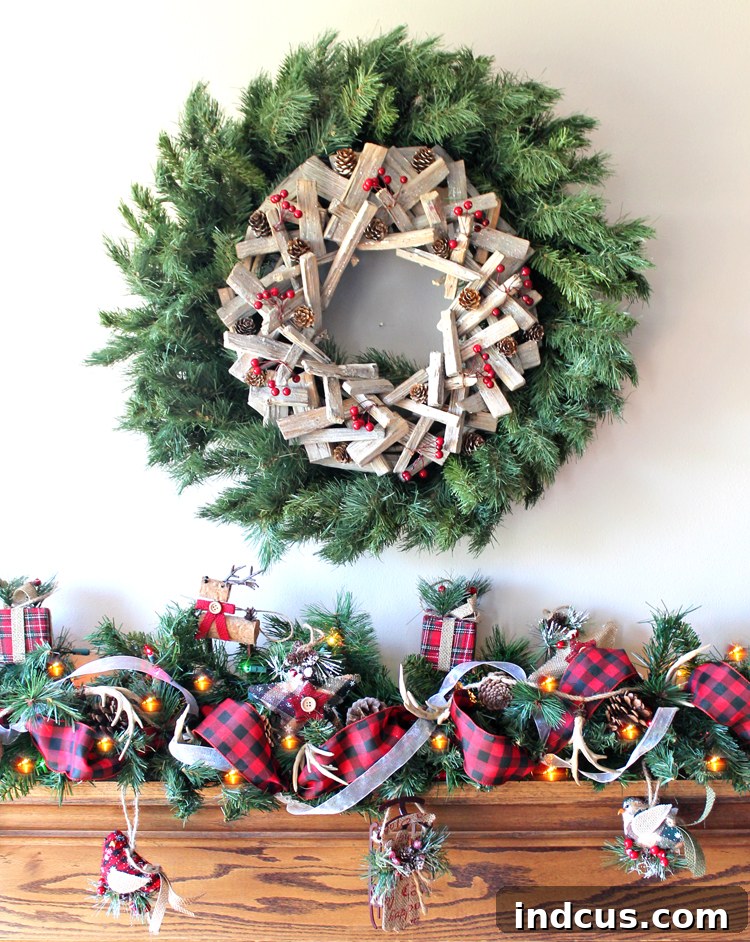
And speaking of details, doesn’t that buffalo check ribbon just exude cozy holiday vibes? I’m absolutely smitten with plaid again this year – it brings such a warm, inviting, and classic feel to any Christmas decor scheme.
This approach to garland decorating is incredibly versatile. Here’s a mantel I decorated in a different year, using the exact same layering technique but with a completely altered color scheme and selection of materials.
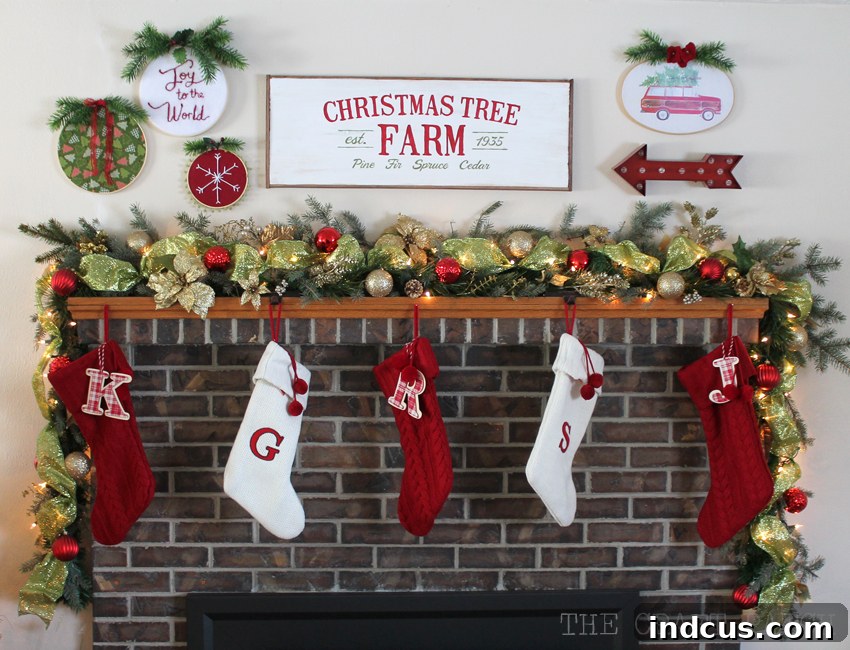
The transformation is dramatic – a totally different look achieved simply by changing the colors of the ribbons, the types of ornaments, and the picks, all while following the foundational steps outlined in this guide. This adaptability is one of the greatest advantages of a DIY Christmas garland: it can evolve with your taste and holiday trends season after season.







