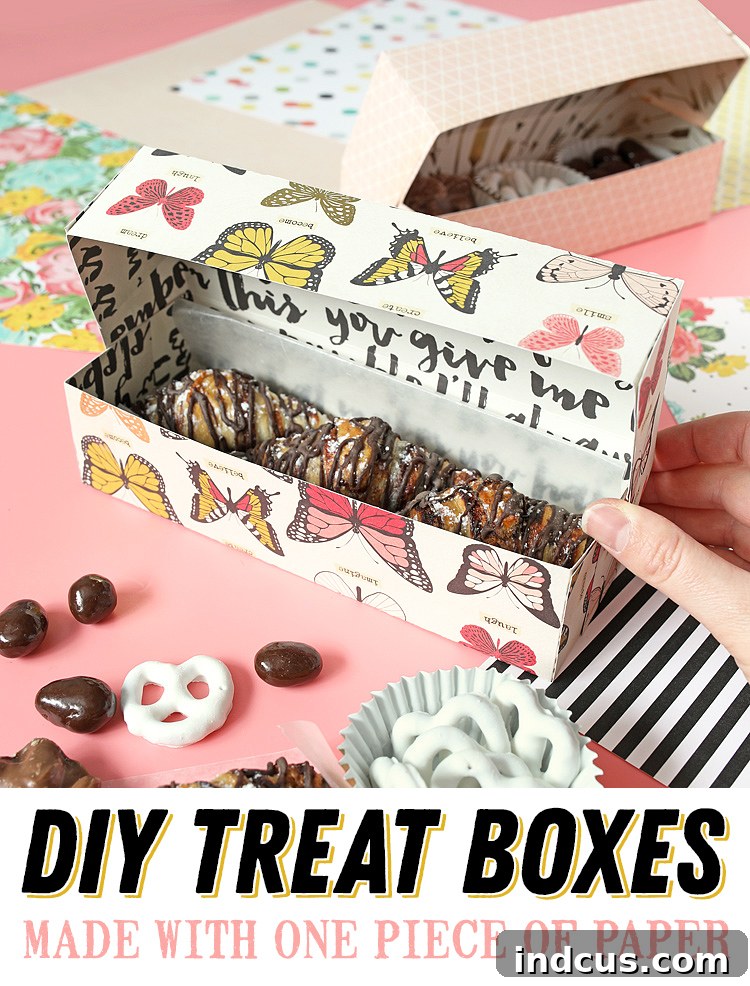
Master the Art of Crafting a Stunning Treat Box from a Single 12×12″ Scrapbook Paper!
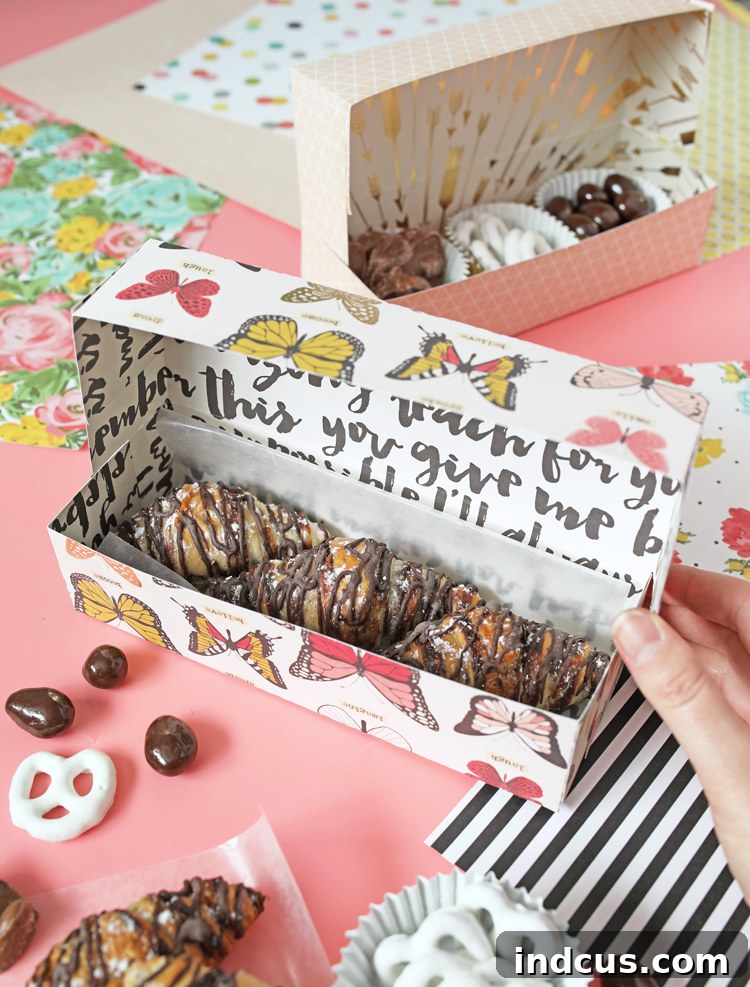
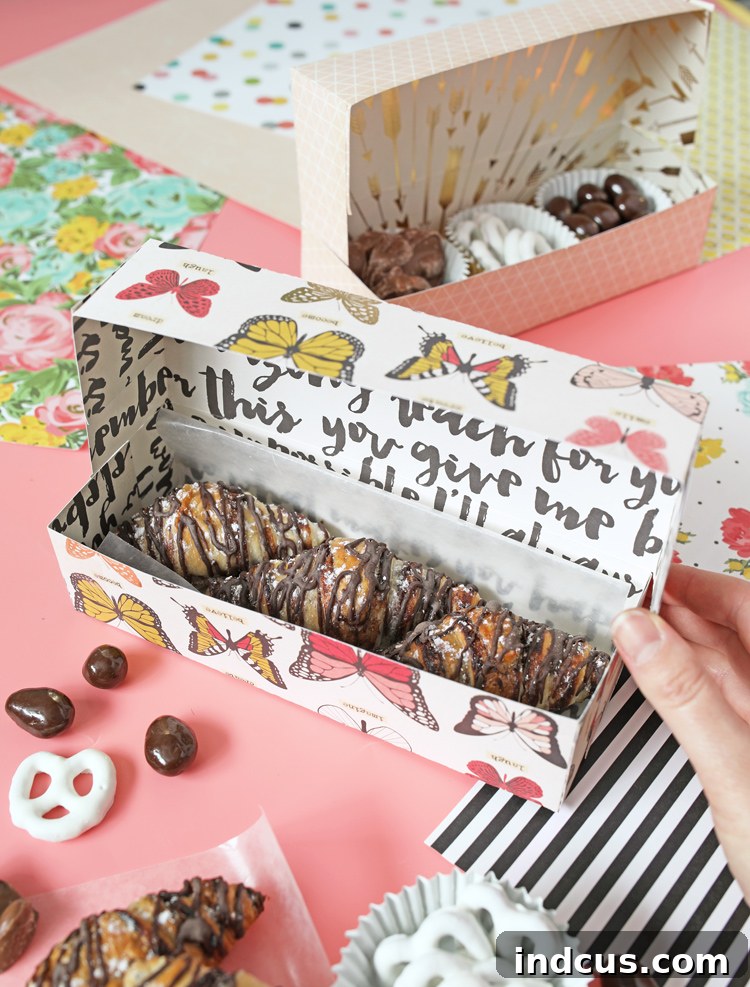
Unleash your creativity and transform a simple sheet of scrapbook paper into an elegant and functional treat box! Today, we’re thrilled to share an incredibly fun and straightforward tutorial that will guide you through crafting a beautiful rectangular box, complete with a hinged lid, using nothing more than a single piece of 12×12 inch scrapbook paper. This project is not only satisfying but also a fantastic way to add a personal touch to your gifts and presentations.
For many of us, scrapbook paper holds a special allure. Even if we no longer spend hours meticulously assembling scrapbooks, those exquisite patterns and vibrant colors continue to captivate us, leading to a delightful collection of paper treasures. If your craft stash is brimming with gorgeous scrapbook paper just waiting for the perfect project, then you’ve found it! This DIY treat box offers a wonderful opportunity to utilize those cherished sheets, turning them into something both practical and visually appealing.
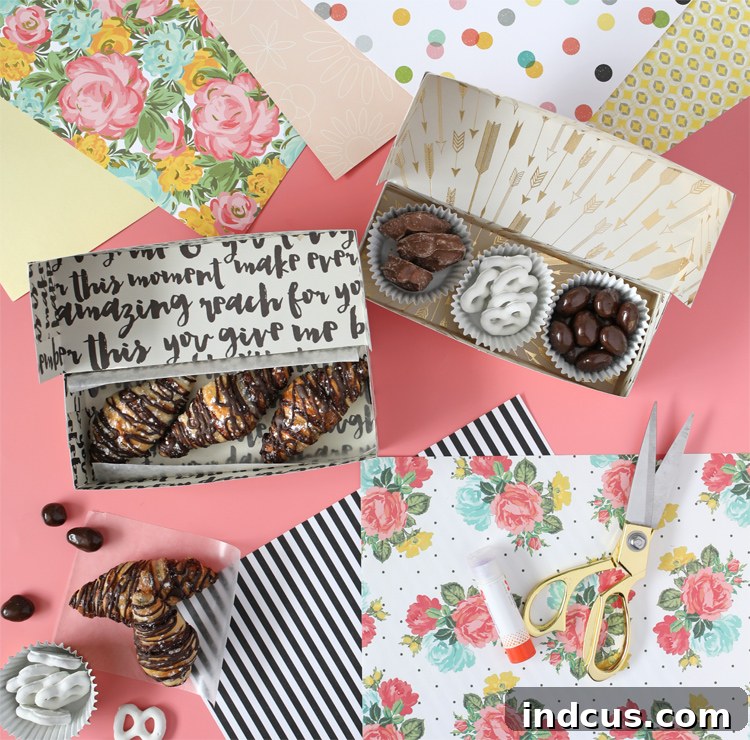
These charming little boxes are truly versatile, making them ideal for packaging an array of delightful items. Imagine presenting homemade chocolate-covered strawberries in one of these—they fit perfectly, creating a truly memorable gift! By simply adding a layer of wax paper or a small cupcake liner inside, you can safely house an assortment of homemade candies, delicate cookies, or a multitude of other delectable treats. But don’t limit yourself to homemade goodies; these boxes can elevate even store-bought treats. The thoughtful and adorable packaging alone will bring immense joy to the recipient, who will surely be delighted by the effort, regardless of the contents’ origin!
Beyond edible delights, these boxes serve countless other purposes. They are perfect for small party favors, holding trinkets, jewelry, small stationery items, or even a collection of thoughtful notes. Use them to organize small desk supplies, craft embellishments, or as decorative storage on a shelf. Their sturdy construction, especially when made from heavyweight cardstock, ensures they can be reused, making them an eco-friendly choice for gifting and organizing alike. Personalize them further with ribbons, tags, or stamps to match any occasion, from birthdays and holidays to thank-you gifts and bridal showers.
To embark on this delightful crafting journey, gather the following essential materials. Precision and a little patience are key, but the process itself is remarkably forgiving and enjoyable.
Materials You’ll Need
- 12×12 Double-Sided Scrapbook Paper: Opt for cardstock or a heavier weight paper (65-80lb or 176-216gsm) for a more durable and professional-looking box. Double-sided paper adds an extra layer of visual interest, ensuring your box looks beautiful from every angle.
- Ruler: A sturdy metal ruler is recommended for accurate measuring and scoring straight lines. This is crucial for ensuring your box folds cleanly and symmetrically.
- Scoring Tool: Essential for creating crisp, clean folds. While a dedicated scoring tool or bone folder is excellent, many paper cutters come with a scoring blade. You can also use the back of a butter knife or a dried-up ballpoint pen against a ruler for scoring if you don’t have a specific tool, just be gentle to avoid tearing the paper.
- Adhesive: A reliable adhesive is vital for securing your box. Options include a strong glue stick, a tape runner for quick and clean application, or double-sided tape for a firm hold. Choose one that dries clear and offers a strong bond.
- Scissors: Sharp crafting scissors are necessary for making precise cuts. A craft knife and cutting mat could also be used for even greater accuracy, especially for longer lines.
Step-by-Step Instructions to Craft Your Treat Box
Follow these detailed steps carefully to construct your elegant treat box. Remember, accuracy in measuring and scoring will yield the best results.
Step 1: Prepare Your Paper with Precise Scoring Lines
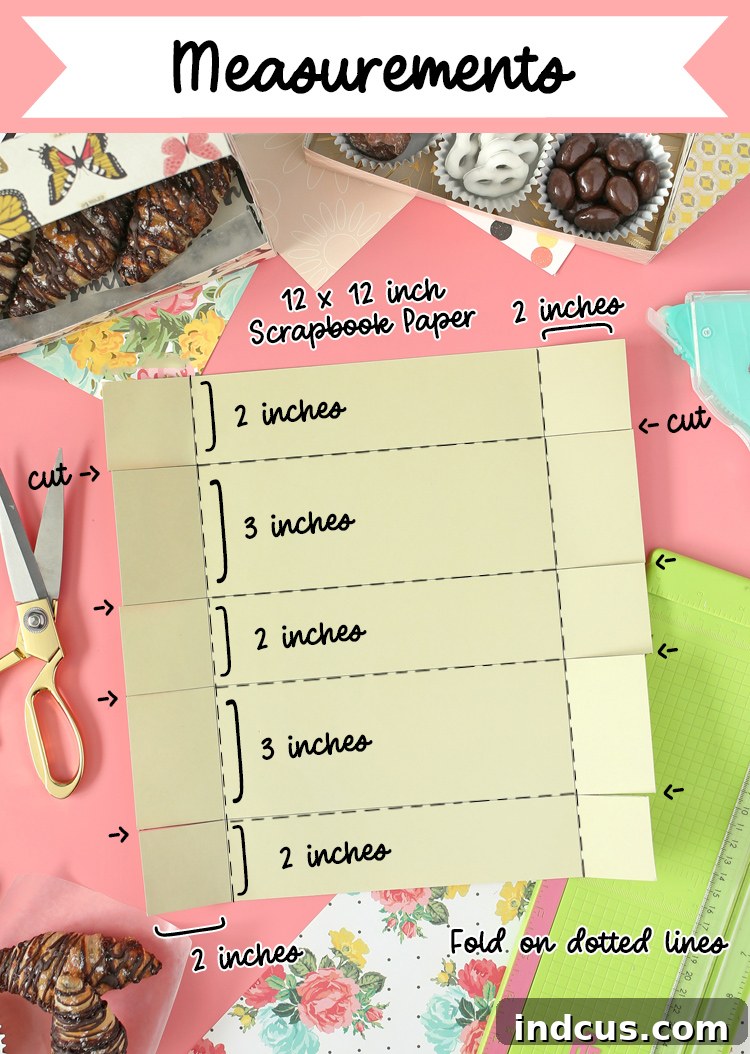
Lay your 12×12 inch scrapbook paper flat on a clean, well-lit surface. Using your ruler and scoring tool, measure and score the lines as indicated in the accompanying photo. You will be creating four horizontal lines and two vertical lines. To ensure maximum visibility for the purpose of the tutorial, I traced my lines with a pen in the example photos. However, when you are actually making your box, it is crucial to avoid drawing lines with a pen or pencil directly on your paper, as these marks will be visible on your finished project. Instead, rely solely on the scored lines. Score gently but firmly enough to create a distinct crease that will guide your folds without tearing the paper. Precision in this step is paramount for a perfectly aligned box.
Step 2: Make the Necessary Cuts to Form Flaps
Once all your scoring lines are in place, it’s time to introduce the cuts that will enable the paper to fold into a three-dimensional box. Carefully cut along the horizontal lines, starting from the outside edge of the paper and stopping precisely at the second vertical line (which is two inches in from the edge). It is absolutely critical that you do not make any vertical cuts at this stage. You should end up with a total of eight distinct cuts, creating small, individual flaps along both the top and bottom sides of your paper. These flaps are integral to forming the sides and the securing mechanisms of your box.
Step 3: Begin Forming the Box Base by Folding and Applying Adhesive
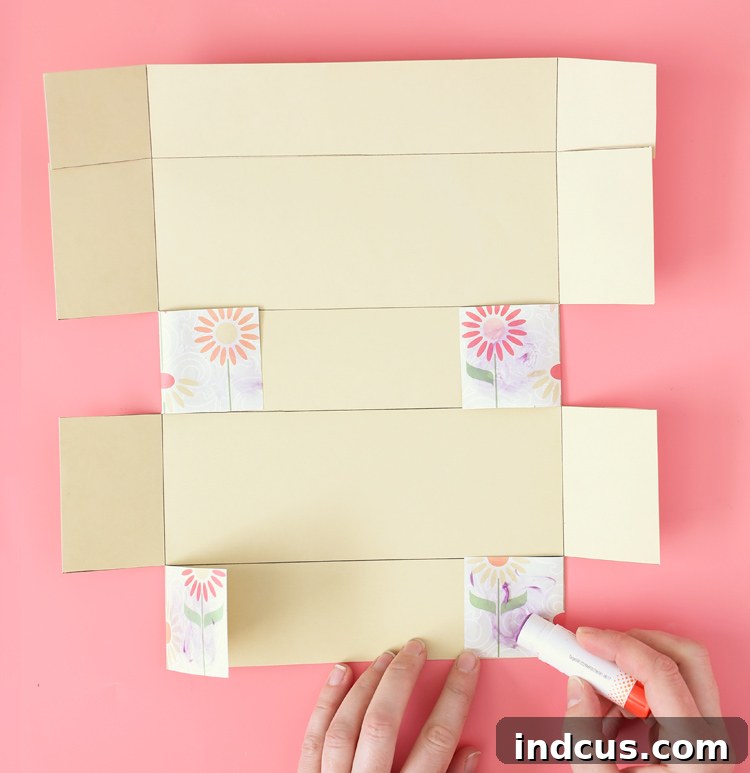
Now, let’s start giving your flat paper sheet some dimension. Begin by folding in the bottom two square tabs. These are the small square sections created by your cuts and scoring. Next, skip over the longer rectangular tab that sits between these two squares, and then fold over the subsequent two square tabs. Apply a generous, even amount of adhesive to all four of these folded-in square tabs. Ensure the adhesive covers the entire surface of each tab for a strong, lasting bond. This initial application of glue is crucial for the structural integrity of the box’s base.
Step 4: Secure the Base to Create the Bottom of Your Box
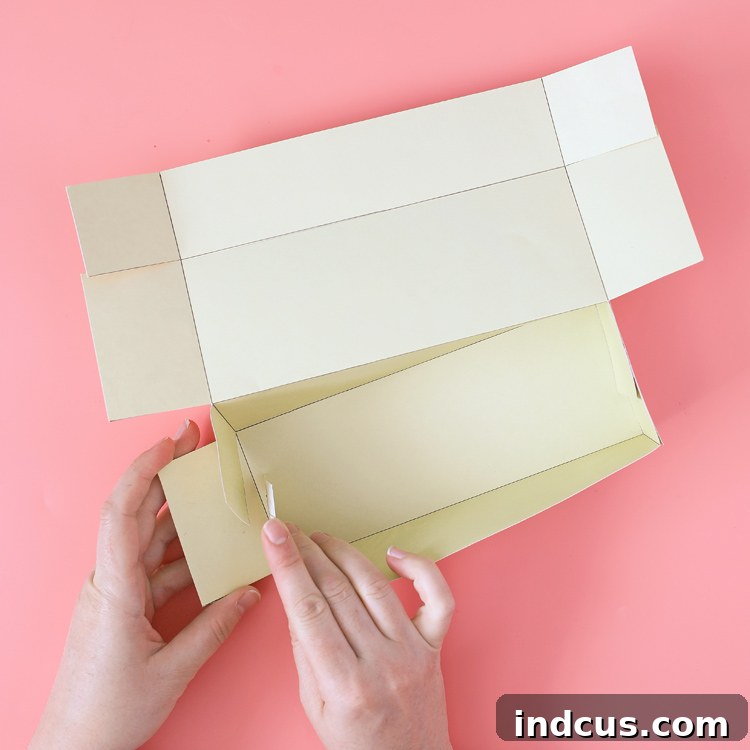
With adhesive applied, carefully fold the four glued square tabs inwards towards the center of the paper, pressing them firmly against the longer rectangular tabs that you skipped earlier. As you press, ensure that all the corners and the top edges of these pieces align perfectly. This action will effectively form the sturdy bottom part of your treat box. Take your time to align everything correctly before the adhesive sets, as precise alignment here ensures a neat and professional-looking finished product. Hold the seams together for a moment to allow the glue to bond properly.
Step 5: Prepare the Lid Tabs for Adhesion
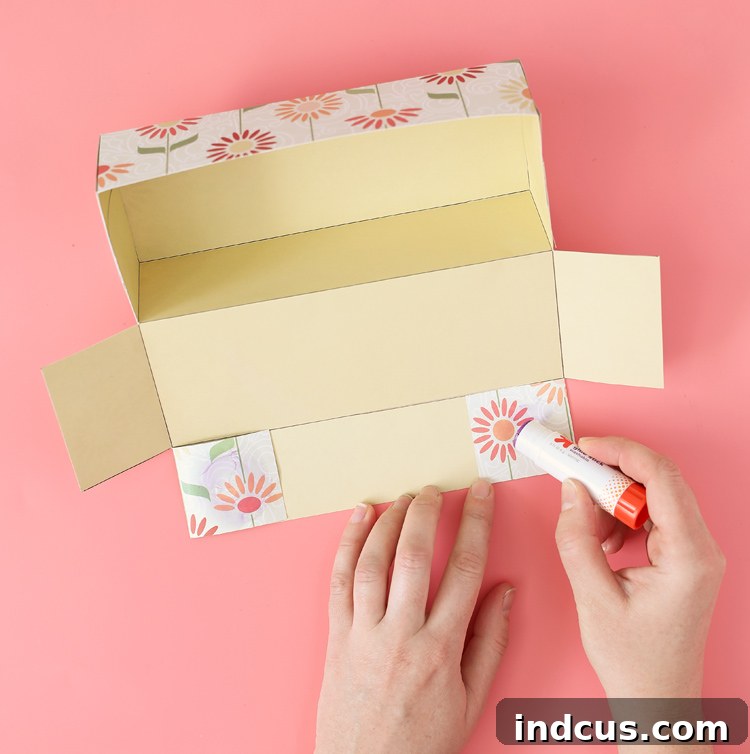
With the base of your box now complete and secure, turn your attention to the remaining tabs that will form the hinged lid. Fold in the two square tabs that are still standing upright at the top section of your paper. These are the last two square sections that haven’t been glued down yet. Once folded, apply a good amount of adhesive to the entire surface of both of these tabs. Just like with the base, sufficient adhesive here is key to a strong and reliable lid.
Step 6: Complete the Box Lid and Secure its Structure
Finally, carefully fold the two adhesive-covered square flaps over onto the two remaining rectangular flaps. Press them firmly into place, making sure to align all the corners and edges precisely. This final step will complete the construction of your box, forming a neat and functional hinged lid that fits snugly. Allow the adhesive ample time to dry completely before placing any items inside or handling the box excessively. A well-constructed lid adds to the overall aesthetic and functionality of your handmade treat box.
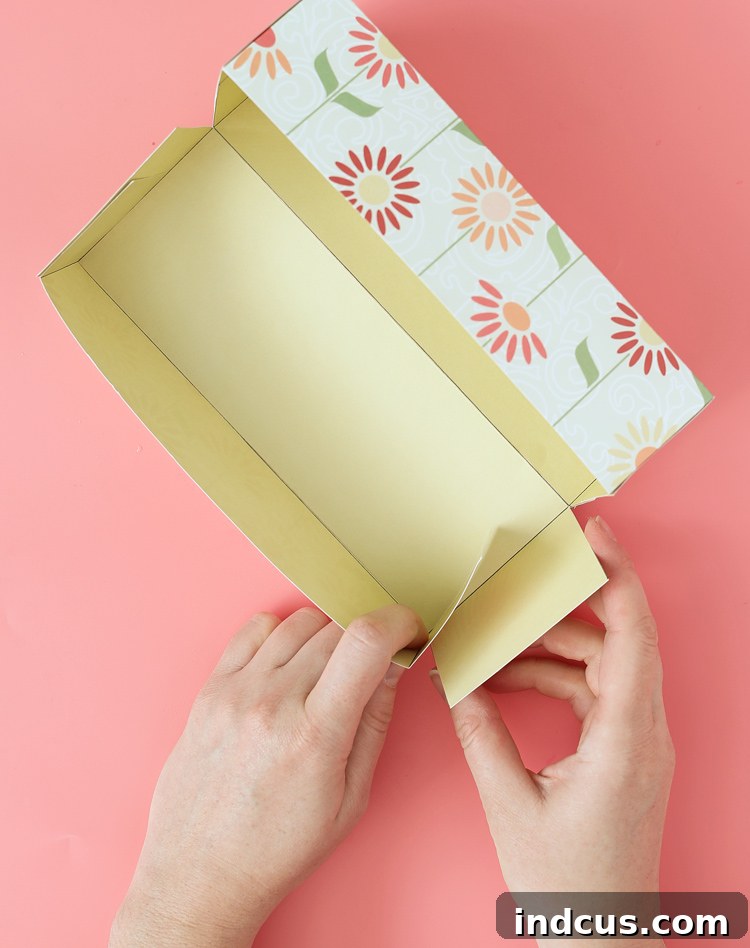
Congratulations! Your beautiful, handmade treat box is now complete. The true magic of this project lies not just in its simplicity, but in the endless possibilities for personalization and presentation. Once the adhesive has fully cured, you are ready to fill it with your chosen treasures.
To truly make your gift unforgettable, consider the finishing touches. Slip your delightful treats inside, tie the box with a luxurious ribbon that complements your scrapbook paper, and attach a charming, handwritten tag. You can embellish it further with a decorative stamp, some glitter, or small stickers. These extra steps transform a simple box into a heartfelt statement, guaranteed to brighten someone’s day and show them how much you care. Handmade gifts, especially those presented in beautiful, handmade packaging, convey a level of thoughtfulness that store-bought items simply cannot replicate. Enjoy the process of giving, knowing that every detail, from the box itself to its contents, was crafted with love.
Found this project inspiring? Pin it to your favorite crafting board on Pinterest to save it for later and share the creativity!