
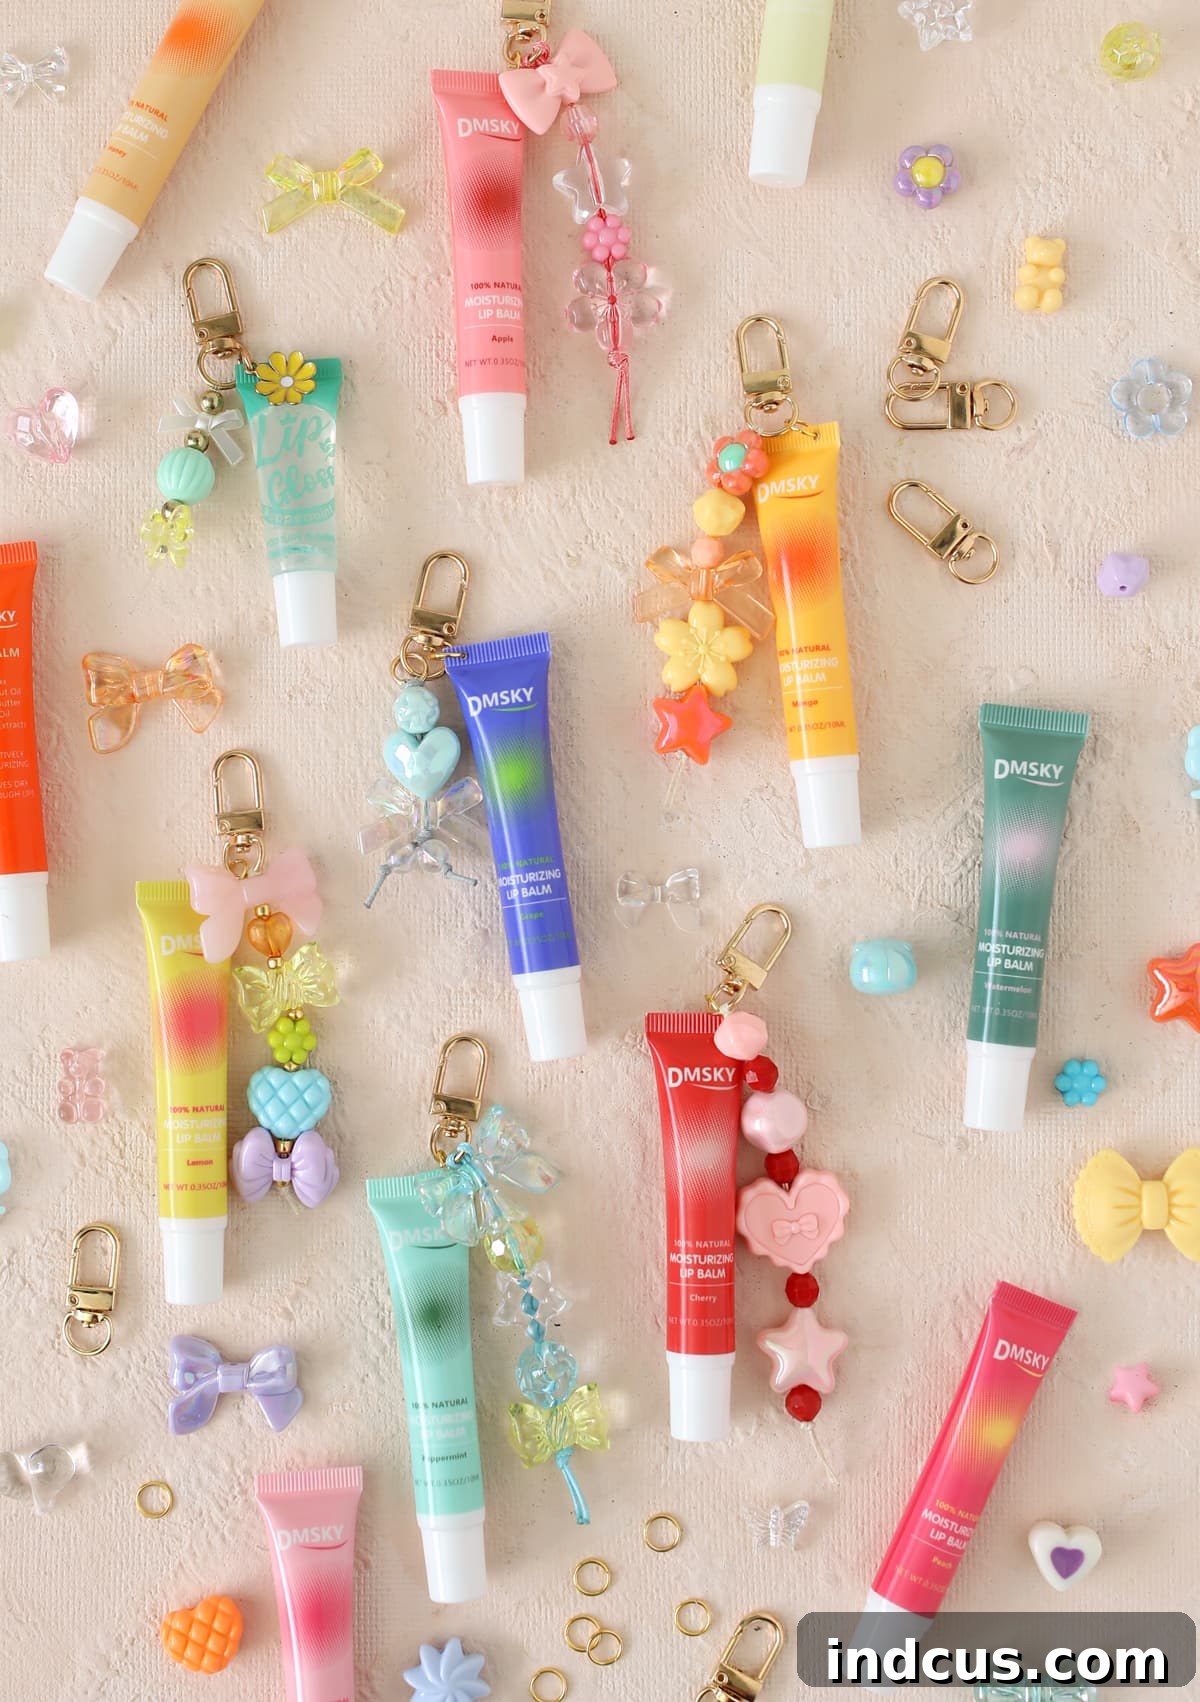
Craft Your Style: The Ultimate DIY Lip Gloss Charm Keychain Tutorial
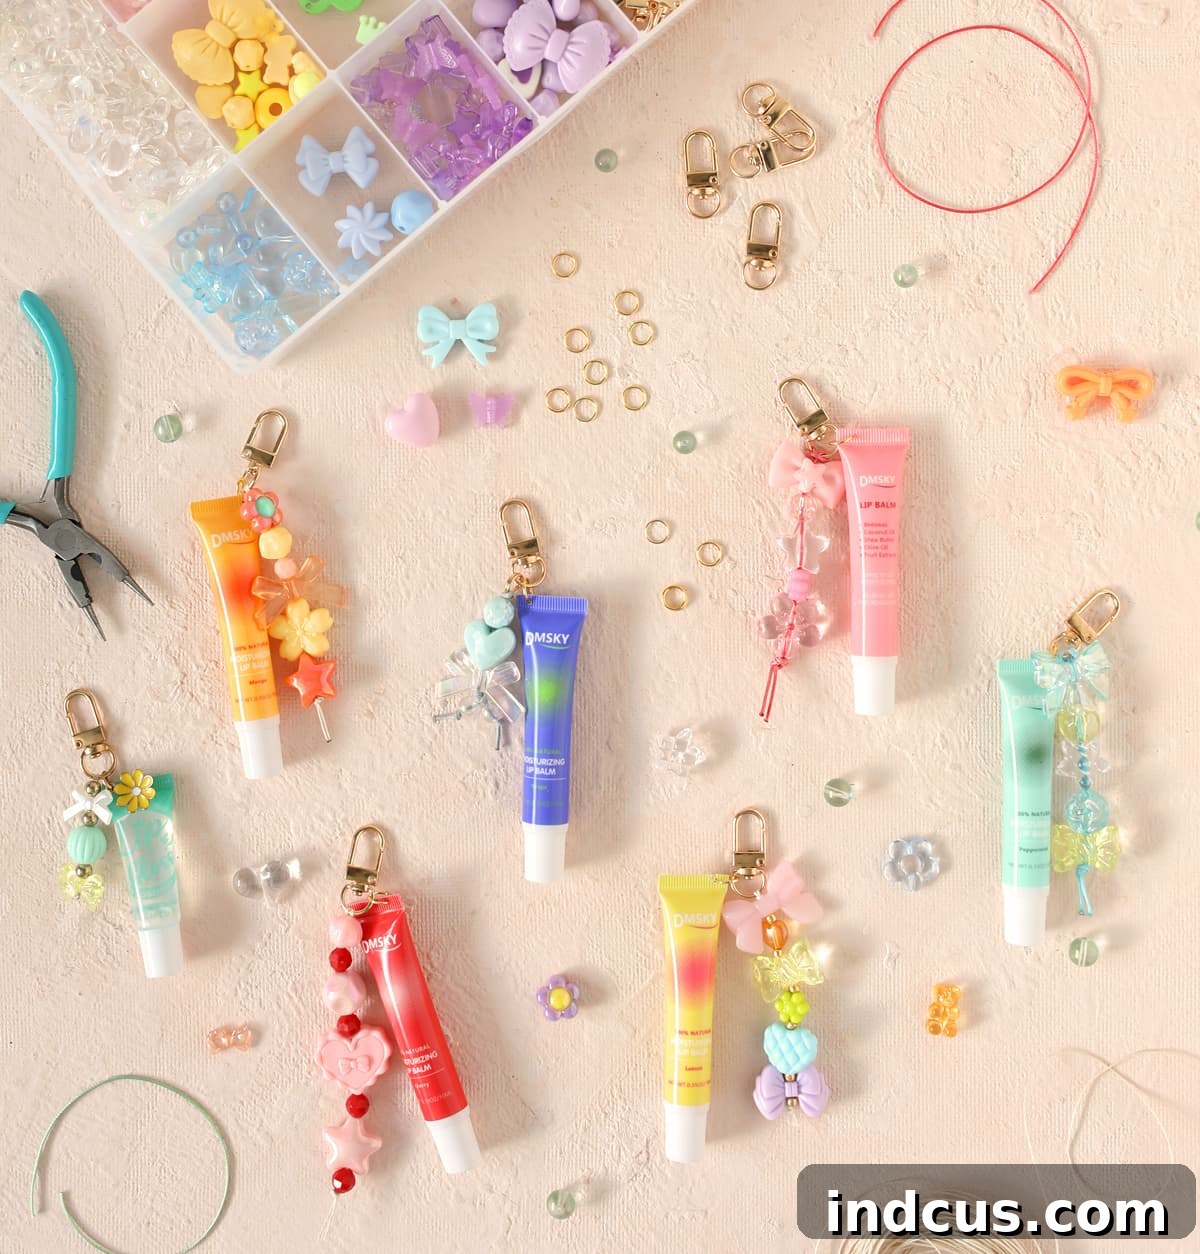
Are you tired of rummaging through your bag, desperately searching for your favorite lip gloss? Imagine a world where your lip gloss is always within reach, elegantly clipped to your purse, keys, or backpack, and looking fabulous while doing it. This tutorial will guide you through creating charming, personalized keychain accessories designed specifically for your lip gloss tubes! It’s not just a craft; it’s a functional fashion statement that brings a touch of whimsy and organization to your daily life.
These delightful lip gloss charms are more than just pretty trinkets; they’re incredibly practical. Attach them to a zipper pull inside your purse, a loop on your tote bag, or even your keys, ensuring your lip gloss never gets lost in the “abyss” again. Beyond their utility, these charms offer endless opportunities for personalization. Whether your style is minimalist chic, vibrant bohemian, or anything in between, you can customize your charm to perfectly reflect your personality. They’re a fantastic, easy, and satisfying project that promises both fun and functionality. Get ready to express your creativity and add a unique flair to your everyday essentials!
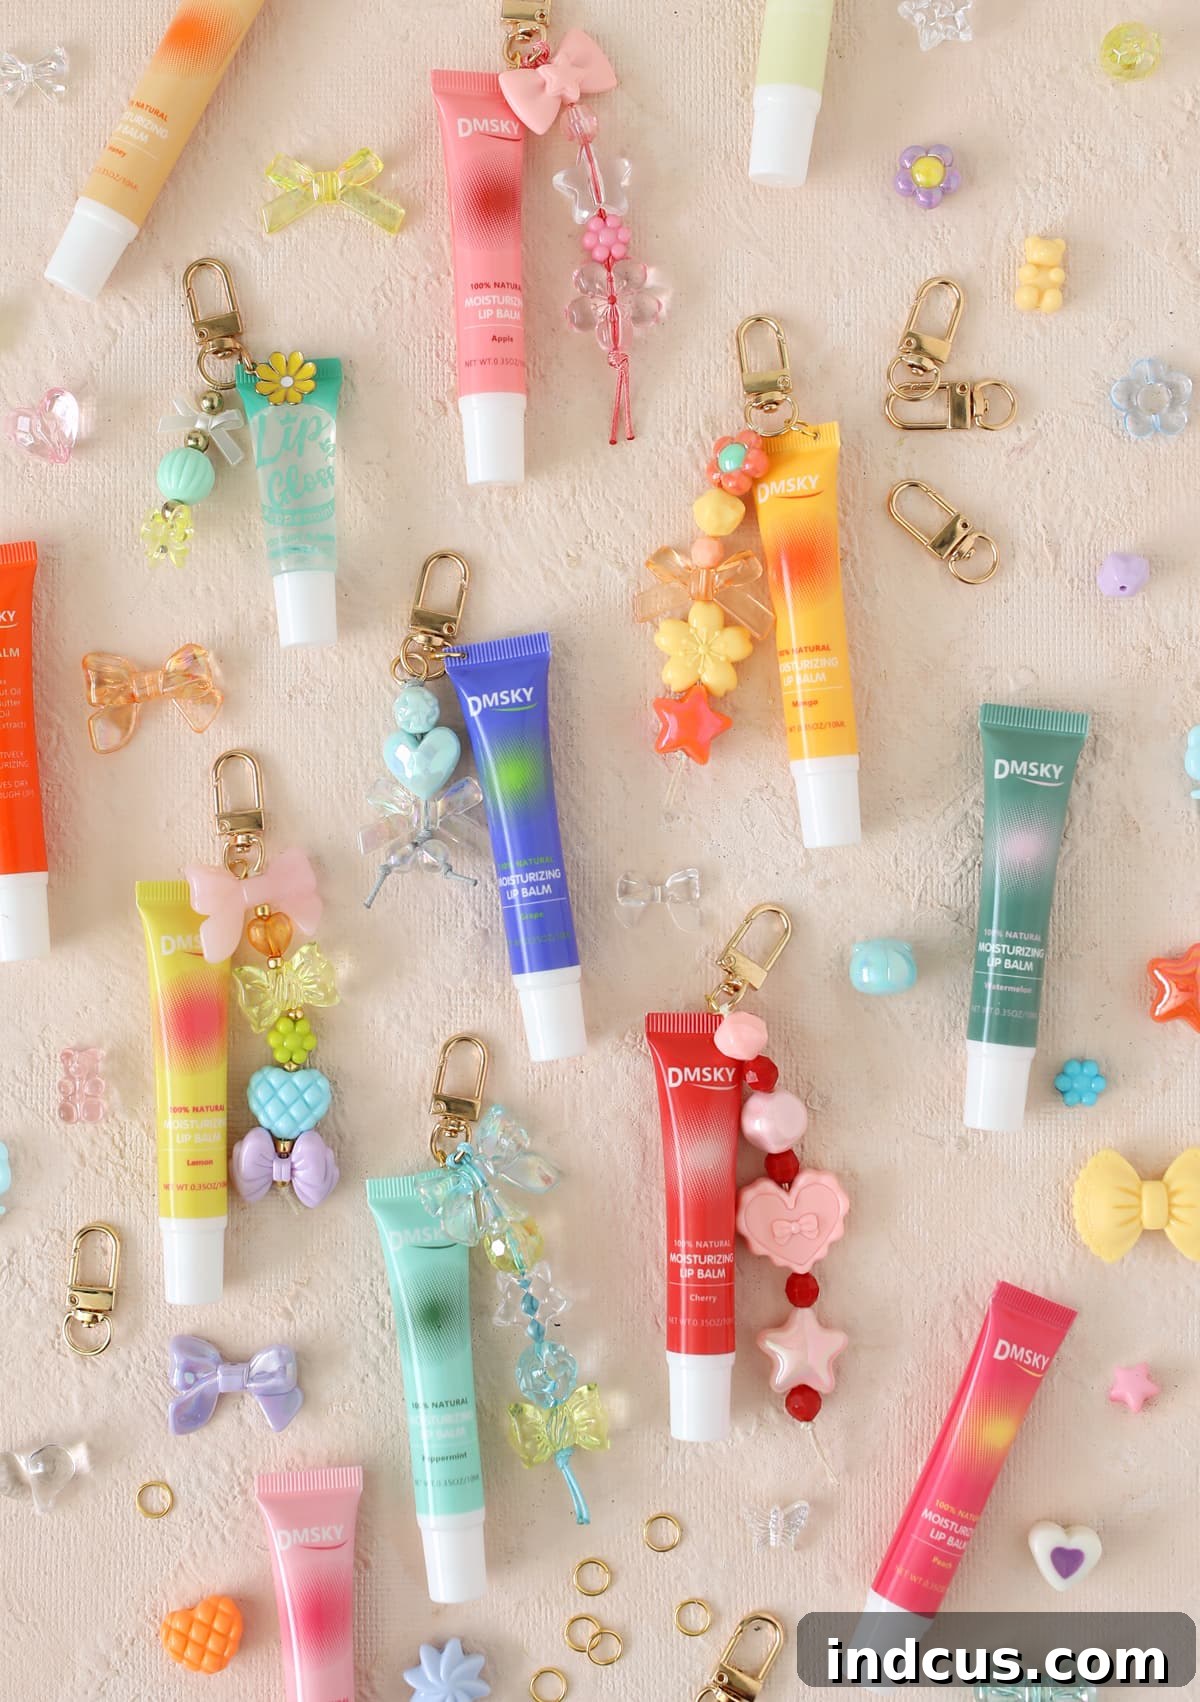
This DIY project is also an absolute hit for group activities. Whether you’re planning a fun-filled girls’ camp, a relaxed ladies’ night, a birthday party activity, or even a team-building event, these lip gloss charms are a perfect choice. They’re straightforward enough for beginners yet offer enough creative freedom for experienced crafters. Plus, gathering the supplies in bulk is incredibly cost-effective, making it an ideal choice for larger groups. Everyone walks away with a unique, handmade accessory that they’ll actually use and cherish. Let’s dive into creating these irresistible charms!
Gathering Your Crafting Essentials
Before we begin crafting, let’s ensure you have all the necessary supplies on hand. Having everything ready will make the crafting process smooth and enjoyable. Here’s what you’ll need to make your very own personalized lip gloss charm keychains:
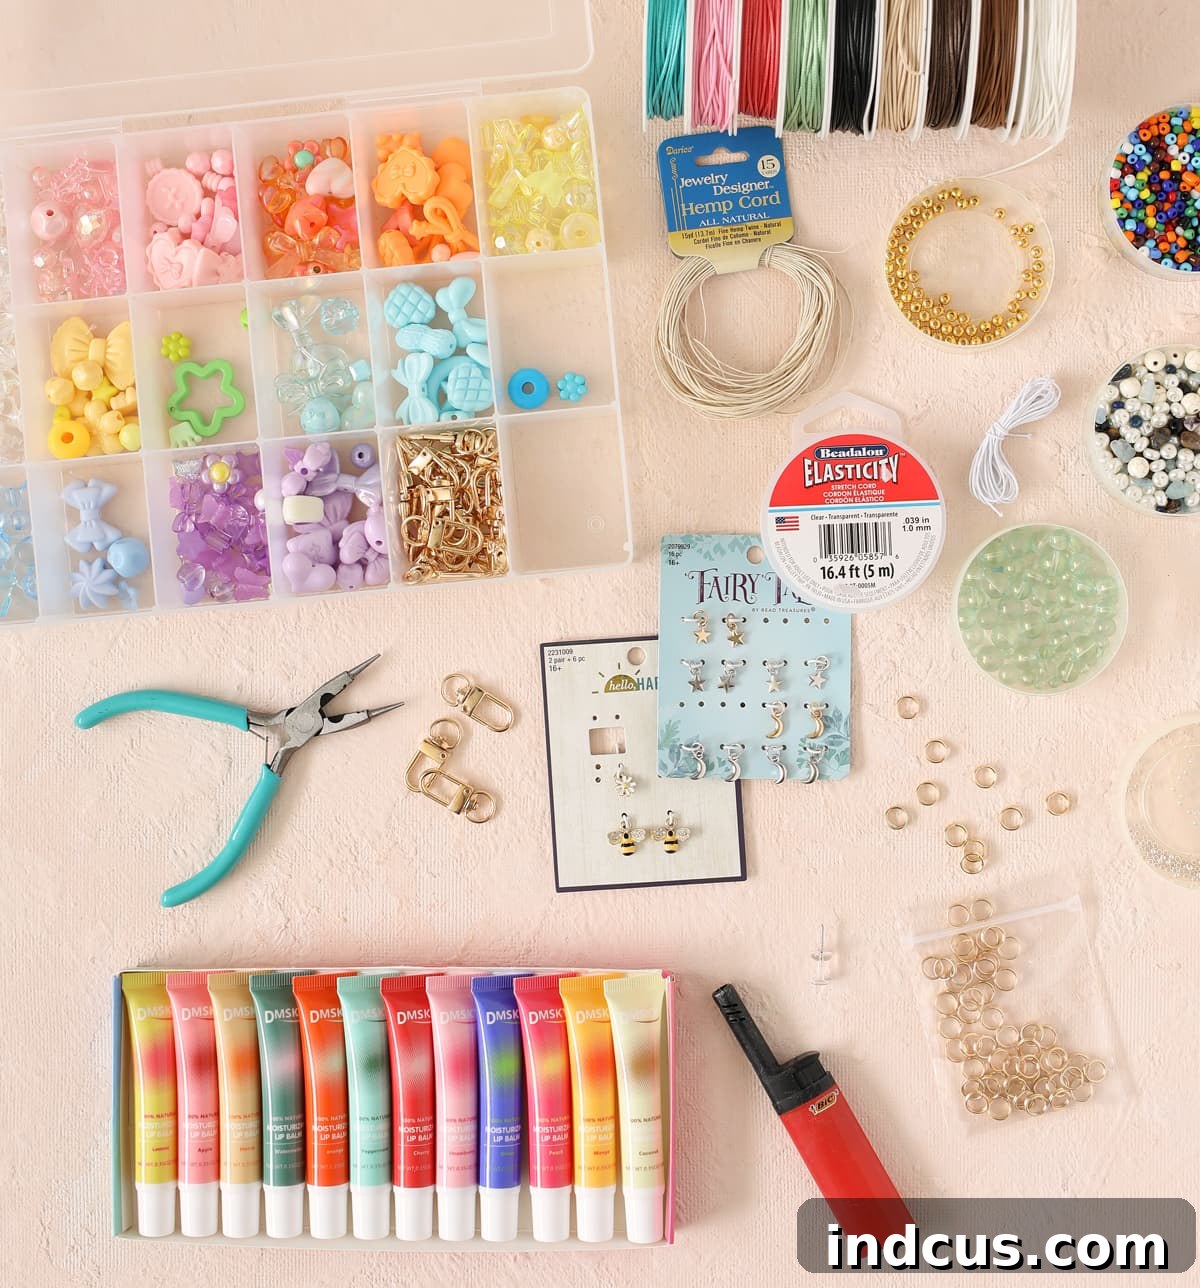
Materials Needed for Your Lip Gloss Charms
- Fun Acrylic Beads: Choose a set with a variety of colors, shapes, and sizes to allow for maximum creativity. Acrylic beads are lightweight and come in an endless array of designs, perfect for a personalized touch.
- Lobster Clasp Swivel Keychains: These are essential for attaching your charm to various items. The swivel feature ensures your lip gloss hangs freely without tangling, and the lobster clasp makes it easy to clip on and off.
- 9mm Jump Rings: These small metal rings are crucial for connecting your lip gloss tube to the lobster clasp. The 9mm size provides enough space for easy attachment while remaining secure.
- Cord for Stringing Beads:
- 1mm Nylon Cord: While it might seem appealing due to its strength, a 1mm cord can be quite challenging to thread through smaller bead holes, especially when doubled over. We generally do not recommend it for this specific project.
- 0.5mm Jewelry Cord: This is our top recommendation! Its thinner diameter makes it significantly easier to thread through various bead sizes, ensuring a smoother and more enjoyable crafting experience. It offers a good balance of strength and flexibility.
- A Note on Stretchy Cord: While stretchy bracelet cord might seem convenient, it tends to break easily and its knots can come undone, making it less ideal for a functional keychain charm that needs to withstand daily wear and tear. Stick to non-stretchy jewelry cord for durability.
- Needle Nose Pliers: An indispensable tool for opening and closing jump rings with precision and ease.
- Thick Embroidery Needle: This will be used to enlarge the initial hole in your lip gloss tube.
- Push Pin: For creating a small starter hole in the lip gloss tube.
- Lighter: Used carefully to heat the embroidery needle and to melt cord ends (if using nylon cord) to prevent fraying.
- Scissors: For cutting your cord to the desired length.
Choosing the Perfect Lip Gloss for Your Charm
Of course, the star of the show is your lip gloss! The beauty of this craft is its adaptability; many types of lip gloss tubes will work perfectly. The key is to select a tube that has a flattened, crimped end, as this is where we’ll be making the hole for attachment. Consider factors like size, shape, and whether you prefer a specific brand or color. For group crafts, buying lip gloss in bulk is a smart and economical choice. Look for multi-packs online or in beauty supply stores. The tubes featured in our tutorial photos cost around $0.66 each, and you can often find options for even less, sometimes as low as $0.42 per tube, which is incredibly budget-friendly for large gatherings.
Alternatively, if you’re hosting a craft night with friends, you can ask each participant to bring their favorite lip gloss tube, and you provide all the charm-making supplies. This adds a personal touch and ensures everyone is happy with their chosen lip product. Just remember, as long as it has that flat, crimped end, any lip gloss tube is fair game!
Step-by-Step Guide to Crafting Your Personalized Lip Gloss Charm
Now that you have all your materials ready, let’s get into the fun part: creating your unique lip gloss charm! Follow these simple steps for a beautiful and functional accessory.
Step 1: Prepare Your Cord and Lobster Clasp
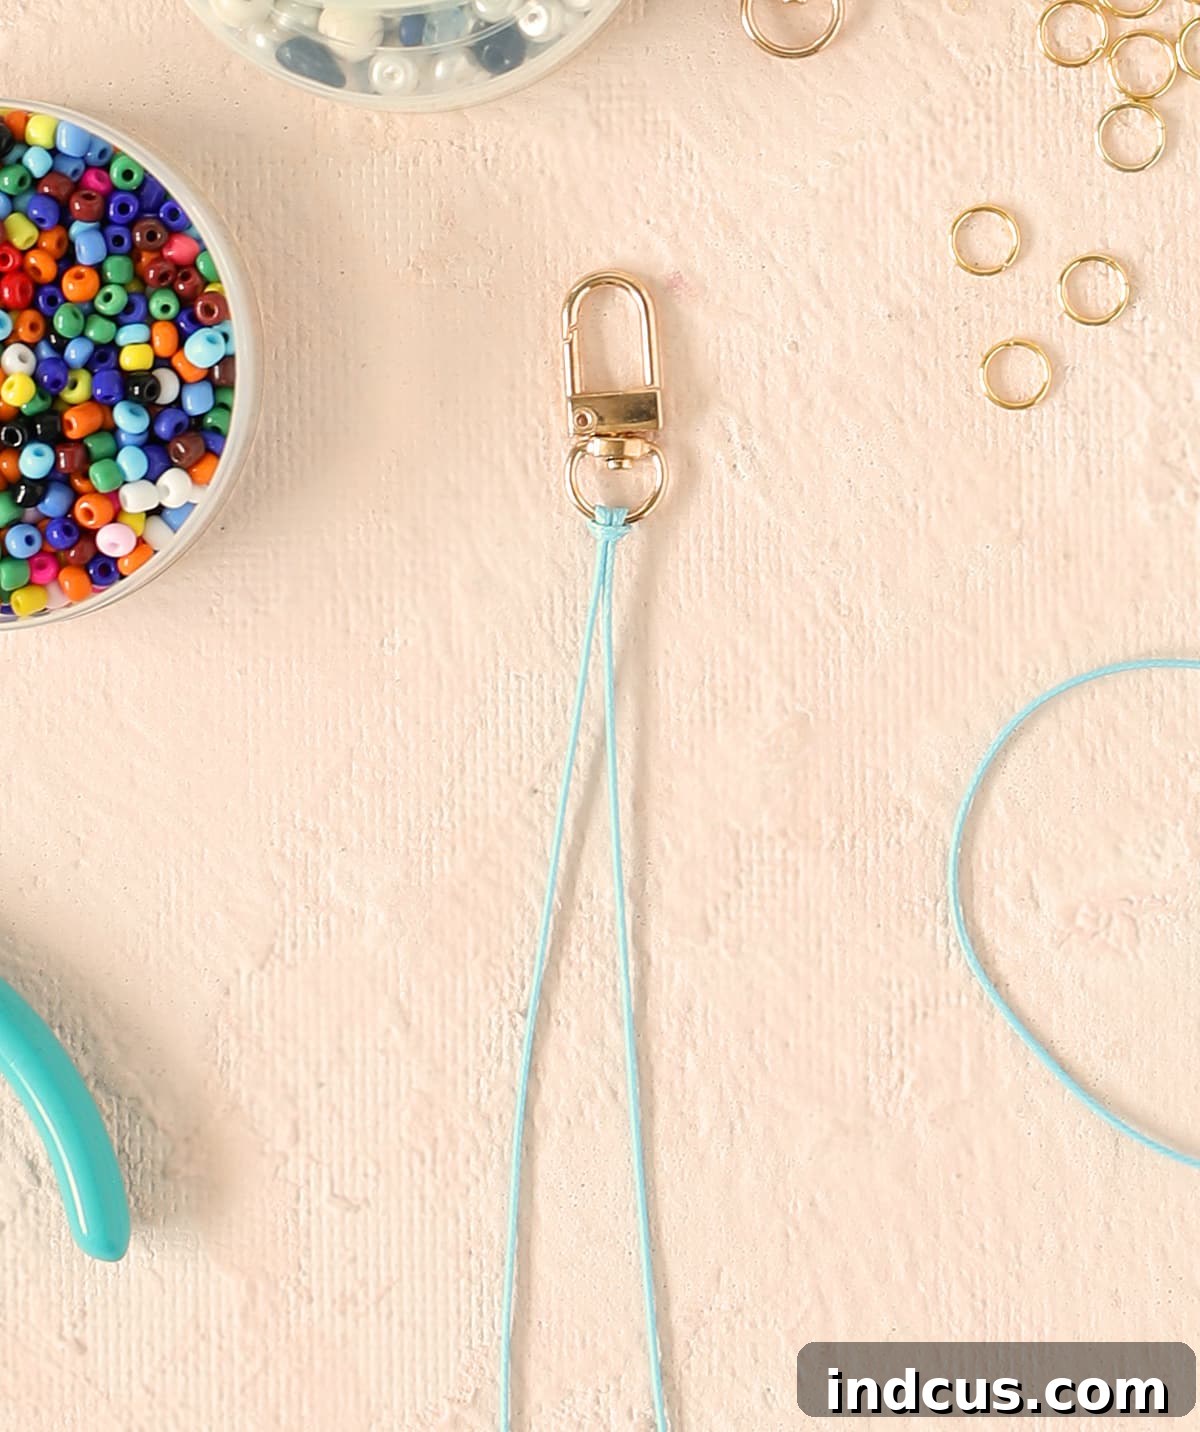
Begin by cutting a piece of your chosen jewelry cord, approximately 16 inches long. This length provides enough room for your beads and for secure knotting. Fold the cord precisely in half, aligning the two ends. Now, take your lobster clasp keychain and loop the folded end of the cord around its base. Thread the two loose ends of the cord through the loop you’ve created. Gently pull the ends tight, ensuring the cord is securely fastened to the lobster clasp with a neat Lark’s Head knot. This forms the starting point for your beaded design, ready for the next creative phase.
Step 2: Unleash Your Creativity with Beads
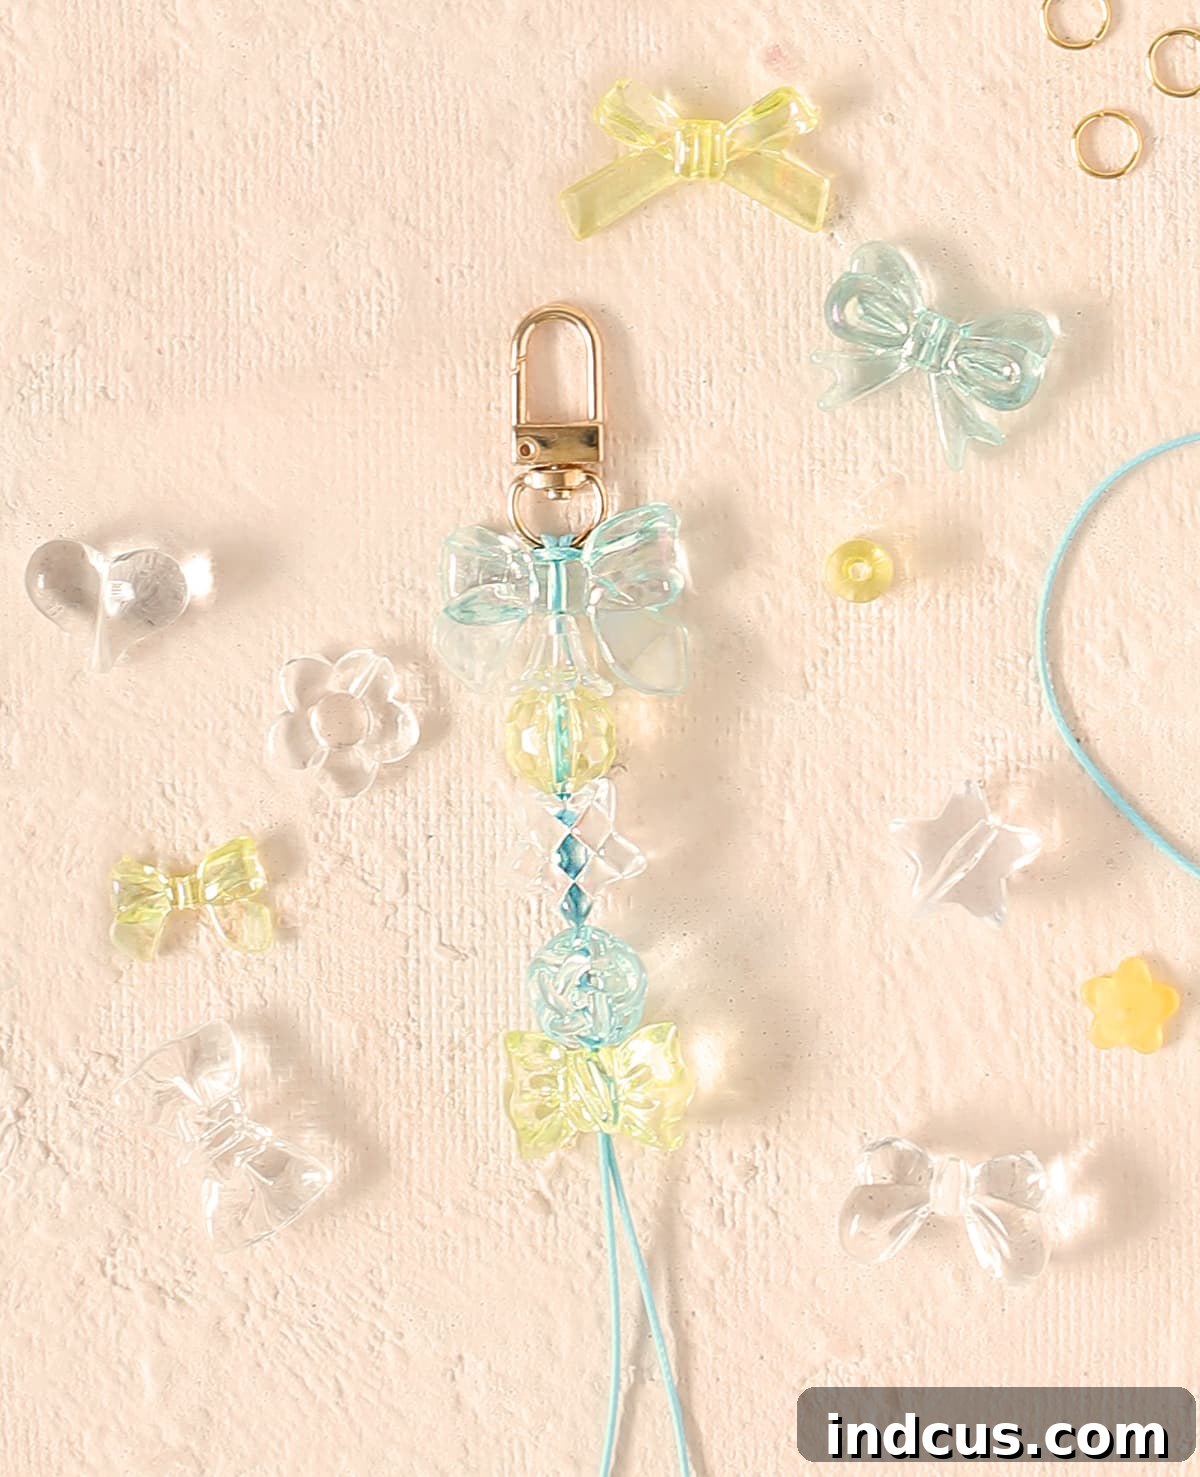
This is where your personal style truly comes to life! Take the two free ends of your cord and begin stringing your selected beads and charms. There are no rules here – mix and match colors, experiment with different bead shapes and sizes, or follow a specific theme. You might choose to create a gradient effect, a random assortment for an eclectic look, or spell out initials with alphabet beads. Consider using a bead stopper or a piece of tape on the ends of the cord if you find the beads slipping off as you work. The goal is to create a design that brings you joy and reflects your unique aesthetic. Don’t be afraid to try different combinations until you find the perfect arrangement!
Step 3: Secure Your Beaded Design
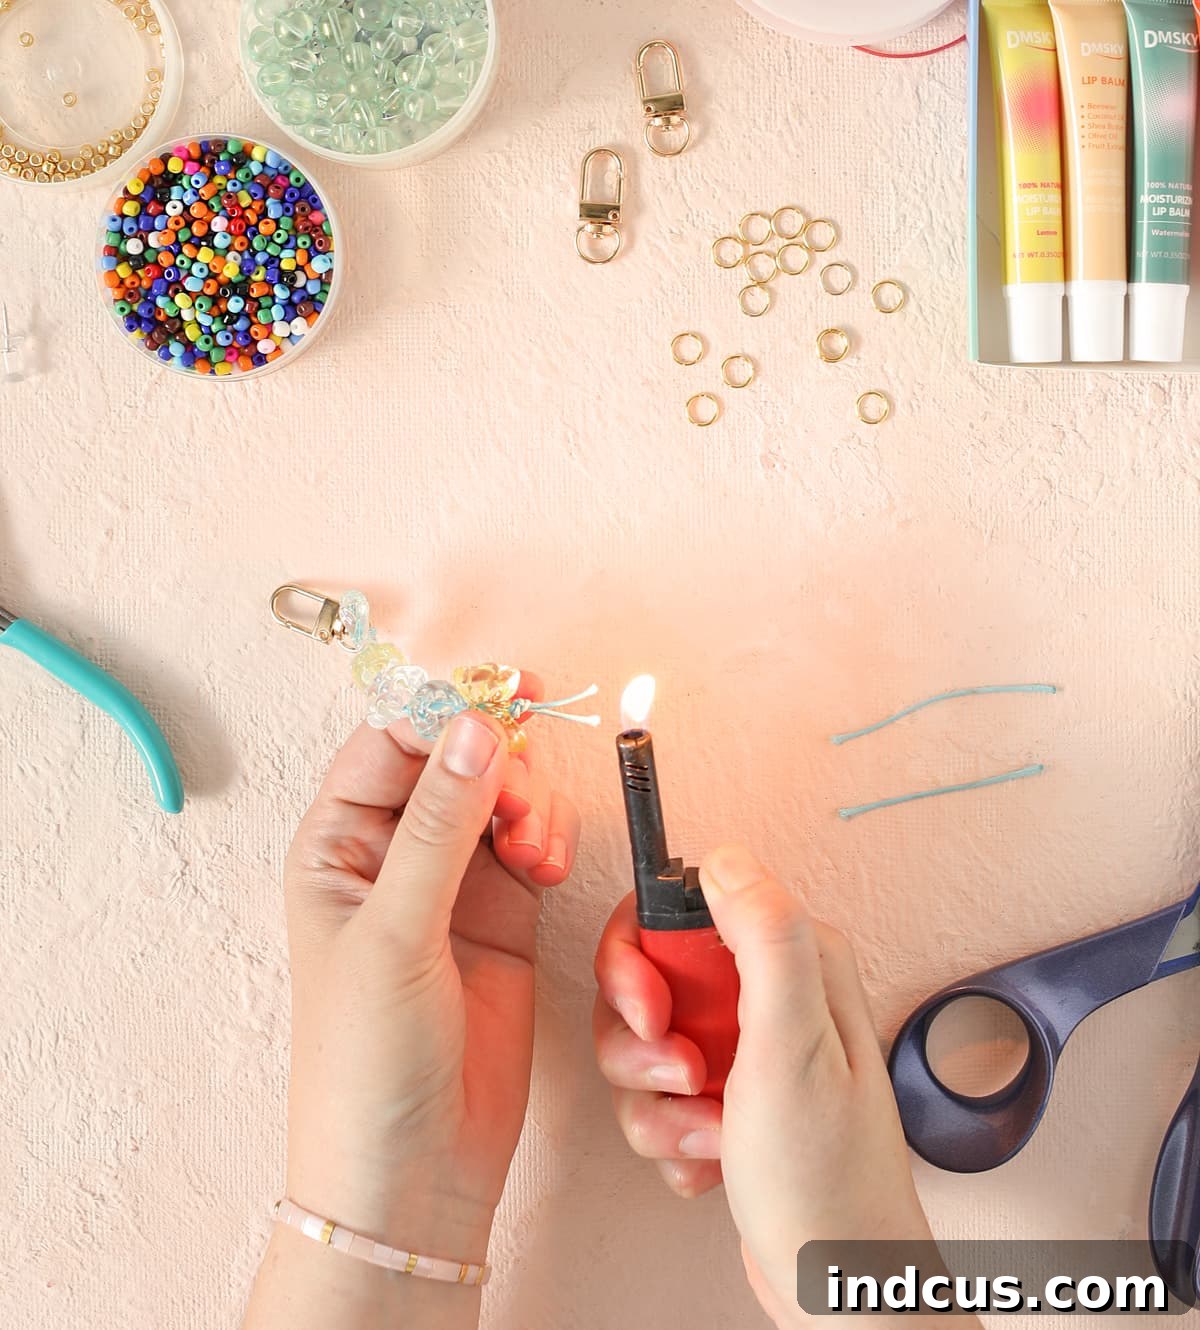
Once you are absolutely delighted with the arrangement of your beads, it’s time to secure your masterpiece. Take both ends of the cord and tie a sturdy, double or triple knot as close to the last bead as possible. This tight knot will prevent your beads from shifting or falling off. After securing the knot, trim any excess cord, leaving a small tail of about 1/4 inch. If you are using nylon or synthetic cord, gently melt the cut ends using a lighter. This crucial step prevents the cord from fraying over time, ensuring the longevity and durability of your beautiful charm. Always exercise caution when working with a lighter.
Step 4: Prepare Your Lip Gloss Tube for Attachment
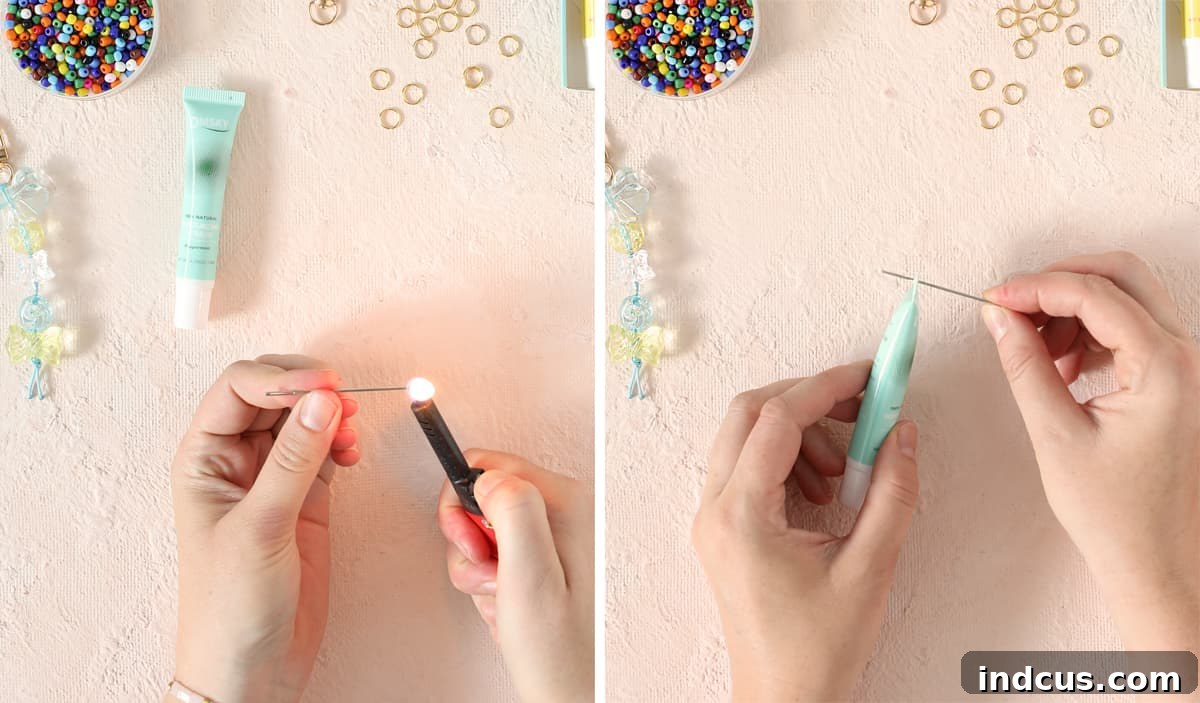
This step requires a little precision and safety. To attach your charm to the lip gloss tube, you’ll need to create a small hole in its flattened, crimped top edge. Start by using a push pin to make a tiny starter hole. This initial puncture guides your next tool. Next, carefully heat the tip of a thick embroidery needle by holding it in the flame of a lighter for a few seconds. The heat will allow the needle to melt through the plastic smoothly. Once heated, quickly and carefully push the hot needle through the starter hole and gently wiggle it to enlarge the opening. The goal is to create a hole large enough for the jump ring to pass through easily. Please prioritize safety during this step: work in a well-ventilated area, keep flammable materials away from the flame, and handle the hot needle with extreme care.
Step 5: Final Assembly – Connecting the Charm to Your Lip Gloss
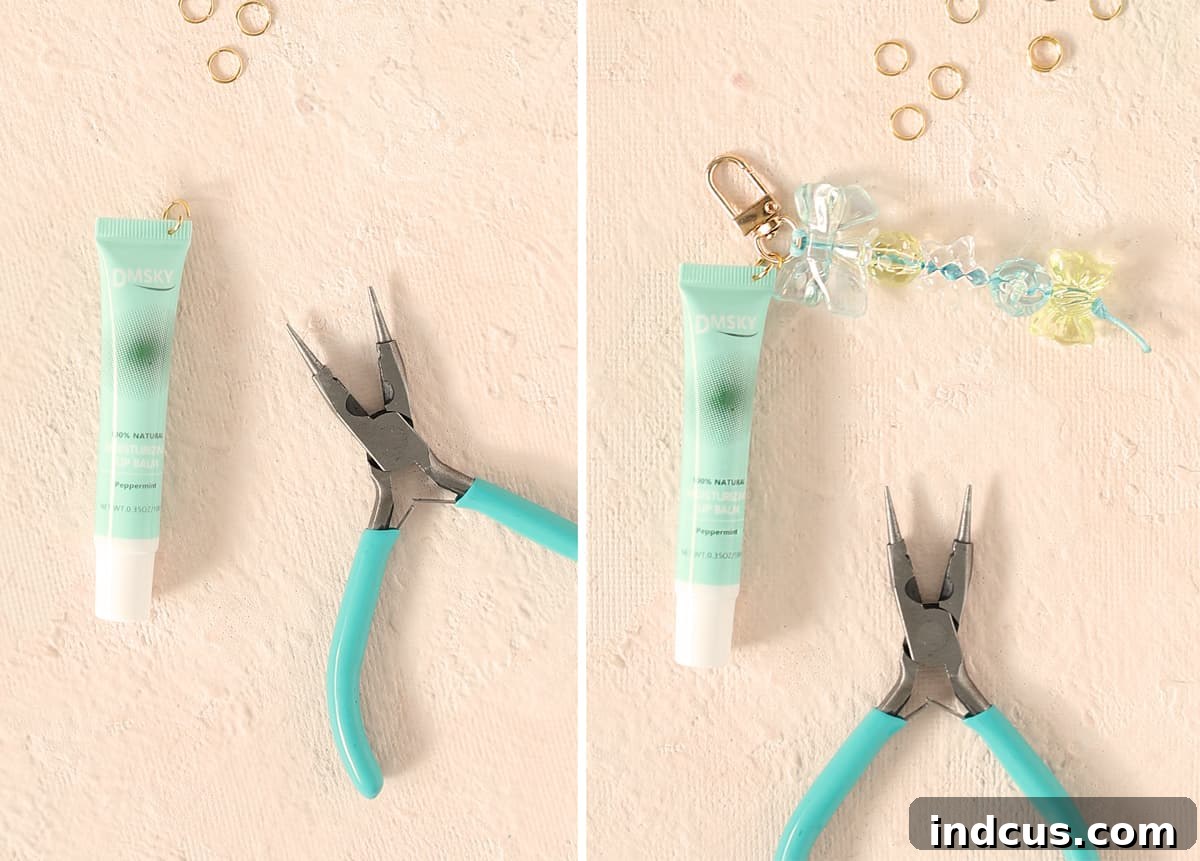
With the hole successfully made in your lip gloss tube, you’re almost done! Take your needle-nose pliers and carefully grasp a 9mm jump ring. Gently twist the pliers to open the jump ring (avoid pulling it apart directly, as this can distort its shape). Once open, slide one end of the jump ring through the hole you made in the lip gloss tube. Then, attach the other side of the open jump ring to the lobster clasp of your beaded charm. Once both the lip gloss and the charm are on the jump ring, use your pliers to carefully close the jump ring, ensuring the ends meet perfectly to create a secure, seamless connection. Double-check that the jump ring is fully closed to prevent it from snagging or opening accidentally. Congratulations, your personalized lip gloss charm is now complete and ready to show off!
Admire Your Creations!
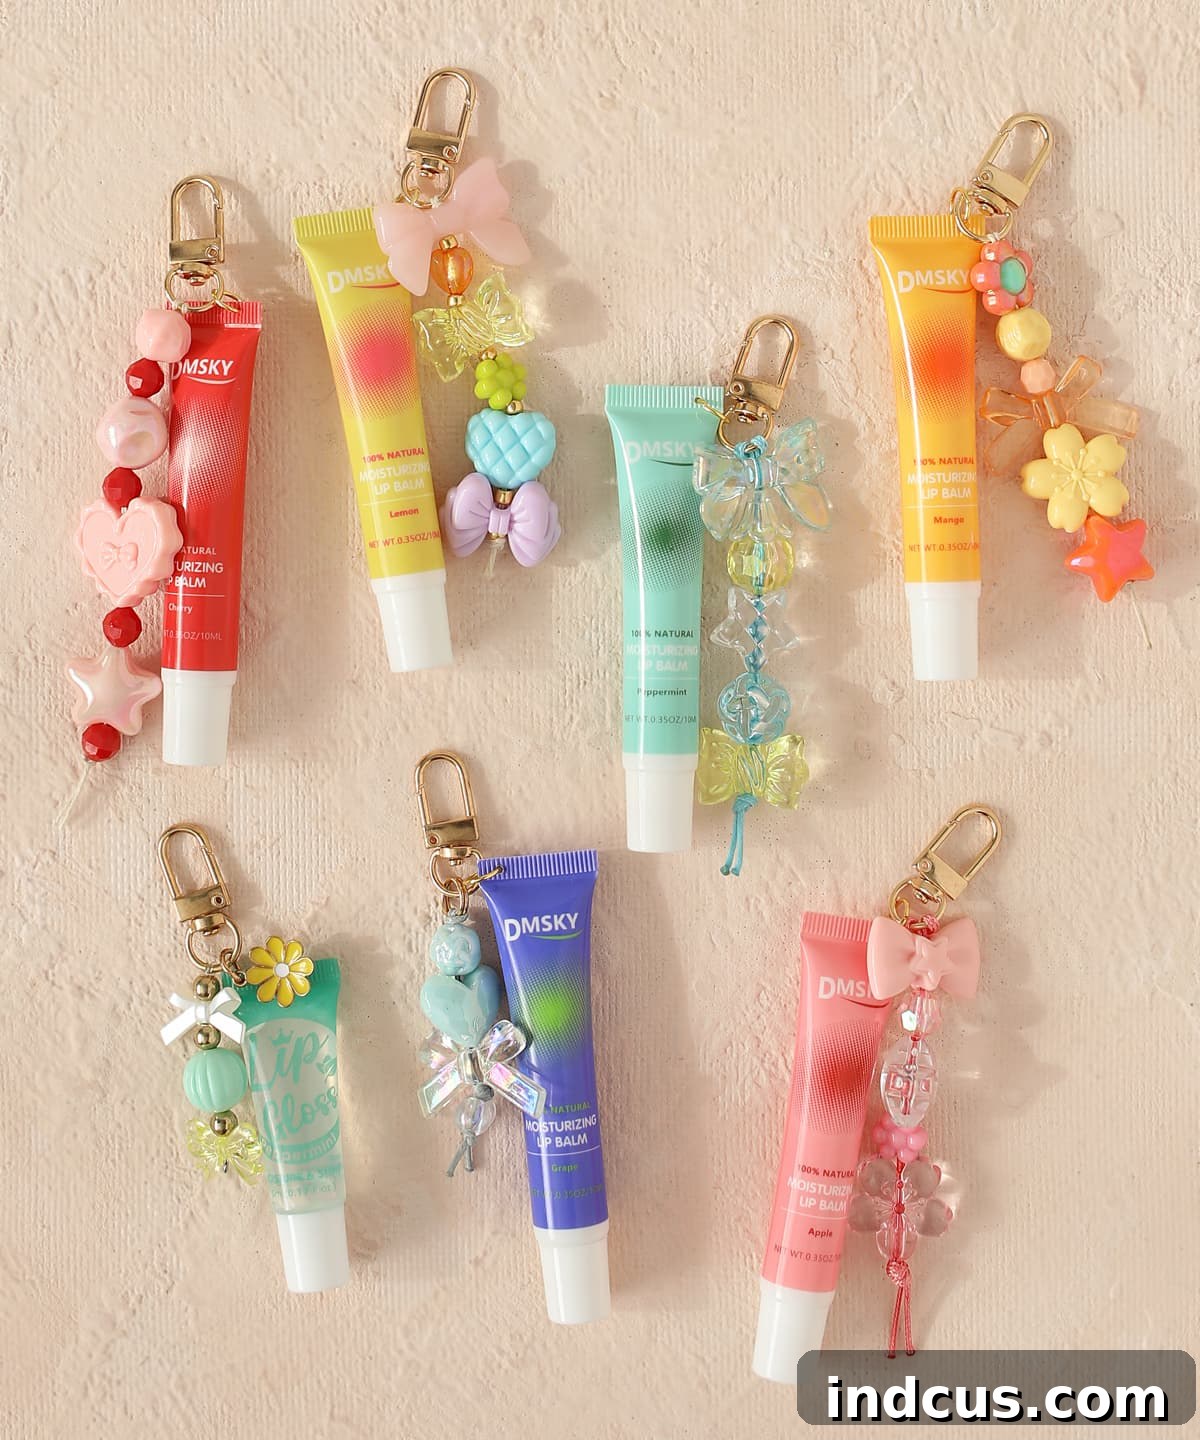
Look at all the delightful lip gloss charms you’ve made! Each one is a tiny masterpiece, reflecting unique tastes and creative flair. Aren’t they absolutely adorable? You’ll find yourself reaching for your lip gloss more often, not just for touch-ups, but to admire your handiwork.
Lip Gloss Charms Video Tutorial
Why Lip Gloss Charms Are the Perfect Group Craft
This is truly such a wonderfully engaging and accessible craft! Just this past summer, I had the pleasure of leading a girls’ camp at our church, and we decided to tackle this very project. It was an absolute sensation, a resounding success with every participant! This craft is perfectly suited for group settings for several compelling reasons:
- Simplicity and Manageability: The steps are straightforward and easy to follow, making it ideal for large groups or mixed skill levels. You never want to choose an overly complicated craft for a big group, as it can lead to frustration. This project strikes the perfect balance between engaging and achievable.
- Cost-Effectiveness: All the necessary supplies – beads, cord, clasps, and even lip gloss – can be purchased in bulk at very reasonable prices. This makes it an incredibly budget-friendly option for events with many participants, allowing you to create beautiful keepsakes without breaking the bank.
- Unlimited Personalization: Despite the simple instructions, each participant can infuse their own unique creativity into their charm. From bead selection and color combinations to the overall length and design, no two keychains will turn out exactly alike. This fosters individuality and ensures everyone creates something they genuinely love and feel proud of.
- Broad Appeal: This craft resonates with a wide age range. I would wholeheartedly recommend it for any group of individuals, generally starting from around age 10 and extending to adults. Everyone enjoys creating something both beautiful and useful.
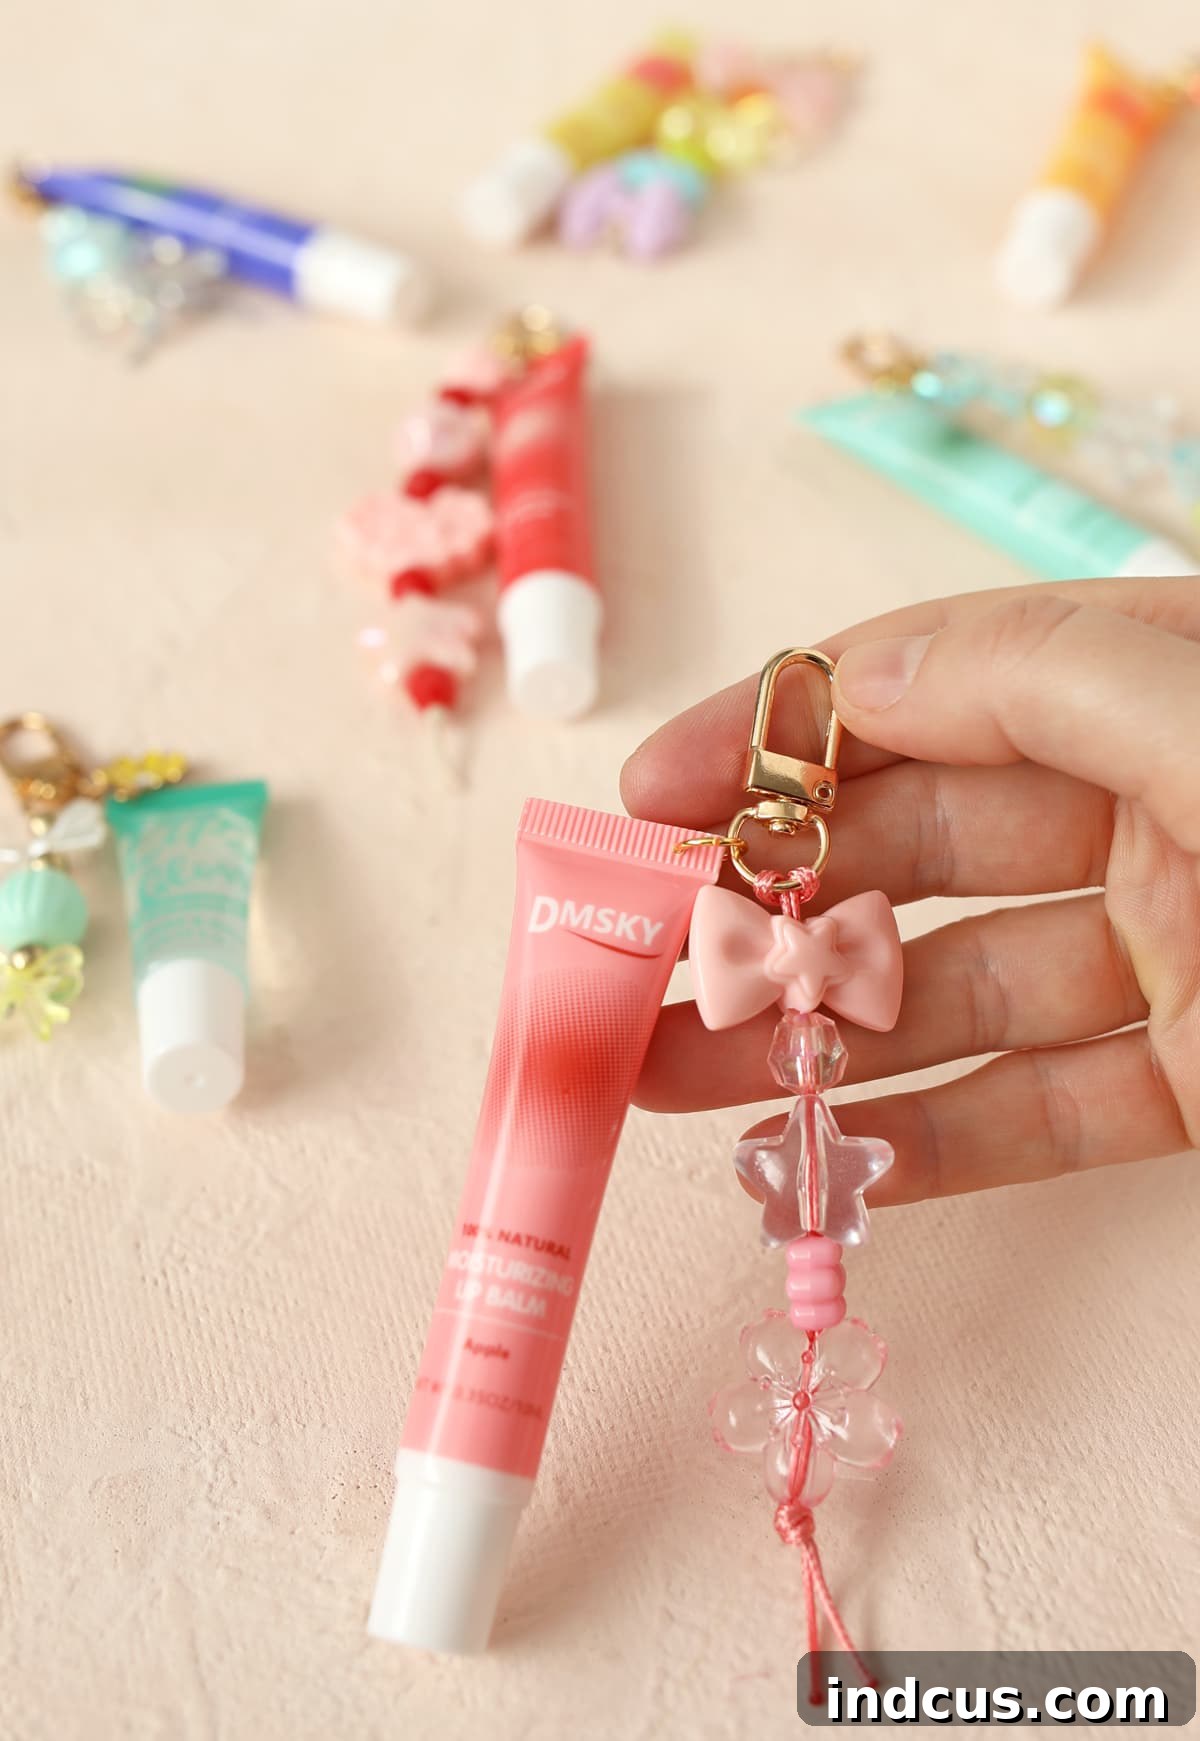
My 12-year-old daughter absolutely adored making these charms at camp. She loved the experience so much that she specifically requested we buy all the supplies to make more at home! We now plan to spend an afternoon crafting a whole batch of these charming keychains, which she intends to give as thoughtful and personalized birthday gifts to her friends throughout the coming year. It’s a wonderful way to teach the joy of handmade gifting and practical skills.
Beyond Lip Gloss: Creative Ways to Use Your Charms
While designed for lip gloss, the versatility of these beaded charms extends far beyond! Consider attaching them to:
- Keys: Add a pop of color and personality to your everyday keyring.
- Backpacks & School Bags: A unique identifier and a stylish accessory for students of all ages.
- Purses & Totes: Clip them to a strap or a zipper pull for an instant upgrade.
- Small Pouches & Wallets: Make it easier to grab your essentials from a larger bag.
- Gift Tags: Attach a small charm to a gift for an extra special, handmade touch.
- Zipper Pulls on Jackets or Sweatshirts: A fun way to customize your outerwear.
Caring for Your Handmade Lip Gloss Charm
To ensure your beautiful, personalized lip gloss charm lasts as long as your favorite lip product, a little care goes a long way. Avoid excessive pulling or tugging on the beads and cord, especially at the knots. If your charm gets dirty, a gentle wipe with a damp cloth should be sufficient. For metal components, a quick polish with a soft, dry cloth can restore their shine. Keep your charm away from harsh chemicals or prolonged exposure to direct sunlight, which can fade bead colors or weaken the cord. With a little mindfulness, your DIY lip gloss charm will remain a delightful and functional accessory for a long time.
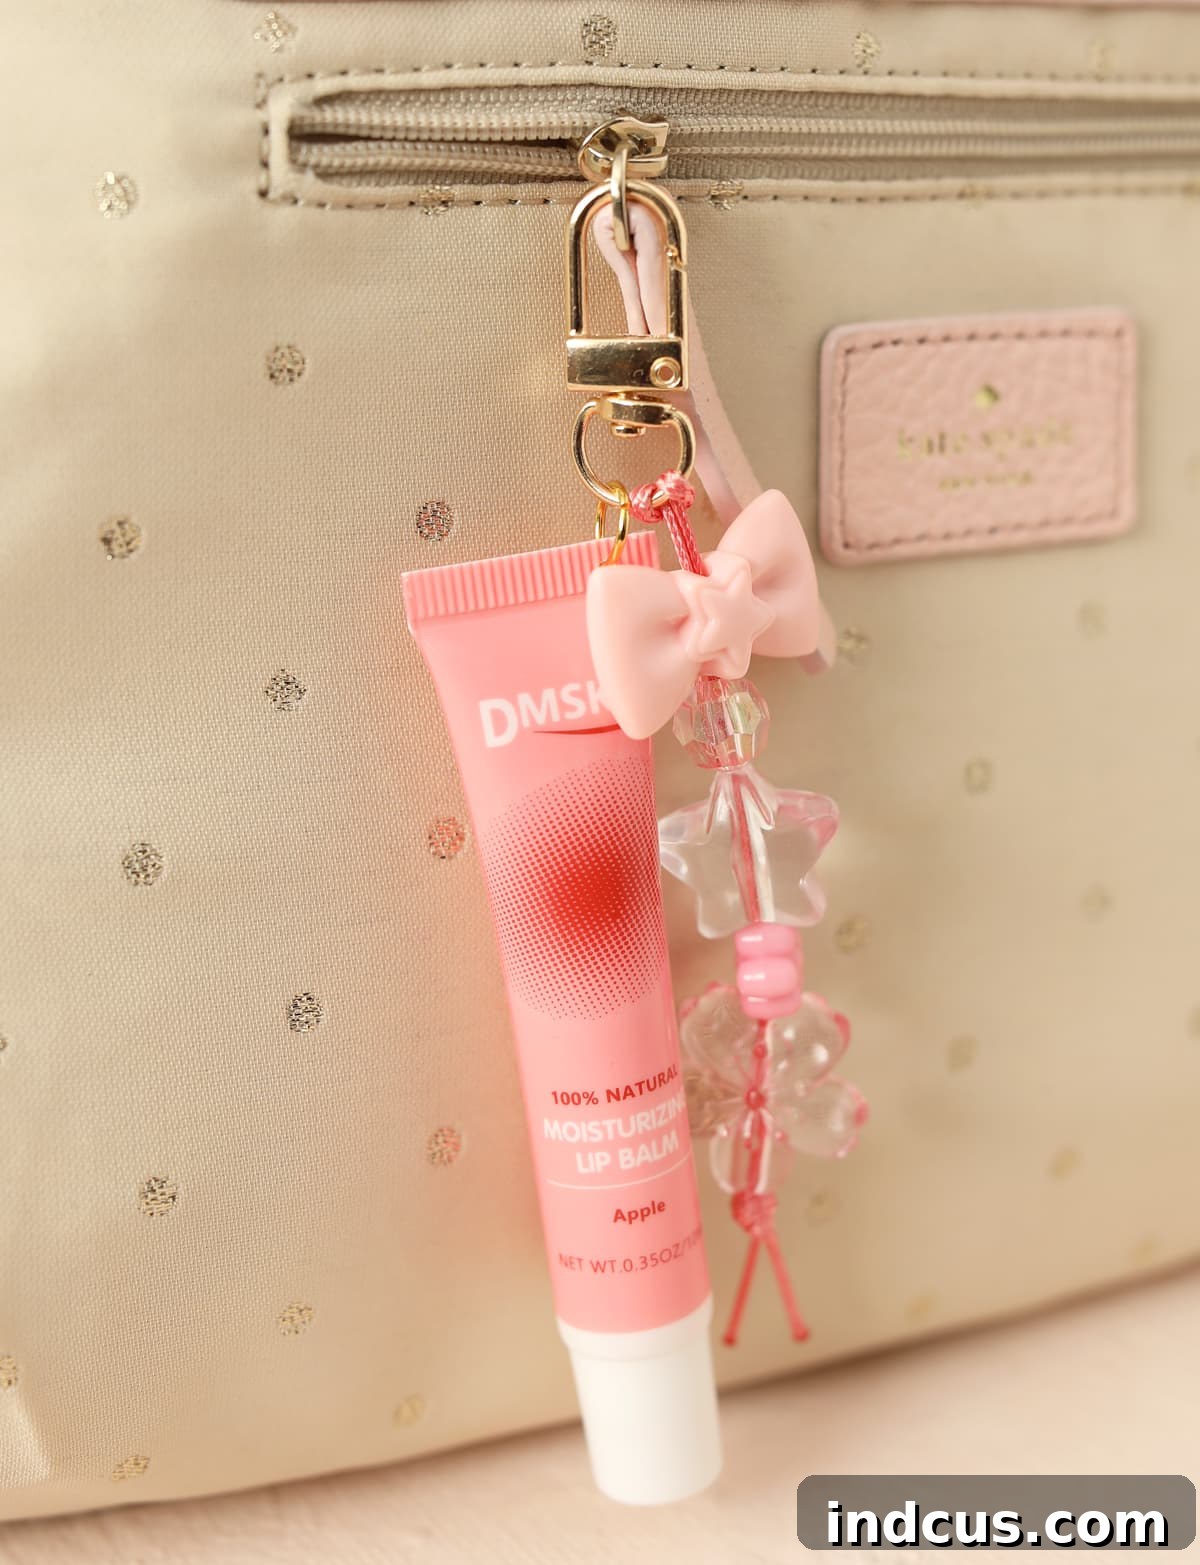
Whether you’re crafting solo for a moment of peaceful creativity, or orchestrating a vibrant group activity, these DIY lip gloss charms offer a perfect blend of fun, functionality, and personal expression. They’re a simple yet impactful way to add a touch of handmade charm to your everyday routine or to share joy with friends and family. So gather your supplies, let your imagination take the lead, and prepare to have an absolute blast making these darling accessories. Happy crafting!







