
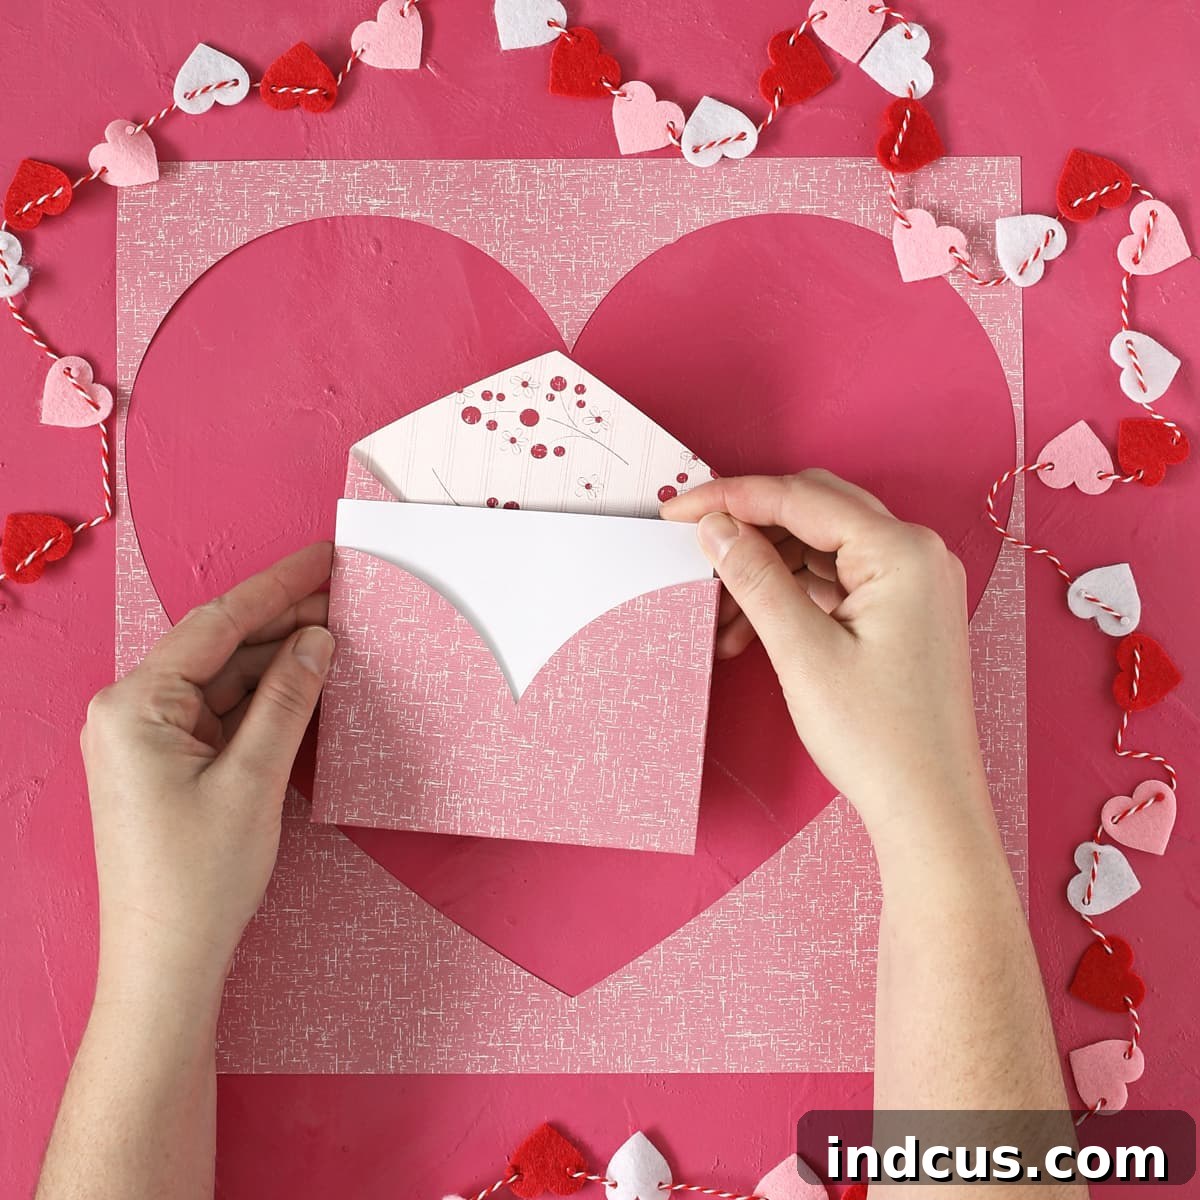
Crafting Love: Your Ultimate Guide to DIY Paper Heart Envelopes
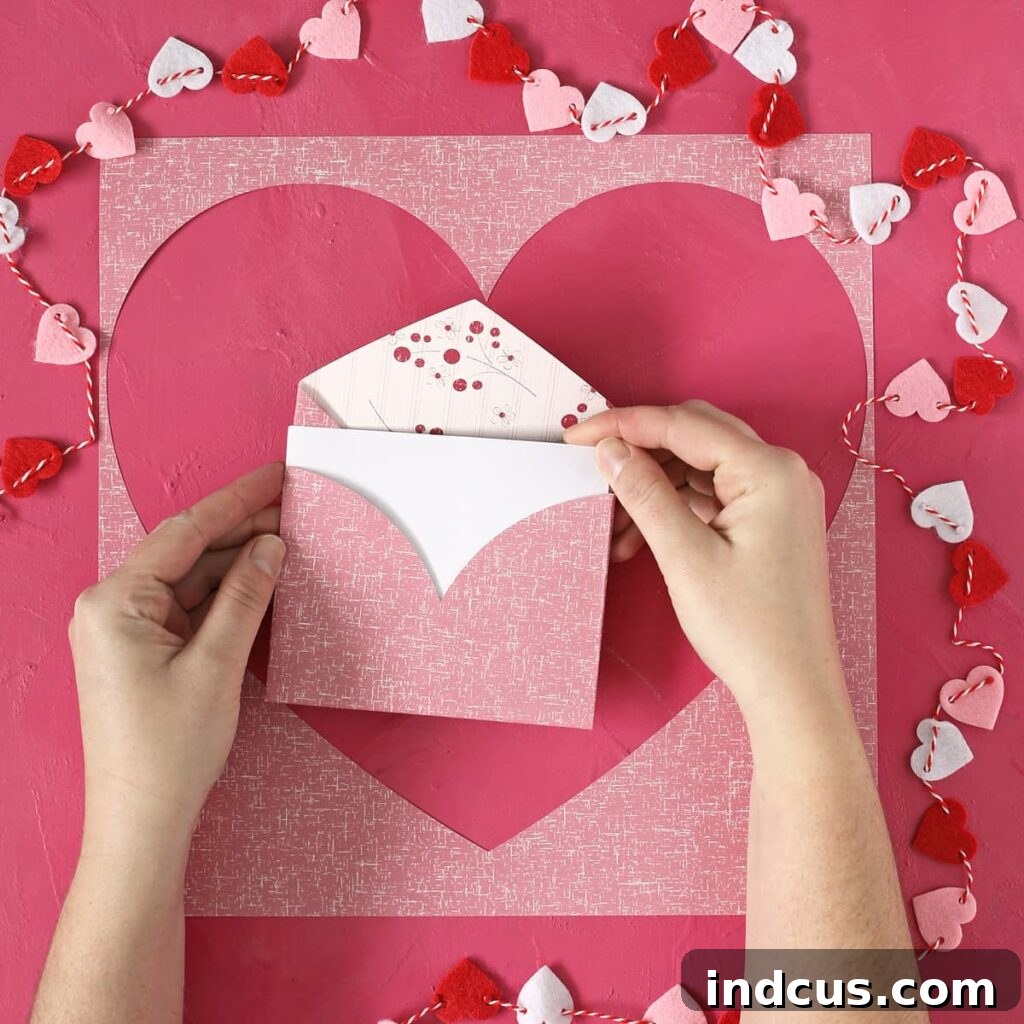
There’s something uniquely special about a handmade gift, a personal touch that speaks volumes. In a world increasingly dominated by digital communication, the simple act of sending a handwritten note in a beautifully crafted envelope can create an unforgettable moment. Today, we’re diving into a delightful and incredibly easy paper craft that allows you to transform a basic paper heart into a charming, functional envelope. This DIY paper heart envelope isn’t just a container; it’s an extension of your message, adding warmth and personality to any note you wish to share.
Whether you’re looking to deliver a heartfelt love note, enclose a small gift card, create a unique party favor, or simply surprise someone with a tiny token of affection, this heart-shaped envelope is the perfect solution. It takes mere minutes to create, requires minimal supplies, and offers endless possibilities for personalization. Forget generic envelopes; next time you need a gift tag, a quick DIY paper envelope, or a sweet way to present a small treasure, let your creativity take shape with this adorable heart design.
Why Choose a DIY Paper Heart Envelope?
Beyond its undeniable cuteness, crafting your own heart envelope offers several compelling benefits:
- A Personal Touch: A handmade envelope instantly elevates your message, showing the recipient that you’ve put thought and effort into their gift or note. It makes the gesture more intimate and memorable.
- Incredible Versatility: While perfect for Valentine’s Day, these heart envelopes aren’t limited to romantic occasions. They can be used for birthdays, anniversaries, thank-you notes, baby shower invitations, graduation messages, or even as unique placeholders for a dinner party.
- Budget-Friendly: All you need is a piece of paper and a pair of scissors. This craft is incredibly economical, making it accessible to everyone, regardless of budget.
- Eco-Conscious Crafting: Repurpose old calendars, magazines, or leftover scrapbook paper to give them a new life, reducing waste and adding character to your envelopes.
- Fun for All Ages: This project is simple enough for children to enjoy (with adult supervision for cutting) and satisfying for adults seeking a quick, creative outlet. It’s a wonderful activity to share with family.
- Instant Gratification: From start to finish, this project can be completed in under ten minutes, offering a quick and rewarding crafting experience.
Materials You’ll Need for Your Heart Envelope
The beauty of this DIY project lies in its simplicity. You likely already have most of the necessary supplies at hand!
- Colorful Paper: This is your main ingredient! You can use:
- Scrapbook Paper (12″x12″): Ideal for larger envelopes, offering a wide array of patterns, textures, and weights.
- Standard Printer Paper (8.5″x11″): Perfect for smaller envelopes, readily available, and easy to fold.
- Construction Paper: A great choice for kids’ crafts, coming in vibrant colors.
- Cardstock: For a sturdier, more durable envelope, though it might be slightly harder to fold crisply.
- Patterned Gift Wrap: Thin and often beautifully designed, it adds a luxurious touch.
- Old Magazines or Book Pages: For a truly unique, upcycled, and vintage look.
Tip: Consider the paper’s weight and pattern. Thinner paper folds easily but might not hold its shape as well, while thicker paper offers durability. Double-sided paper can also add an unexpected pop of color or design when the envelope is opened.
- Sharp Scissors: Essential for cutting out a clean, precise heart shape.
- Pencil (Optional): Useful for drawing your heart outline if you’re not cutting freehand, or for marking fold lines for extra precision.
- Ruler (Optional): For ensuring symmetrical folds, especially helpful if you’re aiming for perfection.
- Adhesive (Optional): A glue stick, double-sided tape, or a small dot of craft glue can be used to seal your envelope once your message is inside.
- Embellishments (Optional): Stickers, glitter, markers, stamps, ribbons, or small charms to decorate your finished envelope.
Step-by-Step Guide: Crafting Your Perfect Paper Heart Envelope
Follow these four simple steps, accompanied by clear visuals, to create your enchanting paper heart envelope.
Step 1: Cut Your Heart Shape and Position It
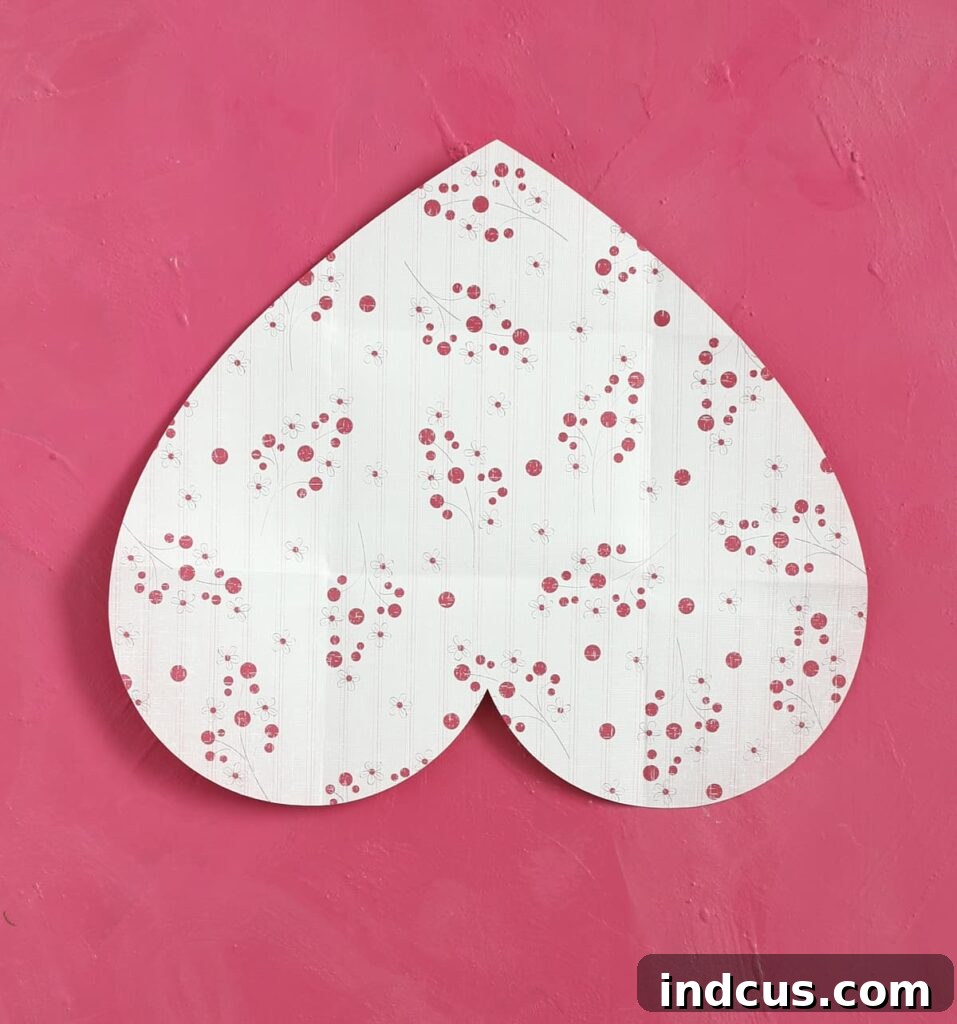
Begin by taking your chosen piece of colorful paper and cutting out a prominent heart shape. The size of your finished envelope will directly correspond to the size of the heart you cut. For a generous-sized envelope, a 12″x12″ piece of scrapbook paper works wonderfully, yielding a substantial final product. If you’re using a standard 8.5″x11″ sheet, your envelope will be a bit smaller, perfect for gift tags or mini love notes. To ensure a symmetrical heart, you can fold your paper in half, draw half a heart along the folded edge, and then cut it out.
Once your heart is perfectly cut, place it on a flat surface and turn it upside down. This means the two rounded humps of the heart should be at the bottom, and the single point should be facing upwards, like an inverted V. This orientation is crucial for the subsequent folding steps to form the envelope correctly.
Step 2: Fold the Outer Edges Inward
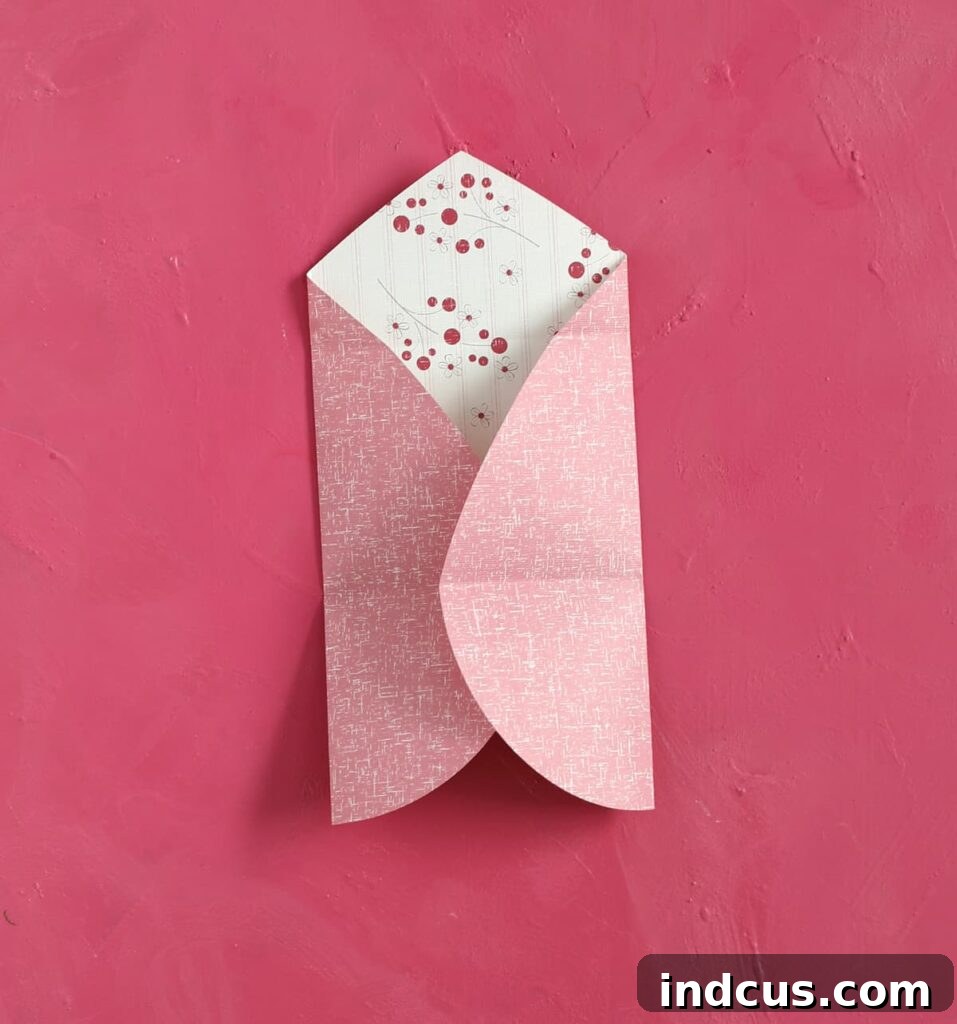
With your heart still upside down, take the two outer, curved edges (the “shoulders” of the heart, which are now at the bottom sides) and fold them inward. Imagine drawing a straight vertical line down the center of your heart; you want to fold these sides so their edges meet neatly along that invisible line. The goal is to create a crisp, straight vertical crease on each side, bringing the rounded outer parts towards the center. Aim for an even fold on both sides to ensure your envelope is symmetrical and secure. After this step, your heart should now resemble a shape with a flat bottom edge, two straight vertical sides, and the original pointed top still exposed.
Press down firmly along the creases to make them sharp and well-defined. This will give your envelope a clean, professional finish and help it hold its shape.
Step 3: Fold the Curved Bottom Section Upwards
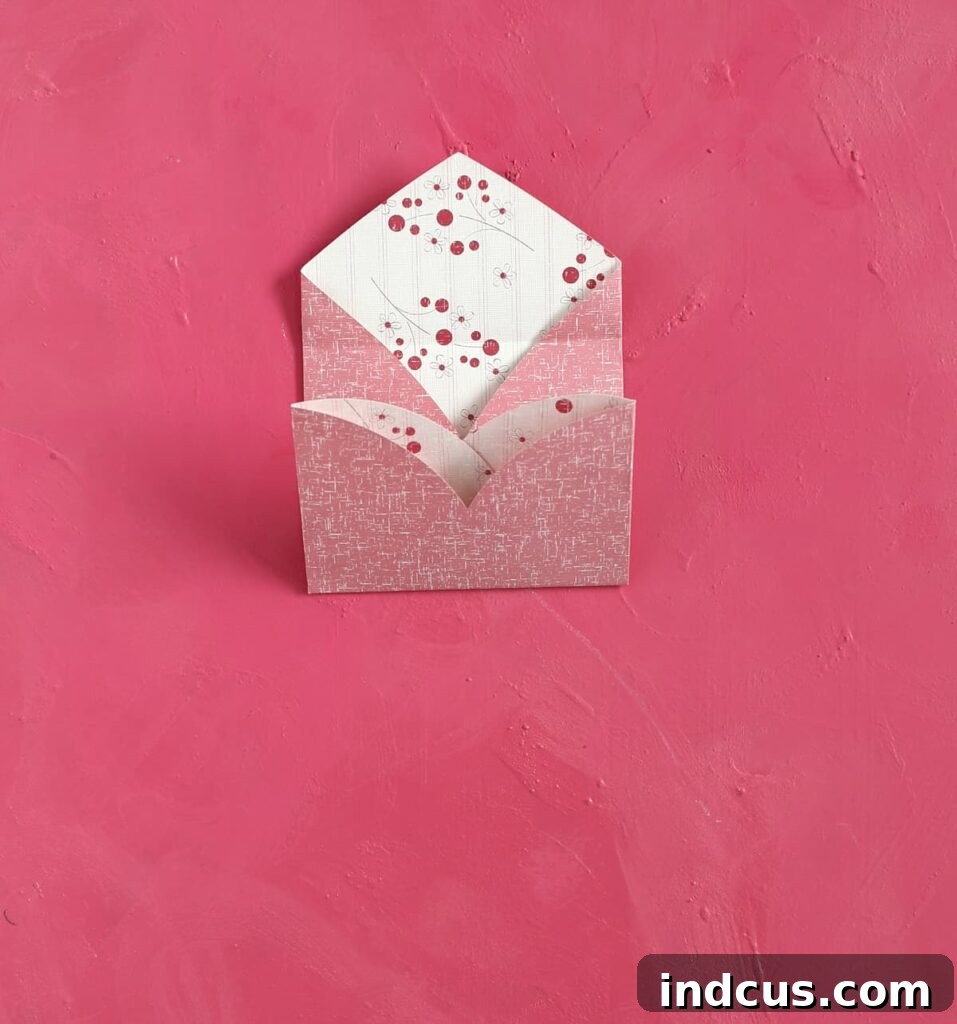
Now, focus on the bottom portion of your partially folded heart. This is the curved section that was originally the top “humps” of the heart, now forming the base. Take this entire curved bottom part and fold it upwards. The bottom fold should align roughly with the lowest point where the two side folds (from Step 2) meet. Essentially, you’re creating the bottom flap and the main pocket of your envelope. Ensure the fold is straight and horizontal across the base.
Once again, press firmly to create a sharp crease. This fold should secure the sides you just created and form a neat pocket in the center of your heart. You’ll now see a more distinct envelope shape taking form, with an opening at the top.
Step 4: Fold Down the Top Tip to Seal
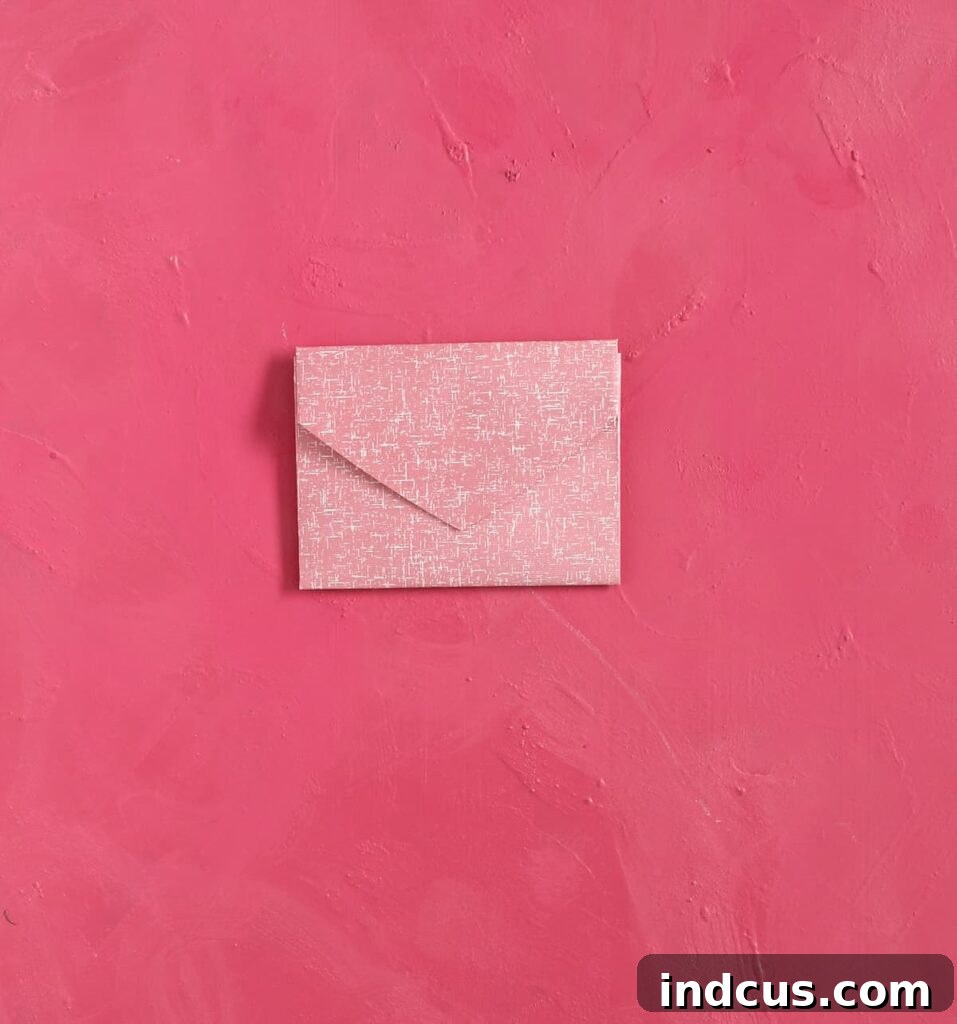
For the final folding step, identify the top tip of the original heart, which should still be pointing upwards. Gently fold this pointed tip downwards. The natural curve of the tip should create a lovely, symmetrical flap that closes over the opening of your newly formed envelope. This flap serves as the closure for your heart-shaped envelope.
Make sure to align the tip so it covers the opening neatly. Once satisfied with the placement, press down firmly to create a sharp crease for the top flap. And just like that, your charming DIY paper heart envelope is complete! You can now unfold the top flap and the bottom section to reveal the interior of your envelope.
Using and Personalizing Your Heart Envelope
Now that your adorable heart envelope is formed, it’s time to unleash its potential! You have a few options for adding your message:
Writing Inside: Gently unfold the envelope and write your message directly onto the center square area that has been created by the folds. This works best if your chosen paper is light enough to write on easily.
Inserting a Separate Note: For a cleaner look or if your paper is dark/patterned, cut a separate piece of paper slightly smaller than the folded-up rectangular shape of the envelope’s interior. Write your message on this smaller piece and slip it inside the heart envelope before re-folding and sealing.
Personalization Ideas:
- Decorate the Exterior: Before or after folding, use markers, glitter glue, stickers, stamps, or small paper cut-outs to adorn the outside of your heart envelope.
- Add a Closure: Secure the flap with a small piece of double-sided tape, a dab of glue, a cute sticker, a wax seal for a vintage touch, or by tying a delicate ribbon around the entire envelope.
- Fill with Surprises: Beyond love notes, these envelopes are perfect for:
- Small gift cards or cash
- Tiny chocolates or candies
- Pressed flowers or a sprinkle of confetti
- A small photograph
- Concealing a piece of jewelry for a special reveal
- Make a Set: Create a collection of heart envelopes in various sizes and colors for different occasions.
Isn’t that just so much fun and incredibly rewarding? The simplicity of the craft belies the thoughtfulness it conveys.
To quickly review, here are the four core steps to making your heart envelope:
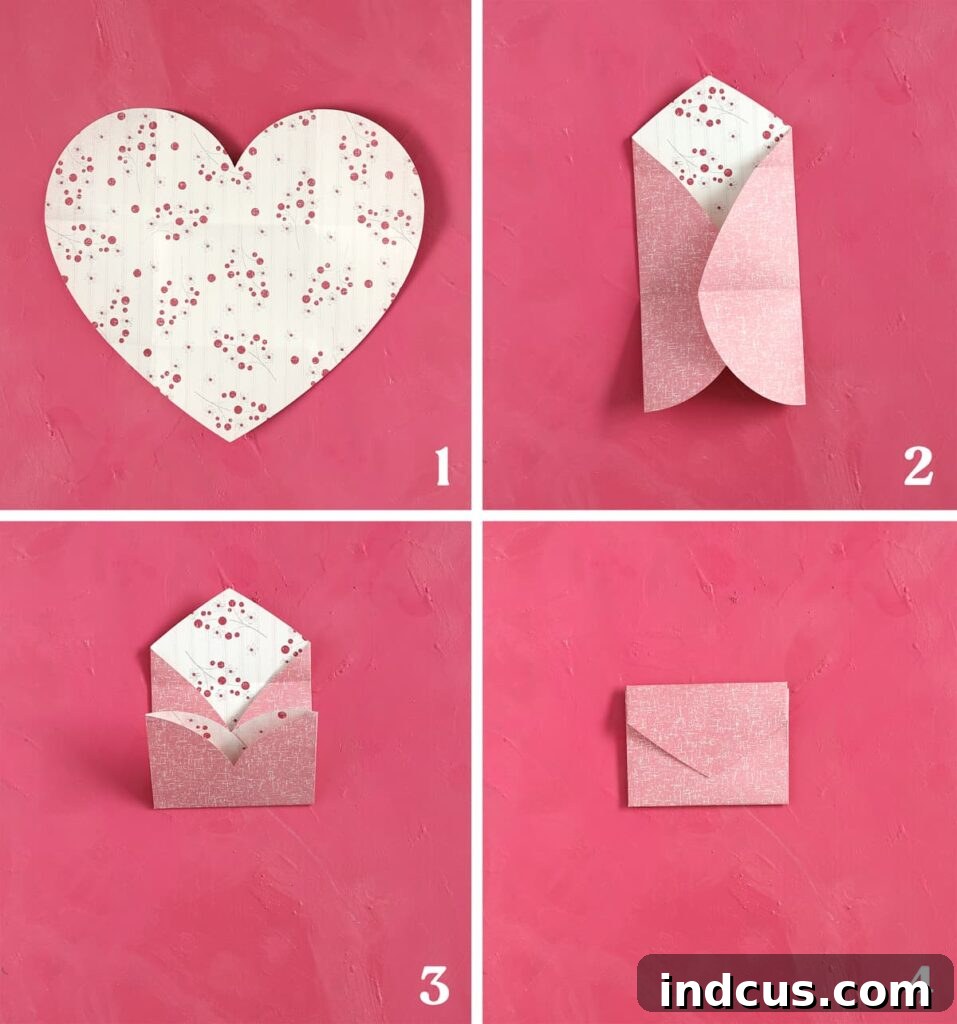
Cute and incredibly easy! While this DIY heart envelope is an absolute favorite for Valentine’s Day, why limit love notes and special messages to just one time of the year? We firmly believe that expressions of affection, gratitude, and encouragement should be a year-round affair. Imagine the joy of receiving such a delightful, handmade surprise on any ordinary day!
Tips for Success and Creative Variations
- Crisp Creases: The key to a neat envelope is sharp folds. Use your fingernail, a ruler, or a bone folder to really press down on each crease.
- Symmetry Matters: While a perfectly symmetrical heart isn’t essential, striving for even folds will result in a more attractive and functional envelope.
- Experiment with Sizes: Don’t be afraid to try different-sized hearts. A tiny heart envelope could hold a ring or a secret message, while a large one could hold a drawing or multiple small notes.
- Layered Look: Cut two hearts of slightly different sizes and colors, layer them, and then fold. This adds depth and visual interest.
- Interactive Elements: Add a small string or ribbon loop to the flap so the recipient can easily open it, or a tiny button for a more elaborate closure.
Frequently Asked Questions About Heart Envelopes
What kind of paper is best for making a heart envelope?
The best paper depends on your desired outcome. Thicker cardstock provides durability and a premium feel but can be harder to fold precisely. Standard printer paper is easy to work with and inexpensive, while scrapbook paper offers a vast array of beautiful patterns and weights, making it a popular choice. Experiment to find what you like best!
Can kids make these DIY heart envelopes?
Absolutely! This is a fantastic craft for children. Younger kids might need help with cutting the heart shape, but the folding steps are straightforward enough for most school-aged children to follow independently. It’s a great way to develop fine motor skills and creativity.
How do I seal my heart envelope securely?
For a temporary seal, you can simply tuck the top flap under the folded bottom section. For a more secure closure, use a small piece of double-sided tape, a glue stick along the edge of the flap, or a decorative sticker. For an elegant touch, consider using a wax seal kit.
Can I use this for a gift card?
Yes, these envelopes are perfect for gift cards! Just make sure to cut your initial heart large enough so that the gift card fits comfortably inside the pocket created by the folds. Measure your gift card and adjust your heart size accordingly.
What if my heart isn’t perfectly symmetrical when I cut it?
Don’t worry! Handmade items often have charming imperfections. If your heart isn’t perfectly symmetrical, the finished envelope will still be delightful and unique. Embrace the handmade aesthetic!
Video Tutorial
For those who prefer visual instructions, a detailed video tutorial demonstrating each fold is available to guide you through every step of creating your perfect paper heart envelope. Watch the process unfold and ensure every crease is just right!







