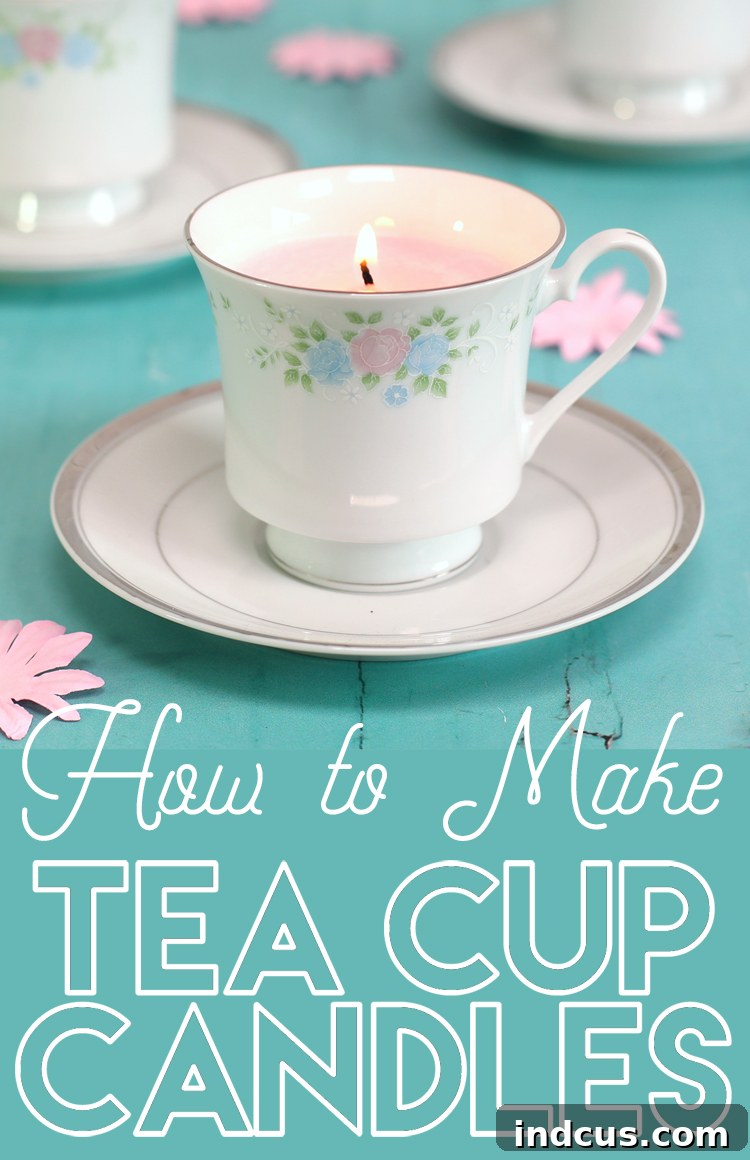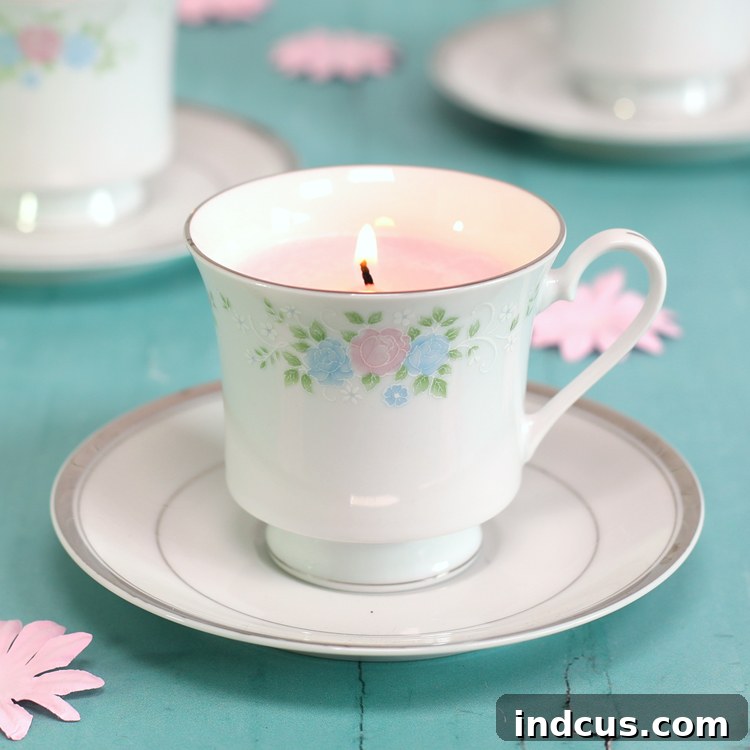
Elevate Your Home Decor: Crafting Exquisite DIY Teacup Candles from Thrift Store Finds
There’s an undeniable charm in a beautifully lit candle, casting a warm glow and filling your space with a comforting aroma. But what if those candles could tell a story, reflecting your personal style and commitment to sustainable living? Enter the delightful world of DIY teacup candles – an effortless and rewarding craft that transforms forgotten vintage treasures into unique, fragrant works of art.
Many believe that making candles at home is a complex endeavor, reserved for seasoned crafters. However, nothing could be further from the truth! This engaging project is surprisingly simple, taking less than an hour of active crafting time (excluding the essential cooling period). The most challenging part, you’ll find, is the eager anticipation as the wax sets, ready to unveil your stunning creation.
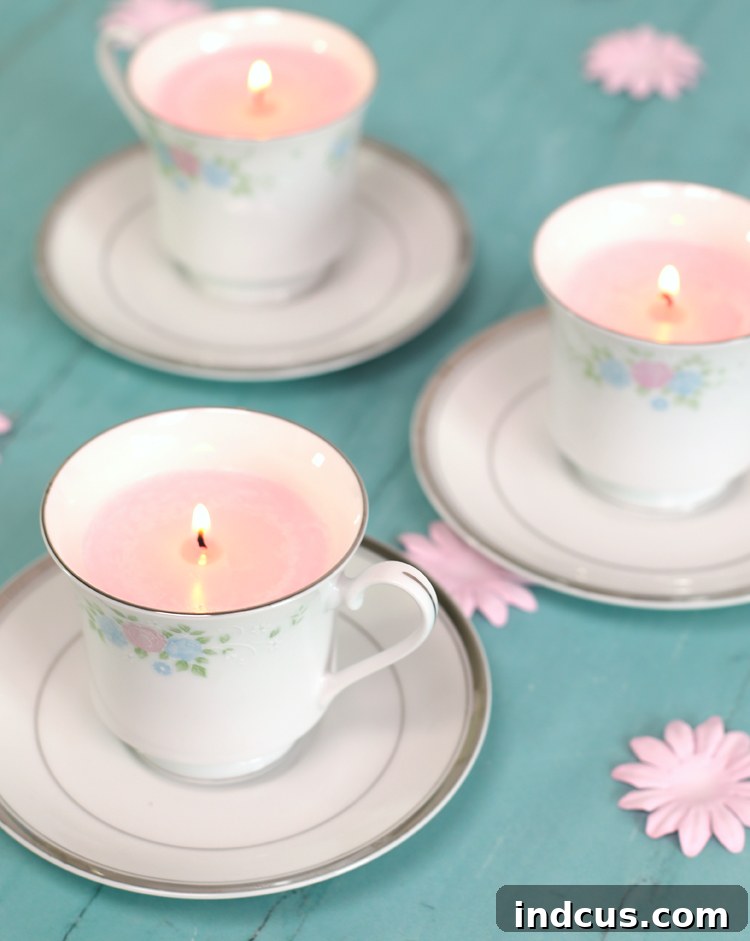
Not only do these handcrafted candles serve as captivating pieces of home decor, but they also make incredibly thoughtful and budget-friendly gifts. Imagine presenting a loved one with a one-of-a-kind candle nestled in a charming, vintage teacup – it’s a gift that speaks volumes about care and creativity.
Why Choose DIY Teacup Candles? Beyond Just a Craft Project
The appeal of making your own teacup candles extends far beyond the simple act of crafting. It’s a journey into creativity, sustainability, and personal expression:
- Unleash Your Creativity: From selecting the perfect teacup to choosing scents and colors, every step offers an opportunity to express your unique aesthetic. Mix and match patterns, experiment with various fragrances, and create something truly representative of your style.
- Eco-Friendly Upcycling: In an era where sustainability is paramount, repurposing vintage teacups is a brilliant way to reduce waste and give new life to pre-loved items. Instead of buying new containers, you’re transforming what already exists, contributing to a more circular economy.
- Budget-Friendly Decor & Gifts: Thrift stores are treasure troves of beautiful teacups, often available for just a few dollars. Combined with bulk candle-making supplies, this project is significantly more economical than purchasing designer candles, especially when you’re making multiple items for gifts or your home.
- Personalized Touch: Store-bought candles, while convenient, often lack the soul and individuality of a handmade item. A DIY teacup candle carries a piece of your effort and heart, making it an exceptional housewarming gift, a token of appreciation for a friend, or a charming addition to your own living space.
- A Relaxing and Meditative Process: The act of melting wax, mixing scents, and carefully pouring can be incredibly calming and therapeutic. It’s a wonderful way to unwind and engage in a fulfilling hobby.
The Thrill of the Hunt: Finding Your Perfect Vintage Teacups
Part of the joy of this project is the hunt for the perfect teacups. Here are some tips for finding unique vessels for your future candles:
- Explore Thrift Stores and Flea Markets: These are your primary hunting grounds. Look for teacups that catch your eye – vibrant patterns, delicate florals, or elegant gold rims. Don’t be afraid to mix and match; mismatched sets often create the most eclectic and charming displays.
- Consider Stability: While aesthetics are important, ensure the teacup has a stable base. A wobbly cup could pose a safety risk once it’s filled with hot wax and burning.
- Inspect for Cracks or Chips: Avoid cups with significant cracks or chips, especially near the base, as these could weaken the structure when exposed to heat. Small, superficial imperfections might add character, but structural damage is a no-go.
- Saucers are a Bonus: If the teacup comes with a matching saucer, even better! The saucer can serve as a stylish base for your finished candle, protecting surfaces from heat or drips.
- Thorough Cleaning: Once you’ve found your treasures, give them a good wash with soap and hot water to ensure they’re free of dust and grime. Let them dry completely before you begin the candle-making process.
Gathering Your Candle Making Essentials
You can find most of these supplies at any major craft store, often conveniently grouped together in a dedicated candle-making aisle, or readily available online. Shopping smart, perhaps with coupons, can significantly reduce your initial investment.
Materials Needed for Your DIY Teacup Candles
- Charming Teacups: Your beautiful thrift store finds! Remember to ensure they are clean and dry.
- High-Quality Candle Wax: Soy wax is highly recommended for its clean burn, longer burn time, and excellent scent throw. It’s also a renewable resource and easy to clean up. Paraffin wax is also an option, known for its strong scent throw and vibrant colors. Beeswax offers a natural, subtle honey scent and purifies the air. For this project, I used approximately half of a 2-pound bag of soy wax for three teacup candles.
- Pre-tabbed Candle Wicks: Ensure you select wicks appropriate for the diameter of your teacups. Most craft stores sell pre-tabbed cotton wicks, which are convenient and easy to use. The metal tab at the bottom helps anchor the wick.
- Fragrance Oil or Essential Oils (optional, but highly recommended): Choose scents that resonate with you – anything from soothing lavender to invigorating citrus or warm vanilla. Candle-specific fragrance oils are formulated to safely burn in candles. If using essential oils, research their safety and recommended usage rates for candle making.
- Old Crayola Crayons (for coloring the wax, optional): A fantastic, inexpensive way to add color. Scour your kids’ art supplies for those stubby, forgotten crayons! Alternatively, you can purchase Candle Dyes specifically designed for wax, available in liquid or block form for more precise coloring.
- Heat-Safe Pan or Double Boiler: For melting the wax. An old saucepan you don’t use for food is ideal.
- Stirring Utensil: A dedicated metal spoon or wooden craft stick.
- Funnel (optional, but very helpful): To pour the melted wax cleanly into the teacups.
- Wick Clips or Clothesline Pins: To keep the wick centered while the wax hardens.
- Hot Glue Gun: For securing the wick tab to the bottom of the teacup.
Step-by-Step Guide to Crafting Your Teacup Candles
Making these candles is a straightforward process, but paying attention to each step ensures a beautiful and functional finished product. If you’re a visual learner, remember you can always search for video tutorials online once you have a good grasp of the written instructions.
Step 1: Secure the Wick’s Foundation
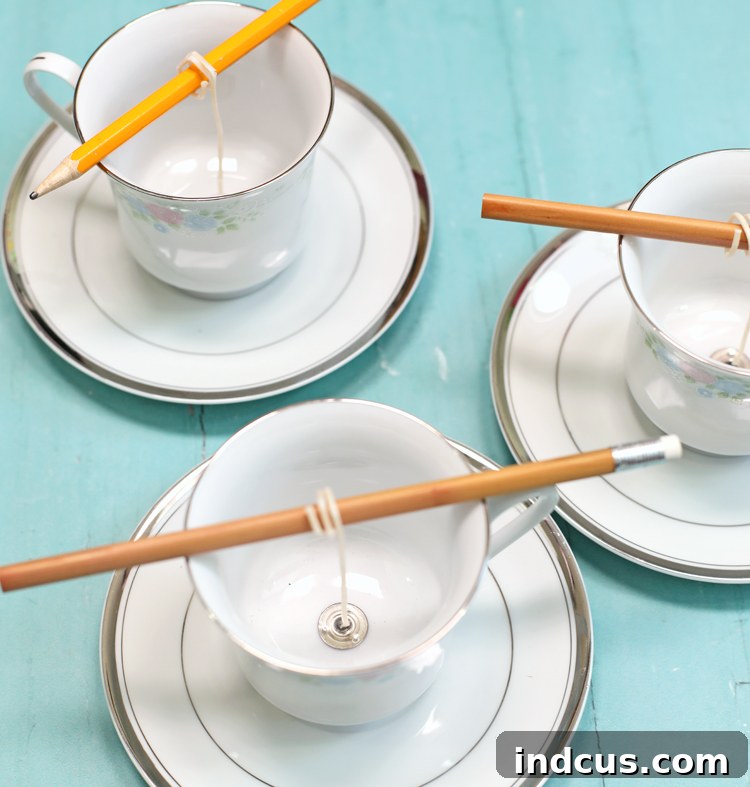
The first crucial step is to properly anchor your wick. Place a small dot of hot glue on the center of the metal tab at the bottom of your wick. Carefully press this tab firmly to the very center of the bottom of your clean, dry teacup. Hold it in place for a few seconds until the glue sets. This ensures your wick stays upright and centered as the wax melts and burns. To keep the top of the wick upright and centered while you pour the wax, wrap the excess wick loosely around a pencil or a dedicated wick clip, resting it across the rim of the teacup.
Step 2: Mastering the Wax Melt
Pour your chosen candle wax into a heat-safe cooking pan. For best results and safety, use a double boiler method: place your wax-filled pan inside a larger pot filled with a few inches of water, then heat over medium heat. This prevents the wax from overheating or burning. Stir the wax occasionally as it melts. The wax is ready when it transitions from an opaque, solid state to a clear, liquid form. Always follow any specific melting instructions provided on your wax packaging, as different wax types have varying melting points.
Step 3: Infusing Color (Optional but Fun!)
If you desire a pop of color for your candles, now is the time to add it. An incredibly easy and economical method is to drop a small chunk of an old Crayola crayon into the melting wax. As the wax melts, the crayon will dissolve and disperse its color. Use a small amount initially, as a little crayon goes a long way. Stir well to ensure even color distribution. For more professional and vibrant results, dedicated wax dyes (liquid or block) can be added according to the manufacturer’s instructions, ensuring they are compatible with your chosen wax type.
Step 4: The Scented Touch
Once your wax is fully melted and colored (if desired), remove it from the heat source. This is the perfect moment to add your chosen fragrance oil or essential oils. The ideal temperature for adding fragrance can vary slightly depending on the wax type, but generally, it’s best to add it when the wax is still hot but just off the direct heat. Follow the fragrance oil manufacturer’s recommendations for the correct dosage, usually a percentage of the wax weight. Stir the fragrance into the wax thoroughly for at least two minutes to ensure it disperses evenly throughout the mixture, leading to a consistent scent throw.
Step 5: The Careful Pour
Allow the scented wax to cool slightly for a few minutes before pouring. Pouring wax that is too hot can sometimes “undo” the hot glue securing your wick, causing it to float or become dislodged. Carefully pour the wax into each prepared teacup. A funnel can be incredibly helpful here, preventing splashes and ensuring a clean pour, especially if your teacup openings are small. Fill the teacups to just below the rim, leaving a small space for safety and aesthetics. Ensure the wick remains perfectly centered during this step, using your pencil or wick clip to guide it.
Step 6: The Patience of Curing & Finishing
The hardest part now begins: waiting! Allow your candles to cool and harden completely and undisturbed. This can take several hours, or even overnight, depending on the wax type and ambient temperature. Rushing this step can lead to an uneven surface or cracks. Once the wax is firm and opaque throughout, carefully remove the pencil or wick clip. Trim the wick to approximately 1/4 inch above the wax surface. This optimal length ensures a clean burn and prevents excessive soot. For best scent throw and an even burn, it’s often recommended to let your candles “cure” for at least 24-48 hours, or even up to a week, before their first burn. This allows the fragrance oils to fully bind with the wax.
The Art of Presentation: Gifting Your Handmade Candles
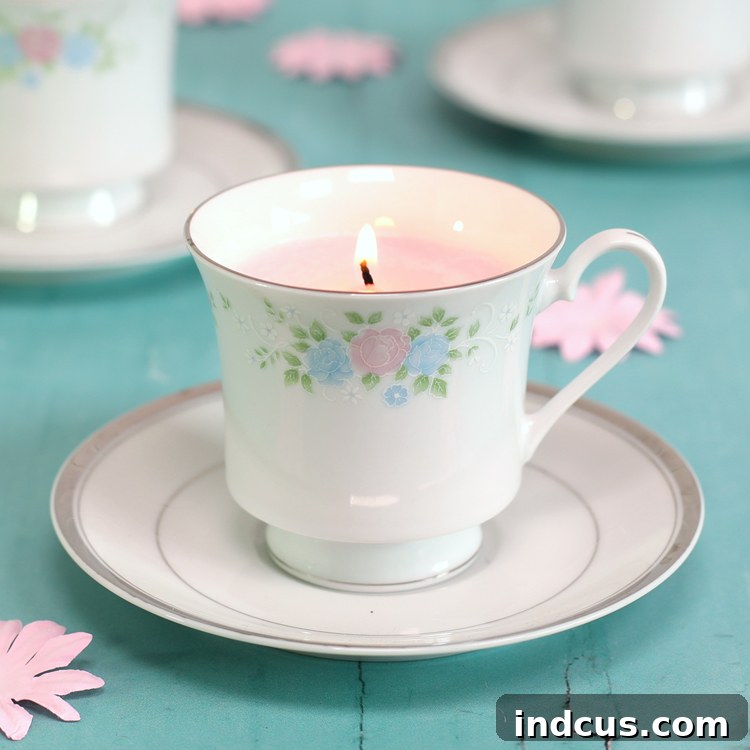
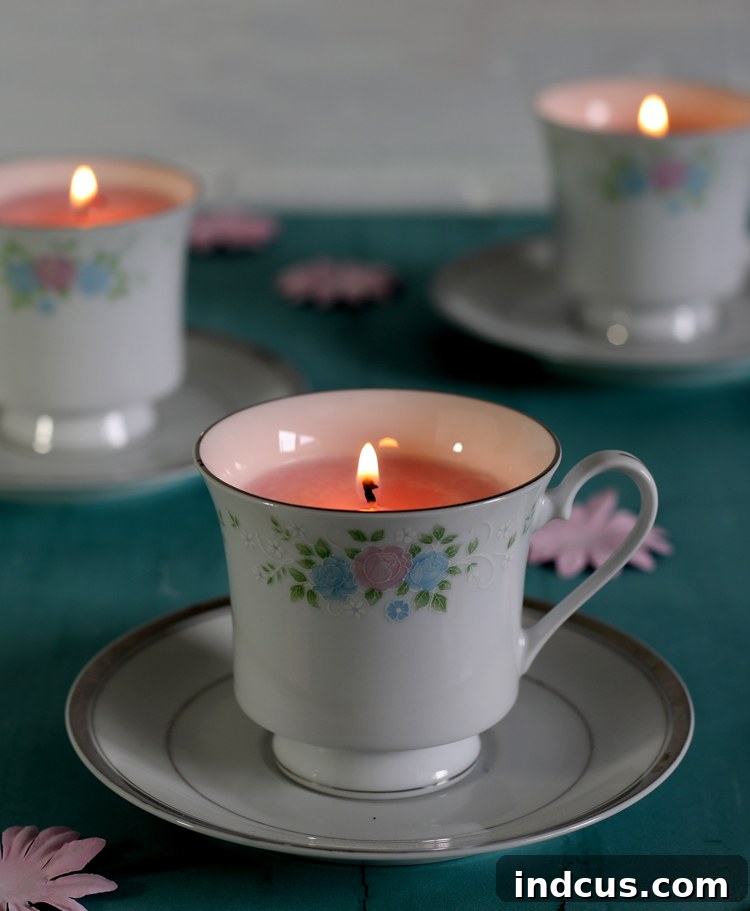
Aren’t these so incredibly pretty? The beauty of these unique teacup candles lies not only in their appearance but also in their versatility as gifts. They offer a personal touch that store-bought items simply can’t match, making them ideal for a multitude of occasions:
- Housewarming Gifts: A thoughtful and charming way to welcome someone to their new home.
- Birthday Presents: Customize the scent and teacup to match the recipient’s personality.
- Hostess Gifts: A sophisticated token of appreciation when visiting friends or family.
- Teacher Appreciation: A heartfelt thank you for their hard work.
- Holiday Gifts: Perfect for Christmas, Mother’s Day, Valentine’s Day, or any special occasion.
- “Thinking of You” Gesture: A simple, cheerful way to brighten a friend’s day or offer comfort.
To enhance their gift-giving appeal, consider tying a beautiful ribbon around the teacup, adding a small handmade tag with burning instructions, or placing the candle in a decorative gift box. These small touches elevate the presentation and make the gift even more special.
Essential Candle Care & Safety Tips
While homemade candles are a joy, it’s crucial to prioritize safety when burning them:
- Never Leave Unattended: Always keep a burning candle within sight.
- Keep Away from Flammables: Place candles on a stable, heat-resistant surface, away from anything that can catch fire, such as curtains, papers, or bedding.
- Trim the Wick: Before each use, trim the wick to 1/4 inch. This prevents excessive flickering, soot, and an overly large flame.
- Optimal Burn Time: Allow the candle to burn long enough for the melted wax pool to reach the edges of the container. This prevents “tunneling” and ensures an even burn for future uses. Do not burn for more than 4 hours at a time.
- Stop Burning When Wax is Low: Discontinue use when only 1/2 inch of wax remains at the bottom of the teacup. Burning past this point can cause the container to overheat and potentially crack.
- Keep Away from Children and Pets: Ensure candles are out of reach of curious hands and paws.
Light Up Your World with DIY Charm
Embarking on the journey of creating DIY teacup candles is an incredibly rewarding experience. It’s a testament to the fact that beautiful, meaningful objects don’t always come with a hefty price tag. By simply repurposing mismatched thrift store finds, you can create pieces that are not only aesthetically pleasing but also carry the warmth of your own hands.
Whether you’re looking to add a touch of vintage elegance to your home, find the perfect personalized gift, or simply enjoy a relaxing and creative hobby, making your own teacup candles is a project worth trying. So, grab those charming teacups, gather your supplies, and get ready to illuminate your world with unique, handmade charm. We can’t wait to see your beautiful creations!
Pin it for later! Share this wonderful DIY idea with your friends and family!