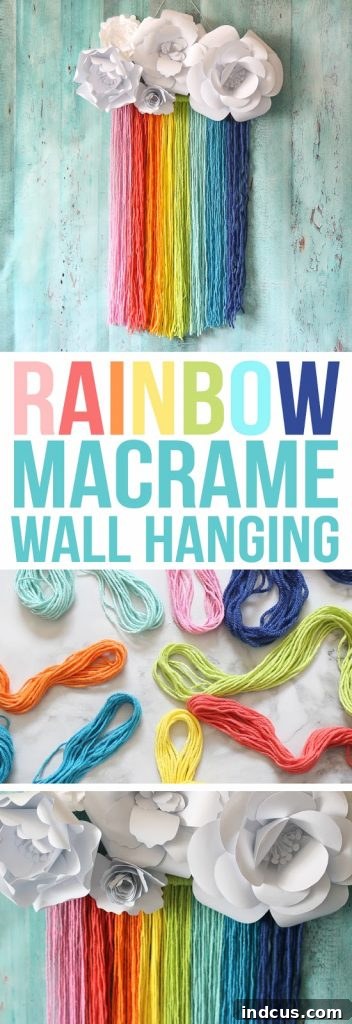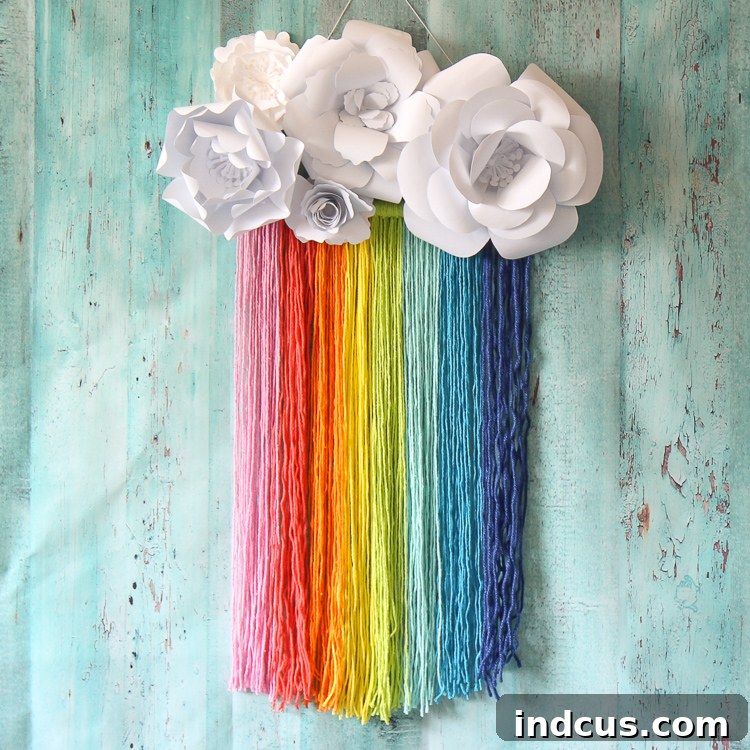
Vibrant Rainbow Macrame Wall Hanging: DIY with Paper Flower Clouds
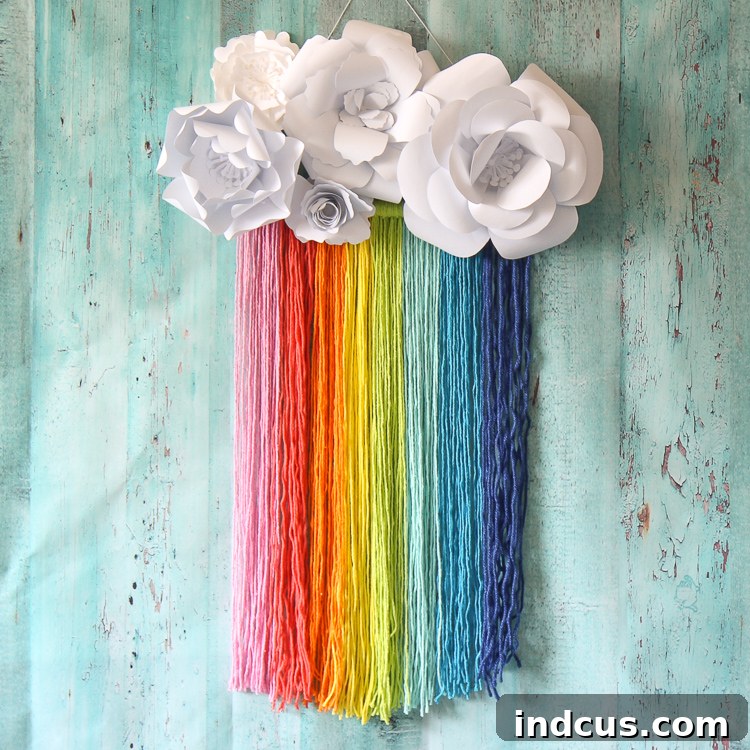
Transform your living space into a cheerful sanctuary with this enchanting DIY Rainbow Macrame Wall Hanging, beautifully adorned with delicate paper flower clouds. There’s something undeniably uplifting about a burst of rainbow colors, and when combined with the whimsical charm of handcrafted paper blossoms, the result is pure joy. This project isn’t just a craft; it’s a vibrant statement piece that promises to bring a smile to your face and a splash of personality to your walls. Ideal for adding a bohemian touch, brightening a child’s room, or infusing your craft space with inspirational hues, this macrame creation is designed to be both simple to make and stunning to behold.
Are you ready to embark on a delightful crafting journey and create your very own piece of sunshine? This guide will walk you through each step, ensuring a smooth and enjoyable experience, even if you’re new to macrame. Get ready to weave magic with yarn and paper!
Why Choose This Rainbow Macrame Project?
Crafting can be a wonderfully therapeutic and rewarding experience, and this rainbow macrame wall hanging stands out for several compelling reasons. Firstly, its vibrant aesthetic is a proven mood booster. The spectrum of colors instantly adds life and energy to any room, making it a perfect antidote to drab walls or minimalist decor. Secondly, it’s incredibly accessible. While macrame might seem intimidating, the basic knots required for this project are beginner-friendly, allowing you to achieve a professional-looking result with minimal effort.
Beyond its simplicity, this craft offers immense customization potential. You can choose your favorite yarn textures, vary the intensity of your rainbow, and experiment with different shapes for your macrame fringe. The addition of paper flowers introduces a unique three-dimensional element, elevating the wall hanging from a simple textile piece to an intricate work of art. This project also allows for creative expression, blending traditional macrame techniques with modern, whimsical embellishments. It’s not just a decoration; it’s a reflection of your creativity and a testament to the beauty of handmade items.
Materials Needed for Your Colorful Macrame
Gathering your supplies is the first exciting step in any DIY project. For this charming rainbow macrame wall hanging, you’ll need a few essential items, most of which can be found at your local craft store or online. Opting for quality materials will ensure your finished piece is durable and visually appealing.
- Yarn in a Rainbow of Colors: This is the heart of your rainbow! Choose a variety of colors that span the spectrum – red, orange, yellow, green, blue, indigo, and violet. Consider different shades within each color family for added depth. Cotton yarn is often recommended for macrame due to its softness, strength, and ease of knotting, but acrylic or wool blends can also work beautifully. The amount needed will depend on the desired fullness and length of your macrame, but a standard skein of each color should be sufficient for a medium-sized piece.
- A Wooden Dowel: This will serve as the sturdy foundation for your macrame. Select a dowel that is smooth and straight, typically 1/2 to 1 inch in diameter. The length of the dowel will dictate the width of your wall hanging, so choose one that fits your intended display space. For a medium-sized piece, a dowel between 12 and 18 inches long is a good starting point. You can also get creative and use a natural branch for a more rustic, bohemian aesthetic.
- Twine or String: A sturdy piece of twine or string is essential for hanging your finished wall art. Natural jute twine, cotton string, or even a thin piece of macrame cord would be suitable. Ensure it’s strong enough to support the weight of the yarn and any embellishments you add.
- A Few White Paper Flowers: These elegant additions will transform your macrame into a cloud-like dream. While you can certainly purchase pre-made paper flowers, creating your own adds a personal touch and allows for custom sizing. Learn how to make truly stunning giant paper flowers using this helpful tutorial. For this project, a few white or cream-colored flowers will contrast beautifully with the vibrant rainbow yarn, giving the illusion of clouds. Consider varying their sizes for a more dynamic arrangement.
- Scissors: A sharp pair of scissors is crucial for clean, precise cuts when preparing your yarn and trimming the fringe.
- Measuring Tape or Ruler: For accurately measuring yarn lengths to ensure consistency.
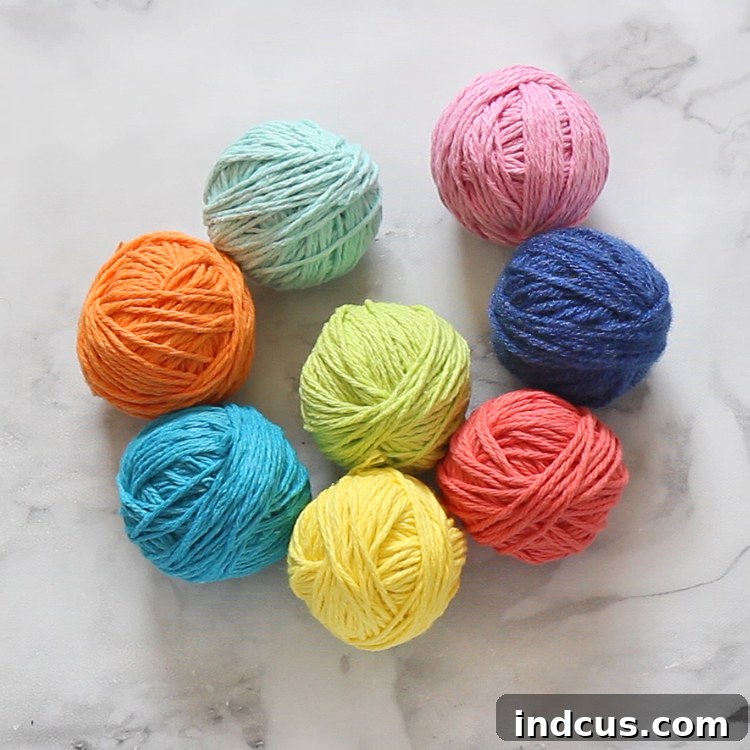
Step-by-Step Guide to Your Rainbow Macrame
Creating this eye-catching rainbow macrame is a straightforward process, perfect for crafters of all skill levels. Follow these detailed steps to bring your colorful vision to life.
Step 1: Preparing Your Yarn Strands
Begin by preparing your yarn in each of your chosen rainbow colors. You’ll need approximately 12-15 pieces of yarn per color. Each piece should be around 20 inches long. This length provides ample material for knotting and allows for a beautiful, flowing fringe once trimmed. The exact length, however, is flexible and can be adjusted based on how large and long you envision your final wall hanging to be. For a fuller, more substantial look, you can cut more pieces per color; for a more delicate design, fewer pieces will suffice. To make this step more efficient, you can wrap the yarn around a piece of cardboard or a book of the desired length and then cut all the loops at once.
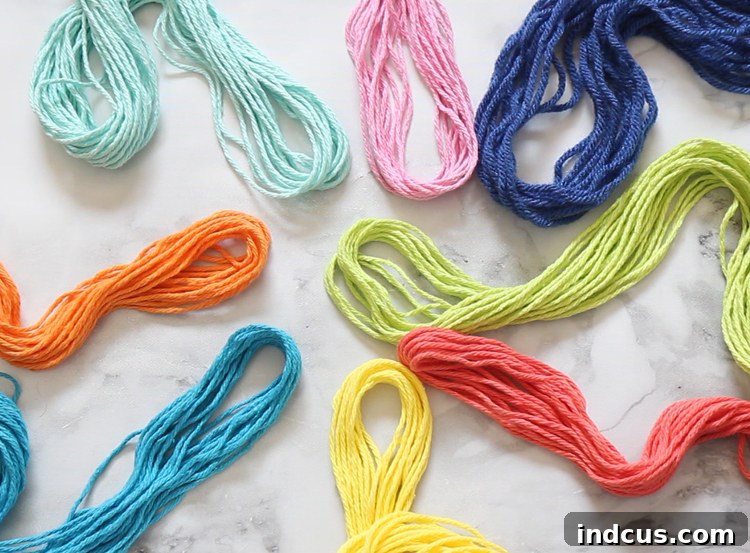
Step 2: Attaching Yarn to the Dowel with a Lark’s Head Knot
Now it’s time to attach your vibrant yarn strands to the wooden dowel. The Lark’s Head Knot is the perfect choice for this, as it’s simple, secure, and creates a neat, uniform edge. To tie a Lark’s Head Knot:
- Take one piece of yarn and fold it exactly in half, creating a loop at one end.
- Place the folded loop over the top of the wooden dowel.
- Bring the two loose ends of the yarn up from behind the dowel and thread them through the loop you created.
- Pull the loose ends firmly but gently to tighten the knot around the dowel.
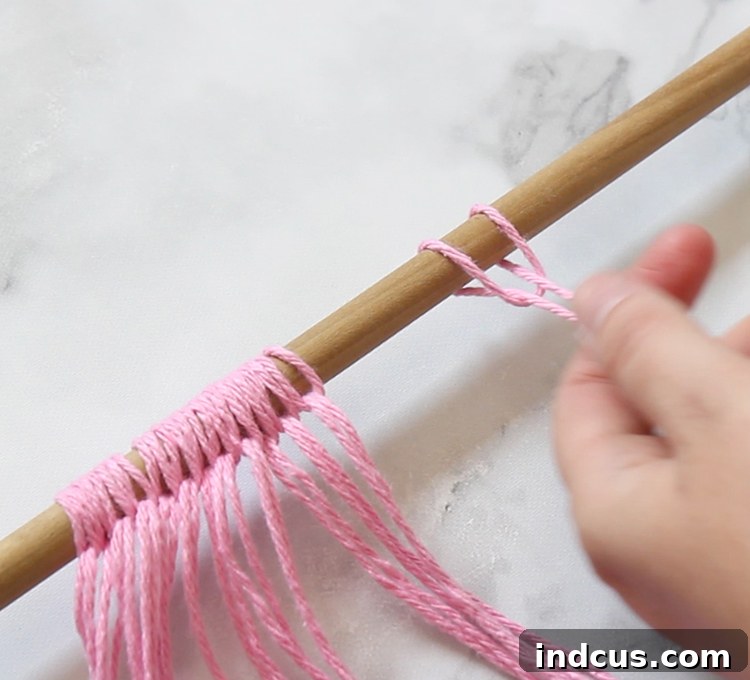
Continue this process for all your yarn pieces, working systematically through each color of the rainbow. It’s crucial to tie each knot in the same direction to ensure a cohesive and uniform appearance once all the yarn is attached. This consistency will create a beautiful, even drape for your macrame. Arrange the colors in the desired rainbow sequence, ensuring they are snug against each other but not overly crowded on the dowel. Proper spacing will allow the colors to blend seamlessly and maintain the integrity of each strand.
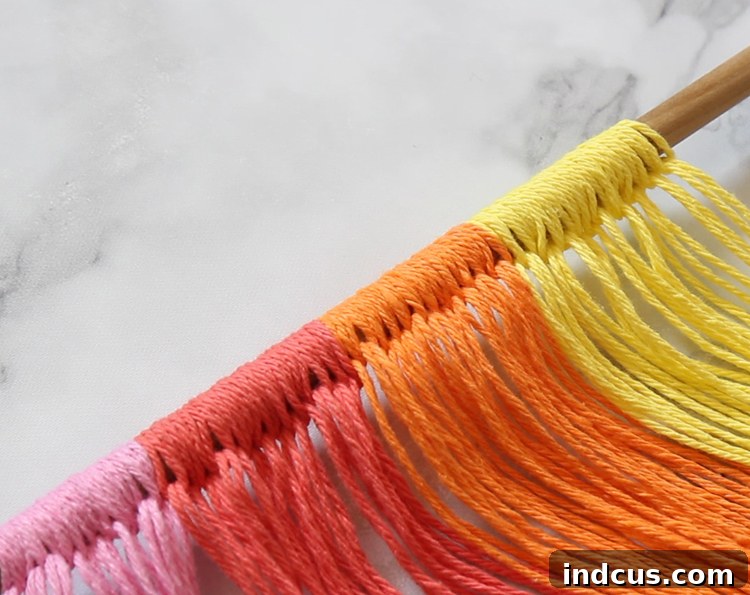
Step 3: Shaping and Trimming the Fringe
Once all your yarn strands are securely attached to the dowel, you have a beautiful cascade of color. At this point, you can choose to leave the yarn as is, allowing it to hang freely for a simple, bohemian look. Alternatively, if you’re feeling adventurous, you can introduce more macrame knots like square knots or half-hitch knots to create intricate patterns and textures within the hanging. However, for this project, the beauty often lies in the simplicity of the colorful strands.
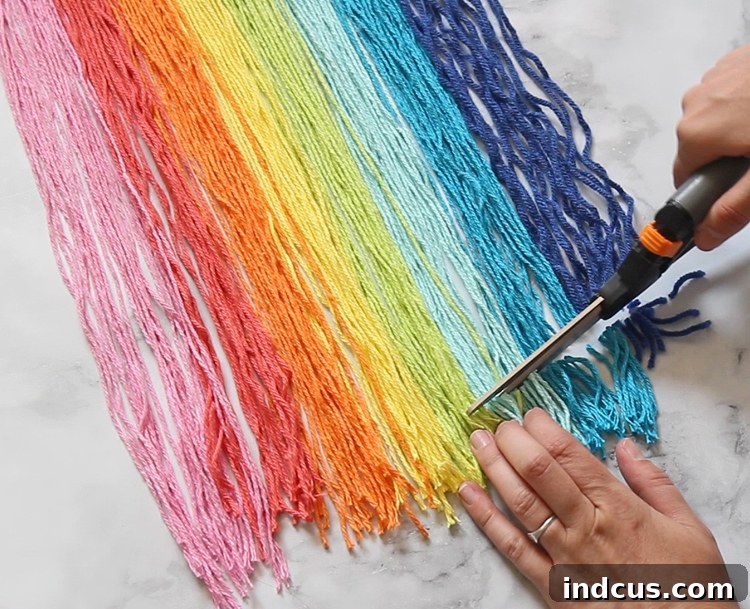
The next exciting step is trimming the ends to create your desired shape. This is where you truly personalize your wall hanging. I opted for a slightly rounded, curved shape along the bottom, which gives a soft, cloud-like finish. Other popular choices include a sharp V-point for a modern edge, a straight, even line for a minimalist look, or even an asymmetrical design for abstract flair. Use a sharp pair of scissors and take your time, trimming small sections to ensure precision. You can draw a light guide with a pencil on the yarn or even use a piece of tape to mark your desired cutting line. Step back frequently to assess the shape and make adjustments until you are completely happy with the aesthetic.
Step 4: Adding a String for Hanging
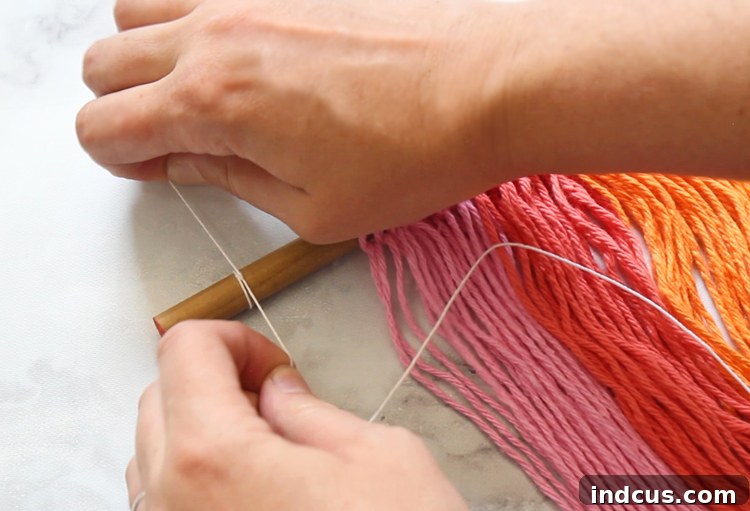
To prepare your macrame masterpiece for display, you’ll need to attach a string for hanging. Simply cut a piece of twine or string to your desired length. The length will depend on how far you want your macrame to hang from the wall. Tie one end of the string securely to each side of the wooden dowel. You can use a simple double knot to ensure it’s sturdy. Make sure the hanging string is centered so your wall hanging hangs evenly. This small but essential step brings your project to completion and readies it for its place on your wall.
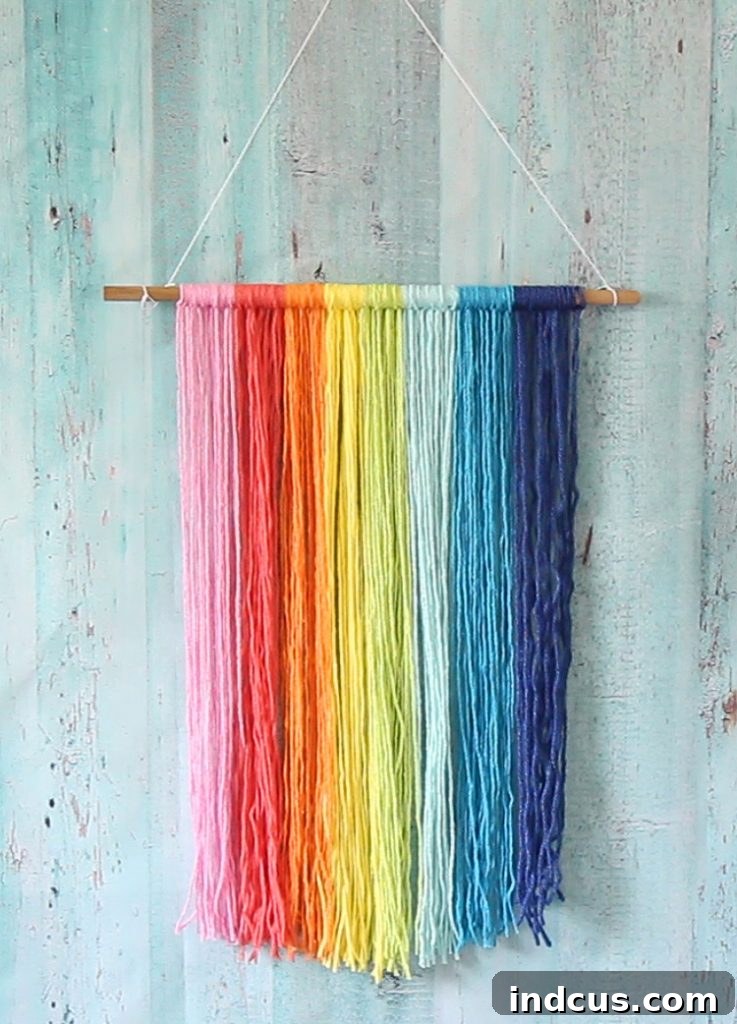
At this point, you have a truly darling and colorful macrame wall hanging. It’s beautiful on its own and will certainly brighten any space.
Elevating Your Macrame with Paper Flower Clouds
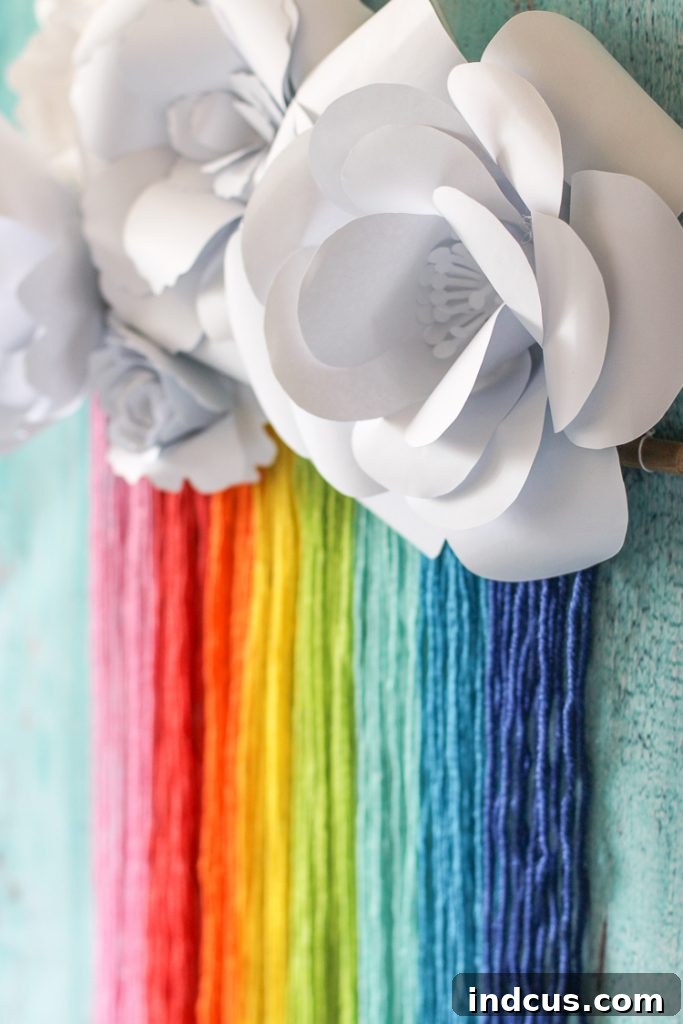
While your rainbow macrame is stunning on its own, adding a cluster of paper flowers takes this craft to an entirely new level of charm and whimsy. These “cloud” flowers not only enhance the rainbow theme but also introduce a beautiful textural contrast and a sense of depth to your wall art.
If you haven’t already, now is the perfect time to whip up some paper flowers. The tutorial provides excellent guidance for creating large, impactful blooms that perfectly complement the scale of the macrame. Choose white, cream, or very light pastel paper for your flowers to maintain the cloud aesthetic. You can create flowers of varying sizes to add visual interest – a few large ones and some smaller ones can create a dynamic, natural-looking cluster.
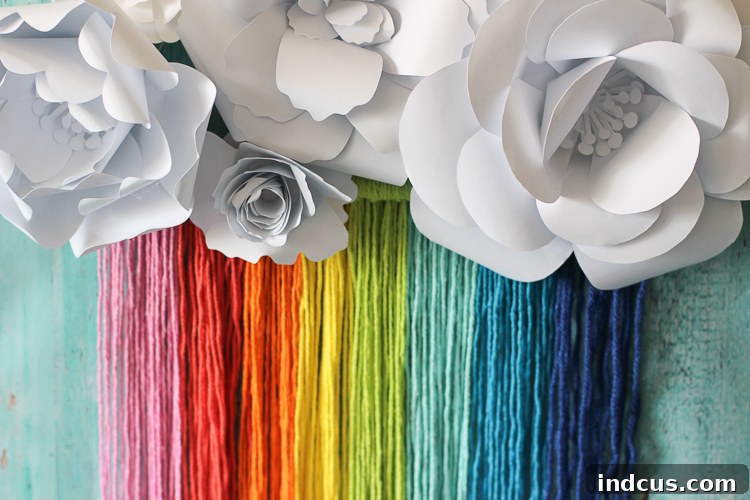
Once your paper flowers are ready, consider how you want to arrange them. You can cluster them at the top of the macrame, mimicking clouds above a rainbow, or scatter them along the sides for a more whimsical feel. I attached my flowers directly to the wall around the macrame with discreet push pins. This method allows the flowers to float around the macrame, enhancing the cloud effect without adding extra weight to the dowel. If you’re concerned about making holes in your wall, Velcro Command Strips are an excellent alternative. They offer strong adhesion and can be removed cleanly, making them ideal for temporary or rented spaces. For a more permanent attachment directly to the dowel, a dab of hot glue could be used, but ensure it’s applied carefully so as not to damage the yarn.
Displaying and Enjoying Your Masterpiece
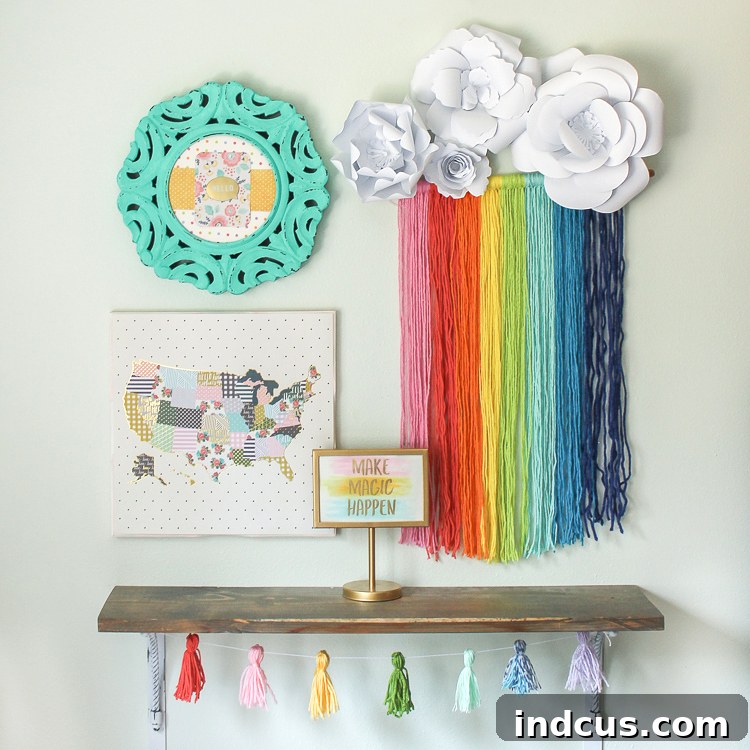
With your rainbow macrame wall hanging and its beautiful paper flower clouds complete, the only thing left to do is find the perfect spot to display it. This vibrant piece is incredibly versatile and can enhance a variety of rooms and decor styles. It fits perfectly in a craft room, inspiring creativity with its burst of color, as it does next to my rainbow of paper flowers. Imagine it in a nursery, adding a soft yet cheerful focal point above a crib, or in a child’s bedroom, bringing a sense of wonder and joy.
Beyond children’s rooms, this macrame can infuse a bohemian or eclectic vibe into a living room, a pop of color in an entryway, or a whimsical touch in a home office. Consider hanging it on a feature wall, above a bed, or as part of a larger gallery wall arrangement. The bright colors make it a natural centerpiece, drawing the eye and uplifting the mood of the entire space. It definitely fits right in and is going to make me smile for a long time to come.
This project is more than just a decoration; it’s a testament to the joy of handmade art. Each knot and every petal crafted by your hands contributes to a piece that carries personal meaning and warmth. As you admire your new decoration, you’ll be reminded of the creative process and the simple happiness that comes from making something beautiful. Enjoy the long-lasting cheer this unique rainbow macrame wall hanging brings to your home!