Unlock the Simplicity: Making Wholesome Homemade Baby Food
Watching your little one grow is a bittersweet journey. One moment they’re tiny newborns, and the next, they’re ready to explore the exciting world of solid foods! For many parents, this milestone brings with it questions about nutrition, cost, and convenience. As my own baby reached this incredible stage, I uncovered a simple truth that transformed our feeding routine: homemade baby food isn’t just easy, it’s incredibly rewarding and significantly more economical than store-bought alternatives.
I confess, like many parents, I once considered the aisles of brightly colored baby food jars a necessity. However, a quick calculation and a bit of kitchen experimentation revealed a powerful secret: preparing your baby’s meals at home is not only achievable but remarkably straightforward. While I do keep a small stash of quality jarred food for those unpredictable trips or busy days out – because let’s be honest, no parent needs added stress – the vast majority, nearly 99%, of what my baby enjoys comes straight from my kitchen.
This isn’t about being a super-parent or spending hours slaving over a stove. It’s about empowering yourself with knowledge and a few basic tools to provide the freshest, most nutritious meals for your infant, all while keeping your budget happily intact. Once you discover just how simple and efficient it is to create your own baby food, you might just wonder why you ever considered another option!
Getting Started: Essential Tools for DIY Baby Food
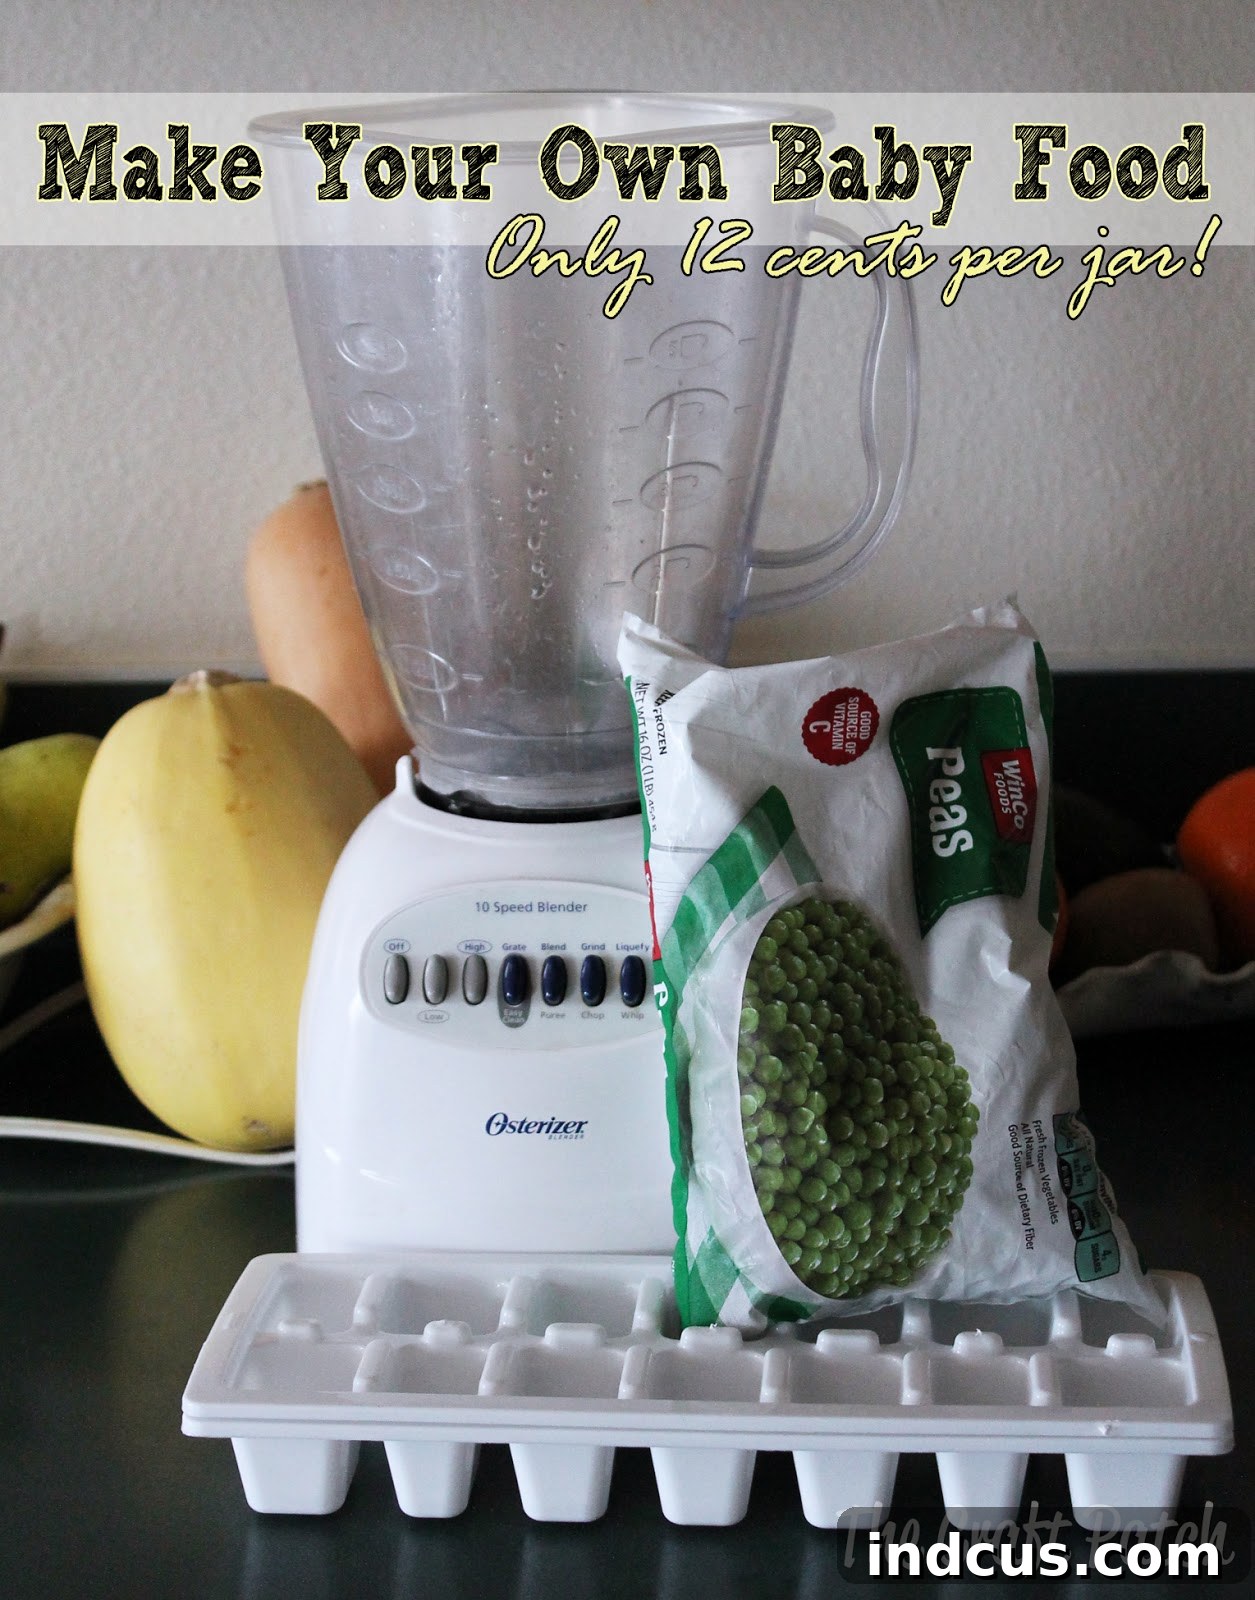
Embarking on your homemade baby food journey doesn’t require a kitchen full of specialized gadgets. In fact, you likely already possess most of the necessities. The beauty of this process lies in its simplicity and accessibility. Here’s a breakdown of the few fundamental items you’ll need to kickstart your baby food production:
- A Bag of Frozen Vegetables: Starting with frozen vegetables is a game-changer for convenience and nutrient retention. They are often picked at their peak ripeness and flash-frozen, locking in essential vitamins and minerals. Think peas, green beans, carrots, butternut squash, or sweet potatoes. While fresh produce is always an option, frozen offers unparalleled ease, consistent quality, and year-round availability.
- A Reliable Blender or Food Processor: This is undoubtedly your most important tool. A standard kitchen blender, a hand-held immersion blender, or even a compact mini food processor will work perfectly. The primary goal is to achieve a smooth, lump-free consistency, which is especially important for younger babies just starting on solids to prevent choking hazards and ensure easy digestion.
- Ice Cube Trays: These unassuming kitchen items are ingenious for portion control and efficient storage. Standard plastic ice cube trays are perfectly functional, but you can also find silicone baby food specific trays, often equipped with lids, that make popping out individual portions even easier.
- Filtered Water (or Breast Milk/Formula): Liquid is essential for achieving the right consistency for your purees. Using filtered water is a common choice. However, for an added nutritional boost and to introduce a familiar taste, many parents opt to use breast milk or formula instead of water, particularly when first introducing new flavors.
- Freezer Bags or Airtight Containers: Once your nutritious purees are frozen into convenient cubes, you’ll need a secure way to store them in the freezer. Gallon-sized freezer bags designed for food storage or airtight, freezer-safe containers are ideal for maintaining freshness, preventing freezer burn, and keeping your baby food organized.
That’s it! With these basic items, you’re fully equipped to start crafting nutritious, delicious, and budget-friendly meals for your baby right in your own kitchen. No fancy equipment, no complex techniques – just pure, wholesome goodness.
Your Step-by-Step Guide to Perfect Purees
Creating homemade baby food might sound like a gourmet endeavor, but it’s an incredibly simple process that requires minimal effort for maximum reward. This approach allows you to control every ingredient, ensuring your baby receives the freshest and healthiest start to solids. Follow these straightforward steps to prepare a batch of delicious and healthy purees for your little one:
-
Prepare and Cook Your Chosen Vegetables (or Fruits)
The crucial first step is to cook your selected vegetables or fruits until they are exceptionally soft. For frozen vegetables like peas, green beans, or carrots, you can easily steam them, boil them, or even microwave them. Steaming is often the preferred method as it helps retain the maximum amount of nutrients and natural flavors. If boiling, use just enough water to cover the vegetables and ensure they are thoroughly drained afterwards. For fresh produce such as butternut squash, acorn squash, or sweet potatoes, you can bake, boil, or microwave them until they are completely fork-tender. The key is to achieve a texture that is easy to mash or blend, which is vital for creating a smooth consistency, especially for early eaters.
-
Transfer to Blender and Add Liquid
Once your ingredients are thoroughly cooked and have cooled slightly (to avoid steam build-up in the blender), carefully transfer them to your blender or food processor. Begin by adding a small amount of liquid – generally, about 1/2 to 1 cup is a good starting point, though the exact amount will vary based on the volume and natural moisture content of your cooked produce. This liquid can be filtered water, breast milk, or infant formula. The liquid plays a dual role: it helps achieve the desired smooth consistency and can also add a familiar taste and extra nutrients for babies who are just transitioning to solids.
-
Blend to Desired Smoothness and Texture
Begin blending the mixture. Start on a low setting and gradually increase the speed until the ingredients are fully pureed. As you blend, carefully observe the consistency. If the mixture appears too thick, chunky, or stubbornly lumpy, gradually add more liquid, one tablespoon at a time, until you reach a perfectly smooth and creamy puree. For very young babies (typically 4-6 months), a super smooth, lump-free texture is absolutely essential for safe swallowing and easy digestion. As your baby grows and develops their chewing and swallowing skills (around 8-10 months), you can gradually experiment by leaving the puree a little chunkier to introduce new textures and encourage oral development.
-
Portion and Freeze for Future Meals
With your freshly blended puree ready, carefully pour it into clean ice cube trays. Fill each compartment, being mindful not to overfill them. These trays are an absolute lifesaver for creating perfect, single-serving portions that are easy to manage. Once all compartments are filled, place the trays in the freezer and allow them to freeze completely solid, which typically takes a few hours or overnight, depending on your freezer’s efficiency. Freezing in individual portions offers unparalleled convenience, allowing you to thaw just the right amount for each meal, minimizing waste, and ensuring maximum freshness.
-
Store Frozen Cubes Securely and Systematically
Once your baby food cubes are completely frozen and hardened, remove them from the ice cube trays. This is usually as simple as gently popping them out. Immediately transfer the frozen cubes into airtight freezer bags or rigid, freezer-safe containers. For optimal organization and food safety, it is crucial to label each bag or container clearly with the type of food (e.g., “Pea Puree,” “Sweet Potato”) and the date it was made. This systematic storage allows you to easily grab a variety of nutrient-rich options for your baby, maintaining a diverse diet. Frozen purees can typically be stored safely for up to 3 months, offering a fantastic batch-cooking solution that significantly streamlines meal preparation for busy parents.
Smart Saving: The Unbeatable Economics of Homemade Baby Food
Beyond the profound nutritional advantages and the invaluable peace of mind that comes from knowing exactly what your baby is eating, one of the most compelling reasons to make your own baby food is the incredible and undeniable cost savings. Let’s delve into the numbers, and you’ll quickly see why this small initial time investment yields truly significant financial returns for your family budget.
Consider a single 80-cent bag of frozen peas. From this modest and accessible investment, I was able to yield 28 perfectly portioned baby food cubes. Typically, one standard commercial jar of baby food contains roughly the same volume as four of these convenient homemade cubes. This means that one economical bag of peas translates to the equivalent of approximately seven store-bought jars of baby food! Doing the math, this brings the cost down to an astonishing $0.12 per “jar” equivalent, a fraction of what you’d pay in a store.
Now, let’s compare this eye-opening figure to the current market prices. Even the most budget-friendly commercial baby food jars usually retail for at least $0.55 each, and often significantly more for organic or premium brands. By making your own, you’re looking at an immediate saving of a minimum of $0.43 per “jar” equivalent. These savings, seemingly small individually, accumulate rapidly and powerfully. If your baby enjoys an average of two “jars” of food per day (a common consumption rate), you’re looking at impressive cumulative savings of:
- A substantial $6 per week
- A remarkable $24 per month
- An astounding $312 per year!
Imagine what you could do with an extra $300+ annually! This calculation is based on just one type of universally affordable vegetable. Expanding to other cost-effective frozen or seasonally available produce, your potential savings could be even greater. This isn’t merely about cutting corners; it’s about making an incredibly smart financial choice that genuinely impacts your family budget, proving emphatically that providing the absolute best, most nutritious meals for your baby doesn’t have to break the bank. It’s a truly worthwhile time investment that pays dividends in both health and wealth.
Expanding Baby’s Palate: A Guide to Food Varieties and Stages
Introducing your baby to a wide array of flavors, textures, and nutrients is an exciting and pivotal part of their developmental journey. The inherent beauty of homemade baby food lies in the complete control you have over every single ingredient, ensuring a diverse, fresh, and highly nutritious diet tailored specifically for your growing infant. Here are some excellent starting points and a general timeline for introducing various foods, designed to help you navigate this wonderful culinary adventure:
First Foods: Gentle Beginnings (Typically 4-6 Months)
When you first embark on the journey of introducing solids, the golden rule is to start with single-ingredient purees. This cautious approach is crucial for easily identifying any potential allergies or sensitivities your baby might have. Health professionals often recommend starting with vegetables, as babies tend to develop a strong preference for sweet flavors if fruits are introduced too early. Focus on gentle, easy-to-digest, and mild-tasting options:
- Peas: A classic and highly recommended first food, peas are naturally sweet, packed with essential vitamins (like Vitamin K and C), and blend into a wonderfully smooth and vibrant green puree. Using frozen peas offers ultimate convenience without compromising nutrition.
- Green Beans: Another excellent and often overlooked choice, green beans offer a slightly different, mild flavor profile. Opt for frozen or unsalted canned varieties to avoid excess sodium, ensuring they are cooked until very soft before blending to achieve a silky consistency.
- Butternut or Acorn Squash: These hearty gourds are naturally sweet, incredibly rich in Vitamin A (important for vision and immunity), and produce a deliciously creamy, smooth puree. Simply bake, boil, or microwave a whole squash until it’s tender enough to easily scoop out the flesh, then blend to perfection.
- Sweet Potatoes: A true powerhouse of nutrition, sweet potatoes are beloved by most babies for their inherent natural sweetness, vibrant orange color, and abundance of beta-carotene. Prepare them just like squash – bake, boil, or microwave until soft, then puree until smooth.
- Carrots: Rich in beneficial beta-carotene, carrots make a smooth, slightly sweet, and appealing puree. Frozen carrots are a simple, readily available, and effective option for quick preparation.
Remember the important guideline: always introduce one new food at a time, and then wait 3-5 days before introducing another new item. This allows you to closely monitor your baby for any adverse reactions, such as rashes, digestive upset, or unusual behavior.
Expanding the Palate: Introducing Fruits (Around 7 Months)
Once your baby has comfortably accepted and enjoyed several single-grain cereals and a variety of vegetable purees, you can begin the exciting phase of introducing fruits. Their natural sweetness typically makes them an instant hit, but it’s important to ensure they remain part of a balanced and varied diet, not just the primary food source.
- Bananas: Perhaps the easiest and most convenient first fruit, bananas require absolutely no cooking. Simply mash them thoroughly with a fork for a natural, creamy texture. If a thinner consistency is preferred, blend them with a tiny bit of water, breast milk, or formula.
- Apples: A good source of dietary fiber and natural sweetness. To prepare, simply peel, core, and steam or bake apples until they are very soft and tender. Once cooked and cooled, puree them to a smooth consistency.
- Peaches and Pears: These soft, juicy, and naturally sweet fruits are excellent choices for expanding your baby’s fruit repertoire. Peel and cook them (steaming or baking works well) until they are wonderfully tender, then puree. Using frozen peaches or pears (ensure they have no added sugars or syrups) can save valuable preparation time.
It’s always a good practice to offer a wide variety of fruits and vegetables to prevent pickiness and ensure your baby receives a broad spectrum of essential nutrients and antioxidants.
Transitioning to Table Food and Textured Meals (Around 9-12 Months)
As your baby approaches 9 months of age, their oral motor skills will be developing rapidly, and they will likely be ready for more textured foods. This stage is a fantastic opportunity to start introducing mashed or finely chopped versions of your family’s meals, encouraging self-feeding and the development of chewing skills.
- Mashed Table Food: Begin by mashing soft-cooked vegetables (like potatoes, carrots, peas, or broccoli florets) and soft fruits (like ripe avocado or banana) simply with a fork. You can also offer small, pea-sized, soft pieces of cooked meat or poultry, finely shredded to be easily manageable.
- Adapting Family Meals: A wonderful way to simplify mealtime is to adapt what your family is already eating for dinner. If you’re preparing roasted chicken with steamed vegetables, simply reserve a small, unseasoned portion before adding heavy spices, excess salt, or sugar. Then, mash or finely chop it to an appropriate size and texture for your baby.
- Creative Blending: Don’t be afraid to get truly creative with your blender! I’ve even had success blending up leftover spaghetti (sauce and all!) for my baby. You’d be surprised how well complex dishes work as nutrient-dense, easily digestible meals once they’ve been through the blender. This is a fantastic and efficient way to minimize food waste while introducing a wide variety of flavors and textures to your little one.
By the time your child turns one year old, they will generally be ready to confidently join the family at the dinner table, eating most of what you prepare (with appropriate modifications for potential choking hazards and portion sizes). This gradual and thoughtful progression not only simplifies mealtime routines for parents but also actively encourages a healthy and positive relationship with food, fostering adventurous and well-rounded eaters from an early age. This flexible and practical approach has worked wonders for me and my baby, making meal times enjoyable, nutritious, and wonderfully stress-free.