Unlock Kitchen Efficiency: Smart Hacks That Truly Work
In the vast sea of internet content, it seems like everyone has a “kitchen hack” to share. Yet, many of these supposed shortcuts are either overly complicated, utterly impractical, or just plain weird. Who wants to spend more time setting up a “hack” than actually doing the task? We’ve all been there, scrolling through countless videos, only to find tips that are far removed from real-world application.
That’s why today, we’re cutting through the noise to bring you something different: four genuinely effective kitchen hacks that I personally rely on day in and day out. These aren’t obscure tricks requiring special equipment or rare ingredients. Instead, they are simple, sanity-saving, and incredibly practical solutions that will undeniably streamline your cooking process, save you precious time, and perhaps even a bit of money. Prepare to have your kitchen routine revolutionized by these tried-and-true methods. Stick around until the end for a video demonstration of all these amazing hacks in action, so you can see firsthand just how well they work!
Elevate Your Pantry: The Pour Spout Mason Jar Hack
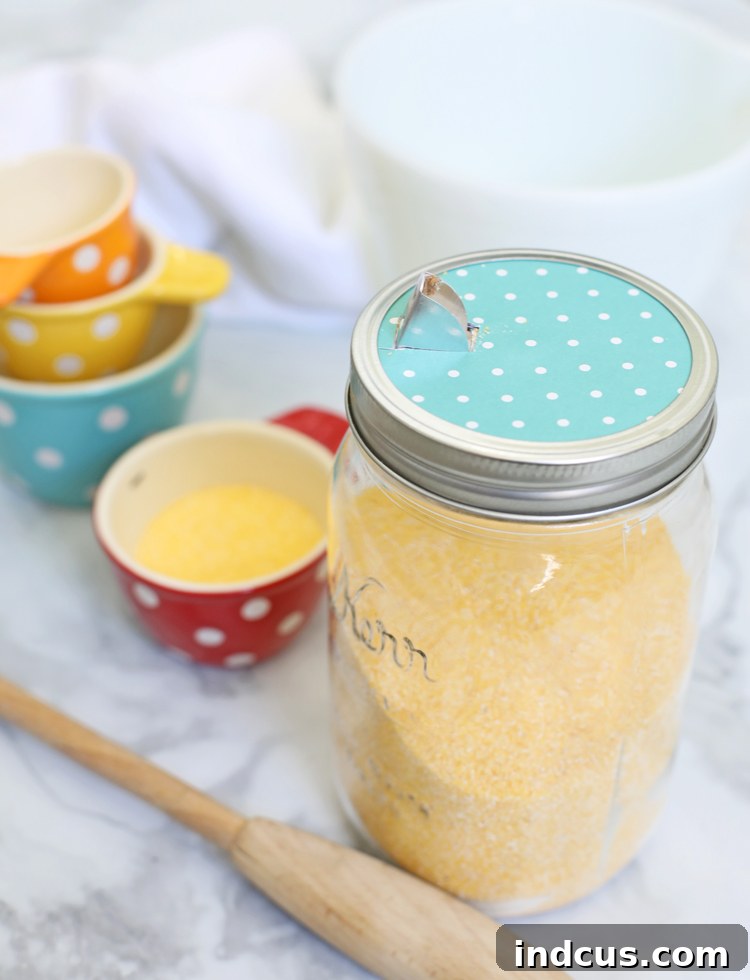
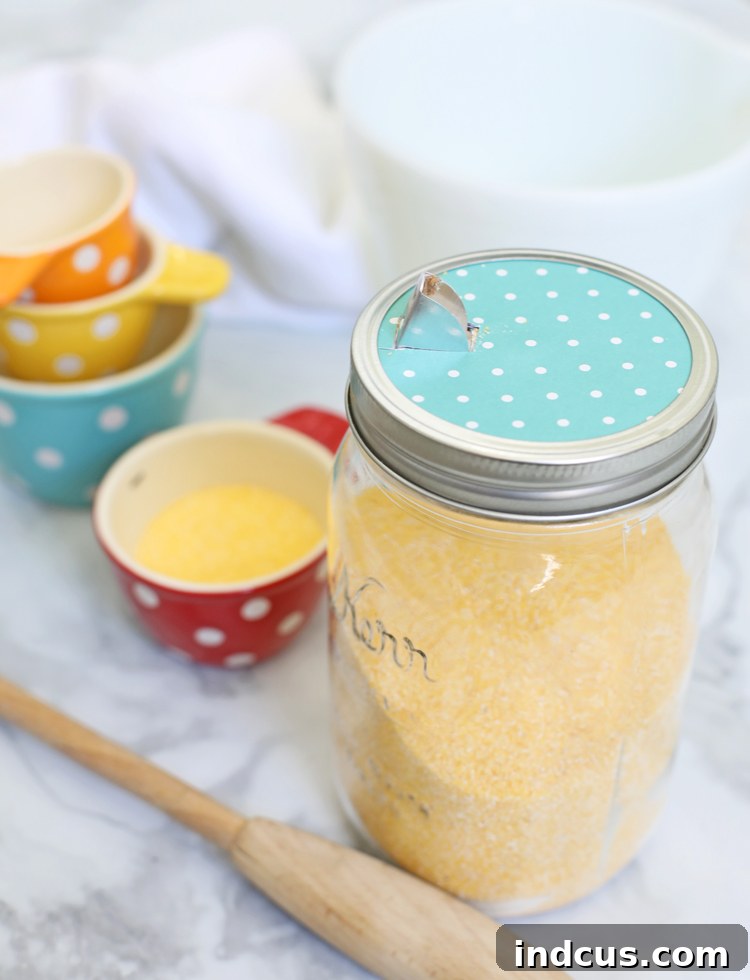
When it comes to baking and cooking, precise measurements and easy access to ingredients can make all the difference. Fumbling with oversized bags of flour or trying to carefully pour from a bulky salt container is a common kitchen frustration. This simple, ingenious hack transforms ordinary mason jars into efficient, pour-spout containers, making your pantry not just organized but also incredibly functional and aesthetically pleasing.
Crafting Your Own Pour Spout Jar
The concept is brilliantly simple: repurpose the pour spout lid from a standard salt or sugar container. Start by carefully cutting the lid assembly off an empty salt or sugar container. Once detached, you’ll trim it down to size, ensuring a snug fit onto the rim of a wide-mouth mason jar. It’s a quick DIY project that yields lasting benefits. For those who prefer visual guidance, you can find detailed step-by-step instructions here, or simply refer to the video demonstration included at the end of this article.
Versatility and Convenience Unlocked
Once assembled, these pour spout mason jars become indispensable. I use them extensively for a variety of baking essentials – yeast, cornmeal, salt, granulated sugar, powdered sugar, sprinkles, and even smaller grains like quinoa or lentils. The controlled pour allows for much greater precision, reducing spills and waste. No more messy measuring cups overflowing or struggling to get just a pinch of an ingredient. Beyond the practical benefits, these jars also add a charming, uniform look to your pantry shelves, making everything easier to find and more appealing to display. This hack truly combines functionality with farmhouse-chic style, proving that practical solutions can also be pretty.
Never Run Out: How to Make Your Own Powdered Sugar in Seconds
Picture this: you’re in the middle of preparing a delicate frosting for a birthday cake, eager to finish, when you realize you’re agonizingly short on powdered sugar. It’s a common culinary crisis, often leading to a last-minute dash to the store or a compromised recipe. The frustration is universal, but thankfully, there’s an incredibly simple solution that will ensure you never face this predicament again.
The Simple Secret Revealed
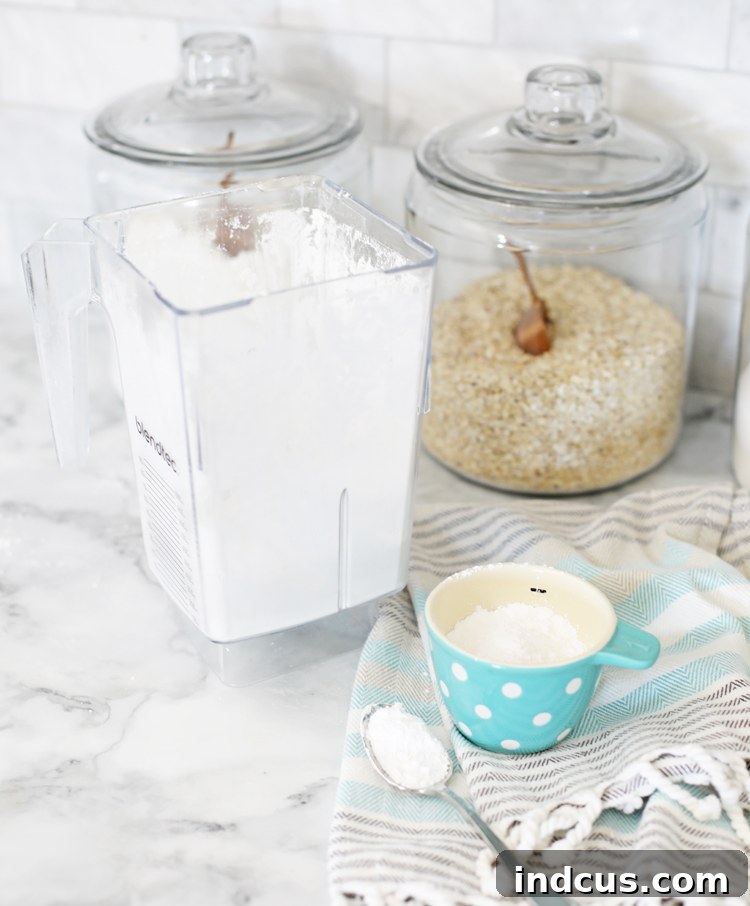
For years, I believed powdered sugar was some magical, specially processed ingredient. But then I learned the secret, and my mind was truly blown. Powdered sugar is, quite literally, just regular granulated sugar that has been finely ground into a powder. The name itself is the biggest clue, yet it’s a realization that often eludes home cooks. The best part? You can easily make it yourself with equipment you likely already own: a blender.
Instant Powdered Sugar at Your Fingertips
The process couldn’t be easier. Simply pour about 1/2 cup of regular granulated sugar into your blender. Make sure your blender jar is completely dry to prevent clumping. Secure the lid tightly and blend on high speed for approximately 30 seconds to a minute, or until the sugar transforms into a soft, fluffy powder. You’ll notice the texture shift dramatically, becoming airy and fine, just like store-bought powdered sugar. If you need more, it’s best to work in small 1/2 cup batches. Overfilling the blender can lead to uneven results or an overburdened motor. For super-fine results, you can even sift the homemade powdered sugar through a fine-mesh sieve, though it’s often unnecessary for most recipes.
Benefits Beyond Convenience
Beyond the sheer convenience of never running out, this hack offers financial savings. Buying granulated sugar and converting it yourself is often more cost-effective than purchasing pre-made powdered sugar. This fresh, homemade version is perfect for frostings, glazes, dusting desserts, or any recipe calling for confectioners’ sugar. It’s a game-changer that embodies the essence of practical kitchen wisdom: transforming a common ingredient into a versatile staple with minimal effort.
Effortless Shredding: The Hand Mixer Chicken Hack
Shredding cooked chicken used to be one of those tedious kitchen tasks that I dreaded. The traditional method, involving two forks and a cutting board, felt like an endless battle against stubborn chicken fibers, often leaving my wrists aching and my patience thin. It was a chore that added significant time to meal prep, especially when making dishes that called for large quantities of shredded chicken, like tacos, casseroles, or soups. That is, until I discovered a revolutionary method that changed my approach to chicken prep forever.
The Game-Changing Hand Mixer Technique
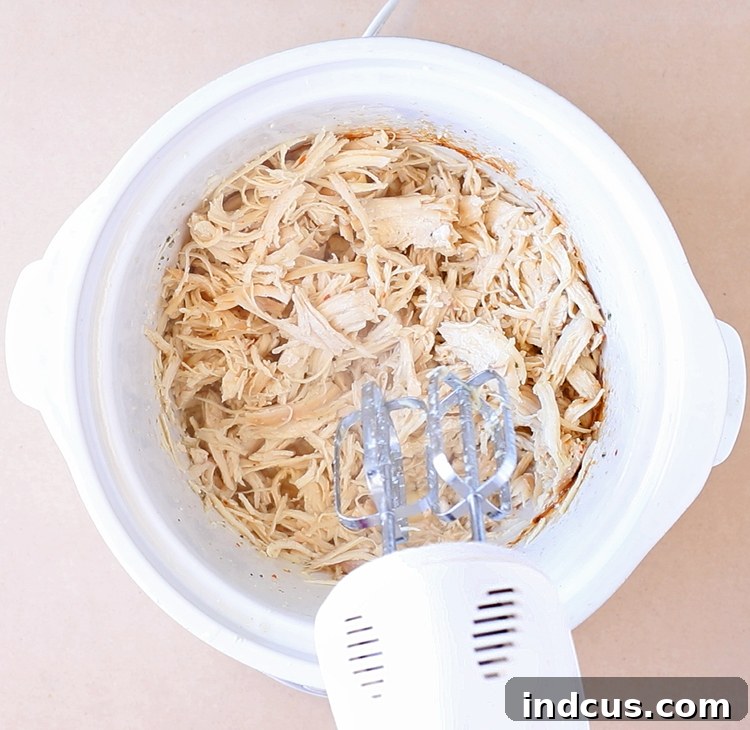
Enter the hand mixer: your new best friend for shredding chicken. This hack is shockingly simple and incredibly effective. After cooking your chicken – whether you’ve boiled, baked, or slow-cooked it – simply place the cooked chicken breasts or thighs into a large bowl. If you cooked it in a crockpot or slow cooker, you can even shred it directly in the pot with all its juices, which helps keep the chicken moist and flavorful. With your hand mixer on a low to medium speed, insert the beaters into the chicken and watch the magic unfold. In mere seconds, the chicken will be perfectly shredded to your desired consistency. It’s fast, efficient, and requires minimal effort from you.
Why It Works and When to Use It
The rotating beaters of the hand mixer easily pull apart the cooked chicken fibers, achieving a uniformly shredded texture far quicker than manual methods. This method is particularly effective when the chicken is still warm, as it’s more pliable and easier to shred. Just be careful not to overmix, as this can turn the chicken into a paste-like consistency; a few quick passes are usually all it takes. Once you try this, you’ll never go back to the two-fork struggle. This hack is ideal for preparing large batches of shredded chicken for meal prepping, perfect for:
- Chicken tacos and enchiladas
- Hearty chicken noodle soup
- Creamy chicken casseroles
- Quick chicken salads and sandwiches
- Buffalo chicken dip and sliders
It’s a true time-saver that will make your meal prep significantly smoother and more enjoyable.
Dessert Perfection: Fresh Whipped Cream in Less Than 30 Seconds
There’s nothing quite like the delicate, airy texture and rich flavor of fresh whipped cream to elevate any dessert. However, the traditional methods of preparing it can range from mildly inconvenient to downright exhaustive. Whipping cream by hand with a whisk is an arm workout of epic proportions, often leading to uneven results and a tired chef. Even using a stand mixer or a hand mixer, while more bearable, still takes several minutes and requires constant monitoring. But what if I told you there was a way to achieve perfectly fluffy, fresh whipped cream in mere seconds? Yes, literally in less than 30 seconds, you can transform heavy cream into a cloud of sweet deliciousness!
The Blender Whipped Cream Miracle
The secret to this incredible speed and ease lies in your blender. It’s a method so simple, you’ll wonder why you ever did it any other way. For a standard batch of whipped cream, you’ll need the following:
- 1 pint (2 cups) of cold heavy whipping cream
- 1 teaspoon of vanilla extract (or any other flavoring you prefer)
- 1/3 cup of granulated sugar (adjust to your sweetness preference)
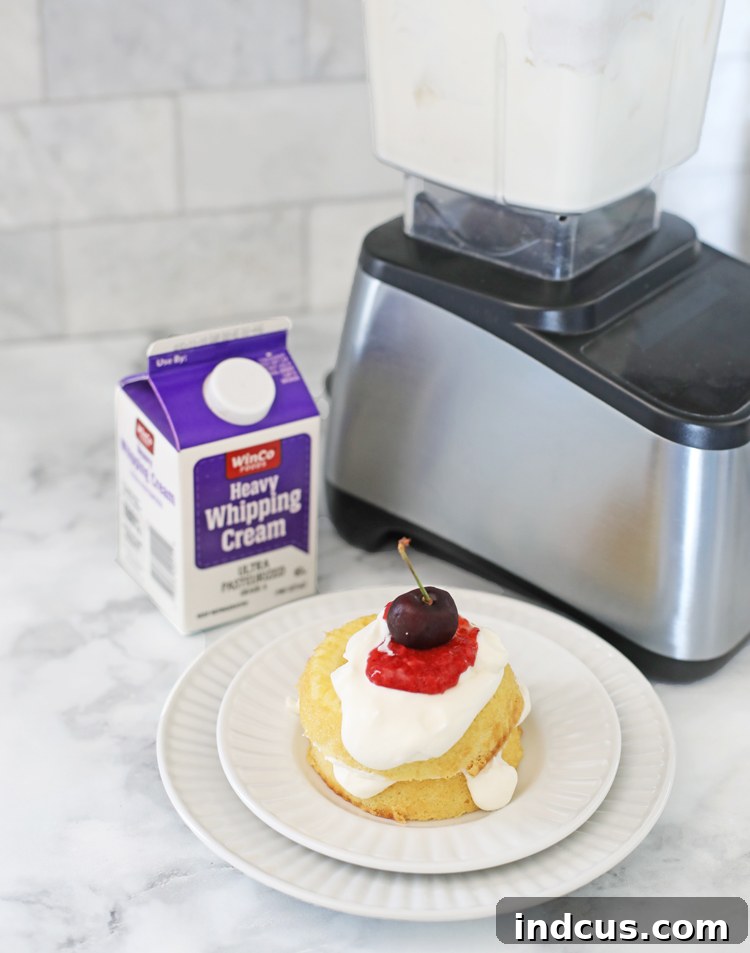
Pour all these ingredients into your blender. Make absolutely certain the lid is on tight to prevent a creamy explosion! Then, blend on high speed. You’ll need to keep an eye – and an ear – on the process. Initially, it will be very liquid, but within about 20-30 seconds, you’ll hear the blender motor start to slow down. This is your cue! It means the cream has thickened considerably and is reaching its peak. At this point, turn off the blender immediately. Over-blending can quickly turn your beautiful whipped cream into butter, so precise timing is key.
Instant Indulgence and Endless Possibilities
What emerges from the blender is perfectly whipped, light, and delicious cream, ready to adorn your favorite treats. This method is pure magic for last-minute dessert preparations or when you need a quick dollop of decadence. Serve it with fresh berries, pies, cakes, hot chocolate, or even simply enjoy a spoonful on its own. The consistency is ideal – firm enough to hold its shape but still wonderfully airy. This hack makes homemade whipped cream so effortless that you’ll never settle for the store-bought aerosol cans again, enjoying superior taste and texture with unbeatable speed.
For a visual guide to all these incredible kitchen shortcuts, watch them in action in this short video:
These four kitchen hacks are more than just clever tricks; they are practical strategies that genuinely enhance efficiency, reduce stress, and improve the overall enjoyment of cooking and baking. From precise pouring and instant ingredients to effortless protein prep and luxurious desserts, each tip is designed to make your time in the kitchen smoother and more satisfying. Say goodbye to common culinary frustrations and hello to a more organized, efficient, and joyful cooking experience. Give these hacks a try and prepare to be amazed by the noticeable difference they make.
Do you have any favorite kitchen tips or tricks that make life easier? Share them with us in the comments below – we’d love to hear your insights and expand our collection of genius kitchen solutions!