Craft Your Own Enchanting DIY Wooden Christmas Sign with Glittery Poinsettias
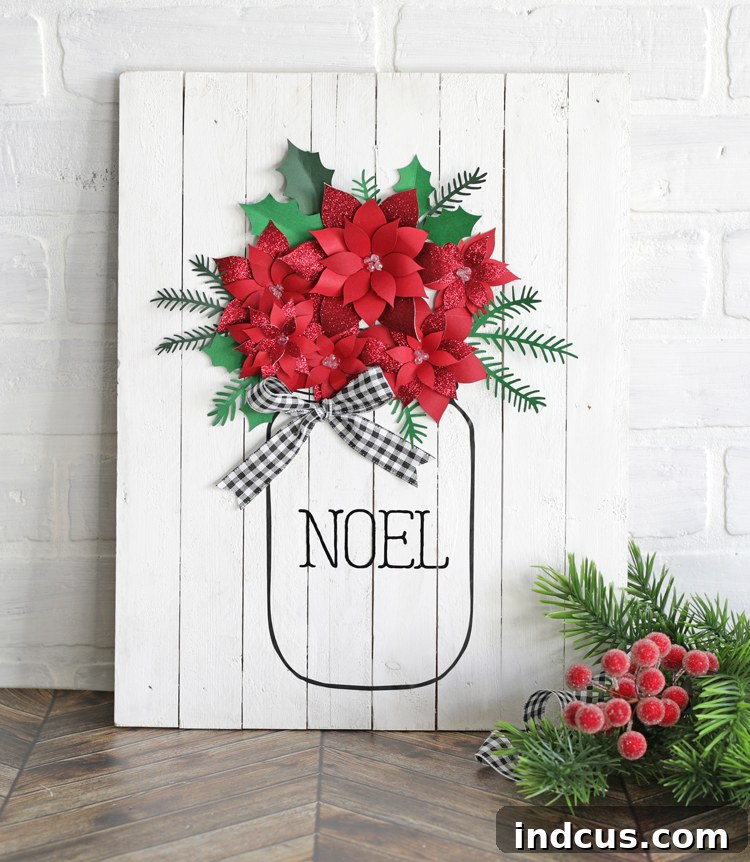
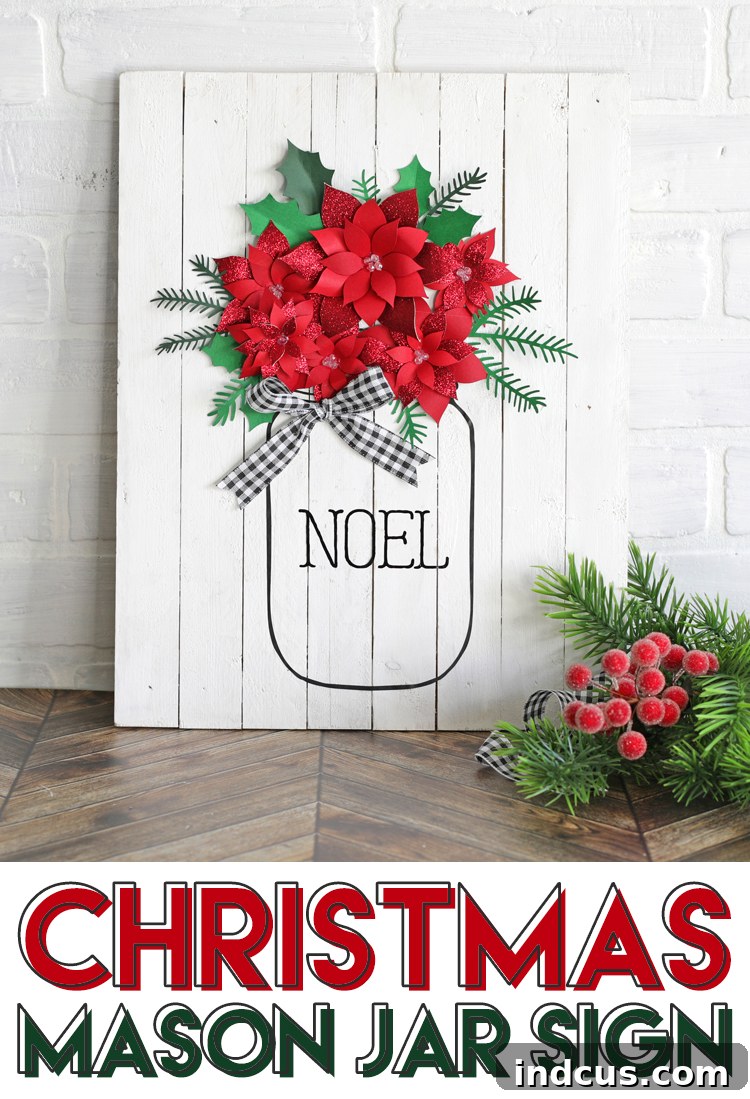
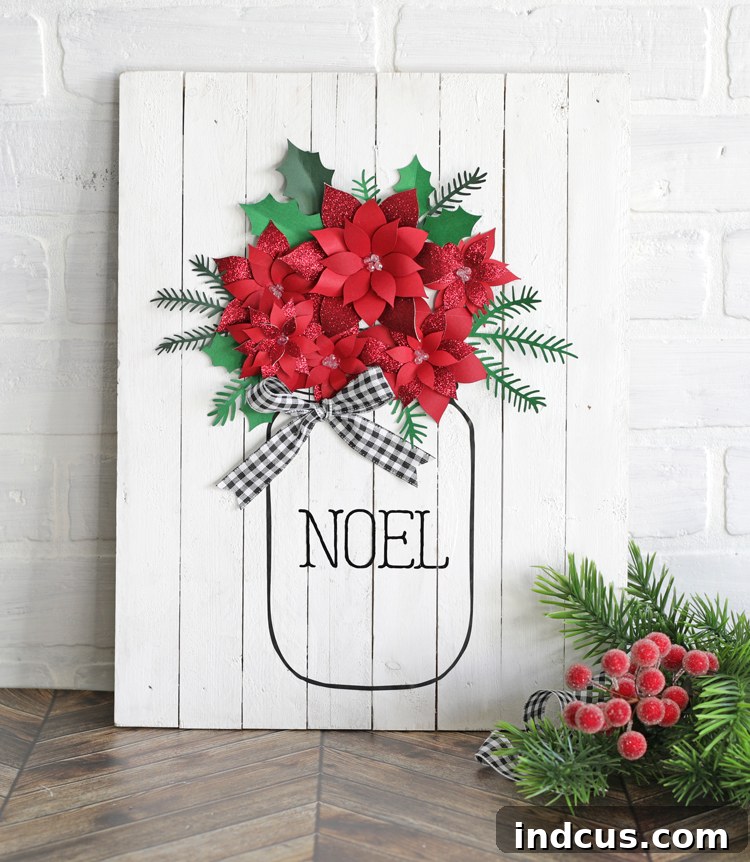
There’s an undeniable magic in handmade decorations, especially during the holiday season. Crafting your own signs not only adds a personal touch to your home decor but also offers a heartwarming way to create unique, memorable gifts for loved ones. Imagine the delight on someone’s face receiving a thoughtful, handcrafted present made by you! Today, we’re diving into a delightful DIY project that culminates in a charming Christmas sign featuring a whimsical vinyl mason jar, overflowing with sparkling paper poinsettias, adorned with the festive word “NOEL” and crowned with a stylish buffalo check bow. It’s a true celebration of holiday spirit, brought to life through your creativity.
This particular design is so versatile and beloved that it has inspired several variations for different seasons and occasions. If you’ve enjoyed crafting this project, you might also be interested in exploring the autumn-themed mason jar sign, perfect for Thanksgiving or fall festivities. For a touch of patriotic flair, consider the Fourth of July mason jar sign. And if you’re keen on exploring paper crafts beyond the mason jar motif, a cute sign featuring rolled paper flowers offers endless creative possibilities. Each project allows for unique customization, letting your artistic vision shine through.
Affiliate links may be used in this post, helping us to share these wonderful crafting resources with you.
To embark on this creative journey and craft your very own beautiful Christmas sign, gather the following high-quality materials. Having everything ready before you start will ensure a smooth and enjoyable crafting experience.
Essential Materials for Your DIY Christmas Sign
- Unfinished Wooden Sign: Choose a smooth, sturdy wooden plaque that will serve as the perfect canvas for your festive design. The size can vary based on your preference, but a medium-sized sign works wonderfully for most displays.
- White Chalk Paint: Chalk paint provides an excellent matte finish with great coverage, often requiring fewer coats than traditional acrylics. Its rustic charm complements the overall aesthetic of this farmhouse-inspired sign.
- Black Adhesive Craft Vinyl: This will be used for your mason jar silhouette and the “NOEL” lettering. Opt for a high-quality permanent vinyl to ensure your design lasts through many holiday seasons.
- Silhouette Cutting Machine: A crafting essential for precise cuts of vinyl and paper. Machines like the Silhouette Cameo or Cricut Maker make intricate designs simple and efficient to produce.
- Transfer Tape: Indispensable for transferring your vinyl design from its backing to your wooden sign seamlessly, ensuring perfect alignment and preventing bubbles.
- Red Glitter Cardstock: This will bring the shimmering magic to your poinsettias. The glitter adds a festive sparkle that truly elevates the sign’s appearance.
- Red Cardstock: Use a variety of red shades and textures for your poinsettias to add depth and dimension to your floral arrangement.
- Green Cardstock: Essential for crafting the lush holly leaves and delicate pine branches that will complement your poinsettias, giving them a natural and vibrant backdrop.
- Small Beads or Gems: These tiny embellishments will form the beautiful centers of your poinsettia flowers, adding a sophisticated finishing touch.
- Buffalo Check Ribbon: A timeless classic for holiday decor, a buffalo check ribbon adds a cozy, rustic, and stylish touch to your sign.
- Hot Glue Gun + Gluesticks: A reliable hot glue gun is crucial for quickly and securely attaching your paper flowers, greenery, and bow to the wooden sign. (The one linked here is a personal favorite for its consistent performance!)
- Mason Jar Cut File: This digital design file is specifically for your cutting machine to create the perfect mason jar silhouette.
- Poinsettia Cut File: A specialized design file for your cutting machine to create beautifully shaped poinsettia petals in various sizes.
- Pine Branches Cut File: This file helps you create intricate pine branch designs to complete your floral arrangement.
For those who prefer a visual guide, a comprehensive video tutorial for this project is available at the bottom of this post, offering step-by-step demonstrations and helpful tips.
Step-by-Step Guide to Crafting Your Christmas Sign
Step 1: Preparing Your Wooden Canvas
Begin by giving your unfinished wooden sign a smooth, even coat of white chalk paint. Chalk paint adheres beautifully to wood and provides a lovely matte finish that serves as an ideal base for your design. Depending on the paint’s opacity and your desired coverage, you might need two coats. Ensure each coat dries completely before applying the next, and allow the final coat ample time to cure for a durable finish. This foundational step is crucial for a professional-looking end product.
Step 2: Cutting the Mason Jar Vinyl
Using your Silhouette or Cricut cutting machine, precisely cut the mason jar shape from the black adhesive craft vinyl. Before cutting, double-check your machine settings to match the vinyl type for a clean cut. Once cut, carefully “weed” away the excess vinyl around and inside the mason jar design. This process reveals your silhouette and prepares it for transfer.
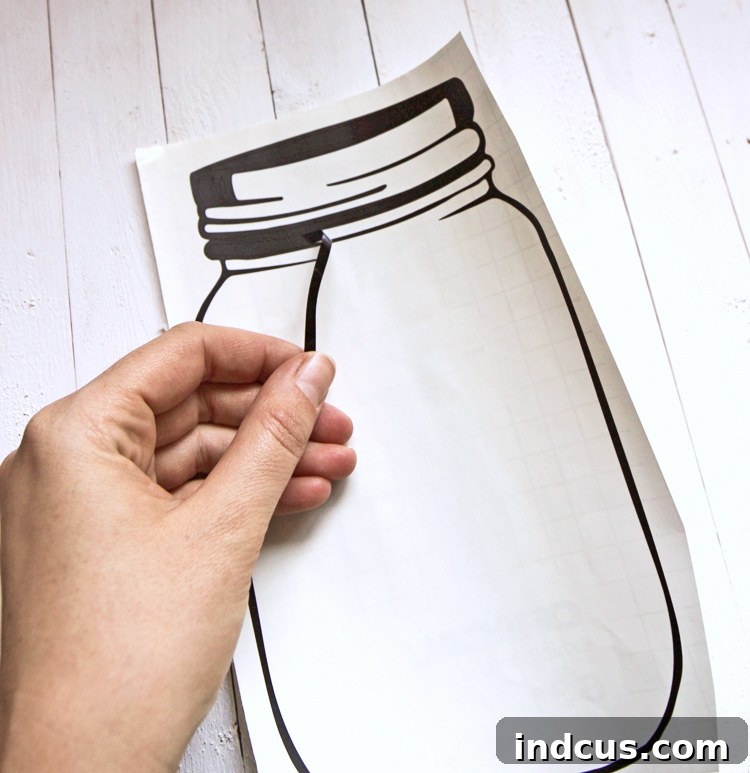
Step 3: Applying the Mason Jar Design
With your weeded mason jar vinyl ready, it’s time to apply it to your painted wooden sign. Cut a piece of transfer tape slightly larger than your design and firmly press it over the vinyl. Smooth it out with a squeegee or credit card to ensure the vinyl adheres well to the tape. Carefully peel the transfer tape, bringing the vinyl design with it. Position the design onto your wooden sign, ensuring it’s centered and straight, then press it down firmly. Slowly peel back the transfer tape, leaving the perfect mason jar silhouette on your sign. Take your time with this step to avoid bubbles or misalignments.
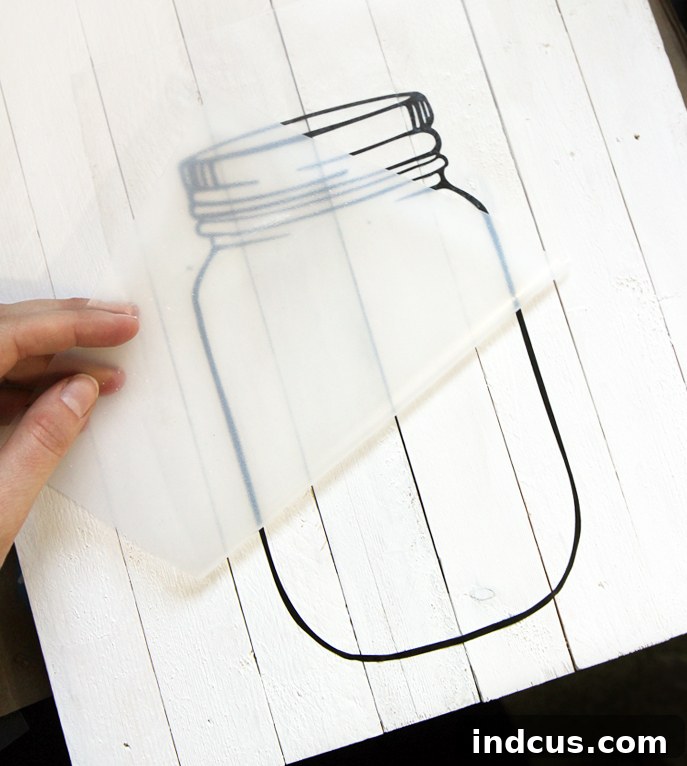
Step 4: Crafting Your Glittery Poinsettias and Greenery
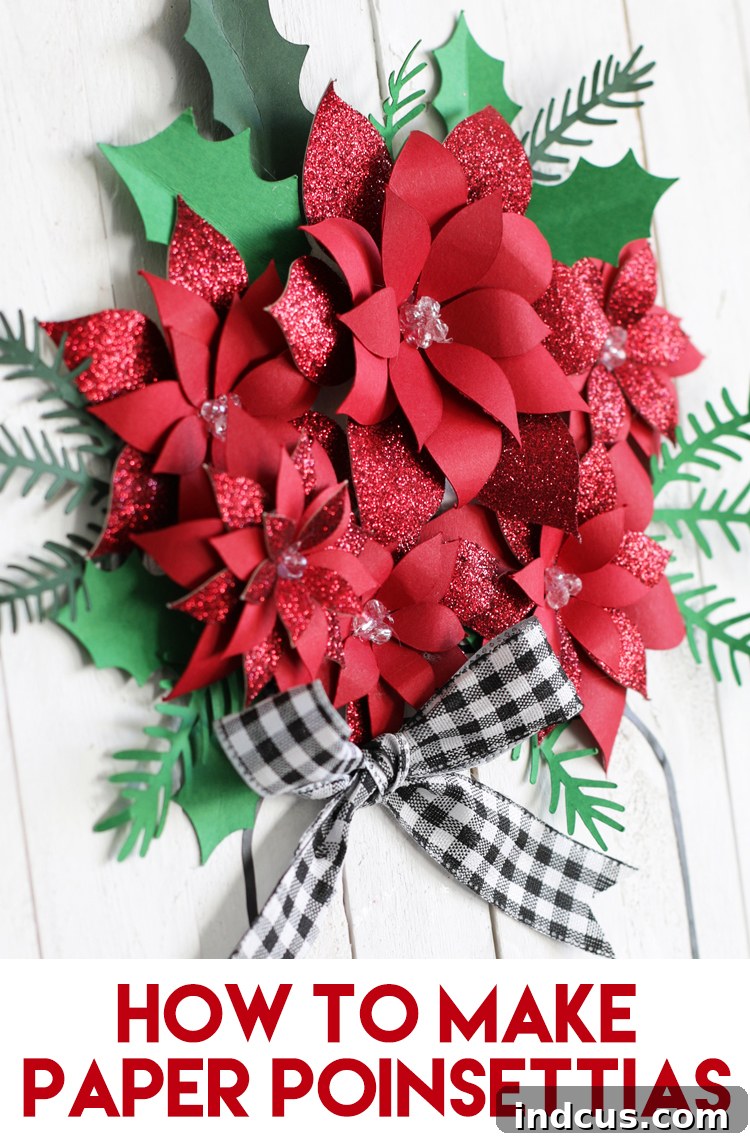
Now for the sparkling heart of your sign! Use your cutting machine to cut out poinsettia flower shapes from both red glitter cardstock and various shades of regular red cardstock. Cut multiple sizes for each flower to create dimension. Layer these petals, starting with the largest at the bottom and gradually adding smaller ones on top, slightly offsetting each layer for a fuller look. Secure the layers with a tiny dot of hot glue in the center. Embellish the centers with small beads, gems, or even tiny glitter dots for extra sparkle. Additionally, cut out green holly leaves and delicate pine branches from green cardstock. These elements will add a natural, festive touch to your floral arrangement.
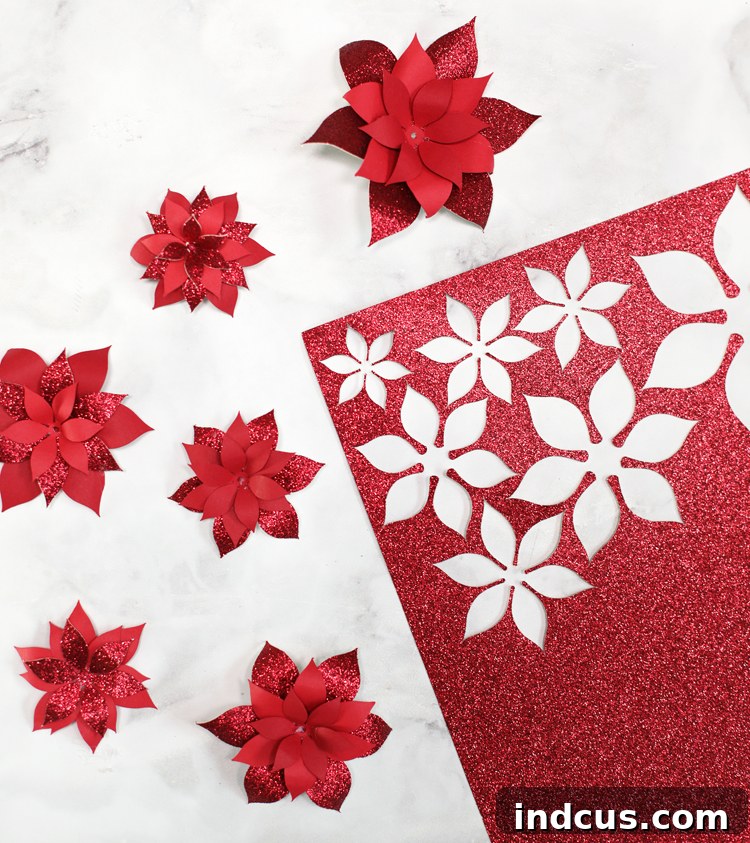
Step 5: Arranging Your Floral Display
This is where your sign truly comes to life! Carefully arrange your crafted poinsettias, holly leaves, and pine branches so they appear to be gracefully spilling out from the top of the vinyl mason jar. Experiment with different placements until you achieve a visually pleasing and abundant arrangement. Once satisfied with the layout, use your hot glue gun to securely attach each piece to the wooden sign. Be mindful of how the hot glue dries, ensuring a clean finish. For an extra touch of charm and rustic elegance, consider adding a pre-made buffalo check bow at the neck of the mason jar or nestled within the greenery.
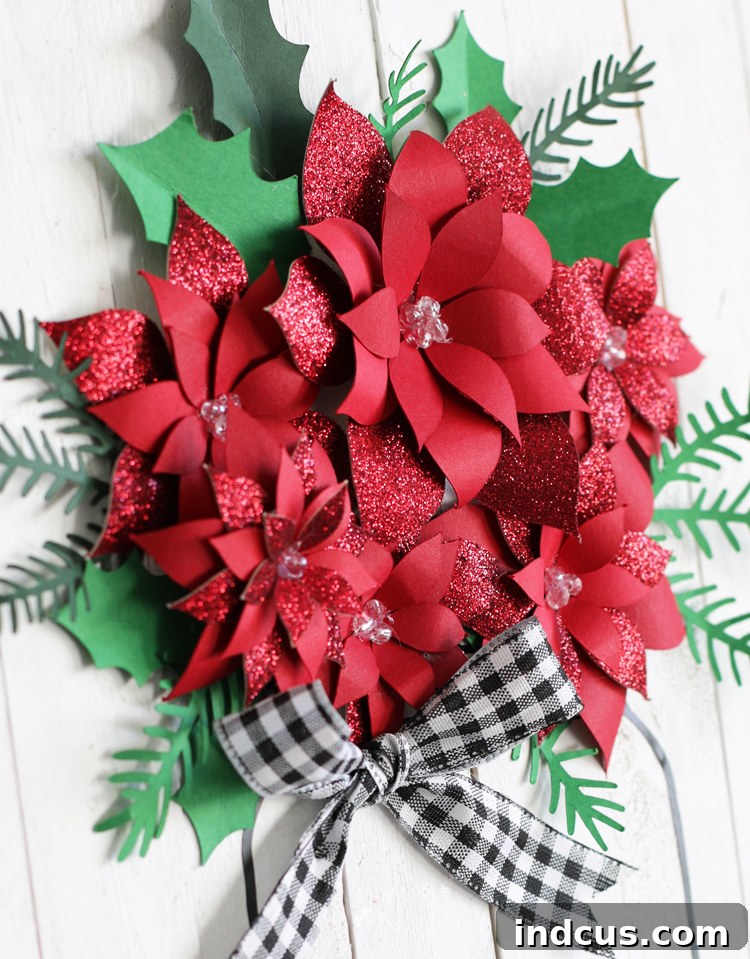
Step 6: Cutting the Festive Word “NOEL”
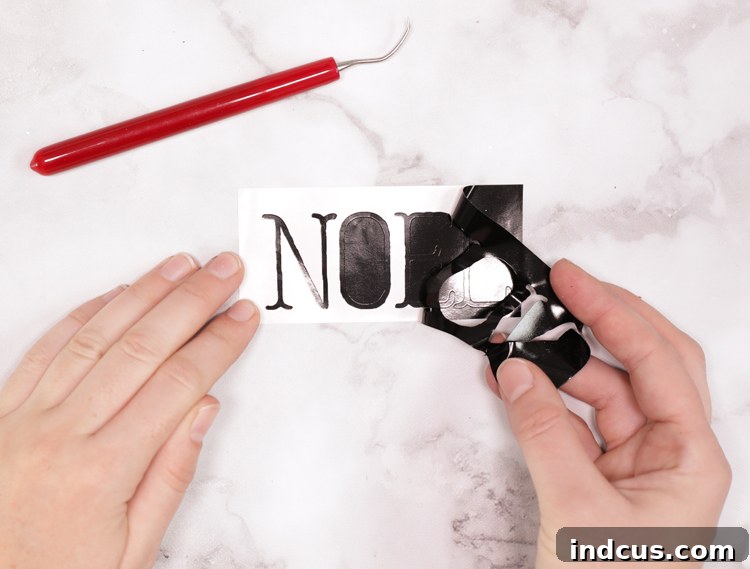
Select a beautiful, festive font for the word “NOEL” and cut it from your black adhesive vinyl using your cutting machine. Pay attention to the size and placement relative to your overall sign design. Once cut, carefully weed out the excess vinyl, including any small inner pieces of letters, to reveal your crisp, holiday lettering.
Step 7: Finalizing with the Holiday Word
Similar to applying the mason jar, use transfer tape to meticulously apply the “NOEL” lettering to your wooden sign. Carefully align the word to ensure it’s straight and properly spaced, then firmly press it onto the wood. Smooth out any air bubbles with your squeegee. Gently peel away the transfer tape, revealing your perfectly placed holiday greeting. This final vinyl application brings a cohesive and elegant touch to your handcrafted Christmas sign.
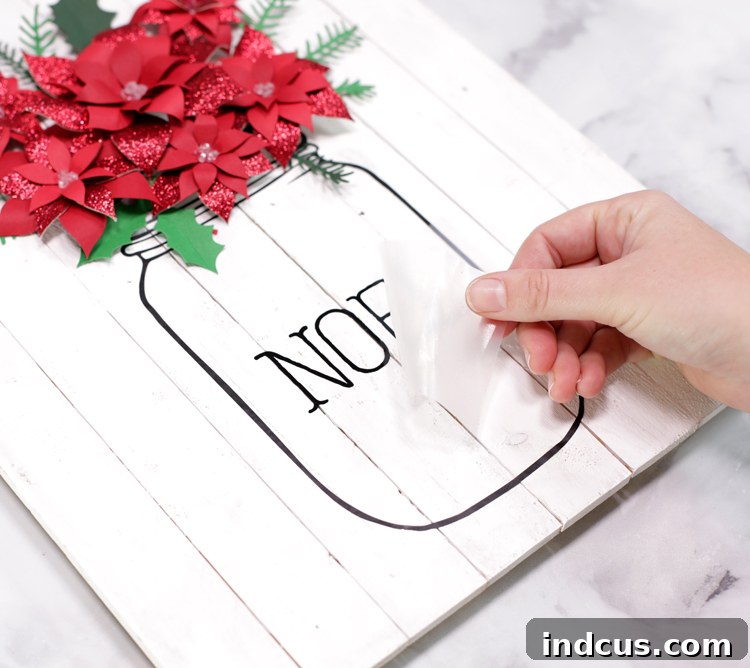
Congratulations! You’ve successfully created a stunning, personalized Christmas sign that exudes warmth and holiday cheer. This beautiful piece is perfect for adorning your entryway table, mantelpiece, or adding a festive touch to any room in your home. Surrounded by other charming Christmas decorations, your DIY sign will undoubtedly be a conversation starter and a testament to your crafting prowess. It also makes an exceptional handmade gift that will be cherished for years to come.
Video Tutorial: Learn How to Create Your Mason Jar Christmas Sign
For those who prefer to follow along with visual instructions, a detailed video tutorial is available. This video will guide you through each step of the process, from painting the wooden sign to arranging the paper poinsettias and applying the vinyl designs. Watch the tutorial to ensure every detail is covered and to gain additional tips for creating your perfect holiday sign.
Loved this creative project? Don’t forget to Pin it to your favorite crafting or holiday boards so you can easily find it later!