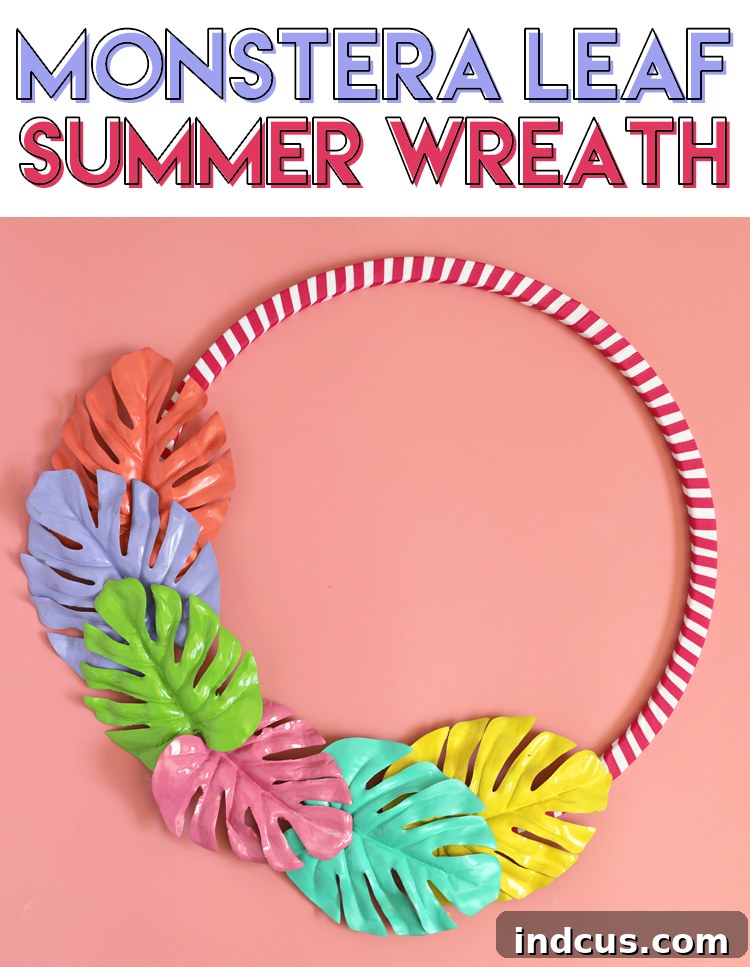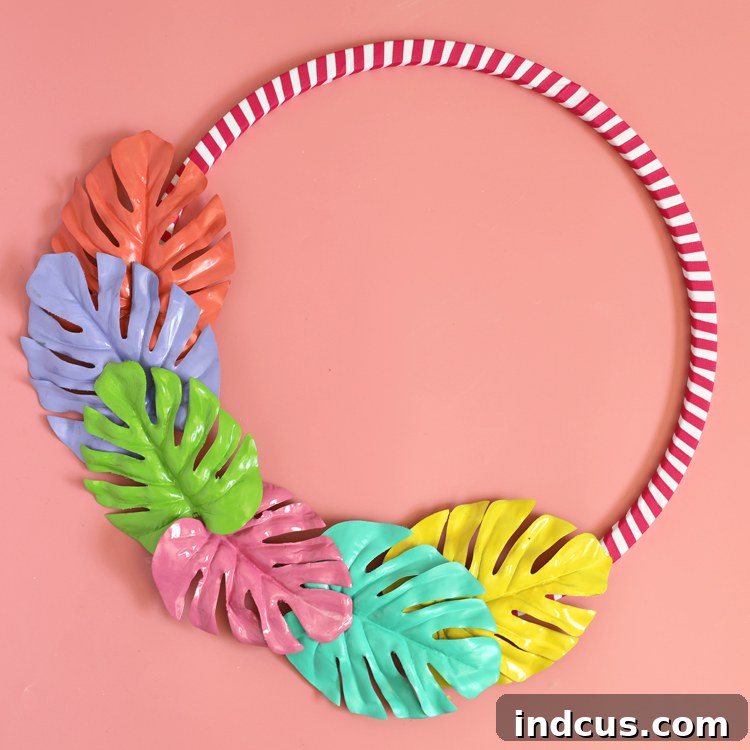
Craft a Vibrant Summer Wreath: Your Guide to a Dazzling Monstera Leaf Creation
As the warmth of summer fully embraces us, it’s the perfect time to refresh our home decor and infuse it with the season’s joyful energy. I recently retired my beloved farmhouse metal tire wreath, knowing it would make a grand reappearance in due time, but feeling a strong pull to create something new, something truly representative of summer. This quest led me to an unexpected treasure at Walmart: faux monstera leaves. Their distinctive shape and lush appearance instantly sparked an idea, a vision of a colorful, tropical wreath that would welcome guests with unparalleled vibrancy.
Monstera leaves, with their iconic splits and broad structure, have become a staple in modern decor, symbolizing abundance and tropical allure. Using faux versions for crafting offers incredible versatility and durability, allowing for creative transformations that real plants simply can’t withstand. This project promises not only a stunning visual impact but also the immense satisfaction of a handmade creation, tailored precisely to your taste. What’s more, it’s a wonderfully straightforward and enjoyable DIY endeavor, perfect for crafters of all skill levels. The result? A stunning, personalized wreath that will brighten your front door or any space in your home throughout the sunny months.
I’m thrilled to share a detailed, step-by-step guide on how I brought this vision to life. You’ll find that crafting this colorful monstera leaf wreath is a quick and truly rewarding experience. Let’s gather our materials and dive into the creative process!
Before we begin, ensure you have all the necessary supplies. Gathering everything beforehand streamlines the crafting process and ensures a smooth, uninterrupted flow of creativity. Most of these items are readily available at craft stores, discount retailers, or even online, making this project highly accessible.
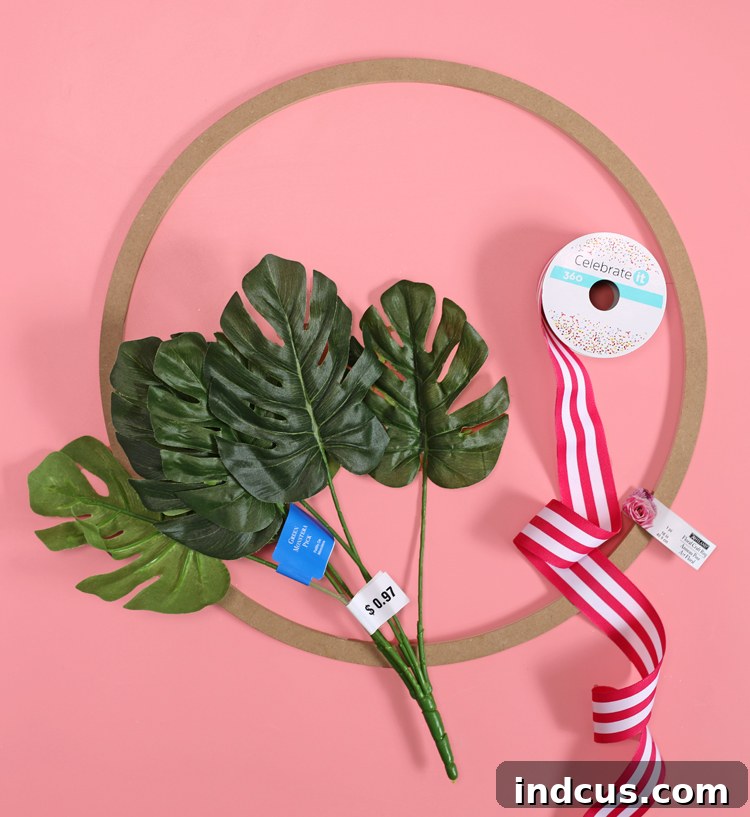
Essential Supplies for Your Colorful Monstera Wreath
To embark on this exciting DIY project, you’ll need a few key materials. Choosing the right supplies will not only make the crafting process easier but also ensure the longevity and beauty of your finished wreath.
- Faux Monstera Leaves: I found mine at Walmart, an incredible deal at just $0.97 for a pack of six! Look for leaves that have a realistic texture and are sturdy enough to be manipulated and painted. Craft stores like Michaels or Hobby Lobby often have a wide selection of artificial foliage, or you can explore online retailers. Consider the size of your wreath form when deciding how many packs to purchase; for a lush look, it’s always better to have a few extra.
- Wreath Form: A wire wreath form is ideal for this project as it provides a sturdy base and allows for easy ribbon wrapping and leaf attachment. You can find these at any craft store in various sizes. The size of your wreath form will dictate the overall diameter of your finished wreath, so choose one that fits your desired display location, such as a front door or an interior wall.
- Ribbon: Select a ribbon that complements your chosen spray paint colors. A medium-width ribbon (1.5 to 2 inches) works best for covering the wreath form smoothly and efficiently. Consider materials like satin, grosgrain, or even a wired ribbon for extra structure. The color and texture of the ribbon will add another layer of visual interest to your tropical-inspired wreath.
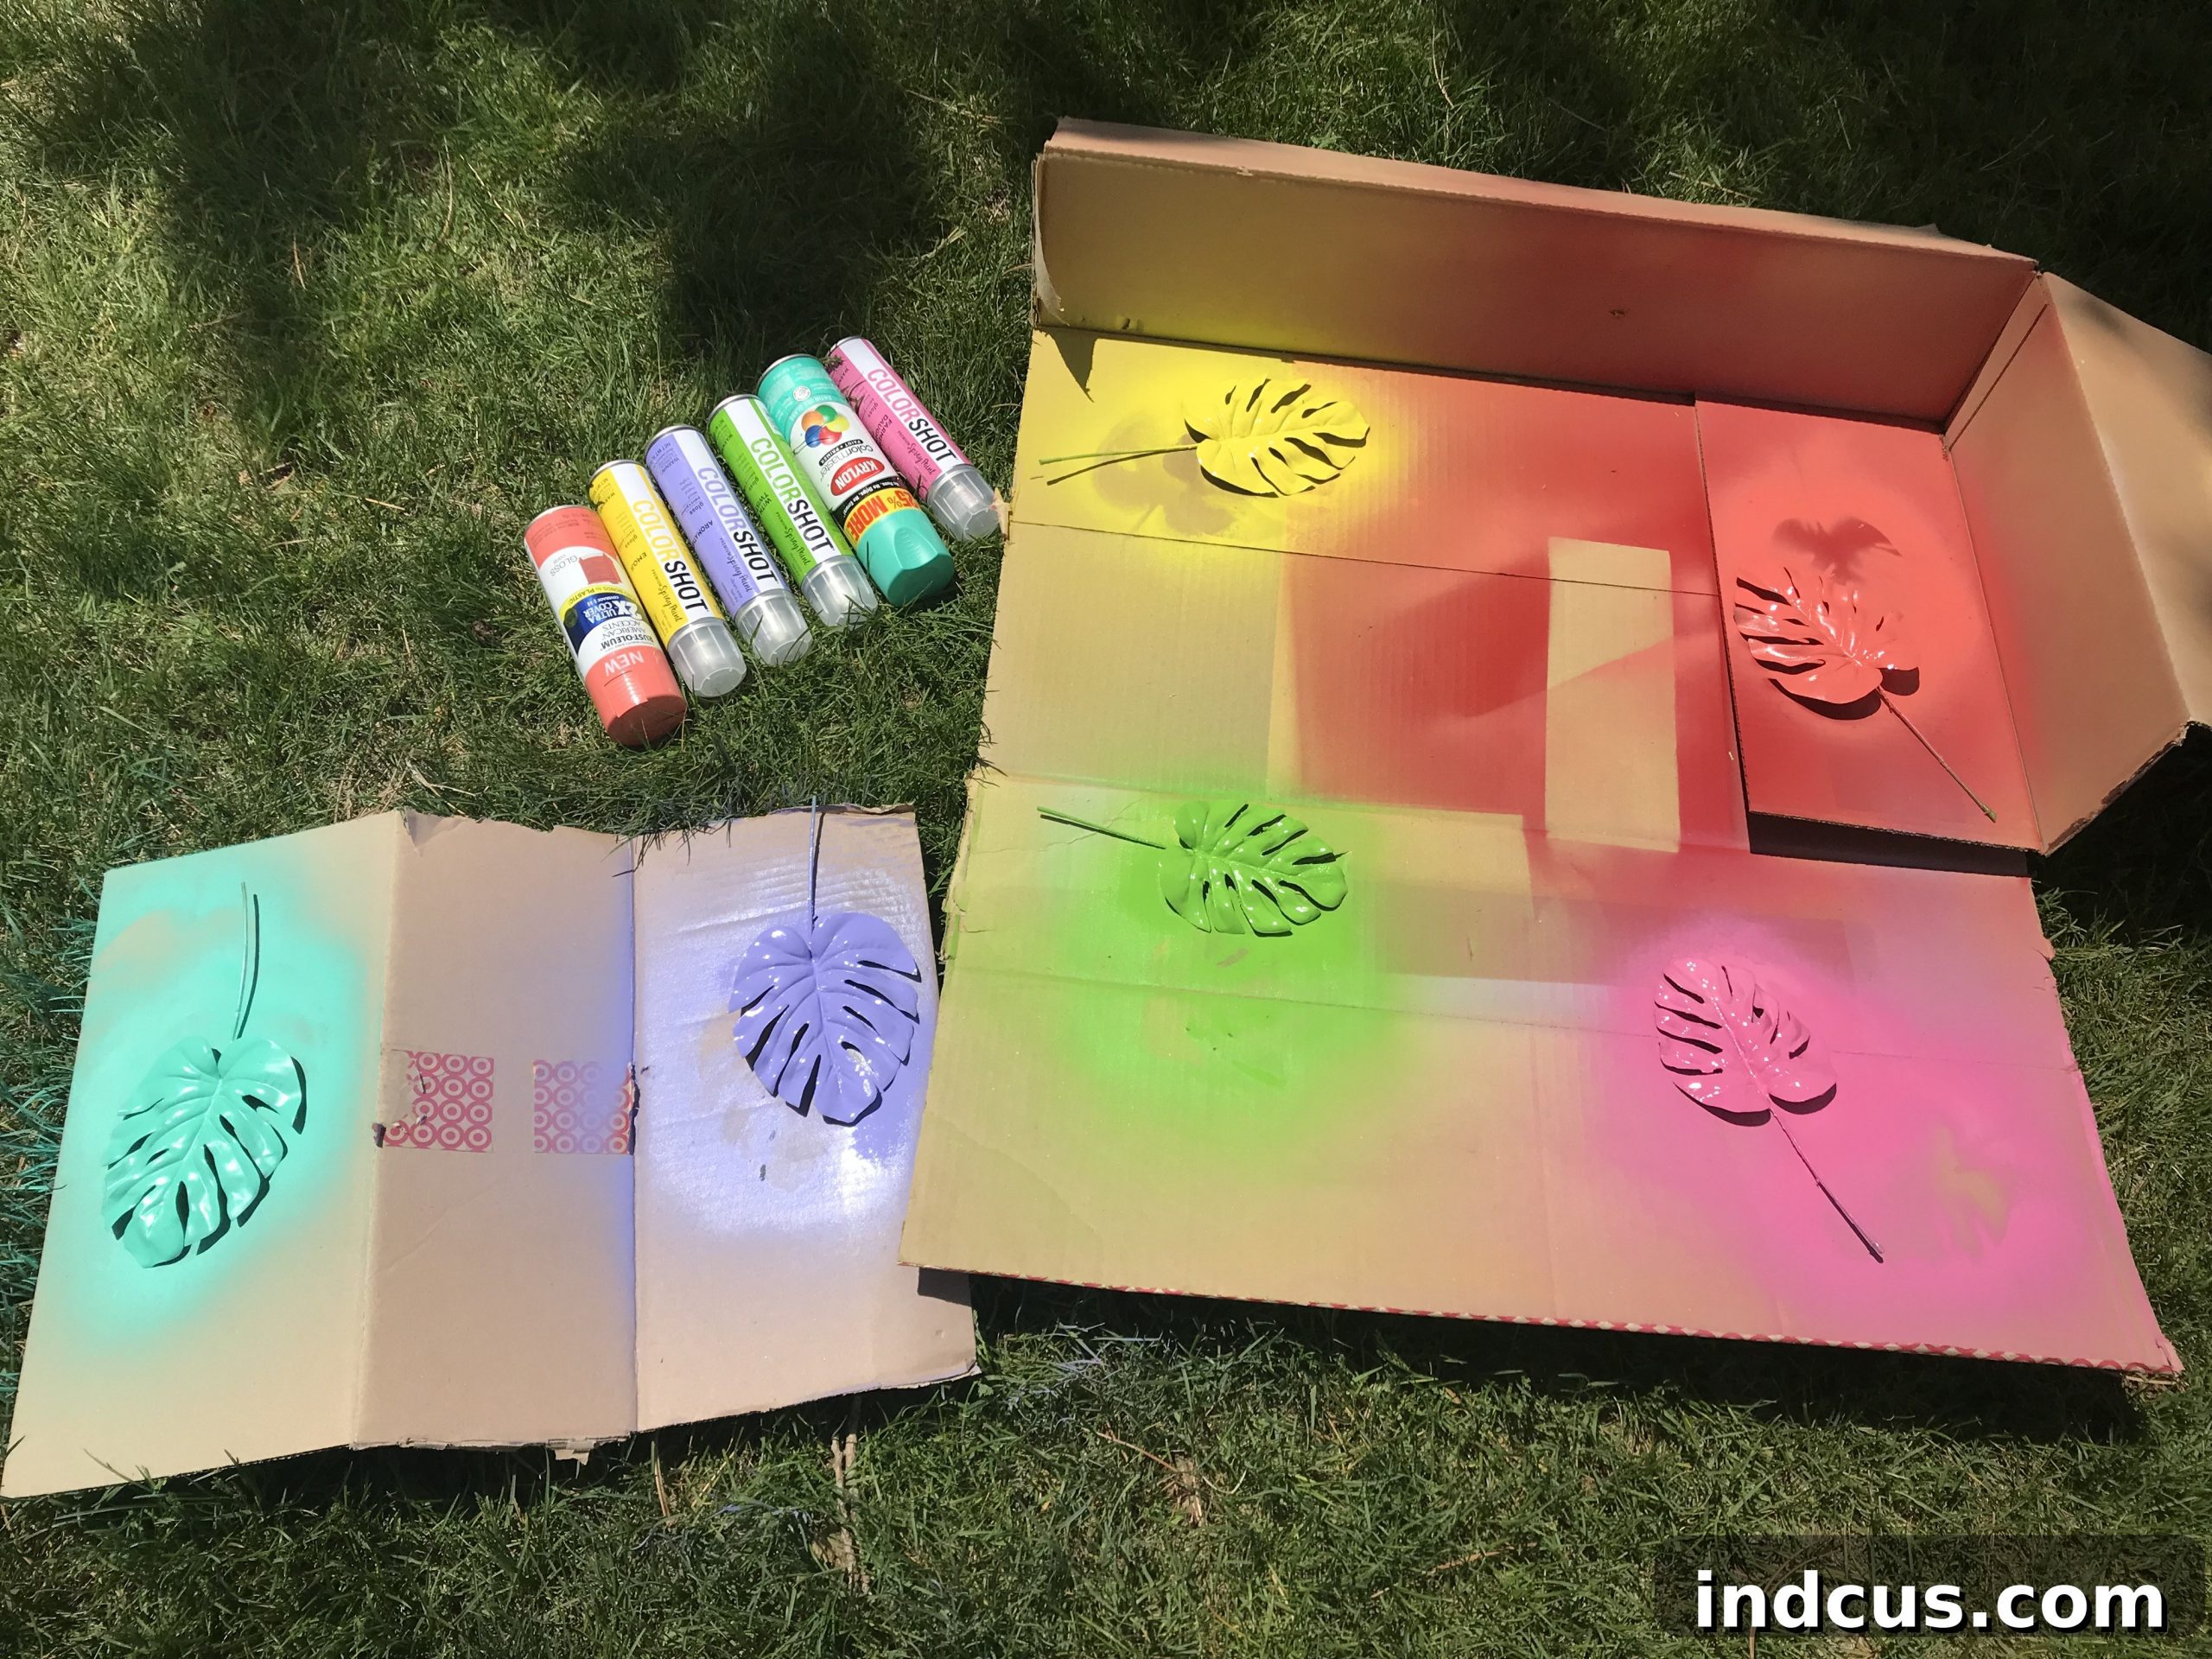
- Spray Paint: This is where the magic truly happens! I used a vibrant palette, including Turquoise (Krylon), Coral (Rustoleum), and other fantastic shades from COLORSHOT Spray Paint. The key is to choose colors that evoke a summer, tropical, or playful vibe. Don’t be afraid to experiment with bold hues or even metallic finishes. High-quality spray paint designed for craft use will provide excellent coverage and a durable finish on your faux leaves. Ensure you have a variety of colors to create a truly colorful and dynamic effect.
- Hot Glue Gun and Glue Sticks: A reliable hot glue gun is essential for securing the ribbon and leaves firmly to the wreath form. A high-temperature glue gun provides a stronger bond, which is perfect for outdoor wreaths or items that need to withstand handling. Always work safely with hot glue, being mindful of the hot nozzle and melted glue.
Step-by-Step Instructions: Crafting Your Tropical Summer Wreath
Now that you have all your supplies, let’s get started on transforming these simple faux leaves into a magnificent, colorful wreath that will capture the essence of summer.
Step 1: Prepare Your Faux Monstera Leaves for Transformation
The first crucial step is to separate the individual monstera leaves from their stems or bundles. Faux plants often come attached in a way that needs modification for crafting. I used sturdy wire snips for this task, which made quick work of cutting through the thicker plastic and wire. If you don’t have wire snips, a strong pair of heavy-duty scissors can also do the job, but be cautious not to dull them on any internal wire. The goal is to have each monstera leaf as a standalone piece, allowing for maximum flexibility in arrangement and painting. Before proceeding, ensure the leaves are clean and free of any dust or debris, which could hinder paint adhesion. This preparation ensures that each leaf is an independent canvas, ready for its vibrant makeover.
Step 2: Unleash Color with Spray Paint – The Art of Light Layers
This is arguably the most exciting part of the project! Spray painting faux leaves allows you to infuse your wreath with a kaleidoscope of summer colors. The absolute key to achieving a professional, smooth, and vibrant finish is to apply several light layers of spray paint, rather than one thick coat. I cannot stress this enough – as a self-proclaimed spray paint enthusiast, I’ve learned this lesson through countless projects!
Resist the temptation to glob on the paint in an effort to finish quickly. A heavy, single coat will almost inevitably lead to drips, uneven coverage, and a sticky, dull finish. Instead, hold the spray can about 8-12 inches away from the leaf and apply a thin, even mist. Use a sweeping motion, moving past the edges of the leaf to avoid concentrated bursts of paint. Allow each light layer to dry for 10-15 minutes (or as per the paint manufacturer’s instructions) before applying the next. This patience allows the paint to properly adhere and dry, building up the color intensity beautifully without compromising the texture of the leaves. Work in a well-ventilated area, preferably outdoors, and use a drop cloth or cardboard to protect your surfaces from overspray. You’ll be amazed at how light layers create a rich, uniform color that looks genuinely custom and high-quality. Experiment with different color combinations, perhaps two-toning some leaves or creating an ombré effect for added visual interest.
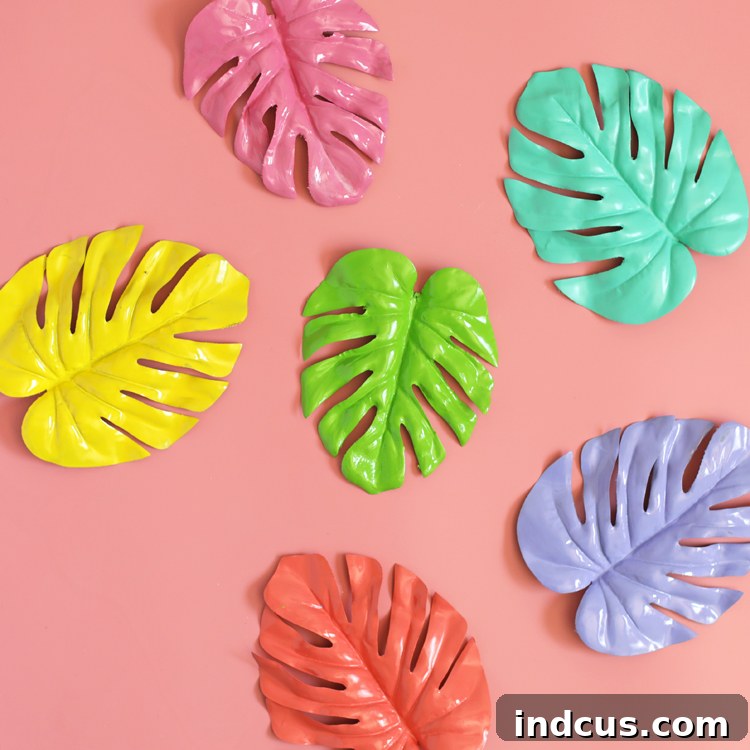
Aren’t these painted leaves simply gorgeous? The transformation from plain faux greenery to these bursts of color is incredibly satisfying. I’m already planning another trip to Walmart to stock up on all the monstera leaves I can find; they’re such a delightful canvas for creativity! The beauty of this step is in the endless possibilities for color combinations and personal expression. Imagine vibrant yellows, sunny oranges, cool blues, and hot pinks—all coming together to create a true summer celebration. The delicate veining of the monstera leaf still shows through, adding an organic touch to the painted surface, making each leaf a mini-masterpiece.
Step 3: Elegantly Wrap Your Wreath Form with Ribbon
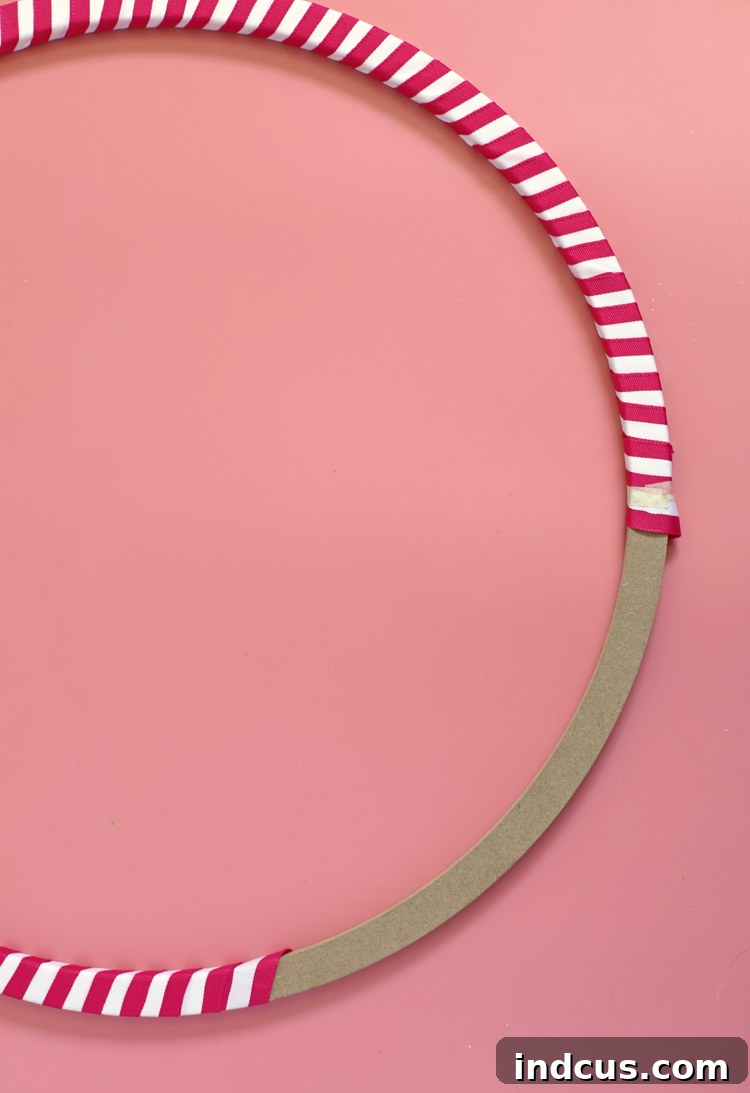
With your colorful leaves drying, it’s time to prepare the base of your wreath. Take your chosen ribbon and your wreath form. Start by securing one end of the ribbon to the wreath form with a dab of hot glue. Allow it to set for a moment to ensure a strong anchor. Then, begin tightly wrapping the ribbon around the entire wreath form. The key to a smooth, professional-looking finish is to pull the ribbon taut with each wrap and to overlap the previous layer slightly, ensuring no part of the wire form shows through. This creates a continuous, clean surface that will serve as a beautiful backdrop for your leaves. As you reach the end of your ribbon, secure the final end neatly to the wreath form with another dab of hot glue. Trim any excess ribbon. This wrapped base not only adds a finished look but also provides a better surface for the leaves to adhere to, as hot glue adheres more effectively to fabric than to bare wire.
Step 4: Arrange and Secure Your Vibrant Monstera Leaves
Now for the grand finale – arranging your beautifully painted leaves! This step is all about artistic vision and personal preference. Before applying any glue, lay out all your painted leaves on a flat surface around your wrapped wreath form. Experiment with different placements, angles, and overlapping techniques. Consider creating a full, lush arrangement, or perhaps a more asymmetrical design that highlights the individual beauty of each leaf. You might place larger leaves as a base and layer smaller ones on top, or create a dynamic flow around the entire wreath. Take a step back and look at your arrangement from different angles to ensure you are happy with the visual balance and composition. Once you have found the perfect arrangement, begin to attach each leaf one by one using your hot glue gun. Apply a generous amount of hot glue to the back base of each leaf and press it firmly onto the ribbon-wrapped wreath form. Hold it in place for a few seconds to ensure a strong bond. Continue this process until all your leaves are securely attached, transforming your simple wreath form into a breathtaking explosion of color and tropical charm.
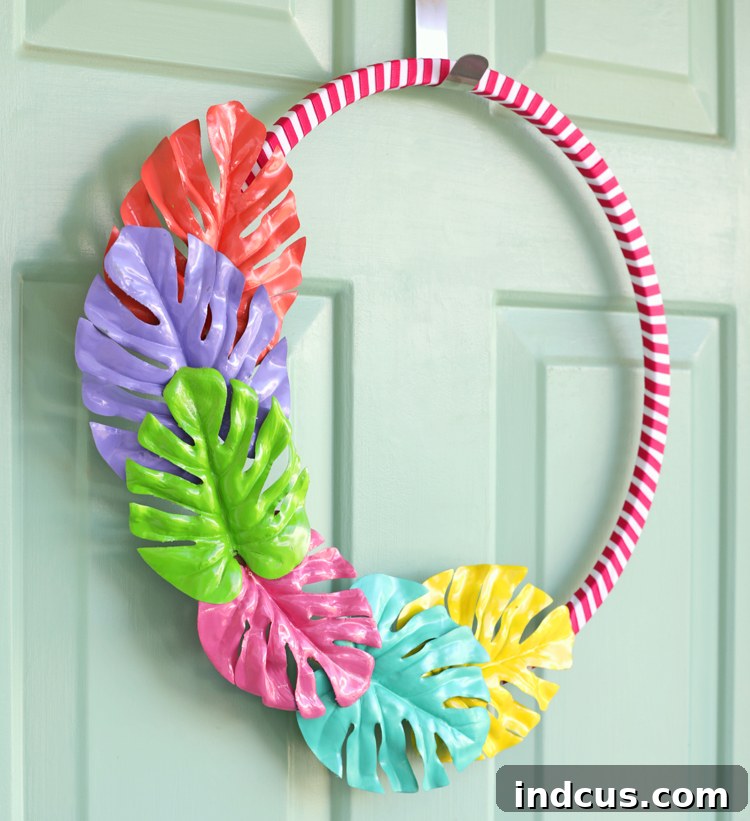
Here’s a glimpse of my finished masterpiece adorning my front door:
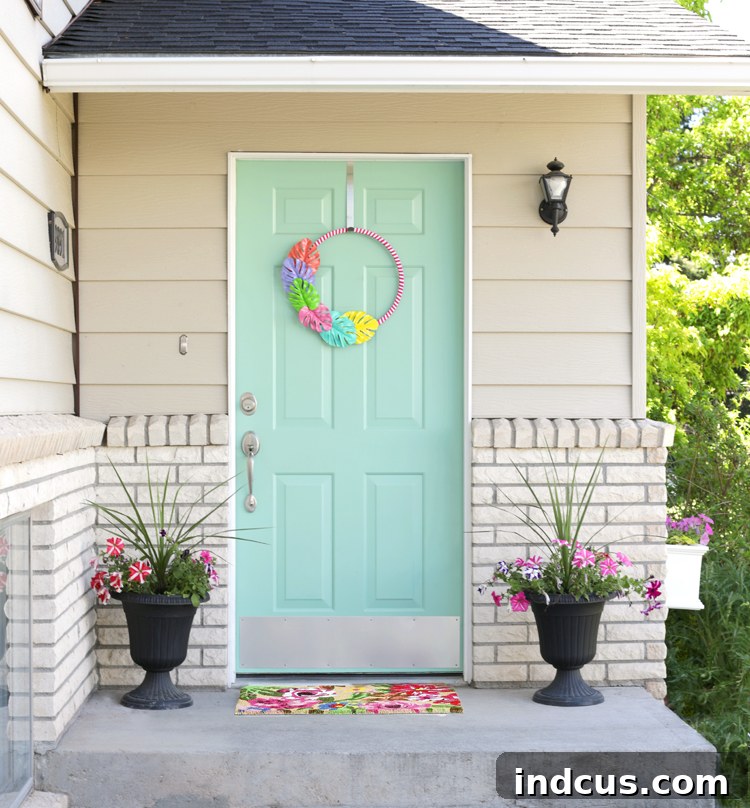
I absolutely adore how this wreath turned out! It exudes a tropical, bright, and unmistakably cheerful vibe that makes it absolutely perfect for gracing my front door throughout the entire summer season. The vibrant colors pop against the natural backdrop, creating an inviting and lively welcome for anyone approaching our home. This isn’t just a wreath; it’s a statement piece, a burst of summer joy that brightens the entire porch.
The beauty of this project lies not only in its stunning outcome but also in its potential for customization. You can choose any color palette to match your home’s exterior or interior decor. Imagine shades of oceanic blues and greens for a coastal theme, or warm yellows and oranges for a sunset-inspired design. The possibilities are truly endless, making each wreath a unique expression of its creator’s style.
And now, having experienced the joy of working with these fantastic faux monstera leaves, I’m already buzzing with ideas for more creative projects! Their versatility is truly inspiring. I’m envisioning garlands for summer parties, unique centerpieces for dining tables, or even incorporating them into wall art for a touch of year-round tropical flair. They could be used to create stunning photo booth backdrops or whimsical decorative accents for children’s rooms. The sturdy nature of the faux leaves makes them durable and reusable, encouraging endless crafting adventures.
I’d love to hear your thoughts and ideas! What would YOU create with these wonderfully paintable monstera leaves? Share your imaginative projects and let’s inspire each other to keep the creative momentum going all summer long!
Loved this project? Pin it to your favorite DIY boards on Pinterest so you can easily find it later! Sharing is caring, and by pinning, you’re helping other craft enthusiasts discover this fun and easy summer wreath tutorial.