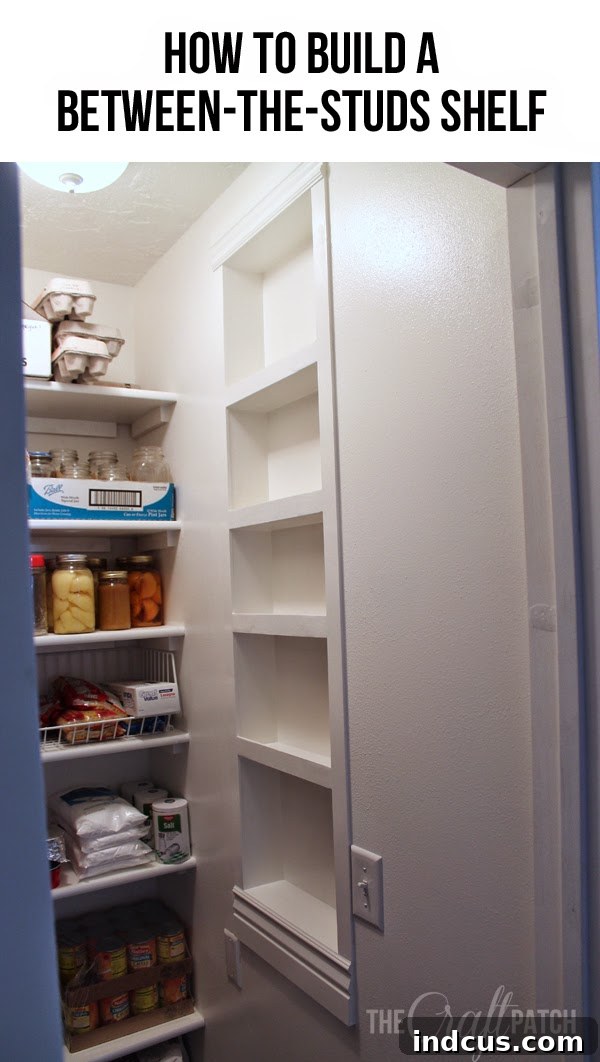
In the quest for smarter living, discovering innovative ways to maximize every inch of our homes has become a true art form. One ingenious solution that marries functionality with sleek aesthetics is the recessed wall shelf. Imagine transforming previously unused wall space between studs into elegant, flush-mounted storage that seamlessly integrates with your home’s design. This guide will walk you through the process of adding a beautiful, custom recessed shelf, proving that even the smallest spaces hold immense potential for organization and style.
Maximize Space & Style: Your Guide to Building a Recessed Wall Shelf Between Studs
The concept of making storage out of ’empty’ space is not just clever, it’s essential for modern living, especially in smaller homes or rooms where every square foot counts. Building a storage shelf between the studs in your wall is a prime example of this philosophy in action. This isn’t just about adding a shelf; it’s about creating a custom, built-in feature that looks like it was always meant to be there, offering practical storage without encroaching on your valuable floor space.
At its core, the project involves carefully cutting away a section of drywall and precisely fitting custom-built shelves into the cavity between your wall studs. The result is a storage area that sits perfectly flush with your wall, providing a clean, uncluttered look. This method is particularly effective for storing smaller items, keeping them organized and easily accessible without adding bulk to your room.
For us, our pantry project presented the ideal opportunity for such a clever storage solution. We had successfully installed built-in shelving along two of the pantry walls, but the third wall posed a challenge. With the need to maintain clear walkways in our walk-in pantry, traditional protruding shelves were simply not an option. It became clear that a recessed, between-the-studs shelf was the perfect answer to our storage dilemma, allowing us to utilize that vertical space without sacrificing precious floor area.
And so, my husband expertly crafted and installed a custom shelf right there, nestled between the wall studs!
The image below clearly illustrates the strategic placement of this built-in shelf, showcasing how it integrates seamlessly into the pantry wall:
Looking back, if I had the chance to redo one small detail, I might consider relocating the light switch for a cleaner aesthetic. But, as with many DIY projects, sometimes you learn as you go!
Planning Your Recessed Shelf Project: Crucial Steps Before You Cut
Before diving into construction, meticulous planning is paramount for a successful recessed shelf installation. This isn’t a project to rush; careful consideration of location, wall contents, and materials will save you time and prevent potential headaches down the line.
1. Location, Location, Location: Finding the Perfect Spot
The first step is to identify the ideal location for your recessed shelf. Consider both functional needs and aesthetic appeal. Think about what you want to store and where it would be most convenient. Once you have a general area, you’ll need to pinpoint the exact stud locations. A reliable stud finder is your best friend here. Run it horizontally along the wall to mark the edges of your studs. Standard wall studs are typically spaced 16 or 24 inches on center. This spacing will determine the maximum width of your shelf cavity. Double and triple-check your measurements to ensure you’re working within the confines of the studs and not accidentally cutting into an empty space or, worse, an electrical conduit.
2. Unveiling the Unknown: Checking for Wall Obstructions
This is arguably the most critical and often overlooked step. Walls are not always empty cavities. They can house electrical wiring, plumbing pipes, heating ducts, or even vent lines. Unintentionally cutting into any of these can lead to serious hazards, costly repairs, or even injury. If you built the wall yourself, like we did, you have an advantage as you’re already familiar with its internal structure. However, in most existing homes, this is not the case. Exercise extreme caution. Before making any significant cuts, consider using a boroscope camera (a small camera on a flexible cable) to peer into the wall cavity through a small pilot hole. Alternatively, consult a professional if you have any doubts about what might be hidden within your wall.
3. Gathering Your Arsenal: Tools and Materials
Having the right tools and materials on hand will make the process smoother and more efficient. Here’s a general list:
- Stud finder: Essential for locating wall studs accurately.
- Measuring tape and pencil: For precise marking.
- Utility knife or drywall saw: For making clean cuts in the drywall.
- Level: To ensure everything is plumb and square.
- Drill/Driver: For pre-drilling and driving screws.
- Hammer and nails (or brad nailer): For securing shelf components and trim.
- Wood for shelves: Plywood, MDF, or solid wood boards (e.g., 1x6s or 1x8s) suitable for your desired depth and aesthetic.
- Wood glue: For added strength in joints.
- Trim pieces: For a finished look (e.g., casing, lattice strips).
- Wood filler, sandpaper, primer, paint: For a smooth, professional finish.
- Safety glasses and dust mask: Always protect yourself.
Step-by-Step Guide to Installing Your Built-In Wall Shelf
With careful planning complete and your tools at the ready, it’s time to bring your recessed shelf vision to life. This process involves a few distinct phases, from preparing the wall cavity to adding the final, polished touches.
Step 1: Strategic Framing (If Drywall is Off)
If you’re building a new wall or have the drywall off for renovations, this step is ideal for establishing the shelf’s framework. My husband proactively nailed horizontal 2x4s into place where the top and bottom of the shelf enclosure would ultimately sit. These horizontal supports serve a critical purpose: they provide solid blocking for anchoring the eventual recessed shelf unit securely. This pre-drywall framing ensures maximum stability and a perfectly aligned opening. Once these supports were in, the drywall was then hung, completely covering both the inside (the back of the future shelf) and the outside of the wall.
Step 2: Precisely Cutting the Drywall Opening
After the drywall was taped, textured, and painted, the next delicate phase began: precisely cutting a rectangular opening. This step demands patience and accuracy. We carefully marked the exact dimensions of our desired shelf opening, ensuring our cuts would run along the inner edge of the existing studs on all four sides. Using a stud finder to re-verify stud locations, and then taking precise measurements, is non-negotiable. It’s vital to proceed with extreme caution, making shallow cuts initially and gradually deepening them. The goal is to cut through the drywall without damaging anything behind it, especially electrical wires or plumbing lines that might run within the wall cavity. Since we had built this wall ourselves, we knew its internal composition. However, in most renovations, you won’t have this luxury, making caution even more paramount. Cutting little by little is key to preventing accidental damage.
Once the cutting was complete, we were left with a perfectly defined opening:
Step 3: Constructing and Installing the Shelf Interior
With the opening prepared, the real shelf-building began. This stage involves creating the internal structure of your recessed unit. We approached this by cutting each component of the shelf separately and then nailing them securely into place. For each section, this meant two horizontal pieces for the top and bottom of the compartment, two vertical side pieces, and a back piece. This modular approach allowed us to ensure a snug fit within the existing wall cavity. The critical advantage of building it this way is that it provides ample surfaces for nailing. In our case, the back of this area was the drywall of our living room, meaning we couldn’t nail directly into the back panel. Instead, all our fastenings were directed into the sturdy side studs, creating a robust and stable structure for each shelf segment.
Step 4: Adding Decorative Trim and Finishing Touches
Once the core shelving structure was firmly in place and all components were securely nailed together, it was time to elevate the aesthetics with trim. This step is crucial for giving your recessed shelf a polished, built-in appearance. We opted for elegant molding along the top and bottom edges of the entire unit, complemented by thin slats of wood along each vertical side. These slender side slats not only provide a clean visual boundary but also help cover any minor imperfections in the drywall cut. To enhance functionality and prevent items from sliding off, we utilized the same thin slats (which we believe were originally intended for lattice work) to create a subtle but effective lip on the front edge of each individual shelf.
Here’s a closer look at the detailing of the shelves and trim before the final painting stage:
The final stage involved meticulous preparation for painting. This included applying a generous amount of wood filler to cover any nail holes, gaps, or other minor imperfections, ensuring a smooth and flawless surface. After the filler dried, extensive sanding was performed to achieve a perfectly even finish. Finally, several coats of crisp white paint were applied, transforming the raw wood into a beautifully integrated, between-the-studs shelf!
The finished product is truly satisfying! It has become the ideal spot in our pantry for neatly organizing small essentials such as spices, sauces, and, of course, our beloved candy jars – though they seem to be perpetually empty at the moment. Boo!
Beyond the Pantry: Creative Uses for Recessed Shelves
While our project found its home in the pantry, the versatility of a between-the-studs shelf extends far beyond. These discreet storage units are a phenomenal way to add functional elegance to almost any room in your house without consuming precious floor space. Consider these applications:
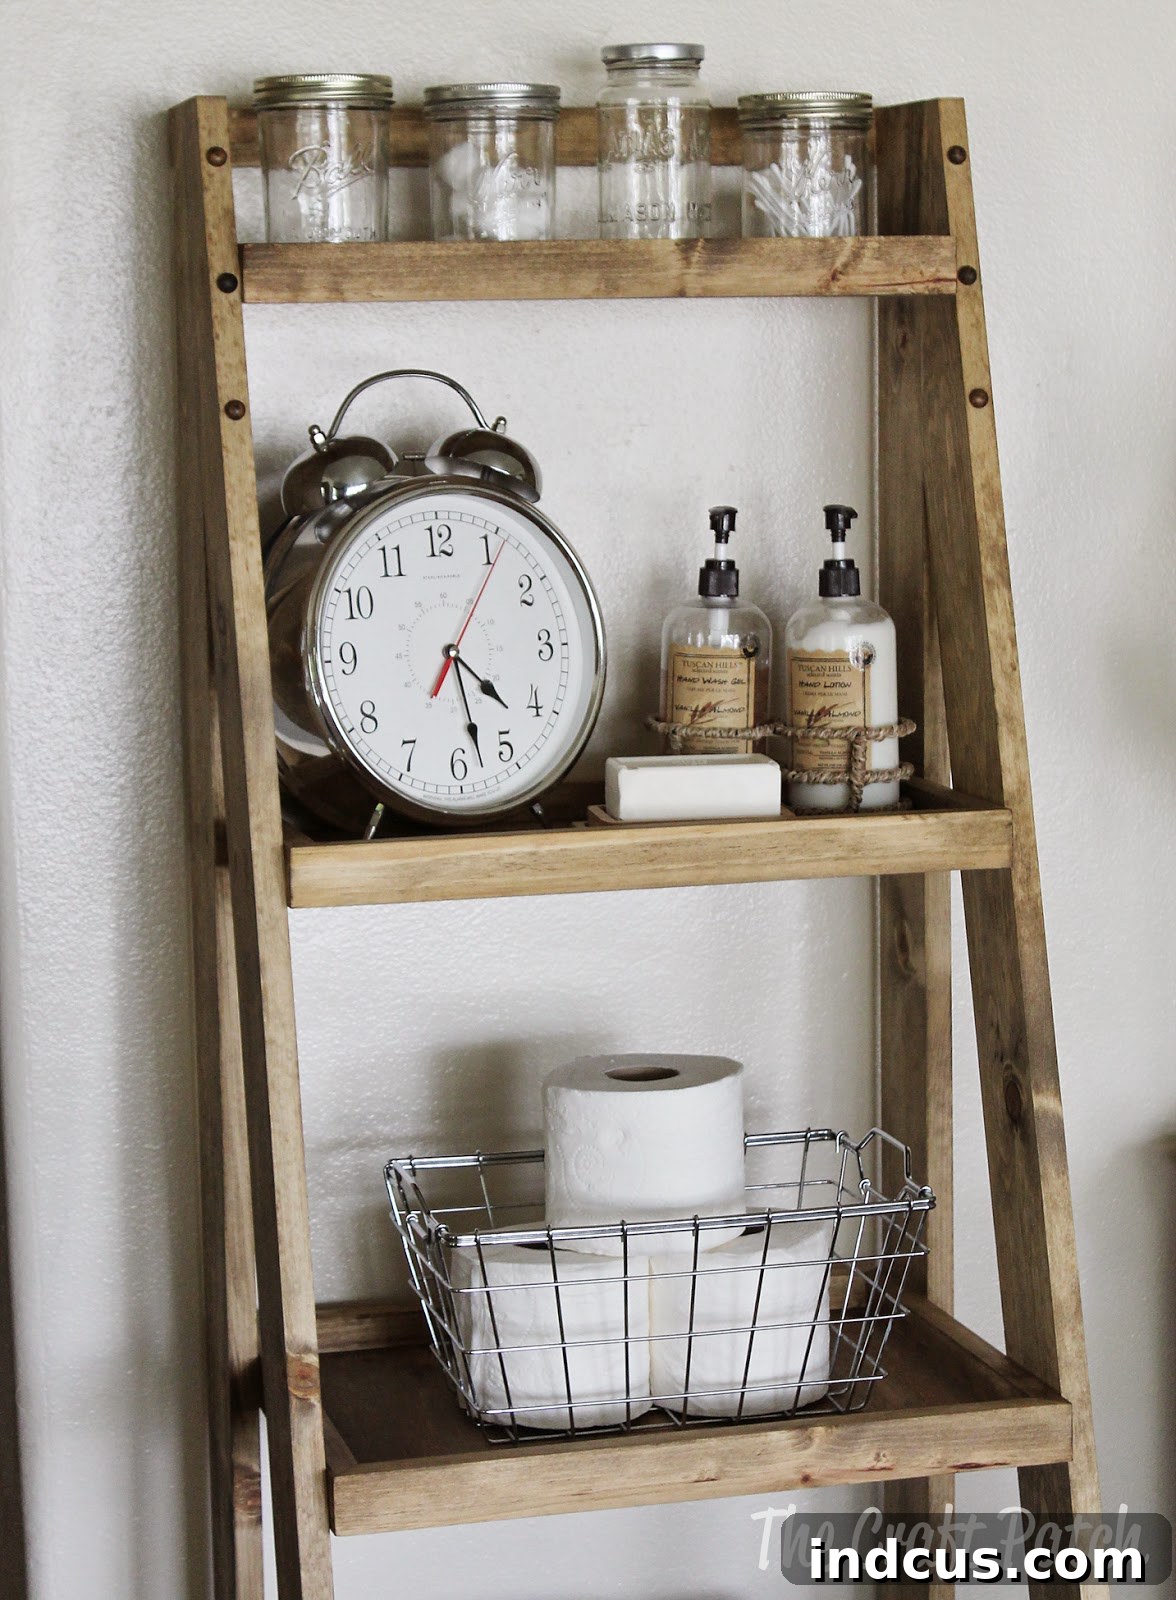
- Bathrooms: Perfect for storing toiletries, extra toilet paper rolls, or decorative accents, keeping your vanity clear and organized.
- Bedrooms: Ideal as a minimalist bedside nook for a phone, a book, or a small alarm clock, eliminating the need for a bulky nightstand.
- Entryways: A convenient spot for keys, mail, or small decorative items, helping to keep your entry clutter-free.
- Home Offices/Craft Rooms: Organize small supplies, pens, craft tools, or display small decorative elements, maintaining a tidy workspace.
- Living Rooms: Display small collectibles, remote controls, or create a cozy spot for a few small books, adding architectural interest.
- Kitchens: Similar to our pantry, they are excellent for spices, small bottles, or displaying a few cherished kitchenware items.
Do you have a space in your home that’s just begging for a smart, space-saving solution like a recessed, between-the-studs shelf? It’s a fantastic DIY project that adds significant value, both in terms of storage and aesthetic appeal, to any room. This clever method of utilizing existing wall cavities is truly a great way to introduce valuable storage without taking up a single square inch of your floor!
See the rest of our pantry makeover here.