
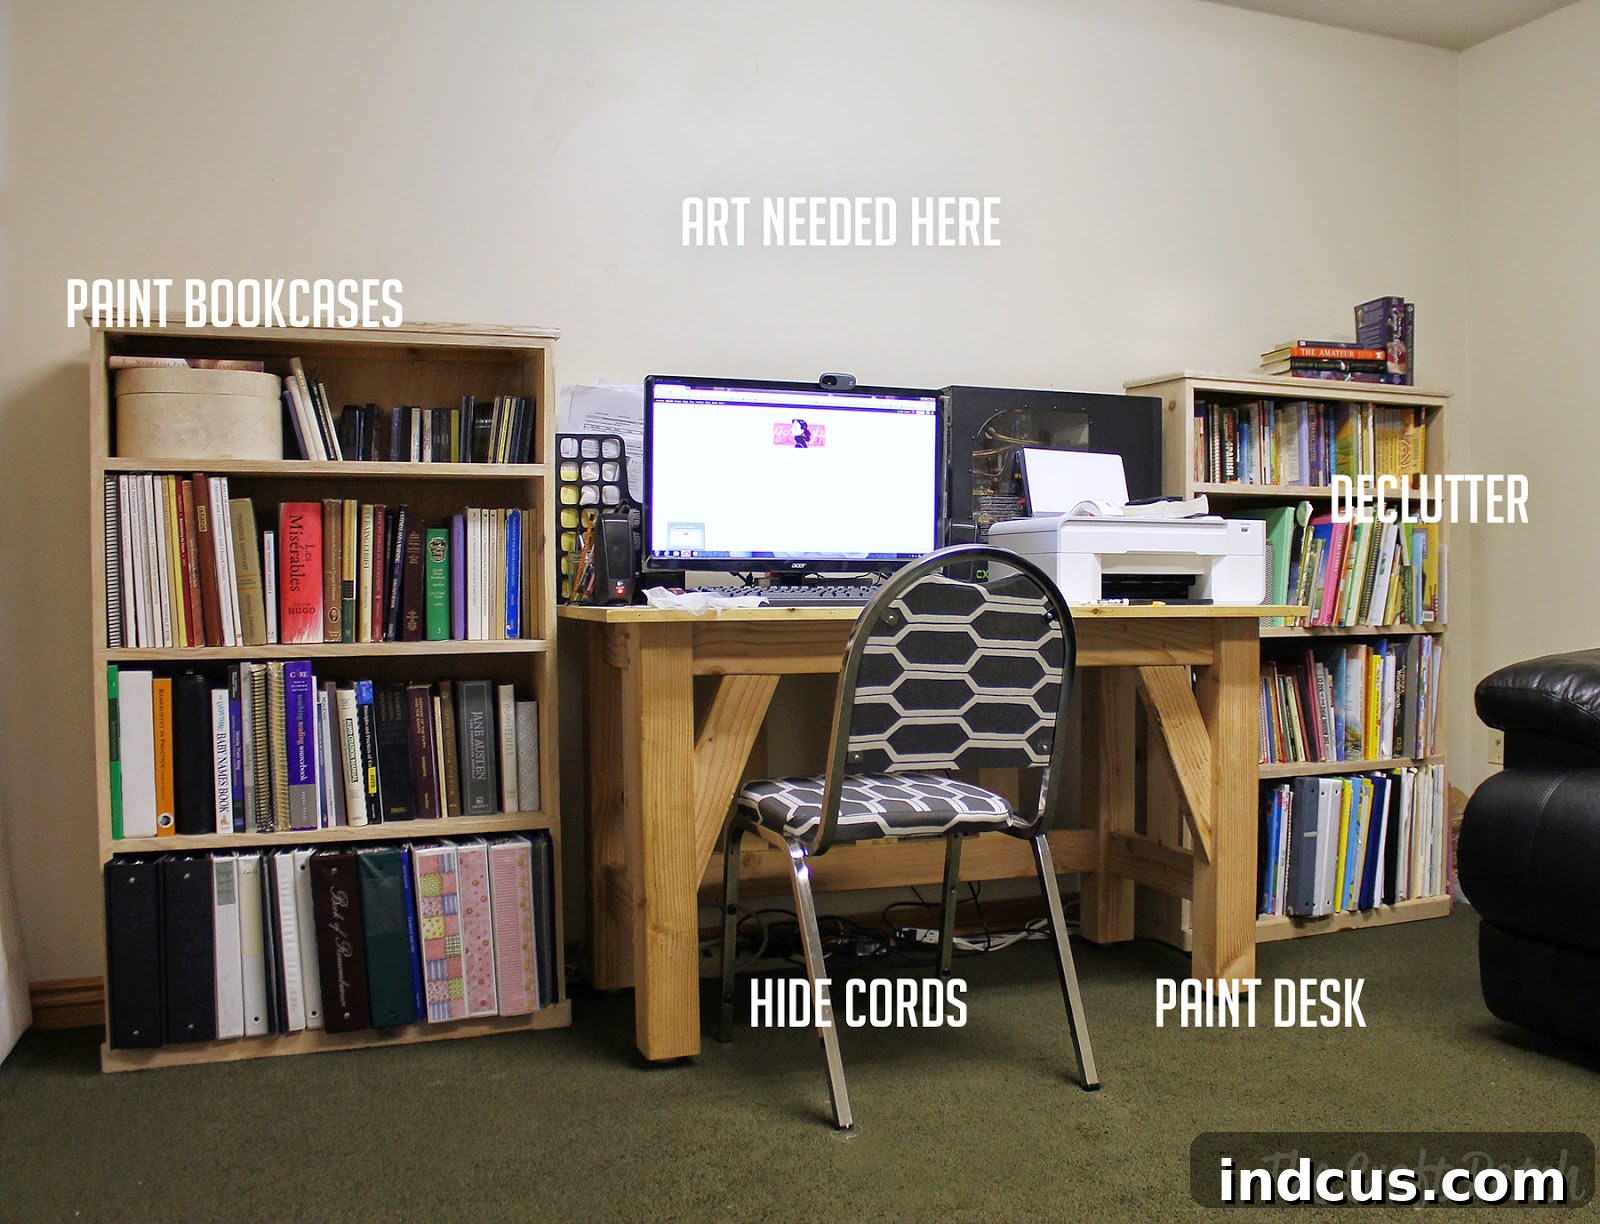
One of the most challenging yet rewarding aspects of homeownership, or even renting, is personalizing your living space. For many, the downstairs family room often serves as the heart of the home, a multi-functional hub where cherished memories are made. Yet, ironically, it can also be the last area to receive the decorative attention it deserves. This has certainly been the case in my home, where our bustling family room, despite its central role in daily life, has remained largely untouched. This isn’t for lack of desire, but rather due to a series of design hurdles, from a truly uninspiring carpet to an awkwardly shaped layout that presents a unique puzzle for any decorator. The goal, however, remains clear: to transform this well-used space into something both inviting and reflective of our style, starting with a crucial area—the computer desk nook.
This particular corner, a designated workstation within the broader family room, has been a key focus of my recent decorating aspirations. It’s a space that combines functionality with the potential for aesthetic appeal, a place where productivity meets personal flair. The vision is to infuse it with character, turning a simple desk area into an inspiring backdrop for work and creativity. This journey into home decor, particularly for a challenging space like a rental property, often leads down unexpected paths, some successful, others less so, but all providing valuable lessons in design and resilience.
As the “before” image clearly illustrates, this desk area was crying out for a transformation. It was functional, yes, but entirely devoid of the vibrant energy I envisioned. The blank wall above the desk presented an ideal canvas for a statement, a pop of color or texture to define the workspace and elevate the room’s overall aesthetic. The challenge, of course, was finding a solution that was both impactful and practical, especially given the constraints of living in a rental property. Permanent alterations were out of the question, leading me to explore the exciting world of temporary and removable decor solutions.
The concept of “removable wallpaper” has been a revelation in the world of rental-friendly decorating. It offers the freedom to experiment with bold patterns and colors without the commitment or the arduous task of stripping wallpaper down the line. Browsing through countless DIY blogs and home decor communities, I repeatedly encountered inspiring posts about creating removable fabric wallpaper using nothing more than fabric and liquid starch. This idea immediately resonated with me. The prospect of transforming a dull, white wall—a common feature in rentals that can quickly become monotonous—into a dynamic feature wall with a bright, welcoming color seemed like an ideal solution. Not only would it add personality and warmth to the desk area, but it would also serve as a visually engaging backdrop, turning a utilitarian space into a captivating focal point within the family room.
With enthusiasm and a clear vision, I embarked on this DIY adventure. The chosen material was a plain cotton broadcloth, selected for its smooth texture and affordability. The process, as outlined by various online tutorials, seemed straightforward enough. I began by thoroughly soaking the broadcloth in liquid starch, readily available for around $3 in the laundry aisle of any supermarket. The goal was to saturate the fabric completely, ensuring it would adhere seamlessly to the wall. Once thoroughly drenched, I carefully began applying the fabric to the wall above the desk. Using thumbtacks to temporarily hold the corners and edges in place, I meticulously smoothed the fabric across the surface, working out any air bubbles or wrinkles. The initial results were incredibly promising; the fabric lay perfectly smooth against the wall, and I felt a genuine sense of accomplishment. The wall appeared somewhat blotchy as the starch began to dry, but I was assured this was a normal part of the process, and I eagerly anticipated the final, vibrant finish. Confidence was high, and I imagined the immediate impact this splash of color would have on the entire room.
After allowing the fabric ample time to dry, I returned from running a few errands, eager to witness the completed transformation. My excitement, however, quickly turned to dismay as I descended the stairs and caught sight of my handiwork. The vision of a smooth, vibrant feature wall had unfortunately not materialized as planned. Instead, I was greeted by a scene that can only be described as a classic DIY mishap.
As the liquid starch had dried, the fabric, once so smooth and cooperative, had puckered and bubbled dramatically. What was meant to be a sleek, uniform surface had become a textured, uneven landscape, a stark contrast to the perfectly smooth finish I had achieved just hours before. The initial disappointment was palpable. It was a classic “boo,” “wah,” “sniff, sniff,” “pouty face” moment – the kind of setback that every DIY enthusiast inevitably encounters. The dream of an effortless, rental-friendly decor solution had hit a rather significant snag. It’s a reminder that even the most promising DIY projects can sometimes yield unexpected results, prompting a necessary reevaluation and a return to the drawing board.
Reflecting on the unexpected outcome, I began to consider what might have gone awry. While I followed the instructions meticulously, I couldn’t help but suspect that the plain cotton broadcloth, though affordable and seemingly suitable, might have been the weak link in my experiment. Its light, relatively thin weave might not have possessed the structural integrity needed to withstand the drying process of the liquid starch without puckering. My hypothesis is that a sturdier, perhaps heavier-weight fabric might have yielded a different result, holding its shape more effectively as the starch dried and contracted. Maybe? It’s a question that lingered, suggesting that sometimes, the success of a DIY project hinges on subtle material choices that aren’t always immediately obvious. This experience, while frustrating, ultimately reinforced a key principle of DIY: experimentation and learning from every attempt, regardless of the outcome.
So, with the initial fabric wallpaper attempt filed under “lessons learned,” it was time to regroup and revisit my strategy for enhancing the computer desk area. The setback, while disheartening, hasn’t diminished my resolve to create a vibrant and personalized space. Instead, it has broadened my perspective and opened the door to exploring a wider array of creative solutions. The quest for the perfect rental-friendly wall decor continues, and I’m back to the drawing board, armed with new insights and a renewed determination to find a solution that not only looks fantastic but also aligns with the practicalities of our living situation.
Several exciting possibilities are now on the table, each offering a unique approach to transforming that blank wall. One option is to indeed try the fabric wallpaper method again, but this time with a heavier, more robust fabric. The theory is that a thicker material would be less prone to puckering and bubbling, providing the smooth, even finish I initially envisioned. While this would require another investment of time and resources, the potential for a custom, temporary wallpaper effect remains highly appealing. Another avenue to explore is commercially available removable wallpaper. These peel-and-stick options have advanced significantly in recent years, offering an incredible array of patterns, textures, and designs. However, they can be quite pricey, meaning I would need to find a design I absolutely adore to justify the cost. The allure of a professionally printed design without permanent commitment is strong, but budget considerations are always a factor.
Beyond traditional wallpapers, I’m also considering other innovative and budget-friendly ideas. Contact paper, for instance, offers immense versatility. It comes in various colors and patterns, including faux wood, marble, or metallic finishes, and is relatively inexpensive. It could be used to create geometric designs, cover specific panels, or even mimic the look of more expensive materials. The application is similar to removable wallpaper, making it another strong contender for a temporary wall treatment. A more sculptural and reflective approach involves incorporating mirrors. I recently spotted some stylish, affordable mirrors at a Dollar Tree store, sparking the idea of buying several and arranging them in an artistic grouping. This would not only add visual interest but also reflect light, making the desk area feel brighter and more expansive. Finally, drawing inspiration from a past successful project, I might opt for a large canvas adorned with pretty fabric, similar to the “large cheap wall art” I created HERE. This method offers complete control over the fabric choice, is entirely removable, and creates a substantial art piece without directly altering the wall itself. We’ll see which direction feels right as I continue to weigh the pros and cons of each option.
This journey of trial and error in home decorating is a testament to the creative spirit and the desire to make our living spaces truly our own. While my initial foray into starch-and-fabric wallpaper didn’t quite go as planned, it has opened up new avenues for exploration and taught valuable lessons about material selection and technique. The beauty of DIY lies not just in the successes, but in the learning process and the community that supports it. I am eager to hear from others who have ventured into similar projects. Have you tried creating starch/fabric wallpaper? Did you encounter similar challenges, or perhaps discover a secret to success? I would absolutely love to hear your tips, tricks, and any insights you might have on achieving a flawless finish with this method, or indeed, any other creative, rental-friendly wall decor solutions. Your experiences could be invaluable as I continue my quest to transform this crucial space into a truly inspiring corner of our home.







