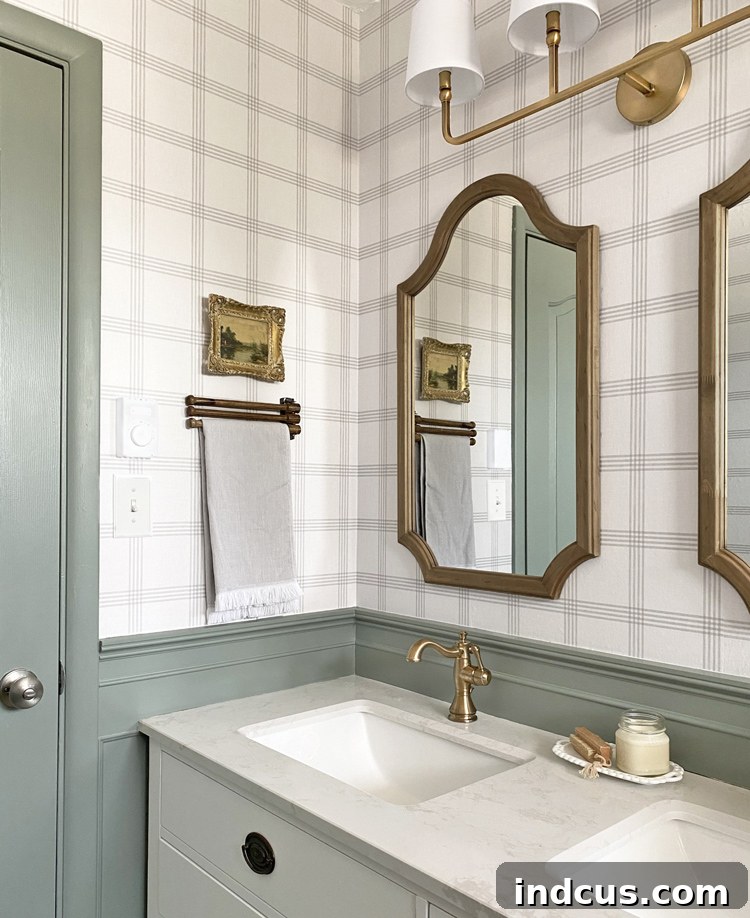
Embarking on a full-blown bathroom renovation can be an exhilarating, yet often daunting, experience. One of the most common questions that surfaces during or after such a project is invariably, “How much did that transformation truly cost?” Today, I’m pulling back the curtain to offer a complete, transparent breakdown of every dollar spent on our recent bathroom remodel. My hope is that this detailed account will serve as an invaluable resource for anyone planning their own home improvement projects, helping you to better estimate and prepare for the financial investment involved in achieving your dream bathroom.
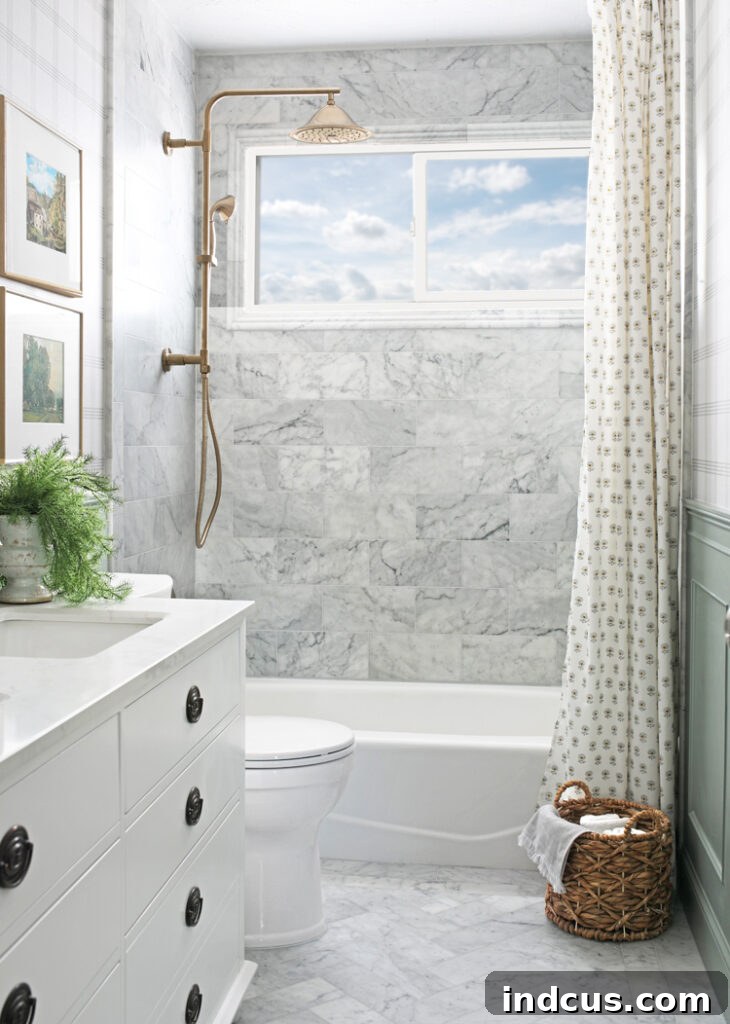
I understand that discussing personal finances can feel a bit unconventional, but when it comes to home renovations, transparency becomes a cornerstone of effective planning. Knowing the real costs, the unexpected expenses, and where every penny goes can significantly impact your budgeting and decision-making process. This article aims to demystify the financial aspect of a major DIY project, allowing you to approach your own renovation with greater confidence and foresight. While I strive for utmost accuracy, please remember that individual project costs can vary widely based on location, material choices, and labor rates. Let’s dive in!
Navigating the Renovation Challenge: Tracking Costs Under Pressure
Our bathroom renovation wasn’t just any project; it was part of an intense six-week renovation challenge. The frantic pace required to complete a significant transformation within such a tight deadline meant that meticulous cost tracking, while always a priority, took a slight backseat to the physical demands of the work. While I typically keep an exhaustive log of every single purchase, the speed at which we were working made it challenging to record every nail, tube of caulk, or minor adhesive as precisely as I normally would. Nevertheless, I am confident that the figures presented here are remarkably accurate, likely deviating by only a few hundred dollars at most for any minor forgotten sundries. This estimate provides a very realistic picture of the total expenditure, helping you set a practical budget for your own endeavors.
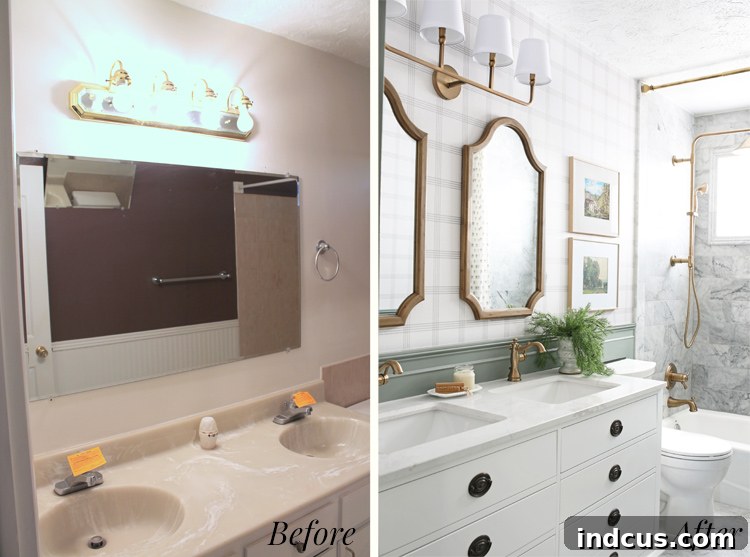
Understanding Product Sponsorships in DIY Projects
Another crucial point to clarify regarding this budget breakdown is the inclusion of sponsored products. During this particular renovation, I was fortunate to collaborate with two fantastic companies who provided certain products free of charge in exchange for content creation. While these items did not incur an out-of-pocket expense for us, I have deliberately included their retail value in the total cost summary. This decision was made to ensure that the overall budget reflects a true, realistic estimate of what someone undertaking a similar renovation would likely spend if purchasing all materials themselves. My goal is to equip you with the most comprehensive financial overview possible, so you can plan your own project without any hidden surprises related to material costs.
The Complete DIY Bathroom Renovation Cost Breakdown
Without further ado, let’s get into the nitty-gritty of the expenses. This detailed list outlines where every significant portion of our renovation budget was allocated, providing a clear picture of the investment required for a high-quality, DIY bathroom transformation. Prepare to see the full financial commitment that goes into turning a vision into a reality.
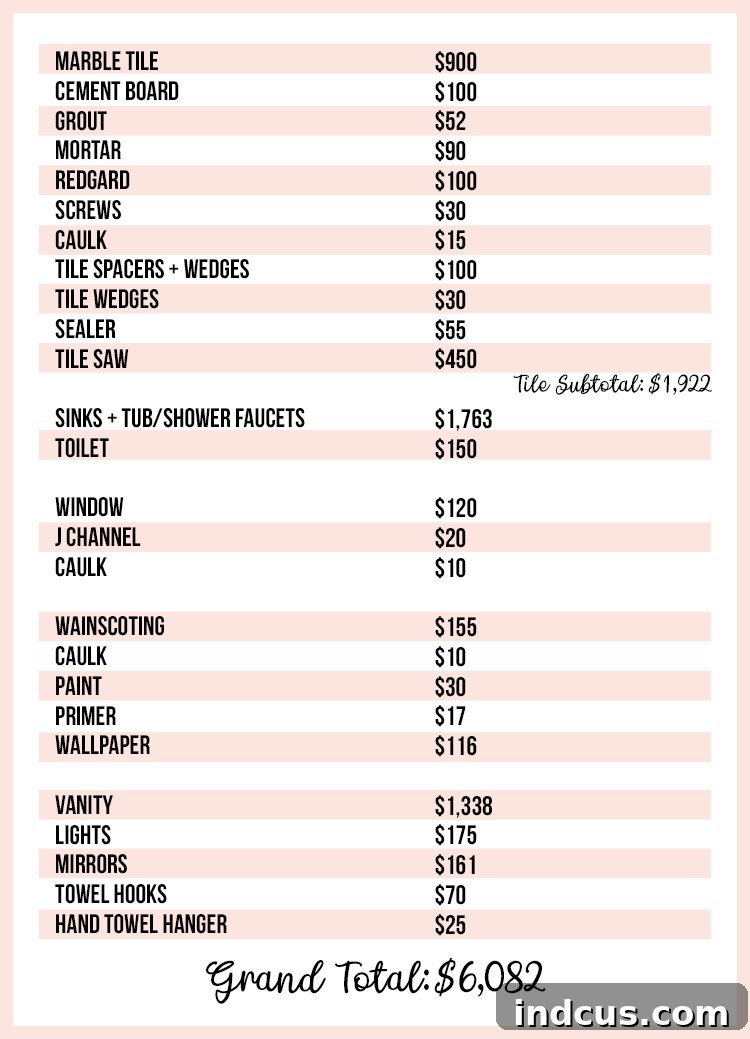
There you have it—a comprehensive look at the expenditures for our completely DIY bathroom remodel. Did any particular category of expense catch you by surprise? It’s fascinating how certain costs, often overlooked, can accumulate significantly and impact the overall budget.
The Hidden Costs of Tiling: More Than Just the Tiles
One of the biggest eye-openers for us, and a common surprise for many DIY renovators, was the substantial cost associated with all the “companion” materials for tiling. Beyond the beautiful tiles themselves, the necessities like cement board, specialized grout, various types of mortar, and protective sealers amounted to over $500. This often-underestimated category is crucial for a durable and professional finish, making it an unavoidable and significant chunk of the budget. It highlights the importance of accounting for every layer and component in your renovation plan, not just the visible elements.
Investing in Tools: A Long-Term Perspective
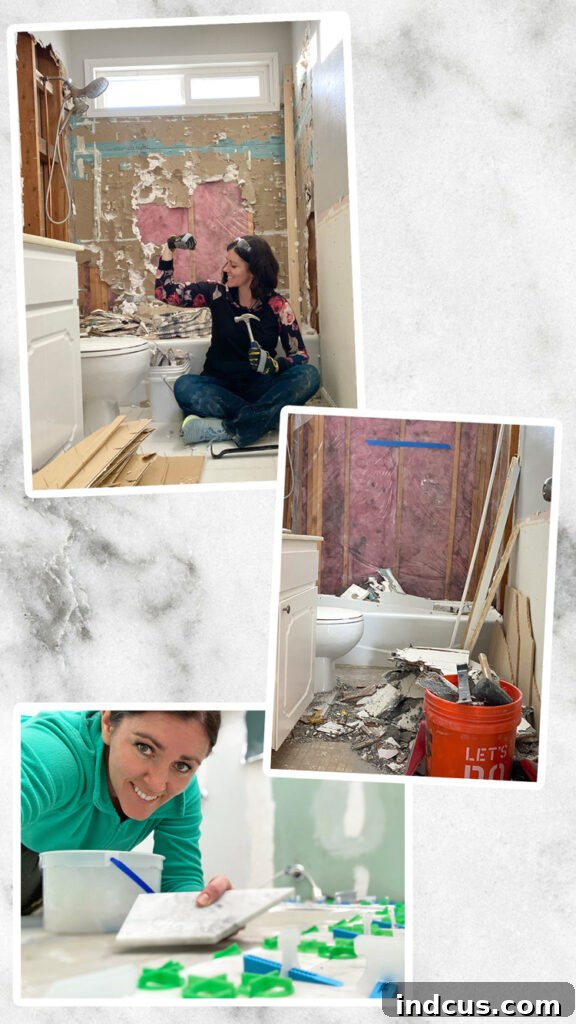
Our budget also included the purchase of a new tile saw, a necessary investment for a project of this scale. While it added to the immediate cost, we view it as a strategic acquisition. We’re optimistic about recouping some of this expense by potentially selling it once its primary use is complete. However, before we make that decision, we plan to lend our expertise (and our saw) to help my parents tile their kitchen backsplash. This additional project will help us determine if the saw’s utility warrants keeping it for future DIY endeavors. I must admit, despite the initial cost, I have no regrets about investing in a high-quality tile saw. Tiling is already a demanding task, and attempting it with an inferior tool would have undoubtedly introduced immense frustration and compromised the quality of the finish. The right tools truly make a difference in efficiency and final outcome, especially for challenging jobs.
Defining the Scope: What’s Included and Excluded from the Renovation Budget
When compiling a renovation budget, drawing clear lines between fixed installations and decorative items is essential. For this breakdown, I intentionally excluded the cost of non-permanent elements such as decorations, wall art, shower curtains, and drawer organizers. My rationale was that if an item isn’t permanently affixed or “installed” into the structure of the bathroom, it functions more as a personal furnishing than a core renovation expense. These are items we would likely take with us if we were to move, distinguishing them from the permanent fixtures that add intrinsic value to the home itself. This approach aims to provide a more accurate representation of the structural and fixed component costs of the remodel. However, it raises a question: how do you typically categorize these items in your own renovation budgets? There’s no single right answer, and personal preferences often guide these decisions.
Renovation Regrets: The Unchanged Bathtub and Lessons Learned
Reflecting on the project, my most significant regret is not seizing the opportunity to replace the existing bathtub. While the original tub was perfectly functional—or “fine” as we often said—its appearance now pales significantly when juxtaposed with the sparkling, all-new fixtures and finishes surrounding it. The stark contrast between “fine” and “brand new luxurious” is more pronounced than I anticipated, making the tub an unfortunate visual outlier. My husband preferred to keep the original tub, and I ultimately conceded, but I still believe it was a missed opportunity to achieve a truly cohesive and upgraded space. Nevertheless, navigating disagreements and compromising are part of any major home project, especially under pressure. The fact that we survived the most stressful six weeks of renovation and are still happily married definitely counts as a major success in itself!
Justifying the Investment: Quality, Luxury, and DIY Savings
As someone who typically prides myself on being frugal, I must admit that the final tally for this bathroom renovation was higher than my initial estimates. However, a crucial distinction must be made: this isn’t just any bathroom. This is a truly NICE bathroom. Every single element, from the tiles to the fixtures, was selected for its high quality and luxurious appeal. We essentially replaced and upgraded everything, transforming a functional space into a spa-like retreat. Furthermore, given that this project was part of a competitive challenge, I was determined to push the boundaries of my interior design skills and truly make a statement. The investment reflects the commitment to superior materials and a design vision that delivers exceptional comfort and aesthetic appeal. The value derived from the high-end finish justifies the expense, promising longevity and an elevated daily experience.
The Immense Value of DIY Labor: A Cost-Saving Powerhouse
Beyond the material costs, one of the most significant takeaways from this entire process is the incredible savings realized through our DIY approach. Just imagine the exponential increase in the total cost if we had hired professional labor for every aspect of this extensive remodel. Factoring in demolition, tiling, plumbing adjustments, electrical work, drywall, and finishing touches, professional labor could easily double, or even triple, the final price tag. By dedicating our time and effort, we not only saved tens of thousands of dollars but also gained invaluable skills and the immense satisfaction of knowing every detail was crafted by our own hands. This DIY commitment transforms a substantial financial outlay into a truly achievable home improvement project for those willing to put in the work.
Essential Tips for Budgeting Your Own Bathroom Remodel
Drawing from our experience, here are some actionable tips to help you budget effectively for your own bathroom renovation, ensuring you’re prepared for both expected and unexpected costs:
- Pad Your Budget with a Contingency Fund: Always allocate an additional 10-20% of your total estimated cost for unforeseen issues. Older homes, especially, can hide surprises behind walls, from plumbing problems to unexpected structural needs.
- Get Multiple Quotes for Materials: Don’t settle for the first price you find. Research various suppliers for tiles, fixtures, and other materials. Bulk purchasing or waiting for sales can lead to significant savings.
- Prioritize Your Splurges: Decide early where you want to invest most (e.g., a luxurious shower, high-quality vanity) and where you can compromise to save (e.g., less expensive flooring in a guest bath, DIY painting).
- Research Thoroughly: Before buying any material or tool, read reviews, watch tutorials, and understand installation requirements. Knowing what you’re getting into can prevent costly mistakes.
- Track Every Expense Meticulously: Even small purchases add up. Use a spreadsheet or a budgeting app to log every receipt. This helps you stay on track and accurately assess your final spend.
- Consider DIY vs. Hiring Strategically: Identify tasks you are confident in tackling yourself to save on labor costs. For complex or safety-critical tasks like major electrical or plumbing, it’s often wiser and safer to hire a licensed professional.
- Plan for Tool Costs: If you’re going DIY, factor in the cost of tools you’ll need to buy or rent. Consider their reusability for future projects or potential resale value.
And there you have it—the comprehensive budget breakdown of a completely DIY bathroom remodel, alongside valuable insights and tips to guide your own projects. The savings from executing the labor ourselves were astronomical, truly highlighting the power of DIY. For those with design questions, product sources, or simply seeking more inspiration from the stunning finished space, be sure to read our detailed reveal post. All the links and specifics are shared there.