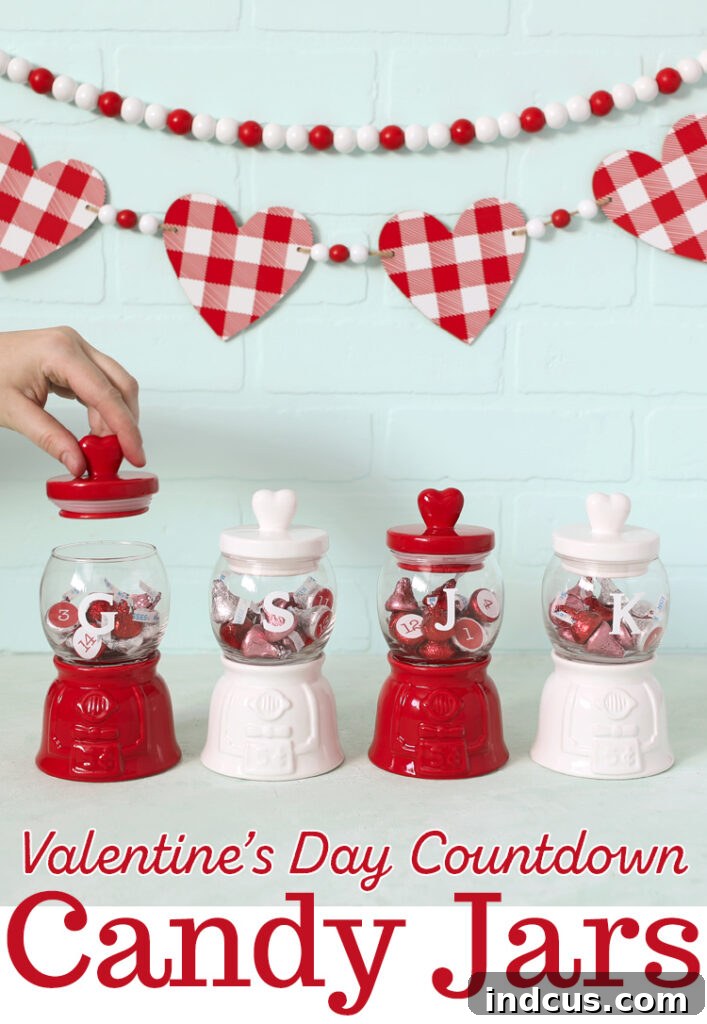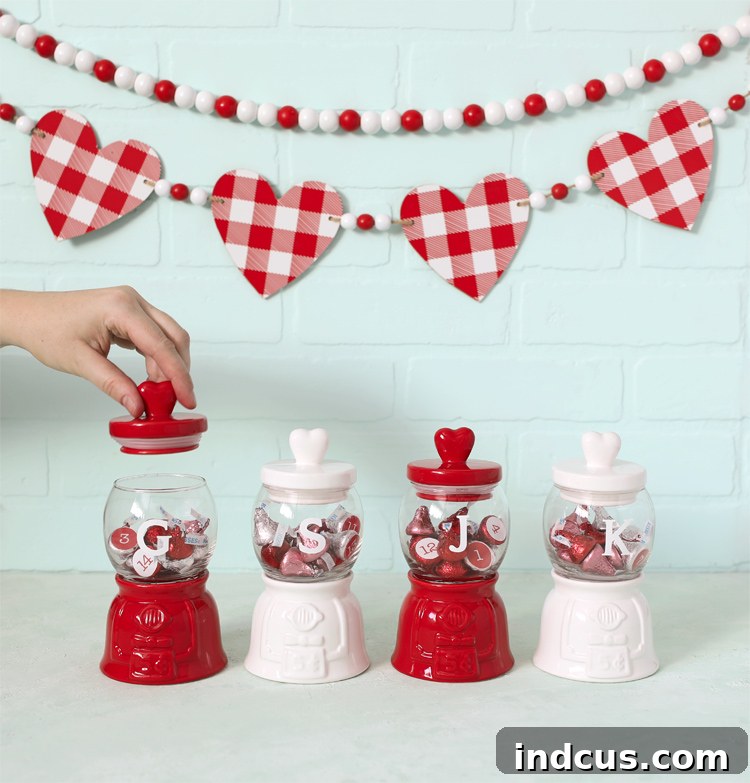
Crafting Love: Create Adorable Valentine’s Day Treat Holders and a Fun Countdown for Your Family
This is a sponsored post written by me on behalf of Hobby Lobby. All opinions are 100% mine.
Valentine’s Day is a cherished occasion, often synonymous with romance and grand gestures. However, in our home, it has always been much more than that – it’s a heartwarming family affair. Beyond celebrating the love with my husband, I seize this wonderful opportunity each year to shower my children with affection, reminding them how special and cherished they truly are. It’s a chance to create lasting memories and build exciting new traditions that bring us all closer together.
Recently, while exploring the enchanting aisles of the Valentine’s Day Department at Hobby Lobby, I stumbled upon a truly inspiring find. My eyes were immediately drawn to these absolutely darling ceramic candy dishes, playfully designed to resemble classic gumball machines. The moment I saw them, an idea sparked – a delightful craft that would not only serve as a charming treat holder but also double as an interactive Valentine’s Day countdown for my little ones. This clever project would allow us to savor the anticipation of the holiday, one sweet day at a time, making the journey to February 14th even more exciting and memorable.
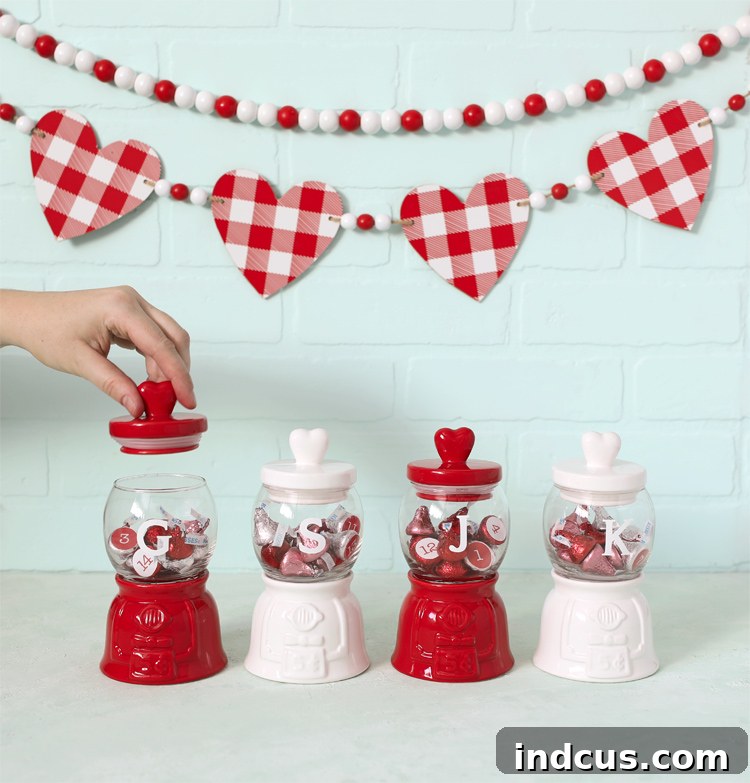
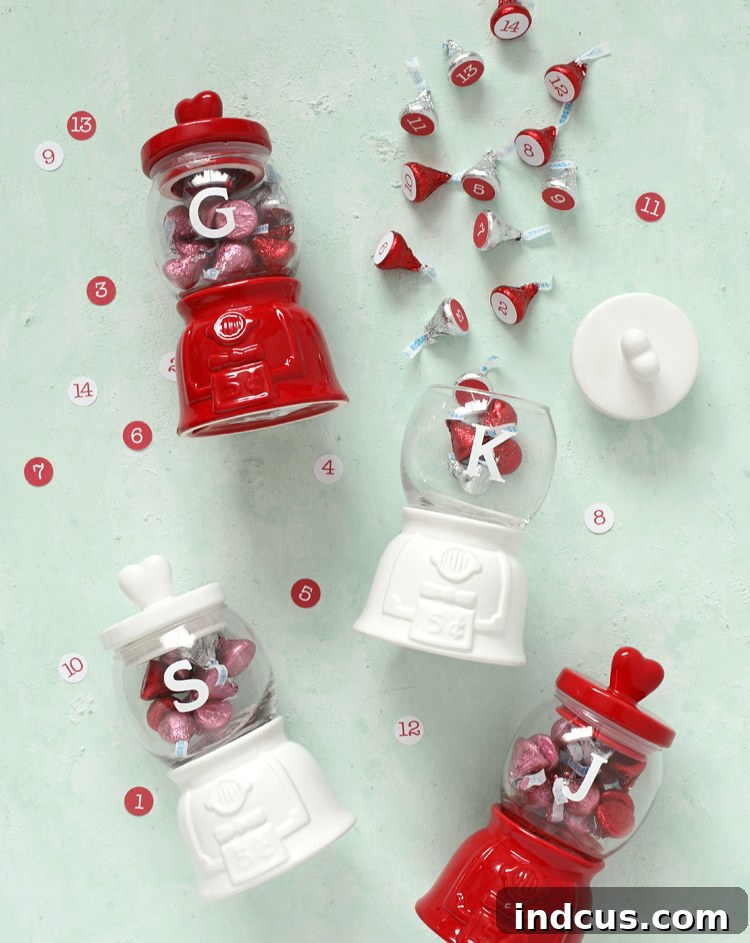
The concept was simple yet brilliant: each whimsical jar would hold fourteen individually numbered candies, representing each of the fourteen days leading up to Valentine’s Day. To make them personal and prevent any sibling squabbles, I added each child’s initial to their respective jar, ensuring everyone knew which sweet countdown belonged to them. The finished jars turned out to be incredibly cute and filled with so much personality! I simply couldn’t wait to share this easy, joyful craft with you. Let me guide you through the process, step-by-step, so you can create your own personalized Valentine’s Day countdowns and bring a little extra magic into your family’s celebration.
Discovering the Magic: Why a Valentine’s Day Countdown?
The beauty of a holiday countdown lies in its ability to build anticipation and create a sense of ritual. For children, waiting for a special day like Valentine’s can feel like an eternity. A countdown transforms this wait into an engaging daily activity, turning each passing day into a small celebration. It’s more than just candy; it’s about the shared experience, the daily check-in, and the joy of seeing the big day draw nearer. This craft embodies that spirit perfectly, offering a tangible way for kids to visualize the passage of time and participate actively in the lead-up to the holiday of love. Moreover, it’s a wonderful alternative to traditional advent calendars, perfectly tailored for the month of February.
Essential Supplies for Your Adorable Candy Jar Countdown
One of the best aspects of this DIY Valentine’s Day craft is how simple and accessible the supplies are. You won’t need any complex tools or expensive materials, making it a perfect project for crafters of all skill levels, even those new to DIY. Here’s a detailed list of everything you’ll need to create these charming countdowns:
- Gumball Machine Candy Jars: These are the stars of our project! Their nostalgic gumball machine design adds a playful touch, making them irresistible to kids and adults alike. Look for ceramic or glass jars that are sturdy and have a removable top for easy filling. The ones I found at Hobby Lobby were specifically labeled for Valentine’s Day, often found in the seasonal decor section.
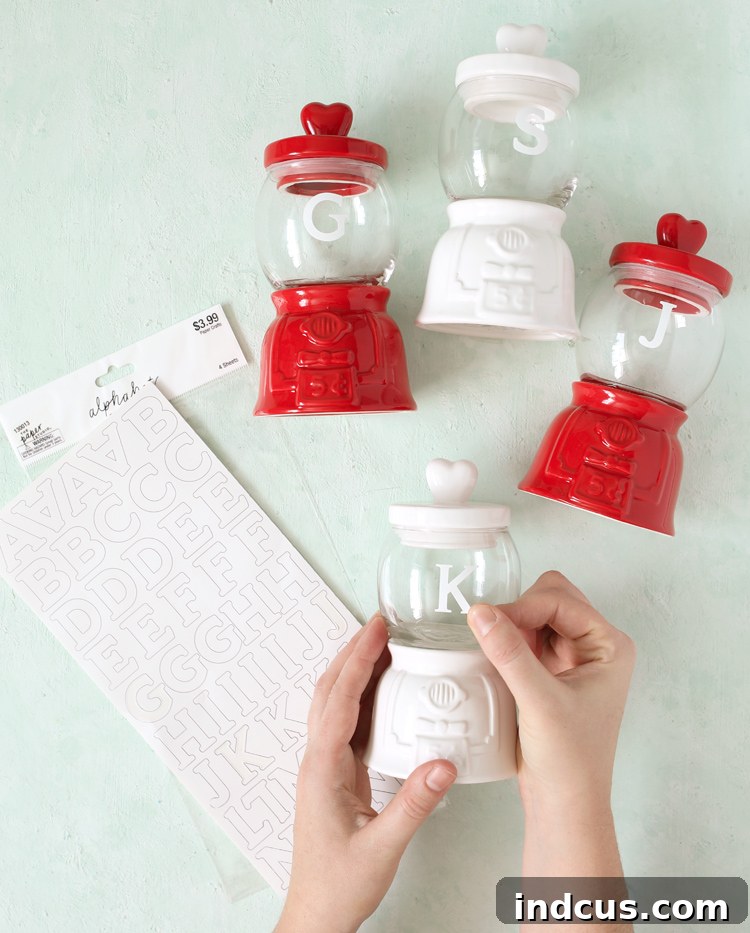
- Alphabet Stickers: Choose a set of alphabet stickers that complements the aesthetic of your jars. I opted for a simple, clear font that stood out on the glass. These stickers will be used to personalize each jar with the initial of the child it belongs to, adding a sweet and custom touch. Make sure they adhere well to glass or ceramic surfaces.
- 5/8 Inch Circle Punch: A precise circle punch is invaluable for creating neat, uniform number labels. The 5/8 inch size is ideal for attaching to small candies without overwhelming them. If you don’t have this exact size, a slightly larger or smaller punch can work, just ensure it fits well on the bottom of your chosen candies.
- Printable Numbers: You’ll need a set of numbers from 1 to 14. These are provided as a convenient download at the bottom of this post, making it incredibly easy to get started. These numbers will be the core of your countdown, marking each day until Valentine’s.
- White Cardstock or Sticker Paper: Both options work wonderfully. White cardstock provides a sturdy base for your numbers, while white sticker paper offers the ultimate convenience, turning your numbers into instant peel-and-stick labels. Choose whichever best suits your preference and available supplies.
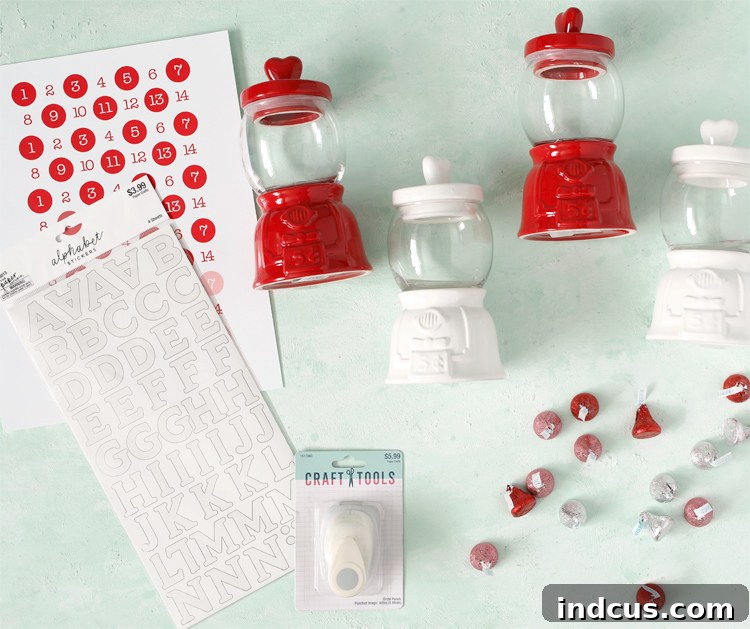
A note about the supplies: My primary goal for this craft was to make it as straightforward and enjoyable as possible, requiring minimal specialized tools. While it’s true that if you own an electronic cutting machine like a Cricut or Silhouette, you could certainly use it to cut out precise letters from adhesive vinyl and perfectly shaped number circles, I deliberately designed this project to be accessible to everyone. Not everyone has access to fancy crafting equipment, and I wanted to ensure that anyone, regardless of their toolkit, could create these charming countdowns. The satisfaction of a beautiful handmade item is just as rewarding when crafted with simple punches and stickers, proving that you don’t need high-tech gadgets to make something truly special and memorable.
Step-by-Step Guide to Crafting Your Valentine’s Day Countdown Jars
Step 1: Personalize Your Jars with Initials
Begin by selecting the initial of your loved one or child from your alphabet sticker sheets. Carefully peel the sticker and adhere it firmly onto the glass portion of the gumball machine jar. Take a moment to center it nicely and ensure it’s straight for the best aesthetic appeal. The clear glass provides an excellent backdrop for the letter, making it stand out beautifully. This simple step transforms a generic candy jar into a personalized treasure, signaling exactly who this special countdown belongs to, and sparking excitement from the very beginning of the crafting process.
Step 2: Print Your Countdown Numbers
Next, download the specially designed numbered circle file, conveniently located at the bottom of this post. Once downloaded, open the file on your computer and print it onto either white cardstock or white sticker paper. I wholeheartedly recommend using sticker paper if you have it; it dramatically simplifies the adhering process later on. However, if sticker paper isn’t available, standard white cardstock works perfectly. Just be prepared to manually glue each circle onto the candies in a subsequent step. When printing, ensure your printer settings are set to “actual size” or “100%” to maintain the correct dimensions for your 5/8 inch circle punch.
Step 3: Precisely Punch Out Your Numbers
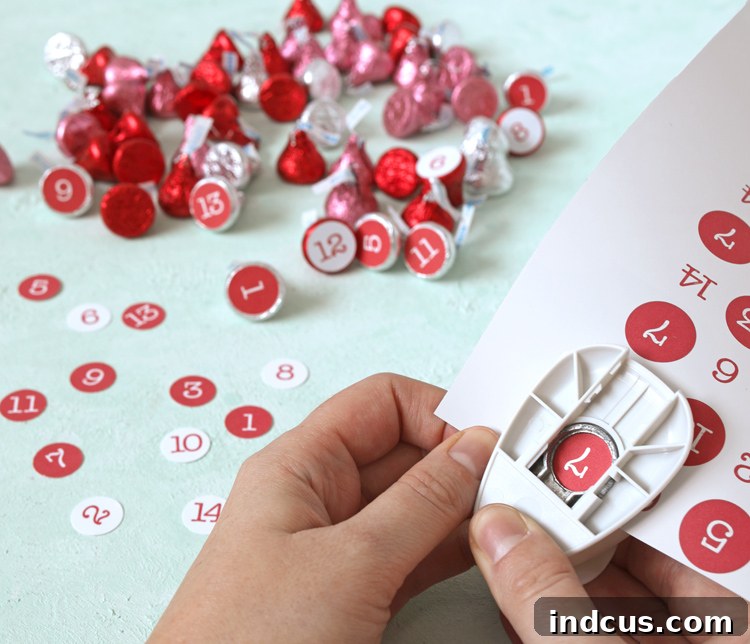
With your printed numbers ready, grab your 5/8 inch circle punch. To achieve clean, accurate cuts, I find it incredibly helpful to hold the punch upside down. This allows you to clearly see the number as you align it within the punch’s cutting window, ensuring that each circle is perfectly centered and no part of the number is cut off. Carefully punch out all fourteen numbers for each jar, aiming for crisp edges and precise circles. This step requires a little patience but results in a professional-looking finish for your countdown labels.
Step 4: Adhere Numbers to Your Chosen Candies
Now for the fun part involving the treats! Select your favorite small, round candies that will fit comfortably inside the jars – chocolates, jelly beans, or even small gumballs are excellent choices. If you printed your numbers on sticker paper, simply peel off the backing and firmly press each numbered sticker onto the flat bottom of a candy. If you opted for cardstock, a small dab of hot glue or a sturdy school glue stick will work wonderfully. Apply the adhesive to the back of the cardstock circle, then carefully attach it to the bottom of each candy. Ensure the numbers are facing down when placed in the jar, ready to be revealed one by one. Allow any glue to dry completely before proceeding.
Step 5: Fill Your Jars and Initiate the Countdown!
Finally, it’s time to assemble your delightful countdowns. Carefully place the numbered candies into each personalized jar. Arrange them so that the numbered side faces upwards, making it easy to see which day’s candy is next. Once February rolls around, the exciting ritual begins! Each day, starting from February 1st, your child can choose one candy from their jar, eagerly anticipating Valentine’s Day. This daily little treat not only satisfies a sweet tooth but also serves as a charming reminder of the love and special celebration just around the corner. Imagine the smiles and joy this simple routine will bring each morning!
The Joyful Unveiling: Reactions and Recommendations
I cannot adequately express how thrilled I am with this little project, and let me tell you, my kids’ reactions were absolutely priceless! The moment they spotted the cute gumball machine jars, neatly lined up in the kitchen with their initials, their eyes lit up with pure excitement. They immediately started asking, “Mommy, when can we start eating the candy?!” It was an instant hit, and their anticipation made all the crafting effort worthwhile. This craft isn’t just about the finished product; it’s about the joy it brings and the lasting memories it helps create.
If you’re feeling inspired to create these wonderful Valentine’s Day countdowns for your own family, I have one crucial piece of advice: RUN, don’t walk, to your nearest Hobby Lobby! These charming gumball machine candy jars are incredibly popular, especially as Valentine’s Day approaches. The ones at my local store were practically flying off the shelves, a testament to their appeal and versatility for holiday crafting. Stock up on these adorable containers and all your other supplies to ensure you don’t miss out on creating this heartwarming tradition. This DIY Valentine’s Day craft is more than just a project; it’s a way to infuse your home with love, excitement, and a little bit of daily sweetness throughout the month of February.
Embrace the spirit of handmade gifts and family traditions this Valentine’s Day. This easy-to-make candy jar countdown is a perfect example of how simple ideas can lead to profound joy and cherished moments. It’s a tangible representation of love that your children can interact with daily, making the lead-up to the holiday truly special. Imagine their delight each morning as they pick their numbered candy, counting down to a day filled with even more love and celebration. This craft is a testament to the fact that the best gifts are often those made with a little bit of creativity and a lot of heart.
Found this idea delightful? Pin it to save it for later and inspire others!