
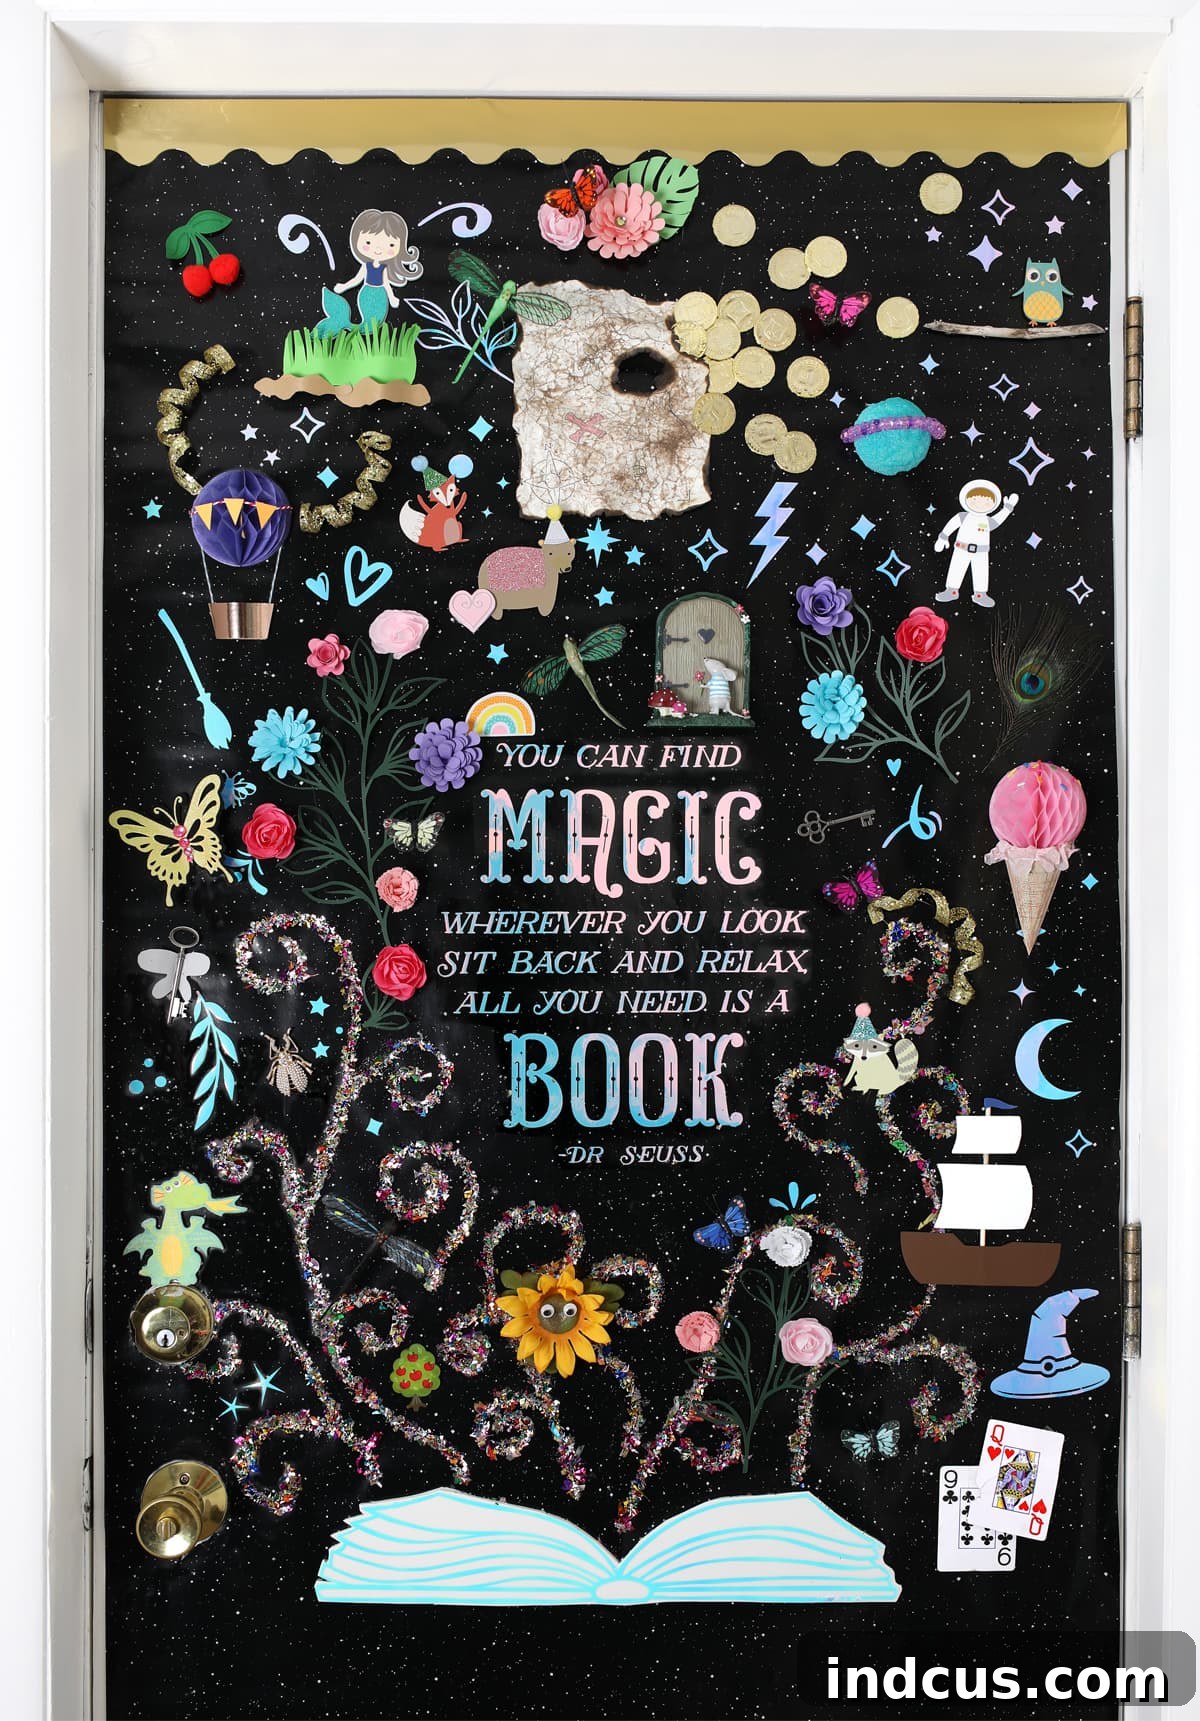
Unlocking Imagination: Crafting a Magical Reading Bulletin Board or Classroom Display
Welcome, visionary educators, dedicated PTO members, and passionate librarians! Today, we’re embarking on a captivating journey to transform your classroom or library space into a vibrant tribute to the enchanting world of books. This post offers an inspiring bulletin board idea, meticulously designed to celebrate the profound joy and boundless magic that reading brings into our lives.
Our creative endeavor draws its inspiration from the timeless wisdom of Dr. Seuss, whose words perfectly encapsulate the essence of this project:
You can find magic wherever you look.
Sit back and relax, all you need is a book.
– Dr. Seuss
This powerful quote serves as the cornerstone for a display that doesn’t just decorate a space, but actively encourages students to explore, dream, and discover through the pages of a book. Imagine a dynamic visual that instantly communicates the wonder and adventure awaiting them. Here’s a sneak peek at the completed bulletin board, a gateway to countless stories and imaginative realms:
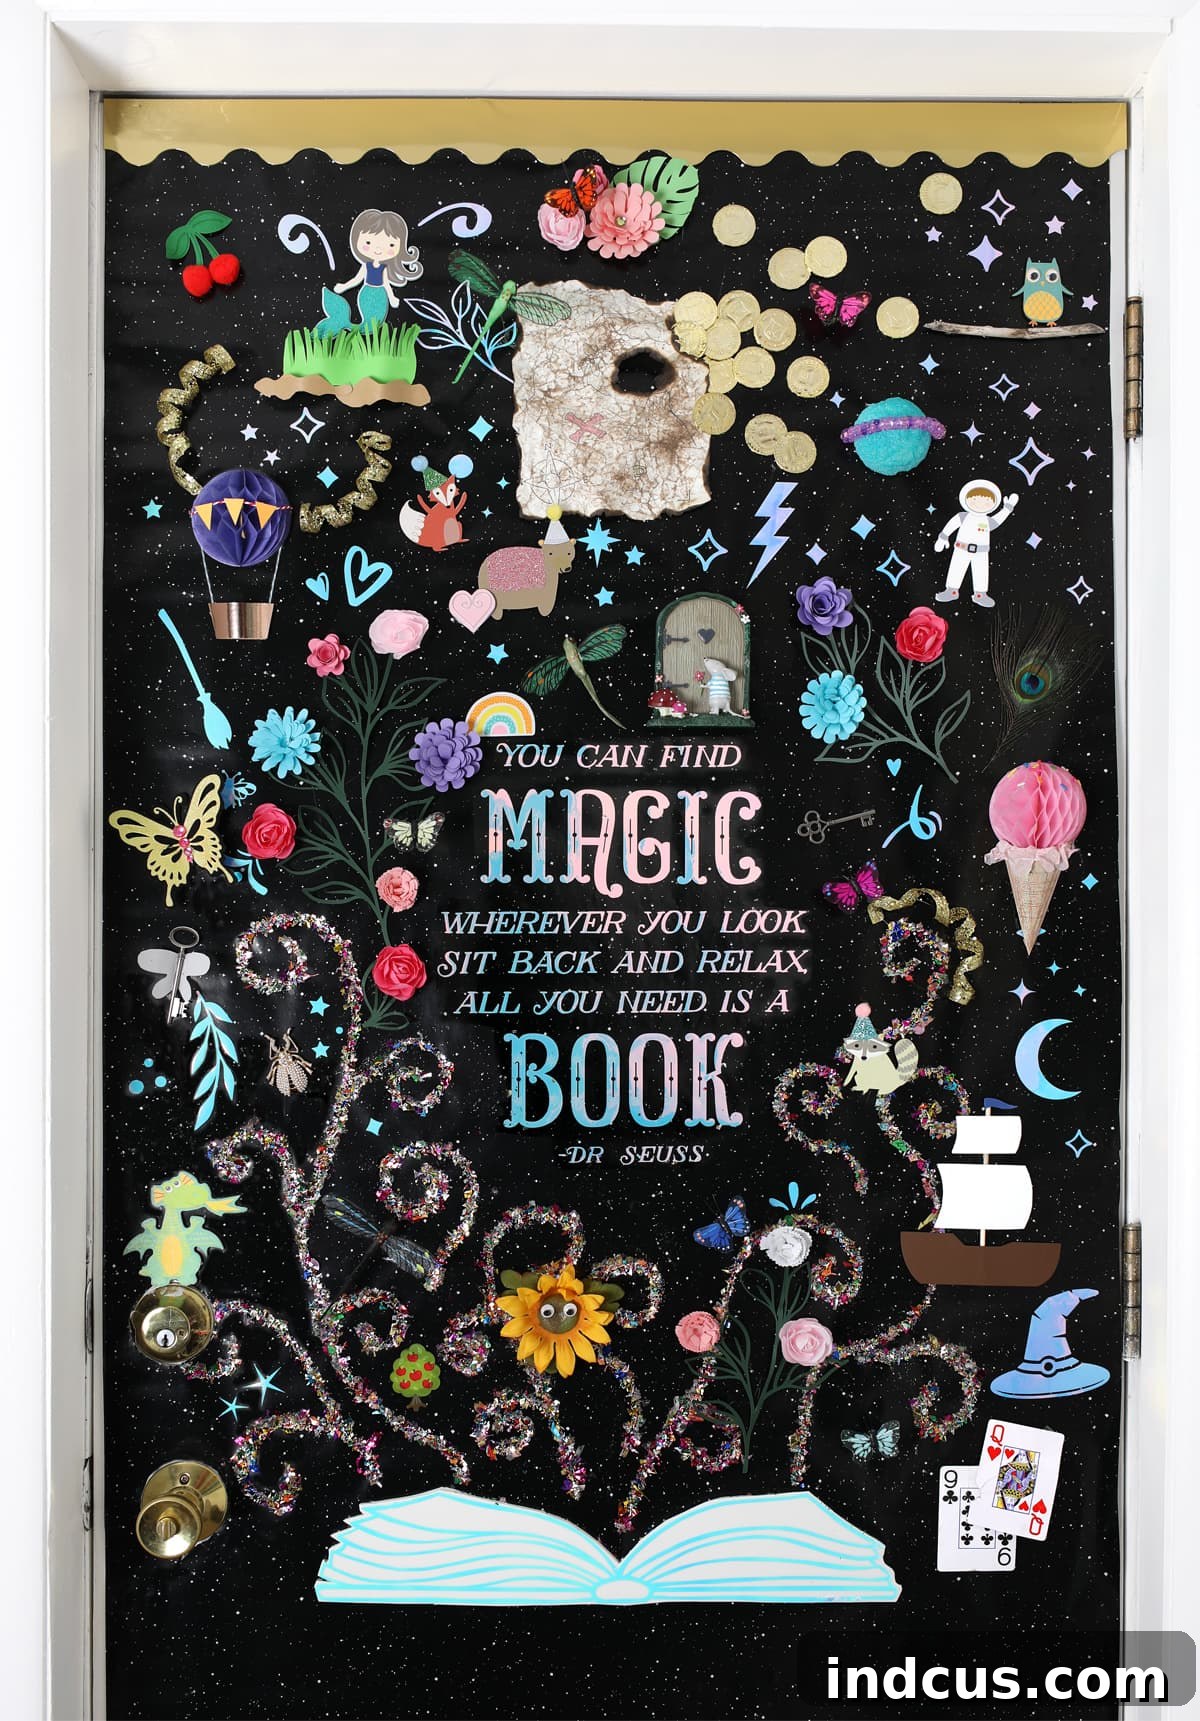
Isn’t it absolutely captivating? For many of us, the love affair with reading began in elementary school, unlocking doors to fantastical worlds and unforgettable characters. This classroom decoration aims to bottle that very feeling—the thrill of journeying to far-off magical places, battling dragons, solving mysteries, or simply understanding a different perspective, all from the comfort of a good book. It’s more than just a decoration; it’s an invitation, a spark for curiosity, and a celebration of literacy.
This post is proudly sponsored by Hobby Lobby. All creative visions and opinions shared are entirely my own. We appreciate their support in bringing this magical project to life!
Unveiling the Magic: A Detailed Look at Your Reading Wonderland
This bulletin board is a symphony of intricate details, carefully curated to evoke a sense of wonder and excitement. Some elements were acquired, some lovingly handcrafted, and others simply gathered from overlooked corners of my home and craft room. The beauty of this project lies in its adaptability: you have the creative freedom to personalize every aspect, making it uniquely yours and perfectly suited to your specific space and student interests. Allow me to guide you through the essential supplies I utilized and the step-by-step process I followed, empowering you to recreate this enchanting display with ease.
Essential Supplies for Your Enchanting Display
Before diving into the creative process, gathering your materials is key. I found a treasure trove of inspiration and supplies at Hobby Lobby, a fantastic resource for any crafting or decorating project. Here’s a list of the foundational items needed to begin:
- Bulletin Board Paper: Opt for a dark, celestial theme like “Night Sky” to provide a dramatic and mystical backdrop for your magical scene. This instantly sets a dreamy tone.
- Metallic Scalloped Trimmer: A gold, scalloped trim adds a touch of elegance and frames your display beautifully, much like a gilded frame around a precious painting.
- Thick Craft Foam: This material is crucial for giving your main book element a captivating 3D effect, making it literally “pop” off the board. The added dimension enhances visual interest.
- Holographic Opal Adhesive Vinyl: This dazzling vinyl will be used for the book’s design, reflecting light in a spectrum of colors and creating a truly magical, ethereal glow.
- Confetti: Choose iridescent or multi-colored confetti to create swirling patterns of stardust and magic emanating from your book. The sparkle adds dynamic movement and whimsy.
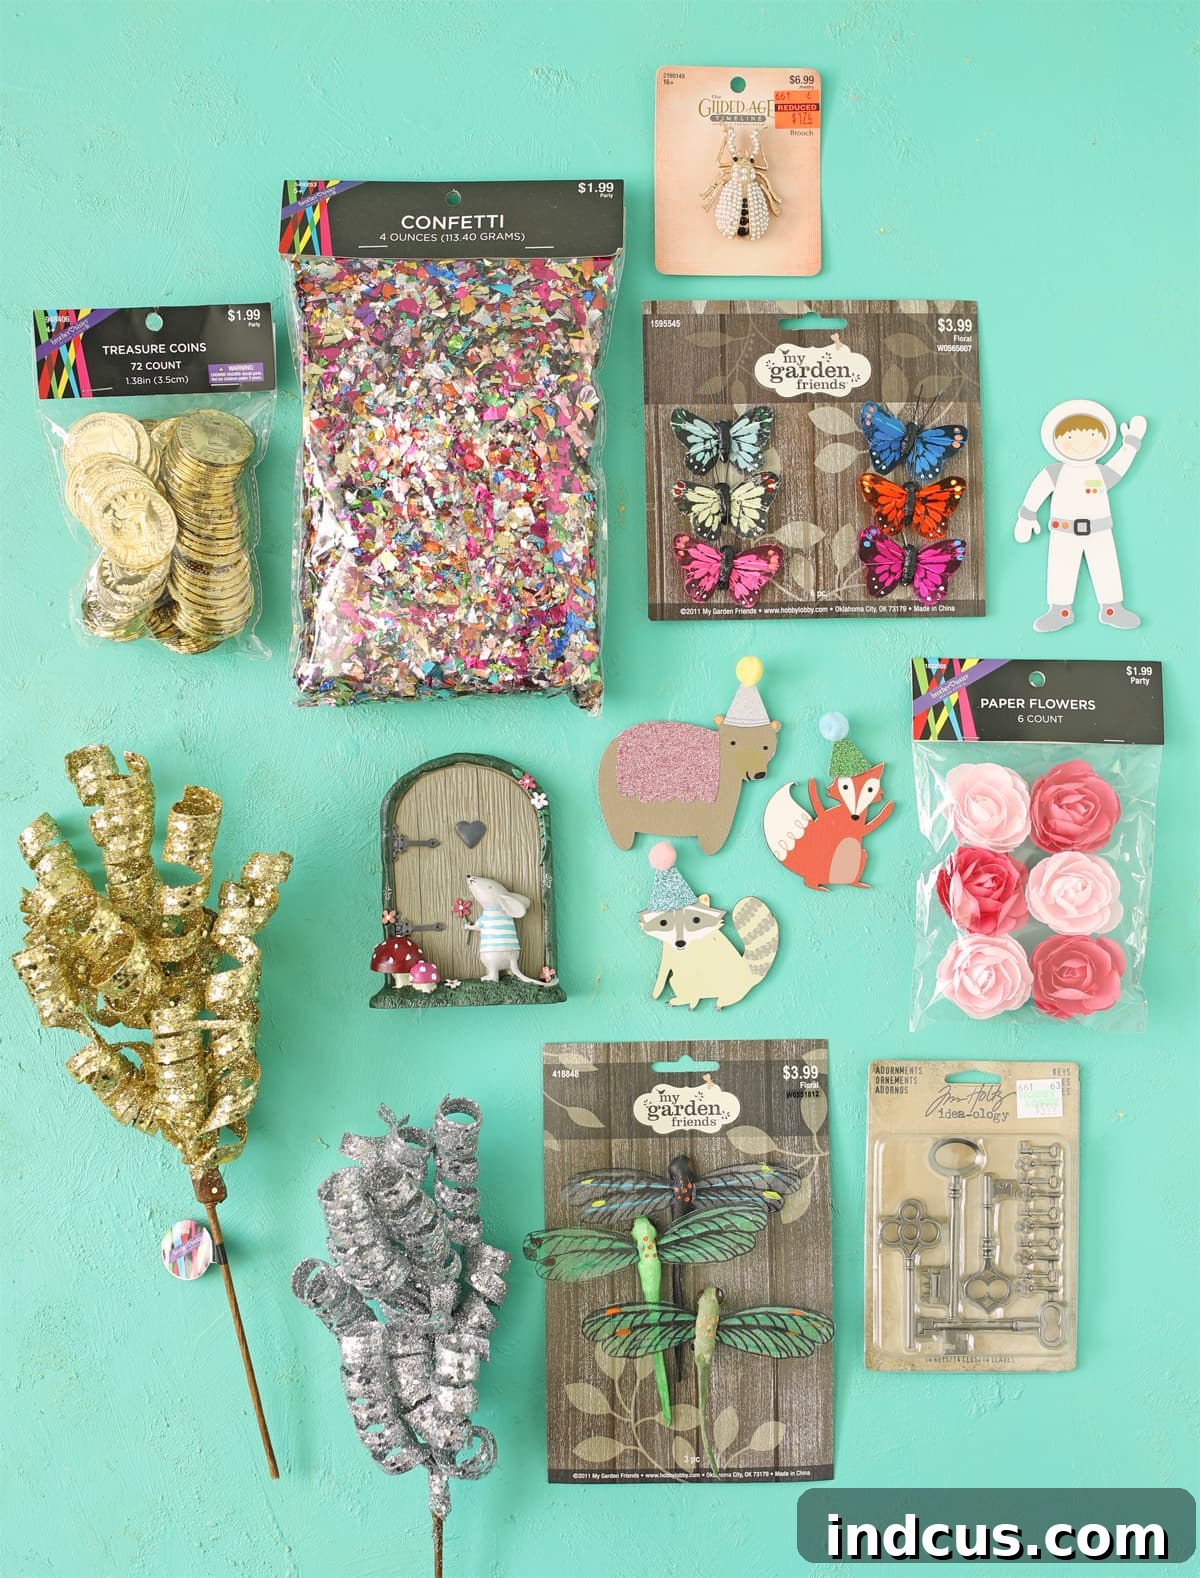
Beyond these foundational items, you’ll need a diverse array of enchanting details and whimsical doodads. This is where your creativity truly shines! I found endless inspiration simply by wandering through the aisles of Hobby Lobby, specifically seeking out items that sparked a feeling of “magic.” Consider exploring these sections to uncover your hidden treasures:
- The Fairy Garden section often holds tiny figurines, miniature furniture, and delicate flora that can bring storybook scenes to life.
- The Miniatures department is perfect for finding small, intricate objects that can represent anything from tiny creatures to enchanted objects.
- Scrapbook Embellishments are a goldmine for stickers, die-cuts, and small decorative elements that can quickly fill your magical landscape.
- Don’t overlook the Painted Wood Shapes for pre-made fantastical forms like castles, stars, or animals that can be easily incorporated.
- The Party section is surprisingly fruitful for glitter, small toys, themed decorations, and other whimsical items perfect for a celebratory reading display.
These sections are brimming with potential to add depth, character, and sparkle to your bulletin board. The goal is to collect a variety of shapes, textures, and colors that collectively tell a story of wonder.
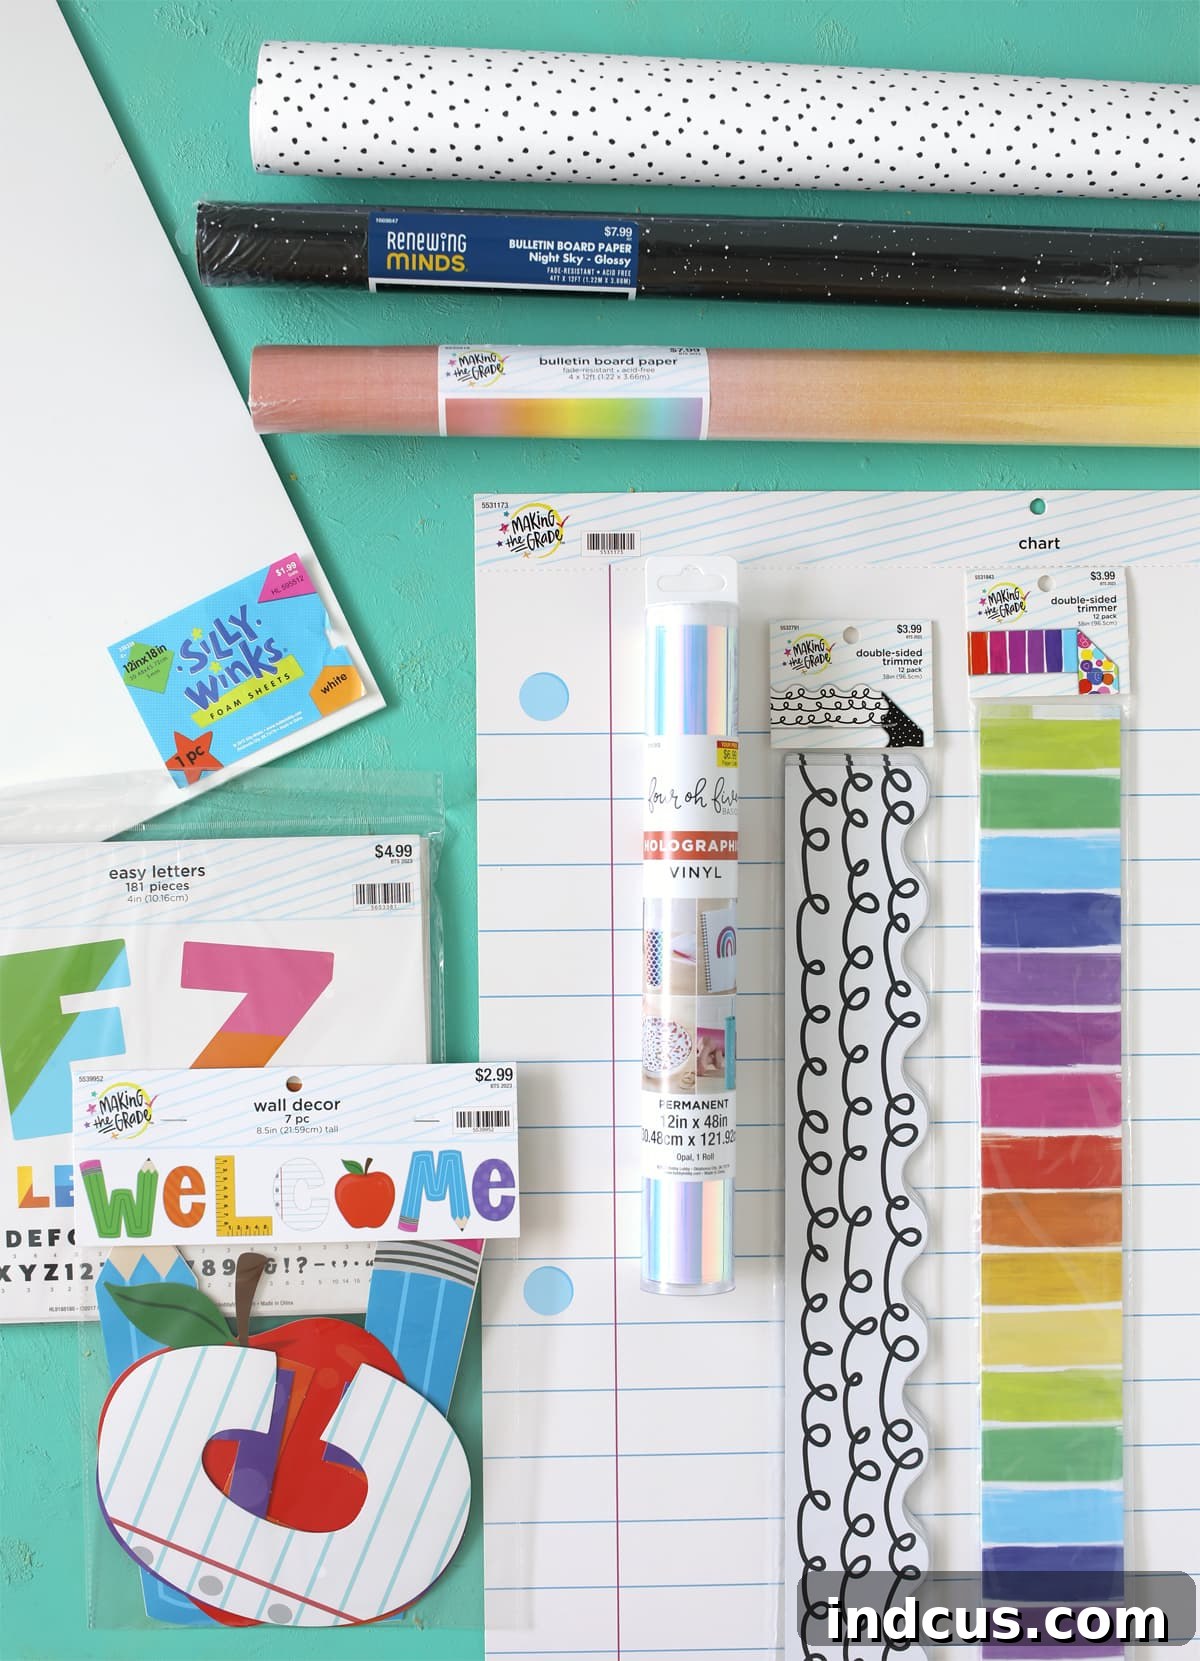
A Helpful Hint: If you frequently create bulletin boards or classroom displays, make sure to explore Hobby Lobby’s dedicated classroom decor section. They consistently update their inventory with trendy, engaging themed papers, adorable cutouts, and stylish trims that can truly elevate any educational space. I’ve personally stocked up on several captivating designs for future projects, confident that they’ll spark joy and learning in equal measure. Their range allows for incredible versatility, ensuring you can find something perfect for every season, subject, or reading theme.
Step-by-Step Guide: Conjuring Your Magical Reading Display
Now that your supplies are gathered, let’s bring this vision to life! The process is designed to be enjoyable and creatively liberating. Begin by carefully cutting your chosen bulletin board paper (the “Night Sky” background) to fit the exact dimensions of your bulletin board or door. However, resist the urge to hang it just yet! Lay the paper flat on a large table or the floor. This horizontal position is crucial, especially for the glitter application, as gravity will be your ally, not your adversary, in ensuring an even, dazzling spread.
Crafting the Central Masterpiece: The Giant Magical Book
The giant book is the undeniable focal point of this display, symbolizing the gateway to all magical adventures. To make this process seamless, I’ve created a convenient cut file for both the Dr. Seuss quote and the book design. You can easily download these files at the bottom of this article by clicking the blue button, making it simple to replicate this stunning element.
To create the book, I began by cutting the intricate book design from the holographic opal adhesive vinyl. This was my inaugural experience working with this particular type of vinyl, and I discovered a valuable tip I’m eager to share: this vinyl often comes with a thin, clear protective plastic sheet adhered to its surface. It’s essential to gently peel off this protective layer *before* feeding the vinyl into your cutting machine. Neglecting this step can lead to a less-than-perfect cut or even damage to your machine’s blade.
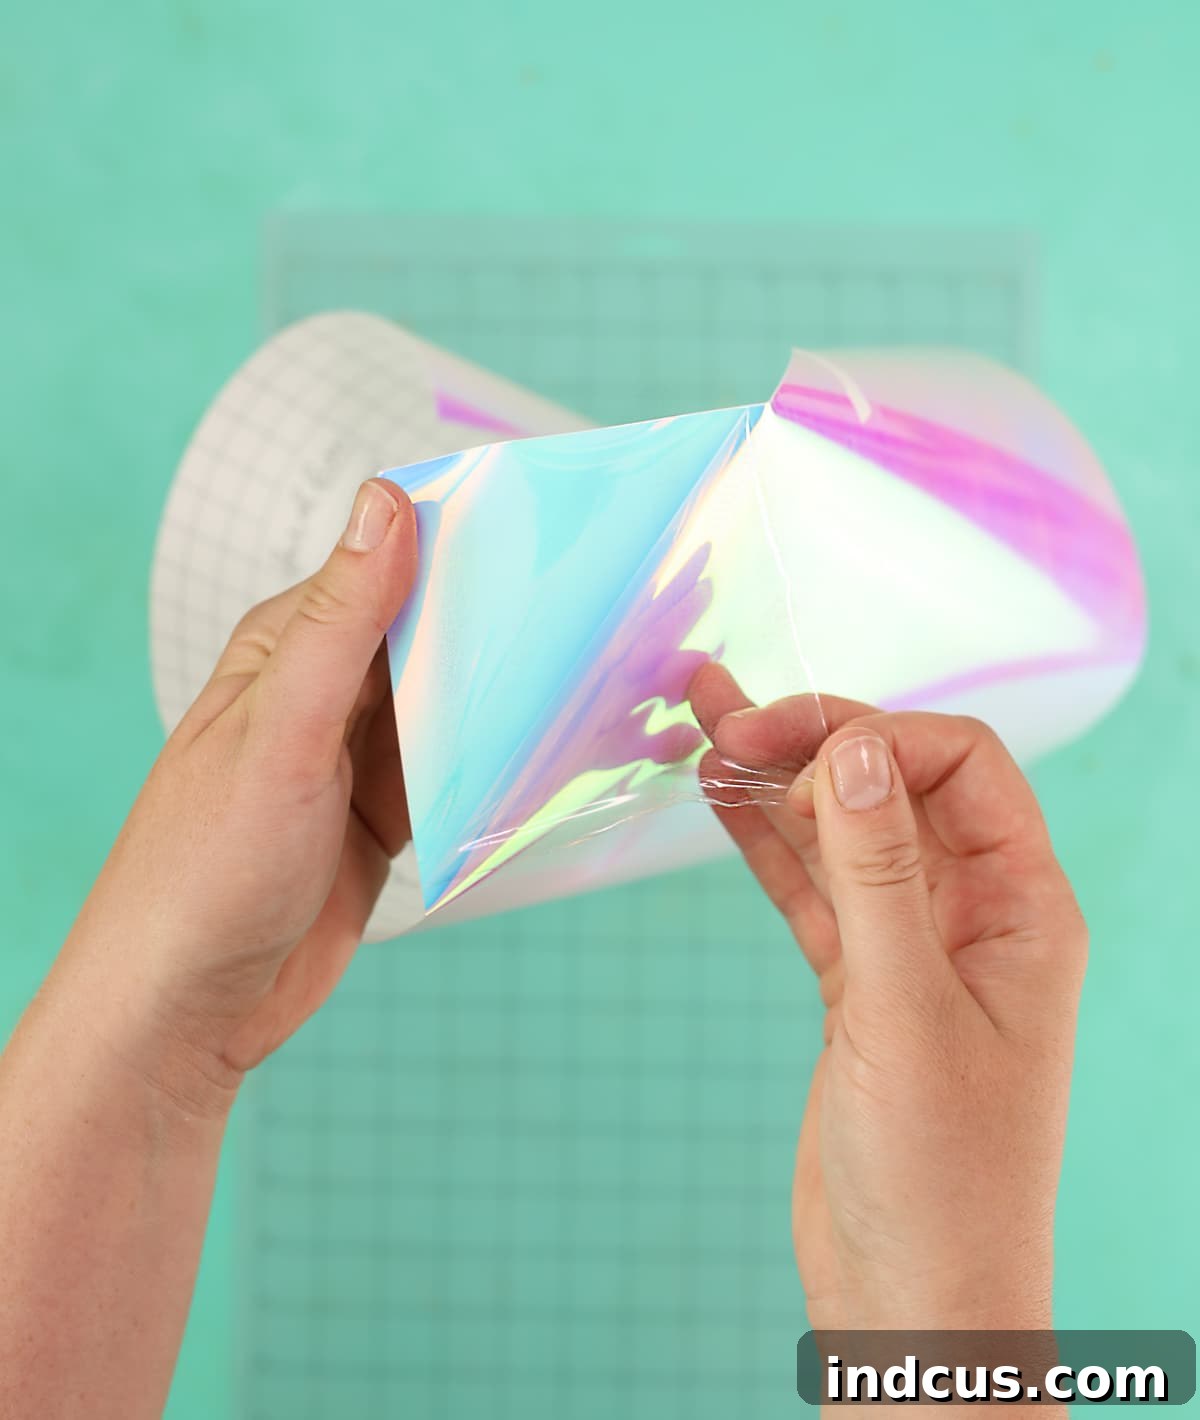
Once your vinyl design has been meticulously cut and weeded (removing the excess vinyl), carefully use transfer tape to lift and adhere it onto a sheet of thick craft foam. The foam serves a dual purpose: it provides rigidity and, more importantly, creates that striking three-dimensional effect that makes the book literally leap off the page. After applying the vinyl, use a sharp pair of regular scissors to trim precisely around the edges of the book shape. The use of thicker foam significantly enhances the visual depth of the book, giving it a more substantial and enchanting presence. I was particularly delighted with the elevated finish this technique provided. Finally, attach your completed 3D book to the bulletin board paper using a standard kid’s glue stick, ensuring it adheres smoothly and securely.
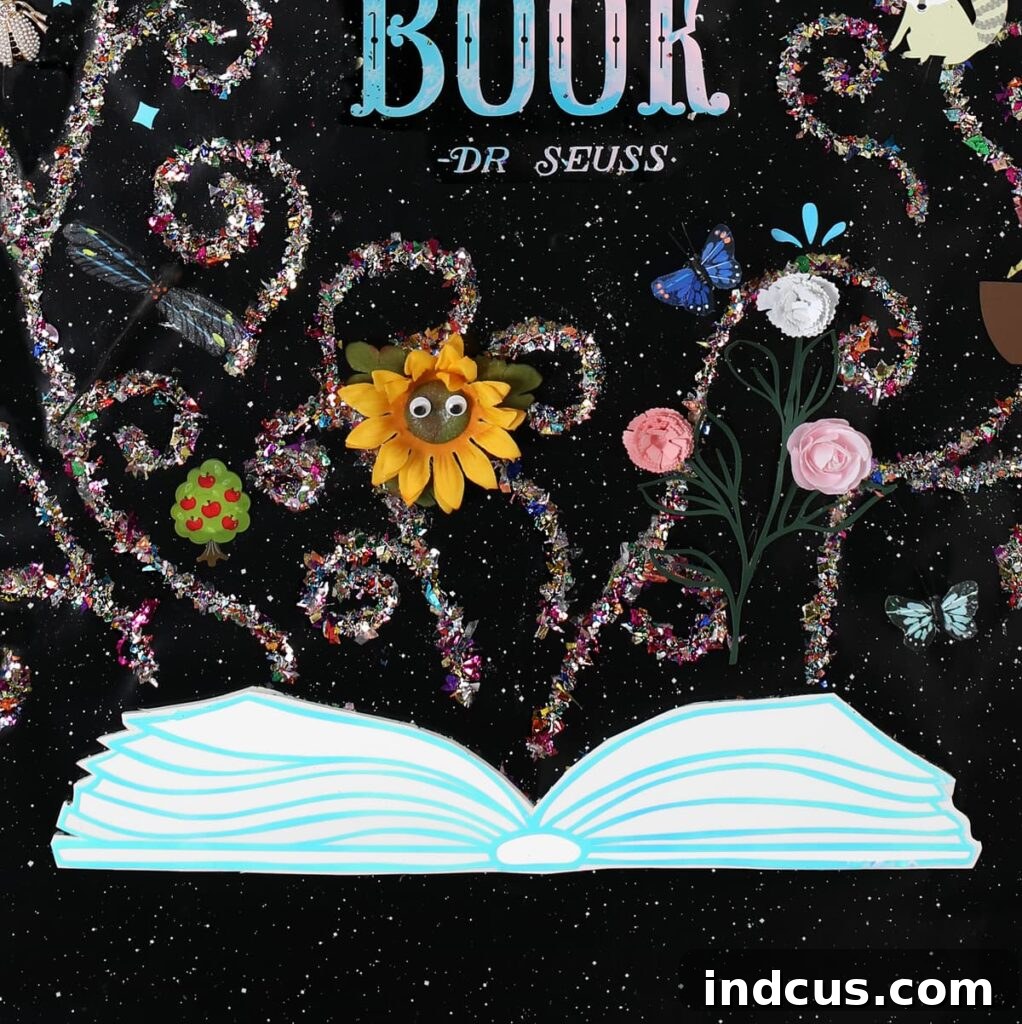
Designing Celestial Trails: How to Create Glitter Swirls
With the captivating 3D book and the inspiring Dr. Seuss quote firmly in place on your bulletin board paper, it’s time to infuse the display with a sense of dynamic movement and sparkling magic—through the addition of glitter swirls. This step is where the flat background truly comes alive with cosmic energy.
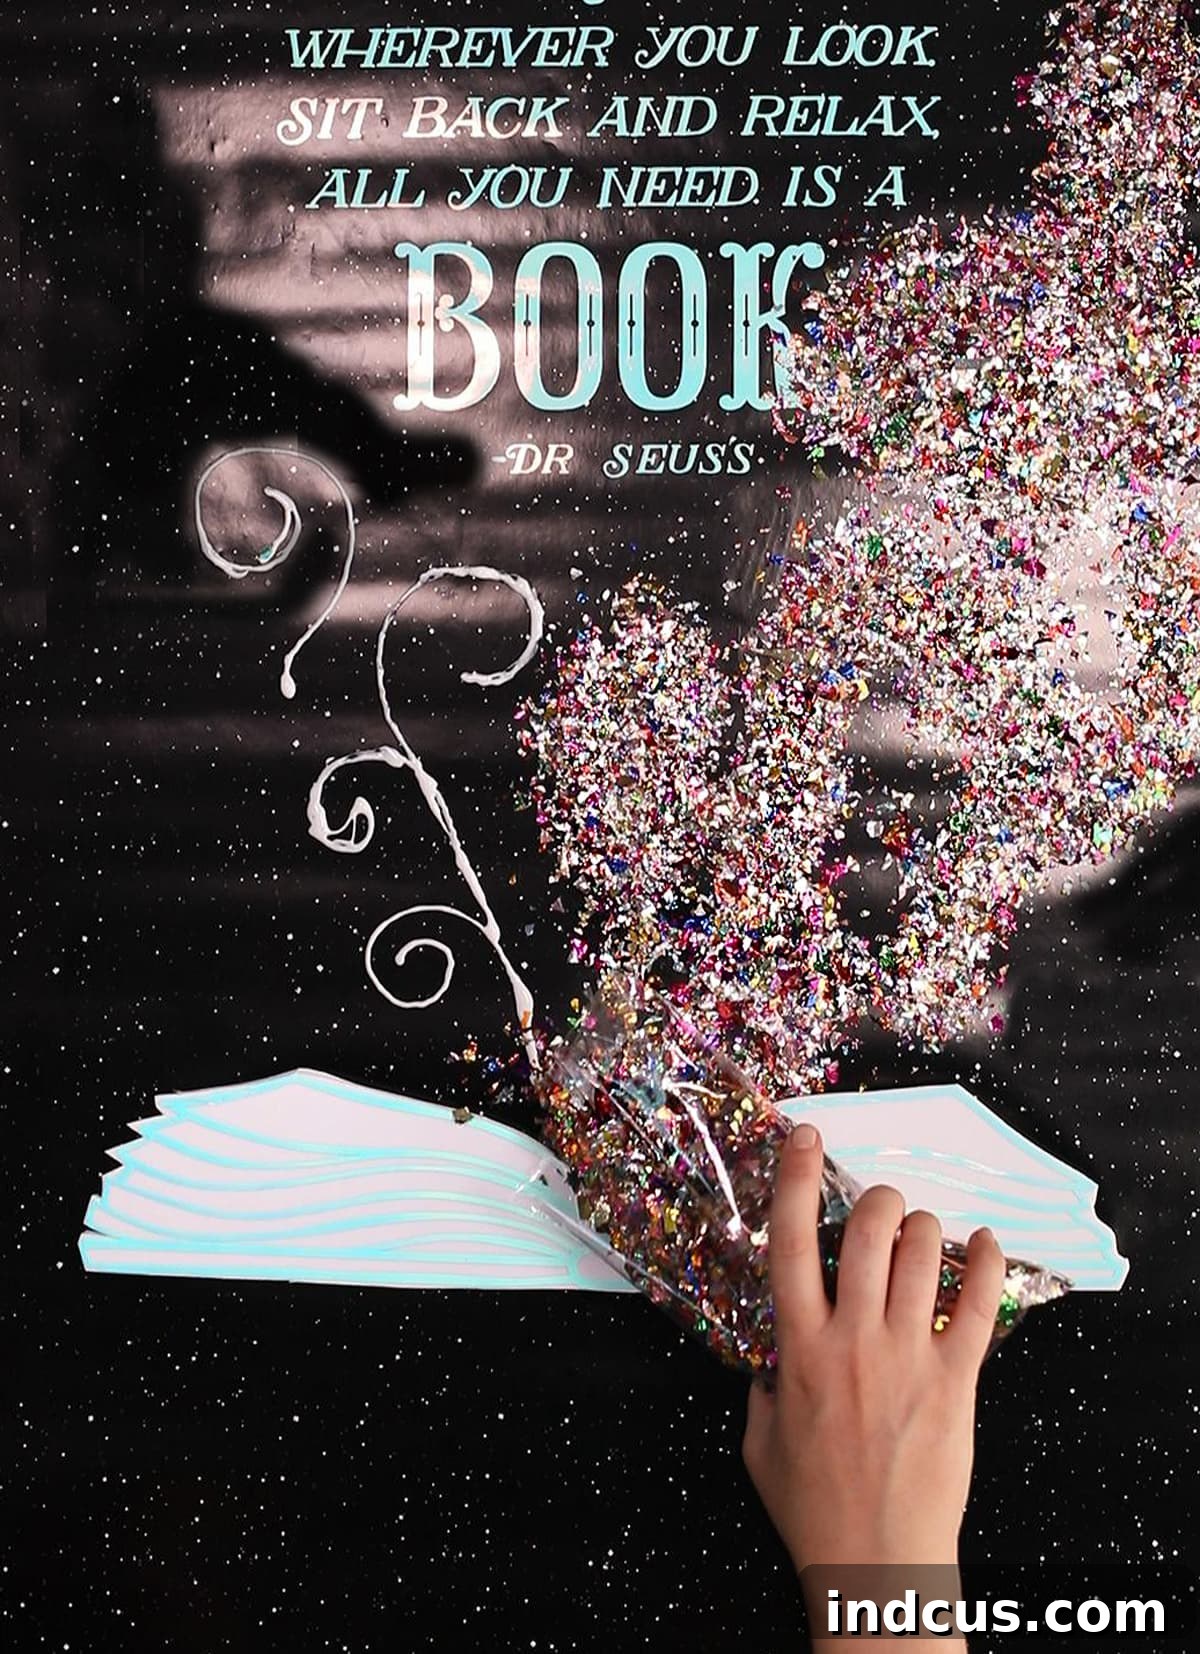
Simply take a bottle of liquid glue and draw free-form swirling patterns across the bulletin board paper, emanating outwards from the magical book. Don’t be afraid to create whimsical, varied patterns; imagine trails of stardust or magical energy swirling from the book’s pages. Once you’ve laid down your glue trails, generously sprinkle your chosen confetti—whether iridescent, metallic, or multi-colored—all over the wet glue. Ensure every bit of glue is covered. Allow the glue to dry completely, which might take a few hours depending on the thickness of the glue. Once dry, gently lift the paper and shake off any excess confetti. Yes, this process can be a little messy, but trust me, the dazzling, vibrant, and utterly magical result is absolutely worth every tiny sparkle left behind. The confetti creates an incredible visual effect, catching the light and adding a truly enchanting dimension to your display.
Populating Your World: Adding the Magical Details
Now comes arguably the most exhilarating part of the entire project: adorning your bulletin board with all the delightful, imaginative details that bring the magic of reading to life. First, carefully hang your prepared bulletin board paper in its designated spot. Then, using hot glue for a secure and lasting hold, begin attaching each of your collected items. There’s no rigid formula or strict arrangement here; the beauty lies in creating a whimsical “hodgepodge” of happy, imaginative things you might encounter within the pages of countless books. The goal is an organic, overflowing tapestry of wonder. I was absolutely thrilled with the outcome—it transformed into a giant, captivating 3D “I Spy” game, inviting curious eyes to discover new elements with every glance!
To spark your imagination and help you brainstorm the perfect additions for your unique display, here’s an expanded list of thematic elements you could consider:
- Mystical Beings: Delicate fairies, mischievous gnomes, wise old wizards, or even friendly dragons can bring life to your display.
- Enchanted Landscapes: Vibrant mushrooms, climbing vines, blooming flowers, ancient trees, sparkling waterfalls, or even a hidden treehouse nestled amongst the branches.
- Cosmic Wonders: Shimmering stars, a crescent moon, swirling galaxies, distant planets, or shooting stars represent journeys beyond our world.
- Magic & Sorcery: Glimmering magic wands, flying brooms, bubbling potions, pointed wizard’s hats, mysterious spellbooks, or even a collection of enchanted keys.
- Fantasy Realms: Gallant knights, graceful princesses, imposing castles, fire-breathing dragons, or a majestic unicorn in a moonlit glade.
- Fairy Tale Artifacts: Cinderella’s pumpkin carriage, a sparkling glass slipper, Sleeping Beauty’s spinning wheel, a poisoned apple, or a magical lamp.
- Oceanic Adventures: Graceful mermaids, schools of colorful fish, ethereal jellyfish, sunken pirate ships, or glittering treasure chests filled with gold coins.
- Exploration & Travel: Miniature airplanes soaring through clouds, whimsical hot air balloons, daring submarines, elegant sailboats, powerful locomotives, or sleek race cars for tales of speed and adventure.
- Whimsical Tea Parties: Playing cards, delicate tea sets, a punctual white rabbit, curious toadstools, or a mad hatter’s hat for Wonderland-inspired stories.
- Nature’s Delights: Intricate butterflies, darting dragonflies, busy bees, singing birds, or tiny woodland creatures.
- Legendary Objects: A sword in a stone, Excalibur, an invisibility cloak, a golden egg, or even a map to a hidden kingdom.
Mix and match these ideas, or let them inspire entirely new ones that resonate with your students’ favorite stories and genres. The more varied and detailed your additions, the more engaging and visually stimulating your bulletin board will become. Each element should feel like a tiny window into another book, another adventure.
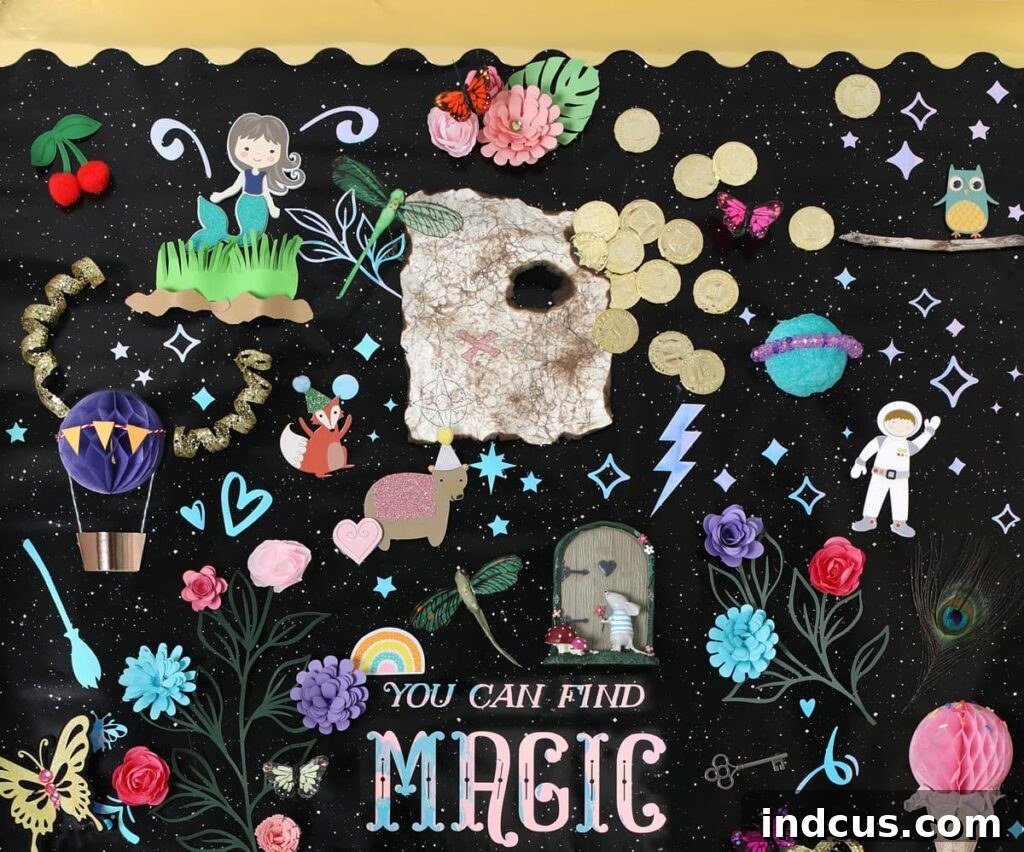
The final touch, often underestimated but incredibly impactful, was framing the top and bottom edges of the display with the elegant scalloped metallic gold trimmer. This seemingly small detail acts as a polished border, providing a refined finish and seamlessly tying all the magical elements together. It elevates the entire presentation from a simple collection of items to a cohesive, thoughtfully designed piece of art that truly captures the “magic of reading.”
Video Tutorial
For a complete visual guide to creating this magical reading bulletin board, a detailed video tutorial is available. Watch the step-by-step process and get expert tips to help you bring your vision to life.
(Note: Specific video embedding code has been removed to adhere to the request for no Javascript. Please refer to the original source for the video link if needed.)
Unlock Your Creativity: Accessing the Exclusive Cut Files
To help you recreate the core elements of this enchanting display, I am delighted to offer the reading quote and the distinctive book shape as complimentary downloadable cut files. These resources are designed to save you time and ensure a professional finish for your bulletin board.
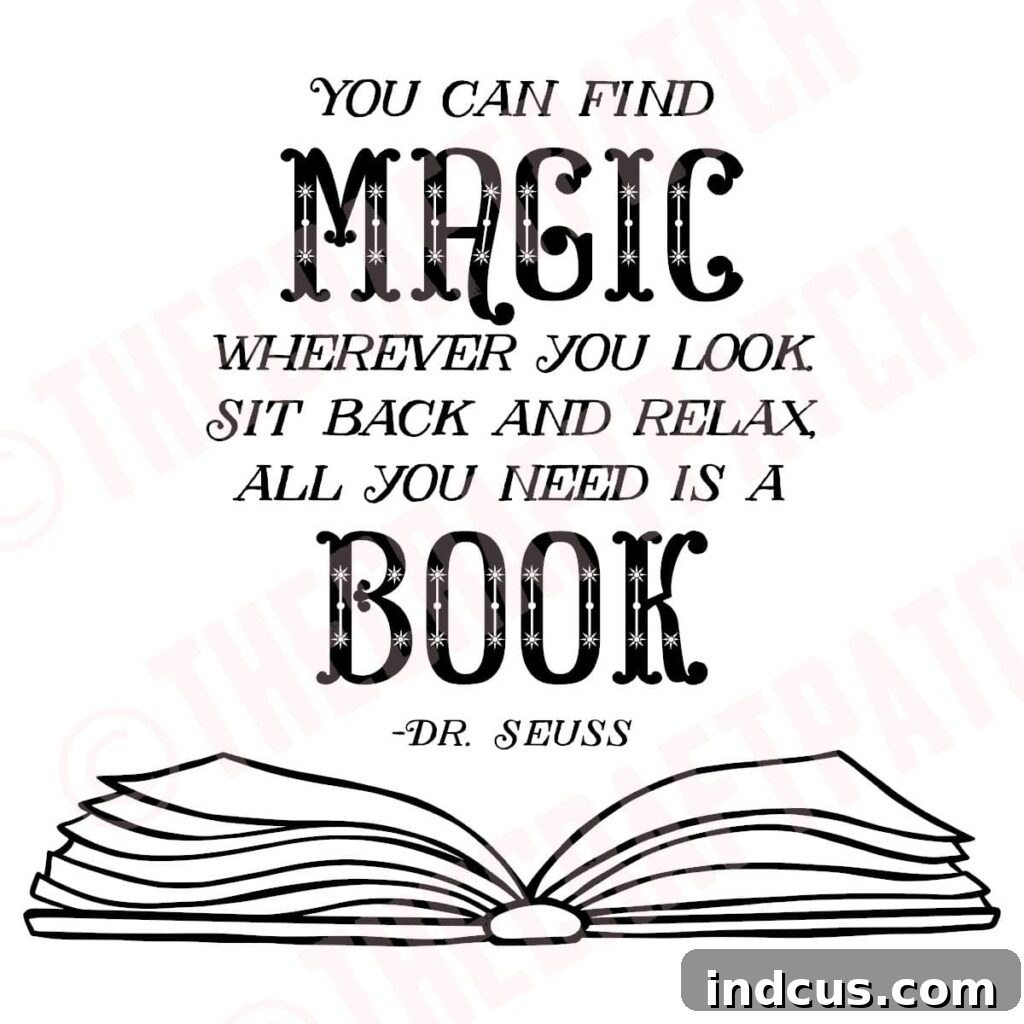
The download folder conveniently contains multiple file formats, including PNG, JPEG, and SVG versions, allowing you to choose the one that is most compatible with your cutting machine or crafting software. Simply select the file that best suits your needs and creative workflow. To gain instant access to these invaluable files, click the bright blue button below:
Embrace the Magic of Reading and Creating
After a period of feeling creatively stagnant, embarking on this project was the perfect antidote. It was incredibly rewarding to channel the boundless sense of wonder and escape that comes from reading into a tangible, visual representation. This bulletin board is more than just a decorative piece; it’s a constant reminder of the incredible journeys and lessons waiting within every book.
I sincerely hope this detailed guide inspires you not only to embark on your own creative endeavors but also to rekindle your passion for reading, and most importantly, to continue supporting the incredible work of our local educators, librarians, and PTO members. Your dedication to fostering a love of learning is invaluable. Happy crafting, and may your classroom be filled with endless stories and boundless imagination!







