
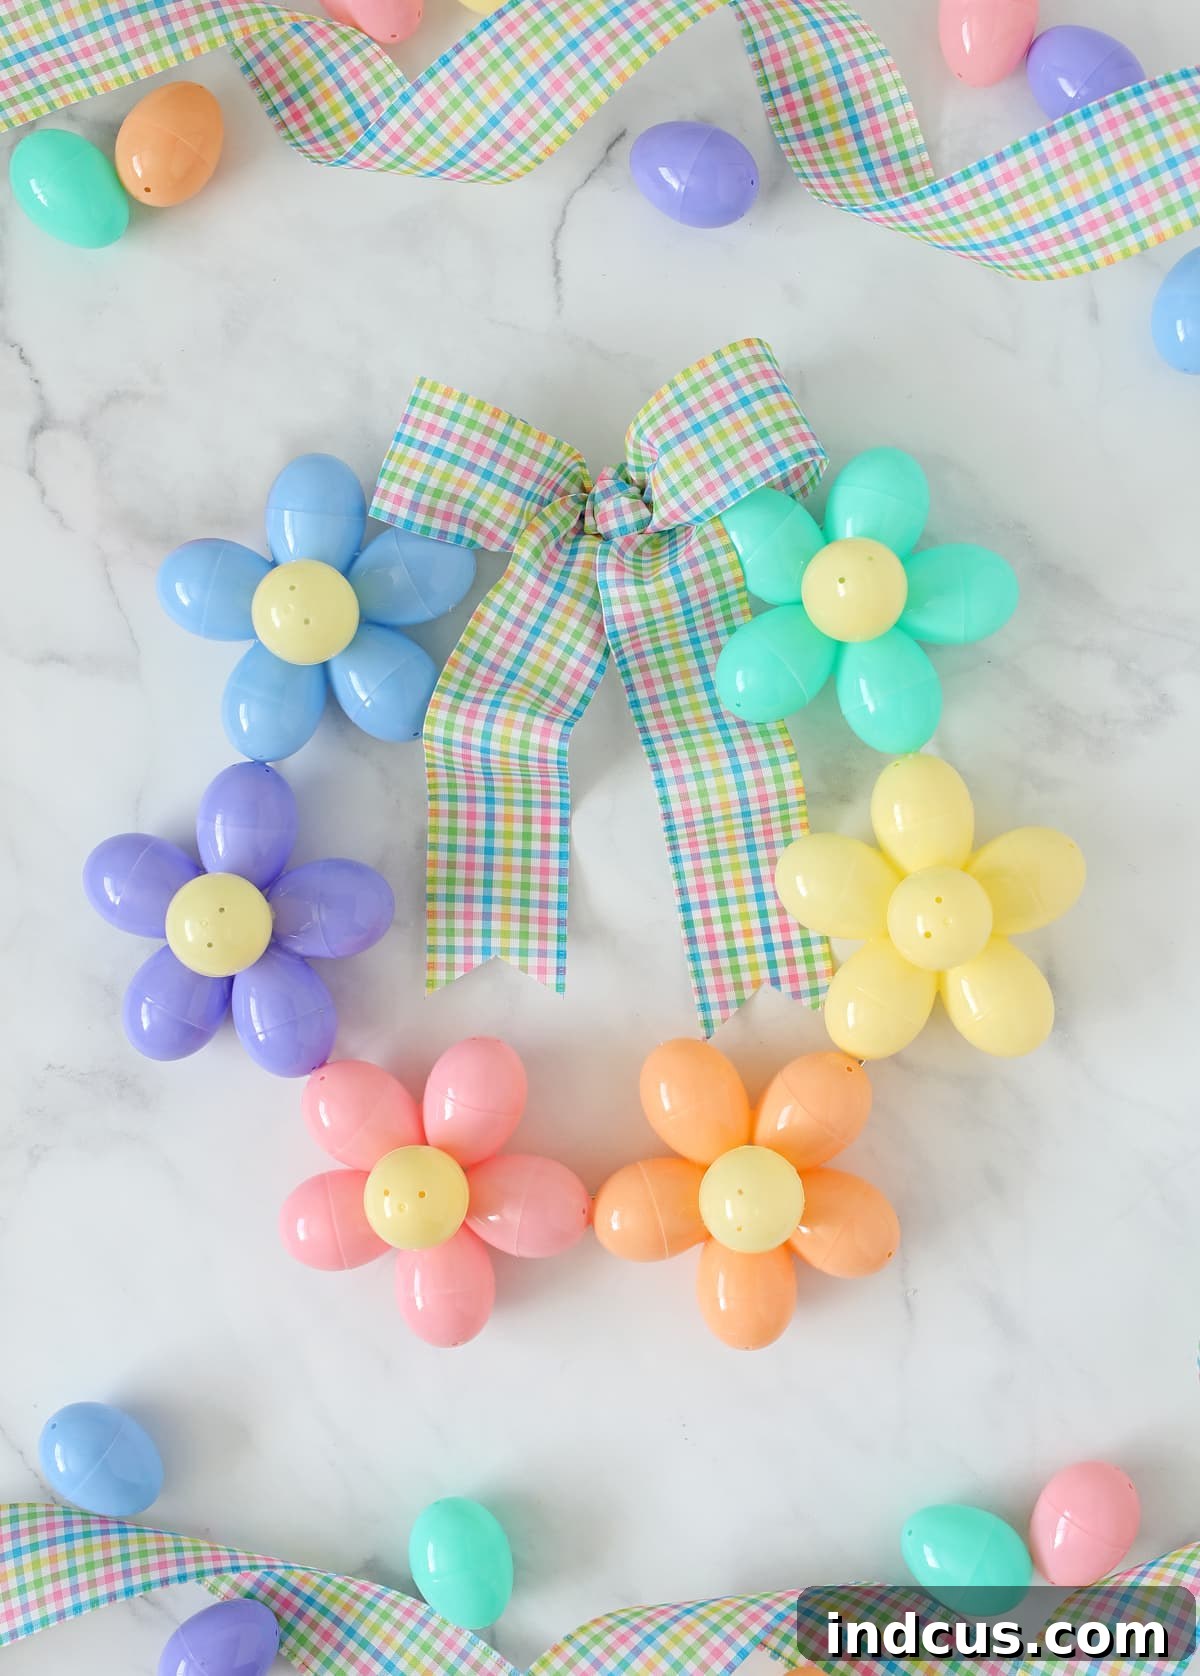
Transform Plastic Easter Eggs into a Stunning DIY Spring Flower Wreath: Your Ultimate Craft Guide
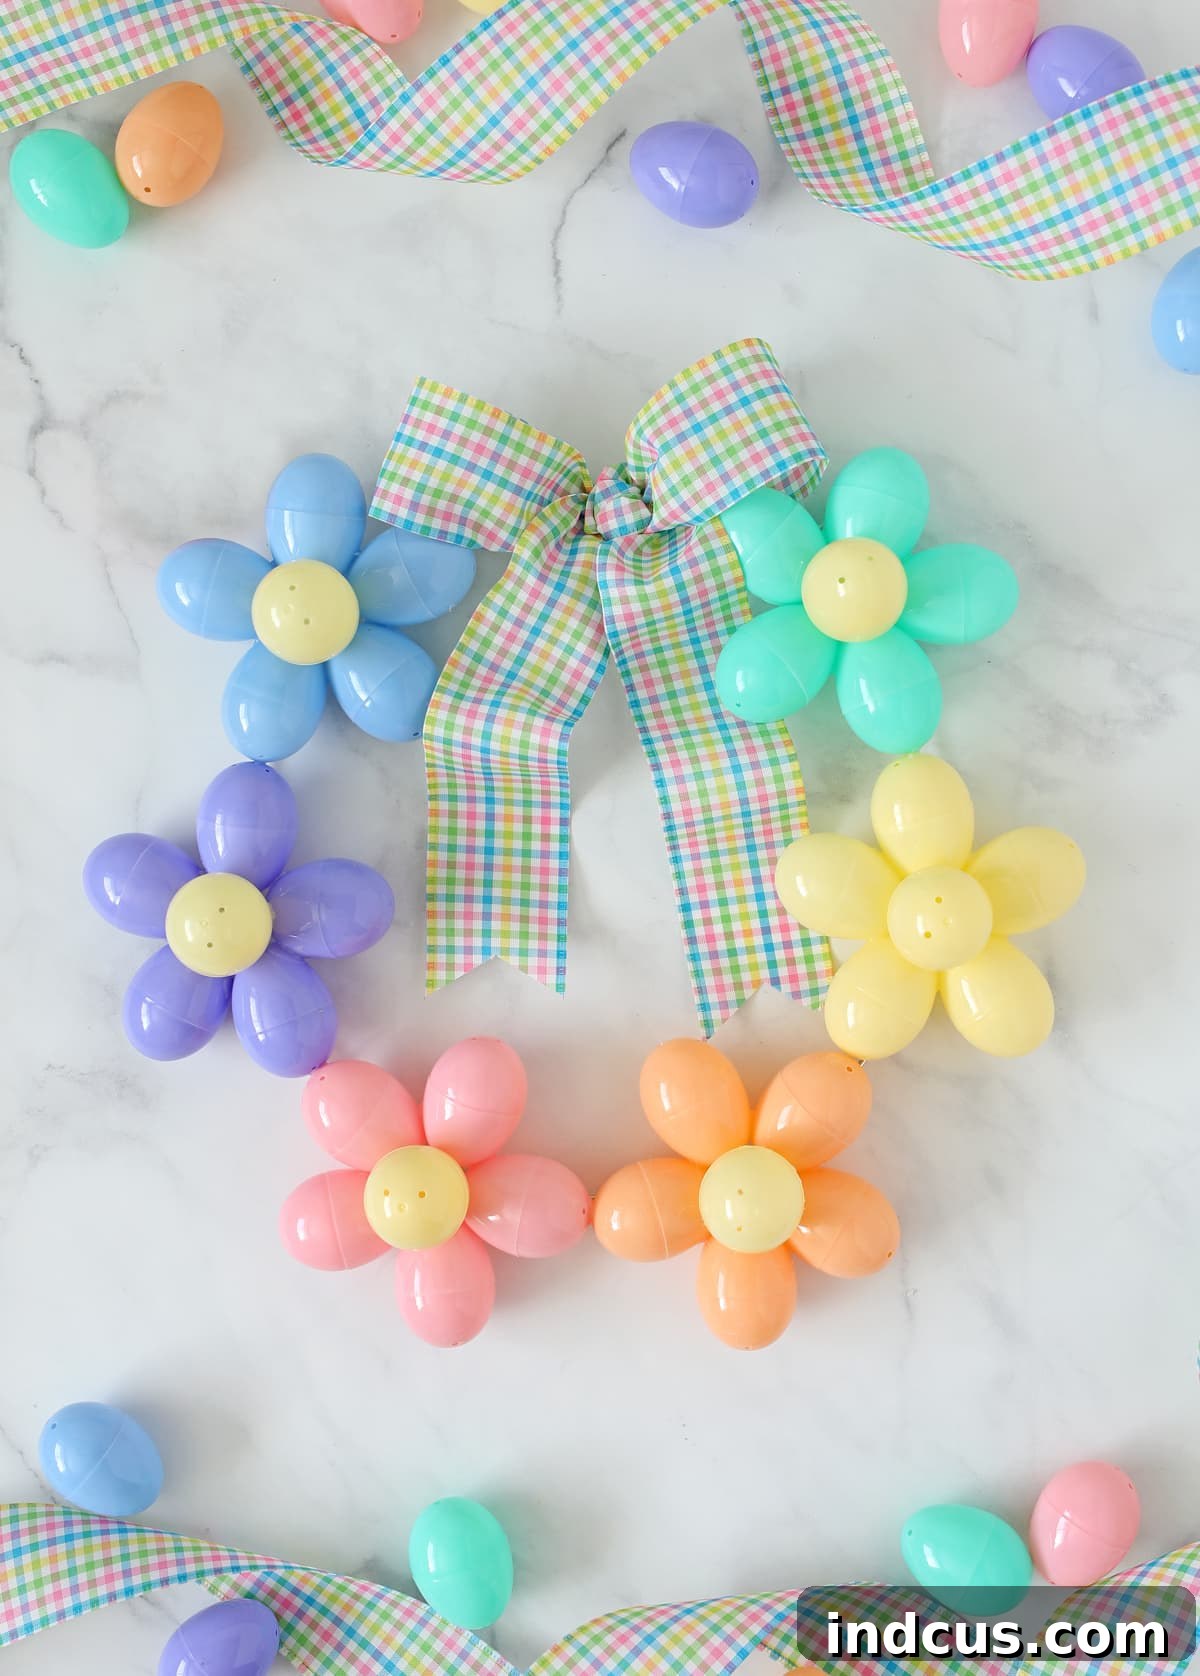
As the days grow longer and nature awakens, there’s a unique joy in bringing the vibrancy of spring into our homes. What better way to celebrate the season than with a beautiful, handmade decoration? This tutorial guides you through creating an enchanting DIY spring wreath, ingeniously crafted from an unexpected item: plastic Easter eggs. Far from their usual role in egg hunts, these colorful capsules are transformed into delightful floral blooms, resulting in a charming and sustainable piece of decor. This project is not only incredibly satisfying but also an excellent way to repurpose those leftover eggs, adding a personal touch to your spring festivities. Get ready to unleash your creativity and fashion a truly unique wreath that will brighten any door or wall with its vibrant charm.
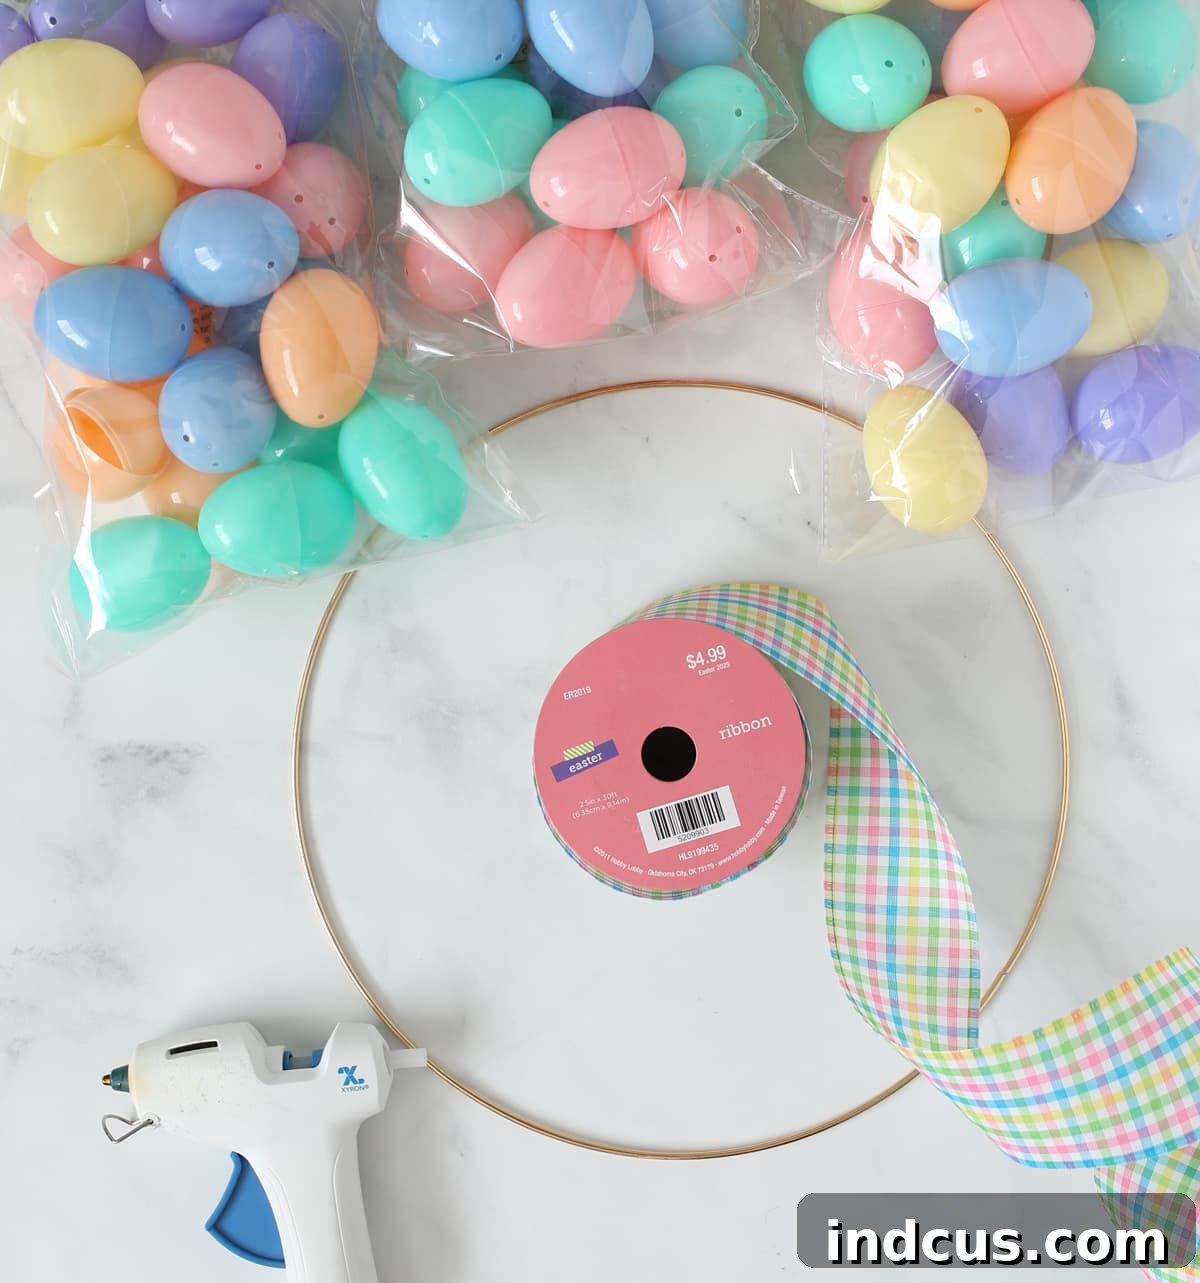
Essential Materials for Your Easter Egg Flower Wreath
Embarking on any DIY project begins with gathering the right tools and supplies. For this delightful spring wreath, you’ll find that the material list is surprisingly short and accessible, making it an ideal craft for a relaxed afternoon. The beauty of this project lies in its flexibility, allowing you to personalize colors and styles to perfectly match your home decor. Here’s a detailed look at what you’ll need:
- Plastic Easter Eggs: You’ll need a generous supply of plastic Easter eggs, ideally around 2.5 inches in size for a standard flower petal effect. The exact quantity will depend on the size of your wreath form and how many flowers you plan to create. For a 12-inch wreath form making six flowers, each approximately 5 inches across, plan on needing about 30 eggs for the petals and 6 for the centers, totaling around 36 eggs. These festive eggs are widely available at most craft stores, discount retailers, and even grocery stores during the spring season. While pastel shades lend a classic spring aesthetic, don’t hesitate to explore vibrant hues, metallic finishes, or even glitter-adorned eggs to create a unique look that reflects your personal style. Consider sourcing a variety of colors to make your flowers pop, creating a truly eye-catching Easter egg wreath.
- Wreath Form: The foundation of your wreath! A 12-inch wire wreath form is a popular choice, often readily available and cost-effective. However, the original project creator noted that a wider, flatter wreath form might offer an easier surface for gluing the eggs securely. Options include grapevine wreaths, foam wreaths, or even sturdy cardboard cutouts. The size of your wreath form is entirely up to your preference; larger forms will require more flowers and, consequently, more plastic eggs, offering a grander display. Consider the final placement of your wreath – a smaller one might be perfect for an interior door, while a larger one could make a statement on your front porch.
- Wired Ribbon (2.5 Inches): To add that perfect finishing touch, a length of 2.5-inch wired ribbon is highly recommended. Wired ribbon is superior for crafting bows as the embedded wire allows you to shape and mold the loops and tails precisely, ensuring your bow maintains its elegant form. Pastel plaids, solid colors, or ribbons with spring-themed patterns like bunnies or floral motifs would all complement your wreath beautifully. The ribbon serves not only as a decorative element but also as a hanger if you choose to hang your wreath directly from it.
- Hot Glue Gun + Plenty of Glue Sticks: This is your primary bonding agent for the entire project. A reliable hot glue gun is indispensable. Ensure you have an ample supply of glue sticks, as you’ll be doing a fair amount of gluing to create strong, lasting bonds for your flowers and to secure them to the wreath form. Hot glue dries quickly, which is a major advantage for crafting, but it also means you need to work with a steady hand and a clear plan. Safety first: always be cautious when working with hot glue to avoid burns.
While the original project sourced materials from Hobby Lobby, remember that these items are seasonal staples at many retailers. Feel empowered to mix and match colors and textures to truly make this DIY spring wreath your own. The creative possibilities are endless once you start envisioning your unique color palette for these charming plastic egg flowers!
Step-by-Step Guide to Crafting Your Easter Egg Flower Wreath
Now that you’ve gathered all your supplies, let the creative process begin! Follow these detailed instructions to transform simple plastic Easter eggs into a captivating display of spring blossoms for your DIY wreath.
Step 1: Constructing Your Easter Egg Flowers
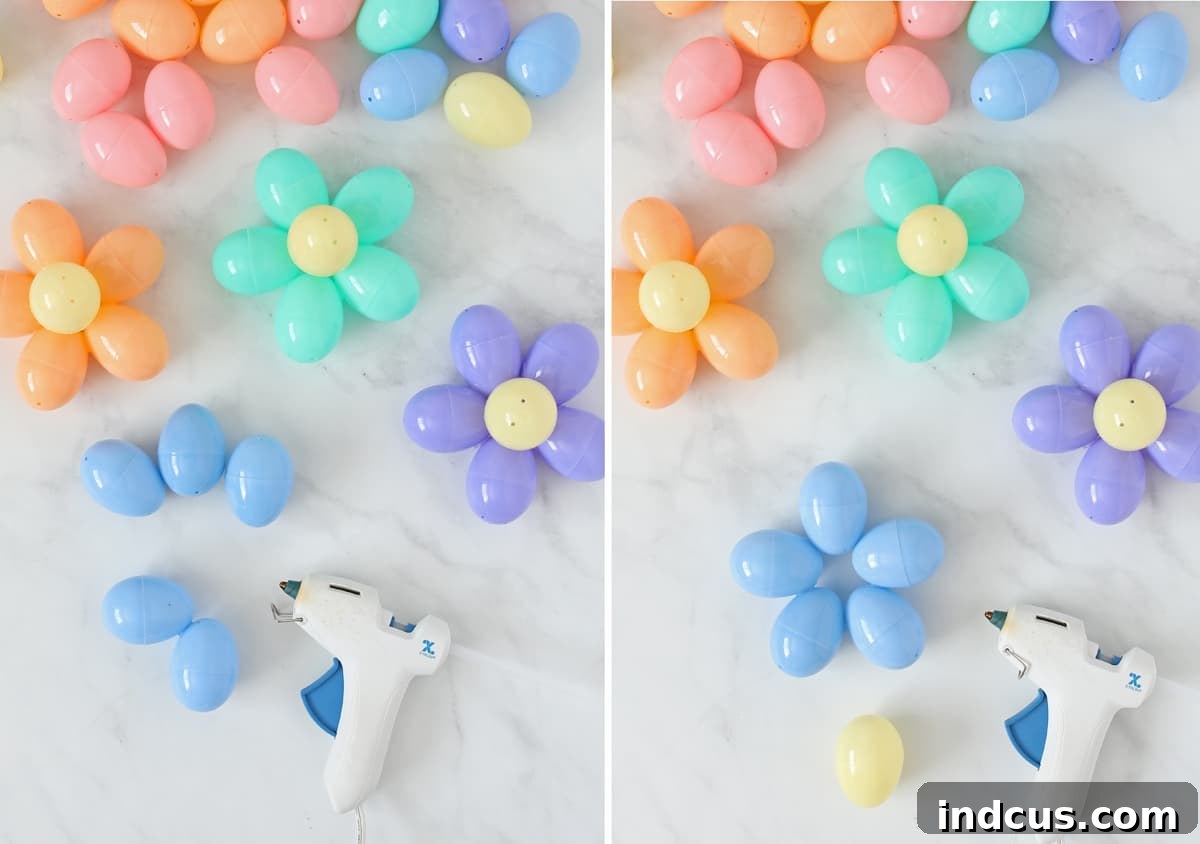
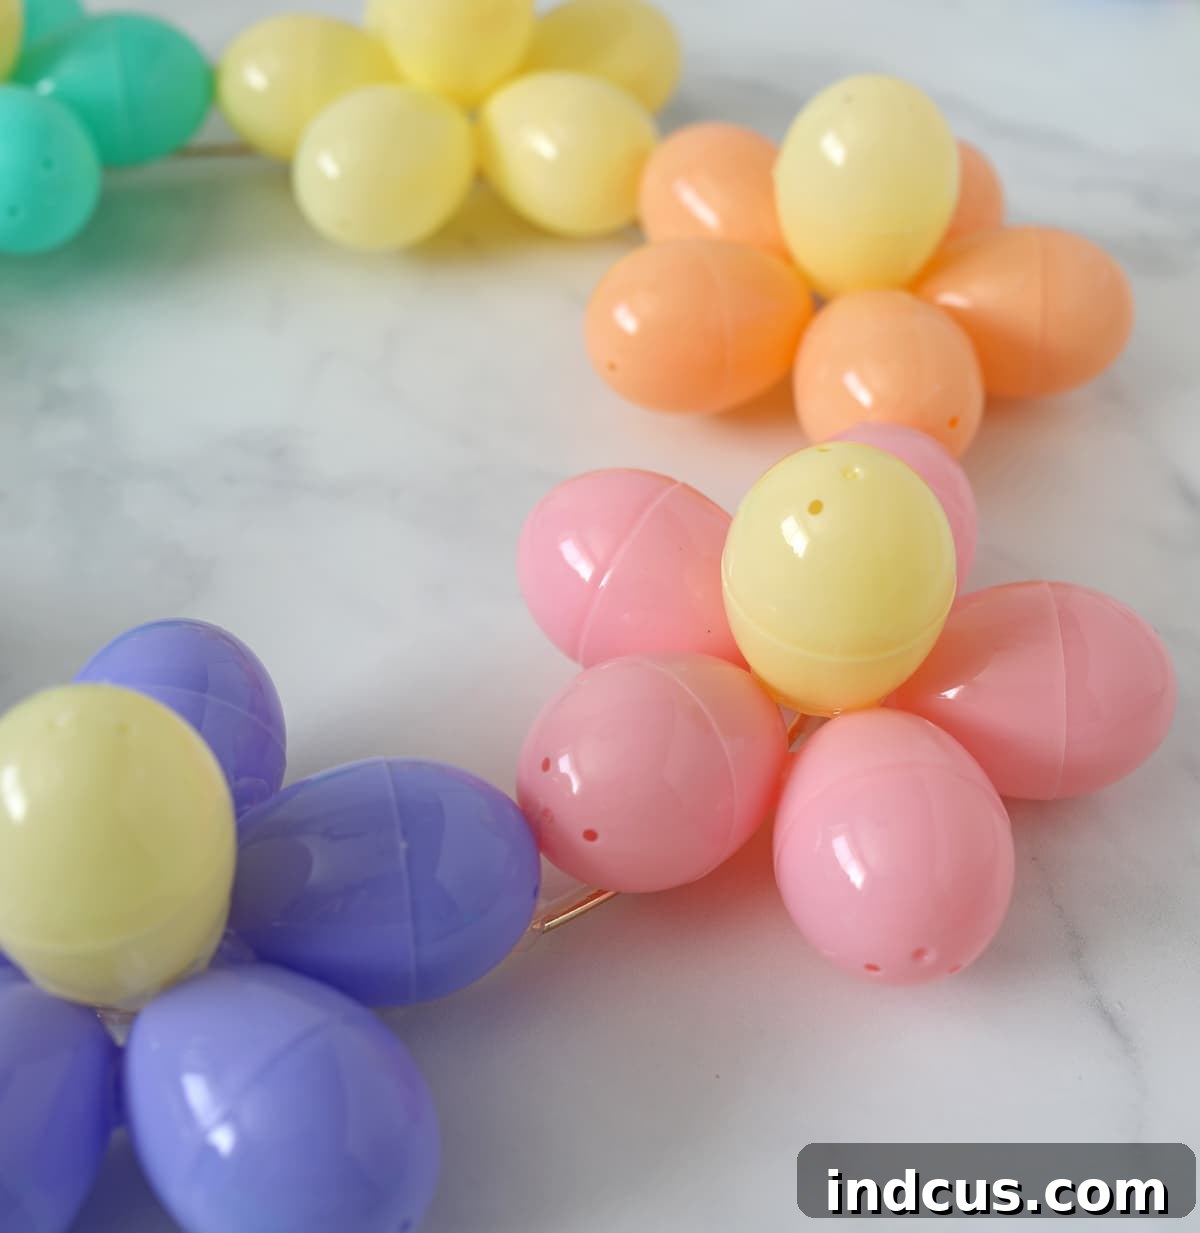
The first and most crucial step is to form the individual plastic egg flowers, which will be the star of your wreath. Each flower typically consists of five eggs forming the “petals” and one egg for the “center.”
- Assembling the Petals: Start by selecting five plastic eggs for one flower. Position them so that their smaller, pointier ends face inwards towards where the center of the flower will be. This arrangement creates a natural, petal-like curve, giving your Easter egg flowers a realistic appearance.
- The Gluing Technique: Apply a small, yet sufficient, dab of hot glue to the side of one egg. Immediately press a second egg firmly against it, ensuring the surfaces make good contact. Hold these two eggs together with gentle but consistent pressure for about 10-15 seconds, or until the glue has set and created a strong bond. Patience is key here; if you release too soon, the eggs may separate as you attempt to add subsequent pieces.
- Building the Circle: Continue this process, adding one egg at a time to form a circular shape. Each new egg should be glued to the previous one. When it comes to attaching the fifth and final egg to complete your flower circle, apply hot glue to the sides of *both* the eggs it will connect with. Carefully slide the last egg into place, ensuring it snuggles tightly against its neighbors to form a cohesive, beautiful petal structure. Hold firmly until secure.
- Tips for Success:
- Consistency is Key: Try to keep the amount of glue consistent for each bond to ensure even strength and appearance across all your plastic egg flowers.
- Patience Pays Off: Rushing the drying time between eggs can lead to a flimsy flower that easily falls apart. Take your time with each connection.
- Pre-Arrangement: Before gluing, try arranging your five eggs in a circle to visualize the fit and ensure you’re happy with the color combination for each flower.
- Flat Surface: Work on a flat, protected surface to help keep your flower shape consistent.
Once you’ve mastered this technique, repeat the process to create all the flowers you’ll need for your wreath. For a 12-inch wreath, six flowers usually provide ample coverage, but you can adjust this based on your preferred density and the size of your eggs and wreath form.
Step 2: Securing the Heart of Each Flower
With your petal base complete, it’s time to add the charming center to each flower, giving it depth and a finished look. This small detail truly brings the plastic eggs to life as vibrant blossoms, transforming them into realistic spring flowers for your DIY wreath.
- Choosing Your Center Egg: Select an egg for the center that complements or contrasts beautifully with your petal colors. A common choice is a yellow egg for a classic daisy-like appearance, but feel free to experiment with white, green, or even a speckled egg for added visual interest. This allows for endless customization of your plastic egg flowers.
- Orientation Options: You have a creative choice regarding how to position the center egg:
- Pointy Side Up: This creates a slightly raised, more defined center, giving the flower a delicate bud-like appearance.
- Round Side Up: This offers a flatter, softer center, reminiscent of a mature bloom. Both orientations are equally appealing, so choose the one that best fits your desired aesthetic for the DIY spring wreath.
- Precise Gluing for the Center: Gently place the chosen center egg into the hollow space created by the five petals. Observe carefully where the center egg makes contact with the surrounding petal eggs. Remove the center egg, apply a ring of hot glue precisely along these contact points on its surface, and then carefully place it back into position. Press down gently but firmly to ensure a strong bond. Holding it in place for a few moments until the glue cools will prevent it from shifting.
- Considerations:
- Glue Placement: It’s crucial to apply glue only where the eggs actually touch. Excess glue can be visible and detract from the clean finish of your Easter egg flower.
- Color Play: Don’t be afraid to mix and match. A bright orange center in a circle of pink eggs, or a deep blue center in a ring of light blue, can create striking variations and add personality to your handmade wreath.
Once all your flowers have their centers firmly in place, set them aside to allow the glue to fully cure before moving on to the next step. You’ll be amazed at how quickly these simple plastic eggs transform into beautiful floral elements for your wreath!
Step 3: Affixing Your Egg Flowers to the Wreath Form
Now that your charming plastic egg flowers are complete, it’s time to arrange them onto your chosen wreath form. This step brings your individual floral elements together to create a cohesive and striking spring wreath.
- Pre-Arrangement is Crucial: Before applying any glue, lay your wreath form on a flat surface and carefully arrange all your finished egg flowers around it. Experiment with different placements until you achieve a visually pleasing and balanced layout. Consider spacing, color distribution, and how many flowers best fill your specific wreath form. For a 12-inch form, six flowers generally provide good coverage, but feel free to add more for a fuller look or fewer for a more minimalist design. This initial arrangement is vital for a beautifully balanced Easter egg flower wreath.
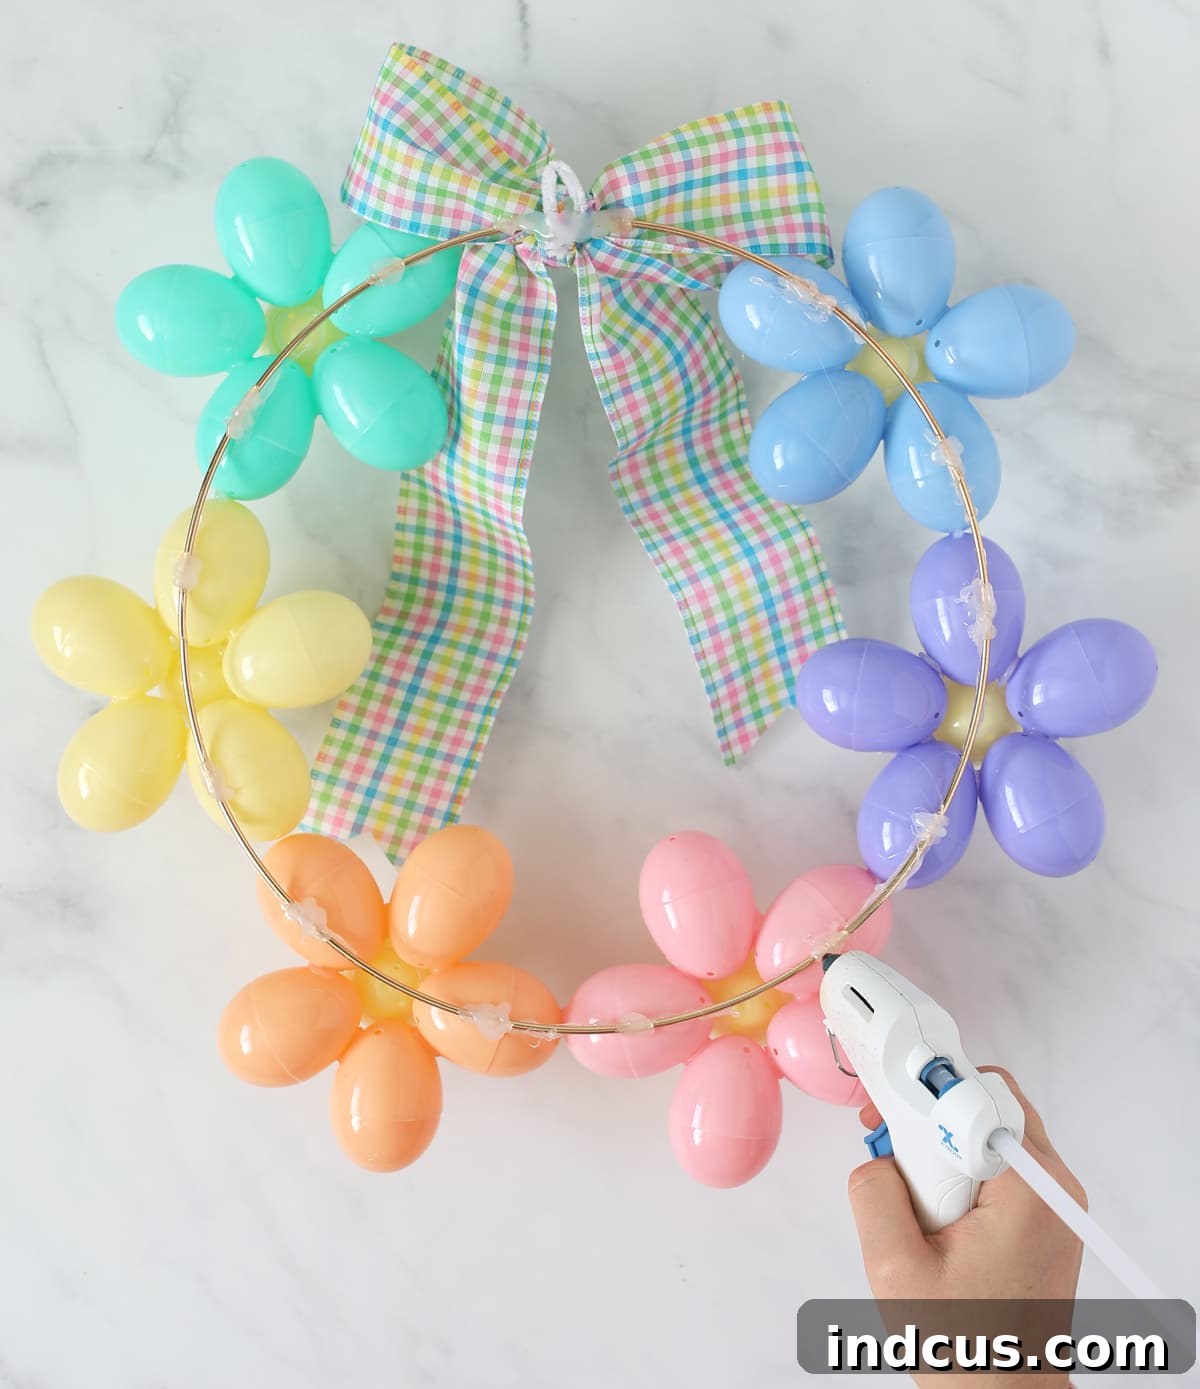
- Initial “Tacking” with Glue: Once you’re satisfied with the arrangement, begin gluing each flower to the wreath form. Apply a generous dab of hot glue to the back of one flower, specifically where it will make contact with the wreath form. Press the flower firmly into place. Repeat this for all your flowers, “tacking” them down in their desired positions.
- Allow for Initial Drying: Resist the urge to move or adjust the wreath immediately. Allow this initial layer of glue to dry and set completely. This ensures the flowers are held securely enough for the next, more robust gluing step, crucial for the longevity of your DIY spring wreath.
- Reinforcing for Durability: For a truly sturdy and long-lasting wreath, additional reinforcement is necessary. Carefully flip the wreath over. Now, from the back, apply more hot glue everywhere the plastic eggs or the seams of the eggs touch the wreath form. This backside gluing is incredibly important as it creates a stronger, more permanent bond, ensuring your flowers won’t detach over time, especially if your wreath is exposed to light breezes or movement. Be generous with the glue in these contact areas, pressing gently to secure.
- Wreath Form Considerations:
- Wire Forms: If using a wire form, ensure glue penetrates the gaps and wraps around the wire for maximum adhesion.
- Foam/Grapevine Forms: These offer a larger surface area, making gluing potentially easier. Press the flowers slightly into the foam or grapevine for a deeper bond.
Once all the flowers are firmly attached and the glue has fully dried, your DIY spring wreath will begin to take its final, beautiful form. The vibrant array of plastic egg blossoms will undoubtedly capture attention!
Step 4: Adorning Your Wreath with a Beautiful Bow
The final touch for your magnificent DIY spring wreath is often a beautifully crafted bow. This element adds elegance, color, and a sense of completeness to your handmade decor, truly elevating its charm.
- Choosing the Perfect Ribbon: As previously mentioned, wired ribbon is highly recommended for this step. Its inherent structure allows you to meticulously shape the loops and tails of your bow, ensuring it holds its form gracefully. Non-wired ribbon can also be used, but it may require more finesse and perhaps a bit of starch or hairspray to maintain its shape.
- Bow-Making Techniques:
- Simple Loop Bow: For a classic look, create several loops on each side, securing the center with floral wire or a thin strip of ribbon, then fluff out the loops.
- Multi-Loop Bow: If you desire a fuller, more luxurious bow, use a technique that involves creating multiple layers of loops and tails, often cinched in the middle. There are numerous online tutorials available for various bow-making styles, so feel free to explore and choose one that appeals to you.
- Placement of the Bow: Traditionally, bows are placed at the top or bottom of a wreath. However, for this Easter egg flower wreath, consider placing it slightly off-center or even nestled among a cluster of flowers for an asymmetrical, artistic touch. Experiment by holding the bow in different positions before gluing it down.
- Attaching the Bow: Once you’ve created your bow and decided on its placement, secure it firmly to the wreath form using a generous amount of hot glue. If your bow is particularly large or heavy, you might also consider tying it to the wreath form with a thin piece of floral wire for added security, then concealing the wire with hot glue.
- Beyond the Bow – Additional Embellishments: While a bow is a perfect finishing touch, don’t limit your creativity! Consider adding other small embellishments to enhance your spring theme:
- Small faux leaves or sprigs of greenery tucked around the flowers.
- Tiny plastic birds or butterflies perched on the wreath.
- Small, decorative beads or buttons glued into the center of some eggs for extra sparkle, bringing more life to your plastic egg flowers.
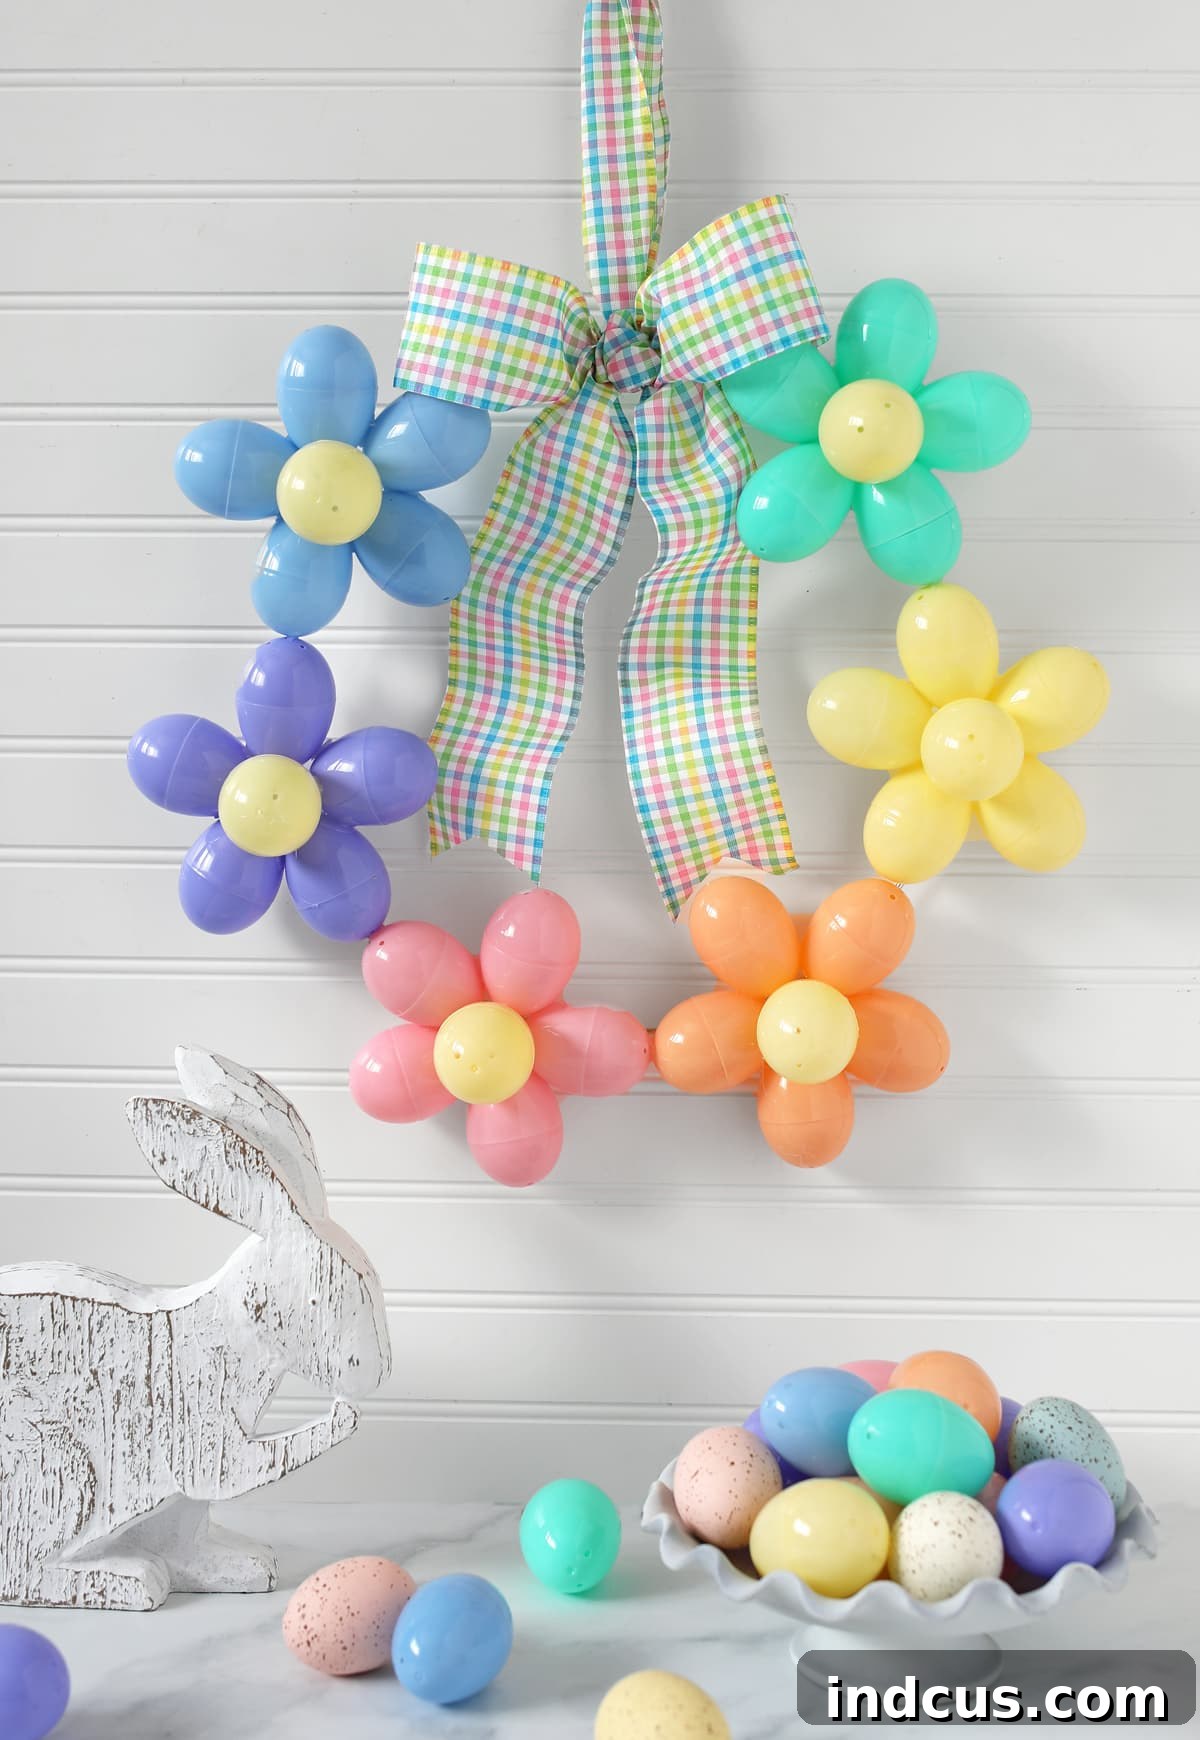
With the bow and any chosen embellishments in place, your unique and cheerful spring Easter egg flower wreath is now complete! Step back and admire your handiwork – you’ve transformed simple craft supplies into a beautiful piece of seasonal decor.
Expert Tips for a Flawless DIY Easter Egg Wreath
To ensure your crafting experience is smooth and your final wreath is stunning, keep these practical tips in mind:
- Work in Sections: Don’t try to glue everything at once. Work on one flower at a time, allowing each component to set before moving on. Similarly, attach flowers to the wreath form one by one. This methodical approach ensures stronger bonds for your plastic egg flowers.
- Protect Your Workspace: Hot glue can be messy. Lay down newspaper, a silicone mat, or old cardboard to protect your table or crafting surface from glue drips.
- Test Egg Consistency: Plastic eggs can vary in quality. Before you start, check that your eggs close securely and have a relatively smooth surface for gluing.
- Consider Hanging: If you plan to hang your wreath outdoors, consider using weather-resistant glue or a sealant spray once finished to protect it from the elements.
- Custom Sizing: My 12-inch wreath required six flowers, each approximately 5 inches across. Use these measurements as a guide. If you opt for a larger wreath form (e.g., 18 or 24 inches), you’ll need to create more flowers accordingly. Conversely, smaller forms might only need 3-4 flowers for a beautiful display.
- Alternate Materials: While plastic eggs are fun, this concept can be adapted. Consider using foam eggs for a lighter wreath or even glitter-covered eggs for extra sparkle. Just ensure your adhesive is suitable for the material.
Unleash Your Creativity: Customizing Your Spring Wreath
The beauty of a DIY project lies in its endless possibilities for personalization. Your Easter egg flower wreath can be adapted to suit any taste or occasion:
- Seasonal Variations: While perfect for spring and Easter, imagine this concept with different color palettes for other seasons. Think vibrant reds and oranges for autumn, or frosty blues and silvers for winter, showcasing the versatility of these plastic egg flowers.
- Monochromatic Magic: Instead of a multi-colored approach, create a wreath using eggs of varying shades within a single color family (e.g., light pink to fuchsia, sky blue to navy) for a sophisticated, modern look.
- Beyond the Door: Wreaths aren’t just for doors! Hang your creation above a mantelpiece, as a charming focal point in a nursery, or even as part of a gallery wall. Consider placing it flat as a centerpiece on a dining table, perhaps with a vase in the middle, to truly showcase your handmade spring decor.
- Kids’ Craft: With adult supervision for the hot glue, this can be a fantastic craft to do with older children, allowing them to choose colors and arrange their own flower patterns, fostering their creativity with plastic egg flowers.
The Joy of Handmade: Why DIY Your Spring Decor?
Creating your own home decor, especially a project as charming as this Easter egg flower wreath, offers numerous rewards beyond just a beautiful finished product:
- Personal Touch: Your handmade wreath will be truly unique, reflecting your personal style and creativity, something mass-produced items can never achieve.
- Cost-Effective: Repurposing readily available and often inexpensive plastic Easter eggs makes this a budget-friendly decorating option for stunning spring decor.
- Sustainable Crafting: Giving new life to items that might otherwise be discarded aligns with eco-conscious practices and reduces waste, making your DIY spring wreath an environmentally friendly choice.
- Sense of Accomplishment: There’s immense satisfaction in stepping back and admiring something beautiful you’ve created with your own hands. It’s a rewarding experience that boosts morale and inspires further crafting endeavors.
Your Cheerful Spring Masterpiece Awaits!
This Easter egg flower wreath is more than just a decoration; it’s a vibrant symbol of spring’s arrival, crafted with care and creativity. The process of transforming simple plastic eggs into a stunning floral display is both enjoyable and rewarding, resulting in a unique piece that will undoubtedly bring a smile to anyone who sees it. Its cheerful colors and whimsical design make it the perfect accent to welcome guests, celebrate Easter, or simply brighten your home throughout the spring season. We absolutely adore how this craft turned out – so vibrant, so fun, and perfectly encapsulating the spirit of spring!







