Transform Your Home with Gorgeous, Oversized Waterproof Christmas Chains: The Ultimate Outdoor Decoration
Are you searching for a captivating and unique way to deck your halls this holiday season, especially for your outdoor spaces? Imagine a classic Christmas decoration, re-imagined for durability and impressive scale. We all adore the nostalgic charm of traditional paper chains, a simple craft that evokes childhood memories and homemade warmth. However, their delicate nature makes them unsuitable for the rigors of winter weather.
That’s where a brilliant idea takes root: creating an oversized “paper” chain that is completely waterproof, resilient to cold and snow, and perfect for transforming the exterior of your home. This innovative DIY project merges whimsical festive appeal with practical, long-lasting design, ensuring your Christmas decorations withstand the elements year after year. Get ready to discover how to craft these magnificent, giant chunky chains that will undoubtedly become a stunning focal point in your outdoor holiday display!
Join us as we guide you through the simple steps to create this incredible waterproof giant chunky paper chain, an outdoor Christmas decoration that promises to bring boundless joy and a spectacular visual impact to your home.
Essential Materials for Your DIY Waterproof Christmas Chain
Before diving into the creative process, gathering the right materials is crucial. This project leverages the versatility of craft foam to achieve that desirable paper-chain look with superior weather resistance. Here’s a detailed list of everything you’ll need to bring this giant outdoor Christmas decoration to life:
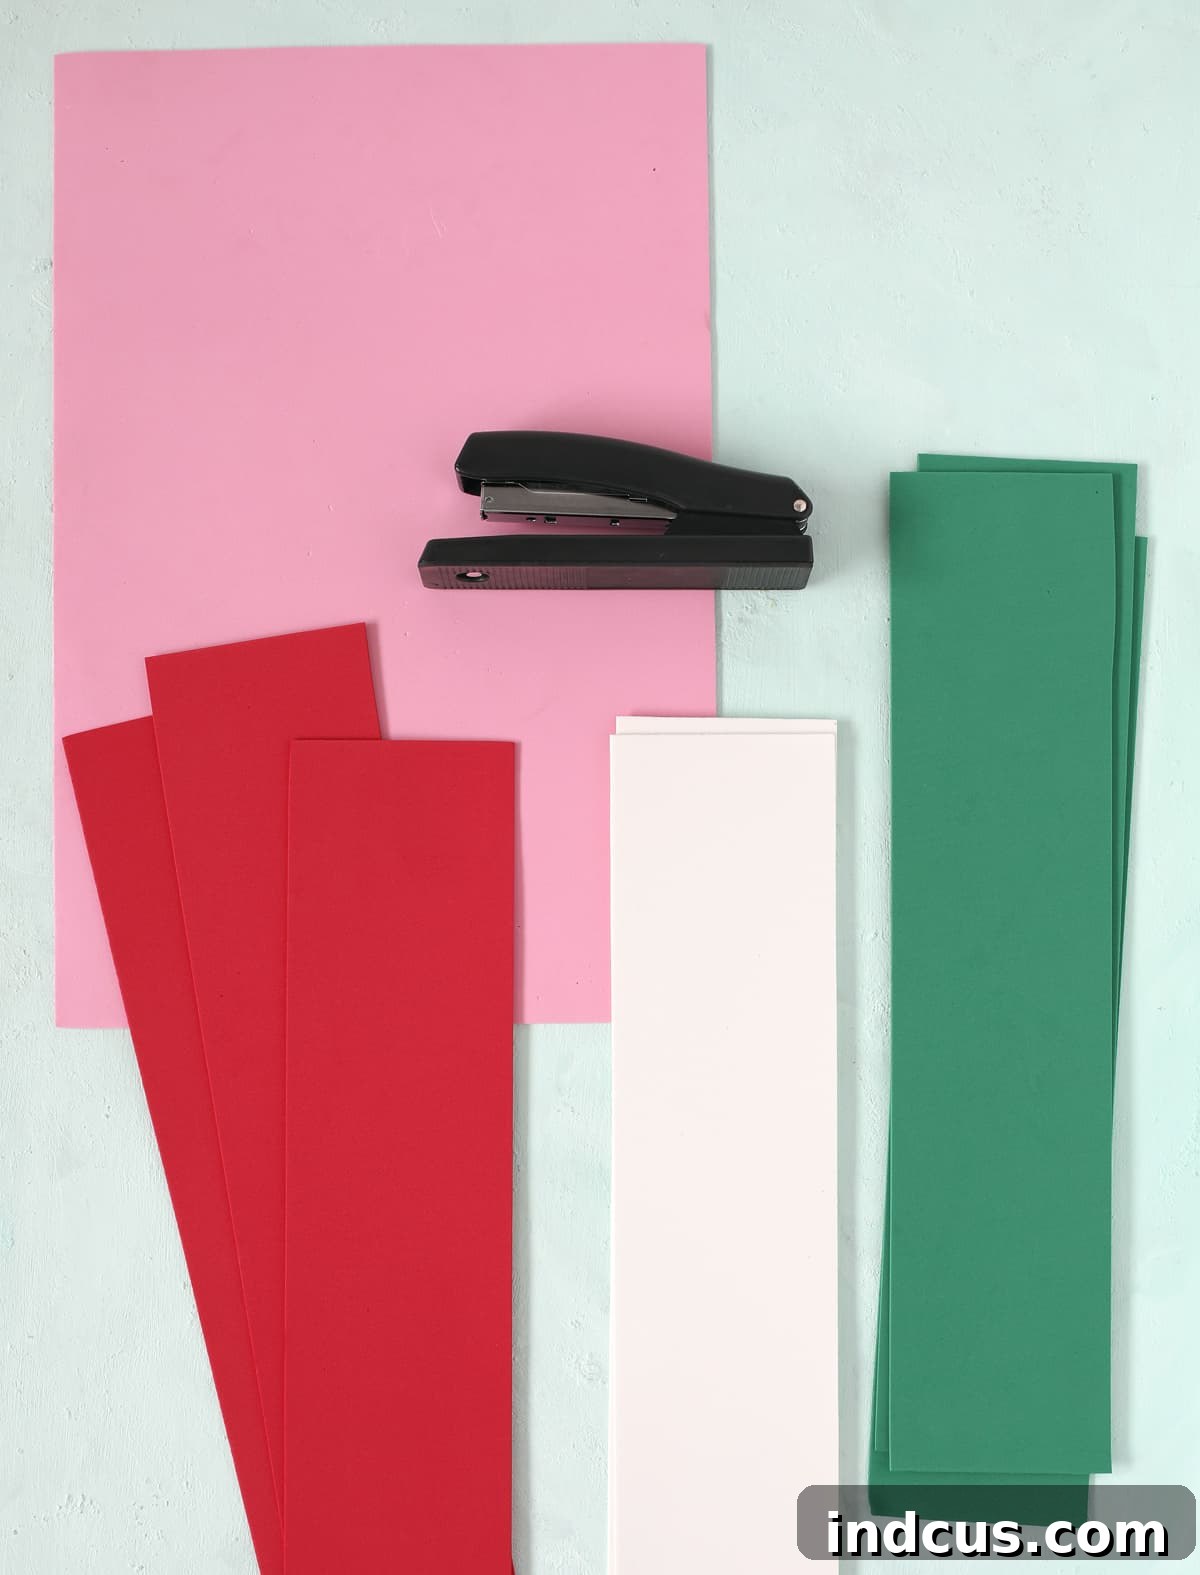
- 12″ x 18″ 2mm Craft Foam Sheets: These are the stars of our project! The 2mm thickness offers the perfect balance of flexibility and durability, allowing the chains to hold their shape without being too rigid. For a classic Christmas palette, consider medium pink, vibrant red, kelly green, and crisp white. For a 40-foot chain, approximately 40 sheets (10 of each chosen color) are recommended. You can adjust the quantity based on your desired length.
- Stapler + Staples: A heavy-duty stapler is ideal for securely fastening the foam loops. Staples provide a strong, immediate bond that holds up well in outdoor conditions, unlike many glues that might struggle with moisture or temperature fluctuations.
- Rotary Cutter: While optional, a rotary cutter significantly speeds up the cutting process and ensures perfectly straight lines. It’s especially useful when working with multiple sheets of foam or for larger projects like this one.
- Quilting Mat: Paired with a rotary cutter, a self-healing quilting mat protects your work surface and provides a grid for accurate measurements, making precise cuts much easier.
- Ruler: A long, sturdy ruler (preferably a clear quilting ruler) is indispensable for measuring and guiding your cuts, whether you’re using a rotary cutter or scissors.
- Twine: Strong, weatherproof twine will be used for hanging your finished chain. White twine blends seamlessly with a winter aesthetic, but you could opt for a contrasting color for added flair.
Sourcing Your Craft Foam: I found the best value for craft foam sheets online, particularly at Michaels, especially when utilizing coupons. Securing 40 sheets for under $30 made this a highly cost-effective outdoor decoration project. Hobby Lobby is another excellent option, often carrying a wide array of specific colors, though their per-sheet price might be slightly higher. Always check for bulk discounts or sales to maximize your savings. The overall investment for these eye-catching waterproof Christmas chains is remarkably low, especially considering their reusability for many seasons to come.
Step-by-Step Instructions: Crafting Your Giant Waterproof Paper Chain
Creating these durable and delightful outdoor Christmas chains is simpler than you might think. Follow these detailed steps to bring your festive vision to life.
Step 1: Prepare Your Foam Strips with Precision Cutting
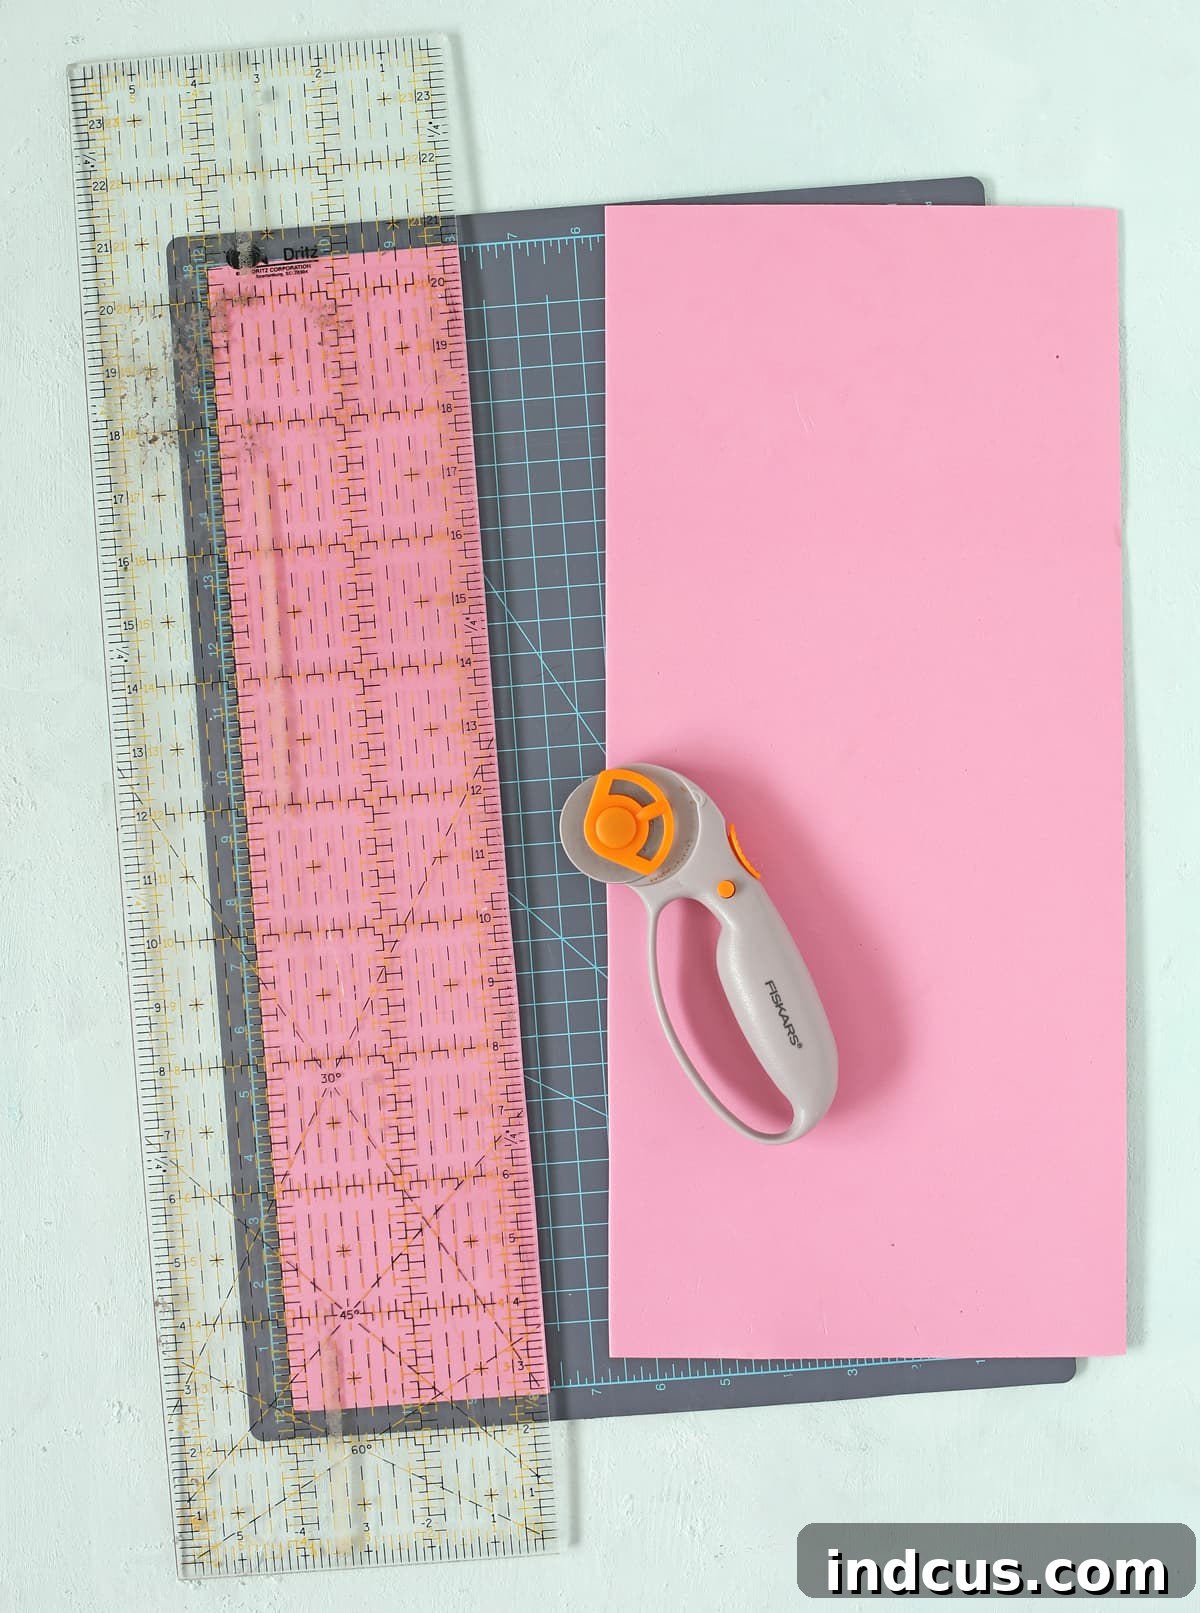
The foundation of your giant paper chain lies in uniform strips of craft foam. Lay your 12″ x 18″ craft foam sheet flat on your quilting mat. Using your ruler as a guide, carefully cut the sheet into 4-inch wide strips. Each 12-inch wide sheet will yield three strips, each measuring 4 inches by 18 inches. This size is perfect for creating oversized loops that offer significant visual impact without being overly cumbersome.
Tip for Efficiency: If you have a rotary cutter, align your ruler precisely and make smooth, continuous cuts. A rotary cutter slices through foam quickly and cleanly, ensuring crisp, straight edges. For those without a rotary cutter, don’t worry! You can achieve excellent results with a good pair of sharp scissors. Simply mark your 4-inch lines clearly across the foam sheet using your ruler and a pen or marker, then carefully cut along these lines. While it may take a little longer, the end result will be just as charming.
Repeat this process for all your craft foam sheets until you have a sizable stack of uniform strips. The consistency in strip size is key to a professional-looking finished chain.
Step 2: Assemble Your Chain by Forming and Linking Loops
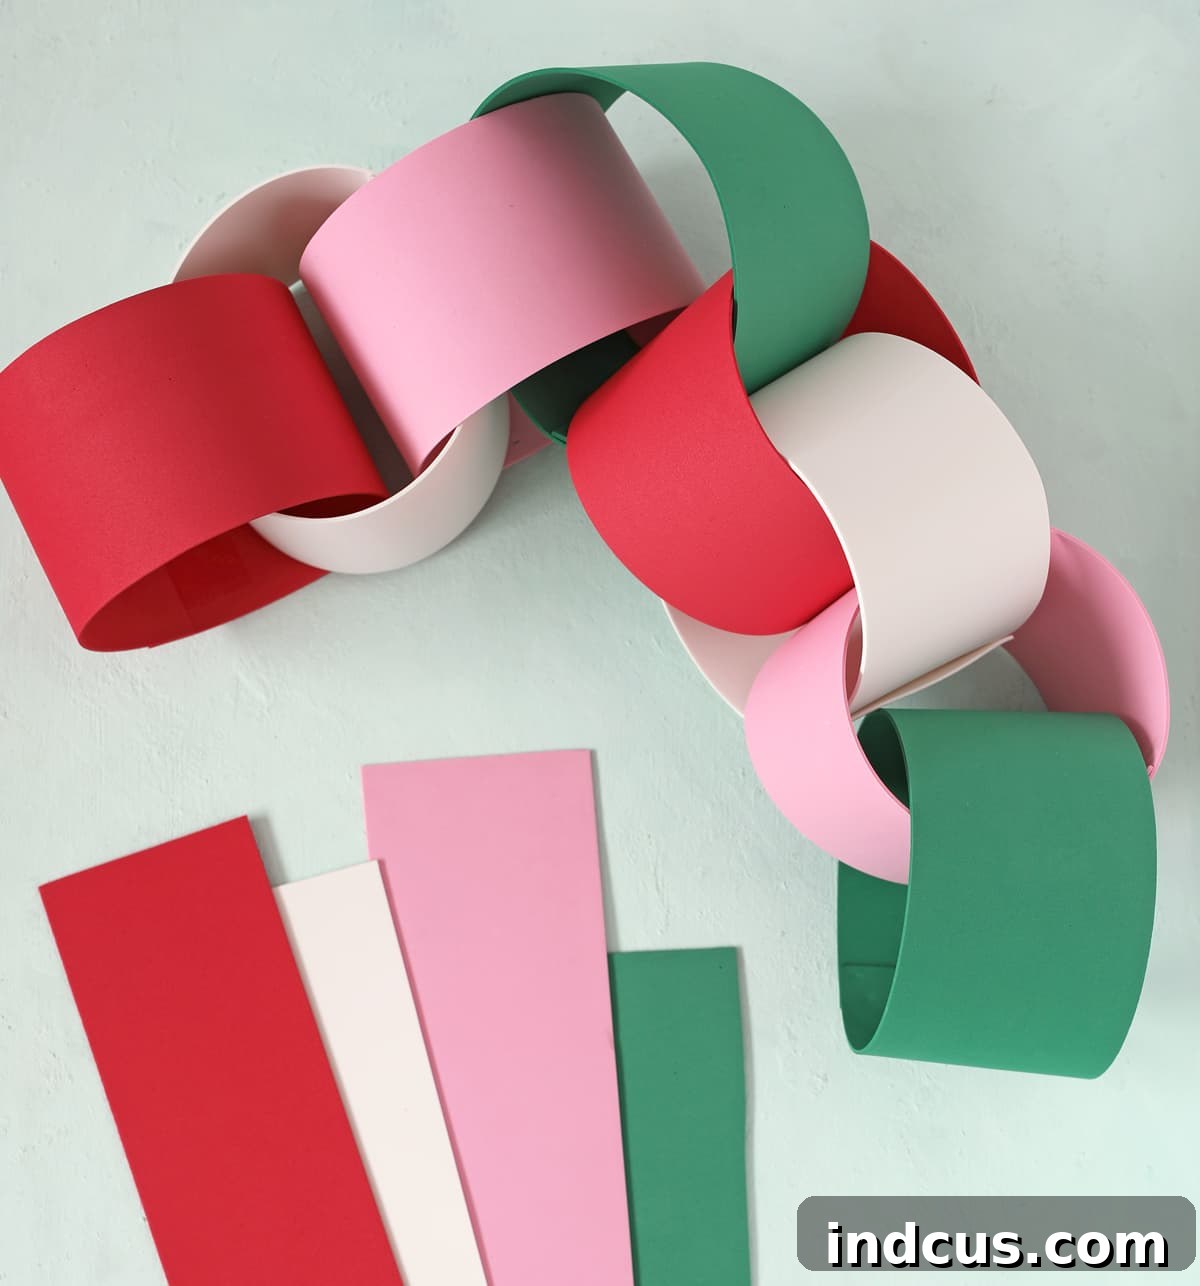
This is where your individual strips transform into a continuous chain. Take one 4″ x 18″ foam strip and bring its two short ends together to form a perfect circle or loop. Ensure the edges align neatly. Secure this loop by stapling the overlapping ends together firmly. For extra durability, especially for outdoor use, consider placing two staples side-by-side on each join. This step creates your first link.
Next, take a second foam strip and thread it through the center of your first completed loop. Once threaded, bring the ends of this second strip together to form another loop, and staple its ends securely, just as you did with the first. You’ll now have two interlocking loops.
Continue this rhythmic process: thread a new strip through the most recently formed loop, connect its ends, and staple. Repeat this step over and over, building your chain to the desired length. You’ll be surprised at how quickly your giant chain takes shape!
Color Coordination Tip: This is a wonderful opportunity to introduce color patterns. You can alternate colors (red, green, white, pink), create sections of solid colors, or arrange them in a random, playful sequence. Don’t underestimate the speed of this step; because the loops are so substantial, the chain grows impressively fast. Cutting all the strips and then assembling the entire 40-foot chain took me roughly two hours, a testament to the efficiency of this DIY project!

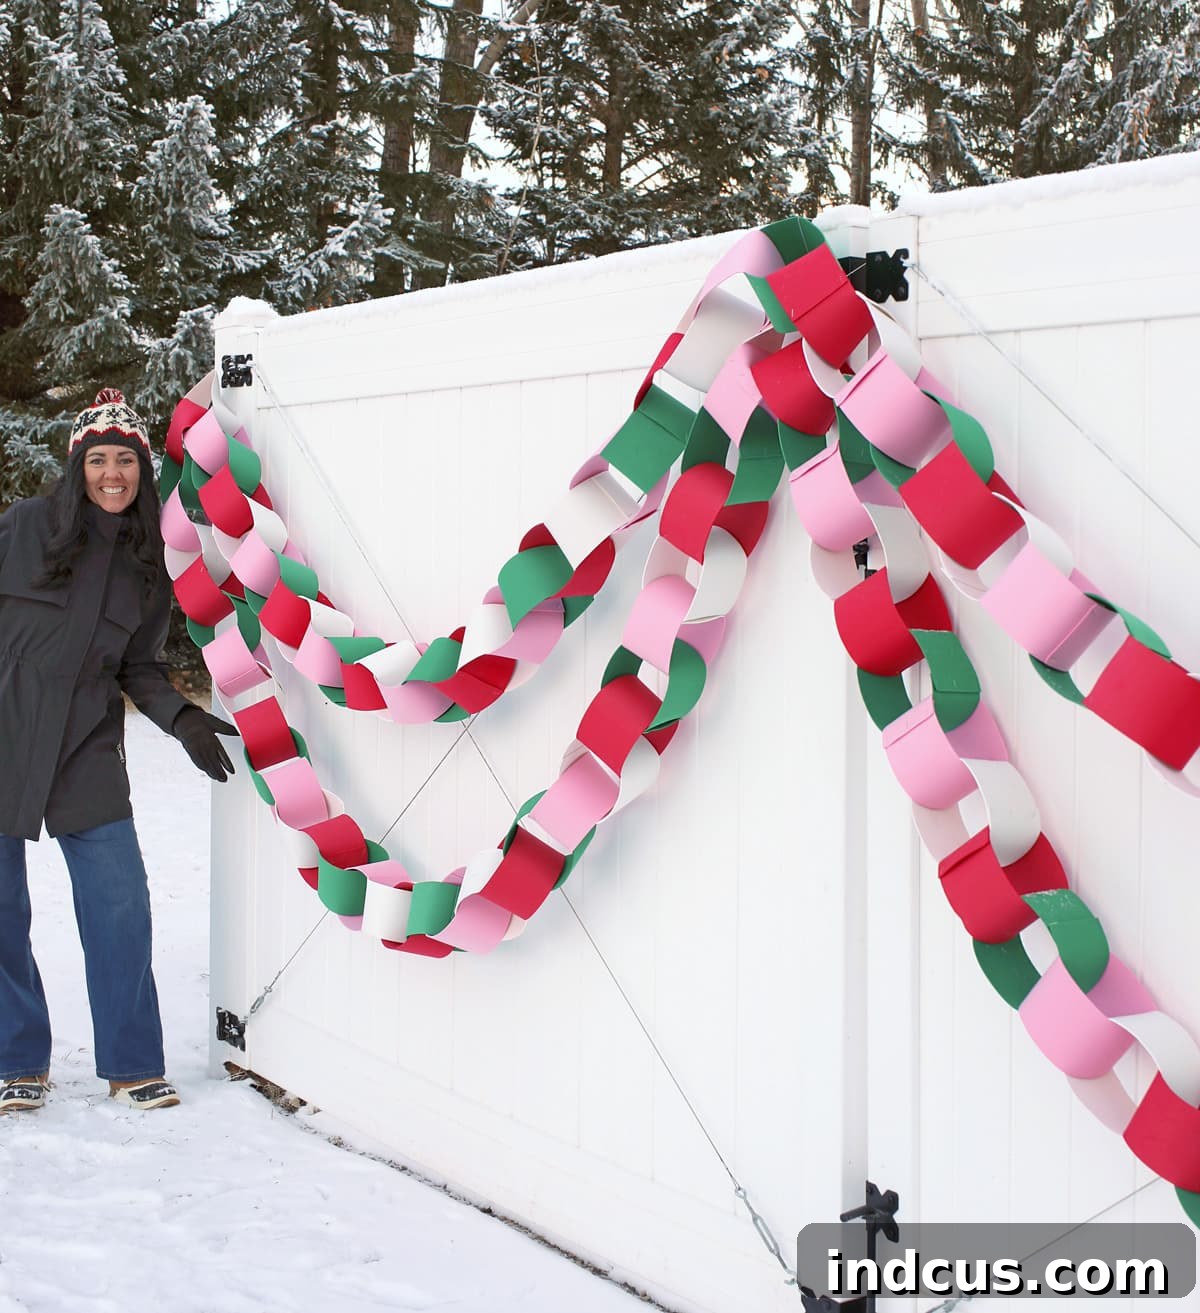
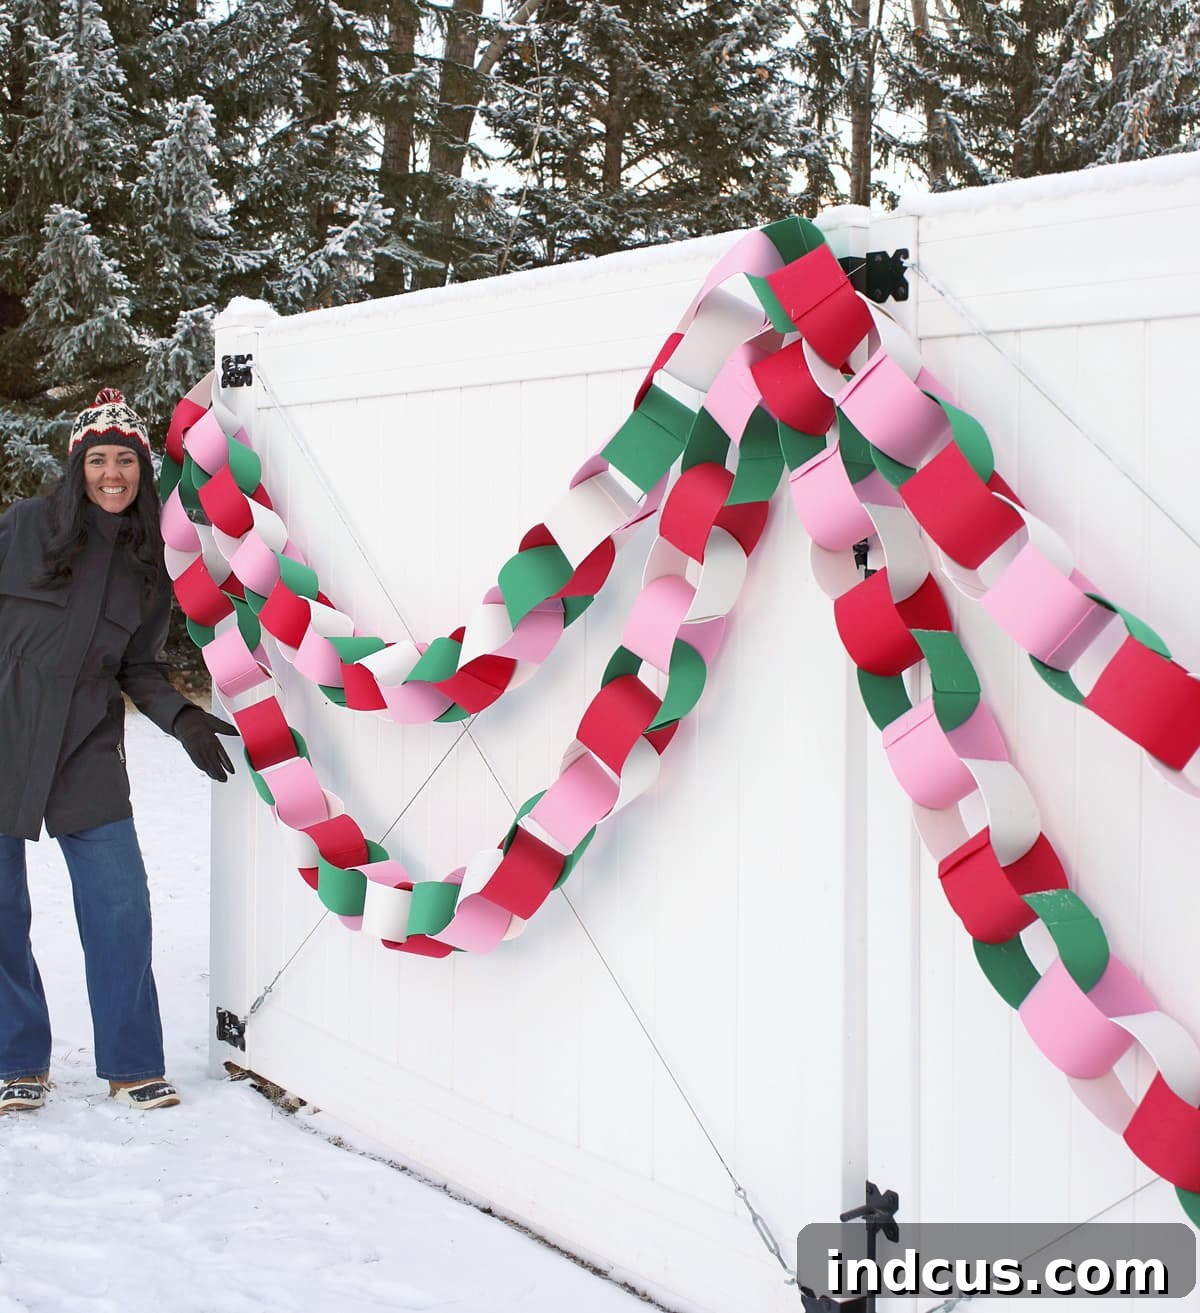
Observe the charming result after completing the linking process. The large, colorful loops of craft foam create a delightful, festive aesthetic that perfectly mimics the beloved paper chain, but with the added benefit of being robust and weatherproof.
Step 3: Securely Hang Your Oversized Outdoor Christmas Chain
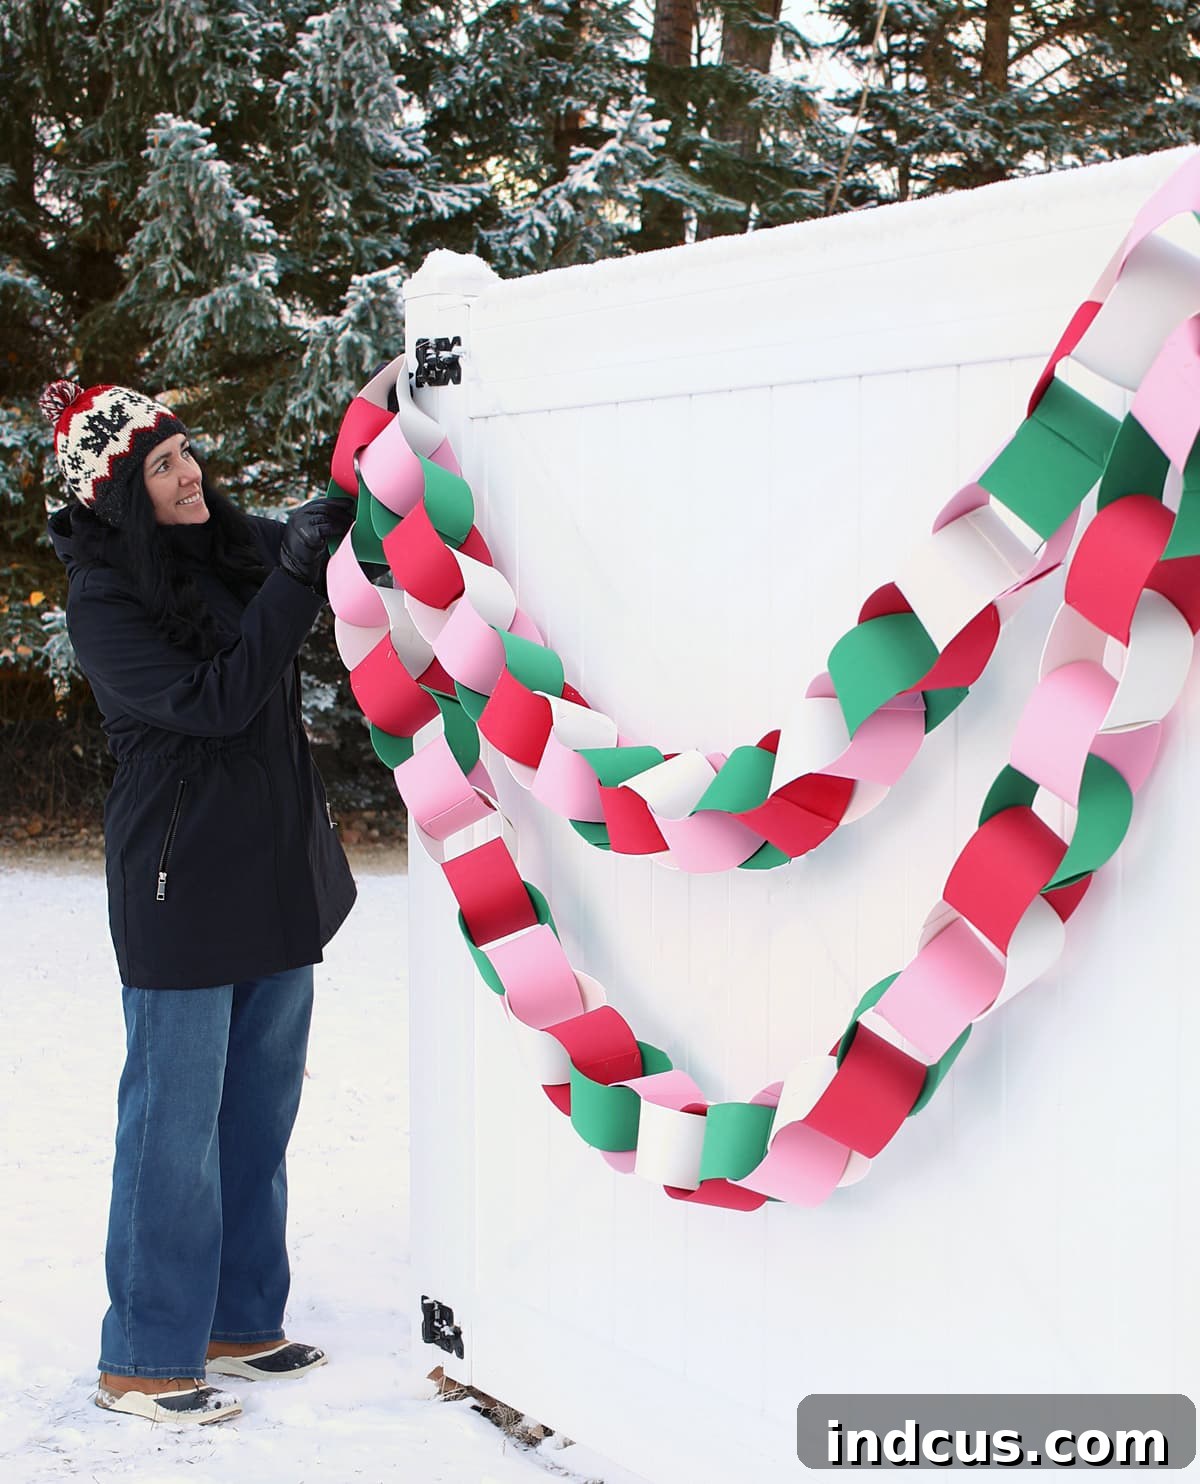
With your magnificent waterproof chain complete, the final step is to display it prominently! The beauty of this decoration lies in its versatility; it can adorn a multitude of outdoor surfaces. For a fence, simply tie lengths of sturdy white twine through several loops along your chain and drape it artfully over fence posts. The twine allows for easy adjustment and removal.
Ideas for Hanging Locations:
- Fences and Railings: As demonstrated, looping over fence posts or securing to porch railings creates an instant festive border.
- Porch Ceilings and Eaves: Use cup hooks or eye screws to hang the chain in graceful swags along your porch ceiling or beneath the eaves of your roof.
- Trees: Drape the chain through the branches of evergreen trees for a whimsical, nature-integrated look.
- Pergolas or Arbors: Weave the chain around the structure of a pergola or garden arbor to define an outdoor entertaining space.
- Entryways: Frame your front door with the colorful chain for a grand and inviting entrance.
Securing Tips: For areas prone to strong winds, consider using zip ties in addition to twine for extra security, especially at key anchor points. Ensure that all hanging mechanisms are robust enough to support the chain’s length, particularly when wet from rain or snow, which might add a small amount of weight.
I am absolutely thrilled with the outcome! The chain radiates cheer and festivity, offering a significant visual impact that far outweighs the modest time and financial investment. Its vibrant colors against a winter backdrop are simply enchanting. In fact, I’m already contemplating making more of these delightful chains to extend the festive cheer throughout my yard!
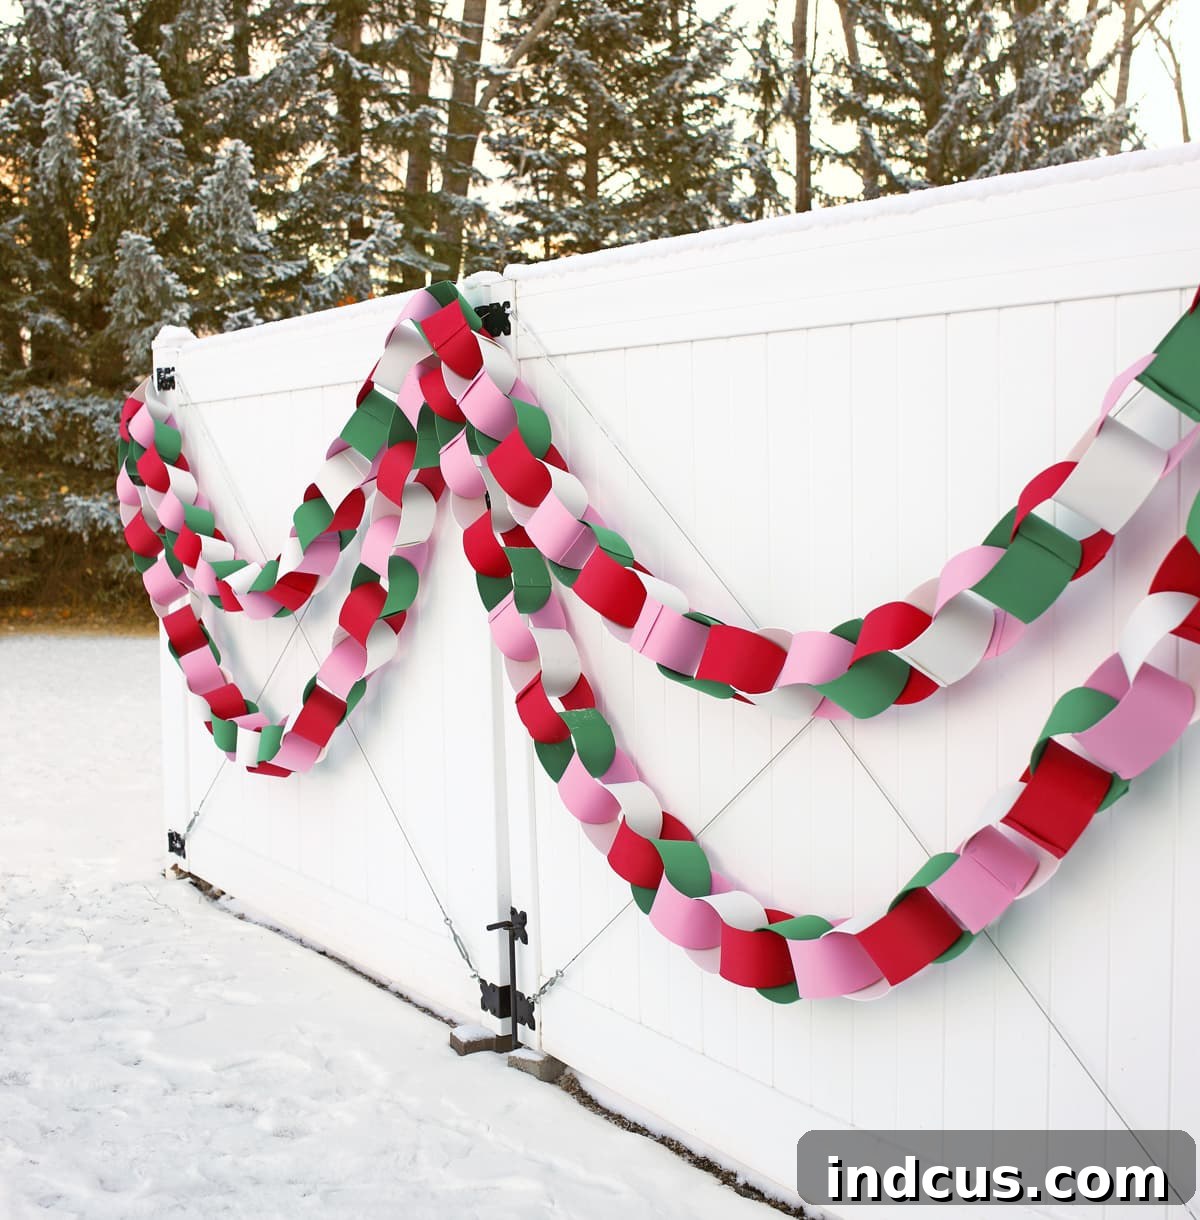
While I initially longed to incorporate a dusty blue into the color scheme, sourcing that specific shade proved challenging. The current palette, however, is wonderfully vibrant and still captures the essence of a joyful Christmas. Should I ever stumble upon the perfect dusty blue foam, I might just be tempted to disassemble a section and integrate it – that’s the beauty of DIY, it’s always evolving!
Beyond Christmas, imagine the versatility of these giant chains! They would make a fantastic, high-impact decoration for various parties and events. Picture them adorning a church Christmas dinner, a festive winter wedding, or even a birthday celebration with a different color scheme. Their durability ensures they can be used for multiple occasions throughout the year.
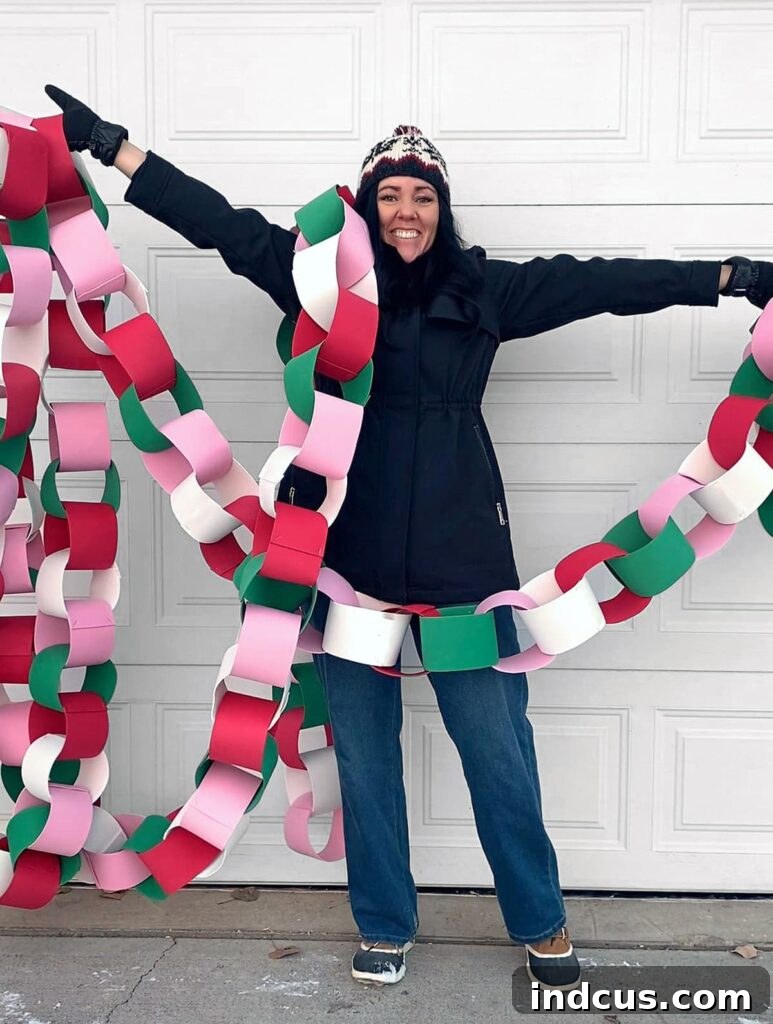
Watch the Full DIY Giant Paper Chain Outdoor Christmas Decoration Tutorial Video
For a complete visual guide and additional tips, be sure to watch the comprehensive tutorial video for this DIY project. It covers every step in detail, making it even easier to create your own stunning waterproof Christmas chain.
So, what do you think? Are you ready to embrace the joy of DIY and craft these stunning, waterproof outdoor Christmas decorations? They’re an incredible way to add personalized charm and festive cheer that truly stands out in your neighborhood. Share your creations and inspire others to make their holiday season extra special!