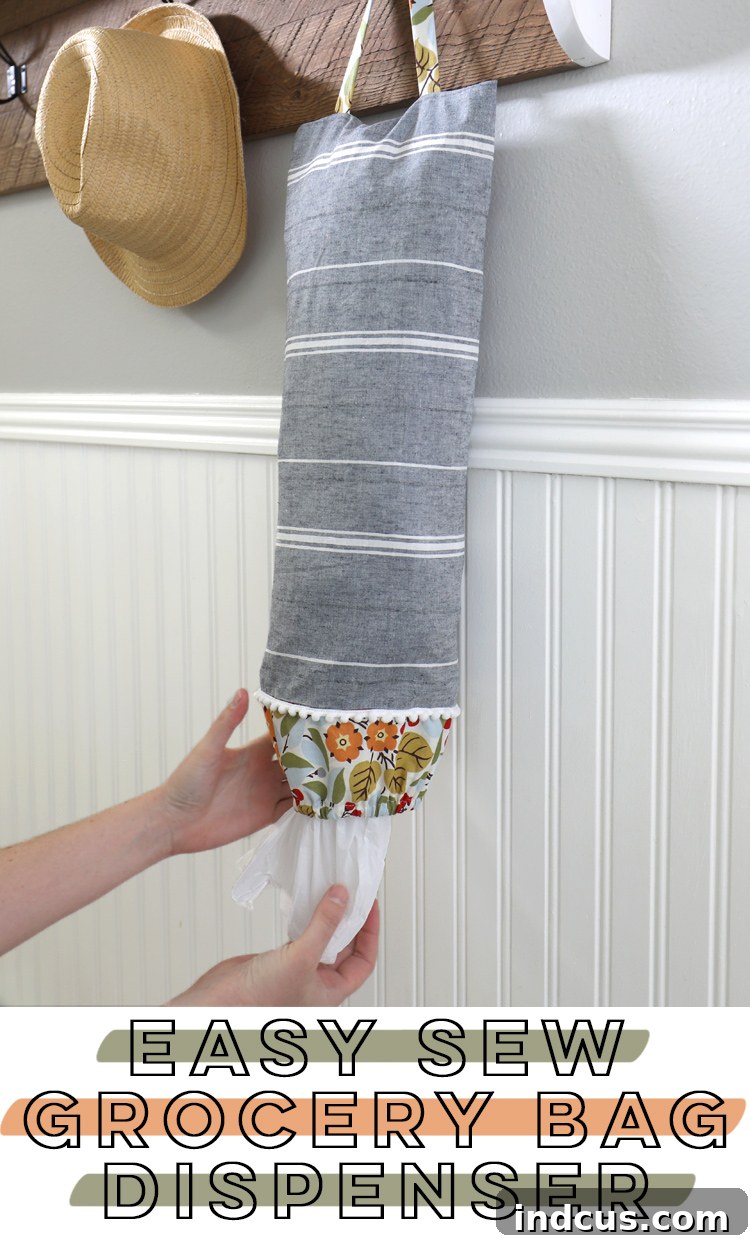
DIY Grocery Bag Holder: An Easy Sewing Project for a Tidy, Eco-Friendly Home
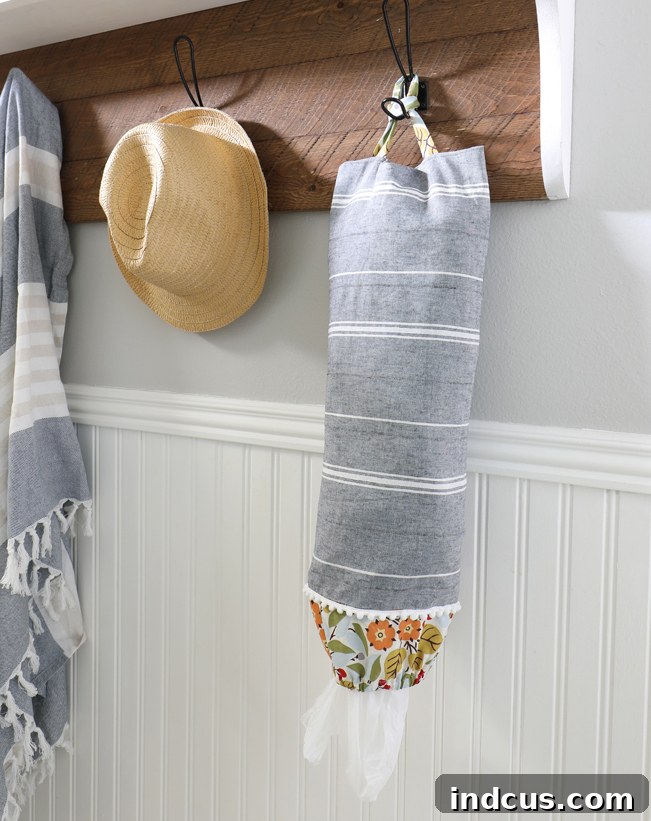
Are you tired of plastic grocery bags overflowing from drawers, accumulating under the sink, or cluttering up your pantry? If so, you’re not alone! Plastic bags are incredibly useful for everything from lining small trash cans to transporting items, but keeping them organized can be a real challenge. This DIY grocery bag holder sewing project offers a simple, stylish, and highly effective solution to corral those elusive bags, transforming household chaos into tidy efficiency.
Many years ago, I crafted a similar grocery bag dispenser from leftover fabric scraps, and it quickly became an indispensable item in my home. It held up remarkably well, a testament to its practical design, until it finally gave way to wear and tear. Recognizing its enduring utility, I decided it was time to create a new one, and in doing so, share a detailed, beginner-friendly tutorial so you can enjoy the same level of organization. This project is not just about making a bag holder; it’s about embracing sustainable habits and adding a touch of handmade charm to your living space.
This particular project is ideal for anyone new to sewing. It primarily involves straightforward stitching, but it also introduces a few fundamental sewing techniques that are excellent for practice, such as creating a casing and turning fabric. You only need a handful of readily available materials, and the design is highly customizable. By selecting your favorite fabrics and adding personal trim details, you can easily create a grocery bag dispenser that perfectly complements your home décor and personal style. Imagine a vibrant floral print hanging in your pantry or a subtle geometric pattern in your utility room – the possibilities are endless!
Why Make Your Own Grocery Bag Holder?
- Declutter Your Home: Say goodbye to unsightly piles of plastic bags. This holder neatly contains them in one accessible spot.
- Eco-Friendly Reuse: Encourage the reuse of plastic bags, extending their lifecycle before disposal and contributing to less waste.
- Beginner-Friendly Project: Designed with ease in mind, this project builds confidence for novice sewers.
- Cost-Effective: Utilize fabric scraps or inexpensive materials to create a functional item at a fraction of the cost of store-bought alternatives.
- Personalized Style: Choose fabrics that match your kitchen, laundry room, or pantry aesthetic.
- Durability: Handmade items often outlast mass-produced ones, especially when crafted with care and quality materials.
Materials Needed for Your DIY Grocery Bag Holder
Before you begin this rewarding sewing journey, gather all your supplies. Having everything ready will make the process smooth and enjoyable.
- Cotton Fabric: You’ll need two pieces of cotton fabric. A main piece for the body of the holder (approximately 18×20 inches) and an accent piece for the bottom (around 5×18 inches). Cotton is recommended for its ease of use, durability, and washability. Feel free to use contrasting prints or solid colors to add visual interest. Scraps from previous projects are perfect for this!
- Coordinating Thread: Select a polyester all-purpose thread that matches or complements your chosen fabric colors. This ensures your seams are strong and blend seamlessly with your design.
- 1/4 inch Elastic: You’ll need a piece approximately 8-10 inches in length. This elastic creates the gathered opening at the bottom, making it easy to pull bags out while keeping them securely inside.
- Fabric Scissors: Sharp fabric scissors are crucial for clean, accurate cuts. Avoid using these scissors for paper or other materials to maintain their sharpness.
- Sewing Machine: Any standard sewing machine will work perfectly for this project. Ensure it’s threaded and in good working order.
- Iron and Ironing Board: Essential for pressing seams flat and creating crisp folds, which are key to a professional finish.
- Safety Pin: A large safety pin will be your best friend for threading the elastic through its casing.
- Pins or Fabric Clips: To hold fabric pieces together securely before sewing.
- Measuring Tape or Ruler: For accurate fabric measurements.
- Marking Tool (optional): Fabric chalk or a washable pen for marking cutting lines if desired.
Detailed Instructions: Crafting Your Fabric Grocery Bag Dispenser
Step 1: Preparing Your Fabric Pieces
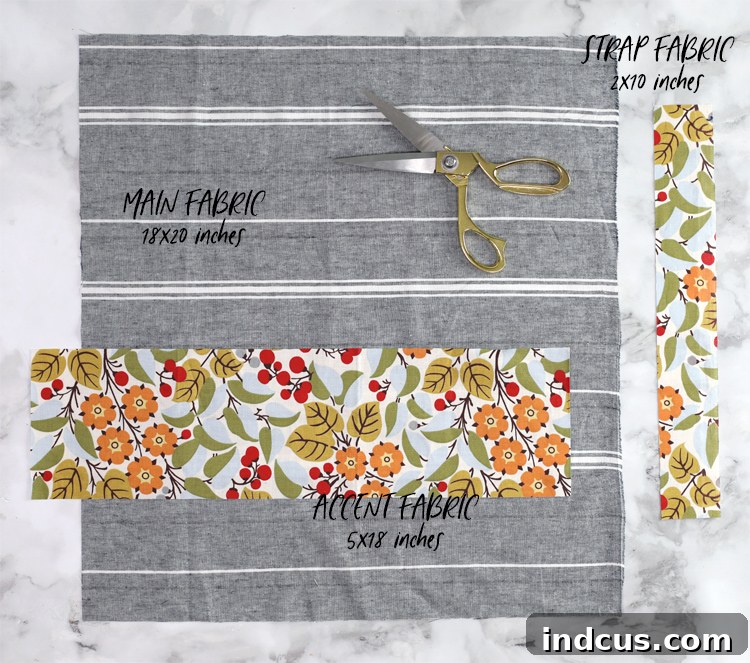
Begin by carefully cutting your fabric. For the main body of the bag holder, cut a rectangle measuring 18 inches wide by 20 inches long. This will form the bulk of your dispenser. For the accent piece that will adorn the bottom, cut a rectangle 5 inches wide by 18 inches long. Lastly, you’ll need a strap, so cut a piece of fabric 2 inches wide by 10 inches long. These dimensions are a great starting point, but remember, they are easily adjustable. Feel free to resize them based on your preferences for bag capacity or the amount of fabric you have available. For example, a taller holder would require a longer main fabric piece, and a wider holder would need a wider main fabric piece. Always ensure your cuts are straight and precise for the best results.
Step 2: Constructing the Hanging Strap
Take your 2×10 inch strap fabric. Fold it in half lengthwise, with the right sides of the fabric facing each other. Pin along the raw, open edge. Using your sewing machine, stitch along this pinned edge, creating a tube. A 1/4 inch seam allowance is usually sufficient here. Once stitched, carefully turn the fabric tube right side out. This can be a bit fiddly but is made easier with a loop turner or a safety pin. After turning, press the strap flat with an iron. This step is crucial for achieving a neat, crisp strap that will serve as the hanging point for your grocery bag holder.
Step 3: Attaching the Accent Fabric Piece
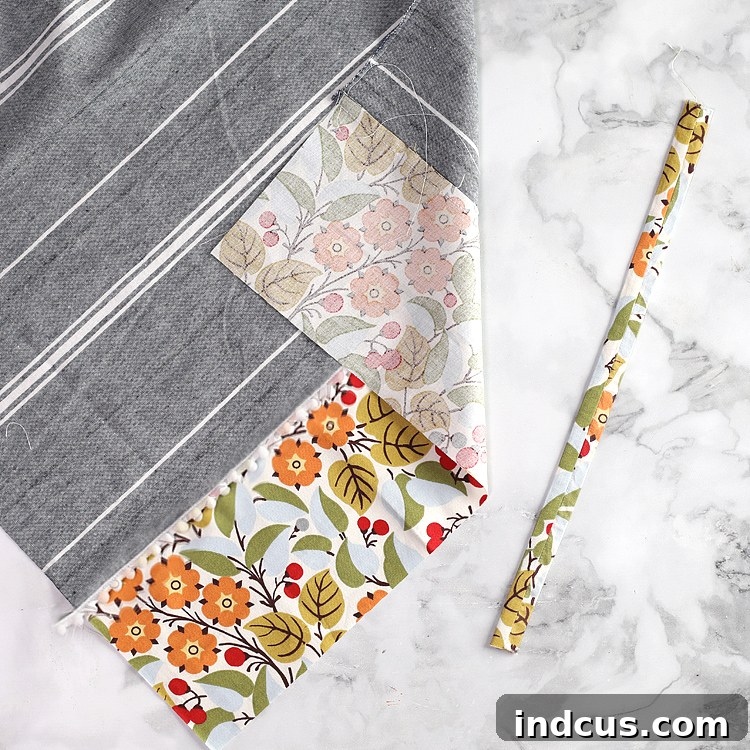
Lay your main fabric piece flat, right side up. Place the accent fabric piece on top of one of the 18-inch edges of the main fabric, ensuring their right sides are together. Align the raw edges precisely. Pin the two pieces together along this 18-inch edge. Stitch them together using a 1/2 inch seam allowance. If you plan to add any decorative trim, such as ribbon or lace, now would be the ideal time to incorporate it. You can stitch the trim onto the accent piece before joining it to the main fabric, or sandwich it between the two layers during this step. After sewing, press the seam flat. You can press it open or to one side, whichever you prefer, to reduce bulk and create a smooth finish.
Step 4: Forming the Holder’s Body
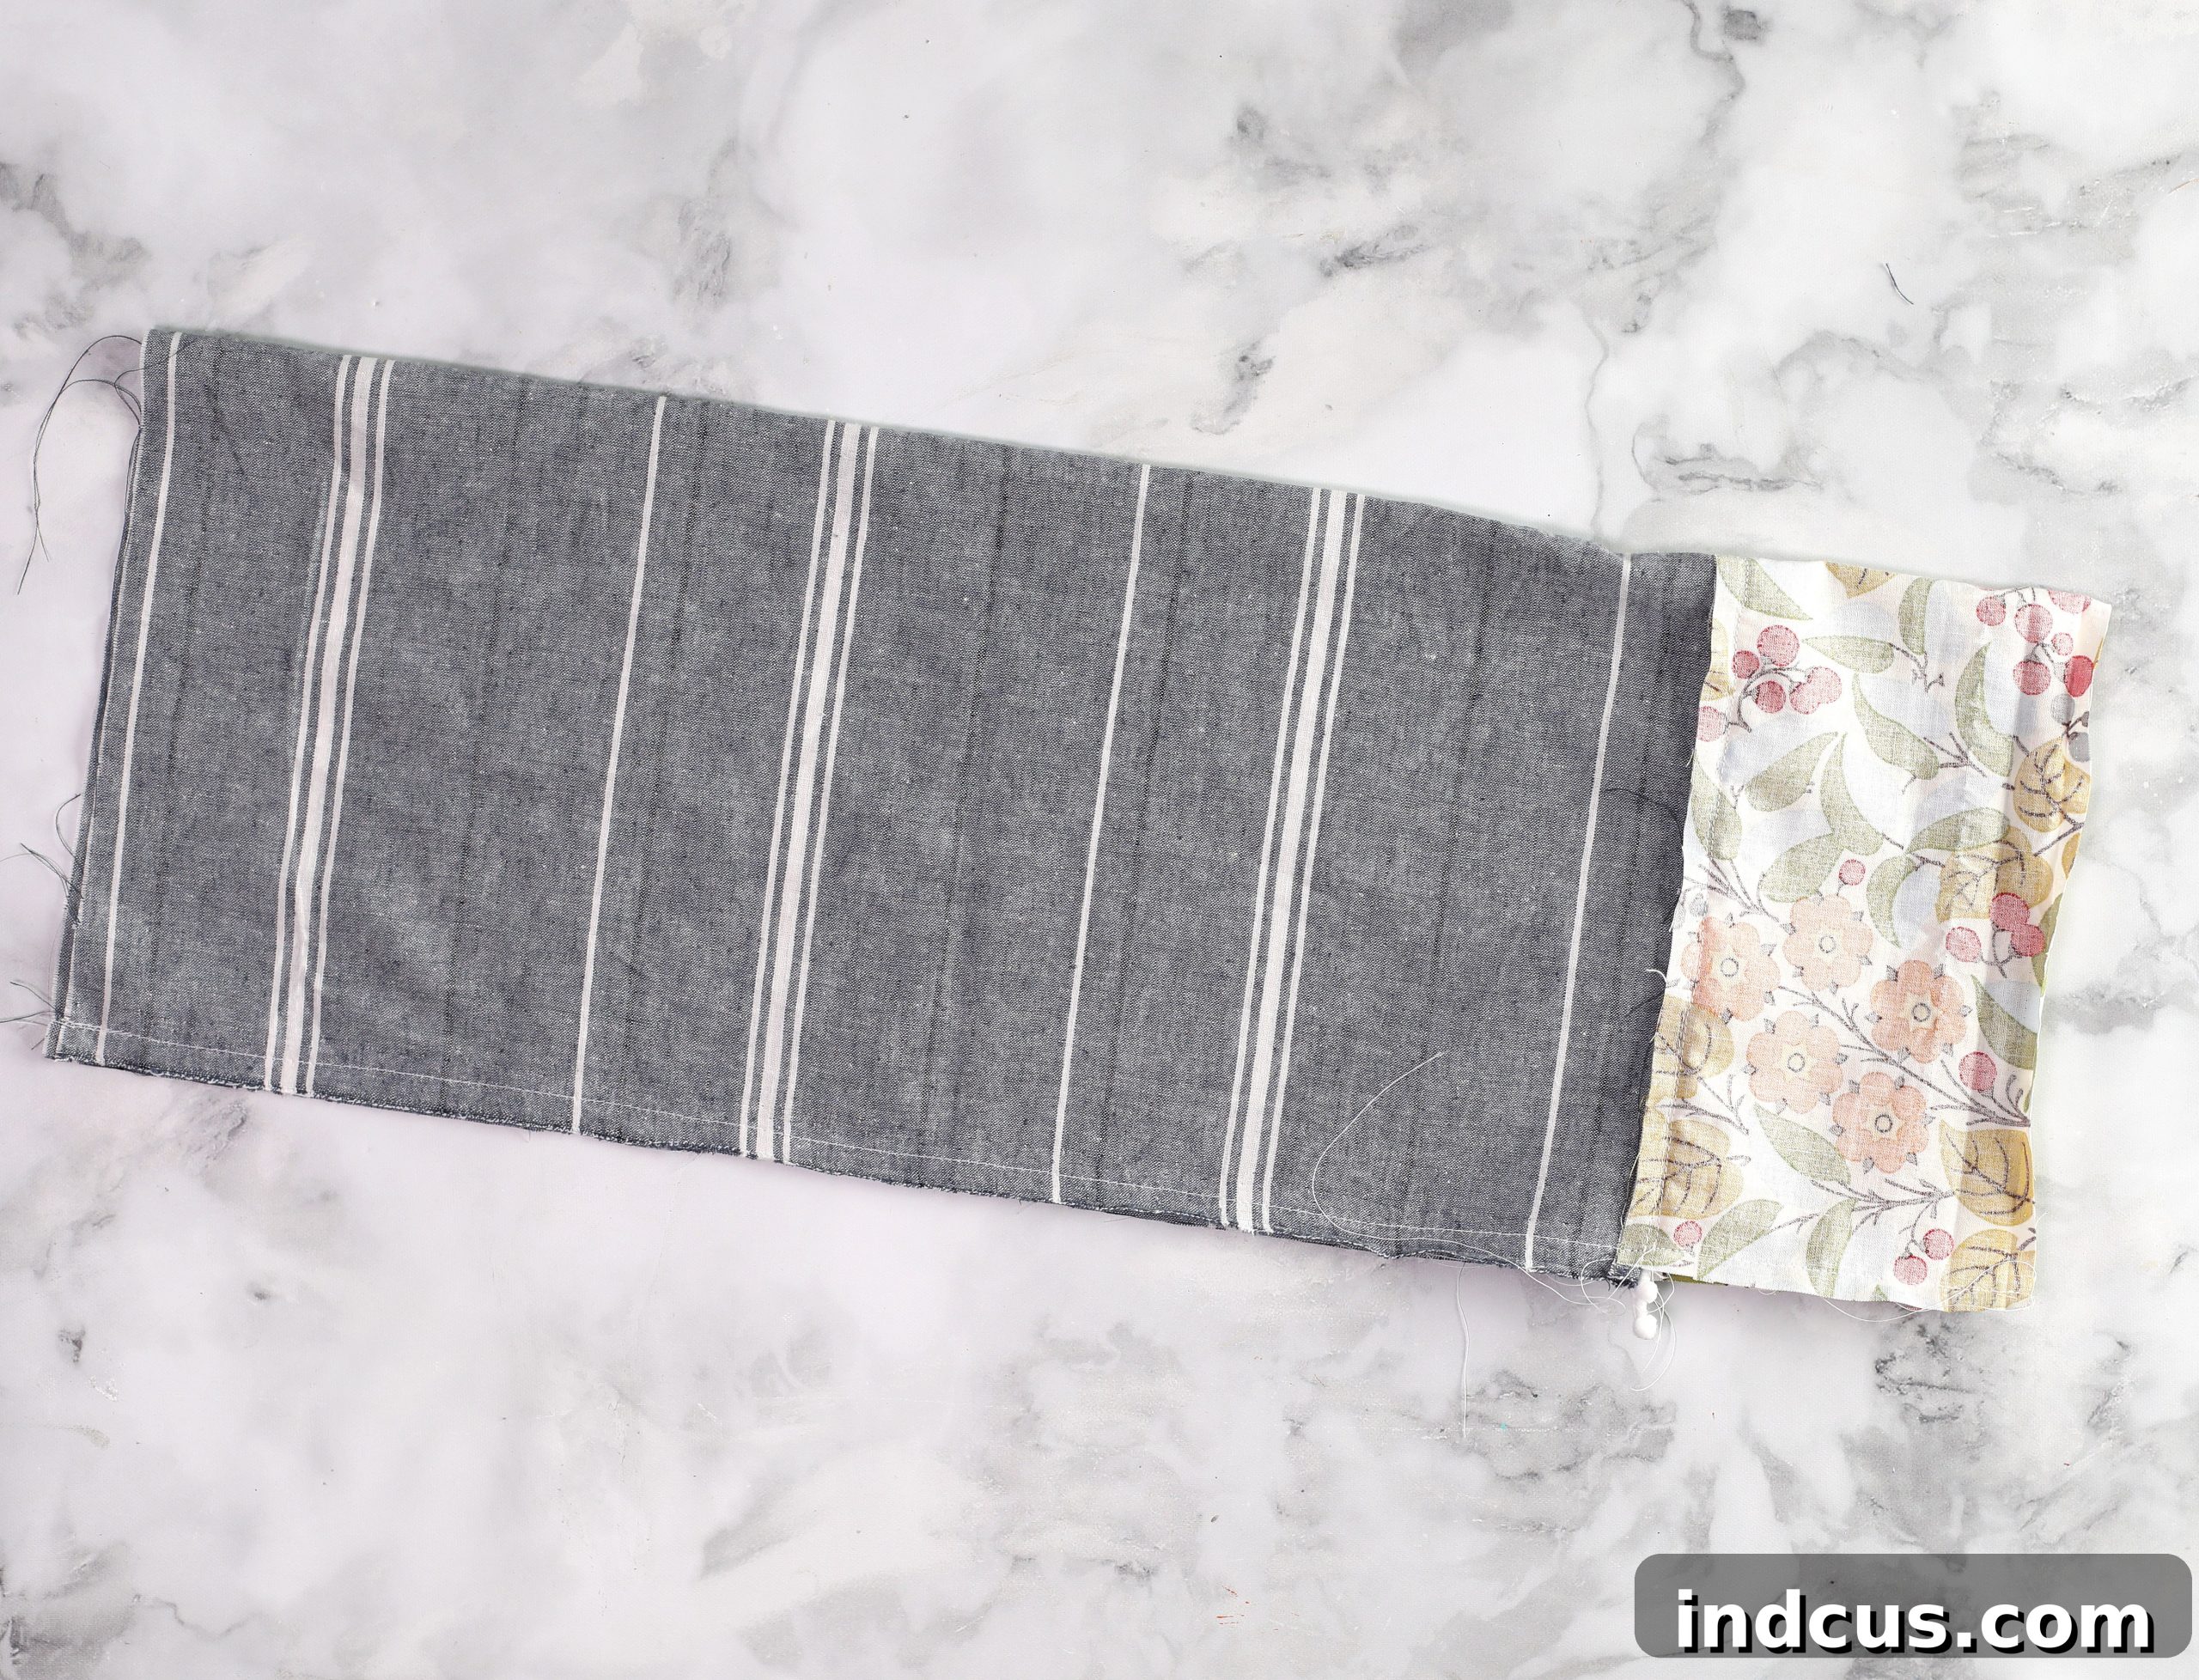
Now, with the right sides still together, fold your combined fabric (main piece + accent piece) in half lengthwise. This means bringing the two long 20-inch edges together. Carefully align these raw edges and pin them securely from top to bottom. Stitch along this entire open edge, forming a long tube. A 1/2 inch seam allowance is a good choice here. Remember to backstitch at the beginning and end of your seam to reinforce it, ensuring durability for your finished bag holder. This seam will become the side seam of your grocery bag dispenser.
Step 5: Securing the Hanging Strap
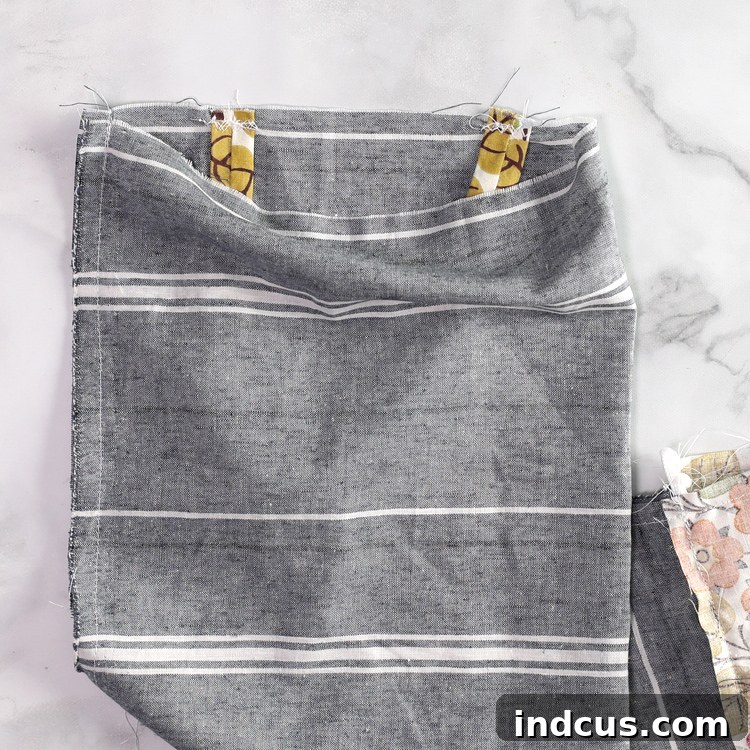
With the fabric still inside out (wrong side facing out, forming a tube), take your pre-made strap. Insert the ends of the strap inside the top opening of the tube. Line up the raw ends of the strap with the raw top edge of the tube. Ensure the strap is not twisted and is centered along the back seam, or wherever you desire it to hang. Pin the strap ends in place. To secure it temporarily, you can “tack” it down by sewing a small line of stitches over the strap ends. Then, bring the two sides of the top edge together, completely enclosing the strap inside. Pin the entire top edge, making sure the strap is tucked neatly within. Sew across this top edge, using a 1/2 inch seam allowance, to close up the top hole of the tube. This creates a neat, finished top with the strap securely integrated.
Step 6: Creating the Elastic Casing at the Bottom
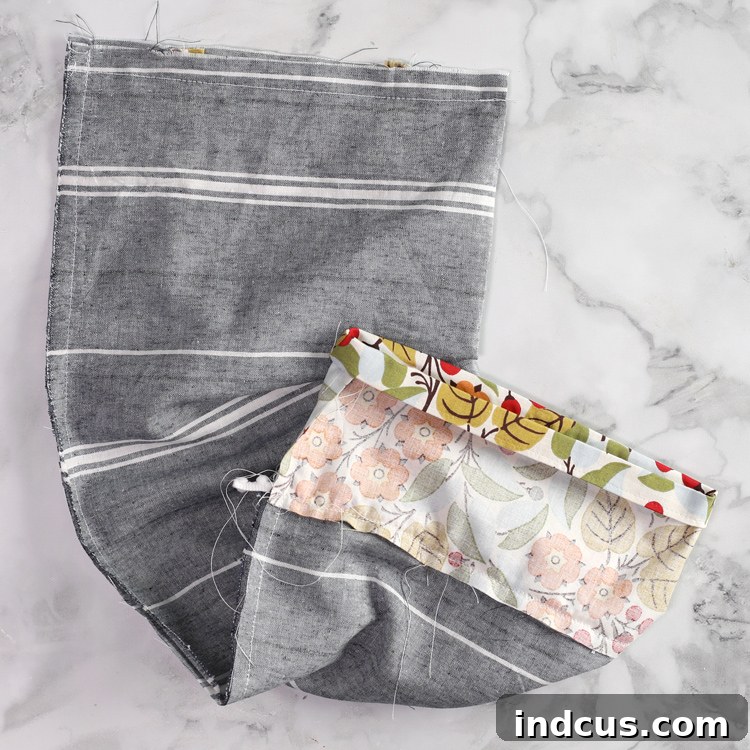
Now, turn your attention to the bottom edge of your fabric tube. This is where the bags will be dispensed from, and it needs an elasticized opening. To create a casing for the elastic, first, fold the raw bottom edge of the fabric over by about 1/4 to 1/2 inch towards the wrong side and press it flat with an iron. Then, fold it over again, this time by about 3/4 to 1 inch. This second fold creates the channel for your elastic. Pin this folded edge all the way around. Stitch along the inner edge of this fold, close to the folded hem, to create the casing. Crucially, remember to leave a 2 to 3-inch opening unstitched. This opening is where you will insert your elastic, so make sure it’s large enough to work with comfortably.
Step 7: Inserting and Securing the Elastic
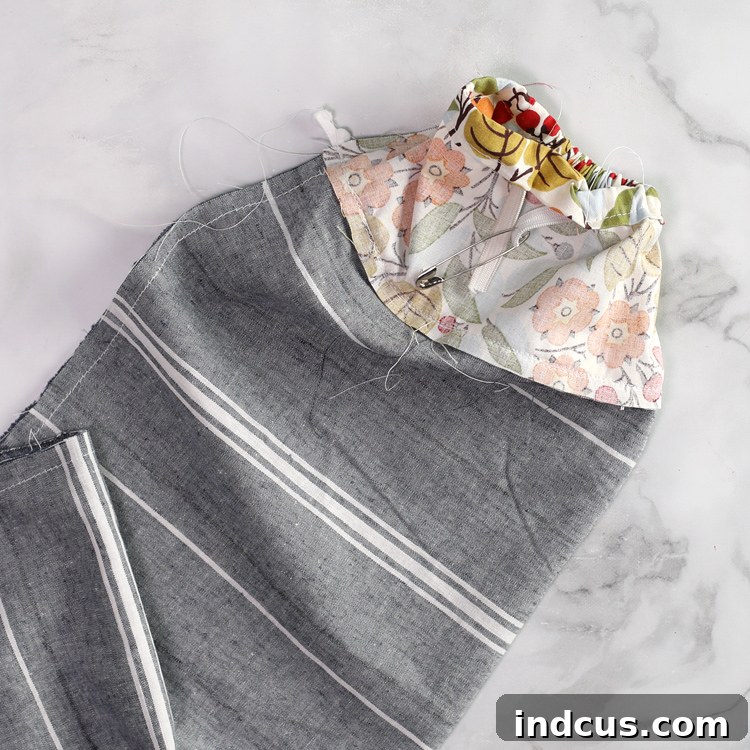
Attach a large safety pin to one end of your 8-10 inch elastic piece. Guide the safety pin, and thus the elastic, through the opening you left in the casing. Gently push and gather the fabric along the elastic until the safety pin emerges from the other side of the opening. Be careful not to lose the other end of the elastic inside the casing – you might want to pin it to the fabric at the opening while you thread the rest. Once the elastic is fully threaded through the casing, remove the safety pin. Overlap the two ends of the elastic by about 1/2 inch and securely sew them together, either by hand or with your machine (a zigzag stitch works well). Finally, stitch the remaining 2-3 inch opening in the casing closed. This encloses the elastic completely, creating a gathered, functional bottom opening for your grocery bag holder.
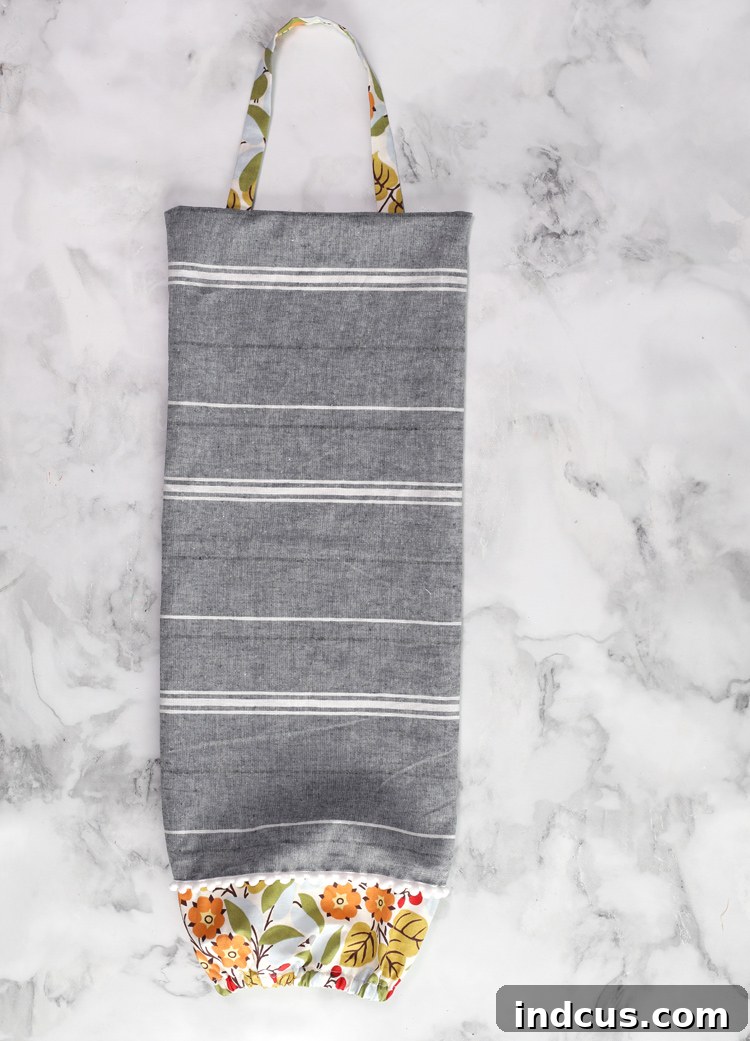
Your Handmade Grocery Bag Holder: Ready for Use!
Now that all the sewing is complete, the final step is to gently turn your entire project right side out. Adjust the fabric and admire your handiwork! You’ve successfully created a practical and charming fabric grocery bag dispenser.
Using your new holder couldn’t be simpler. Gather your clean plastic grocery sacks and stuff them into the holder through the gathered bottom opening. The elasticized bottom does an excellent job of keeping the bags securely inside without any other closures needed. When you need a bag, simply pull one out from the bottom, and the elastic will contract, holding the remaining bags in place.
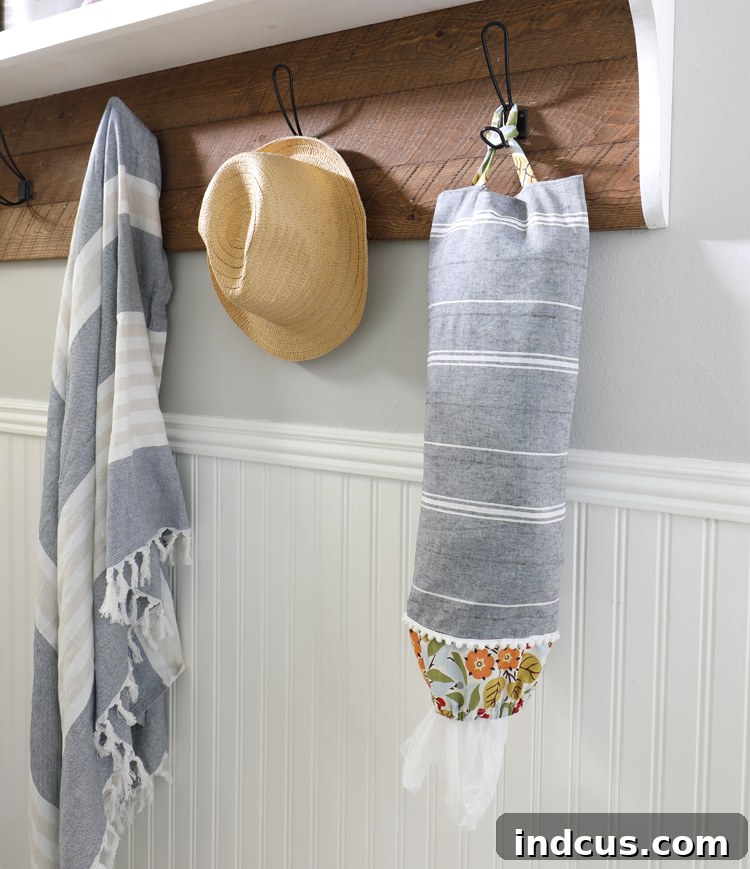
This versatile holder can be placed in numerous convenient locations around your home. I personally keep my grocery bag holder neatly tucked away in my pantry, making it easily accessible yet out of sight. Other fantastic locations include the laundry room, a mudroom, a utility closet, the garage, or even discreetly under your kitchen sink. Its vertical design helps save space, and its decorative potential adds a touch of brightness wherever it hangs. This simple sewing project truly delivers big on both functionality and aesthetic appeal. So handy, right?
Found this DIY project inspiring? Pin it to your favorite sewing or home organization board so you don’t forget it, and share it with friends who love to sew!