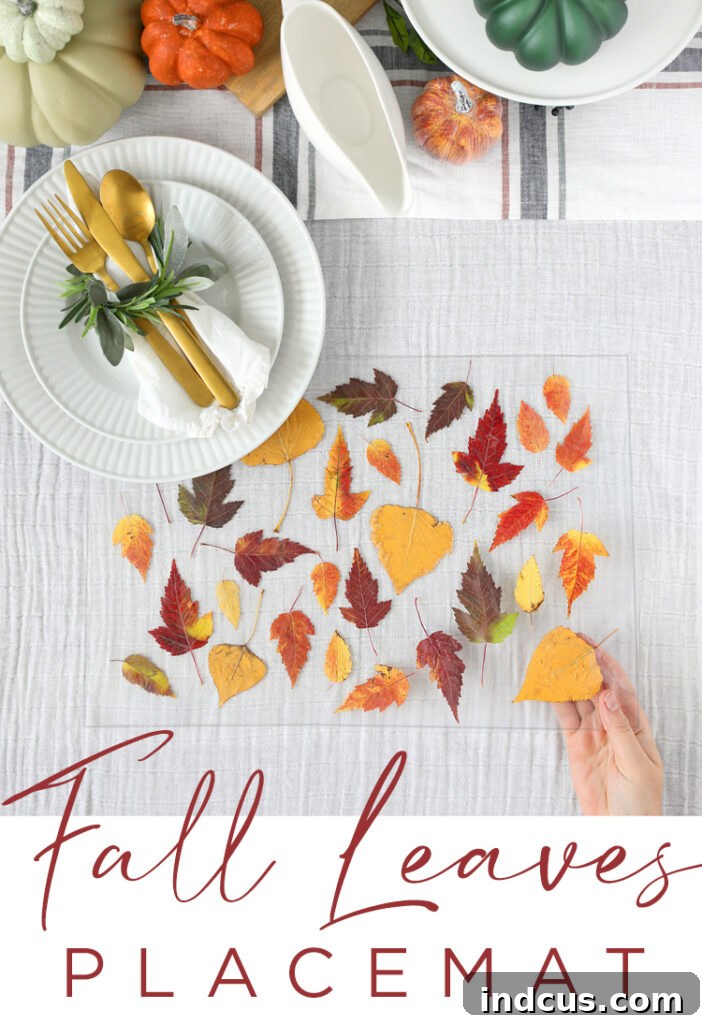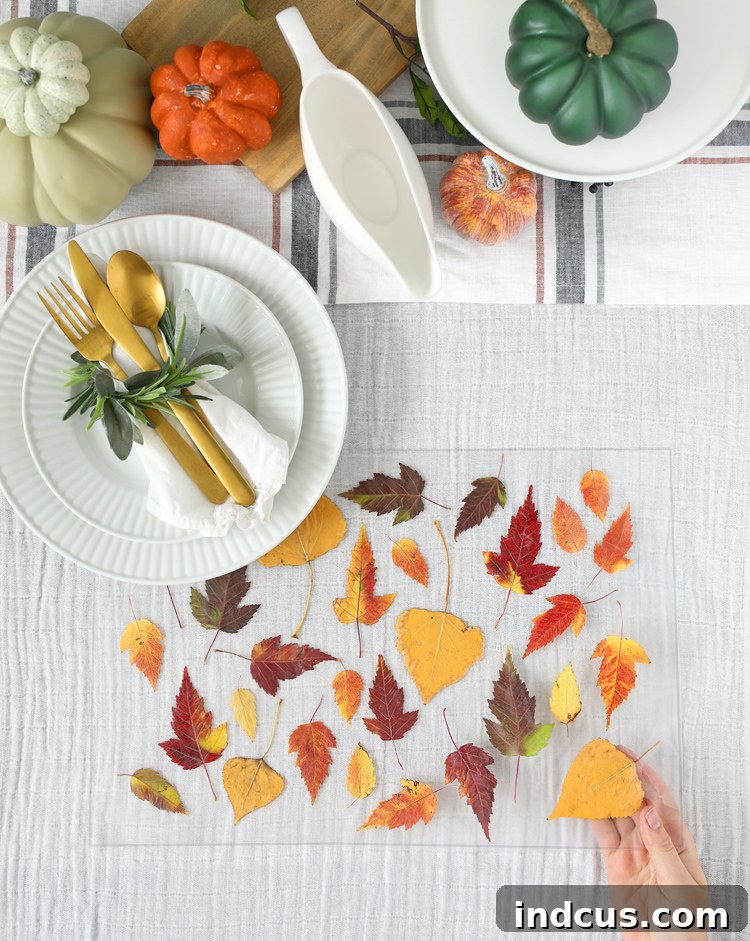
Crafting Autumn Memories: DIY Laminated Fall Leaf Placemats for a Stunning Seasonal Table
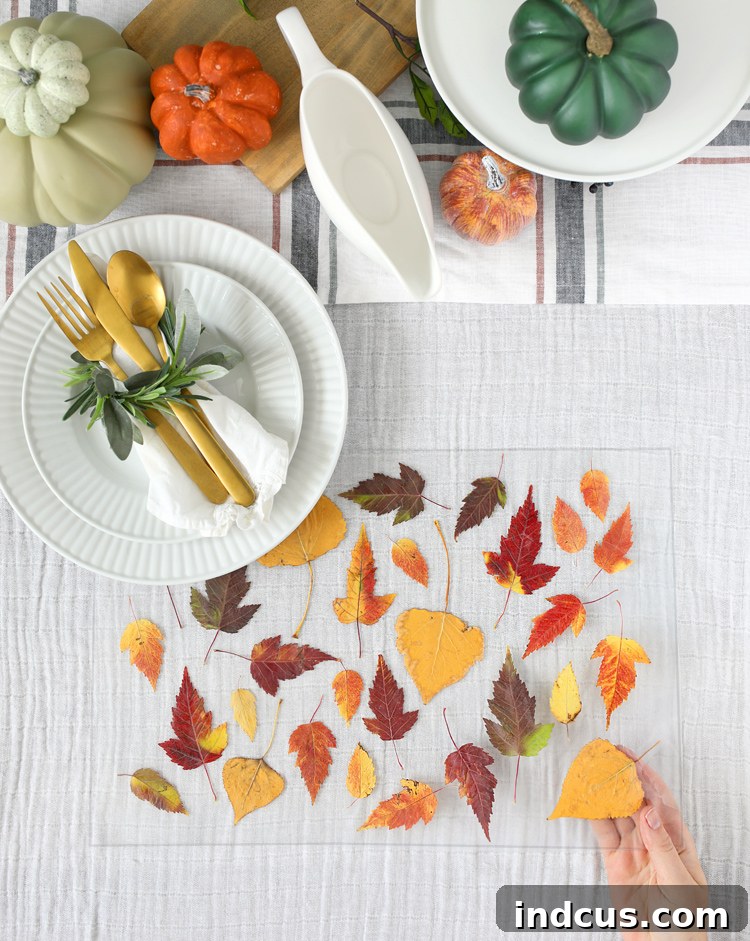
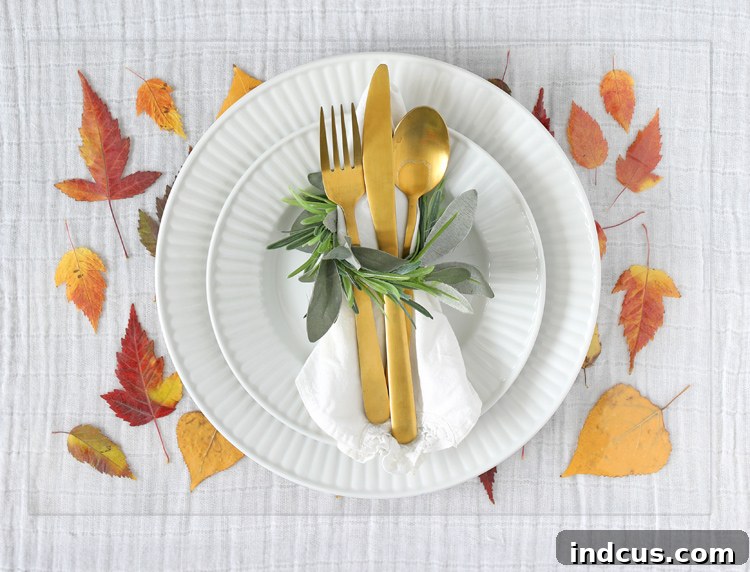
As the crisp air of autumn settles in and nature paints the world in breathtaking hues of red, orange, and gold, our homes yearn for decor that echoes this seasonal splendor. What better way to capture the ephemeral beauty of fall than by incorporating its natural artistry into your daily life? This engaging and incredibly simple DIY project allows you to create exquisite laminated fall leaf placemats, perfect for gracing your Thanksgiving table or simply adding a touch of rustic charm to any autumn meal. It’s a fantastic opportunity to bring the family together, venture outdoors, and transform collected treasures into cherished, long-lasting decor.
This post is sponsored by Duck Brand.
Beyond being a beautiful addition to your seasonal decor, these custom placemats offer a unique blend of practicality and personalized style. Imagine gathering around a table adorned with pieces of nature, each placemat a miniature canvas displaying the vibrant, preserved leaves you and your loved ones hand-picked. It’s an activity that fosters creativity, encourages an appreciation for the outdoors, and results in durable, washable placemats that will serve you throughout the entire autumn season for years to come.
Embrace the Beauty of Fall: Why This Craft is Perfect for Your Home
Autumn brings with it a sense of warmth, gratitude, and a desire to create cozy, inviting spaces. Our DIY fall leaf placemats encapsulate all these sentiments. They are:
- Budget-Friendly: Utilizing readily available leaves and just a few craft supplies keeps costs down.
- Family-Friendly: From collecting leaves to arranging them, every step can involve participants of all ages, making it a wonderful bonding experience.
- Nature-Inspired: It’s a beautiful way to bring the outdoors in, celebrating the natural cycle of the seasons.
- Customizable: Each placemat will be unique, reflecting the specific leaves collected and the individual artistic flair of the creator.
- Durable & Practical: Once laminated, these placemats are easy to wipe clean, protecting your table while looking fabulous.
- Eco-Conscious: Repurpose natural elements into functional art, minimizing waste and maximizing beauty.
Gather Your Supplies: What You’ll Need
One of the beauties of this autumn craft is its simplicity in terms of materials. You won’t need an elaborate craft kit, just a few key items to bring your vision to life. The star of the show for durability and ease is the right laminating material.
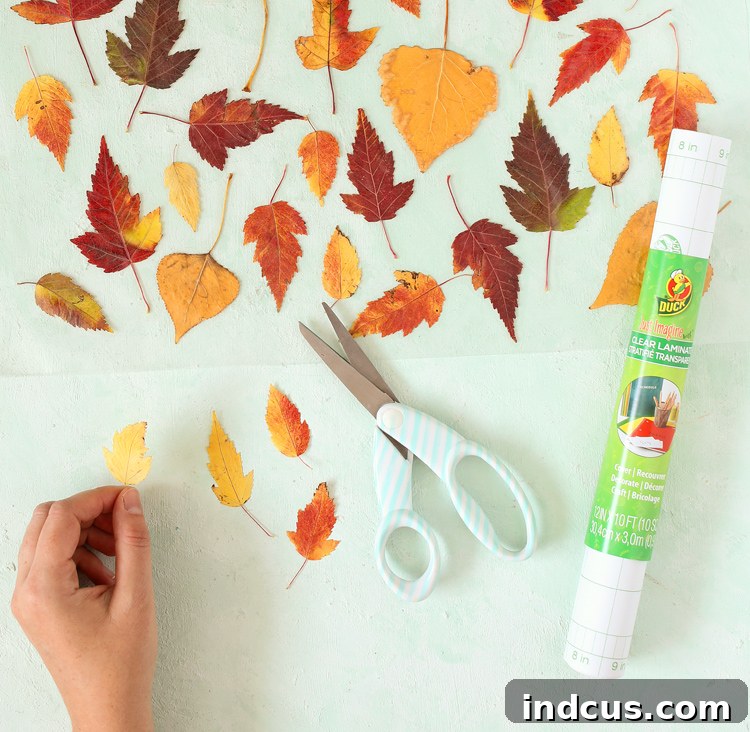
- Duck Brand Clear Laminate: This is the essential component for preserving your leaves and creating a wipeable surface. Its self-adhesive nature makes it incredibly user-friendly, eliminating the need for a heat laminator. Look for rolls that offer sufficient width and length for your placemats (e.g., 12 inches by 10 feet is ideal for multiple placemats). The grid lines on the backing paper are a huge bonus for precise cutting!
- Assorted Fall Leaves: The more vibrant and varied, the better! Seek out leaves in different shapes, sizes, and colors – reds, oranges, yellows, and even deep purples. Ensure they are relatively flat and free from major tears or decay.
- Sharp Scissors: A good pair of scissors will be crucial for cleanly trimming the laminate edges, ensuring a professional finish.
- Heavy Books: For pressing and preserving your collected leaves. Think encyclopedias, dictionaries, or large textbooks.
- Copy Paper or Wax Paper: To protect the pages of your heavy books during the leaf pressing process.
- Optional: A brayer or old credit card for smoothing out air bubbles during lamination.
Step-by-Step Guide to Crafting Your Laminated Fall Leaf Placemats
Follow these straightforward steps to create stunning, durable placemats that will become a cherished part of your autumn decor. Remember, patience in preparation yields the best results!
Step 1: The Great Leaf Hunt and Preservation Process
The journey begins with a joyful adventure into nature! Head outdoors to a local park, your backyard, or a wooded area, and embark on a mission to collect the most beautiful fall leaves you can find. Encourage family members to discover a wide array of colors, shapes, and sizes to make your placemats truly unique.
Tips for Collecting Leaves:
- Look for Vibrant Colors: Seek out leaves that have fully changed color and exhibit rich, intense hues.
- Choose Healthy Leaves: Avoid leaves that are visibly torn, heavily damaged, or show signs of mold or disease.
- Select Flatter Leaves: Leaves that are already relatively flat will press more easily and evenly.
- Gather a Variety: Collect different types of leaves (maple, oak, birch, etc.) for visual interest and texture.
- Dry Leaves are Best: If possible, collect leaves on a dry day. If they are damp, gently pat them dry before pressing.
Once you’ve amassed a beautiful collection, it’s crucial to preserve them properly to prevent wilting and decay. This is where your heavy books come in handy.
How to Press Leaves:
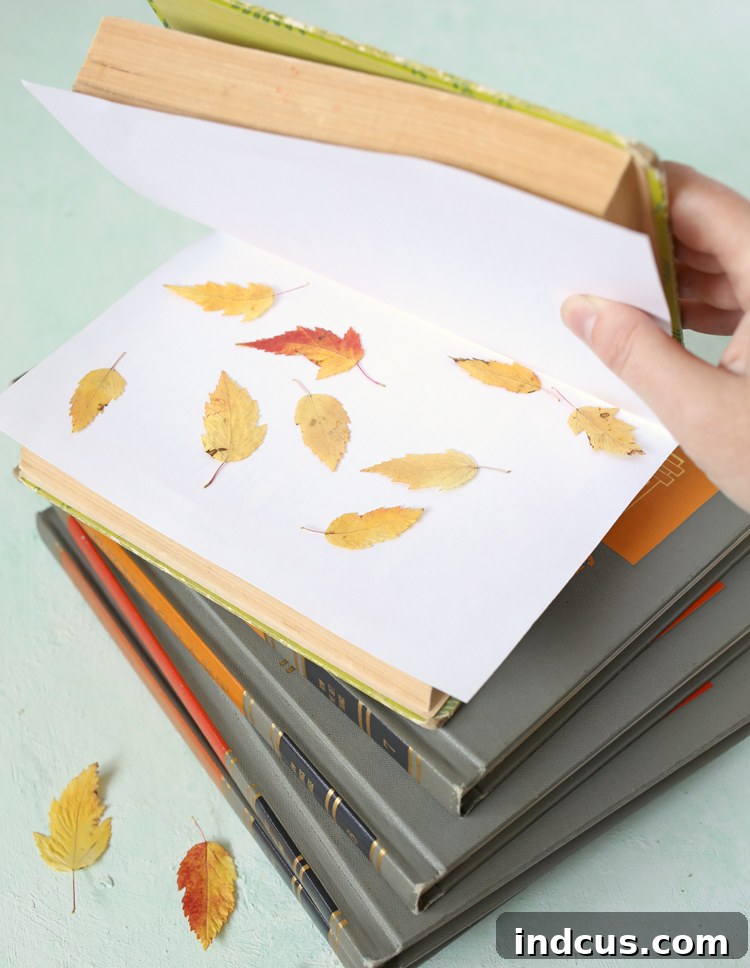
- Prepare Your Books: Open a heavy book to the middle. Place a sheet of plain copy paper or wax paper on each side of the page to protect the book from any moisture or natural pigments from the leaves.
- Arrange the Leaves: Carefully lay your collected leaves flat between the sheets of protective paper. Ensure they do not overlap too much to allow for even pressing.
- Layer and Weigh Down: Close the book firmly. For optimal results, stack several more heavy books on top of the one containing your leaves. The weight is key to pressing them flat and drawing out moisture.
- Patience is Key: Allow the leaves to press for approximately one week. The exact time may vary depending on the thickness and moisture content of the leaves. Check them periodically. They are ready when they feel completely dry to the touch, papery, and brittle. If they still feel pliable or damp, continue pressing for a few more days. This critical step ensures your placemats will last and prevents moisture from being trapped within the laminate, which could lead to mold or discoloration.
Step 2: Preparing Your Laminate Sheets
With your beautifully preserved leaves ready, it’s time to prepare the protective layers for your placemats. The Duck Brand Clear Laminate is perfect for this, offering both adhesive strength and convenient cutting guides.
- Determine Placemat Size: A standard placemat size is typically around 12×18 inches. This project suggests cutting two 18-inch pieces of laminate for each placemat. Feel free to adjust these dimensions based on your desired placemat size.
- Cut the Laminate: Unroll the Duck Brand Clear Laminate. You’ll notice a handy grid printed on the paper backing. This grid is your best friend for making straight, precise cuts. Carefully measure and cut two pieces, each exactly 18 inches long. For consistency, cut both pieces at the same time or use the first as a template for the second.
- Prepare Your Workspace: Ensure your work surface is clean, dry, and free of dust or debris. This will prevent any unwanted particles from getting trapped in your placemat.
Step 3: Arranging Your Autumn Masterpiece
This is where your creativity truly shines! Arranging the pressed leaves is like creating a miniature work of art. Take your time to experiment with different layouts before committing.
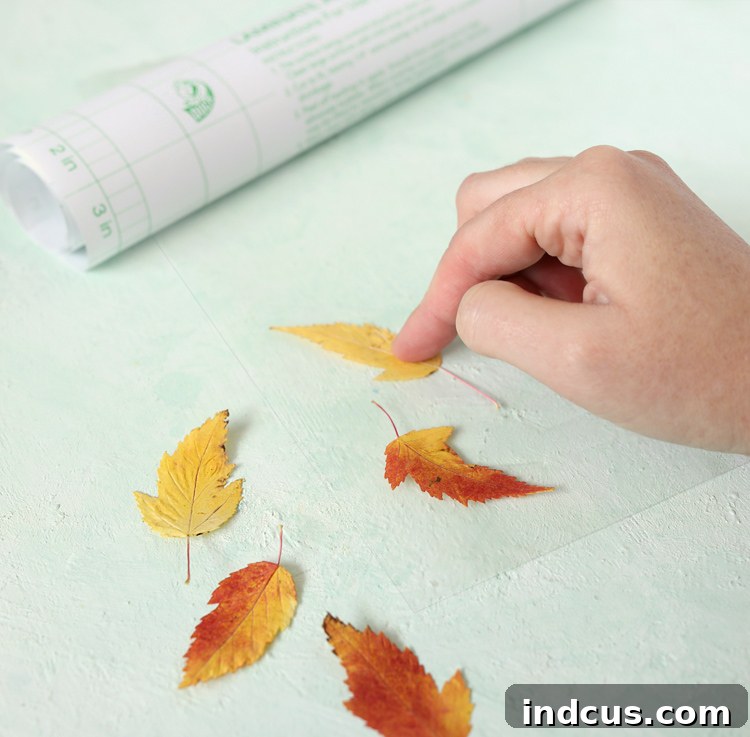
- Expose the Adhesive: Carefully peel the paper backing off ONE of your 18-inch pieces of laminate. This reveals the sticky side. Place this sticky side UP on your clean work surface. You might want to tape the corners down slightly to prevent it from shifting while you work.
- Design Your Layout: Begin arranging your dried fall leaves onto the sticky surface. Remember, the “pretty side” of the leaf should face DOWN onto the laminate. This is because when you flip the placemat over, the side facing down will be the top, visible surface.
- Creative Arrangement Tips:
- Overlap Gently: Overlapping leaves can create depth and a rich, layered look.
- Consider Color and Shape: Distribute colors evenly or create clusters for visual impact. Mix large and small leaves for variety.
- Leave a Border: Ensure you leave a small border (at least half an inch) around the perimeter of the laminate without leaves. This border will be crucial for a strong, complete seal in the next step.
- Symmetry vs. Asymmetry: Decide if you want a formal, symmetrical design or a more organic, free-flowing arrangement. Both can be beautiful!
- Test First: If you’re unsure, you can arrange your leaves on a separate piece of paper the same size as your laminate first, then transfer them.
Step 4: Sealing and Finishing Your Placemats
This final step is vital for ensuring your placemats are durable, protective, and free of bubbles. Precision and a steady hand will give you the best results.
- Prepare the Second Laminate Sheet: Once you are completely satisfied with your leaf arrangement, take the second 18-inch piece of Duck Brand Clear Laminate. Carefully and slowly peel off its paper backing to expose the sticky side.
- Laminate with Care: This is the most delicate part. Hover the second sticky sheet over your arranged leaves, aligning the edges perfectly with the first sheet. Begin by pressing down gently from one end (e.g., the top edge), slowly working your way down. This gradual application helps to push out air bubbles as you go.
- Smooth Out Bubbles: As you press the two sheets together, use your hands, a brayer, a ruler, or an old credit card to firmly smooth the surface from the center outwards. Work diligently to remove any trapped air bubbles. The goal is to create a tight, seamless seal around all the leaves and along the entire surface. This not only makes the placemat aesthetically pleasing but also prevents moisture from seeping in later.
- Trim the Edges: Once the two laminate sheets are firmly sealed and smoothed, you might have some excess sticky edges or unevenness. Use your sharp scissors to carefully trim around the perimeter of your newly laminated placemat. Aim for clean, straight lines, removing any sticky surface that extends beyond the sealed leaf area. This creates a neat, professional finish and prevents the placemat from attracting dust or sticking to surfaces.
Beyond Placemats: Creative Variations for Laminated Leaves
These beautiful laminated leaves aren’t just for placemats! Once you’ve mastered the technique, you’ll find countless ways to incorporate this natural beauty into your home and gift-giving:
- Table Runners: As mentioned by our kids, creating a longer, narrower piece by connecting multiple laminated sections can make a stunning fall table runner.
- Coasters: Smaller square or circular versions make unique and protective coasters for drinks.
- Bookmarks: Preserve a single, perfect leaf in a smaller strip of laminate for a charming, nature-inspired bookmark.
- Wall Art: Frame a larger, carefully arranged collection of laminated leaves for a rustic piece of autumn wall decor.
- Greeting Cards & Gift Tags: Cut out smaller leaf sections to embellish homemade cards or personalized gift tags.
- Window Decorations: Hang individual laminated leaves or small clusters in a window to catch the light and cast beautiful autumn colors.
Care and Longevity of Your DIY Placemats
One of the best features of these laminated placemats is their durability and ease of care. To keep them looking fresh and vibrant:
- Wipe Clean: Simply wipe them down with a damp cloth after each use. Avoid abrasive cleaners that could scratch the laminate surface.
- Storage: When the season ends, store them flat or gently rolled to prevent creasing. They can be stacked easily in a drawer or on a shelf, ready to be brought out again next autumn.
- Avoid Extreme Heat: While durable, avoid placing extremely hot dishes directly onto the placemats as this could potentially warp the laminate over time.
Your Autumn Table Awaits!
And there you have it! A super quick and easy fall craft, but one that truly delivers a lot of fun for the entire family and results in a stunning piece of functional autumn decor. This project is a wonderful way to connect with nature, celebrate the beauty of the season, and create lasting memories. My kids are already asking to go on another nature walk to collect more leaves, eager to design an entire table runner next!
Transform your autumn dining experience with these handcrafted fall leaf placemats. They add an undeniable touch of warmth, charm, and natural elegance to any gathering, making every meal feel like a special occasion. Gather your loved ones, step outside, and let the beauty of fall inspire your next craft project!
Like this project? Pin it to save it for later and inspire others!