Homemade Cream Puffs: The Ultimate Guide to Choux Pastry Perfection
There’s a special kind of magic in presenting a dessert that looks like it belongs in a high-end patisserie, yet is surprisingly simple to create in your own kitchen. Cream puffs are precisely that kind of treat. With their airy, golden shells and luscious, creamy filling, they epitomize elegance and indulgence. What many don’t realize is that mastering homemade cream puffs is far more accessible than it appears.
I distinctly remember the first time I encountered truly remarkable cream puffs, lovingly prepared by my friend, Kathy. She brought them to a gathering, and they were an instant sensation. Everyone raved, astonished that such a sophisticated dessert could be made from scratch. Taking a page from her playbook, I now often bring these delightful treats to parties, and the reactions are always the same: “Wow, you made these? From scratch?!” A simple smile and a “Yep!” is usually my response, letting them believe I possess a culinary prowess far beyond my actual skill level. The truth is, these exquisite pastries are not difficult at all, thanks to Kathy’s fantastic recipe and guidance.
The Anatomy of a Perfect Cream Puff
A classic cream puff is a harmonious blend of three distinct components: the light-as-air pastry shell, the rich and creamy filling, and a decadent topping. While the foundational choux pastry shell demands precision, the filling and topping offer endless possibilities for creativity, allowing you to tailor this dessert to your exact preferences or the theme of any occasion.
1. The Puffy Shell: The Magic of Pâte à Choux
The secret to a cream puff’s characteristic hollow interior and delicate crispness lies in its unique dough: pâte à choux, or choux pastry. Unlike traditional doughs that rely on yeast or chemical leaveners, choux pastry puffs up dramatically in the oven due to steam generated from its high moisture content. This creates a beautiful, airy cavity perfect for filling. Making choux pastry is a foundational skill in baking, opening doors to other delectable creations like éclairs, profiteroles, and churros.
2. The Luscious Filling: Creamy Indulgence
While classic cream puffs are often filled with sweetened whipped cream or pastry cream, this is where you can truly let your imagination run wild. Our base recipe features a delightful blend of whipping cream and cream cheese for a stable yet incredibly rich and smooth texture. However, feel free to explore vanilla pudding, a vibrant fruity mousse, or even a rich chocolate ganache. The possibilities are truly boundless.
3. The Decadent Topping: A Sweet Finish
A simple chocolate glaze provides the perfect crowning touch, adding a layer of sweetness and visual appeal. But why stop there? Drizzle with white chocolate, sprinkle with finely chopped nuts, dust with powdered sugar, or even create an artistic pattern with caramel. The topping is your final flourish, a chance to make each cream puff uniquely yours.
Mastering the Technique: Tips for Success
Creating beautiful cream puffs is all about understanding a few key techniques, especially when working with choux pastry. Don’t be intimidated; with a little attention to detail, you’ll be baking like a pro in no time.
The Choux Pastry: Precision is Key
- Bringing to a Boil: Ensure the water, butter, and salt come to a rolling boil before adding the flour. This is crucial for properly hydrating the flour and forming the dough.
- Vigorous Stirring: Once the flour is added, stir vigorously and continuously until the mixture forms a ball and pulls away cleanly from the sides of the saucepan. A slight film at the bottom of the pan indicates that enough moisture has been cooked out, preventing soggy puffs.
- Cooling Period: Allowing the dough to cool for about 10 minutes before adding the eggs is vital. If the dough is too hot, it will scramble the eggs, leading to a flat and dense pastry.
- Adding Eggs One by One: This is a critical step. Add each large egg individually, beating thoroughly with a wooden spoon (or a stand mixer with a paddle attachment) until fully incorporated and the dough returns to a smooth consistency before adding the next. The dough will look curdled and separated at first, but keep beating, and it will come together. The eggs provide the essential leavening and structure for the puff.
- Shaping the Dough: The dough will be thick and sticky. For ease and consistency, I find that using two spoons works best. Scoop a tablespoon of dough with one spoon, then use the second spoon to gently push and scrape it onto the greased baking sheet. Then, gently swirl the dough into a neat ball shape. Aim for uniform sizes for even baking.
- No Peeking!: Once the cream puffs are in the oven, resist the urge to open the oven door, especially during the initial baking phase. The sudden drop in temperature can cause the puffs to collapse.
- Golden Brown Perfection: Bake until they are deeply golden brown and firm. This ensures they are cooked through and will hold their shape without collapsing once removed from the oven.
The Filling: Achieving Creamy Perfection
- Whip Cream Firmly: Beat the whipping cream until stiff peaks form. This ensures a stable filling that won’t weep or collapse. Sweeten it gradually to your taste preference.
- Smooth Cream Cheese: Ensure your cream cheese is at room temperature to prevent lumps. Beat it until it’s completely smooth before incorporating vanilla and sugar.
- Folding Gently: When combining the whipped cream with the cream cheese mixture, fold it in gently to maintain the airiness of the whipped cream.
- Piping with Ease: To fill the cream puffs, a piping bag fitted with a plain circle open tip is indispensable. Simply insert the tip into a small opening in the baked dough (you might need to poke a small hole with the tip first), gently squeeze, and every hollow spot inside the shell will fill with delicious cream. Continue filling until you feel resistance, indicating the puff is full.
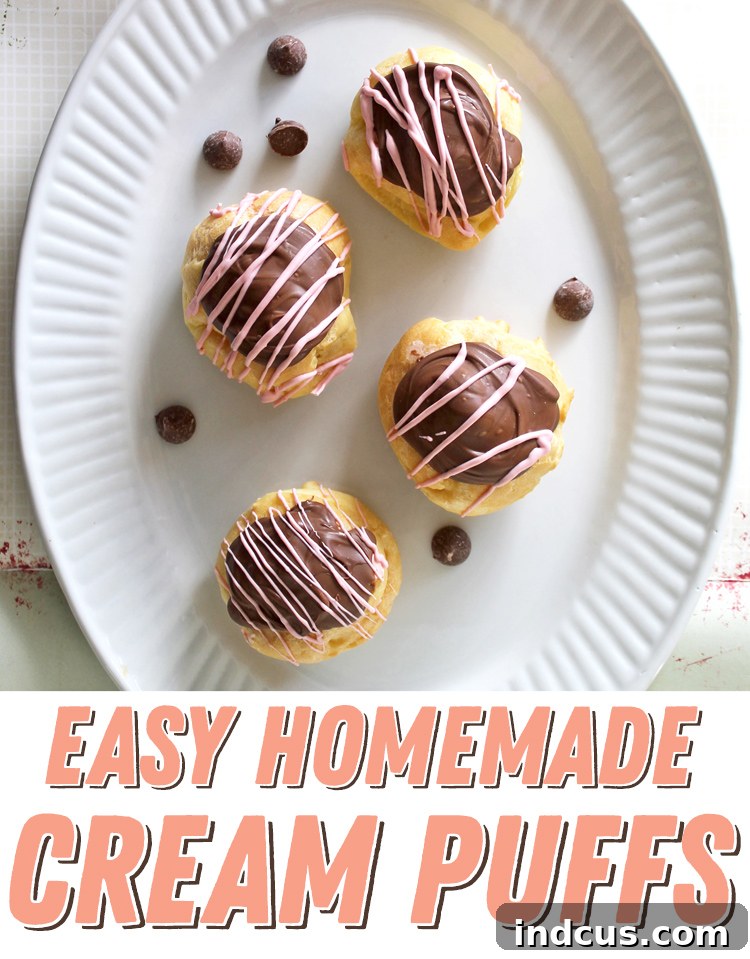
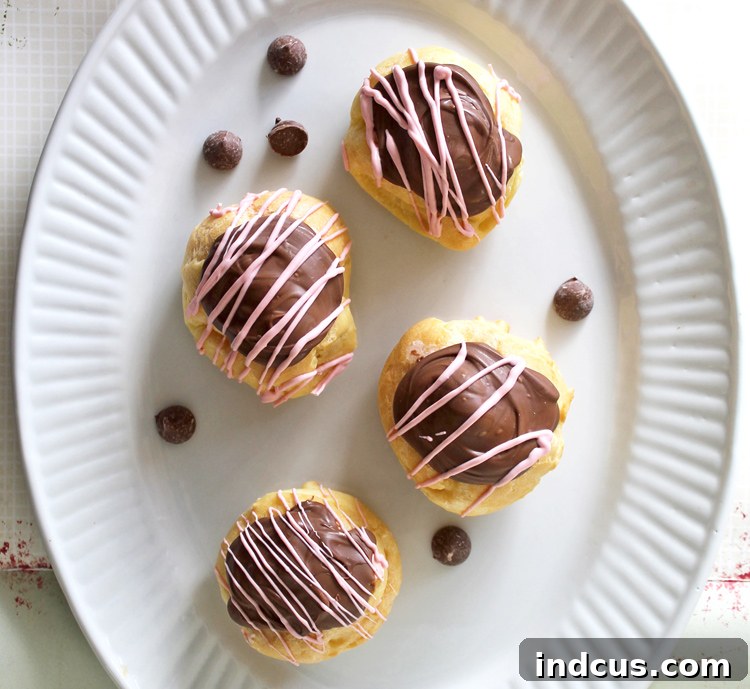
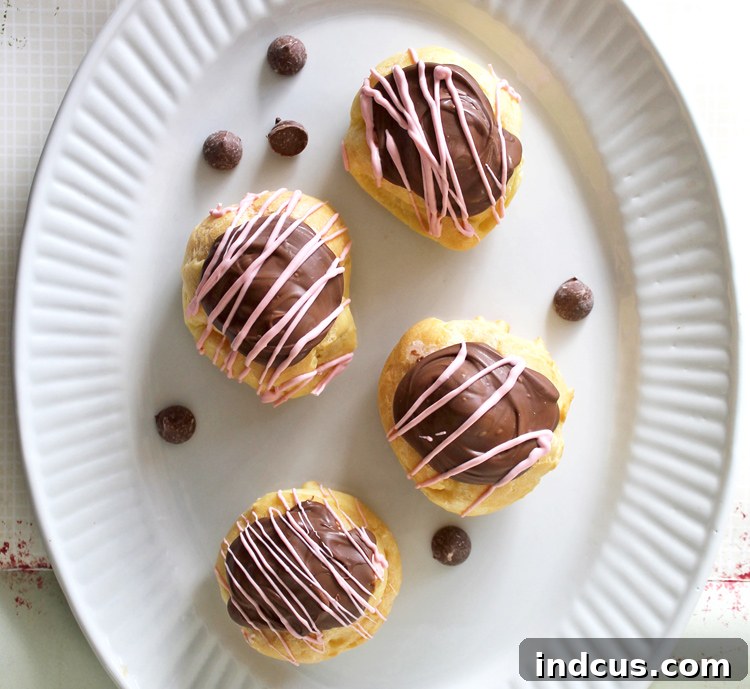
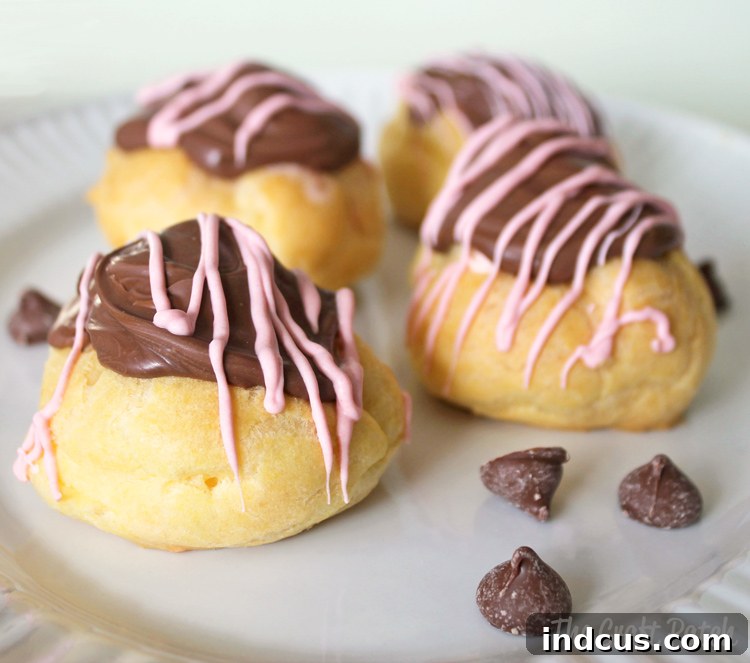
- Creative Additions: Don’t hesitate to add extracts like almond or lemon to your filling, or even finely chopped fruit for a burst of flavor. For a baby shower I once attended, I added a touch of pink food coloring to the filling and drizzled pink chocolate on top, which made them incredibly festive and charmingly “girly.”
The Chocolate Topping: Smooth and Shiny
- Gentle Melting: When melting chocolate chips, whether in the microwave or over a double boiler, do so gently. Microwave in short bursts (30 seconds) and stir between each, even if they don’t look completely melted. Residual heat will continue the melting process, preventing scorching.
- The Role of Oil: The vegetable oil helps achieve a smooth, glossy consistency that’s easy to spread and sets nicely.
- Spreading Technique: Use the back of a spoon to spread a thin, even layer of melted chocolate over the top of each cream puff. A quick swirl can create an elegant finish.
Homemade Cream Puffs
A timeless dessert featuring delicate, airy shells generously filled with a sweet cream and crowned with a luscious chocolate topping. These classic cream puffs are simpler to prepare from scratch than you might imagine, making them a perfect impressive treat for any occasion.
Ingredients
For the Cream Puffs (Pâte à Choux)
- 1 cup water
- 1/2 cup unsalted butter (1 stick)
- 1/8 teaspoon salt
- 1 cup all-purpose flour
- 4 large eggs
For the Creamy Filling
- 1 pint heavy whipping cream (about 2 cups)
- 8 oz cream cheese, softened
- 3/4 cup granulated sugar (adjust to taste)
- 1 tablespoon vanilla extract
For the Chocolate Topping
- 2 cups semi-sweet chocolate chips (approximately 1 bag)
- 2 teaspoons vegetable oil (or coconut oil)
Instructions
To Prepare the Cream Puffs
- Preheat your oven to 400 degrees Fahrenheit (200 degrees Celsius). Line a baking sheet with parchment paper or lightly grease it.
- In a medium-sized saucepan, combine the water, butter, and salt. Bring the mixture to a full boil over medium-high heat.
- Once boiling, immediately remove the saucepan from the heat. Add the flour all at once, stirring vigorously with a wooden spoon until the mixture forms a ball and pulls away cleanly from the sides of the pan. Return the saucepan to low heat and continue stirring for about 1-2 minutes to cook out excess moisture, ensuring a slight film forms on the bottom of the pan.
- Remove the dough from the heat and let it cool for 10 minutes. This is important to prevent the eggs from scrambling.
- After cooling, add the eggs one at a time, beating exceptionally well with a wooden spoon or electric mixer after each addition. The dough will look separated and curdled initially, but keep beating until it comes back together as a smooth, thick, and glossy paste.
- Drop the dough by rounded tablespoons onto the prepared baking sheet. You should get approximately 20 cream puffs. For best results, use a second spoon to scrape the dough off the first spoon and gently swirl it into a neat ball shape. Ensure adequate space between each puff as they will expand.
- Bake in the preheated oven for 20-25 minutes, or until the cream puffs are golden brown and firm. It’s crucial not to open the oven door during baking. Watch them closely towards the end of the baking time.
- Remove the baked cream puffs from the oven and transfer them to a wire rack to cool completely. They must be entirely cool before filling.
To Prepare the Creamy Filling
- In a large mixing bowl, beat the heavy whipping cream until stiff peaks form. Gradually add 4-6 teaspoons of sugar to taste as you beat. Set the sweetened whipped cream aside.
- In a separate bowl, beat the softened cream cheese until it is smooth and lump-free. Add the vanilla extract and continue beating until well combined.
- Gradually add the remaining granulated sugar to the cream cheese mixture, beating until smooth and creamy.
- Gently fold the prepared whipped cream into the cream cheese mixture until fully incorporated, being careful not to deflate the cream.
- Spoon the filling into a pastry bag fitted with a long, plain circle piping tip.
- To fill each cream puff, gently poke the piping tip into a hollow spot in the bottom or side of a cooled puff. Squeeze the pastry bag to fill the interior until you feel the puff become firm and heavy, indicating it is full. I prefer to generously fill them until all the hollow places are brimming with cream.
To Prepare the Chocolate Topping
- Place the chocolate chips and vegetable oil in a microwave-safe bowl.
- Microwave in 30-second intervals, stirring thoroughly after each interval, until the chips begin to melt. Once they start to melt, remove from the microwave and continue stirring until the chocolate is completely smooth and glossy.
- Using a spoon, spread a small amount of the melted chocolate topping over the top of each filled cream puff. Gently smooth it out for an attractive finish.
- Refrigerate the completed cream puffs until just before serving. This recipe yields approximately 20 delicious cream puffs.
Serving and Storage Tips
Cream puffs are best enjoyed fresh, ideally filled just an hour or two before serving. The delicate choux pastry can become soggy if the filling sits inside for too long. If you’re preparing them in advance for an event, you can bake the shells a day or two ahead of time and store them in an airtight container at room temperature. For longer storage, the unfiilled shells can be frozen for up to a month and then crisped up in a 300°F (150°C) oven for about 5-10 minutes before cooling and filling.
The creamy filling can also be made a day in advance and stored in the refrigerator. Assemble the cream puffs shortly before serving for the freshest, most delightful experience. Once filled, store any leftover cream puffs in an airtight container in the refrigerator and consume within 1-2 days.