Mastering Slime: Your Ultimate Guide to Creating the Best Slime Ever!
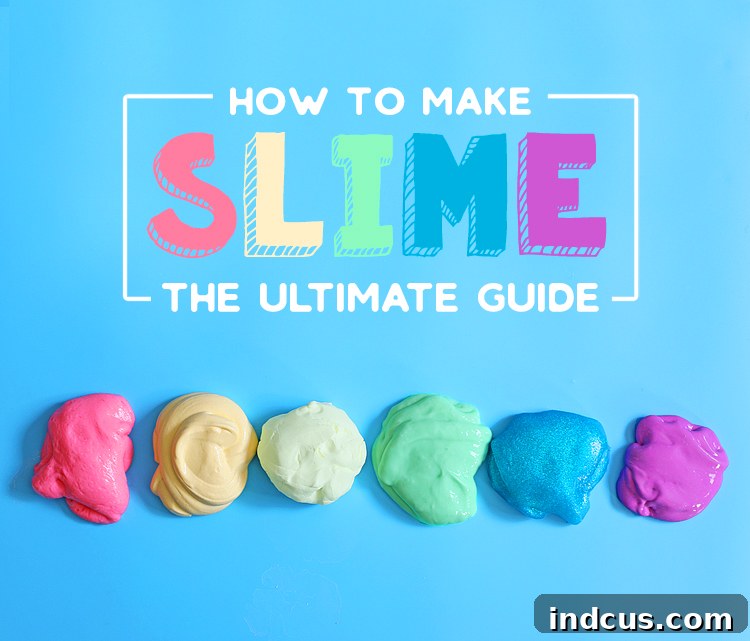
Embarking on the journey of making homemade slime is an incredibly rewarding and fun experience for all ages! However, with countless recipes circulating online, it’s easy to get overwhelmed or, worse, end up with a sticky mess rather than a perfectly pliable plaything. We’ve been there – facing epic slime fails that leave you wondering where you went wrong. That’s why we dedicated ourselves to extensive testing, experimenting with dozens of different slime types and recipes to uncover the truly fail-proof methods. This comprehensive guide compiles our findings, offering tried-and-true recipes, essential troubleshooting tips, and everything you need to know to become a true slime master. Get ready to transform simple ingredients into amazing, tactile creations!
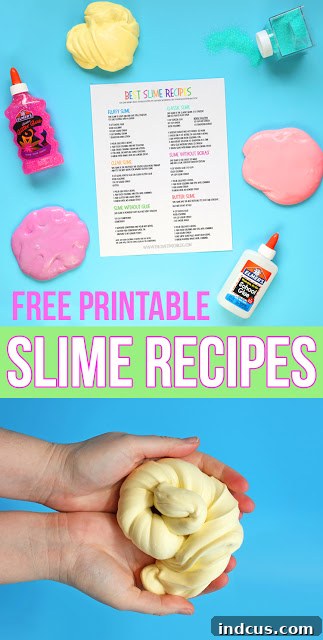
For those who prefer visual learning, a detailed slime video is available at the bottom of this post, showcasing each recipe in action. We’ve also included a convenient printable sheet with all six of our top slime recipes, perfect for quick reference as you mix and knead your way to slime perfection. You’ll find this handy resource right at the very end of the article.
Essential Ingredients: What You Need to Make Slime
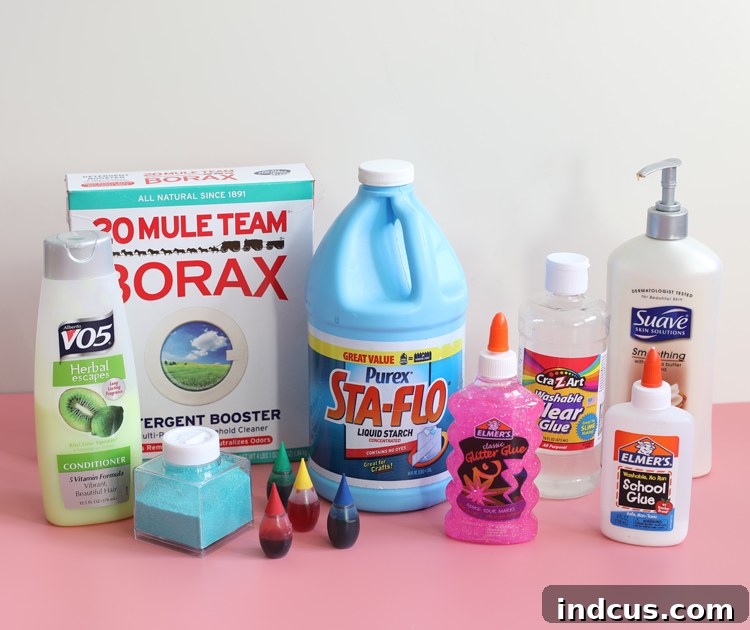
At its core, slime creation relies on the magical interaction of two main components: glue and an activator. The glue provides the long polymer chains, while the activator acts as a cross-linker, connecting these chains to form the unique, stretchy substance we call slime. Understanding these basic building blocks is the first step toward successful slime making.
Here are the most common and effective slime activators you’ll encounter:
- Borax (Sodium Borate/Boric Acid): A classic activator known for creating durable, stretchy slime. It’s often found in the laundry aisle.
- Liquid Starch: An excellent alternative to borax, yielding a similar, satisfying slime texture. Also typically located with laundry supplies.
- Baking Soda + Contact/Saline Solution: A popular borax-free option that utilizes the boric acid present in many contact lens solutions.
- Liquid Laundry Detergent: Certain brands of liquid laundry detergent can also serve as activators, though results can vary.
Through our rigorous testing, we consistently achieved outstanding results with both borax and liquid starch-based recipes. These activators reliably produced stretchy, resilient slime that was incredibly fun to play with. However, we frequently encountered inconsistencies and disappointing textures when using baking soda with contact lens solution, making it our least recommended method. Contact solution slime often felt too stiff or crumbly, lacking the desired elasticity.
For those times when glue isn’t readily available, don’t despair! We’ve even discovered a creative recipe that allows you to make slime without any glue at all, ensuring your slime-making adventures never have to stop.
Safety Note: While slime ingredients are generally safe for external use, adult supervision is always recommended, especially with younger children. Always ensure thorough handwashing after playing with slime. If you have particularly sensitive skin or concerns about direct chemical contact, wearing disposable gloves during the mixing process can provide an extra layer of protection. We personally experienced no adverse reactions during our extensive testing, but individual sensitivities vary.
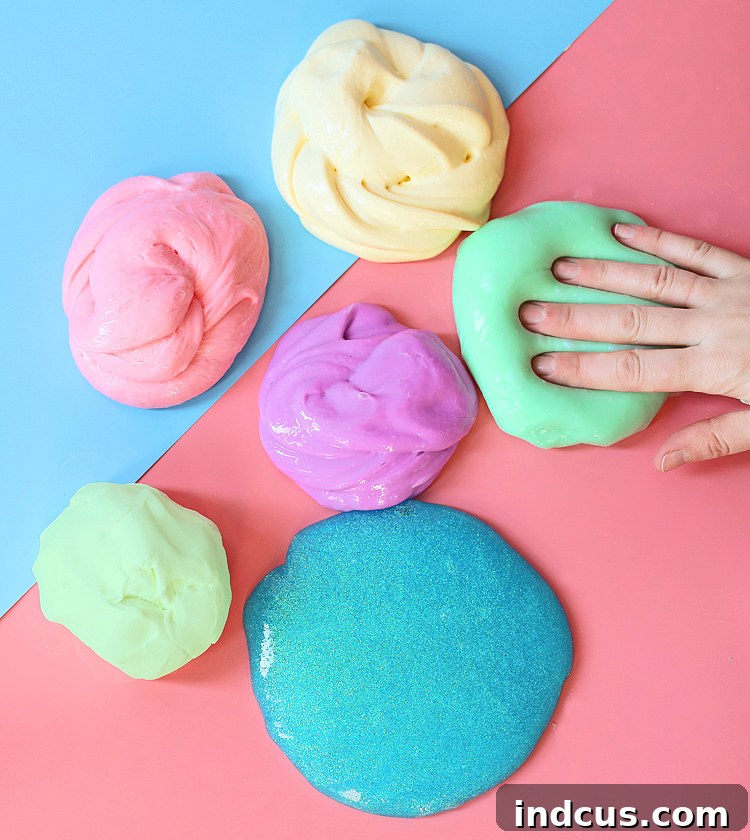
Crafting the Classics: How to Make Slime with Borax
Let’s begin with the foundational recipe: classic slime made with white school glue and borax. This method is beloved for producing wonderfully stretchy, durable slime that provides hours of tactile entertainment. Borax, a common household item, can be found in the laundry aisle of most major stores like Walmart. It comes in a powdered form in a large box, so for slime making, you’ll first need to dissolve it in hot water to create an effective borax solution. This solution can be prepared in advance and stored for future use; we often keep ours in a small, sealed travel bottle, ready for impromptu slime sessions.
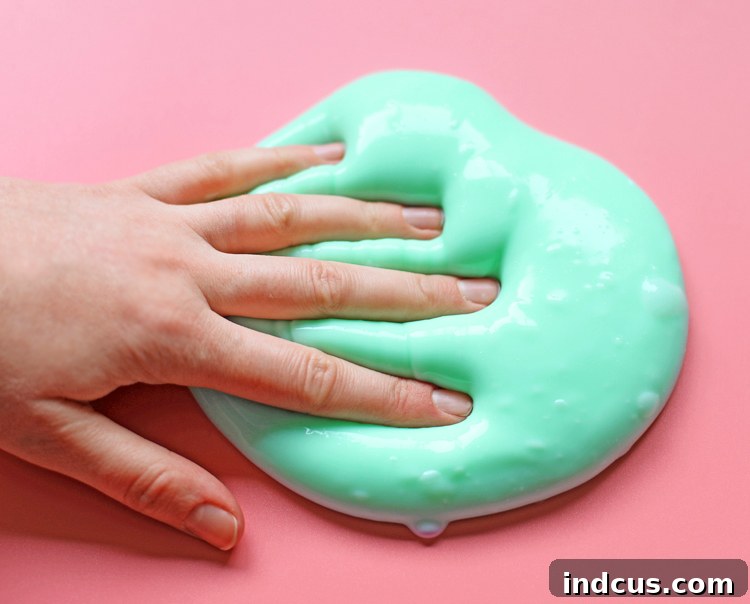
Classic Slime Recipe
- 4 oz white school glue (one standard bottle)
- 1/2 cup water
- Food coloring (optional, for vibrant hues)
For the Borax Solution:
- 1/2 cup hot water
- 1/2 teaspoon borax powder
- Begin by preparing your activator: Dissolve 1/2 teaspoon of borax powder into 1/2 cup of hot water. Stir thoroughly until the borax is completely dissolved. Set this solution aside.
- In a separate mixing bowl, pour in one 4 oz bottle of white school glue.
- Add 1/2 cup of water to the glue. If desired, add a few drops of your chosen food coloring and stir well until the color is uniformly mixed.
- Gradually add the prepared borax solution to the glue mixture, starting with 1/2 teaspoon at a time. Stir continuously. You will notice the glue mixture beginning to thicken and pull away from the sides of the bowl.
- Once the mixture becomes too thick to stir, remove it from the bowl and begin kneading it with your hands. Continue kneading until the slime is no longer sticky and reaches your desired stretchy consistency.
Troubleshooting Tips: If your slime remains too sticky, carefully add a few more drops of the borax solution while kneading. Be cautious not to over-activate it; adding too much borax can result in a stiff, brittle slime that loses its delightful stretchiness. The key is gradual addition and thorough kneading.
Borax-Free Fun: How to Make Slime Without Borax
We understand that some individuals have concerns regarding borax due to potential skin irritation, particularly for children with sensitive skin. The good news is, you can still create fantastic slime without it! Our borax-free recipe offers an equally satisfying sensory experience using liquid starch as the activator. Liquid starch is a fantastic, readily available alternative, often found in the laundry aisle of supermarkets like Walmart, and a large bottle typically costs only a few dollars. This makes it an economical and accessible choice for many families.
The resulting slime from this recipe is remarkably similar in texture and playability to the borax version – it’s wonderfully stretchy, pliable, and incredibly fun to manipulate. In fact, many of our testers actually prefer the liquid starch method for its ease of preparation and consistent results, making it a strong contender for your go-to slime recipe!
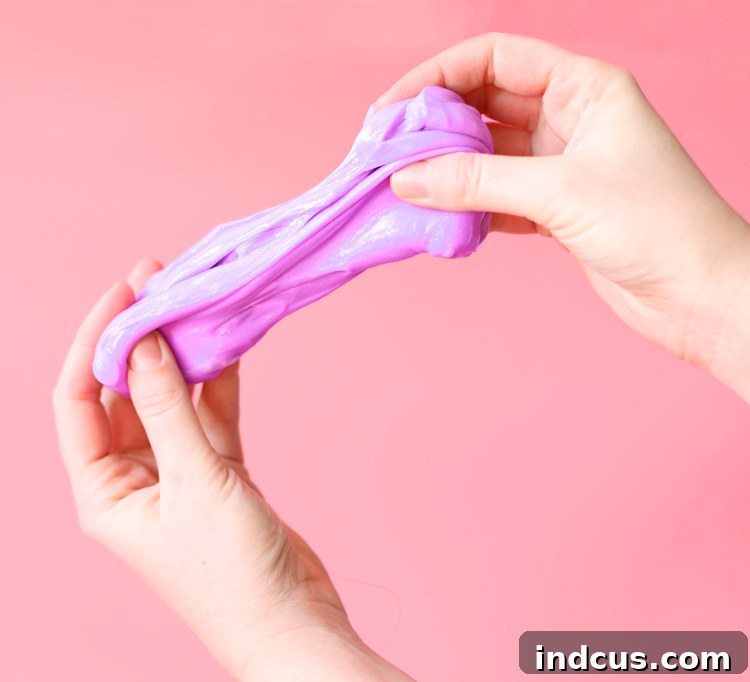
Slime Without Borax Recipe
- 4 oz school glue (1/2 cup, white or clear)
- Food coloring (optional)
- 1/4 cup liquid starch
- Pour the school glue into a clean mixing bowl.
- If desired, add a few drops of food coloring and stir vigorously until the color is evenly distributed throughout the glue.
- Gradually pour in the 1/4 cup of liquid starch. Stir slowly at first, then more vigorously as the mixture begins to come together.
- Once the slime starts to pull away from the bowl and becomes difficult to stir, remove it and begin kneading it with your hands. Continue kneading until the slime reaches a smooth, stretchy consistency and is no longer sticky to the touch.
Pro Tip for Extra Stretch: For an exceptionally stretchy and delightfully scented slime, add a small squirt (about 1 teaspoon) of hand lotion to the mixture during the kneading phase. Work it into the slime thoroughly. Not only will this enhance the slime’s elasticity, making it even more satisfying to pull and stretch, but it will also leave your slime smelling absolutely amazing!
Cloud-Like Fun: How to Make Fluffy Slime
Prepare to fall in love with our next creation: fluffy slime! This recipe consistently ranks as a favorite due to its incredibly unique, airy, and soft texture. Fluffy slime is light, cloud-like, and yet still wonderfully stretchy, offering a truly distinctive sensory play experience. Imagine playing with a soft cloud that stretches and squishes – that’s precisely the sensation fluffy slime provides! The secret to its remarkable texture lies in the addition of shaving cream, which incorporates air into the mixture, giving it its characteristic volume and lightness. It’s a must-try for any slime enthusiast.
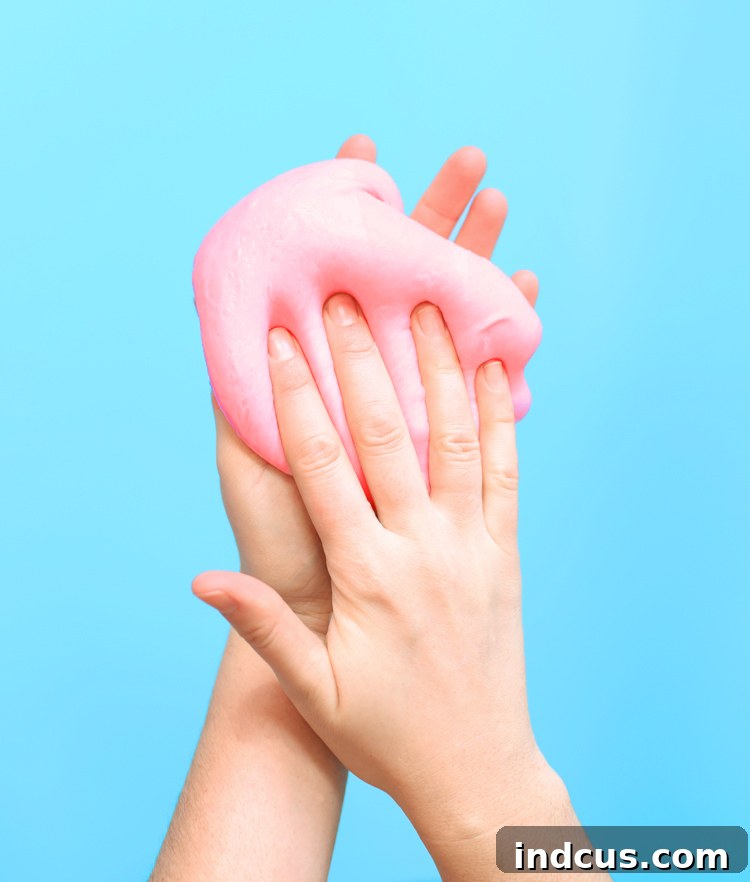
Fluffy Slime Recipe
- 4 oz school glue (white or clear)
- Food coloring (optional)
- 1/4 cup liquid starch
- 1 cup shaving cream (not gel!)
- 1 teaspoon hand lotion (for extra stretch and scent)
- Pour the school glue into a spacious mixing bowl.
- Add a few drops of your preferred food coloring and mix thoroughly until the color is vibrant and consistent.
- Now, add the key ingredients for fluffiness: the liquid starch, the full cup of shaving cream (ensure it’s foam, not gel, for best results), and the teaspoon of hand lotion.
- Stir all the ingredients together vigorously. The mixture will initially look quite messy but will gradually begin to come together, forming a shaggy, cloud-like mass.
- Once the slime has mostly formed, remove it from the bowl and begin to knead it with your hands. Continue kneading until the slime is no longer sticky, has a uniform fluffy texture, and is wonderfully stretchy.
Glue-Free Solutions: Can You Make Slime Without Glue?
What if you’re in the mood for slime but realize your glue supply has run out? Don’t let that stop your creative flow! This innovative recipe demonstrates that it is indeed possible to make a fun, albeit different, type of slime without any glue. While it won’t possess the same super-stretchy qualities as its glue-based counterparts and can be a bit messier to handle, it offers a unique powdery-soft texture that is surprisingly enjoyable to experiment with. It’s a fantastic alternative for spontaneous play or when you simply want to try something new.
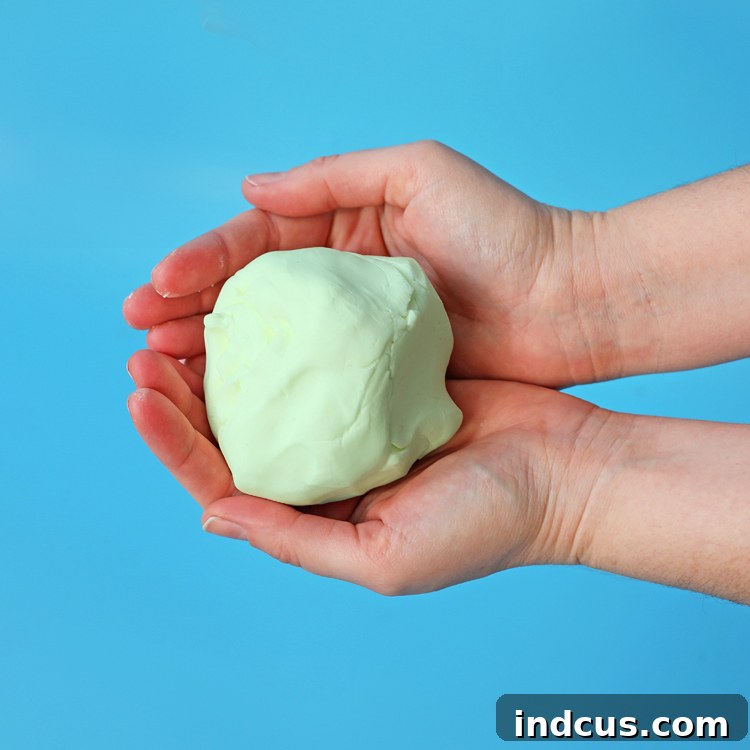
Slime Without Glue Recipe
- 1/2 cup conditioner or dish soap
- Cornstarch (amount varies)
Instructions:
- Measure 1/2 cup of your chosen conditioner or dish soap and pour it into a mixing bowl. The color and scent of your base ingredient will largely determine the final look and smell of your slime.
- Begin to slowly add cornstarch to the bowl, stirring continuously. The key here is gradual addition; start with a small amount (e.g., a tablespoon) and mix it in.
- Continue adding cornstarch, a little at a time, and kneading the mixture until it begins to solidify and is no longer sticky to the touch. The amount of cornstarch needed will vary depending on the thickness of your conditioner or dish soap.
Unlike other slimes, you typically won’t need to add food coloring to this recipe, as the conditioner or dish soap will provide its own color. While this glue-free slime might not be our top pick for longevity or stretch, it’s a creative solution when you’re in a pinch. Be aware that this type of slime doesn’t last overnight; it tends to become crumbly and loses its texture after about a day, so it’s best enjoyed immediately. On the bright side, it often smells fantastic, thanks to the scented conditioner or dish soap!
Dazzling Creations: How to Make Clear Slime
Clear slime holds a special appeal with its captivating transparency, allowing colors to appear exceptionally vibrant and luminous. It is, without a doubt, the superior choice for incorporating glitter, beads, or other decorative elements, as its clarity truly showcases every sparkling detail. Clear slime offers a fantastic canvas for creativity, making your slime creations look truly professional and visually stunning. You can achieve beautiful clear slime using either borax or liquid starch as your activator, giving you flexibility based on your preference and available ingredients. For an extra touch of sparkle, consider using glitter glue as a substitute for clear glue, which will result in an even more dazzling glitter slime from the start!
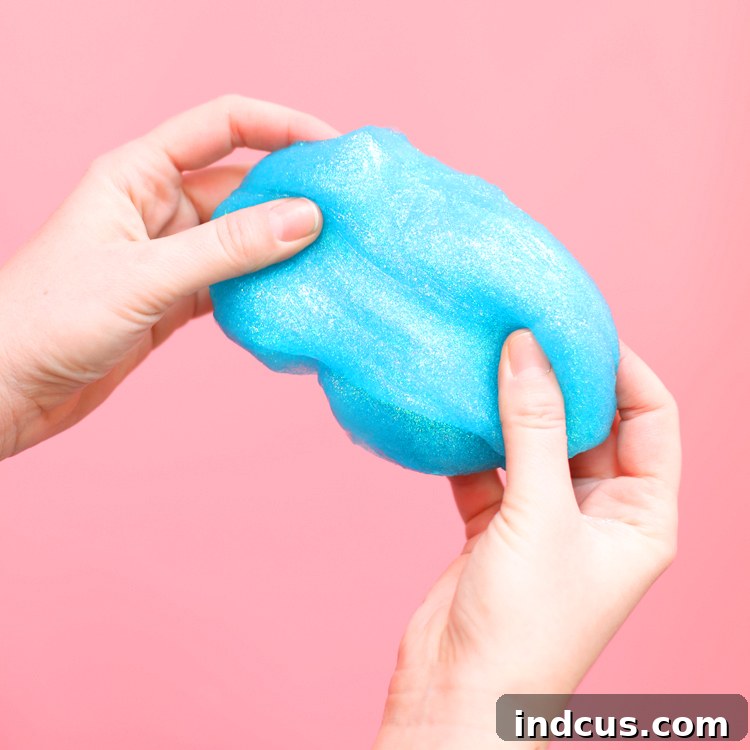
Clear Slime Recipe
- 4 oz clear school glue (one standard bottle)
- 1/2 cup water
- Food coloring (optional, for vibrant hues)
- Glitter (optional, for sparkle)
For the Borax Solution:
- 1/2 cup hot water
- 1/2 teaspoon borax powder
–OR–
Alternative Activator (omit water and use this instead):
- 1/4 cup liquid starch
Instructions (using Borax Solution):
- First, prepare your borax solution: Dissolve 1/2 teaspoon of borax into 1/2 cup of hot water. Stir until completely clear and set aside.
- Pour one 4 oz bottle of clear school glue into a mixing bowl.
- Add 1/2 cup of water and, if desired, a few drops of food coloring. Stir gently to avoid creating too many bubbles, which can diminish clarity. If adding glitter, mix it in now.
- Gradually add the borax solution, about 1/2 teaspoon at a time, stirring slowly but consistently. You will observe the glue mixture beginning to thicken and form slime.
- Once the mixture is thick enough to handle, remove it from the bowl and knead with your hands until it’s no longer sticky and has achieved its desired clear, stretchy consistency.
Instructions (using Liquid Starch):
- Pour one 4 oz bottle of clear school glue into a mixing bowl.
- If desired, add a few drops of food coloring. Stir gently. If adding glitter, mix it in now.
- Add 1/4 cup of liquid starch to the glue mixture.
- Stir slowly but consistently until the mixture begins to form slime.
- Remove the slime from the bowl and knead with your hands until it’s no longer sticky and has achieved its desired clear, stretchy consistency.
Luxurious Texture: How to Make Butter Slime
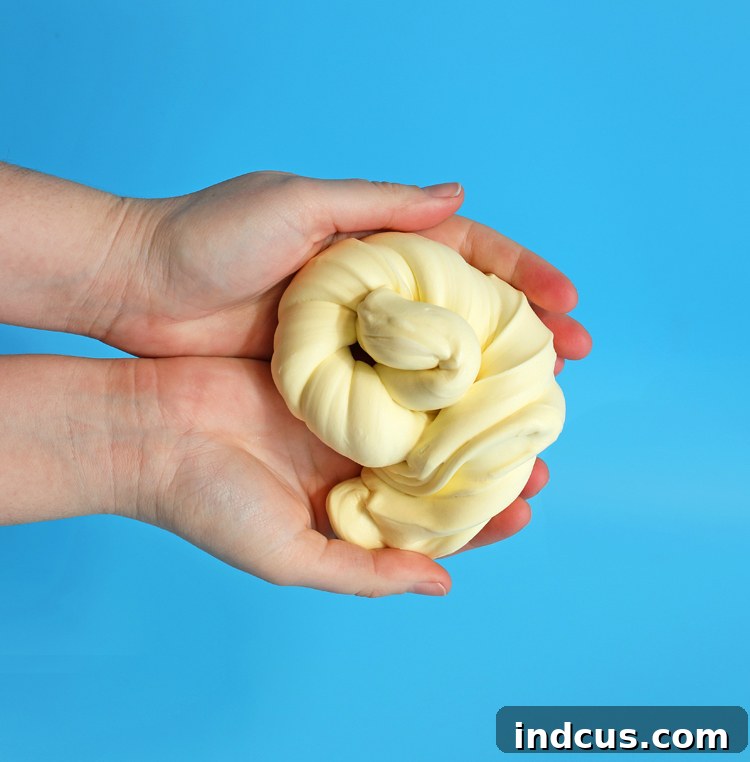
When it comes to unique and satisfying textures, butter slime (sometimes referred to as cloud dough slime or clay slime) stands out as an absolute favorite. This exquisite slime offers an unparalleled soft, spreadable, and incredibly stretchy consistency that feels almost like actual butter. It allows for impressive shaping and manipulation, creating beautiful swirls, folds, and pulls that are both visually appealing and wonderfully tactile. What’s more, butter slime is notably non-sticky and dry to the touch, making for a cleaner play experience. The secret to its luxurious texture lies in a special ingredient: Model Magic clay. This lightweight, air-dry clay transforms regular slime into a truly magnificent creation. You can often find Model Magic in the kids’ craft section of stores like Walmart, but for better value, it’s typically more affordable to purchase online, such as on Amazon.
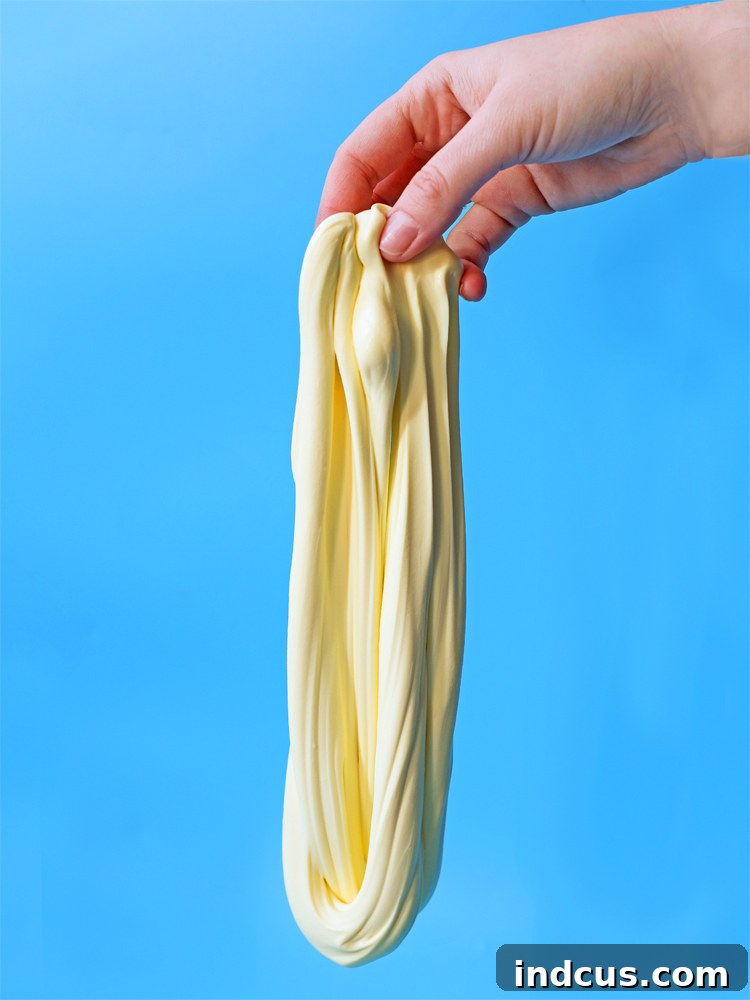
Butter Slime Recipe
- 4 oz school glue (white or clear)
- 1/2 cup water
- Food coloring (optional, to match or contrast Model Magic)
- 2 oz Model Magic clay (approximately half a standard package)
For the Borax Solution:
- 1/2 cup hot water
- 1/2 teaspoon borax powder
–OR–
Alternative Activator (omit water and use this instead):
- 1/4 cup liquid starch
Instructions (using Borax Solution or Liquid Starch):
- If using borax, dissolve 1/2 teaspoon of borax into 1/2 cup of hot water. Stir thoroughly and set aside.
- Pour one 4 oz bottle of school glue into a mixing bowl.
- Add 1/2 cup of water (if using borax solution, omit water if using liquid starch). Add a few drops of food coloring, if desired, and stir until well combined.
- Gradually add your chosen activator (borax solution or liquid starch) to the glue mixture, starting with 1/2 teaspoon at a time. Stir consistently until the glue mixture begins to thicken and form into a sticky slime base.
- Once you have a sticky, pliable slime base, it’s time for the Model Magic. Flatten the 2 oz of Model Magic clay and place it over the slime. Begin to fold and knead the slime into the clay. This step requires thorough kneading – keep folding and squishing until the clay is fully incorporated and the mixture transforms into a smooth, buttery, non-sticky slime.
- If the butter slime still feels too sticky after incorporating the Model Magic, add a tiny bit more of your chosen activator (borax solution or liquid starch), kneading it in thoroughly until the perfect buttery consistency is achieved.
Personalize Your Play: What Can I Add To Slime?
One of the most exciting aspects of making your own slime is the endless potential for personalization! Once you’ve successfully created a few batches using our core recipes, you’re ready to unleash your creativity and experiment with a myriad of fun add-ins. These additions can dramatically alter your slime’s appearance, texture, and even scent, transforming it into a truly unique sensory experience. Don’t be afraid to mix and match to discover your favorite combinations!
Here are some of our top picks for transforming ordinary slime into extraordinary creations:
- Glitter: The easiest way to add dazzling sparkle and shimmer, making any slime instantly more magical.
- Foam Balls: These small, lightweight polystyrene balls create a wonderfully satisfying crunch and a unique, bumpy texture that’s incredibly fun to squish.
- Confetti: Offers a burst of color and shape. Opt for metal confetti (ensure it has no sharp edges) over paper, as paper confetti tends to dissolve in the slime over time.
- Cut Up Rubber Bands: Recycle old loom bands or other rubber bands for an interesting textural element and vibrant pops of color. They add a unique resistance to the stretch.
- Craft Paint: For the most intense, saturated, and rich colors, craft acrylic paints are superior to food coloring. Simply squirt a dollop into your glue mixture at the same stage you would add food coloring, then stir thoroughly. (Note: Amazon prices can be high for individual paints; craft stores often offer better deals).
- Beads: From tiny seed beads to larger pony beads, these can add weight, texture, and a beautiful visual element. Experiment with different sizes and materials for varying effects.
- Metallic Eyeshadow Powder: For a truly mesmerizing effect, a tiny bit of metallic eyeshadow powder can give your slime the appearance of liquid metal – shimmery and luxurious.
- Glow in the Dark Powder: Make your slime come alive after dark! This powder charges in light and glows brightly in the dark for an enchanting play experience.
If you’re looking for a convenient way to get a variety of add-ins, we also discovered this awesome slime kit that comes packed with a wide selection of cool embellishments, all in one package. It’s definitely on our Amazon wish list for future slime adventures!
Preserving Your Creations: How to Store Slime
Proper storage is key to maximizing the lifespan and maintaining the quality of your homemade slime. To keep your slime creations fresh, stretchy, and ready for play, we highly recommend storing them in an airtight plastic container. Small Tupperware-style containers or repurposed food storage containers work perfectly. While plastic zip-top bags can be used in a pinch, sometimes it can be tricky to get the slime out without a mess, so rigid containers are generally preferred.
Slime is designed to be played with, but it’s also susceptible to drying out when exposed to air. If left uncovered, your beautiful, stretchy slime will quickly lose its elasticity, become stiff, and eventually harden. Therefore, always remember to seal your slime securely in its container immediately after you’re done playing. With proper care, most glue-based slimes can last for several weeks, if not months. If your slime starts to feel a bit stiff after a while, you can sometimes revive it by kneading in a tiny bit of hand lotion or a few drops of warm water.
For a dynamic demonstration of these incredible slime recipes in action, be sure to watch our comprehensive slime video below!
Experience Slime Magic: Watch Our Video Guide!
To make your slime-making journey even easier, we’ve compiled all our best, tried-and-true recipes onto a single, convenient printable sheet. Keep it in your craft area or kitchen for quick access whenever inspiration strikes!
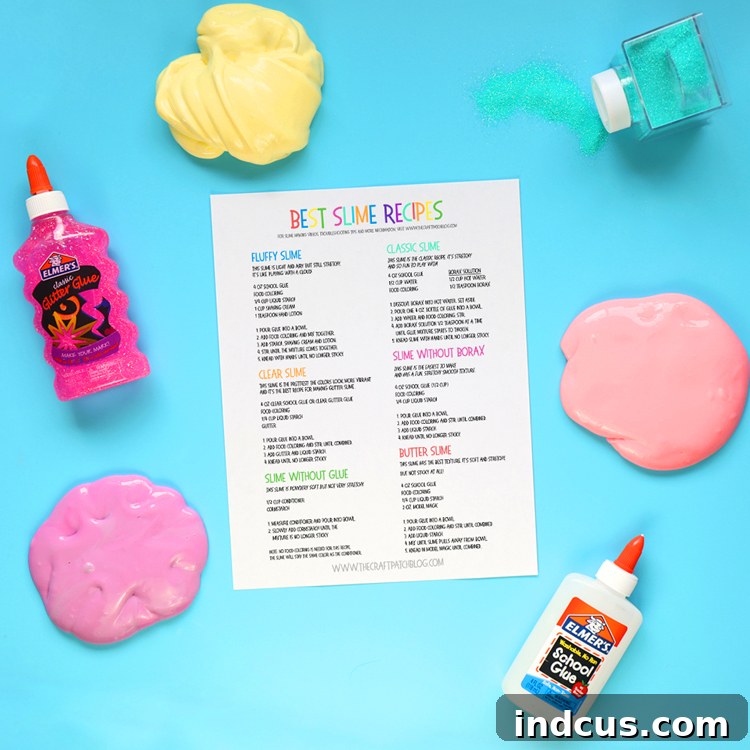
Craving even more unique slime ideas? Don’t miss out on our hilarious and gross-out-worthy BOOGER SLIME recipe! It’s guaranteed to get a giggle!
Note: If you encounter difficulties accessing the printable files, it may be due to network restrictions on work or school computers that block Google Drive. Please try accessing the link from a personal device or an unrestricted network.
Thank you for joining us on this comprehensive guide to mastering slime making. We hope these tested recipes and tips inspire endless hours of creative play and sensory exploration. Don’t forget to save this valuable resource for future reference by pinning the image below!