
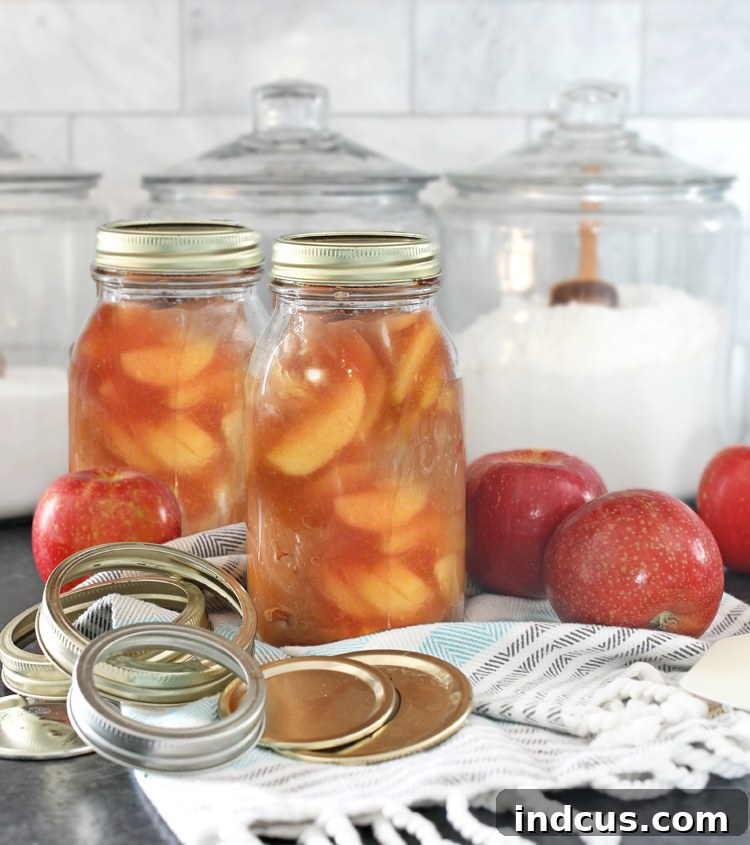
Master the Art of Home Canning: The Ultimate Apple Pie Filling Recipe
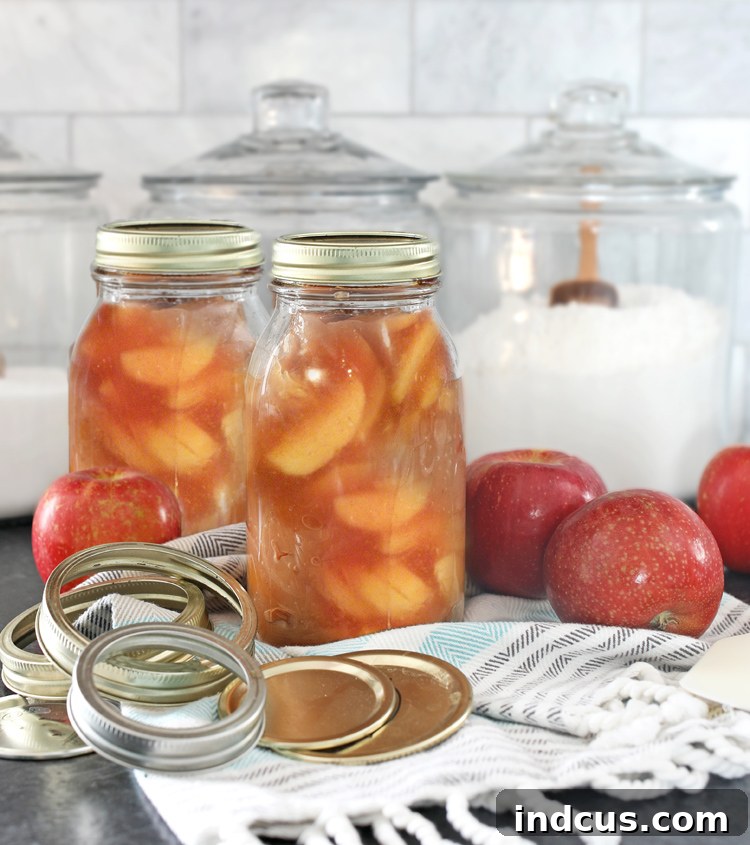
There’s nothing quite like the taste of a homemade apple pie, especially one crafted from filling made with love and fresh ingredients. If you’ve ever dreamt of enjoying the comforting flavors of autumn long after apple season ends, home canning is your answer. This comprehensive guide will walk you through creating the most delectable apple pie filling, perfectly suited for preserving through the water bath canning method. Prepare to elevate your baking and impress your family and friends with this truly exceptional recipe.
Inspired by cherished family traditions and years of canning expertise, this apple pie filling recipe has been perfected over generations. My mother-in-law, a true virtuoso of the canning world, has generously shared her secrets, transforming what was once a highly coveted, “lottery-win” jar of filling into an accessible culinary endeavor for all. Once you’ve tasted the vibrant, rich, and naturally sweet essence of this home-canned goodness, you’ll find store-bought alternatives simply fall flat.
Today, we’re unveiling every detail, every tip, and every essential step needed to successfully make and can your very own apple pie filling. Get ready to embark on a rewarding journey that fills your pantry with deliciousness and your home with the sweet aroma of apples!
Essential Ingredients for Your Apple Pie Filling
Crafting the perfect canned apple pie filling begins with selecting the right ingredients. Below is a detailed chart outlining the precise measurements you’ll need, whether you’re making a single quart for immediate enjoyment or a bountiful batch of seven quarts to stock your pantry for months to come. Remember, accuracy in canning is crucial for both flavor and safety.
| INGREDIENT | To Make 1 Quart | To Make 7 Quarts |
| Fresh Sliced Apples | 3 1/2 cups | 6 quarts |
| Granulated Sugar | 3/4 cup + 2 TBSP | 5 1/2 cups |
| Clear Jel A (Cook Type) | 1/4 cup | 1 1/2 cups |
| Ground Cinnamon | 1/2 teaspoon | 1 TBSP |
| Cold Water | 1/2 cup | 2 1/2 cups |
| Apple Juice (100% pure) | 3/4 cup | 5 cups |
| Bottled Lemon Juice (Key for safety) | 2 TBSP | 3/4 cup |
A single quart of this exquisite canned pie filling is perfectly sized for one standard 8-9 inch pie. While you have some flexibility with the amounts of sugar and spices – adjust slightly based on the natural sweetness of your chosen apple varieties and your personal taste preferences – there’s one critical ingredient you must never alter: **bottled lemon juice**. The precise acidity of the lemon juice plays a fundamental role in controlling the pH level, which is essential for the safety and long-term storage stability of your home-canned apple pie filling. Always use bottled lemon juice for consistent acidity, as fresh lemons can vary.
Understanding Clear Jel: A Canning Essential
You might be wondering about “Clear Jel A.” This modified food starch is paramount for canning fruit pie fillings because it provides superior thickening without breaking down under the high heat and acidity of the canning process. Unlike cornstarch or flour, which would result in a thin, watery mess after processing, Clear Jel maintains its thickening power and creates a beautifully clear, stable filling. You can typically find Clear Jel in the canning section of well-stocked grocery stores or conveniently purchase it online. Here’s a helpful listing for Clear Jel on Amazon, ensuring you have the right product for successful canning.
Selecting the Best Apples for Your Canned Pie Filling
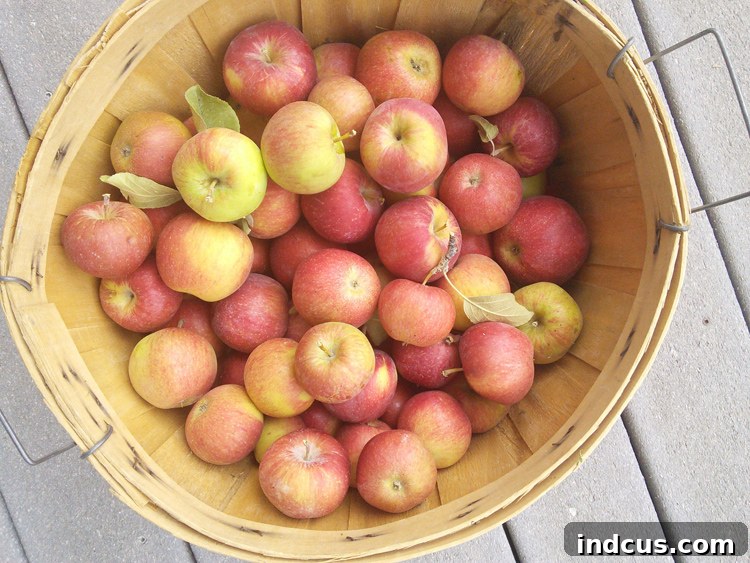
The beauty of home canning often lies in utilizing what you have readily available, and this certainly applies to apples. If you’re fortunate enough to have apple trees in your backyard, those are undoubtedly the best apples for *you*! However, for a truly exceptional apple pie filling, aiming for a mix of varieties can significantly enhance the flavor profile and texture. Combining at least two different types of apples creates a more complex, well-rounded taste that elevates your pie from good to unforgettable.
Consider blending a tart apple, such as Granny Smith or Braeburn, which offers a delightful zing and holds its shape well, with a sweeter, crisper variety like Fuji, Honeycrisp, or Golden Delicious. This combination ensures a perfect balance of sweetness and acidity, along with varied textures that prevent the filling from becoming mushy. Firm apples are generally preferred as they stand up better to the canning and baking process, maintaining their integrity within the pie.
Essential Equipment for Safe and Efficient Home Canning
Beyond your ingredients, having the right tools makes the canning process smooth, safe, and enjoyable. Investing in quality canning equipment is investing in successful preserves. Here’s a list of essential supplies:
- Large Mixing Bowl: Essential for tossing apples with the sauce.
- Quart Jars, Rings, and NEW Lids: Wide-mouth jars are often preferred for easier filling and cleaning. Always use new lids for reliable seals.
- Water Bath Canner with Rack: A large pot specifically designed for water bath canning, crucial for safe processing.
- Apple Peeler, Corer, Slicer (Optional but Recommended): This specialized tool can significantly speed up the tedious task of preparing a large batch of apples.
- Wide Mouth Canning Funnel, Jar Lifter, and Magnetic Lid Lifter: These tools are indispensable for cleanliness, safety, and ease of handling hot jars and lids.
- Damp Cloth: For wiping jar rims clean before sealing.
- Timer: For accurate processing times.
- Towel or Cooling Rack: For cooling sealed jars without thermal shock.
Preparation is Key: Before You Begin
A successful canning session starts with meticulous preparation. Thoroughly wash all your canning jars in hot, soapy water, rinse them well, and then keep them hot to prevent cracking when filled with hot ingredients. You can do this by running them through a dishwasher cycle, submerging them in simmering water, or using a warming oven. Prepare your new lids according to the manufacturer’s instructions; typically, they are simmered in warm (not boiling) water to soften the sealing compound. Rings should also be clean and readily accessible.
Preparing the Apples and Crafting the Flavorful Filling
Now, let’s get to the heart of the recipe – preparing your apples and creating that irresistible filling base.
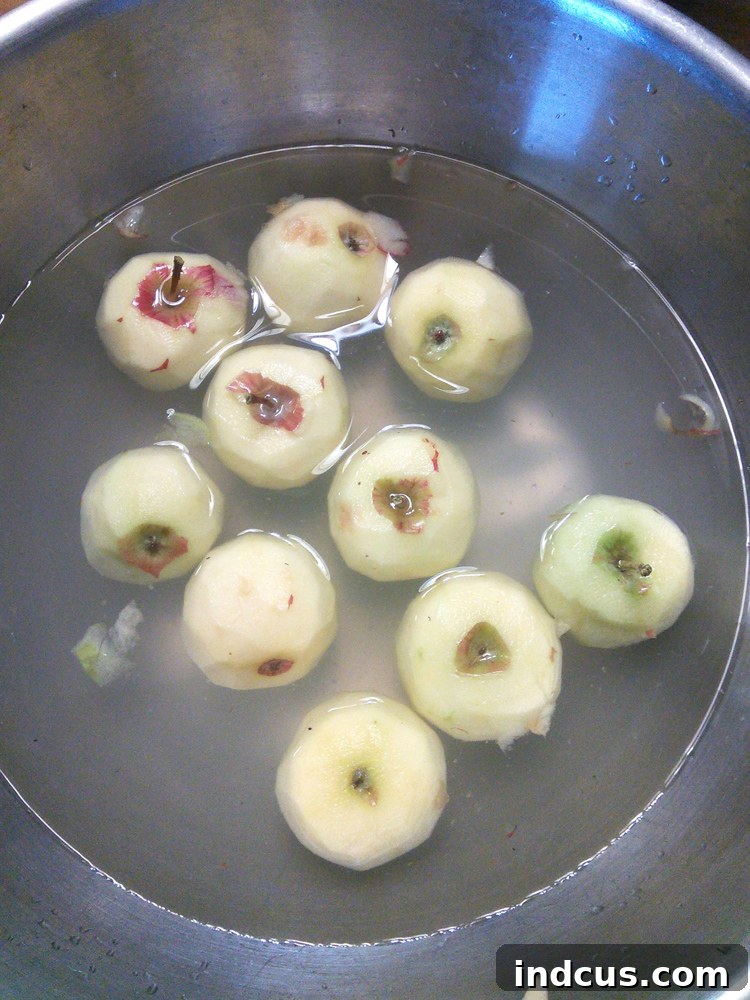
Step 1: Apple Preparation. Begin by washing your chosen apples thoroughly. Then, peel and core each apple. While an automatic apple peeler, corer, and slicer tool can significantly expedite this process, I often use the peeling function but prefer to hand-slice the apples. This allows me to achieve thicker, more substantial slices (about 1/2 inch wide), which maintain a delightful texture even after canning and baking. Place your prepared apple slices into a very large mixing bowl. To prevent browning while you process the rest of your apples, you can toss them with a little extra lemon juice or place them in a bowl of lightly salted water.
Step 2: Crafting the Thickening Sauce. In a large, heavy-bottomed pot, combine the granulated sugar, Clear Jel, ground cinnamon, cold water, and apple juice. Whisk these ingredients together until smooth. Place the pot over medium heat, stirring constantly to prevent lumps and scorching. Continue to cook and stir until the mixture begins to thicken and comes to a gentle boil. Once boiling, immediately add the precise amount of bottled lemon juice. Continue to boil the sauce vigorously for 1 full minute, ensuring you stir continuously. This boiling period is crucial for activating the Clear Jel and ensuring proper thickening and stability.
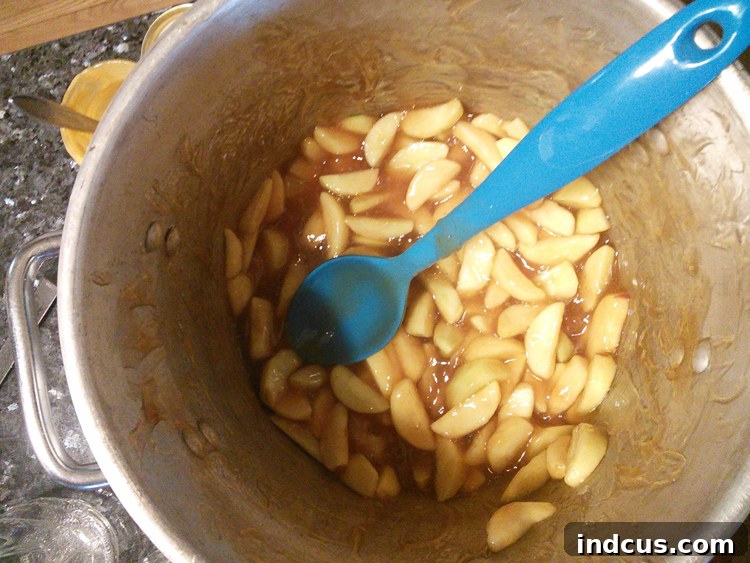
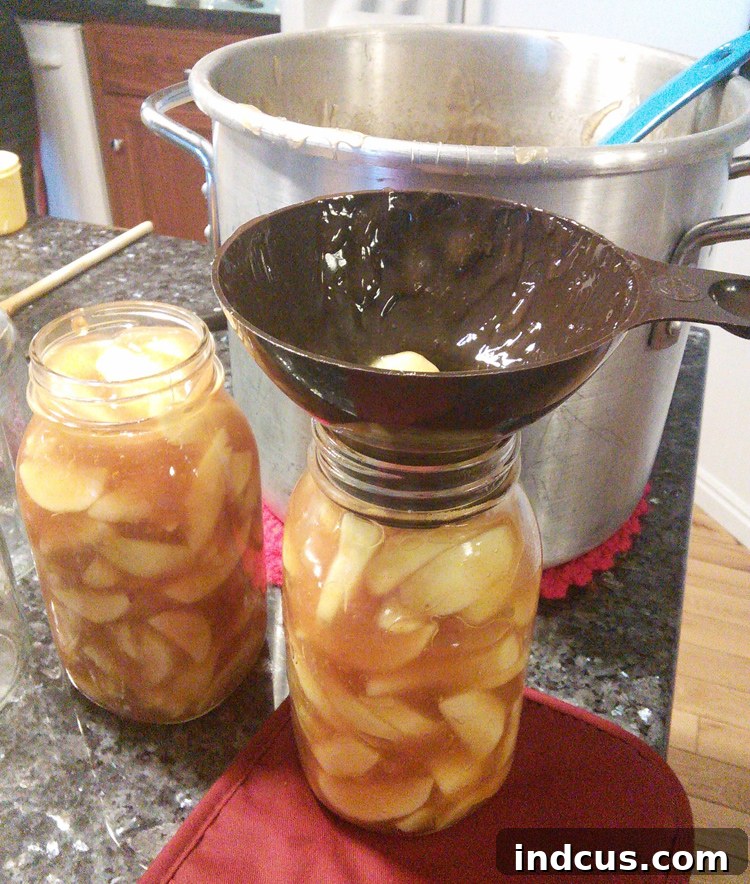
Step 3: Combining and Filling. Immediately pour the hot, thickened sauce over the prepared apple slices in your large mixing bowl. Using a large spoon or spatula, gently yet thoroughly toss the apples until they are evenly coated with the sauce. Work quickly now, as the hot sauce will start to slightly soften the apples. Using a wide-mouth canning funnel, immediately ladle the hot apple pie filling mixture into your hot, sterilized quart jars, leaving exactly 1 inch of headspace at the top of each jar. This headspace is vital for proper sealing and to allow for expansion during processing. Use a clean, non-metallic utensil to remove any air bubbles trapped within the filling by gently running it around the inside edge of the jar. After filling, wipe the rim of each jar meticulously with a damp, clean cloth to ensure no food particles interfere with the lid’s seal. Center a prepared lid on each jar, and then apply a screw band, tightening it only finger-tight – do not overtighten.
The Crucial Water Bath Canning Procedure
Once your jars are filled and sealed finger-tight, it’s time for the final, most critical step: processing in a boiling water canner. This method ensures your apple pie filling is safely preserved for long-term storage, creating a vacuum seal that keeps spoilage at bay.
To Process in a Boiling Water Canner:
- Prepare the Canner: Fill your water bath canner half-full with water and preheat it to 180°F (82°C) while you’re preparing your filling. This ensures the jars are not subjected to extreme temperature changes, which could cause breakage.
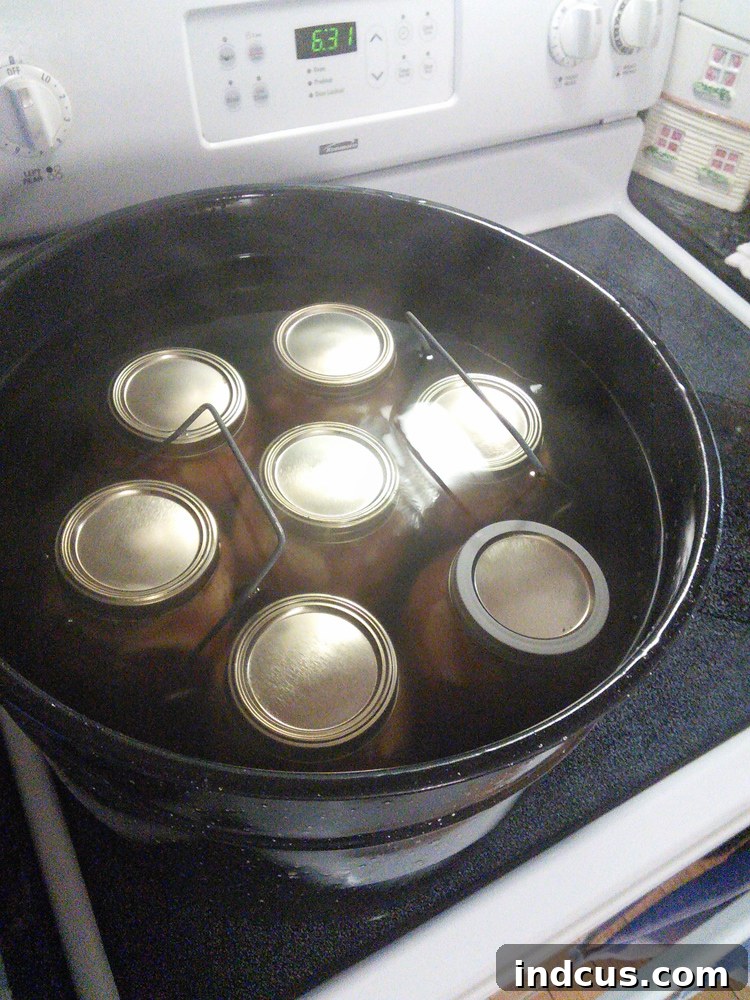
- Load the Jars: Carefully load the sealed jars onto the canner rack. If your canner has handles, lower the rack slowly into the hot water. Alternatively, use a jar lifter to place one jar at a time onto the rack inside the canner.
- Water Level: Add more hot water to the canner if needed, ensuring that the water level covers the tops of the jars by at least one inch. This consistent water coverage is essential for even heat distribution.
- Bring to a Boil: Cover the canner with its lid. Turn the heat to high and bring the water to a vigorous, rolling boil.
- Process: Once a strong boil is achieved, lower the heat slightly to maintain a gentle, continuous boil throughout the entire processing time. Begin timing immediately, consulting the chart below for the recommended duration based on your altitude. Accurate processing time is critical for food safety.
| Altitude : | Processing Time for Quart Jars |
| 0-1000 ft : | 25 minutes |
| 1001-3000ft : | 30 minutes |
| 3000-6000ft : | 35 minutes |
Post-Processing and Cooling:
Once the processing time is complete, turn off the heat and carefully remove the canner lid. Allow the jars to rest in the hot water for 5 minutes before removing them. This helps prevent “siphoning” (loss of liquid from the jars). Using a jar lifter, carefully remove each jar from the canner, keeping them level, and place them on a clean towel or a wire cooling rack in an area free from drafts. **Crucially, DO NOT RETIGHTEN SCREW BANDS** at this stage. The seals form as the jars cool. Allow the jars to air cool undisturbed for 12 to 24 hours.
Checking the Seals:
After the cooling period, it’s time to check for proper seals. Remove the screw bands. A jar is properly sealed if the center of its lid is concave (indented) and does not move up and down when pressed firmly. You might also hear a satisfying “ping” sound as the jars cool and seal. If a lid yields when pressed, it means the jar has not sealed. Examine the jar and its lid for any defects, replace the lid with a new one, and reprocess the jar immediately using the same full processing time. Alternatively, refrigerate the unsealed jar and consume its contents within a few days.
Storage and Shelf Life:
Once your jars are successfully sealed, wash and dry them thoroughly. Label each jar clearly with the contents and the date it was canned. Store your precious apple pie filling in a cool, clean, dark place, away from direct sunlight and extreme temperature fluctuations. Properly canned apple pie filling is best enjoyed within 1 year for optimal flavor and quality, though it remains safe as long as the vacuum seal holds strong.
Canning your own apple pie filling is an incredibly rewarding endeavor, transforming fresh seasonal fruit into a year-round delight. This recipe, perfected through generations, ensures every pie you bake will be a masterpiece. Enjoy the fruits of your labor!
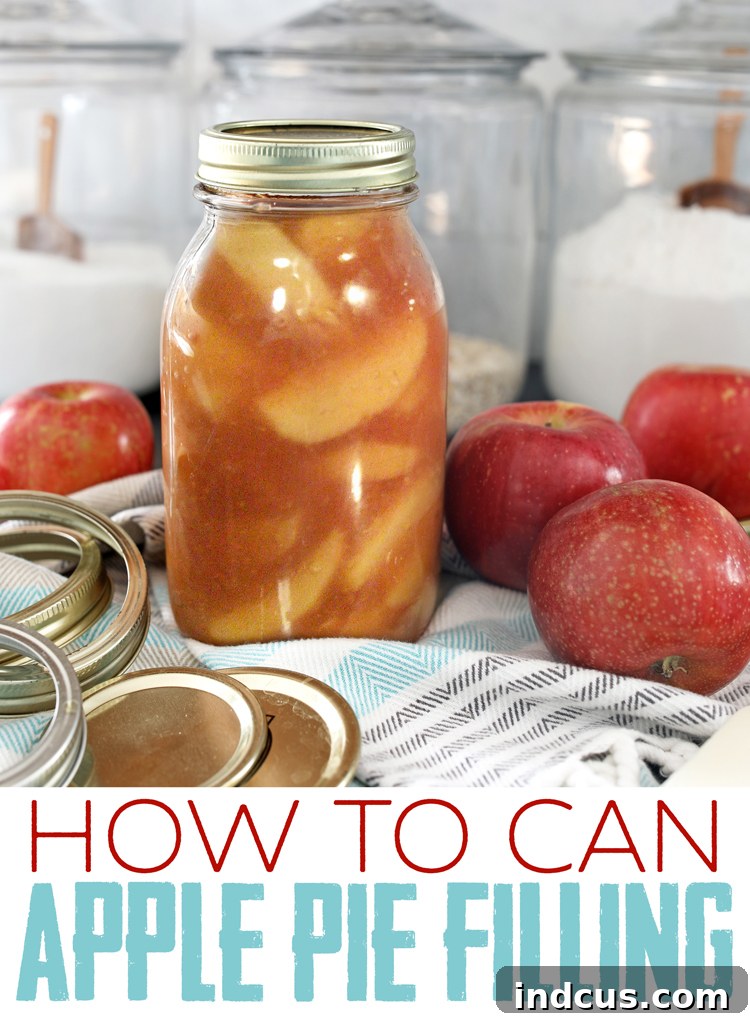
Creative Ways to Enjoy Your Home-Canned Apple Pie Filling
While the primary purpose of this delicious filling is, of course, apple pie, don’t limit its potential! There are countless other ways to savor your home-canned goodness:
- Apple Crisp or Crumble: A quick and easy dessert, simply top with an oat and butter crumble and bake.
- Apple Turnovers or Hand Pies: Perfect for individual servings or on-the-go treats.
- Topping for Breakfast: Spoon over pancakes, waffles, oatmeal, or yogurt for a delightful morning meal.
- Ice Cream Topping: Warm it slightly and serve over vanilla ice cream for a simple yet decadent dessert.
- Cheesecake Topping: A layer of apple pie filling can elevate any cheesecake.
- Stuffed Baked Apples: Core fresh apples, fill them with your canned filling, and bake until tender.
Embrace the versatility of your homemade apple pie filling and let your culinary imagination soar!
If you’ve enjoyed learning the art of preserving with this apple pie filling recipe, be sure to check out my post on how to can green beans for another essential guide to home canning. Happy preserving!







