
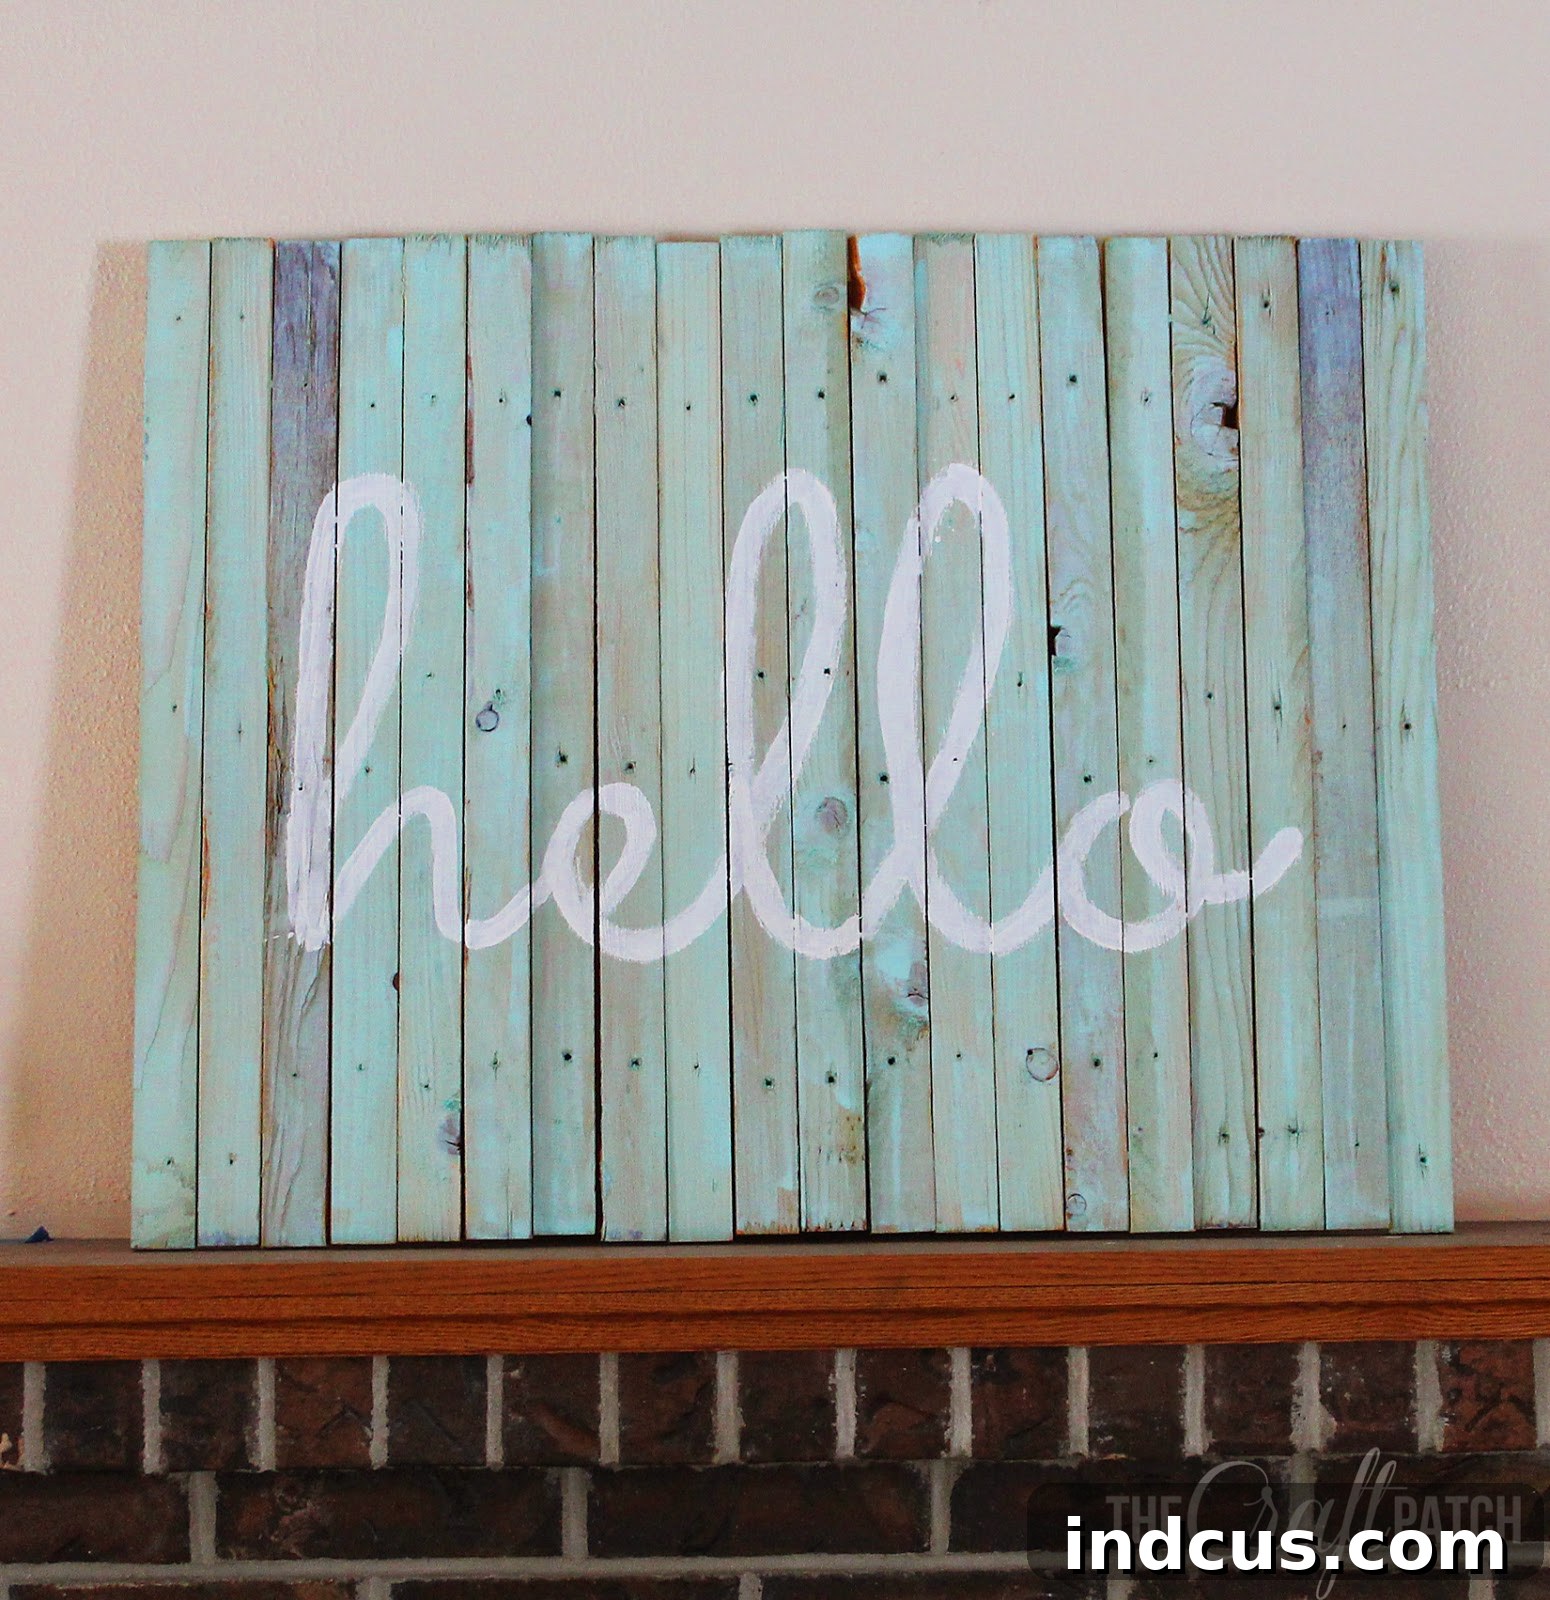
Life often presents us with unexpected challenges, and sometimes, those challenges leave us with a pile of seemingly useless materials. Instead of seeing discarded items as clutter, what if we viewed them as opportunities for creativity and transformation? That’s precisely the spirit behind this guide. If you find yourself with an abundance of old wood – perhaps from a recent renovation, an old pallet, or even just some forgotten scraps – don’t let it go to waste. This article will show you how to breathe new life into that timber, turning it into a charming, personalized sign that adds character and warmth to any space. It’s a fantastic way to embrace the art of upcycling, proving that one person’s trash can indeed become another’s treasure. Get ready to embark on a rewarding DIY journey that not only beautifies your home but also contributes to sustainable living.
There’s a unique satisfaction that comes from transforming humble, aged materials into something beautiful and functional. For this project, we’ll guide you through the process of crafting a custom wood sign that carries an inherent antique, vintage, and even a breezy beachy vibe. Imagine being greeted by a cheerful message or a lovely piece of art every time you walk into a room. This DIY pallet wood sign offers not just decorative appeal but also a touch of personal artistry, making it a truly special addition to your home decor. Whether you envision it gracing the space above your fireplace, welcoming guests in your entryway, or adding character to a cozy corner, this sign promises to infuse your surroundings with rustic charm and a story all its own.
The beauty of this project lies in its simplicity and the ability to customize it to perfectly match your aesthetic. The natural imperfections and textures of old wood lend an unparalleled character that store-bought items simply can’t replicate. Coupled with a personalized message or design, your handcrafted sign will become a focal point, sparking conversations and smiles. Ready to create your very own bespoke piece of rustic home decor? This comprehensive guide will walk you through each step, ensuring a successful and enjoyable crafting experience. Let’s gather our supplies and turn that stack of old wood into a stunning work of art.
Why Craft a DIY Pallet Wood Sign?
Creating your own pallet wood sign offers a multitude of benefits beyond just decorating your home. Firstly, it’s an incredibly eco-friendly project. By repurposing old wood, you’re diverting waste from landfills and contributing to a more sustainable lifestyle. This aligns perfectly with the growing trend of upcycling, where discarded items are given a new, valuable purpose. Secondly, DIY projects like this are incredibly cost-effective. Instead of purchasing expensive decor, you’re utilizing materials you might already have on hand or can source cheaply, such as discarded pallets or scrap wood from construction sites (always ask for permission first!).
Furthermore, a handmade sign allows for unparalleled personalization. You can choose any phrase, quote, image, or design that resonates with you, your family, or your home’s theme. This means your sign won’t just be a decoration; it will be a reflection of your personality and style. It can commemorate a special date, display a cherished family motto, or simply feature a cheerful greeting. The rustic charm of pallet wood naturally complements a variety of decor styles, from farmhouse and shabby chic to industrial and modern minimalist, making it a versatile addition to any room.
Beyond the practical benefits, there’s immense satisfaction in the creative process itself. Engaging in a hands-on project can be a therapeutic and rewarding experience, allowing you to unwind and express your artistic side. The sense of accomplishment you’ll feel when you display your finished sign, knowing you crafted it with your own hands, is truly priceless. It’s a statement piece that not only looks good but also tells a story of ingenuity and creativity. So, if you’re looking for an affordable, customizable, and fulfilling project that adds unique charm to your home, a DIY pallet wood sign is an excellent choice.
Materials Needed for Your Rustic Creation
Gathering all your materials before you begin is crucial for a smooth and enjoyable crafting process. The beauty of this project lies in its adaptability, allowing you to use various types of reclaimed wood. Here’s a detailed list of what you’ll need:
- Wood Strips: You’ll need several pieces of wood cut to the same desired length for the front face of your sign. The number will depend on the width you want your sign to be. Additionally, collect a few shorter pieces to serve as backing supports, which will hold the main strips together. Pallet wood is excellent for this, but any reclaimed lumber, fence pickets, or even old shelving can work. Ensure they are relatively flat and free of excessive rot or nails.
- Screws and an Electric Screwdriver: Choose screws that are long enough to penetrate through the front wood strips and securely into the backing pieces without poking through the front. An electric screwdriver (or drill with a screwdriver bit) will make assembly much faster and easier than manual screwdrivers, especially if you have many screws.
- Chalk: Standard white chalk is perfect for transferring your design. It creates clear, temporary lines that can easily be wiped away if needed, making it ideal for outlining your words or images.
- Printout of Your Design: Whether it’s a word, phrase, or image, print it out to the exact size you want it to appear on your sign. Make sure the font is clear and large enough to paint easily.
- Craft Paint: Acrylic craft paint is versatile and comes in a vast array of colors. You’ll need one color for your base wash (often white, cream, or a light pastel) and one or more colors for your design. Choose paints that offer good coverage and are suitable for wood.
- Paintbrush(es): A larger brush (like a foam brush or a flat synthetic brush) is good for applying the base coat/whitewash. For detailing your design, you’ll want smaller, fine-tipped brushes or an artist’s brush to achieve clean lines and intricate details.
Step-by-Step Instructions: Crafting Your Pallet Wood Masterpiece
1. Assembling the Wood Base
The foundation of your sign is critical. Begin by laying your main wood strips side-by-side on a flat, stable surface. Arrange them as tightly as possible, ensuring they form a relatively even and aesthetically pleasing panel. Once you’re satisfied with the arrangement, place two or three extra, shorter lengths of wood horizontally across the back of your assembled panel. These will act as sturdy braces, holding all the front pieces together. Position them strategically – one near the top, one near the bottom, and an optional one in the middle – to distribute the support evenly.
Now comes the crucial fastening step. Using your electric screwdriver and appropriate screws, secure the front wood strips to the backing pieces. Aim to drive at least one screw into each front board through each backing brace. For enhanced stability and durability, two screws per board per brace are highly recommended. While you might feel a bit nervous about this step, don’t overthink it; the goal is simply to create a cohesive and stable surface. Continue screwing until each front piece is firmly attached and you can lift the entire structure without any pieces shifting or detaching. Remember, this sign is a decorative item, so extreme structural integrity isn’t required, but you do want it to be robust enough for display. This method ensures your sign is solid without requiring complex joinery techniques.
2. Applying a Rustic Whitewash Finish
Once your wooden base is assembled, it’s time to prepare the surface for your design. A whitewash or light color wash is perfect for achieving that desired antique, vintage, or beachy aesthetic, allowing the natural grain of the wood to show through while providing a brighter canvas. In a small container, mix approximately 1/2 craft paint (white, cream, or a light aqua works beautifully) with 1/2 water. Stir thoroughly until the mixture is uniform and has a thin, milky consistency. This diluted paint will create a translucent effect.
Using a paintbrush, lightly and evenly apply this diluted paint mixture over the entire front surface and edges of your assembled sign. Don’t saturate the wood; aim for light, flowing strokes that allow some of the original wood tone to peek through. If you desire a more opaque look, you can apply a second thin coat after the first has dried, but generally, one light coat is sufficient to achieve a rustic wash. Allow the whitewash to dry completely according to the paint manufacturer’s instructions, typically 30-60 minutes. This step not only adds character but also provides a lovely base for your chosen design to truly pop.
3. Transferring Your Chosen Design
With your whitewashed base ready, the next exciting step is to transfer your chosen word, phrase, or image onto the wood. The chalk transfer method is highly effective, simple, and perfect for DIY projects like this. Start by flipping your printed design face down. Rub the entire back surface of the paper with a piece of chalk, ensuring good, even coverage. The goal is to create a chalky layer that will act as a stencil.
Once the back of your printout is chalked, carefully position the paper, chalk-side down, onto your whitewashed wooden sign. Secure it in place with a few pieces of painter’s tape to prevent it from shifting. Using a pencil or a ballpoint pen (an empty pen works great as it won’t leave ink marks), firmly trace over all the lines and edges of your design. The pressure from your tracing will transfer the chalk from the back of the paper onto the wood, leaving a clear outline of your design. Once you’ve traced everything, carefully lift the paper to reveal your transferred image. Don’t worry if the chalk lines aren’t perfectly dark; they are just guides for your paint. For more detailed insights into various image transfer techniques, you can refer to this helpful guide on image transferring.
4. Painting Your Design to Perfection
Now for the most artistic part: painting within your transferred chalk lines! Select the paint color(s) you’ve chosen for your design. Using smaller, fine-tipped paintbrushes, carefully fill in the areas outlined by your chalk. Take your time, working steadily to keep your lines crisp and clean. Depending on the opacity of your paint and the desired look, you may need to apply a second thin coat to achieve full coverage and vibrant color. Allow each coat to dry sufficiently between applications to prevent smudging.
Once all your painting is complete and thoroughly dry, you can gently erase any remaining visible chalk lines with a soft cloth or a slightly damp sponge. Be careful not to smudge your fresh paint. At this stage, you can also consider distressing your sign slightly by lightly sanding certain areas to enhance its aged appearance, or you can leave it as is for a cleaner look. For added durability, especially if your sign will be in a high-traffic area or outdoors, consider applying a clear sealant or varnish. This will protect your beautiful work from dust, moisture, and wear, ensuring it remains a charming piece of decor for years to come. Your personalized pallet wood sign is now complete, ready to proudly display!
Tips for Success and Creative Variations
To ensure your DIY pallet wood sign project goes smoothly and yields the best results, here are a few additional tips: Always work in a well-ventilated area, especially when painting or sealing. Lay down a protective tarp or newspaper to keep your workspace clean. Don’t rush the drying times between steps; patience is key to a professional finish. If you’re new to painting, practice your strokes on a scrap piece of wood before tackling your main sign. This helps build confidence and refine your technique.
The beauty of this project lies in its endless customization possibilities. Instead of a simple whitewash, consider a pastel base coat like light blue, mint green, or soft gray for a different aesthetic. For a truly distressed look, after the paint has dried, lightly sand the edges and high points of your sign to reveal some of the natural wood underneath. You can also experiment with different paint colors for your lettering – metallics or deep jewel tones can create a striking contrast. For outdoor signs, always use exterior-grade paints and a weather-resistant sealant to protect against the elements.
Beyond words, consider incorporating simple line art, silhouettes, or even abstract patterns. You can add decorative elements like hooks for keys, small planters for succulents, or even LED fairy lights for an evening glow, turning your sign into a multi-functional piece. Think about framing your sign with thin strips of contrasting wood for a more polished look. The possibilities are truly boundless, allowing you to create a piece that perfectly reflects your personal style and enhances your home’s unique charm.
Transforming Scrap Wood into Statement Pieces
From a forgotten pile of wood scraps to a cherished piece of custom home decor, the transformation is truly remarkable. This DIY pallet wood sign project embodies the spirit of creativity, sustainability, and personal expression. It demonstrates that with a little imagination and effort, you can turn ordinary, discarded materials into extraordinary statement pieces that add character and warmth to your living space. The journey from raw wood to a finished sign is not just about crafting an object; it’s about creating something with your own hands, imbuing it with your unique touch, and adding a story to your home.
Imagine the compliments you’ll receive from friends and family, admiring a piece that you handcrafted, knowing the history of the materials you’ve rescued and repurposed. Whether it finds its place above your fireplace, in a cozy reading nook, welcoming guests in your entryway, or adding a personal touch to your kitchen, your DIY pallet wood sign will undoubtedly become a conversation starter. It’s a testament to the power of upcycling and the joy of hands-on creation. So, go ahead, gather your materials, follow these steps, and unlock the potential within those humble pieces of wood. You’re not just making a sign; you’re crafting a piece of art that tells a story and brings lasting charm to your home.







