
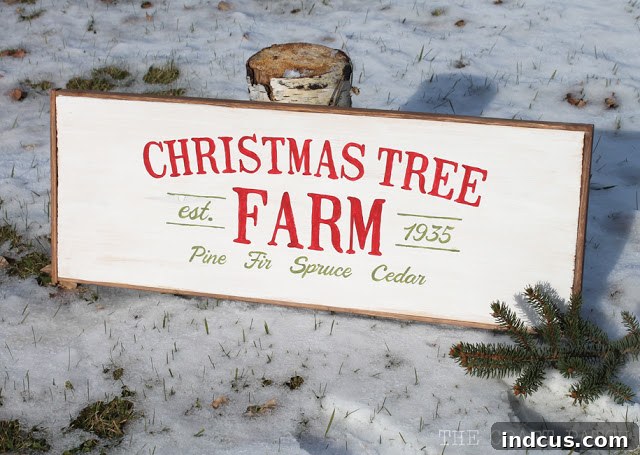
Craft Your Own Enchanting Vintage Christmas Tree Farm Wooden Sign with Our Free Template
As the magical holiday season approaches, there’s no better way to infuse your home with warmth and personalized charm than through the art of Christmas crafting. Today, we’re diving into a delightful project that combines rustic appeal with timeless holiday cheer: a vintage-inspired wooden sign proclaiming “Christmas Tree Farm.” This charming piece is more than just decor; it’s a handcrafted statement that evokes the joy and tradition of selecting the perfect Christmas tree.
What makes this particular project even more ingenious is its incredible versatility. Like many passionate crafters, I often look for ways to maximize my efforts and minimize storage needs. That’s precisely why this Christmas Tree Farm sign was designed to be reversible! You see, this beautiful holiday piece actually shares its wooden canvas with another seasonal favorite. I initially crafted a welcoming sign for my porch to celebrate the vibrant hues of Fall:
Once autumn gracefully transitions into winter, instead of packing away one sign and bringing out another, I simply flip it around! This clever “two-for-one” approach is not only brilliant for saving space and reducing clutter but also offers a cost-effective solution for decorating throughout the year. Imagine the ease of having your seasonal decor ready to go with a simple flip, eliminating the need to build a new sign or find room to store two separate large pieces. It’s an efficient and smart way to embrace seasonal transformations in your home decor.
Designing Your Timeless Christmas Tree Farm Sign
The aesthetic appeal of a “Christmas Tree Farm” sign lies in its nostalgic charm and rustic elegance. It transports you to crisp winter mornings, the scent of pine, and the anticipation of finding that perfect tree. Creating this look starts with a well-designed template and a reliable method for transferring your chosen text or graphics onto wood. For this project, I meticulously designed the classic “Christmas Tree Farm” wording in Photoshop, ensuring a clean, vintage-inspired font and layout. Once the design was perfected, I printed it out, ready for the next crucial step: transferring the image onto the wooden board.
My preferred technique for achieving crisp, professional-looking lettering on wood involves a specific image transfer method that I’ve refined over time. This technique ensures that the design adheres beautifully and precisely, mimicking the look of expertly painted signs. While I’ve shared the detailed specifics of my favorite image transfer method in a dedicated tutorial (which you can find here), the core idea is to carefully transfer your printed design onto the prepared wooden surface before painting. This step is critical for maintaining the vintage aesthetic and ensuring your sign looks as if it came straight from a charming, old-fashioned tree farm.
Your Free Template: Making DIY Easy and Accessible
Empowering fellow crafters to bring their holiday visions to life is something I truly enjoy. That’s why I’m thrilled to offer you the very same design template I used for this Christmas Tree Farm sign! You don’t need to be a graphic designer or a Photoshop expert to achieve this polished look. This template is designed to simplify the crafting process, allowing you to focus on the joy of creating. I’ve prepared two convenient versions to suit your project needs:
- Black and White Tracing Template: This version is perfect for those who want to hand-paint their sign. Simply print it out, and use your chosen image transfer method (or even a simple pencil and carbon paper) to trace the design onto your wooden board. This gives you the guidelines you need to paint within the lines and achieve a crisp, professional finish.
- Full-Color Printable Version: If you’re looking for a quicker decorating solution or prefer not to paint, this version is for you. Print it out in full color, and you’ll have a beautiful “Christmas Tree Farm” graphic ready to be framed. Imagine it displayed on a shelf, added to a gallery wall, or even used as a centerpiece. It’s an instant dose of holiday charm!
Whether you’re a seasoned DIY enthusiast or just starting your crafting journey, these templates remove the guesswork from design, ensuring a successful and satisfying project. Simply click the button below to download your template and embark on your own festive creation.
Please note that this template is provided for personal use only. We encourage you to create beautiful pieces for your home or as heartfelt gifts, but not for commercial resale.
The Crafting Journey: From Blank Board to Holiday Masterpiece
Creating a wooden sign involves a few satisfying steps that transform a simple piece of wood into a personalized work of art. While the exact methods may vary, the general process is accessible to anyone eager to add a handmade touch to their holiday decor.
1. Selecting and Preparing Your Wood
Start with a smooth, clean wooden board. Plywood, pine, or reclaimed wood planks work wonderfully. For a rustic look, embrace imperfections; for a cleaner finish, sand your board thoroughly until it’s smooth to the touch. A coat of primer can help your base paint adhere better and provide an even surface. After priming (if desired), apply your chosen base color. Whites, creams, light grays, or even a soft distressed red or green can serve as excellent backdrops for a vintage Christmas sign.
2. Transferring Your Design with Precision
This is where our template truly shines. After printing your black and white tracing template, align it carefully on your painted and dried wooden board. Common transfer methods include:
- Carbon Paper Method: Place carbon paper (graphic side down) between your template and the wood. Trace over the letters firmly with a pencil, and the design will transfer.
- Pencil Rubbing Method: Heavily shade the back of your printed template’s letters with a soft pencil. Then, place the template on your wood and trace the letters from the front, pressing firmly. The graphite will transfer.
- Chalk Method: Rub chalk powder or the side of a chalk stick over the back of your template. Place it on your wood and trace; the chalk dust will leave a guide.
- Projector Method: For larger signs, project the design onto your board and trace directly with a pencil.
Each method offers slightly different results, but the goal is the same: to get a clear, traceable outline of your “Christmas Tree Farm” text onto the wood.
3. Painting and Detailing
With your design transferred, it’s time to bring it to life with paint. Acrylic craft paints are ideal for this type of project due to their ease of use and quick drying time. Use a small, fine-tipped brush for the lettering, taking your time to carefully fill in the outlines. Multiple thin coats are always better than one thick coat, as they prevent streaking and build color smoothly. For a truly vintage feel, consider distressing techniques: once the paint is dry, lightly sand the edges and corners with fine-grit sandpaper, or use a dry brush with a contrasting color to create subtle wear and tear. This adds character and an aged appearance.
4. Sealing for Longevity
To protect your beautiful creation, especially if it’s going to be displayed on a porch or in an area with potential moisture, apply a clear protective sealer. A matte or satin finish spray sealer or a brush-on polycrylic will protect the paint from chips, scratches, and environmental elements. Ensure your sign is completely dry before applying the sealer, and follow the product’s instructions for best results. This final step ensures your Christmas Tree Farm sign will bring joy for many holiday seasons to come.
Decorating with Your Handmade Christmas Tree Farm Sign
The beauty of a handcrafted sign like this lies not only in its creation but also in how it enhances your holiday home decor. I specifically designed this sign with a prominent place in mind: above our fireplace. The mantel is often the focal point of a living room, and a vintage wooden sign instantly anchors the space with festive charm. I’m currently putting the finishing touches on our entire holiday mantel display, and I can’t wait to share the complete look with you soon!
Beyond the mantel, a Christmas Tree Farm sign offers endless possibilities for festive placement. Consider it as a welcoming piece in your entryway, setting a warm tone for guests. It can lean against a wall on a console table, serve as the centerpiece for a holiday tablescape, or even be incorporated into a festive gallery wall featuring other seasonal prints and photos. For those with a farmhouse aesthetic, it pairs beautifully with buffalo plaid, galvanized metal accents, and natural greenery. No matter where you choose to display it, this sign is sure to become a beloved part of your annual holiday decorating traditions.
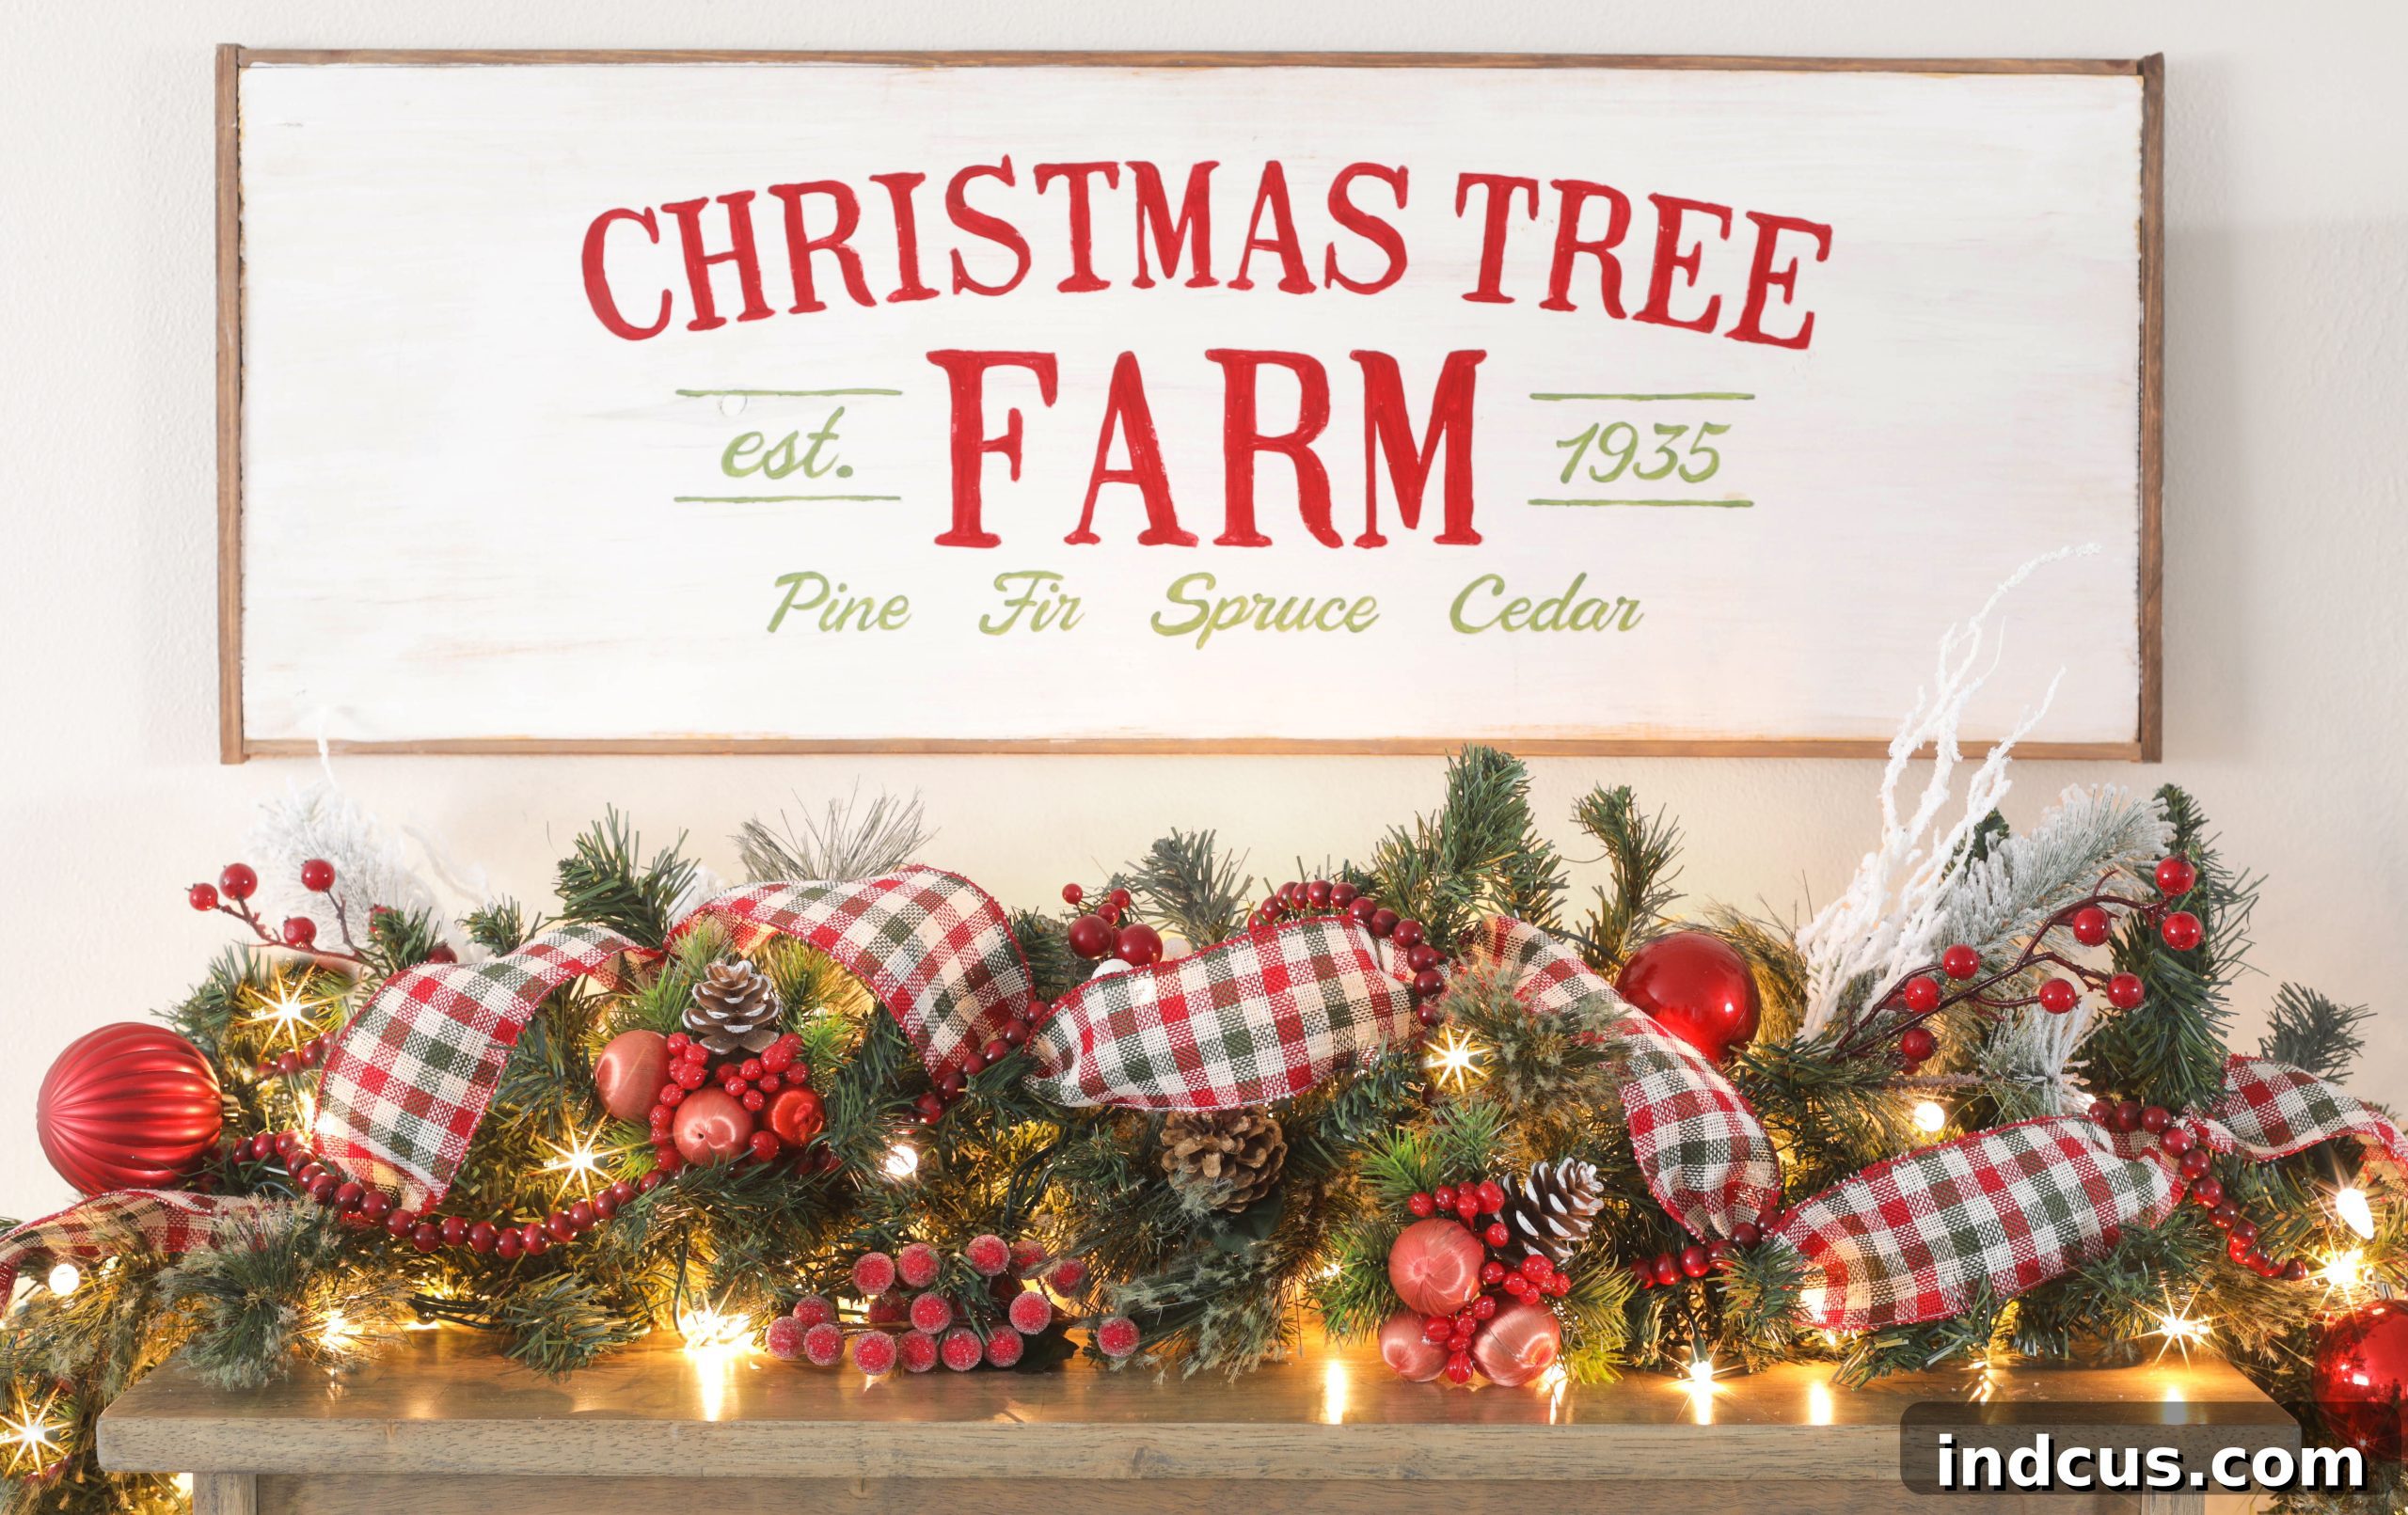 Transform your home into a festive haven with this beautiful, easy-to-make sign.
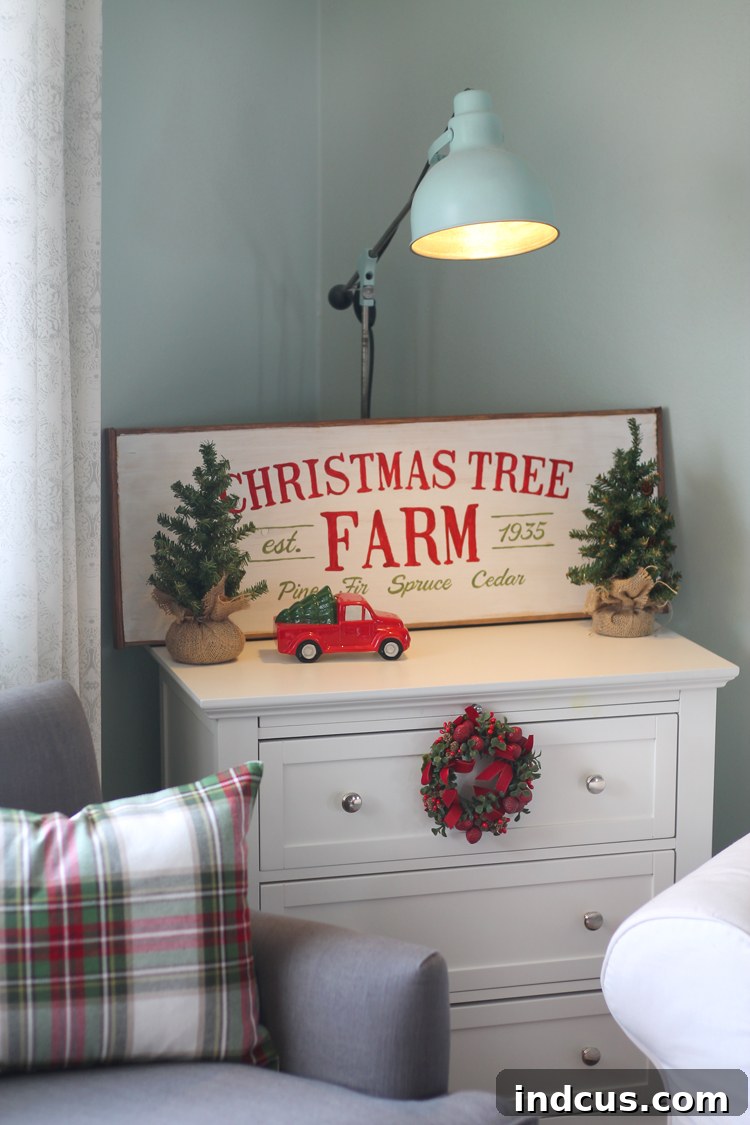
We hope this comprehensive guide and free template inspire you to create your very own Vintage Christmas Tree Farm wooden sign. It’s a project that combines creativity, personal touch, and the enduring magic of the holiday season. Happy crafting!







