
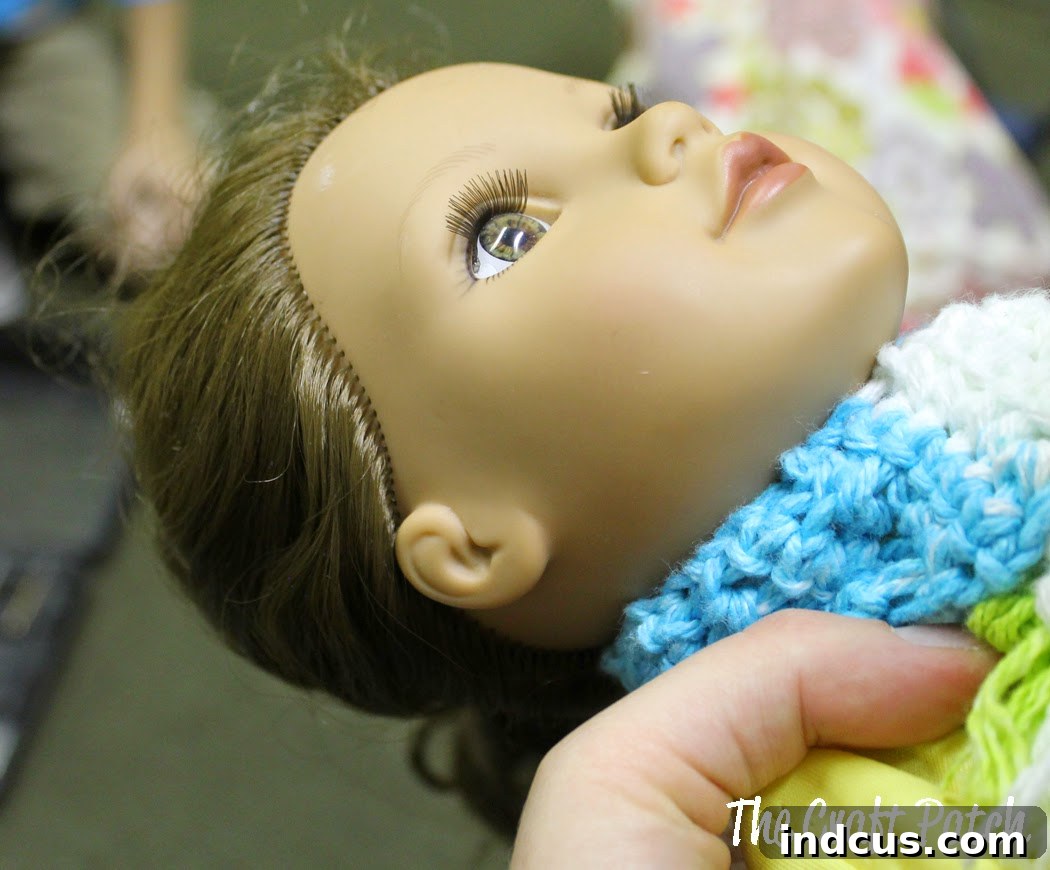
DIY Doll Ear Piercing: A Fun & Easy Guide for American Girl and 18-inch Dolls
As parents, we often find ourselves navigating the exciting world of our children’s ever-evolving interests. One popular desire among many young doll enthusiasts is the ability to accessorize their beloved companions, often starting with stylish earrings. While waiting for the appropriate age for real ear piercings, the world of doll customization offers a wonderful, imaginative outlet. This guide will walk you through the simple and rewarding process of giving your American Girl, Journey Girl, or any 18-inch doll beautifully pierced ears, opening up a new realm of creative play and personalization.
For many children, their dolls are more than just toys; they are cherished friends, confidantes, and muses for imaginative adventures. The ability to personalize these dolls, from their outfits to their hairstyles and now, their accessories, deepens the bond and enhances the play experience. Ear piercing for dolls is a fantastic DIY project that not only satisfies a child’s wish for stylish doll accessories but also offers a safe and engaging craft activity for parents and older children to undertake together.
Why Pierce Your Doll’s Ears? The Benefits of Doll Customization
Before diving into the “how-to,” let’s explore the compelling reasons why piercing your doll’s ears is such a fantastic idea:
- Fosters Creativity and Personalization: Giving a doll pierced ears allows children to express their unique style and imagination. They can choose from a vast array of miniature earrings, matching them to outfits, moods, or specific play scenarios.
- Cost-Effective Customization: While some doll brands offer pre-pierced dolls or specialized accessory sets, doing it yourself is often a much more budget-friendly option. You can repurpose old, small stud earrings or purchase inexpensive packs, saving money while still achieving a personalized look.
- Skill-Building and Engagement: For older children (under adult supervision), this project can introduce basic crafting skills, tool handling, and the satisfaction of a DIY accomplishment. For parents, it’s a great opportunity for a bonding activity.
- Extends Play Value: New accessories breathe fresh life into old toys. Pierced ears can inspire new storylines, fashion shows, and imaginative play scenarios, ensuring the doll remains a cherished part of playtime for years to come.
- Satisfies a Desire (Without the Commitment): If your child is eager for real ear piercings but isn’t quite old enough, customizing their doll provides a wonderful, low-commitment way to fulfill that desire vicariously.
Whether you own an authentic American Girl doll, a more affordable Journey Girl doll from Toys R Us, or another beloved 18-inch doll, this method is universally effective. The principles remain the same for most vinyl-bodied dolls with soft earlobes, ensuring that all doll parents can empower their children with this fun customization.
Gathering Your Materials: What You’ll Need
Success in any DIY project begins with having the right tools. Fortunately, piercing a doll’s ears requires only a few simple items, many of which you might already have around the house. Here’s a comprehensive list of what you’ll need:
- Your Doll: Any 18-inch doll (American Girl, Journey Girl, Our Generation, etc.) with soft, vinyl earlobes.
- Smallest Drill Bit: This is the most crucial tool. You’ll need an incredibly tiny drill bit, often found in sets for hobbyists, jewelers, or electronics repair. We’re talking about the smallest size available, typically around 1/32 inch (0.8mm) or smaller, just enough to accommodate an earring post. A handheld pin vise with tiny drill bits is ideal for precision.
- Drill (Optional but Recommended): While a small drill bit can sometimes be twisted through soft vinyl by hand with a pin vise, a Dremel tool or a very small, low-speed electric drill provides more control and a cleaner hole.
- Fine-Tip Marker: A washable marker or a fine-point pen to accurately mark the piercing spots on the doll’s ears.
- Small Stud Earrings: Choose miniature stud earrings for your doll. Think children’s earrings or even single studs from older sets. Ensure the posts are thin enough for the tiny hole you’ll create.
- Hot Glue Gun and Glue Sticks (Optional): A tiny dab of hot glue can help secure earrings that tend to fall out easily.
- Protective Surface: A towel or cutting mat to protect your work surface.
- Rubbing Alcohol or Doll Cleaner: To clean the doll’s ears before and after piercing.
Step-by-Step Guide: Piercing Your Doll’s Ears
With your materials gathered, it’s time to embark on the exciting process of giving your doll her very own pierced ears. Remember to work carefully and precisely for the best results.
1. Prepare Your Workstation and Doll
Find a well-lit, stable surface. Lay down a towel or a mat to protect the surface and to help keep the doll steady. Gently clean your doll’s ears with a cotton swab dipped in rubbing alcohol or a mild doll cleaner. This ensures a clean surface for marking and drilling.
2. Mark the Piercing Spots
Using your fine-tip marker, carefully place a small dot on each earlobe where you want the piercing to be. Take your time with this step, ensuring the dots are symmetrical and positioned exactly where you envision the earrings sitting. Step back and look at the doll from different angles to confirm the placement. This is your only chance to adjust the location before drilling.
3. The Drilling Process: Precision is Key
This is the most critical step, requiring a steady hand and careful attention. Ensure you are using the smallest drill bit you have. A smaller hole is always better, as you can slightly widen it if needed, but you can’t shrink a large hole. If using an electric drill, set it to the lowest speed. If using a pin vise, ensure a firm grip.
- Position the Doll: Hold the doll firmly or have an adult assist in holding it steady. Ensure the earlobe is supported from behind.
- Start Drilling: Place the tip of the drill bit directly on one of your marked spots. Apply gentle, steady pressure, drilling straight down through the earlobe. Avoid wiggling the drill bit side-to-side, as this can create an uneven hole or tear the vinyl. Let the drill bit do the work; don’t force it.
- Clear Debris: As you drill, tiny bits of vinyl might accumulate around the hole. Carefully remove these with your fingers or a small brush.
- Repeat for the Second Ear: Once the first ear is successfully pierced, repeat the exact same process for the second ear, aiming for symmetry.
Seeing those tiny, perfectly formed holes is incredibly satisfying! It truly is a surprisingly painless transformation for the doll, and hopefully, just as smooth when it’s time for real piercings!
Inserting and Securing Your Doll’s New Earrings
With the holes now ready, it’s time for the exciting part: adding the earrings!
1. Choose Your Earrings
Select the small stud earrings you’ve chosen for your doll. For the initial insertion, simple studs are often easiest to work with. If the holes seem a tiny bit too small, you can gently twist the earring post to slightly widen the opening, but avoid forcing it.
2. Gentle Insertion
Carefully push the earring post through the new hole from the front of the earlobe. If your earrings have backs, attach them securely on the other side. Be gentle to avoid damaging the doll’s vinyl.
3. Securing Loose Earrings (Optional but Recommended)
Sometimes, due to the smooth vinyl and the tiny size of doll earrings, they might not stay in place as firmly as desired. This is where the hot glue trick comes in handy:
- Tiny Dab of Hot Glue: If an earring seems loose or falls out easily, apply a *very small* dot of hot glue to the back of the earring post once it’s through the ear. You can also place a tiny drop directly on the back of the earlobe, around the earring post, to act as a stopper.
- Quick Set: Hot glue sets quickly, creating a slightly thicker, “grippier” base that holds the earring in place.
- Removability: A small amount of hot glue can usually be peeled off later if you want to change the earrings, but test it first. For a more permanent solution, use a stronger adhesive like E6000, but be aware this might damage the vinyl if removed.
- Alternative: Clear Nail Polish: A tiny dab of clear nail polish on the earring post can also create friction to help hold it in place.
Safety and Best Practices for Doll Ear Piercing
While this is a fun and relatively simple DIY, keeping these tips in mind will ensure the best outcome and longevity for your doll:
- Adult Supervision is Crucial: Whenever small tools like drills or hot glue guns are involved, adult supervision is absolutely necessary, especially if children are participating in the process.
- Cleanliness: Always clean the doll’s ears before piercing to prevent any dirt or grime from being pushed into the vinyl.
- Patience and Precision: Rushing can lead to uneven holes or damage to the doll’s ear. Take your time to mark, drill, and insert carefully.
- Earring Size Matters: Stick to small, lightweight stud earrings. Heavy or dangling earrings can pull on the vinyl over time and potentially stretch or damage the ear hole.
- Consider Permanence: Decide if you want the earrings to be changeable or permanently fixed. Hot glue offers a semi-permanent solution, while stronger adhesives are more permanent.
Beyond Piercing: Expanding Your Doll’s World
Piercing your doll’s ears is just the beginning of a vast world of doll customization! Once your doll is sporting her new bling, consider other DIY projects to further enhance her personality and play value:
- Doll Clothing: Learn to sew simple outfits, or repurpose baby clothes for unique doll fashion.
- Hair Styling: Experiment with different braids, updos, or even safe, temporary coloring methods.
- Miniature Accessories: Craft tiny purses, shoes, hats, or even furniture from household items.
- Face-ups: For advanced crafters, subtle changes to facial features with non-toxic paints can give your doll a whole new look.
These projects not only provide endless hours of creative fun but also encourage problem-solving skills, fine motor development, and artistic expression in children. The joy of creating something unique for their beloved doll is truly immeasurable.
Conclusion: A Small Project, Big Smiles
Transforming your doll with pierced ears is a wonderfully rewarding project that brings immense joy and unlocks new avenues for creative play. It’s a testament to how a simple DIY can significantly enhance the connection a child has with their doll, providing a safe and fun way to explore personalization and style.
So, gather your tools, embrace your inner crafter, and embark on this exciting journey of doll customization. Watch as your child’s imagination sparks to life, dressing up their doll in new outfits and accessorizing with an array of beautiful earrings. It’s a small modification that promises big smiles and countless hours of imaginative adventures. Happy crafting!







