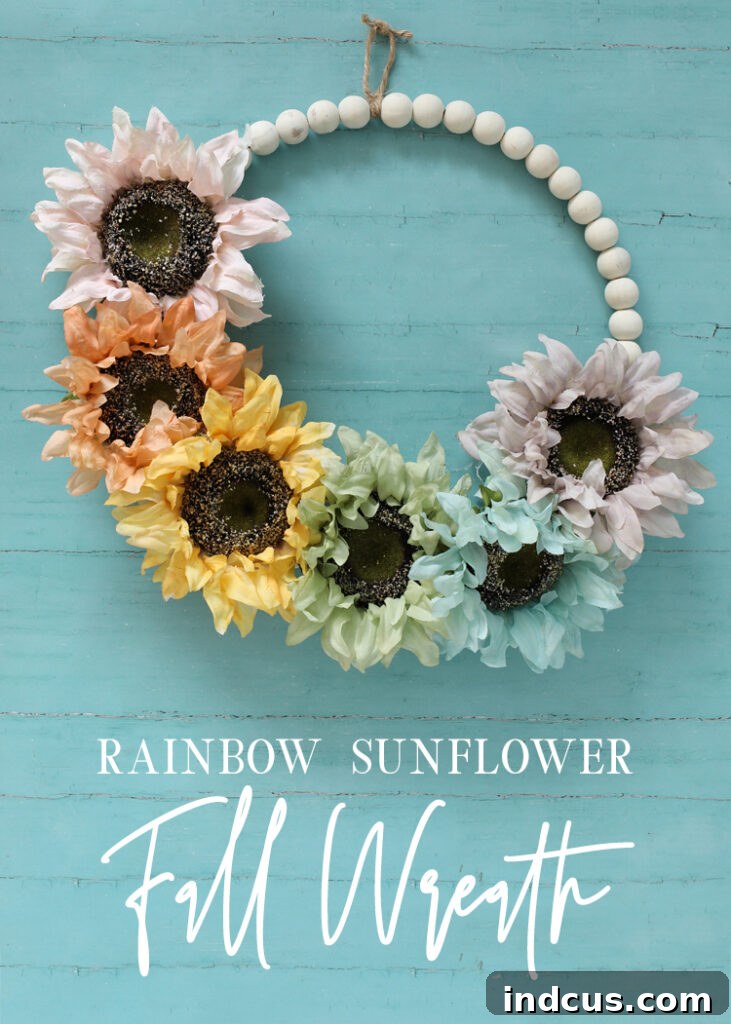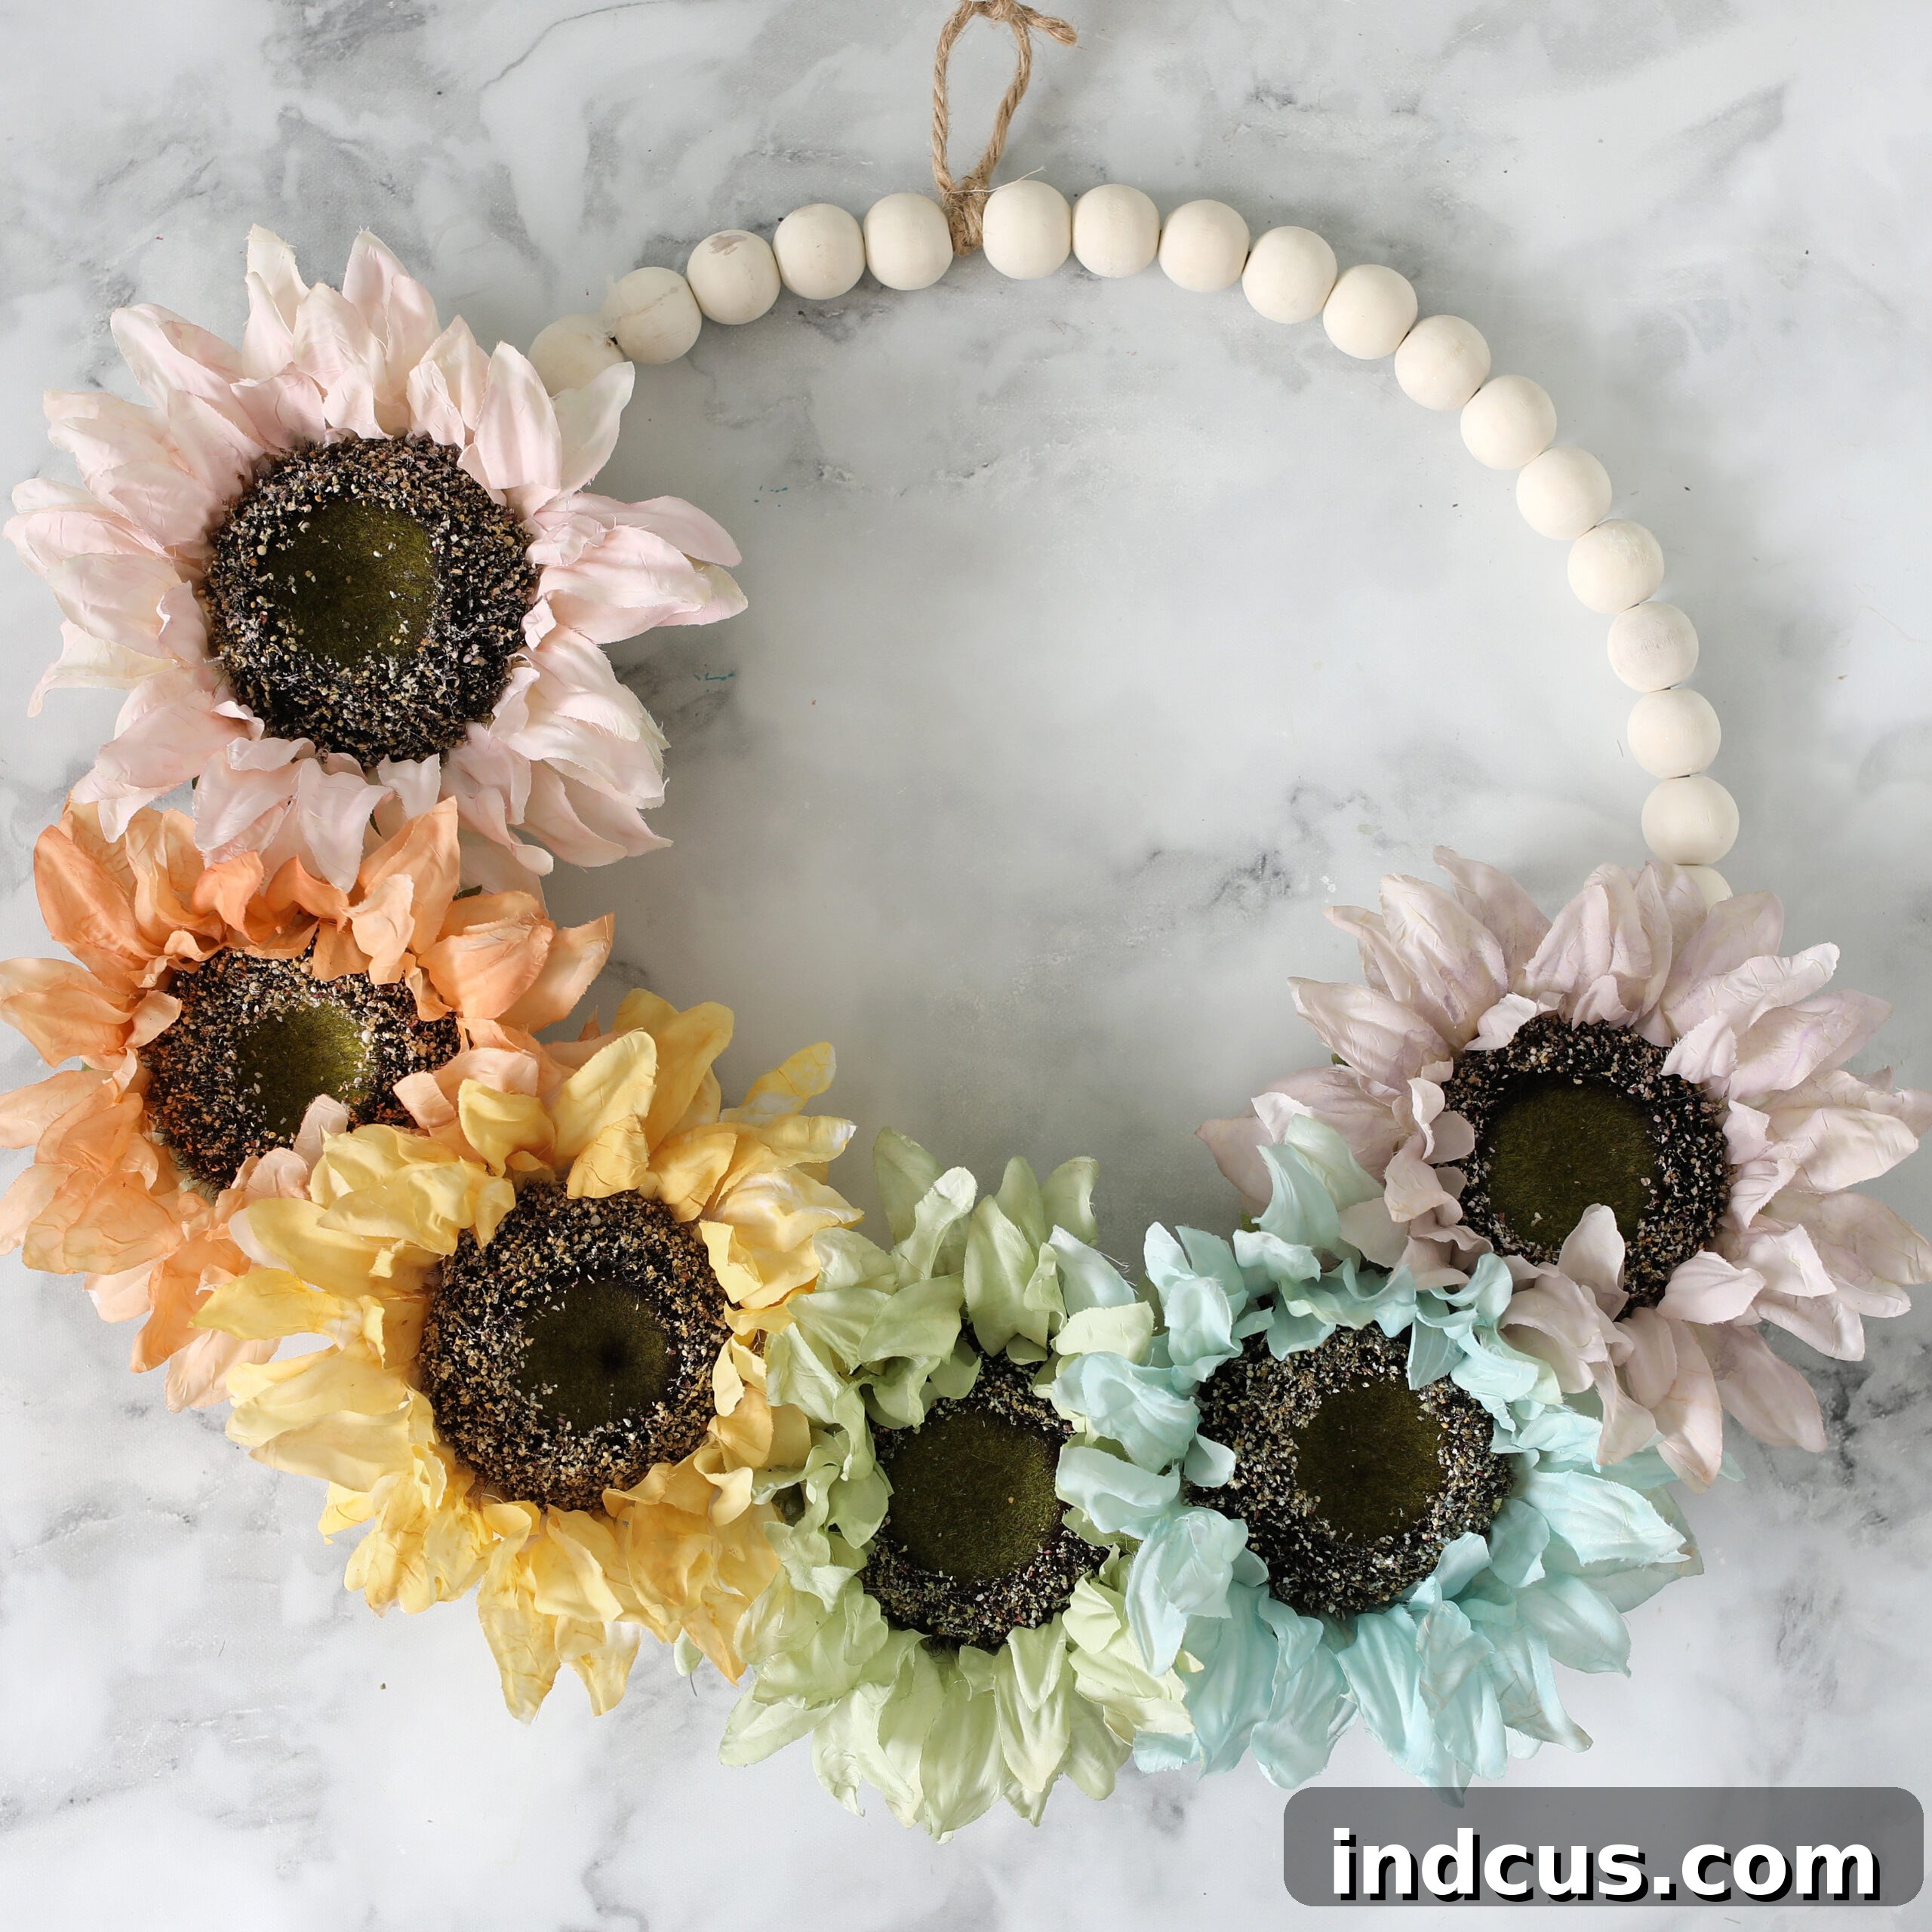
Craft a Dazzling DIY Rainbow Sunflower Wreath for a Unique Fall Display
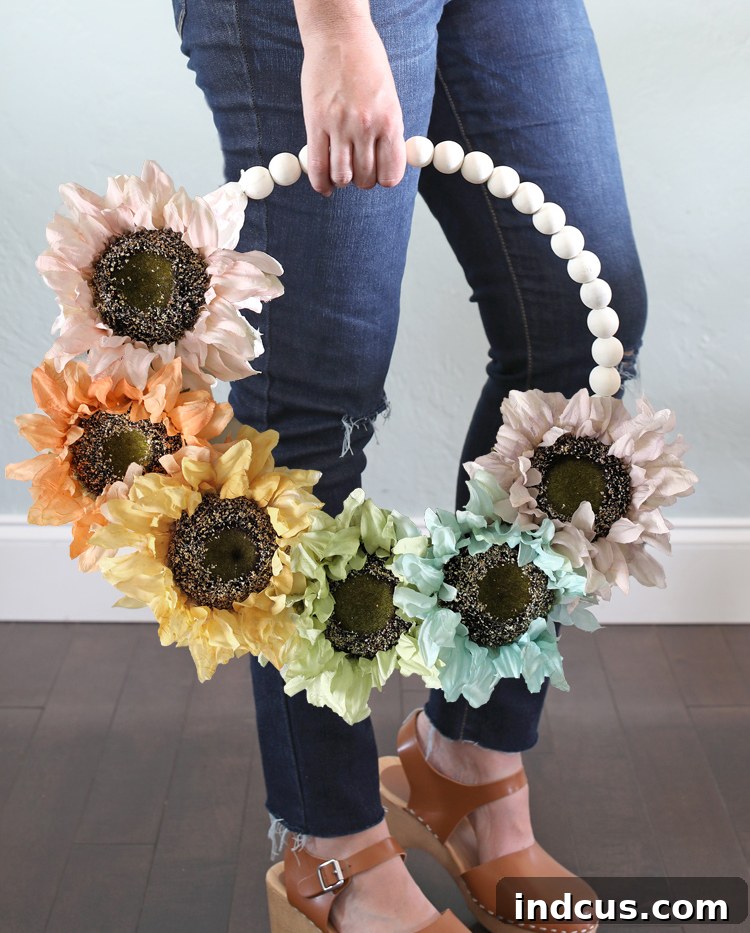
As the leaves begin their magnificent transformation and the crisp autumn air whispers promises of cozy evenings, our homes naturally follow suit, embracing the rich, warm hues of the season. While traditional fall decor often gravitates towards oranges, reds, and deep browns, there’s a captivating beauty in embracing an unexpected palette. Imagine adding a vibrant splash of color to your autumnal display – a spectrum that evokes joy and warmth, perfectly blending with the rustic charm of fall. This guide will show you how to craft a truly unique and breathtaking DIY fall wreath featuring stunning sunflowers painted in every shade of the rainbow.
My journey to creating this eye-catching rainbow sunflower wreath began during a leisurely stroll through the aisles of Hobby Lobby’s exquisite Fall Collection. Amidst the array of seasonal treasures, my gaze settled upon some elegant white silk sunflowers. A thought sparked: could these artificial blooms be transformed with a touch of paint? The idea of painting silk flowers, particularly to create a muted, autumnal rainbow, was an exciting challenge. I decided to take the leap, purchasing a handful of these pristine white flowers, eager to experiment. To my delight, the results were absolutely stunning! The paint adhered beautifully, allowing me to craft a whimsical yet sophisticated rainbow of sunflowers, each petal blushing with soft, muted autumn-inspired tones. The outcome is a truly beloved piece of fall decor, a conversation starter that radiates both traditional autumnal charm and a vibrant, modern twist.
If you’re ready to infuse your home with this unique blend of classic fall aesthetics and a burst of joyful color, you’ve come to the right place. Creating your own rainbow sunflower wreath is a rewarding and surprisingly simple project, perfect for adding a personalized touch to your seasonal decorations. Let’s gather our supplies and dive into the enchanting process of bringing this vision to life. You’ll be amazed at how easily you can transform simple craft materials into a stunning focal point for your front door or living space, making your autumn home decor truly one-of-a-kind.
Essential Materials for Your Rainbow Sunflower Wreath
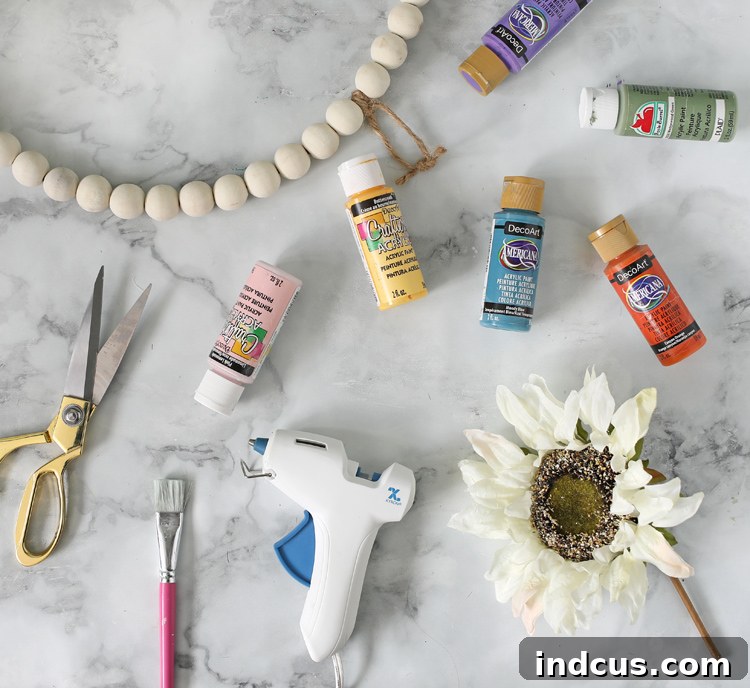
Before embarking on this delightful crafting adventure, ensure you have all the necessary items on hand. Each material plays a crucial role in bringing your rainbow sunflower wreath to life, contributing to both its aesthetic appeal and structural integrity. Gathering everything beforehand makes the creative process smooth and enjoyable, allowing you to focus purely on the artistry.
- White Silk Sunflowers (Six Total): These artificial flowers serve as the perfect blank canvas for your rainbow vision. Opting for white ensures that your chosen paint colors will show up vibrantly and true to hue. Six sunflowers will allow you to create a beautiful, balanced spectrum of colors around your wreath.
- Wood Bead Wreath (14″ or 18″): This elegant and minimalist wreath form offers a contemporary touch that beautifully complements the vibrant sunflowers. The natural wood tones provide a rustic backdrop, allowing the rainbow colors to truly pop. Choose a size that best fits your desired display area, whether it’s a prominent front door or a cozy interior wall.
- Craft Paint Set + Paint Brush: High-quality acrylic craft paints are ideal for this project, offering excellent coverage and durability on silk fabric. Select a range of colors that can be mixed and diluted to achieve the muted, autumnal rainbow effect. A versatile medium-sized brush will allow for precise application on the sunflower petals.
- Glue Gun + Gluesticks: A reliable hot glue gun is essential for securely attaching your painted sunflowers to the wood bead wreath. Hot glue provides a strong, quick-drying bond, ensuring your floral arrangement remains intact and beautiful.
- Sharp Scissors or Tin Snips: You will need these robust tools to cleanly and efficiently cut the stems off the silk sunflowers. Sharp scissors work for thinner stems, while tin snips are highly recommended for thicker, more rigid floral wires to ensure a smooth cut and prevent damage.
- Small Cups or a Mixing Palette: These will be indispensable for diluting your craft paints with water, allowing you to achieve the desired watercolor-like consistency for a soft, artistic finish.
- Paper Towels or an Old Cloth: Keep these on hand for cleaning your paintbrush between color changes and for quickly wiping up any accidental spills during the painting process.
- Water for Rinsing Brush: A dedicated container of clean water is crucial for thoroughly rinsing your paintbrush after each color application, preventing cross-contamination and keeping your rainbow hues distinct.
- Protective Surface Covering: Before you begin, lay down newspaper, an old tablecloth, or a craft mat to shield your work surface from paint splatters and glue drips, ensuring a mess-free crafting experience.
With these carefully selected materials at your disposal, you’re fully equipped to embark on the creative journey of transforming simple components into a stunning, personalized piece of fall decor. The thoughtful selection of each item contributes to the overall success and beauty of your finished rainbow sunflower wreath.
Step-by-Step Guide to Crafting Your Rainbow Sunflower Wreath
This DIY project is designed to be enjoyable and straightforward, even for beginner crafters. Follow these instructions carefully to create a beautiful and durable rainbow sunflower wreath that will brighten your home throughout the fall season and beyond, adding a touch of personalized charm.
Step 1: Preparing Your Paints for a Watercolor Effect
The secret to achieving that lovely, muted, watercolor-like finish on your silk sunflowers lies in diluting your craft paint. Begin by selecting six distinct colors that will form your rainbow, carefully considering how they will complement the autumn season. Think about creating a harmonious palette of “muted” rainbow tones – perhaps a deep berry red, a warm terracotta orange, a goldenrod yellow, an earthy olive green, a dusty periwinkle blue, and a soft lavender or plum. Squeeze a small amount of each chosen craft paint into separate small cups or onto a mixing palette. Now, gradually add a little bit of water to each paint color. The goal is to thin the paint to a consistency that allows for smooth, streak-free application and a semi-transparent finish, much like traditional watercolors. This dilution process is crucial for preventing the paint from looking thick, stiffening the fabric, or cracking on the delicate silk petals.
If your chosen paint color is naturally dark or very intense, you’ll want to add more water to achieve a softer, more autumnal tone. For lighter colors, less water will be needed to maintain their vibrancy while still allowing for that desirable watercolor fluidity. Start with a very small amount of water and mix thoroughly, then test the consistency on a spare piece of paper or an inconspicuous part of a sunflower petal (like the back). You’re aiming for a consistency similar to skim milk – thin enough to spread easily but still opaque enough to provide good color coverage without saturating the fabric. This careful balance ensures a professional and organic appearance, allowing the subtle texture of the silk to still show through, enhancing the wreath’s charm.
Step 2: Painting Your Silk Sunflower Petals
With your paints perfectly diluted, it’s time for the most creative and meditative part: bringing vibrant color to your white sunflowers! Take one flower at a time and, using your chosen paint brush, carefully apply your selected color to the petals. Work systematically, painting each petal evenly and smoothly. Remember, applying multiple thin coats is always better than one thick, heavy coat, especially when working on fabric. This technique helps prevent the paint from stiffening the petals too much and ensures a more even, natural-looking color distribution. Allow each thin coat to dry slightly – just a few minutes – before applying another, gradually building up the color intensity to your liking. As you transition between colors for each flower, make sure to thoroughly wash out your paintbrush in a dedicated cup of water. This prevents color mixing and keeps your rainbow hues vibrant and distinct. Gently dab the brush on a paper towel or old cloth to remove excess water before dipping it into the next color. Pay close attention to the unique texture of the silk petals; the paint will absorb differently than on paper or wood. Take your time, enjoy the artistic process, and watch as each simple white sunflower transforms into a vivid, personalized bloom that will form the heart of your stunning autumn wreath.
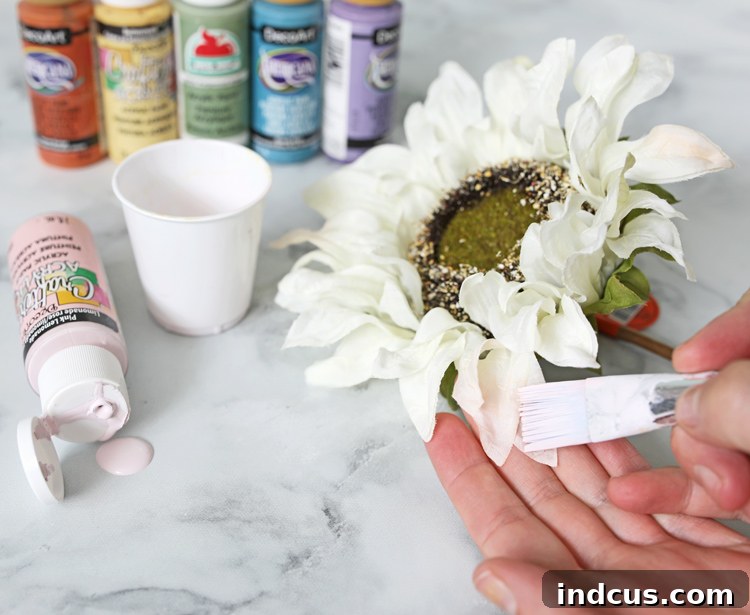
Step 3: Drying the Flowers and Trimming Stems
Patience is a virtue in crafting, and this step is absolutely crucial for the longevity and professional finished look of your rainbow sunflower wreath. After painting all your sunflower petals with their beautiful diluted colors, set the flowers aside in a well-ventilated area to dry completely. Good airflow will help the paint cure properly and quickly. Depending on the amount of paint and water used, as well as ambient humidity, this drying process could take a few hours or even overnight. It is imperative that the paint is fully dry to the touch and no longer tacky before you proceed to the next step; otherwise, you risk smudging the colors, having them stick together, or even peeling. Once completely dry, the petals should retain their soft, pliable texture, now beautifully imbued with your chosen rainbow hues.
Next, grab your sharp scissors or robust tin snips. Carefully cut the stems off of each painted sunflower. You want to cut as close to the base of the flower head as possible without damaging the petals or the central disc of the flower. Removing the stems ensures that the flowers will sit flush and neatly against your wood bead wreath, providing a clean and professional attachment point without any awkward protrusions. For thicker floral stems, especially those with internal wire, tin snips will make the job much easier, safer, and result in a cleaner cut than standard household scissors, which can become dull or even break trying to cut through tough wire.
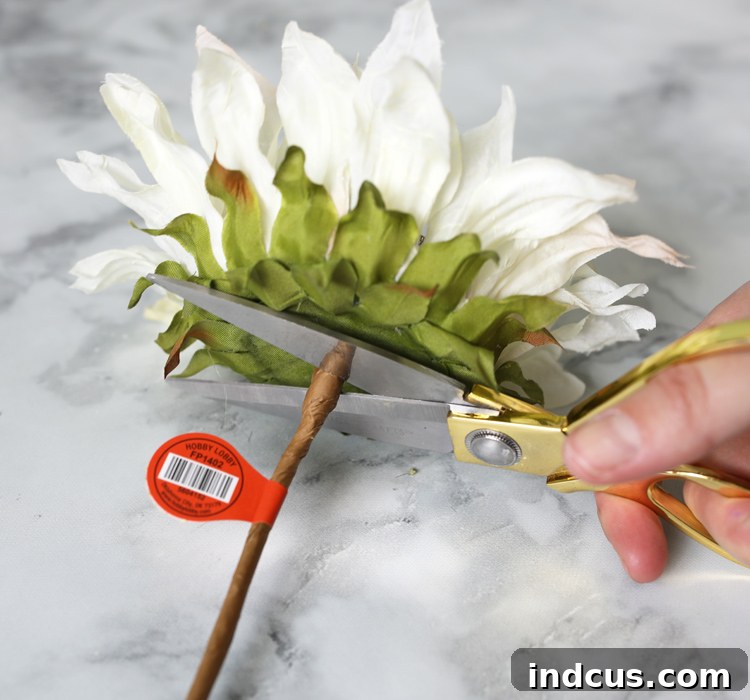
Step 4: Assembling Your Rainbow Sunflower Wreath
Now comes the exciting and transformative part: arranging and attaching your vibrant, newly painted sunflowers to the elegant wood bead wreath. Begin by heating up your glue gun, ensuring it reaches its optimal temperature for a strong bond. Once the glue is ready, apply a generous dab of hot glue to the back of each sunflower head, focusing on the flat base where the stem was removed. Carefully press each flower firmly onto the wood bead wreath, holding it in place for a few seconds until the glue begins to set. Plan your arrangement thoughtfully: place your sunflowers in a visually appealing rainbow sequence around the wreath, ensuring even spacing and balance. Consider starting with one color and working your way around, or positioning the colors symmetrically for a striking effect. The goal is to create a full, lush look without overcrowding, allowing each color to shine.
Alternatively, if you prefer a method that offers more durability and is particularly recommended for wreaths that will be exposed to direct sunlight or harsh weather conditions, you could opt to use florist wire. In this scenario, you would leave a short section of the stem attached to each flower (or insert a new piece of floral wire if you’ve already trimmed them completely). Then, use the florist wire to securely wrap and twist the flowers onto the wreath frame, tucking the ends of the wire out of sight. This method is especially advantageous if your wreath will be displayed in an area that receives a lot of hot sun, as intense heat can sometimes cause hot glue to soften and your beautiful flowers to detach. Whichever attachment method you choose, take a step back periodically to assess your arrangement from a distance and make any necessary adjustments before the glue fully dries or the wire is completely secured. The ultimate goal is a harmonious, captivating, and durable display of color that will brighten your home for many autumns to come.
The Allure of a Rainbow Sunflower Fall Wreath
This rainbow wreath isn’t just a decoration; it’s a statement, a testament to creativity and a celebration of unique style. It’s a playful yet sophisticated variation that perfectly captures the cheerful essence of fall while adding an unexpected burst of color to traditional autumn aesthetics. I am absolutely “digging” the soft, muted hues we achieved, which create a harmonious blend of traditional autumn warmth with the joyful vibrancy of a rainbow. And let’s be honest, who can resist a chance to organize things in perfect rainbow order, especially when the result is this stunning? This wreath beautifully marries the rustic, natural charm of the wood beads with the whimsical elegance of painted silk flowers, creating a truly unique piece that stands out from typical seasonal decor.
It challenges the conventional idea of fall decor, proving that autumn doesn’t have to be solely about shades of orange, brown, and red. By incorporating a spectrum of colors, you create a dynamic and inviting atmosphere that celebrates the diversity and beauty of the season in a fresh, modern way. This cheerful wreath will undoubtedly draw compliments and bring a smile to anyone who sees it, making your home feel even more welcoming, vibrant, and uniquely yours. It’s a joyful expression that embodies the spirit of creativity and personal touch, transforming a simple space into an enchanting autumn haven.
Tips for Making Your DIY Wreath Shine
To ensure your rainbow sunflower wreath is not only beautiful but also long-lasting and perfectly suited to your style, consider these additional tips and tricks:
- Experiment with Color Depth: Don’t be afraid to play with the paint-to-water ratio. For a more intense, jewel-toned rainbow, use slightly less water in your paint mixture. For an even softer, more pastel autumn look, akin to faded watercolors, use a bit more water. Testing on a scrap piece of silk or a hidden part of a petal can help you find your ideal consistency.
- Consider Your Wreath Placement: The longevity of your wreath can be affected by its environment. If your finished wreath will be displayed outdoors in direct sunlight for extended periods, or in areas prone to humidity and heat, definitely consider using the florist wire method for attachment over hot glue, as detailed in Step 4. This will provide a more durable and heat-resistant bond.
- Add Extra Embellishments Thoughtfully: While the painted sunflowers are undeniably stunning on their own, you could also personalize your wreath further. Consider adding small sprigs of faux fall foliage, tiny faux berries in complementary colors, or even a coordinating bow made from burlap, natural ribbon, or a colorful patterned fabric for an extra touch of seasonal charm and texture. Just ensure any additions don’t detract from the rainbow effect.
- Work in a Well-Ventilated Area: Especially when painting, ensure you have good airflow in your workspace. This not only helps the paint dry more efficiently but also ensures you avoid inhaling any paint fumes, making the crafting process safer and more pleasant.
- Patience is Key: Crafting is a journey, not a race. Rushing through the drying process can lead to smudged paint, uneven coverage, or less durable results. Allow ample time for each stage, particularly for the paint to dry completely. The final product will be a testament to your patience and attention to detail.
- Protect Your Wreath: When storing your wreath off-season, place it in a breathable container or bag to protect it from dust and crushing. This will help preserve its vibrant colors and delicate structure for many autumns to come.
Styling Your New DIY Fall Masterpiece
Once your rainbow sunflower wreath is complete and thoroughly dry, it’s time to find its perfect home and let its colors truly shine. This versatile piece of decor is ideal for a variety of settings, adding a unique touch of handmade charm wherever it’s placed:
- Front Door Elegance: Make a vibrant and welcoming first impression by hanging it prominently on your front door. It’s a cheerful greeting that will stand out beautifully against any door color, inviting guests to step into your warm autumn home.
- Mantlepiece Magic: Drape it gracefully over your fireplace mantel, perhaps above a cozy display of fall candles, rustic gourds, or other seasonal accents. This creates a captivating focal point in your living room, drawing the eye and adding a burst of color to your hearth.
- Entryway Welcome: Place it in your entryway or foyer to warmly welcome guests as soon as they step inside. This sets a joyful and inviting tone for your home, hinting at the creative spirit within.
- Window or Wall Decor: Hang it in a prominent window to catch the natural light, or on an accent wall in any room. It adds a lovely pop of color and texture, brightening the space and serving as a unique piece of wall art that celebrates the autumn season in a non-traditional way.
Pair it with neutral-toned decor to let the rainbow colors truly sing, allowing it to be the star of your autumn display. Alternatively, integrate it into an existing vibrant decor scheme for an eclectic and personalized fall look. The possibilities are endless for showcasing your beautiful, handmade masterpiece!
Make Your Own for Less: A Seasonal Bargain!
Here’s an insider tip for aspiring crafters and savvy decorators: everything in the fall collection at Hobby Lobby is frequently on sale, often at 40% off or even more! This means you can create this charming, unique, and stunning rainbow sunflower wreath for a fantastic price, making it an incredibly affordable way to elevate your seasonal decor without breaking the bank. Head to your local Hobby Lobby (or conveniently check their online store) to grab all the supplies you need before the season is in full swing and the best items are gone.
Once your beautiful, personalized wreath is complete and proudly displayed, I would absolutely love to see your version! Share a picture of your finished craft via Instagram or email. There’s nothing more inspiring than seeing how others interpret these DIY projects and add their own creative flair, showing off their unique style. Don’t hesitate to share your autumn rainbow creation – happy crafting!
Rainbow Sunflower Wreath Video Tutorial
For those who prefer visual guidance and find it helpful to see the crafting process in action, a video tutorial can often clarify steps and offer additional tips not easily conveyed through text alone. While not embedded directly within this article, we recommend searching for “DIY Rainbow Sunflower Fall Wreath Tutorial” or “Painting Silk Flowers for Wreaths” on your preferred video platform. Seeing the painting techniques, dilution process, and assembly of the sunflowers onto the wreath can be incredibly beneficial for any DIY enthusiast, providing a comprehensive walkthrough that perfectly complements these written instructions.
Like this vibrant and unique DIY idea? Pin it to your favorite fall decor boards on Pinterest so you don’t forget this wonderful project for next season!