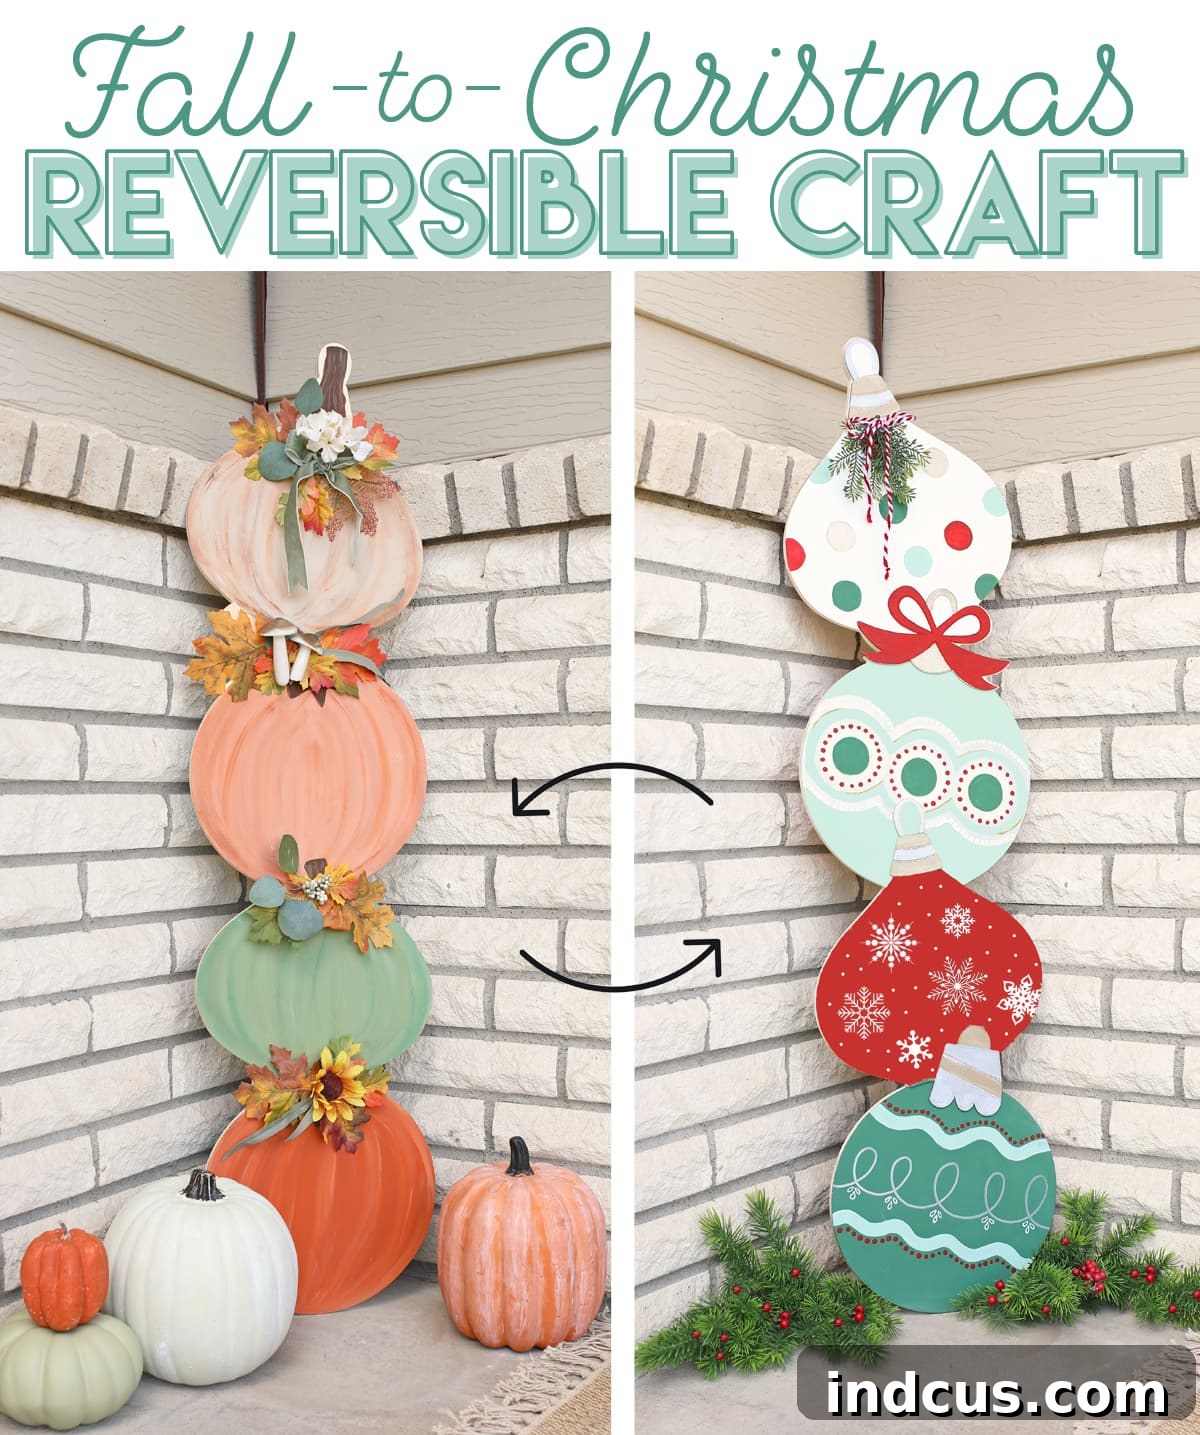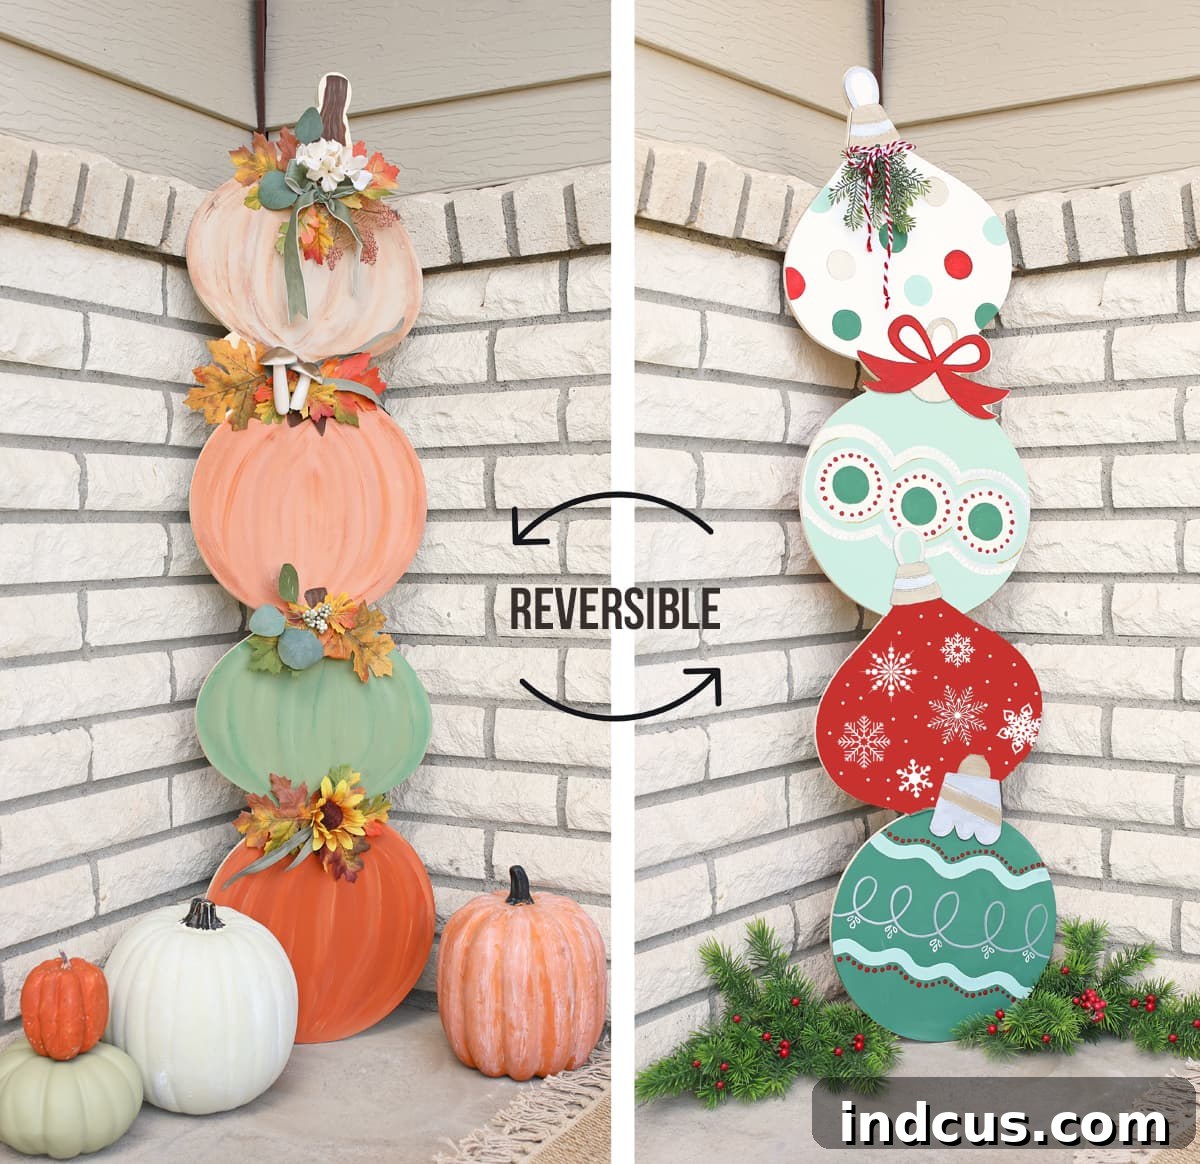
DIY Reversible Holiday Decor: From Autumn Pumpkins to Festive Christmas Ornaments
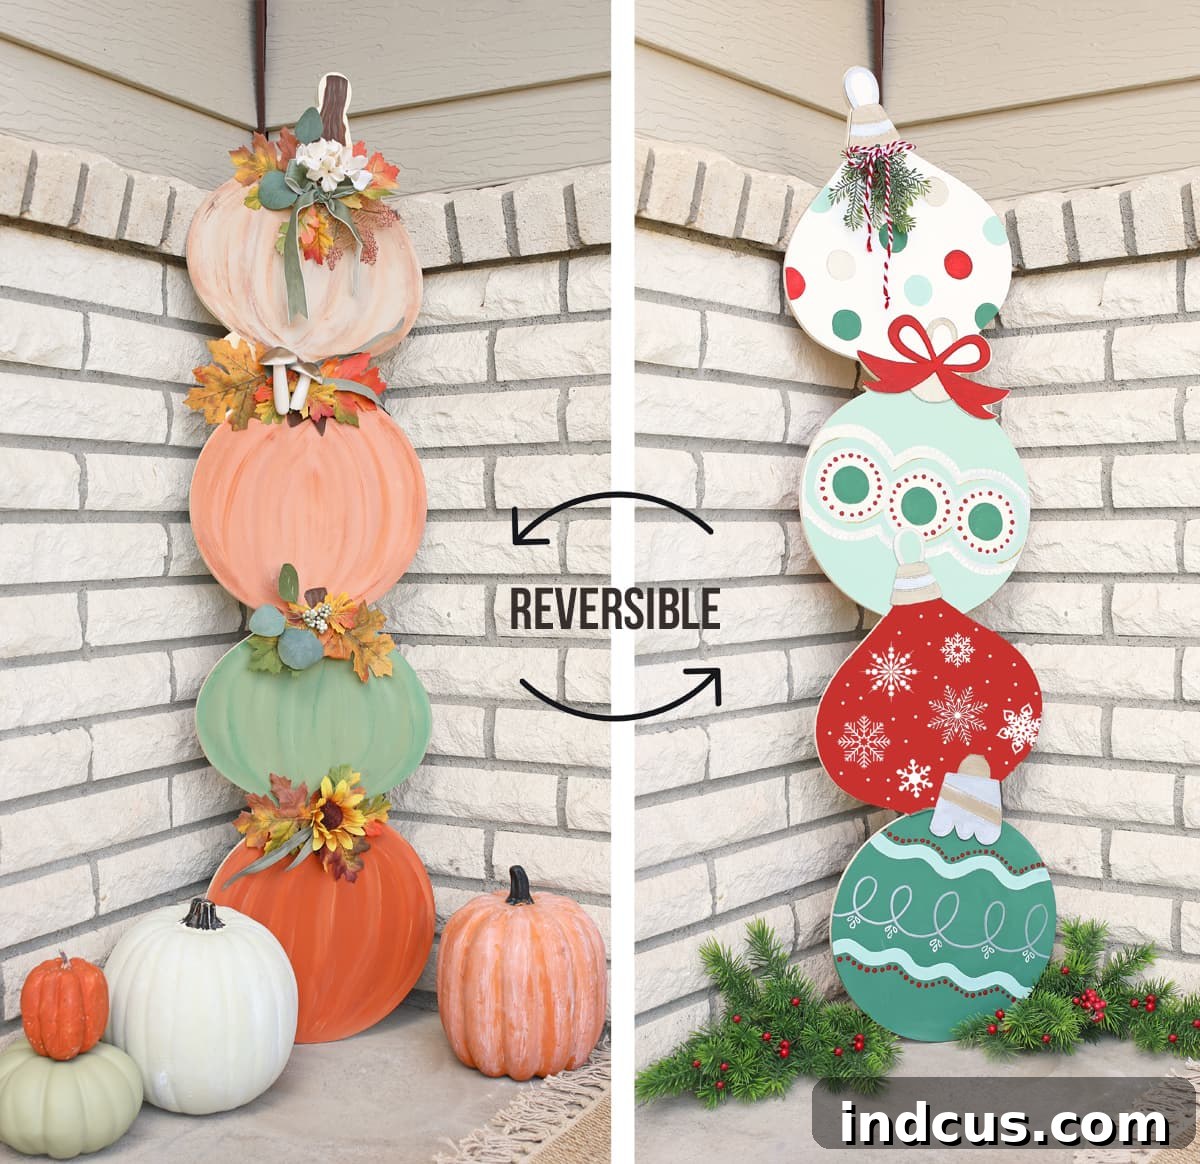
Welcome to the ultimate guide for creating a truly versatile piece of seasonal home decor! If you appreciate crafts that offer both aesthetic appeal and practical benefits, you’ve come to the right place. Our passion for reversible crafts runs deep here, as they provide an ingenious solution for decorating your home beautifully without breaking the bank or requiring extensive storage space.
The beauty of reversible decorations lies in their ability to transform your living space from one season to the next with a simple flip. It’s like getting two exquisite decorations for the price and effort of one! Over the years, we’ve explored various themes, and some of our most beloved reversible projects include:
- Charming Wood Slice Pumpkins and Snowman: Perfect for transitioning from autumn to winter.
- Spooky Haunted House / Sweet Gingerbread House: An ideal Halloween to Christmas switch.
- Playful Candy Corn / Classic Christmas Tree: Another fantastic option for fall-to-winter transitions.
The overwhelming popularity of these dual-purpose projects constantly inspires us to seek out new and innovative reversible craft ideas. On a recent trip to Hobby Lobby, a blank wooden ornament sign immediately caught our eye. Its unique shape and generous size instantly sparked an idea: it would be absolutely perfect for a two-sided craft that could take us from the rich colors of fall straight into the joyful spirit of Christmas. The result? A truly adorable and functional decoration that we can’t wait to share with you! Get ready to dive into this exciting DIY project and add a touch of handcrafted charm to your holiday season.
Essential Supplies for Your Reversible Holiday Sign
Before we begin transforming this simple wood blank into a festive masterpiece, gather all your materials. Having everything at hand will make the crafting process smooth and enjoyable.
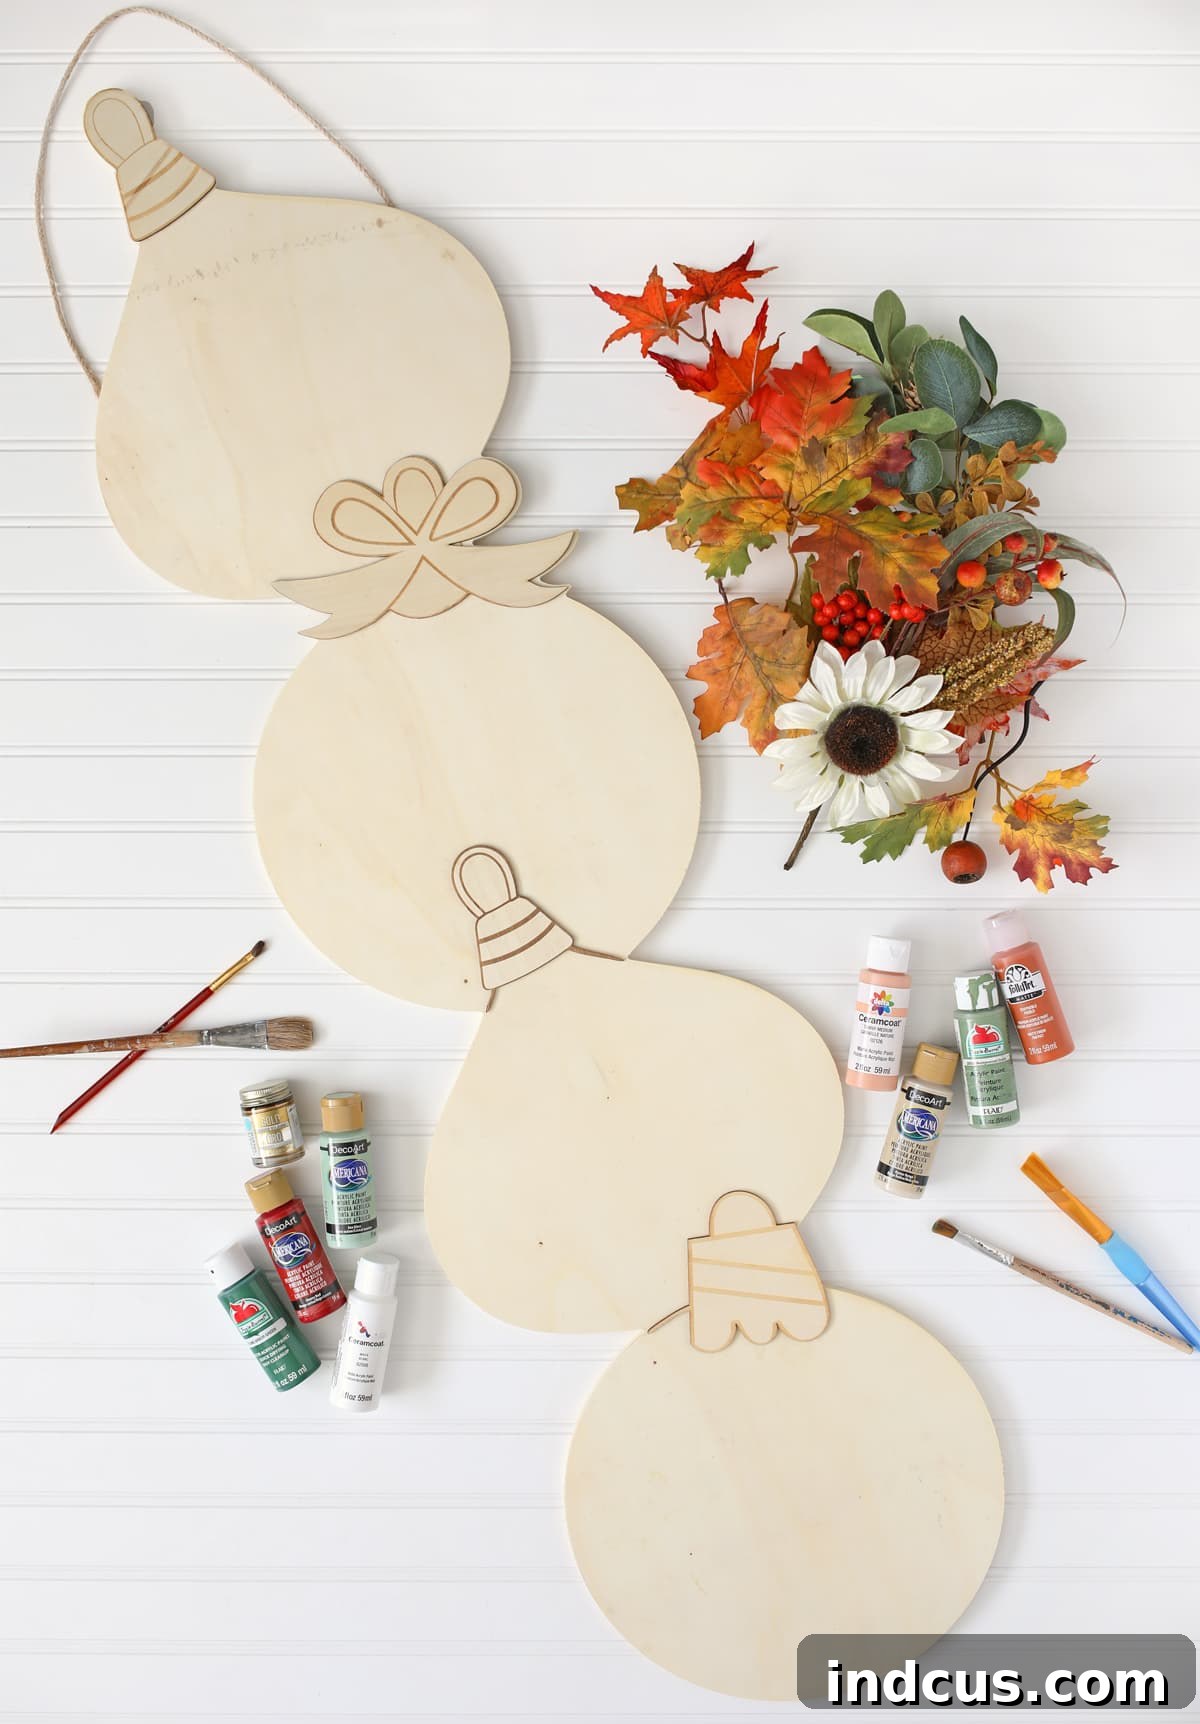
Materials Needed
- Blank Wood Ornaments Sign: (See important note below for sourcing and alternatives) This serves as the foundation for our project. Its pre-cut ornament shape is ideal for the Christmas side, while its elongated form lends itself perfectly to stacked pumpkins.
- Acrylic Craft Paint: High-quality acrylic paints offer vibrant colors and good coverage.
- For Fall Colors (Pumpkins): Ceramcoat Tawny Medium (a beautiful earthy orange), DecoArt Oyster Beige (for highlights and blending), Folkart Pueblo (a rustic brown), Apple Barrel Wedgewood Green (for subtle leaf accents or deeper pumpkin tones).
- For Christmas Colors (Ornaments): DecoArt Sea Glass (a soft, elegant blue-green), DecoArt Cherry Red (classic festive red), Apple Barrel Arbor Green (rich forest green), Ceramcoat White (for snow and highlights).
- Accent Colors: Separate white and brown paints for details like pumpkin stems, ornament reflections, or outlining.
- Assorted Paint Brushes: A variety of sizes will be crucial – larger flat brushes for base coats, smaller round brushes for details, and a fine-tip brush for intricate lines or lettering.
- Paint Pens (Optional but Recommended): These are fantastic for adding crisp lines, dots, or small patterns with precision. They can simplify detailed work significantly.
- Hot Glue Gun + Glue Sticks: Essential for securely attaching the decorative floral picks and foam pieces.
- Fall Floral Picks: Look for small bunches of autumn leaves, berries, or tiny faux flowers to enhance the pumpkin side. Choose ones with flexible stems for easy arrangement.
- Velcro Tabs (Hook & Loop Coins): These are the secret to our reversible magic! They allow you to easily attach and detach the fall florals without damaging either side of the sign.
- Thick Craft Foam (e.g., 5mm): Used as a backing for your floral picks, providing a stable surface for the Velcro and ensuring the florals stand out without directly attaching to the wood.
Note on the Wood Blank: I sourced the specific wood blank from Hobby Lobby, found in their Christmas crafts section (not the general seasonal decor). It’s a rather large piece, measuring approximately 46 inches tall and 11.6 inches wide, which might be why it’s not consistently available online. If you’re having trouble locating it, here’s a closer look at the product tag from the store, which might help you track it down or ask an associate:
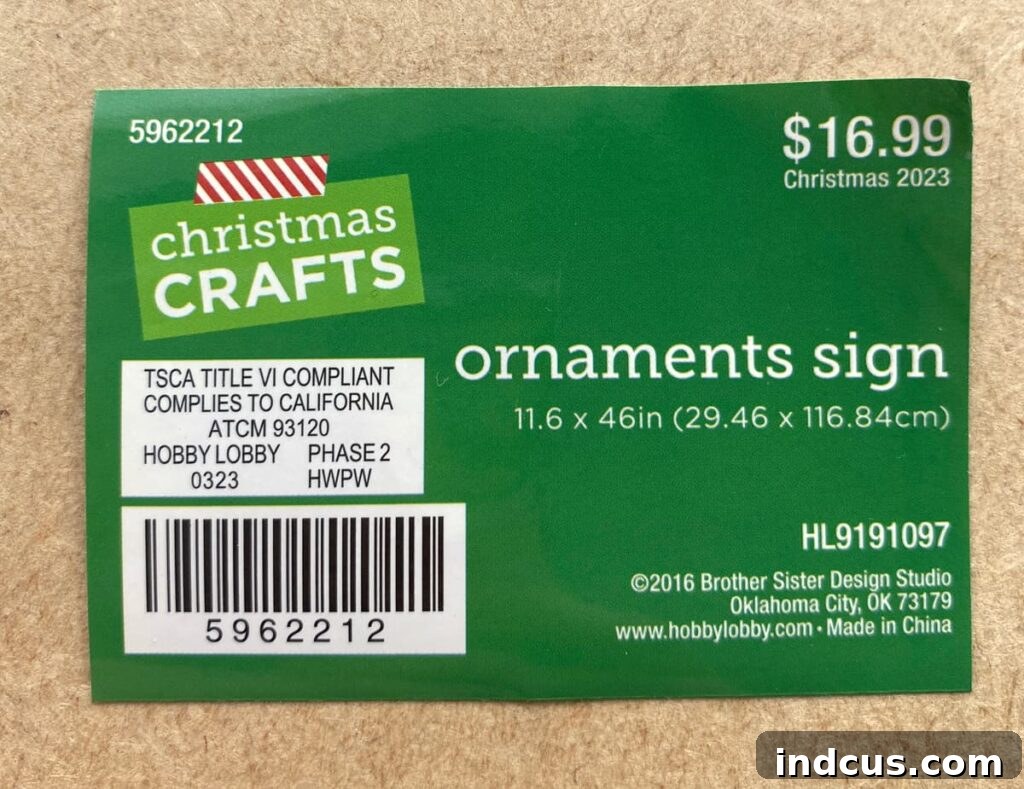
A little tip for savvy crafters: keep an eye out for sales! Many Christmas items go on sale well before the holiday season begins. We were fortunate to find this substantial wood sign for only $8.50 during a half-off sale. That’s an incredible value for such a large and versatile decoration!
If you can’t find this exact ornament sign, don’t despair! You can adapt this tutorial with a similar large wood blank. For instance, this Stacked Pumpkin Wood Decoration might also serve as a suitable base, though you’d need to adjust your painting strategy slightly for the Christmas side. The key is to find a wood piece that offers enough surface area for both your fall and Christmas designs.
Step-by-Step Instructions: Crafting Your Reversible Masterpiece
Now that you have all your materials, let’s get creative! Follow these detailed steps to bring your reversible holiday decoration to life.
Step 1: Prepare Your Wood Blank
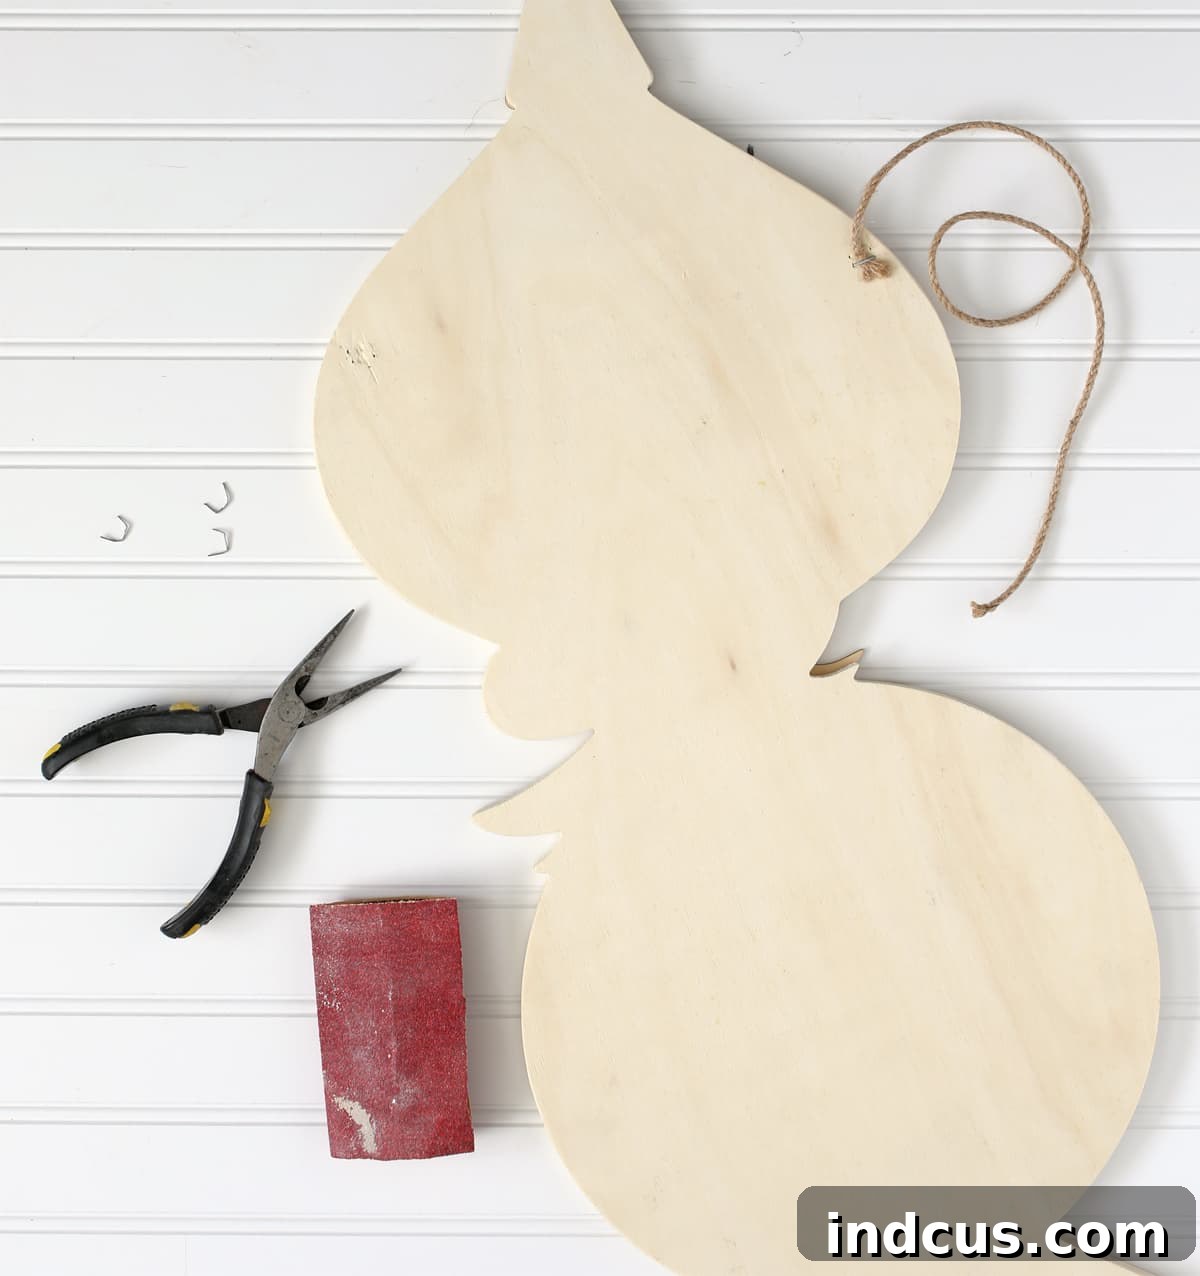
The first step in any successful paint project is proper preparation. Begin by carefully removing any existing twine or hanging hardware from your wood sign. Often, these are attached with staples, so a pair of needle-nosed pliers will be your best friend for a clean removal. Gently wiggle and pull the staples out to avoid splintering the wood.
Once the hardware is off, it’s time to sand. Lightly sand every surface of the wood blank, paying extra attention to the edges and any rough spots. Use a fine-grit sandpaper (around 180-220 grit) for a smooth finish. Sanding removes manufacturing imperfections, jagged edges, and any residual dirt or oils, creating an ideal surface for paint adhesion. This crucial step ensures your finished craft looks polished and professional, preventing paint from chipping or uneven application.
Step 2: Paint the Christmas Ornaments Side
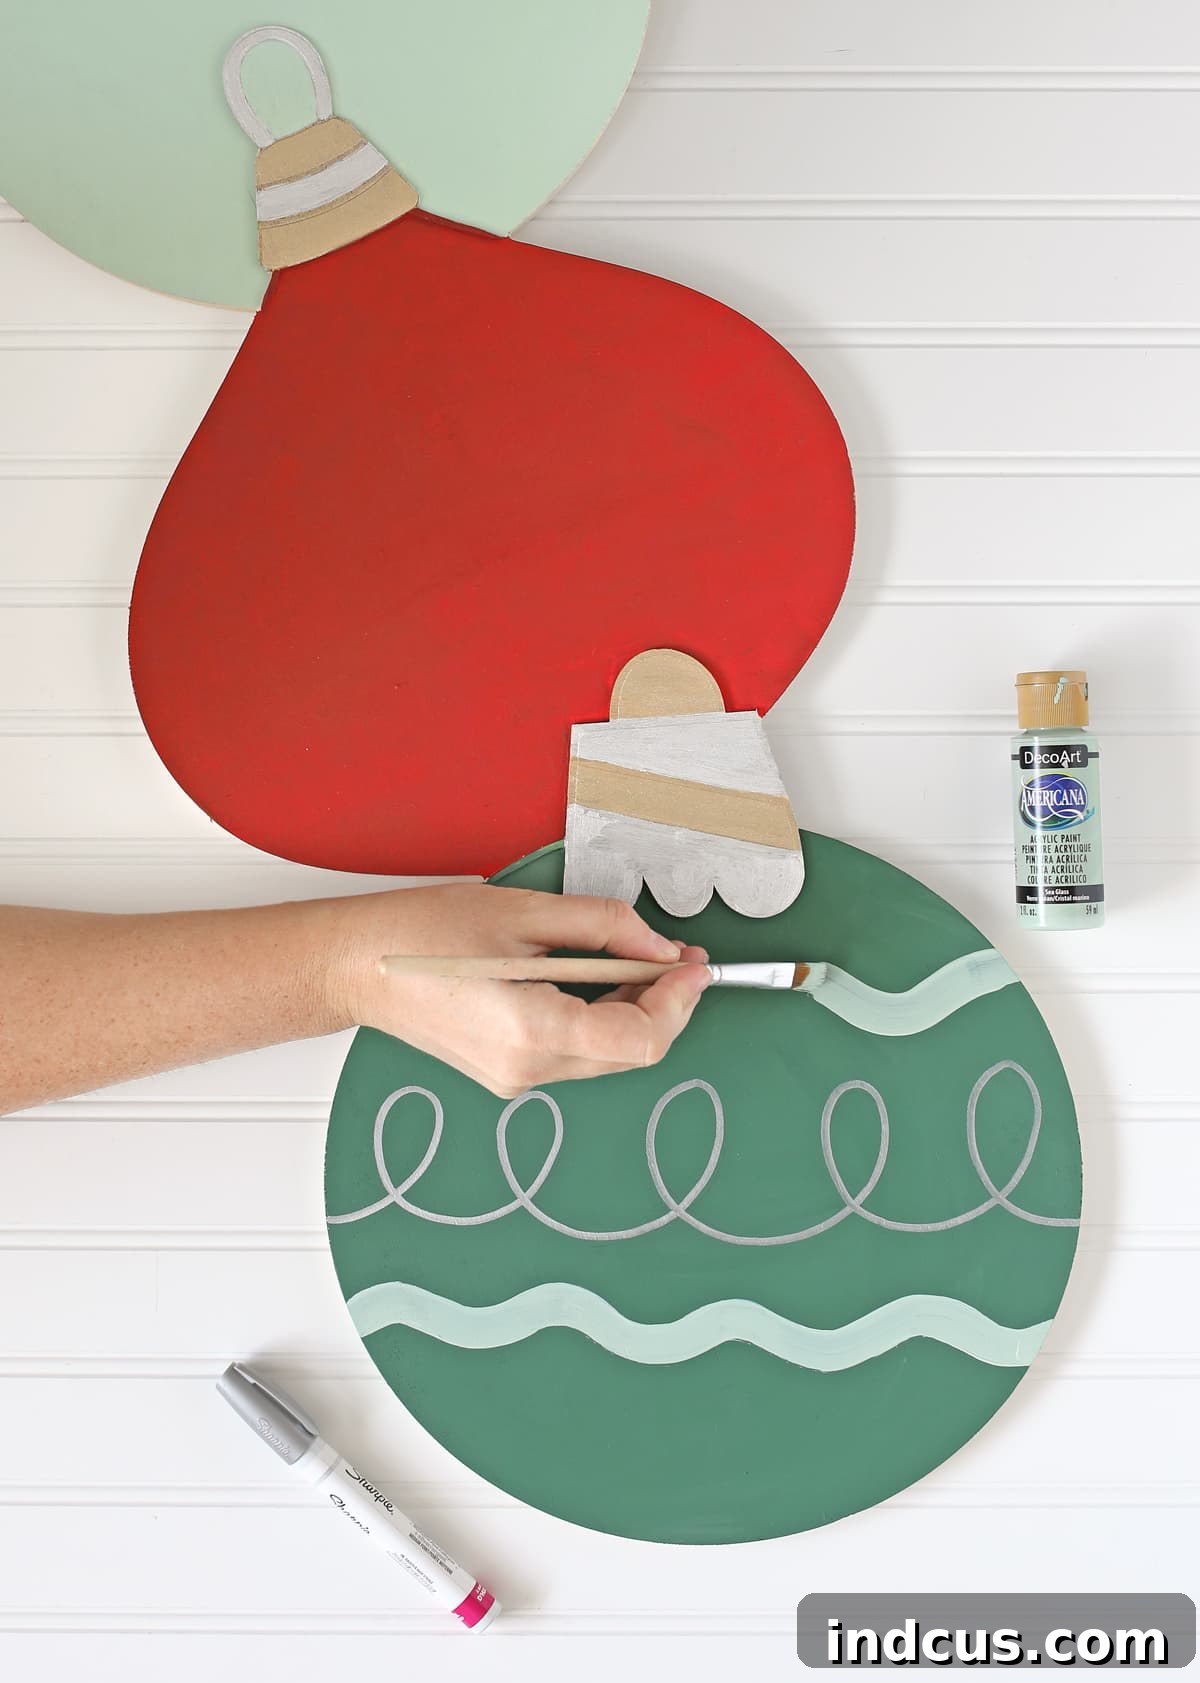
Let’s infuse some festive cheer! Lay your wood blank flat and begin painting the Christmas ornament side. Start with your chosen background colors for each ornament. Apply two thin, even coats of paint for full coverage, allowing each coat to dry completely between applications. This prevents streaks and ensures a vibrant, opaque finish.
Once your base colors are dry, unleash your creativity with the details! For smaller, intricate designs like the whimsical loopy patterns on the green ornament, paint pens are invaluable. Their fine tips allow for precise lines and dots, making detailed work much easier than with a brush. Experiment with different patterns: stripes, polka dots, swirls, or even personalized initial monograms. For added elegance, consider subtle shading around the edges of the ornaments to give them depth and a three-dimensional look.
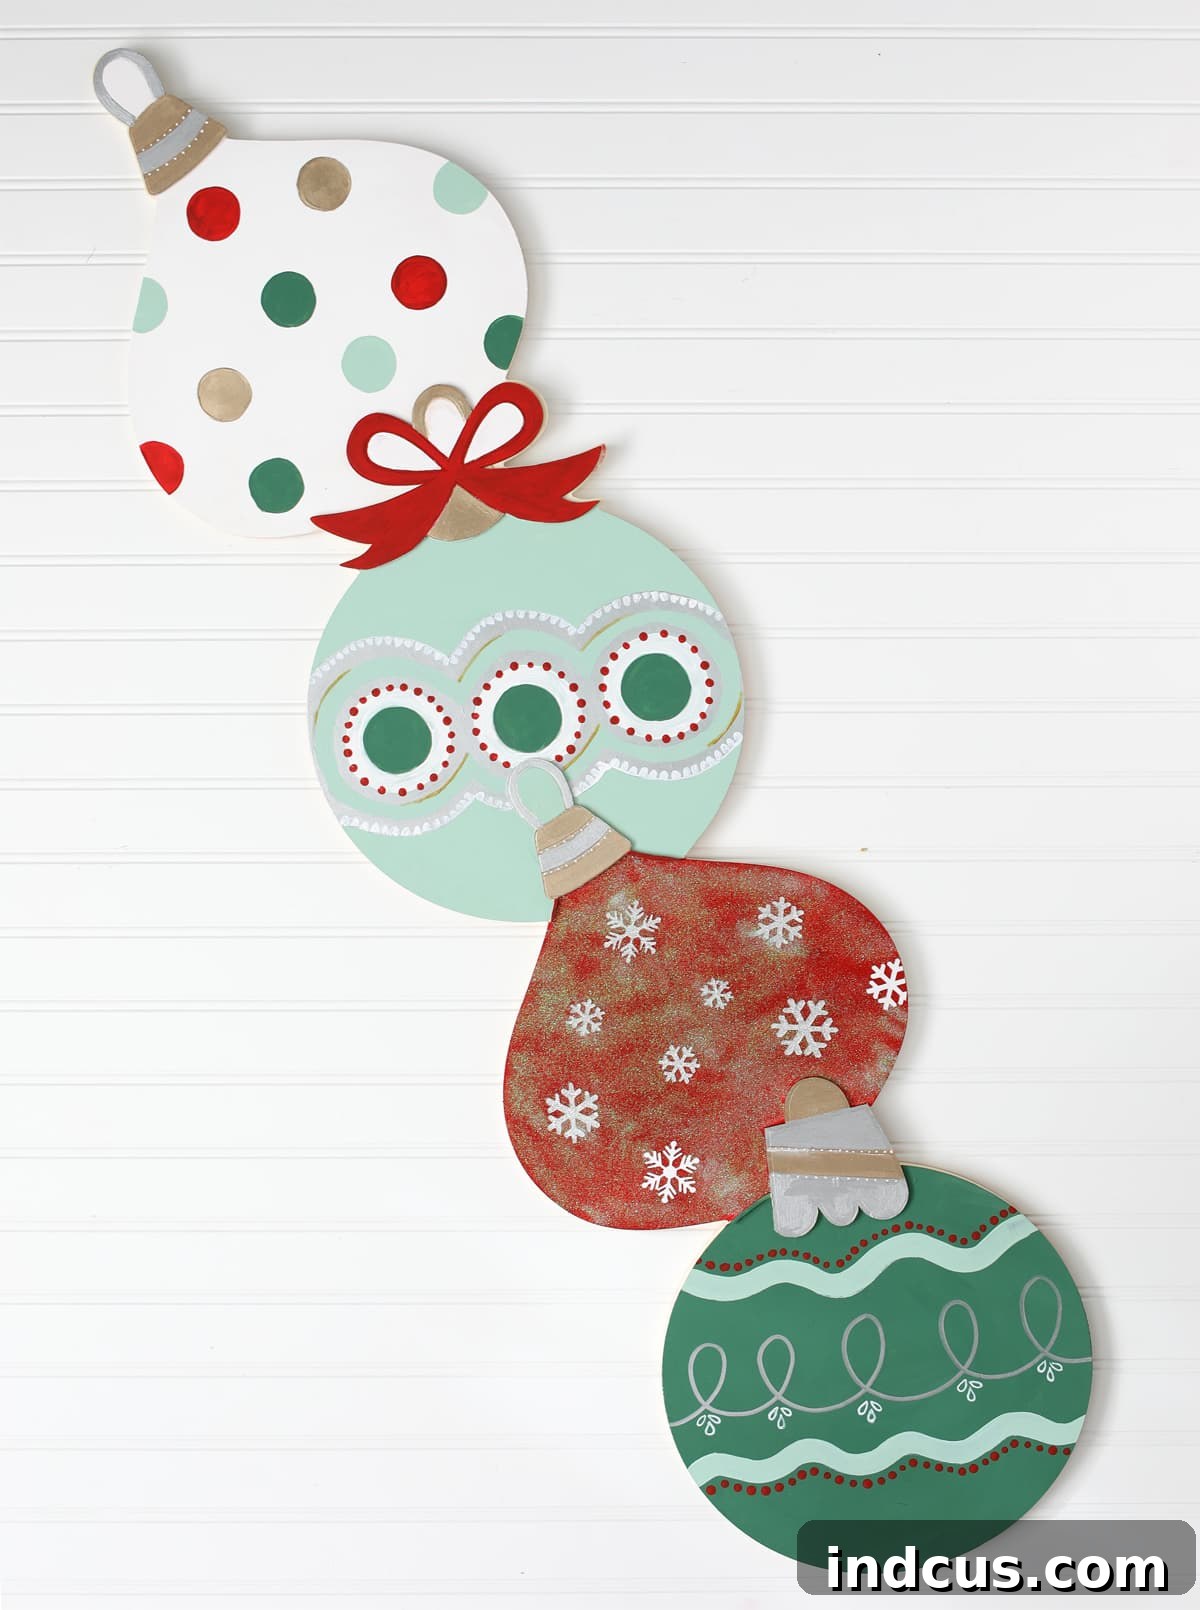
If you’re less confident in your freehand drawing skills, or simply prefer a crisp, uniform look, vinyl cutting machines like a Silhouette or Cricut are excellent tools. You can design and cut out intricate vinyl patterns – such as snowflakes, stars, or even holiday greetings – and apply them directly to your painted ornaments. This is exactly how we achieved the delicate white snowflakes on our design, giving them a perfectly sharp and clean appearance.
A note on embellishments: We initially added glitter to the red ornament. While glitter can be beautiful, it can sometimes be messy or not achieve the desired effect. If you opt for glitter, ensure you use a good adhesive and a sealant to prevent shedding. Don’t be afraid to experiment, and remember that adjustments are part of the creative process! For our final photos, we ended up refining the red ornament for a cleaner look that better matched the overall aesthetic of the porch display. Trust your artistic instincts!
Step 3: Paint the Fall Pumpkins Side
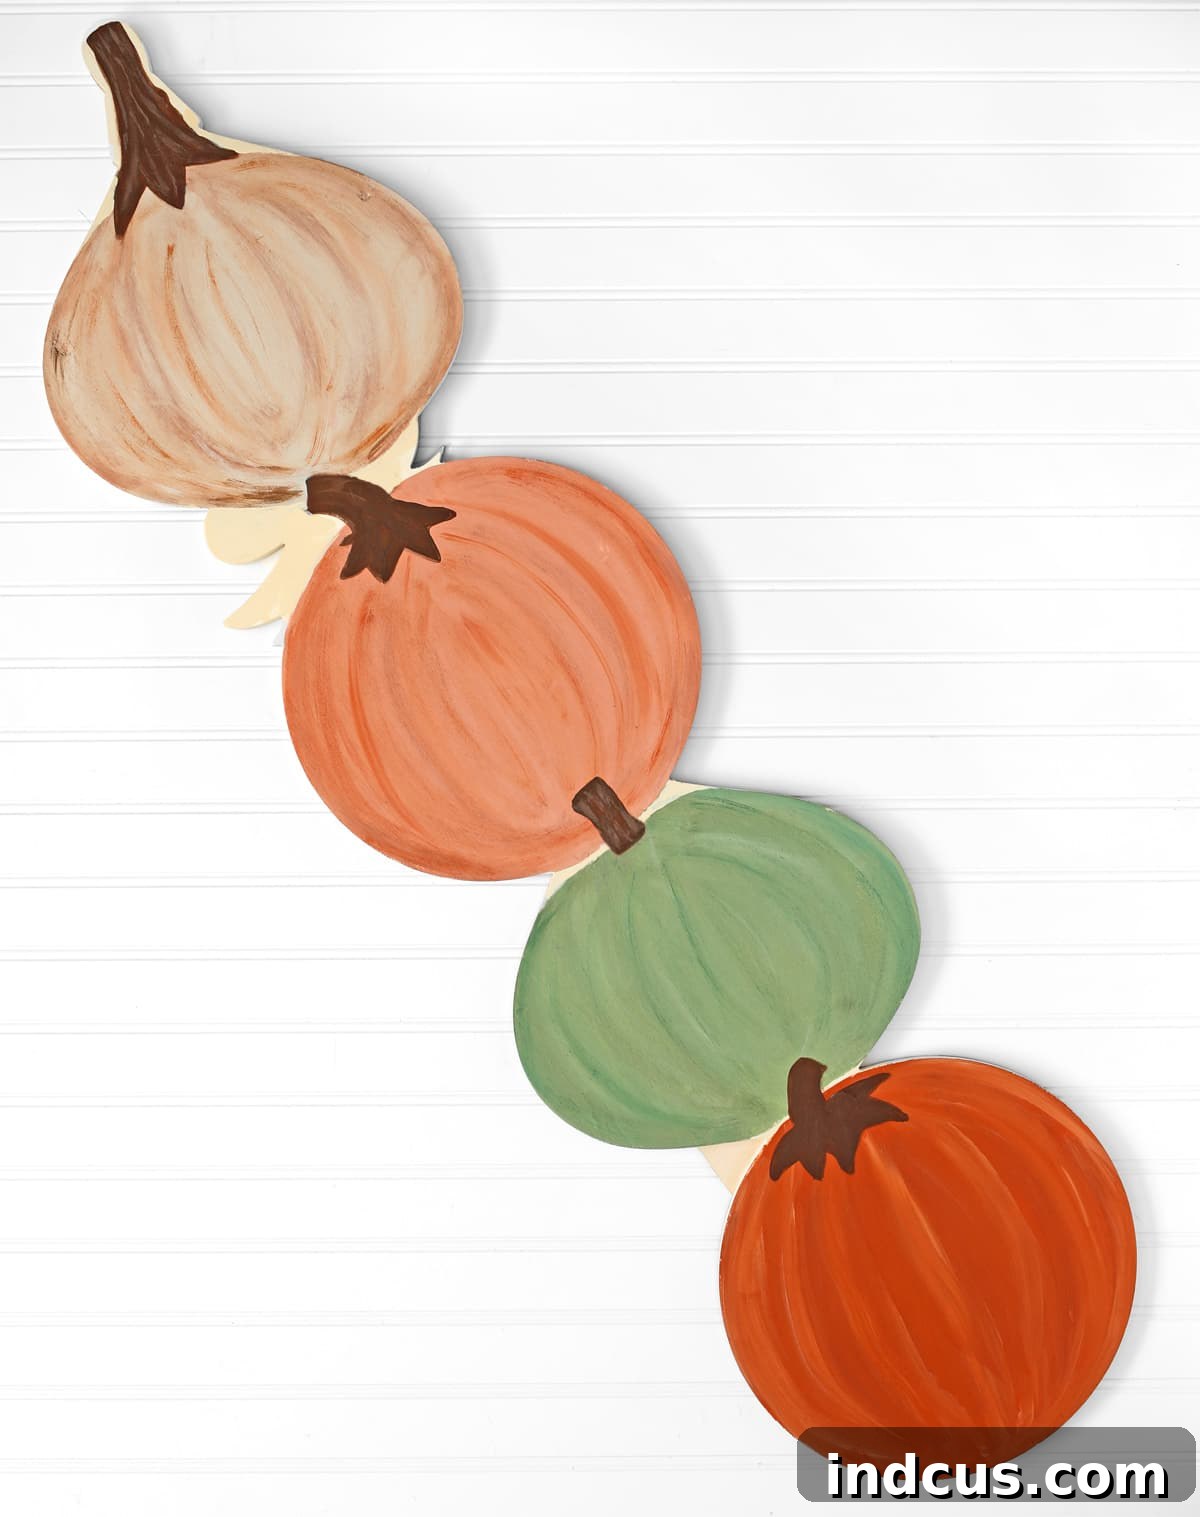
Flip your sign over and let’s bring autumn to life! For the pumpkin side, we’ll be painting stacked pumpkins directly onto the wood. Start by applying your base pumpkin colors (like Tawny Medium) in circular, organic pumpkin shapes. Notice in the image how we left some areas of the wood blank between the pumpkin sections? This creates a natural separation and allows for distinct pumpkin forms rather than one continuous block of color.
To achieve those characteristic pumpkin lines and add incredible dimension, select coordinating paint colors. You can use a slightly darker shade of your base color, or mix a tiny bit of brown or black into your base color to create a darker tone. Alternatively, adding a touch of white or beige can create lighter highlights. Using a dry brush technique (where you apply very little paint to your brush and gently sweep it across the surface), lightly brush these lines onto your pumpkins. Then, using a clean, dry brush, gently blend and smooth out these lines until they appear soft and integrated, giving the pumpkins a wonderfully textured and rounded appearance. This step is truly transformative and elevates painted shapes into realistic-looking pumpkins.
Finish your pumpkins by using a brown paint color to add realistic stems to the top of each. You can also add small green leaves or tendrils for extra detail.
It’s completely normal to have moments of doubt during a craft project – we certainly did! At this stage, you might look at your “onion-like” top pumpkin and question if it will turn out cute. But this is where the magic of crafting, and “trusting the process,” comes in. Often, the final details and embellishments are what truly bring a piece to life. Keep going!
Step 4: Attach Removable Fall Florals with Velcro
This step is where our reversible design truly shines! We wanted to add charming little bunches of fall leaves and berries between each pumpkin to enhance the autumn aesthetic. However, a direct attachment would mean these florals would be visible (and potentially damaged) from the Christmas ornament side, which would detract from its clean look.
Here’s our clever solution: Cut small, inconspicuous pieces from your thick craft foam sheet. These pieces should be just large enough to provide a stable base for your floral picks. Use your hot glue gun to securely attach the fall floral picks directly onto these foam pieces. Arrange the florals artfully to create appealing mini-bouquets. Once the glue is dry, attach one side of your Velcro tabs (the hook or loop side, be consistent!) to the back of the foam pieces. Then, attach the corresponding Velcro tabs to the wood sign in the spaces between your painted pumpkins. Now, your beautiful floral bunches are completely removable!
This ingenious method allows you to easily switch between your fall and Christmas decor. When it’s autumn, simply press the floral foam pieces onto the Velcro dots on the pumpkin side. When the holidays arrive, gently peel them off, store them safely, and flip your sign to display the Christmas ornaments. Where there’s a will, there’s always a wonderfully creative way to solve a crafting challenge!
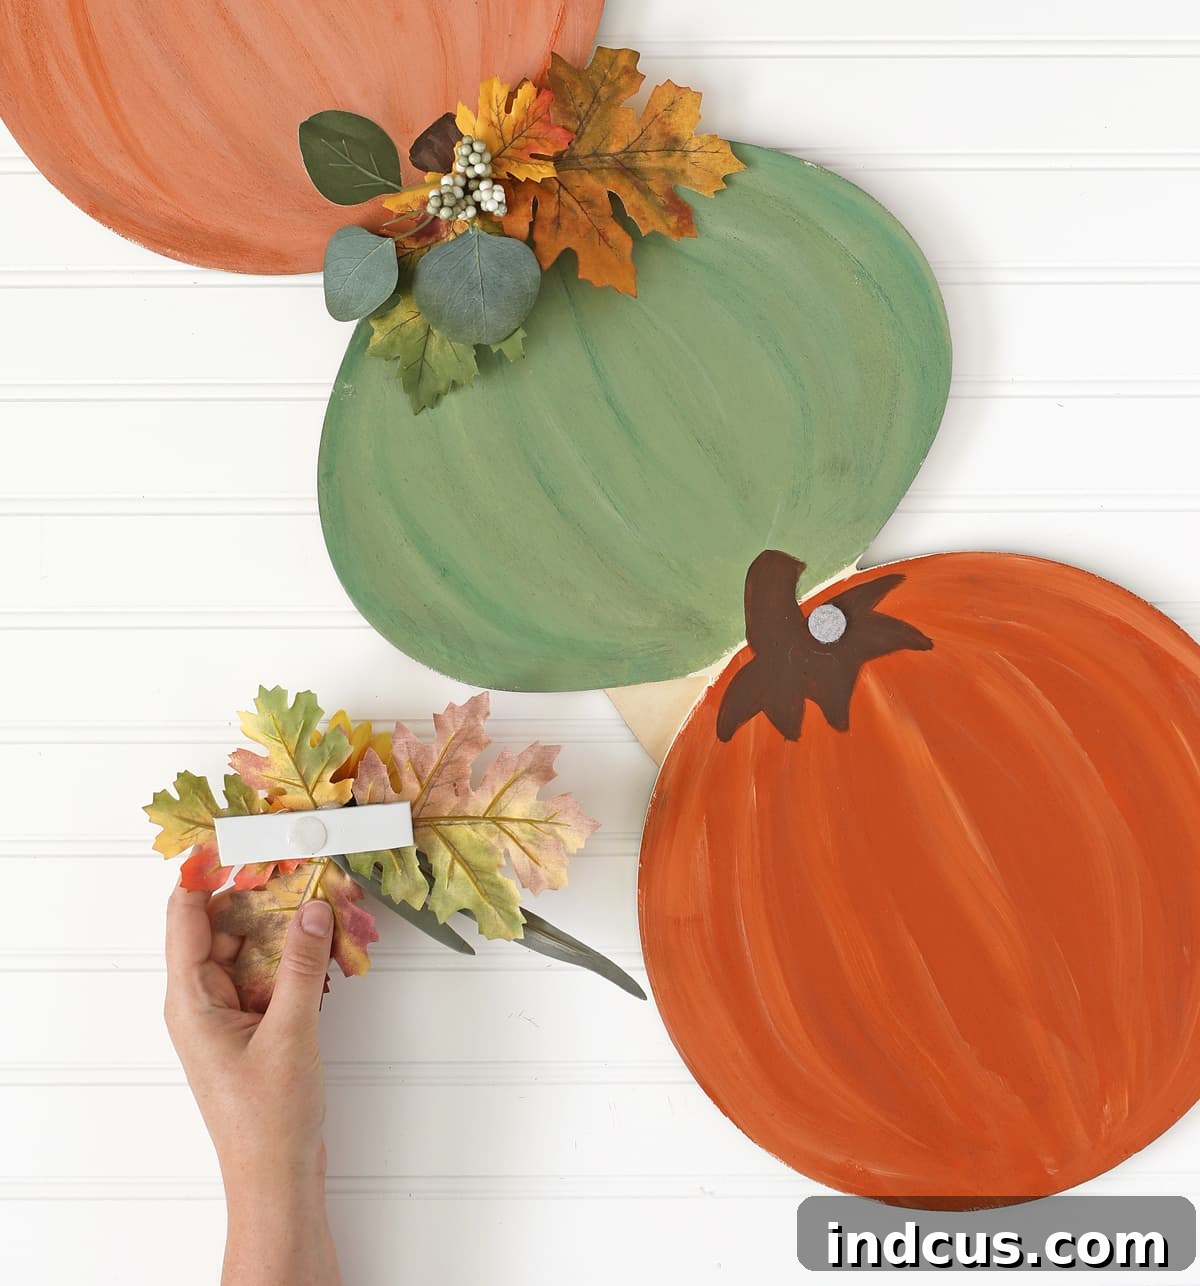
The addition of these vibrant fall florals truly makes all the difference, doesn’t it? They add texture, color, and depth, transforming the painted pumpkins into a captivating autumn display. We’re absolutely thrilled with how the pumpkin side looks now – a true celebration of fall’s bounty.
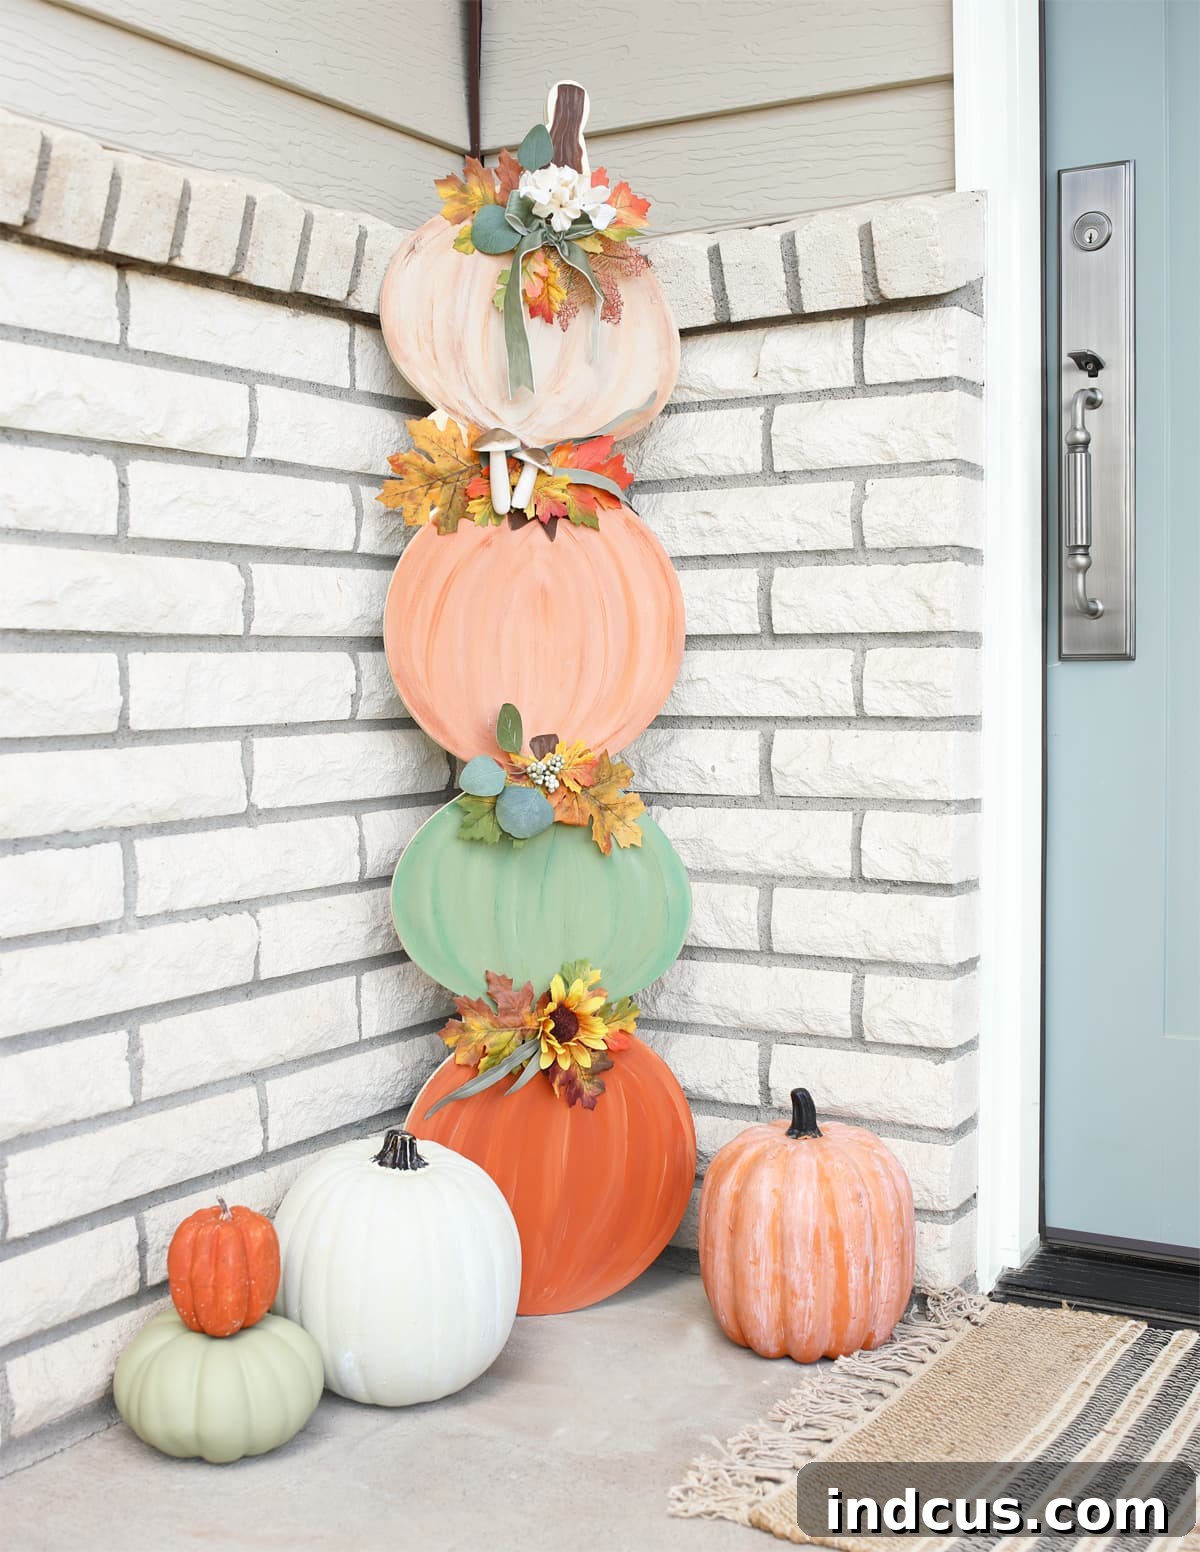
The Magic of Reversible Decor: Two Seasons, One Stunning Piece
And there you have it! A single, beautifully crafted wood sign that serves a dual purpose, gracefully transitioning your home decor from the crisp days of September through the festive celebrations of December. This two-for-one craft is not only incredibly satisfying to create but also offers numerous benefits for the practical decorator:
- Space-Saving: No need to store two large decorations! This one piece handles both seasons with ease.
- Cost-Effective: You invest in materials and time once, but get double the decorating impact.
- Effortless Transition: Switching from fall to Christmas decor is as simple as flipping the sign and attaching/detaching the florals.
- Unique & Personalized: A handmade piece always adds a special, personal touch to your home that store-bought items simply can’t replicate.
Tips for Customization and Longevity
- Sealant: To protect your beautiful artwork and ensure its longevity, consider applying a clear, non-yellowing sealant (like Mod Podge Outdoor or a clear acrylic spray sealant) to both sides of your finished sign. This will guard against dust, moisture, and UV damage, especially if displayed outdoors or in a brightly lit area.
- Color Palettes: Don’t feel limited to our chosen colors! Experiment with different shades that match your personal home decor. For a rustic fall look, use muted oranges and deep greens. For a modern Christmas, try metallics or unique pastels.
- Embellishments: Beyond florals, consider other removable embellishments for the Christmas side, such as small bows with Velcro, or even battery-operated fairy lights that can be wrapped around the top and secured with removable adhesive strips.
- Gift Idea: This reversible sign makes an exceptional handmade gift for friends and family who love seasonal decorating.
This project is a testament to how a little creativity and thoughtful design can produce a decoration that is both stunning and remarkably functional. It’s a fantastic way to celebrate two beloved seasons with a single, elegant piece. Woot woot! That’s pretty awesome.
Like this project? Don’t let these brilliant ideas fade away! Pin it now so you can easily find this tutorial and create your own reversible masterpiece when inspiration strikes!