Install Permanent Outdoor Christmas Lights: A DIY Guide for Year-Round Brilliance
Are you tired of the annual struggle with tangled Christmas lights, precariously climbing ladders, and the frustration of burnt-out bulbs? Imagine a world where your festive exterior lights are installed once and illuminate your home beautifully, season after season. This comprehensive guide will walk you through installing your own permanent outdoor Christmas lights, a beginner-friendly project that promises stunning results and year-round convenience.
Please note: This blog post is independent and not sponsored. However, the accompanying video on Instagram was produced in collaboration with Lowe’s.
For years, the allure of permanent Christmas lights has captivated homeowners. The thought of setting up lights once and enjoying them throughout the holiday season – and beyond – is incredibly appealing. However, the initial inquiry into professional installation often reveals a hefty price tag. A recent home show experience confirmed this, with quotes ranging from $5,000 to $8,000 for a modest-sized home. Such figures can be a significant deterrent, making the dream feel out of reach for many budgets.
Driven by the desire for an affordable solution, I embarked on a quest for a DIY alternative. The market is flooded with options, and for someone without an electrician’s background, navigating the complexities and vagueness of certain products proved challenging. After thorough research, I discovered a promising, reasonably priced product at Lowe’s. Eager to test its viability, I decided to become the trailblazer, documenting the process for fellow DIY enthusiasts.
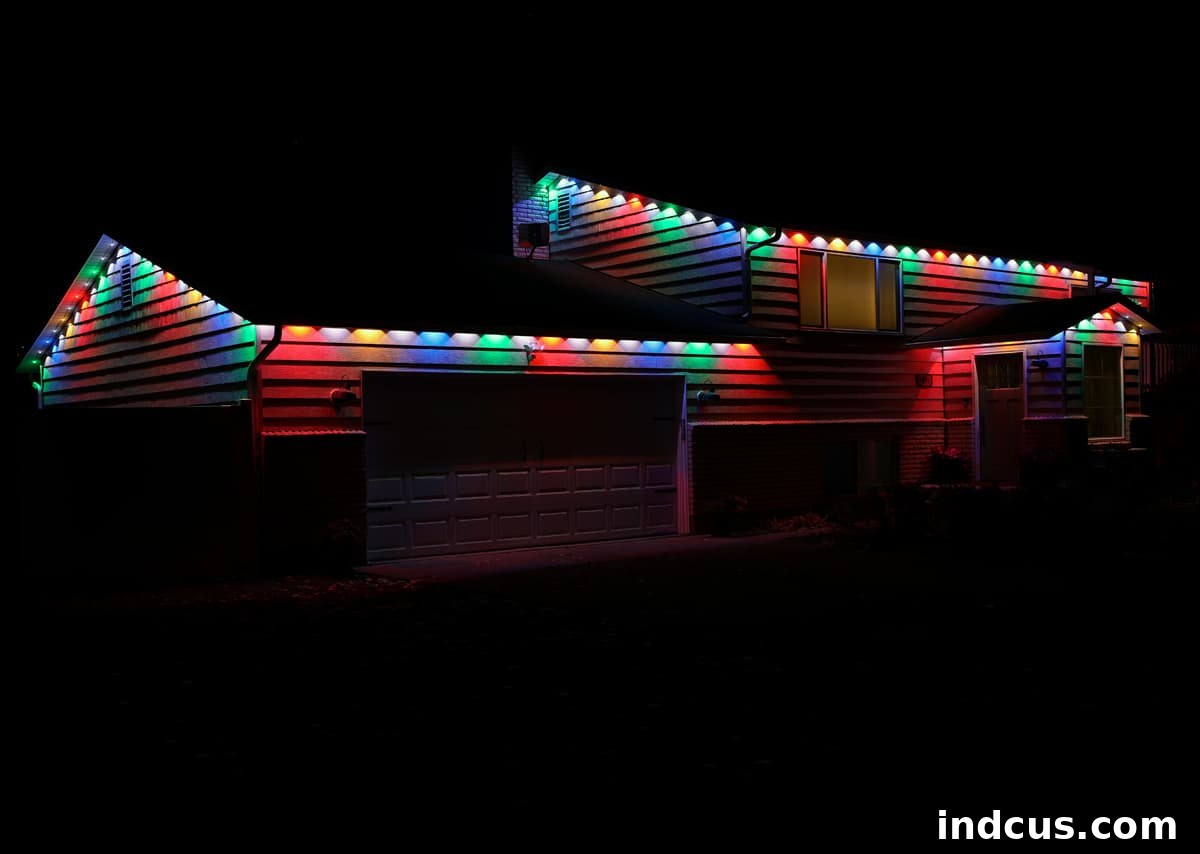
I am delighted to report that this is indeed a project you can confidently undertake! The installation was straightforward, the product performed admirably, and the final aesthetic is absolutely breathtaking. The convenience of having stunning exterior lighting that stays up all year round, ready for any occasion, is truly a game-changer. I am incredibly satisfied with the outcome and eager to share everything I learned to help you achieve similar success.
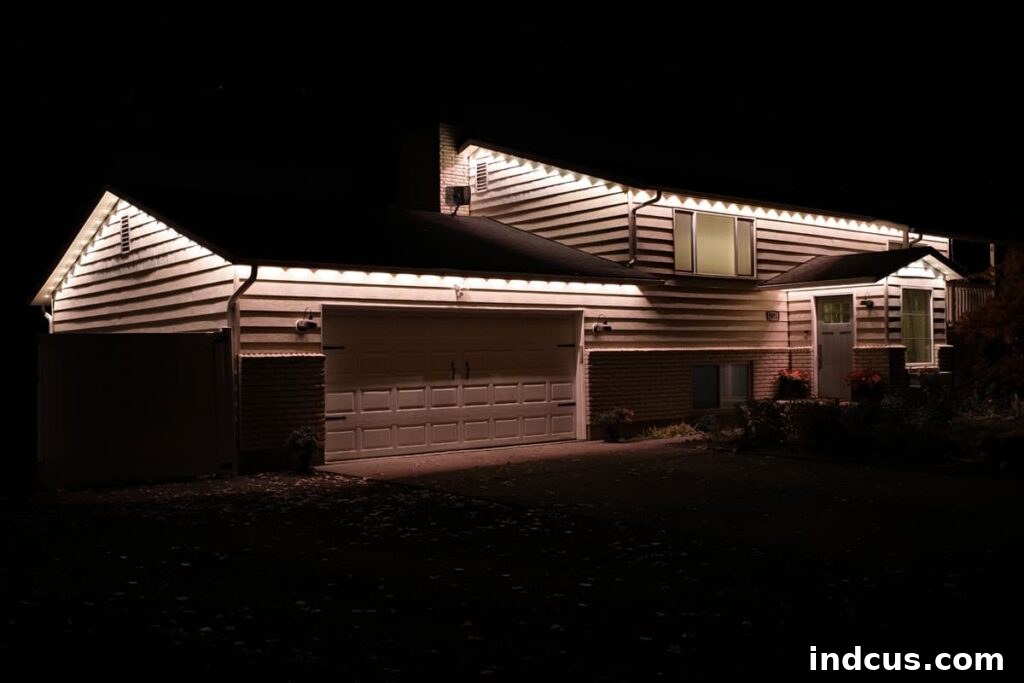
Let’s dive into all the crucial information you’ll need to determine if these permanent exterior lights are the perfect fit for your home. Consider me your personal guide, sharing the insights and tips I wished I had when first navigating this exciting project.
Factors to Consider Before Your DIY Permanent Light Installation
Before you begin planning your permanent outdoor lighting project, it’s essential to evaluate several key factors. Thoughtful consideration of these points will help ensure a safe, smooth, and successful installation.
- Safety First: Assessing Ladder Work. The primary consideration for this project is safety, specifically your ability to safely reach the eaves of your home. Ladder-related injuries are unfortunately common, especially among adults. If you possess a comfortable level of experience with ladder work from years of hanging traditional Christmas lights, then you are likely well-equipped for this task. However, if you have any reservations about working at heights or balancing on ladders, it’s prudent to consider hiring professionals or renting scaffolding for added stability and peace of mind. Your well-being should always be the top priority.
- Eave Material & Compatibility. These innovative permanent lights are designed to attach to the underside of your home’s eaves, projecting their light downward onto the siding. This differs from traditional string lights that often clip to the outer edges and shine outwards. Modern eaves are frequently constructed from metal, which provides an excellent surface for both the adhesive backing and the small screws used for secure attachment. If your home features eaves made from a different material (e.g., wood, vinyl, or stucco), it’s crucial to assess whether the adhesive and screws will provide a reliable, long-lasting bond. You may need to research alternative attachment methods or consult a professional if unsure.
- Home Architecture: Roofline Complexity. The simplicity of your home’s roofline will directly impact the ease of installation. Our home, for instance, features three relatively straightforward roof sections, making the light placement and wiring quite manageable. Homes with numerous gables, dormers, intricate angles, or a highly complicated roof structure will present a more challenging installation. While still entirely doable for the determined DIYer, it will require more careful planning, additional extension cables, and potentially more time. Mapping out your desired light path beforehand can greatly simplify the process.
- Weather Conditions: The Adhesive Factor. For the adhesive backing on the light strips to bond effectively and securely to your eaves, the outdoor temperature must be consistently above 50 degrees Fahrenheit (10 degrees Celsius). Attempting installation in colder temperatures will compromise the adhesive’s performance, leading to lights detaching prematurely. This makes permanent light installation an ideal project for warmer seasons like late spring, summer, or early fall. If you reside in a perpetually warm climate, you’re in luck and can likely tackle this project year-round. Always check the manufacturer’s specific temperature recommendations.
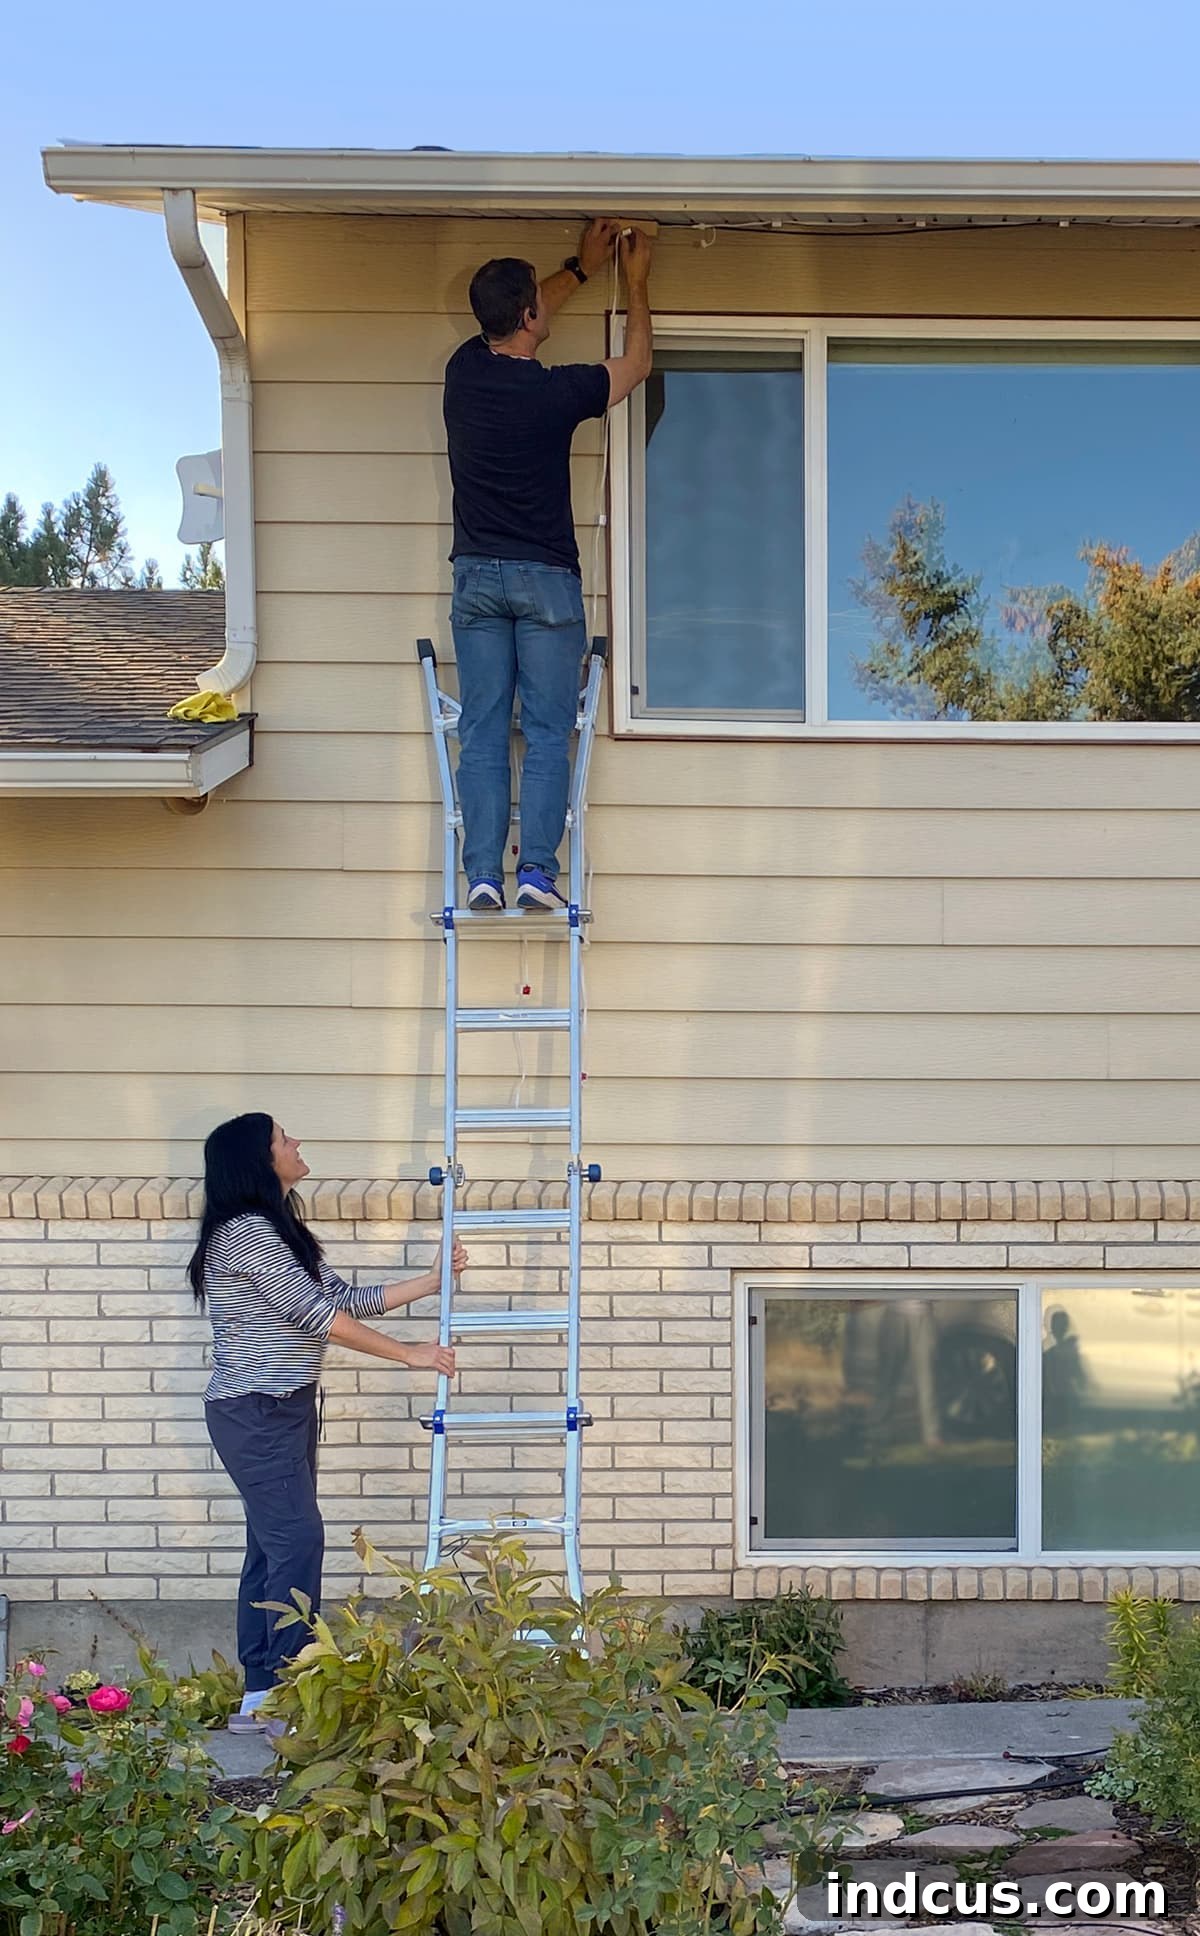
Essential Tools & Materials for Your Govee Permanent Light Project
Gathering all your tools and materials before you begin will streamline the installation process and prevent unnecessary trips to the store. Here’s what you’ll need to transform your home with Govee permanent outdoor lights:
- Govee Permanent Outdoor Lights 100 Feet (I utilized two of these kits to cover my home’s extensive sections).
- Govee Permanent Outdoor Lights 50 Feet (One of these shorter kits was perfect for an additional smaller section).
- Rubbing Alcohol: Crucial for thoroughly cleaning the eave surfaces to ensure optimal adhesive performance.
- Cleaning Cloths: To apply rubbing alcohol and wipe away any dirt, dust, or grime.
- Spacing Block: We found a 2×4 scrap of wood to be invaluable for consistent light spacing. Any sturdy block measuring 5-10 cm (2-4 inches) will work.
- Ladders, Step Stools, or Scaffolding: Depending on the height of your eaves and your comfort level, you’ll need appropriate equipment for safe access.
- Cordless Drill: Essential for screwing in the mounting clips that provide additional security for each light head.
One of the great advantages of the Govee light kits is that they are remarkably comprehensive, arriving with nearly everything required to get your lights functioning. Here’s a detailed look at what you’ll typically find within the box:
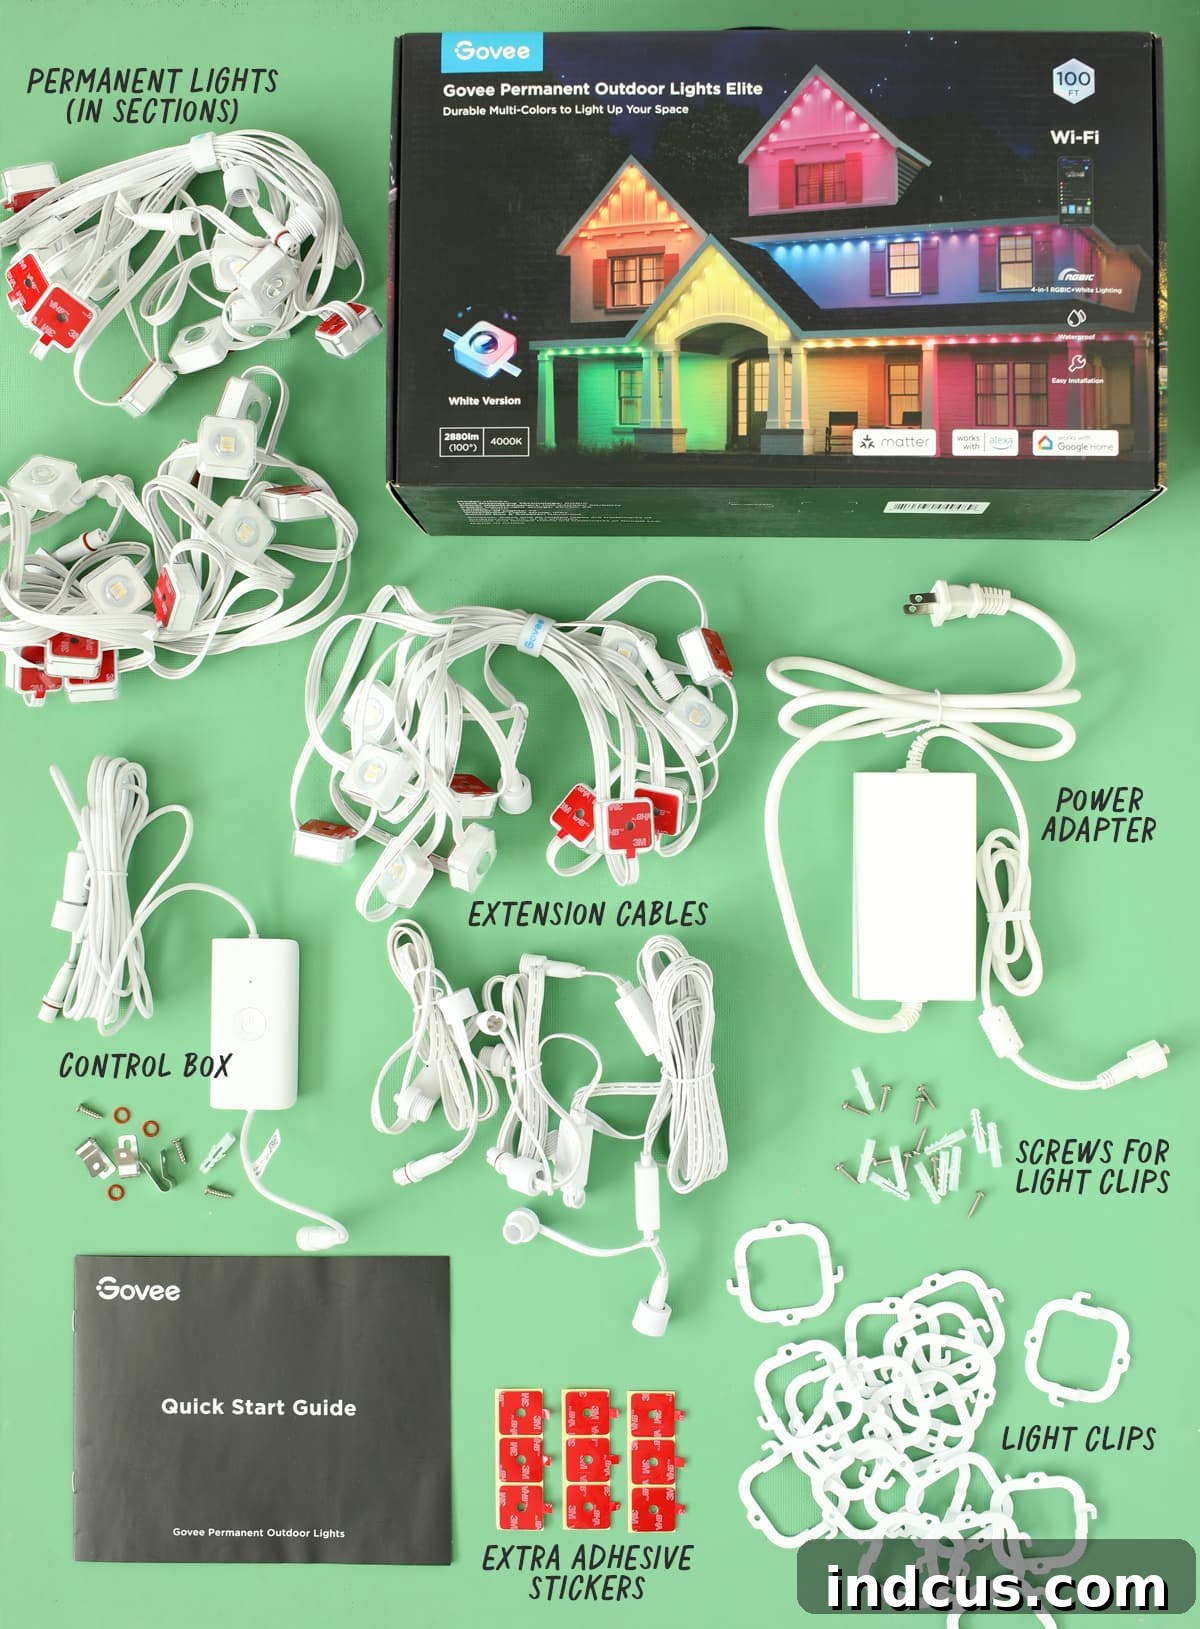
Govee Permanent Outdoor Lights Elite Kit Contents:
- Power Adapter: To supply electricity to your lighting system.
- Control Box: The brain of your lighting system, allowing connection to the app and managing light functions.
- Permanent Lights: The LED light heads pre-attached to their wiring. The 100-foot kit typically includes six 16.67-foot sections, while the 50-foot kit contains three.
- Extension Cables: Provided in various lengths (e.g., 12 ft and 4 ft) to bridge gaps where you don’t need lights, maintaining a continuous power flow.
- Light Clips: Small plastic clips designed to secure each light head to the eave.
- Light Clip Screws: Small screws specifically for attaching the light clips, offering robust long-term stability.
- Extra Adhesive Stickers: Spare adhesive pads, useful for re-securing lights or for areas requiring extra grip.
- Mounting Hardware: General hardware for securing the control box if needed.
- Quick Start Guide: Essential for initial setup and troubleshooting provided by the manufacturer.
Step-by-Step Govee Permanent Light Installation Guide
While my instructions offer a comprehensive overview and practical tips, always begin by thoroughly reading the manufacturer’s official guide included with your Govee lights. This ensures you’re following precise product specifications and warranty requirements. My aim here is to supplement that information with real-world experience, helping you make an informed decision and execute the installation efficiently.
Step 1: Plan Your Layout and Measure Accurately
Before unboxing everything, take the time to accurately measure the length of your home’s eaves where you intend to install the lights. This is a critical step to ensure you purchase the correct number of light kits. Consider the various sections of your house, any corners, and where extension cables might be needed. Drawing a simple diagram of your home’s exterior, marking the measured lengths and potential power outlet locations, can be immensely helpful. We opted for two 100-foot kits and one 50-foot kit, which provided ample coverage with a few lights remaining.
Step 2: Establish Your Power Source
Identify the most convenient exterior electrical outlet to begin your installation. Strategically locating your starting point near an existing outlet will simplify wiring and minimize the need for additional extension cords. In our case, a small balcony off our master bedroom featured an accessible exterior outlet, allowing us to start the light run seamlessly from that corner of the house. Plug in the power adapter, then connect the control box, and finally, attach the first string of lights to the control box. It’s always a good idea to test this initial connection before proceeding with full installation to ensure all components are working.
Step 3: Secure Each Light Head with Precision
This step involves the repetitive but crucial process of attaching each individual light head. Consistency and attention to detail here will result in a professional, polished look. (This process is also clearly demonstrated in the accompanying video):
- Clean the Surface Thoroughly: Before applying any adhesive, clean the section of the eave where the light will be placed. Use rubbing alcohol and a clean cloth to meticulously remove all dirt, dust, cobwebs, and debris. This ensures the adhesive backing adheres properly and durably, preventing lights from falling prematurely.
- Prepare the Adhesive: Carefully peel off the red protective paper backing from the adhesive strip on the back of the light head. Avoid touching the adhesive surface with your fingers, as oils can reduce its stickiness.
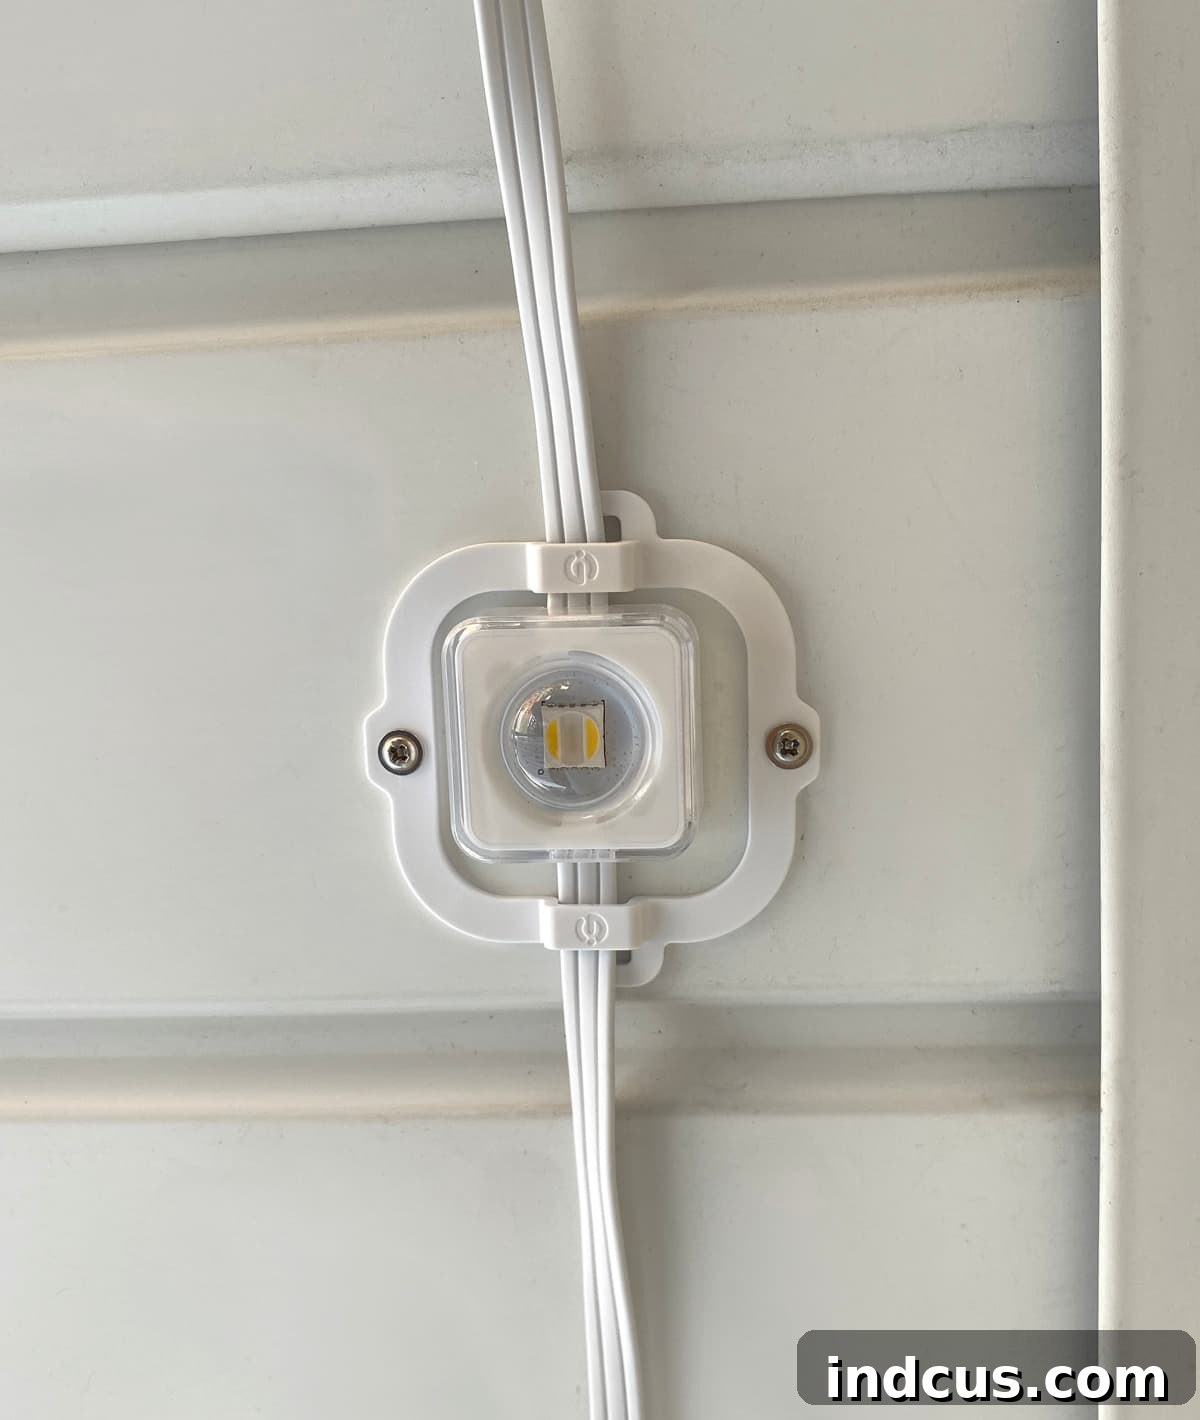
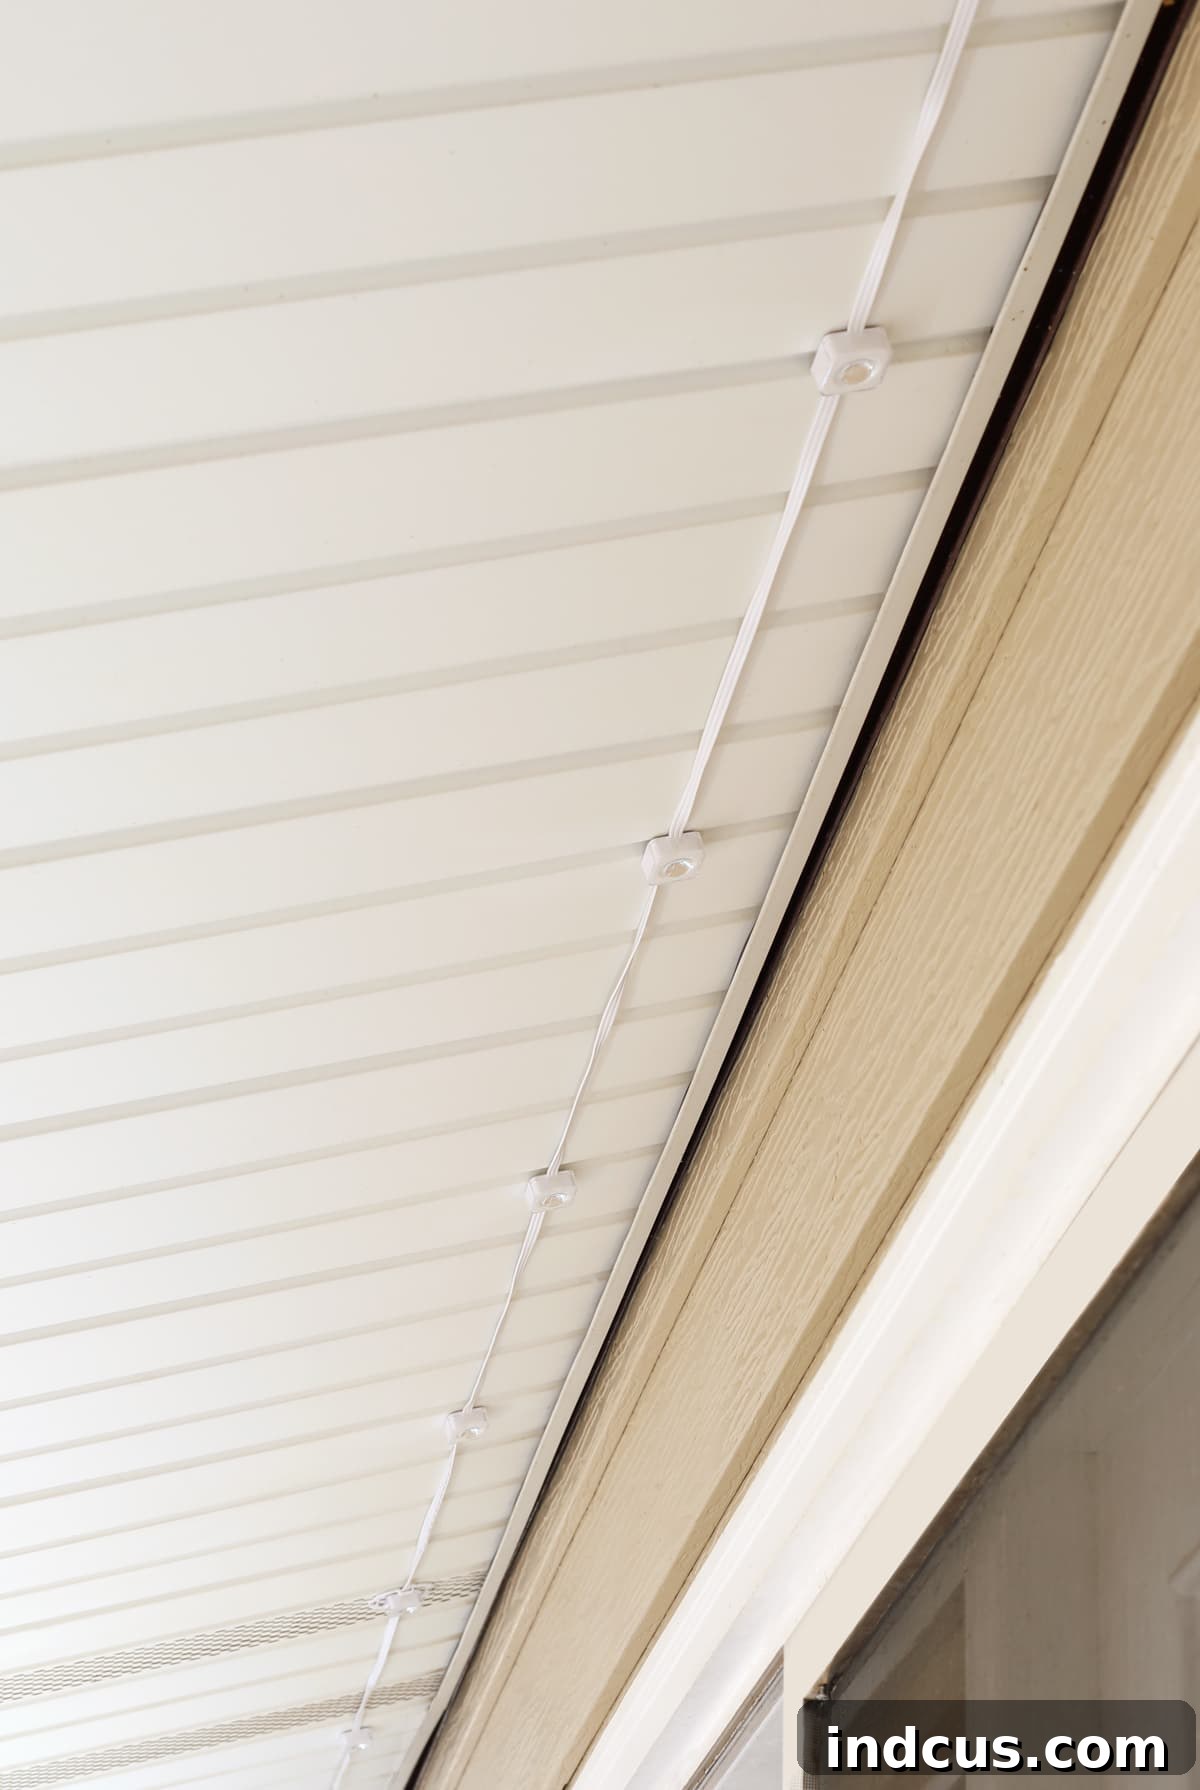
- Ensure Consistent Spacing: Utilize a spacing block (like our 2×4 piece of wood) to maintain uniform distance from the wall of your home. The ideal distance is typically 5-10 centimeters (2-4 inches) from the house wall. Press the spacer against the wall, then firmly place the light head in front of it. As you move along, ensure there’s consistent tension in the cord between each light to prevent sagging and maintain even spacing. It’s vital that the connecting cord lies flat against the eave and is not twisted, which can affect appearance and durability.
- Mount with Clips and Screws: Once the light head is in its desired position, slide a mounting clip around it. Guide the connecting cords into the designated side slots of the clip. Finally, use your cordless drill to screw the mounting clip securely into the eave. This screw provides the long-term structural integrity, while the adhesive offers initial hold.
Step 4: Unlock Creativity with the Govee Home App
With all your lights securely installed, it’s time for the truly fun part: bringing them to life! Download the “Govee Home” app onto your smartphone or tablet (you can find a QR code on the back of the light kit box for direct access, or simply search in your device’s app store). Once connected, a world of customizable lighting possibilities opens up.
The Govee app is incredibly intuitive, offering a vast array of lighting effects, vibrant color combinations, and dynamic patterns. You can choose from pre-set scenes or design your own unique displays to match any mood or holiday. The customization options are extensive, ensuring you’ll constantly discover new features and ways to personalize your exterior lighting for weeks to come.
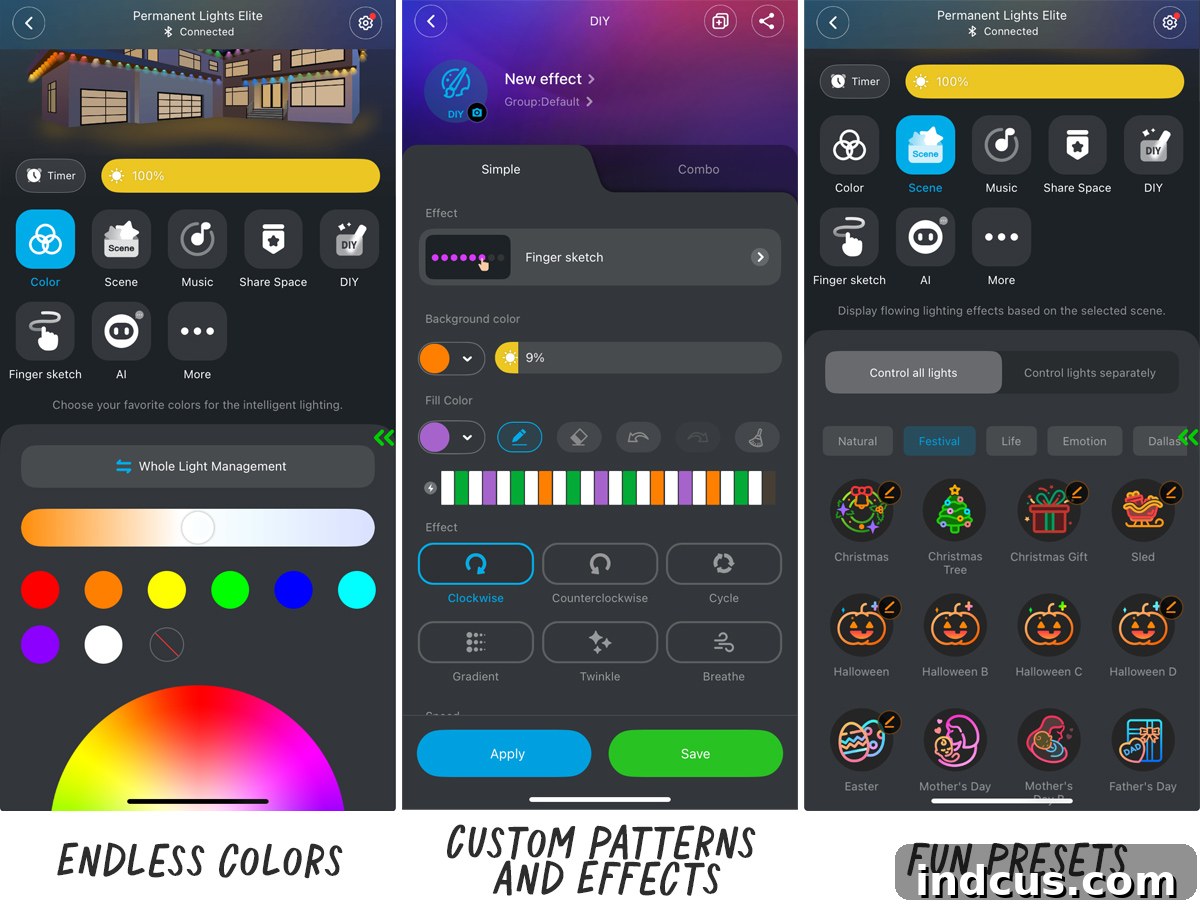
One of the most exciting features is the music synchronization, allowing your lights to dance and change colors in rhythm with your favorite tunes – perfect for parties or festive gatherings. Beyond entertainment, the app also provides practical functionalities, such as setting custom timers and schedules. This means you can program your lights to automatically turn on at dusk and off at dawn, or create specific schedules for holidays, enhancing both convenience and energy efficiency.
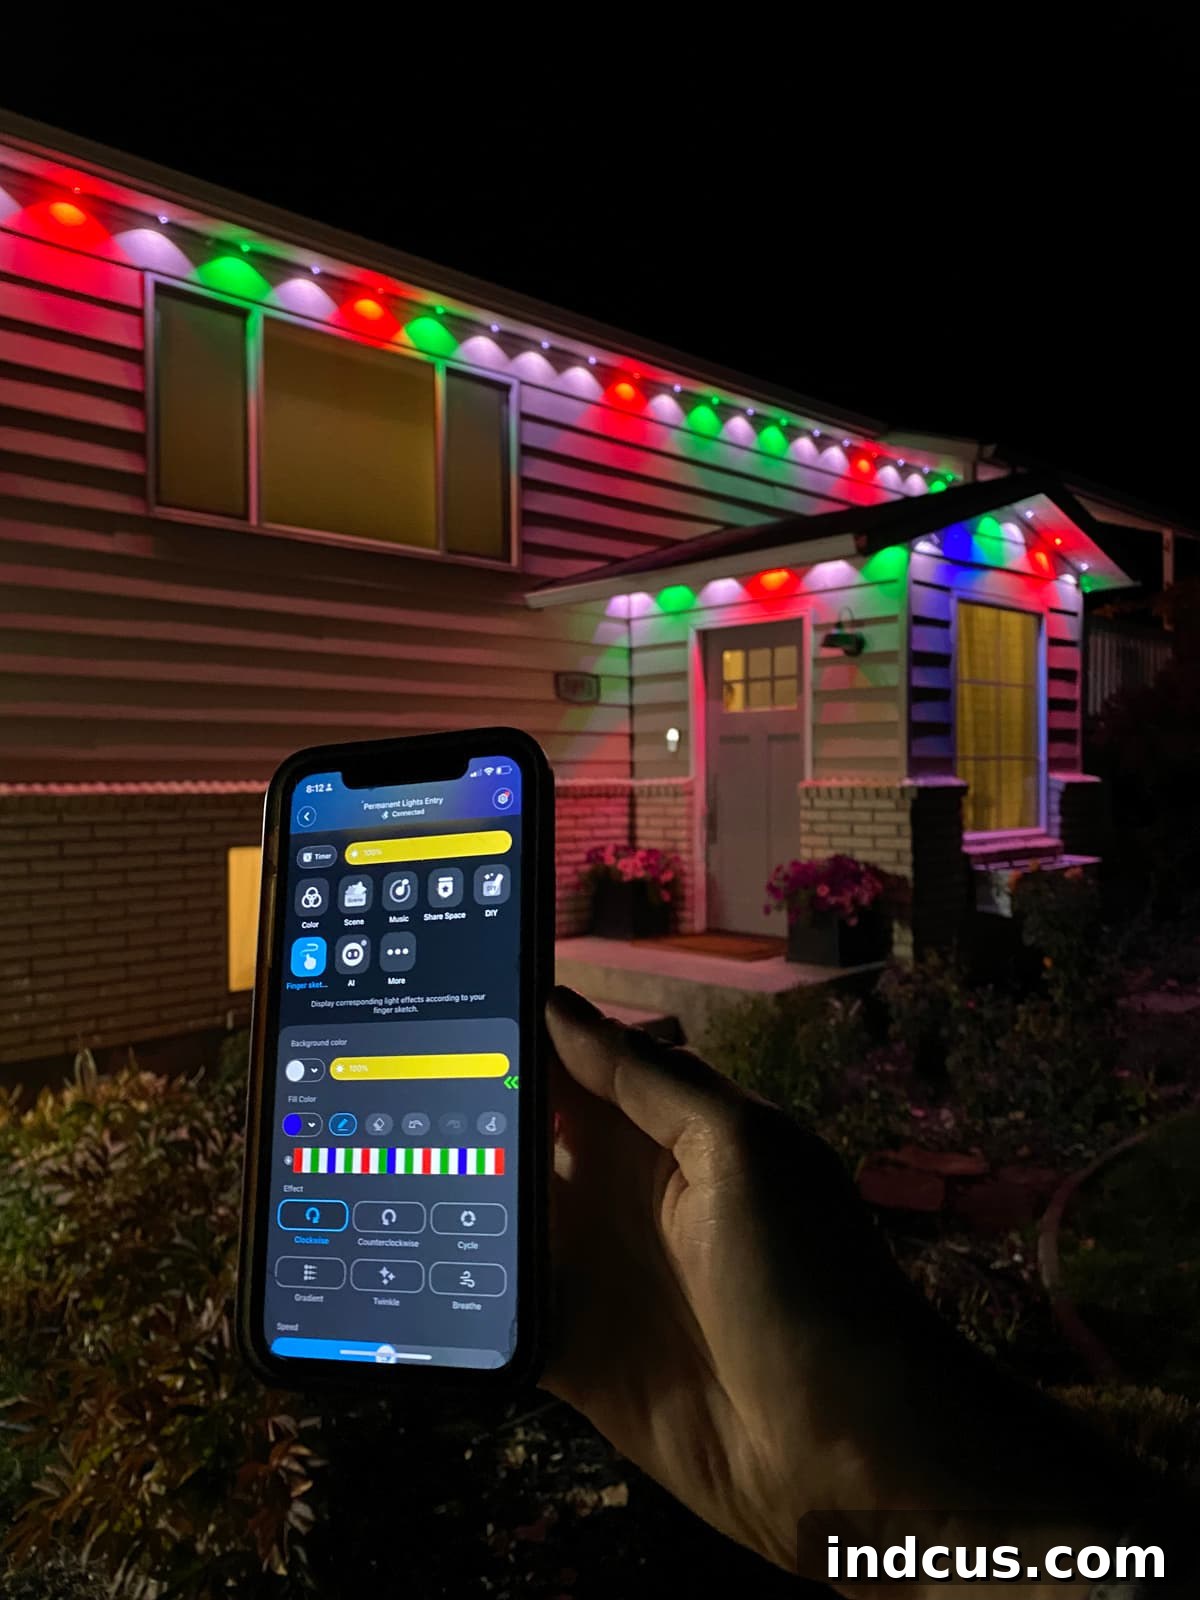
Maximizing Your Permanent Lights: Pro Tips, Features, and Considerations
Beyond the basic installation, understanding some key aspects of your Govee permanent outdoor lights will help you optimize their performance and longevity.
Extension Cables: Bridging Gaps Seamlessly
Each Govee lighting kit includes a selection of extension cables, which are incredibly useful for maintaining a continuous power line without installing lights in areas where they aren’t desired. For instance, if you have a section of eave above a garage door where you don’t want lights, an extension cable allows you to “jump” over that space while keeping the circuit uninterrupted. The 100-foot kit typically comes with one 12-foot extension cable and two 4-foot extension cables, providing flexibility for various architectural features. The 50-foot kit will also contain appropriate extension lengths tailored to its overall size.
Cut To Size: Customizing Your Light Strands
A significant advantage of these permanent light strands is their ability to be cut to size. This feature is particularly useful when you reach the end of your desired lighting path and have excess lights remaining. Rather than having a bundle of unused lights, you can trim the strand for a perfect fit. However, it’s crucial to understand the implications of this. If you choose to cut your lights, you must properly seal the exposed wire ends using electrical heat shrink tubing to protect them from moisture and the elements. For those without experience in basic electrical work, thorough research and adherence to safe practices are paramount. A critical note: cutting the lights on the “Elite” model (which we used) will void the manufacturer’s warranty. While we proceeded with cutting due to our comfort with electrical tasks and the desire for a cleaner aesthetic, homeowners prioritizing warranty coverage might consider the “Pro” version, which often has specific provisions for cutting.
Lighting Models: Elite vs. Pro, and Your Choice
Govee offers several variations of their permanent outdoor lights. Our experience is based solely on the “Elite” model, which we are thoroughly impressed with for its performance and value. The “Pro” model typically carries a higher price point, offering a few additional features or enhanced durability that may or may not be essential for every user. We determined that the extra “bells and whistles” of the Pro version weren’t critical for our needs, and given our confidence in safe electrical practices, we were willing to accept the warranty implications of cutting the Elite model to save on cost. Your decision between models should be based on your specific requirements, budget, and comfort level with potential warranty trade-offs.
Connecting Multiple Sets: Understanding Power Limitations
It’s important to carefully consult the manufacturer’s instructions regarding the maximum number of light sets that can be safely connected and powered through a single adapter. You cannot indefinitely connect endless sections of lights. Each power adapter has a wattage limit, and exceeding this can lead to electrical issues or damage. Generally, the manufacturer recommends connecting no more than 9 strands together, which typically provides approximately 150 feet of continuous lighting. Always adhere to these guidelines to ensure the safe and optimal operation of your lighting system.
Cord Color: Blending with Your Home’s Design
Govee permanent lights are available with two cord color options: black and white. This seemingly small detail plays a significant role in the overall aesthetic integration of the lights with your home’s exterior during daylight hours. Choose the cord color that most closely matches your eave color or the trim of your house. This strategic choice will help the cords blend seamlessly, making the lights virtually unnoticeable until they are illuminated at night. Both color options are typically found on the same product page for ease of selection.
For a dynamic visual guide, watch this video to see the installation process in action and witness our fun new lights illuminating the night:
DIY Permanent Outdoor Christmas Lights Video
I sincerely hope this detailed article has provided you with the confidence and knowledge needed to embark on your own journey to install permanent Christmas lights. This DIY approach offers a cost-effective alternative to professional services, saving you thousands of dollars while still achieving a high-quality, professional look.
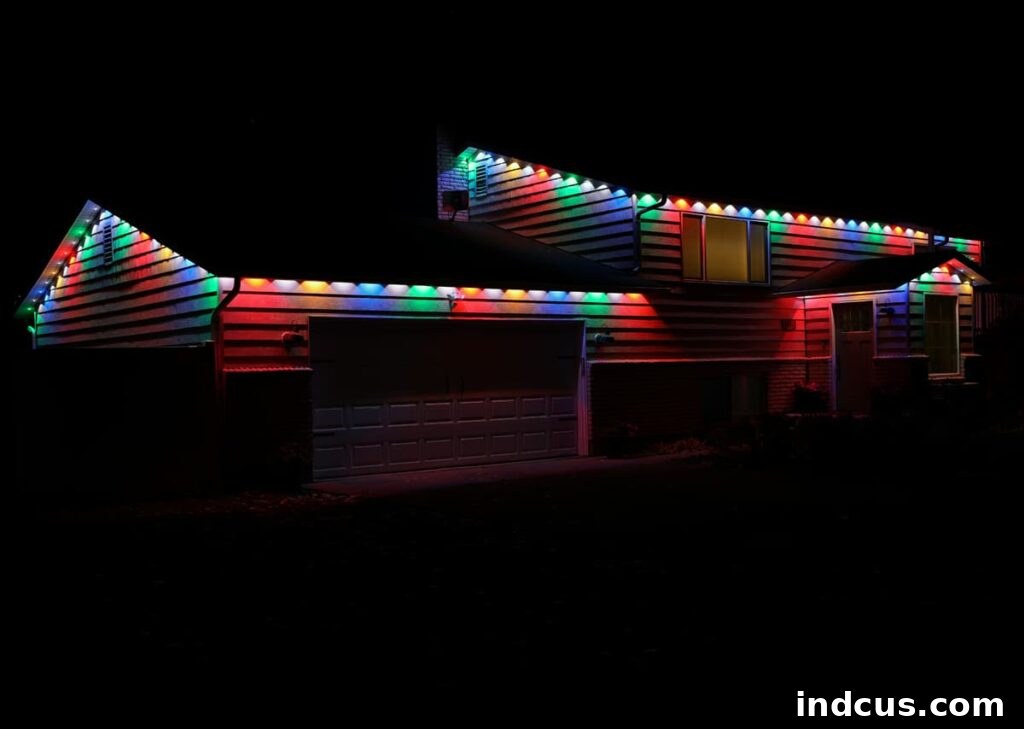
Overall, I enthusiastically recommend this project for anyone who is reasonably handy and can safely access their home’s eaves. It’s a rewarding endeavor that can typically be completed within a single weekend, transforming your home’s exterior. The finished lights are nothing short of spectacular. During the day, they are remarkably subtle and discreet, blending almost imperceptibly with your home’s architecture. At night, however, they burst to life with vibrant colors and captivating effects, creating an inviting and festive atmosphere.
The greatest advantage, beyond the stunning aesthetics, is the incredible convenience. Install them once, and enjoy beautiful, customizable illumination for years to come. I’m particularly excited about programming them for various holidays, birthdays, and even major sporting events, adding a personalized touch to every celebration. The possibilities for creative expression are endless!
Should you have any further questions or require additional clarification, please don’t hesitate to share them in the comments section below. Happy lighting!