Unlock Deliciousness: The Ultimate Guide to Easy & Affordable Strawberry Freezer Jam (No Pectin Needed!)
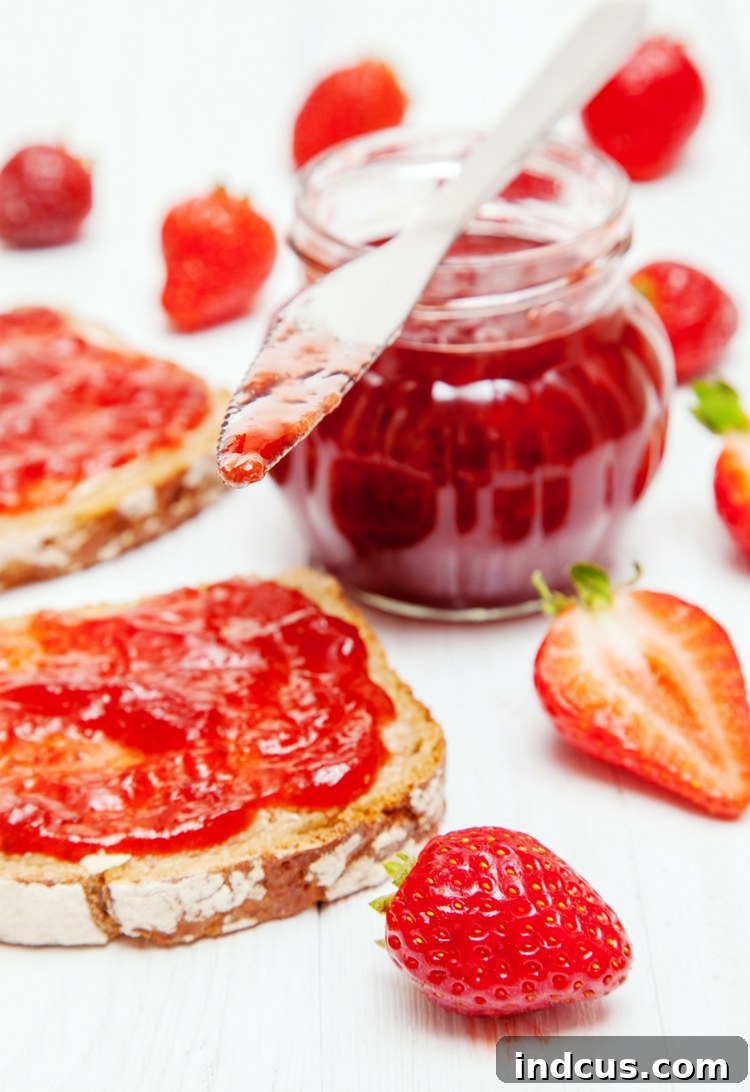
There’s nothing quite like the taste of fresh, sun-ripened strawberries. When summer arrives with its bounty, many of us find ourselves with more berries than we can possibly eat fresh. Preserving this vibrant flavor is a cherished tradition, and homemade strawberry freezer jam stands out as one of the most delightful and simple ways to do so. Imagine spreading that burst of summer sunshine on your toast, waffles, or even a simple scoop of ice cream, long after the berry season has passed.
This comprehensive guide will walk you through an incredibly easy and budget-friendly recipe for homemade strawberry freezer jam that breaks free from traditional methods. What’s the secret? You won’t need to buy expensive pectin! We’re going to revolutionize your jam-making experience, saving you money and time, all while delivering a delectable spread that your family will adore.
Why Choose Homemade Freezer Jam?
Making your own jam offers a plethora of benefits beyond just taste. It’s a rewarding culinary experience that gives you complete control over the ingredients, allowing you to avoid artificial preservatives and excessive sugars often found in store-bought options. Homemade jam brings a touch of nostalgia and warmth to your kitchen, filling your home with the sweet aroma of simmering fruit. Freezer jam, in particular, is a fantastic choice for beginners and busy individuals alike because it’s much simpler than traditional canning methods, requiring no special equipment like water bath canners and significantly less fuss.
The beauty of freezer jam lies in its ability to retain the fresh, vibrant flavor and bright color of the fruit. Unlike cooked jams that undergo extensive heat processing, freezer jam is cooked for a shorter period, preserving more of the fruit’s natural essence. This means a spoonful of your homemade freezer jam tastes remarkably like biting into a fresh strawberry, making it a true summer delight all year round.
The Pectin Predicament: Why Traditional Methods Can Be Costly
For generations, the standard jam recipe has revolved around pectin, a natural gelling agent found in fruits. Pectin is what gives jam its firm, spreadable consistency. While effective, pectin comes with a significant drawback: its cost. A single box of pectin can be surprisingly pricey, especially when you’re working with large quantities of fruit. Traditional recipes often call for one box of pectin for every two cups of strawberries. If you’ve ever found yourself with a generous flat of strawberries, you’ll know that the cost of pectin can quickly add up, turning an economical preserving project into an unexpectedly expensive endeavor.
Consider this: if you have 10 cups of strawberries, a common amount for a batch of jam, you could easily need five boxes of pectin, potentially costing you $10 or more just for the gelling agent. This can be a real deterrent for home cooks looking to make delicious preserves on a budget. But what if there was an equally effective, much cheaper alternative that you might already have in your pantry? Prepare to be amazed!
The Secret Ingredient Revealed: Strawberry Gelatin to the Rescue!
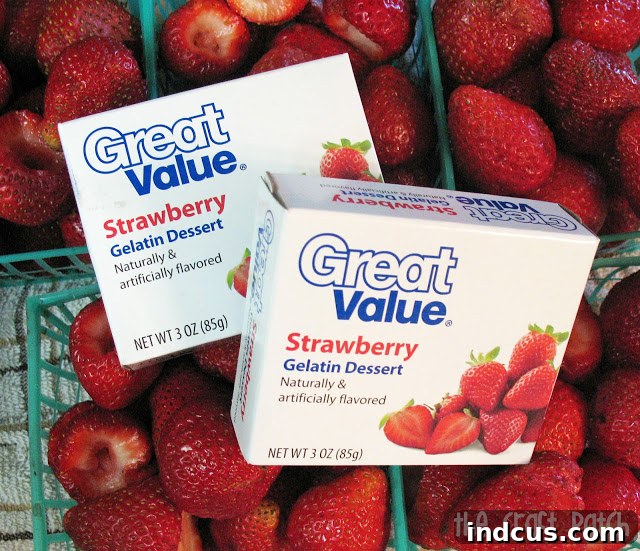
The secret ingredient that will transform your jam-making and save you a bundle is none other than good old strawberry gelatin – commonly known by its popular brand name, Jell-O! Yes, that vibrant, fruity dessert staple is your new best friend in the world of homemade jam. At typically 50 cents a box (or even less when on sale), gelatin is a fraction of the cost of pectin, making this recipe incredibly budget-friendly. This brilliant hack was shared with me by my amazing aunt, a true maestro of smart and delicious kitchen solutions, and it’s been a game-changer ever since.
Gelatin acts as an excellent gelling agent, providing that perfect jam consistency without the need for expensive pectin. Not only does it help the jam set beautifully, but using a flavored gelatin also intensifies the strawberry flavor, adding an extra layer of deliciousness to your homemade spread. It’s a win-win: cheaper, simpler, and even more flavorful. Ready to discover how to harness the magic of Jell-O for your next batch of freezer jam?
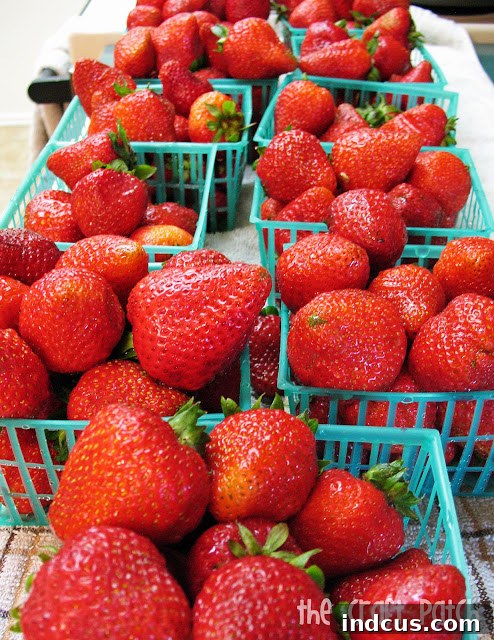
Strawberry Gelatin Freezer Jam Recipe
This recipe yields approximately 6-7 pints of delicious jam, perfect for enjoying now and freezing for later. Get ready to embark on your most delightful jam-making adventure yet!
Ingredients:
- 10 cups fresh strawberries, washed and crushed
- 2 cups granulated sugar
- 2 large (6 oz) boxes or 4 small (3 oz) boxes strawberry gelatin (e.g., Jell-O brand)
Instructions:
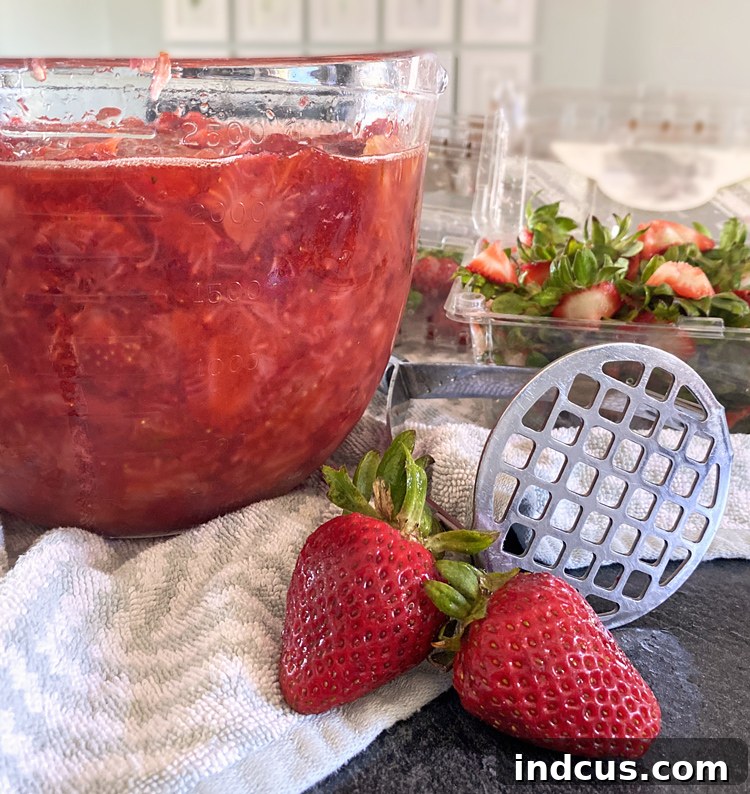
Step 1: Prepare Your Strawberries. Begin by thoroughly washing your strawberries under cool running water. Carefully remove the green leaves and hulls. Once cleaned, crush the strawberries using a potato masher, a fork, or even your hands. You can aim for a chunkier texture if you prefer pieces of fruit in your jam, or crush them finely for a smoother spread. Measure out 10 cups of crushed fruit. This initial crushing helps to release the natural juices and flavors, preparing the berries for the cooking process.
Step 2: Combine and Simmer. In your largest cooking pot – one that can comfortably hold the entire batch of fruit – combine the 10 cups of crushed strawberries with 2 cups of granulated sugar. Stir them together gently to ensure the sugar is well distributed. Let this mixture stand at room temperature for at least 1 hour. This resting period allows the sugar to draw out more juice from the strawberries, intensifying their flavor. After resting, place the pot over medium-high heat. Bring the mixture to a rolling boil, then reduce the heat and let it simmer for 15 minutes, stirring occasionally to prevent sticking. This simmering process further breaks down the fruit and helps the flavors meld beautifully.
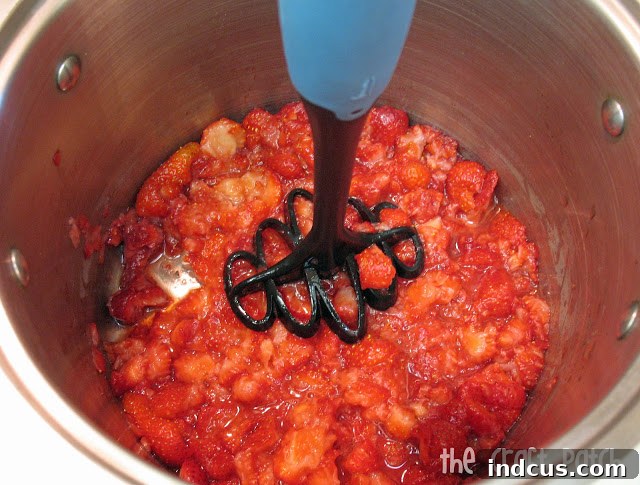
Step 3: Refine the Texture. After simmering for 15 minutes, use your potato masher again to crush the strawberries even more. This step is crucial for achieving your desired jam consistency. If you like a smoother jam, mash more vigorously. For a jam with more identifiable fruit pieces, mash less. The heat from the simmering will have softened the berries, making them easier to mash to perfection.
Step 4: Clean the Pot Sides. This might seem like a small detail, but it’s an important one! Using a clean, damp cloth or paper towel, carefully wipe down the inside edges of your pot. Ensure that no sugar granules remain clinging to the sides above the jam line. Any sugar crystals left on the sides can fall back into the jam later as it cools, potentially causing the entire batch to develop an undesirable grainy texture. This simple step guarantees a smooth, luscious jam.
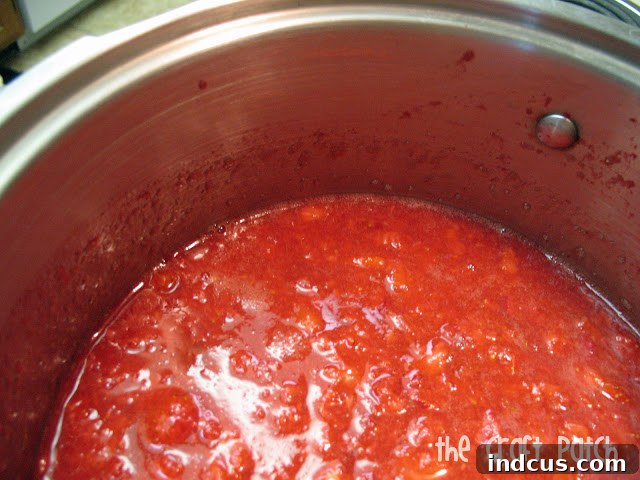
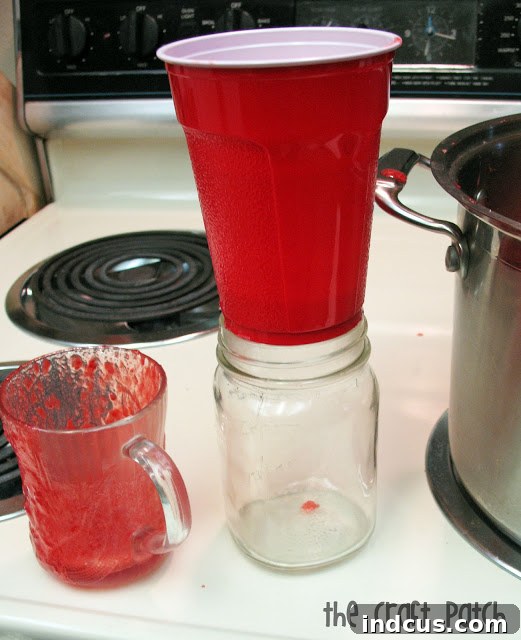
Step 5: Incorporate Gelatin and Fill Containers. With the strawberries still warm, carefully stir in the strawberry gelatin powder. Continue stirring until the gelatin is completely dissolved and no lumps remain. The warmth of the jam will help the gelatin dissolve quickly and evenly. Once dissolved, your jam is ready to be transferred to containers. Use clean, freezer-safe containers for storage. Mason jars are a popular choice for their classic look, even if you’re not traditionally canning. You can also use plastic food containers (like Tupperware) or even heavy-duty plastic freezer bags. If you don’t have a canning funnel, a large plastic cup with a hole cut in the bottom can serve as a makeshift filler, making the transfer less messy. Make sure to leave about half an inch of headspace in each container to allow for expansion during freezing.
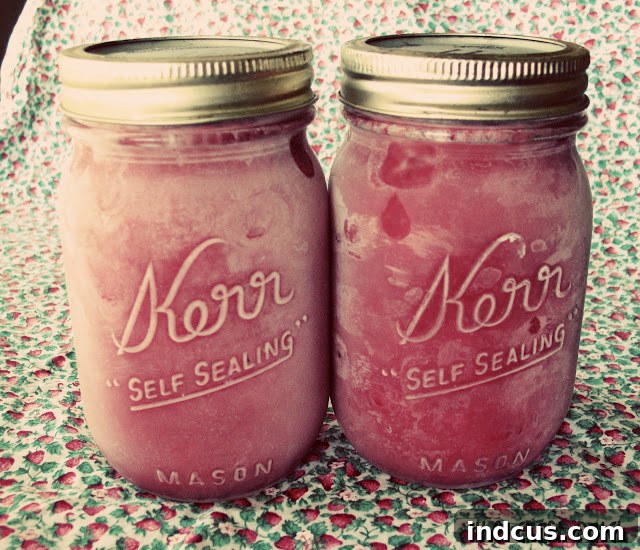
Step 6: Freeze and Enjoy. Once your containers are filled and sealed, allow them to cool completely to room temperature before placing them in the freezer. Freezing the jam solidifies it and preserves its fresh flavor for months. When you’re ready to enjoy your delicious homemade strawberry freezer jam, simply transfer a container from the freezer to the refrigerator and let it thaw. Once thawed, it’s ready to spread! It’s absolutely divine on hot buttered toast, fluffy pancakes, crispy waffles, or as a sweet filling for sandwiches. Don’t limit yourself – try a spoonful over Greek yogurt, oatmeal, or even as a topping for vanilla ice cream for a truly decadent treat. This jam will maintain its quality in the freezer for 3 to 6 months. However, in most households, it’s so irresistible that you’ll be lucky if it lasts that long!
Yield and Storage Tips
From this recipe, you can expect to get approximately six to seven pint-sized jars of luscious strawberry freezer jam. One of the best parts about making a batch this size is that you’ll inevitably have a half-filled jar or two – these are perfect for enjoying immediately, no waiting required! This small, immediate reward is a great way to taste test and appreciate your efforts.
For long-term storage, ensure your jam is completely cooled before freezing. It will keep beautifully in the freezer for up to 6 months. To get the best out of your jam, always thaw it in the refrigerator. Once thawed, it should be consumed within 2-3 weeks. Freezing the jam is key to maintaining its fresh taste and vibrant color, as it prevents spoilage without the need for traditional canning. Make sure your chosen containers are freezer-safe and airtight to prevent freezer burn.
Get Creative with Flavor Combinations!
One of the most exciting aspects of using gelatin in your jam is the endless possibilities for flavor innovation. While strawberry gelatin enhances the natural berry flavor, you’re not limited to just one type. Imagine a delightful strawberry lemonade jam simply by using lemon-flavored gelatin alongside your strawberries! Or perhaps a strawberry-raspberry fusion by combining strawberry and raspberry gelatin boxes. The combinations are only limited by your imagination and the variety of gelatin flavors available.
On a recent batch, I experimented with two boxes of strawberry gelatin and two boxes of raspberry gelatin for my 10 cups of strawberries, and the result was absolutely to die for – a rich, complex berry flavor that was both familiar and excitingly new. Don’t be afraid to mix and match; try lime gelatin for a zesty kick, or even cherry for a deeper red fruit profile. This flexibility allows you to customize your jam to suit your palate or surprise your friends and family with unique homemade gifts.
Troubleshooting Common Jam-Making Queries
Even with an easy recipe like this, a few questions might pop up. Here are some common concerns and quick solutions:
- My jam didn’t set / is too runny: Ensure you used the correct amount of gelatin for the amount of fruit. Also, make sure the gelatin was completely dissolved by stirring it thoroughly into the warm fruit mixture. If it’s too runny after thawing, you can try reheating a small batch on the stovetop and dissolving a little more gelatin in it, then re-freezing.
- My jam is too firm: This is less common with this recipe, but if it happens, it might be due to over-reduction during simmering or slightly too much gelatin. A slightly firmer jam is still perfectly delicious and can be enjoyed!
- My jam has a grainy texture: As mentioned in Step 4, sugar granules left on the sides of the pot can cause crystallization. Always wipe the sides clean to avoid this.
- Can I use frozen strawberries? Absolutely! If fresh strawberries aren’t in season, you can use frozen ones. Thaw them completely and drain any excess liquid before crushing and proceeding with the recipe.
Embrace the Sweet Simplicity of Homemade Jam
Making your own strawberry freezer jam using gelatin is a testament to the fact that delicious, high-quality homemade food doesn’t have to be complicated or expensive. This recipe offers a fantastic alternative to traditional methods, providing a vibrant, flavorful, and incredibly easy-to-make spread that captures the essence of summer in every bite. Whether you’re a seasoned preserver or a complete novice, this pectin-free method ensures success and satisfaction.
So, the next time you find yourself with an abundance of fresh strawberries, don’t let them go to waste or worry about the cost of pectin. Grab a few boxes of strawberry gelatin, follow these simple steps, and prepare to delight your taste buds with the freshest, most affordable, and most delicious strawberry freezer jam you’ve ever tasted. It’s an excellent way to savor the sweet memories of summer all year long and share homemade goodness with those you love. Happy jam-making!
Strawberry Jell-O Freezer Jam Recipe
Created by: The Craft Patch
Strawberry freezer jam is one of the most delicious ways you can use a big flat of strawberries. This recipe for homemade strawberry freezer jam is easy to make and will save you money because you don’t have to buy pectin.
Ingredients:
- 10 cups strawberries, washed and crushed
- 2 cups sugar
- 2 large (6 oz) or 4 small (3 oz) boxes strawberry gelatin
Instructions:
- Wash strawberries, remove green leaves, then crush until you have 10 cups of crushed fruit.
- In your largest pot, combine strawberries and sugar. Let stand for 1 hour. Heat to boiling, then simmer for 15 minutes.
- Use a potato masher to crush the strawberries even more.
- Wipe down the sides of the pan so no sugar granules remain or the jam will have a grainy texture later.
- Stir in the gelatin. Fill clean, freezer-safe containers with jam, leaving headspace for expansion. You can use mason jars, plastic food containers, or freezer bags.
- Freeze the jam. Thaw in the fridge before serving on toast, waffles, sandwiches, or even ice cream.
Notes:
This jam is good in the freezer for 3-6 months, but you’ll be lucky if it lasts that long. Our family devoured it!
Did You Make This?
Share it with me on Instagram @thecraftpatch and follow pinterest for more!