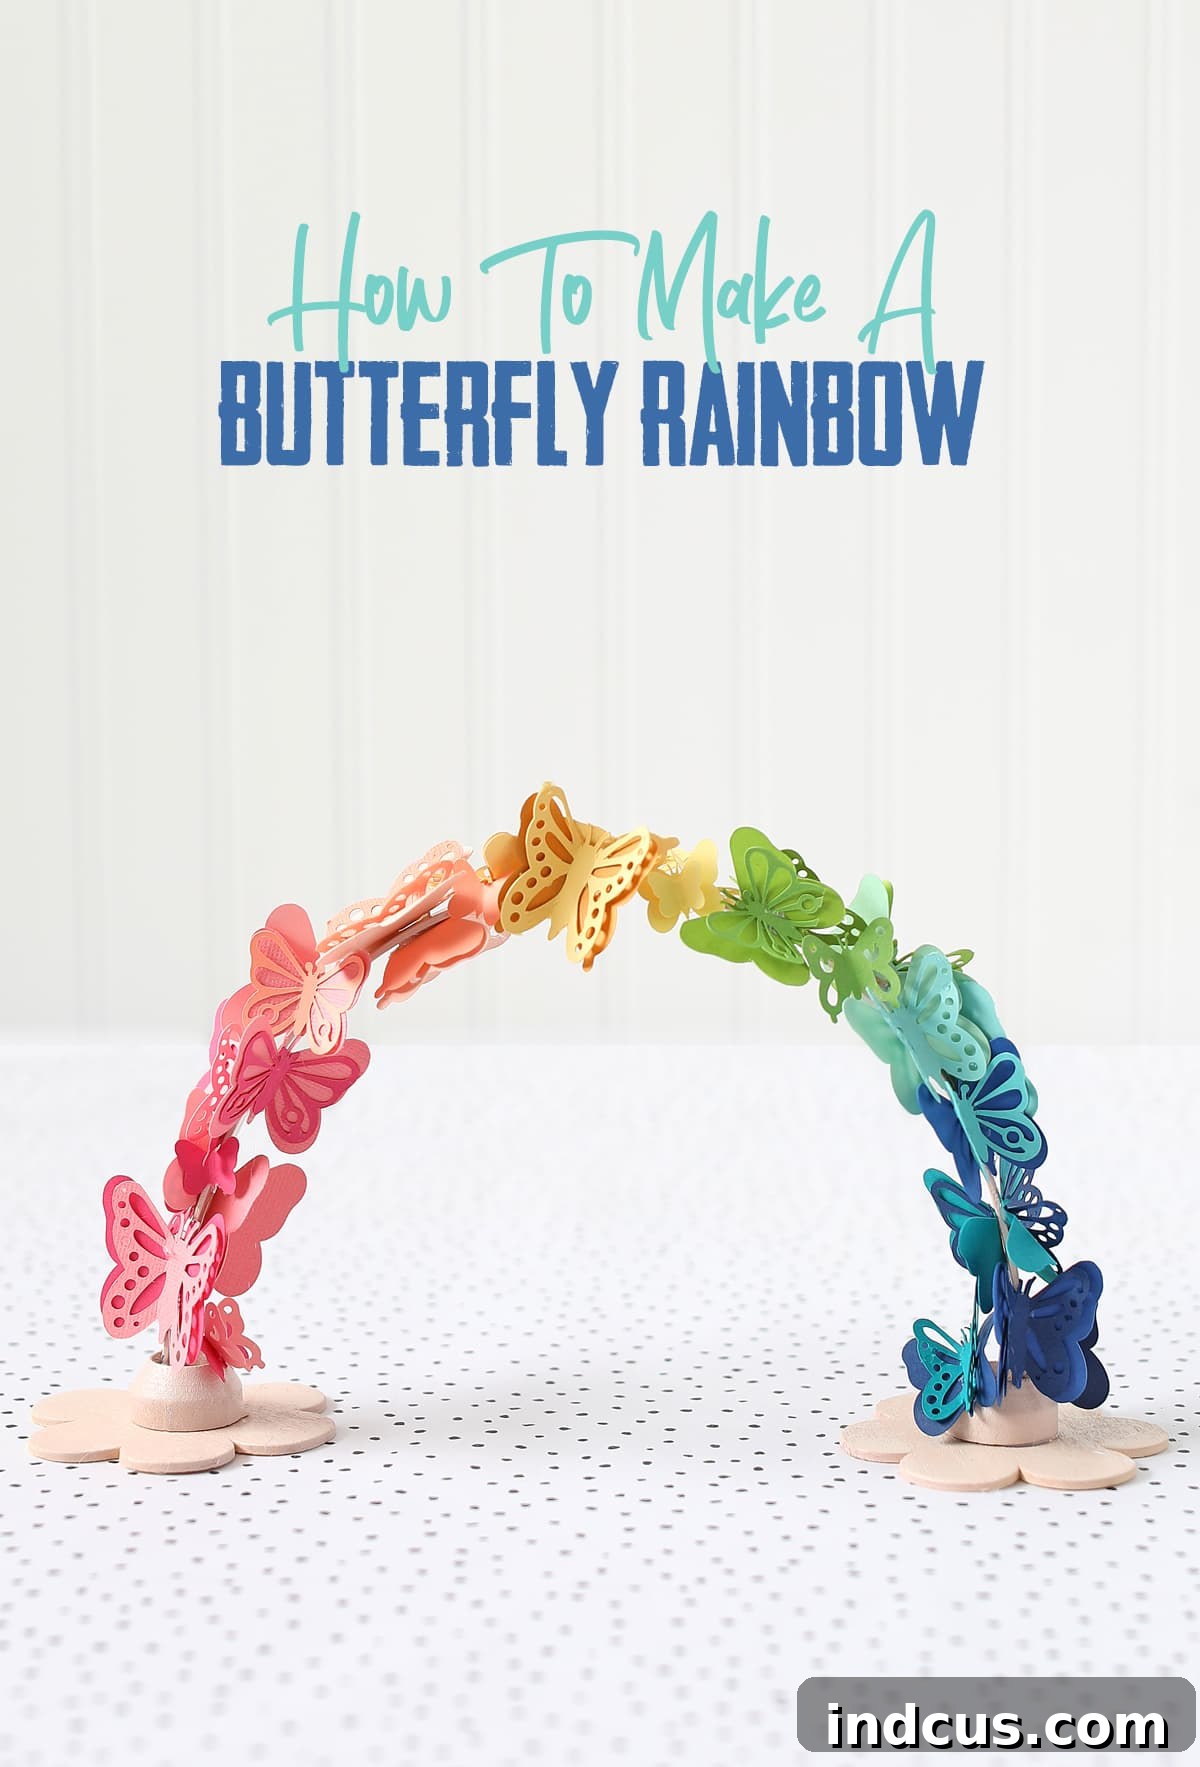
Craft a Dazzling Paper Butterfly Rainbow: Your Ultimate Guide to Unique Spring Decor
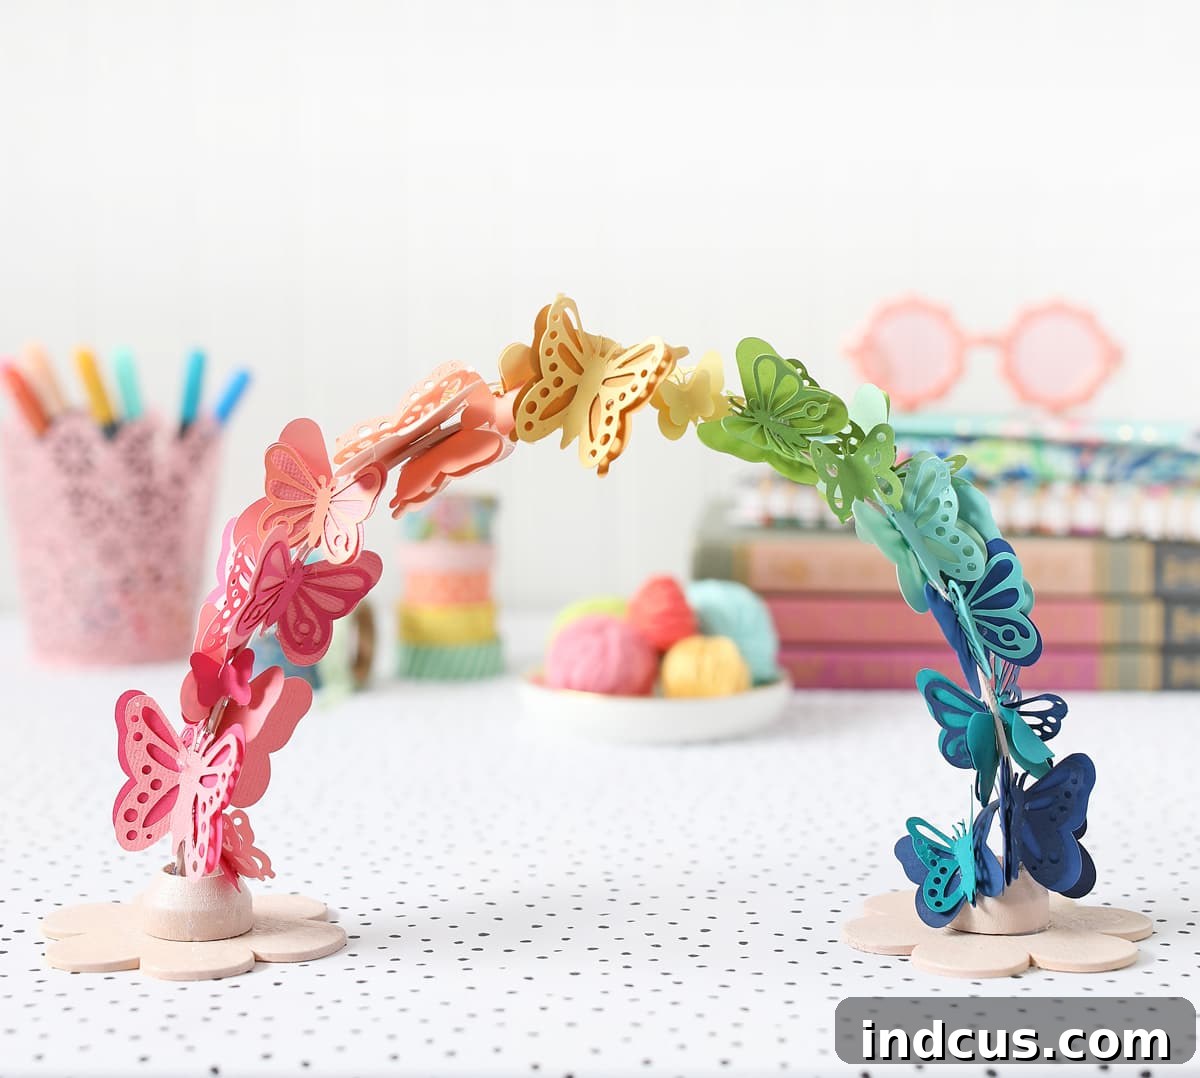
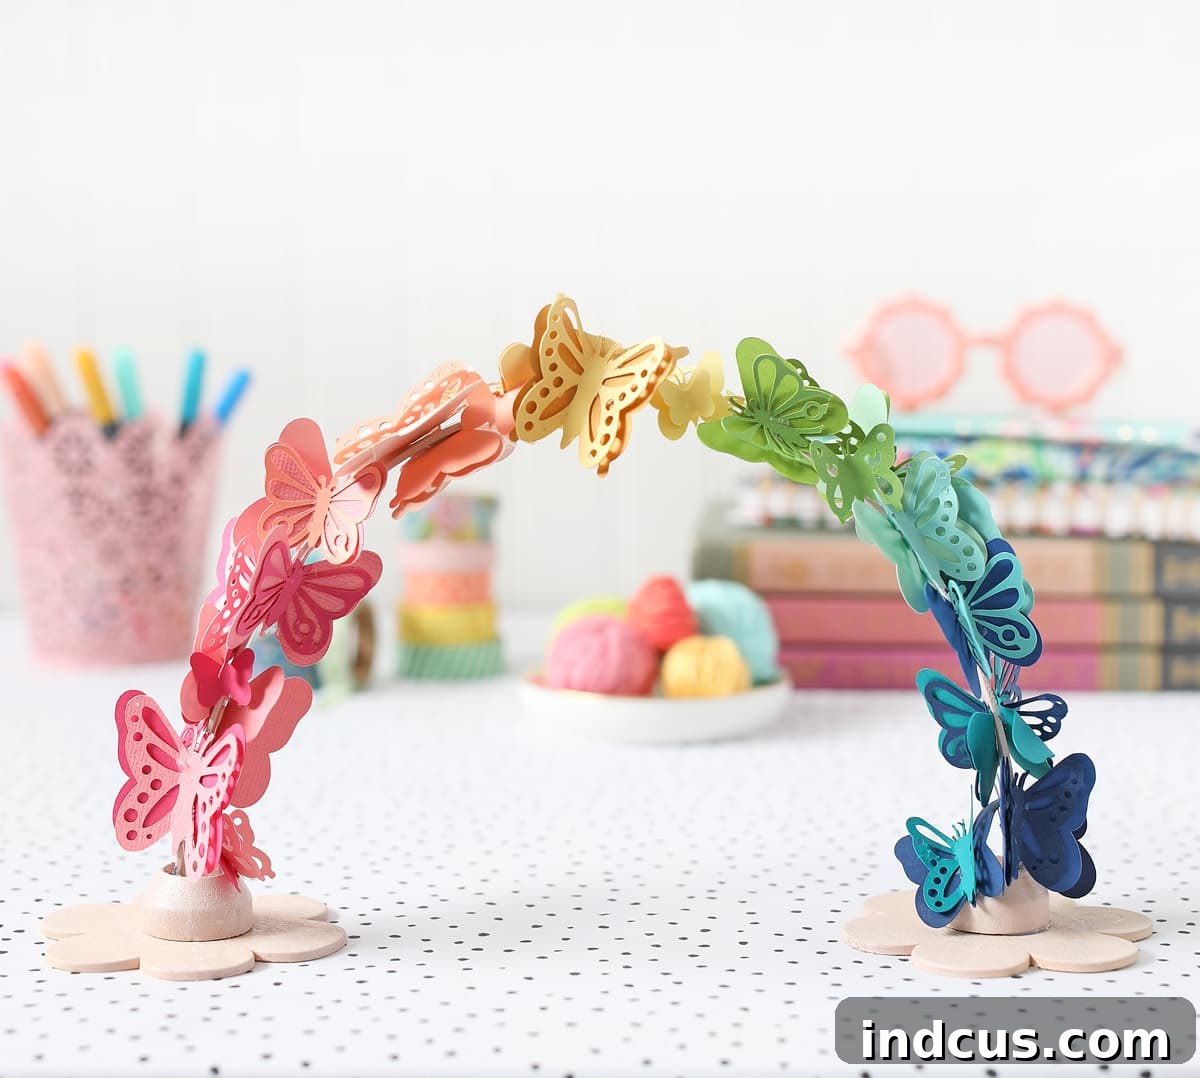
Are you searching for a truly unique and enchanting decoration to brighten your home this spring? Look no further! This comprehensive guide will show you how to transform simple materials into a breathtaking rainbow arch adorned with delicate paper butterflies. It’s a craft project that promises not only stunning results but also a deeply satisfying creative experience, perfect for adding a pop of color and whimsy to any space. Imagine a vibrant arc, seemingly suspended in air, fluttering with hundreds of paper butterflies in every shade of the rainbow—a true testament to the beauty of handmade decor.
Sometimes, the most unexpected ideas lead to the most delightful creations. This particular project sprang from a serendipitous moment, spotting an ordinary ice cream bucket handle and envisioning its potential. What started as a whimsical thought quickly blossomed into this incredibly charming and happy decoration. We are absolutely thrilled with how it turned out and can’t wait to share the step-by-step process so you can create your very own. It’s a project that brings immense joy, both in the making and in the admiring, proving that a little imagination can go a long way in crafting something truly special.
This tutorial is designed for crafters of all skill levels. Whether you’re a seasoned DIY enthusiast or just starting your creative journey, you’ll find the instructions clear, concise, and easy to follow. We’ll guide you through everything from gathering your materials to assembling the final piece, ensuring your paper butterfly rainbow becomes a cherished item in your home decor collection. Get ready to dive into a world of color, creativity, and the sheer delight of bringing a beautiful idea to life!
This post is sponsored by Creative Fabrica, your go-to resource for endless crafting inspiration and digital assets.
Essential Materials You’ll Need for Your Butterfly Rainbow Craft
Before embarking on this vibrant crafting adventure, gather the following supplies. Most items are readily available at craft stores, and some might even be waiting in your recycling bin!
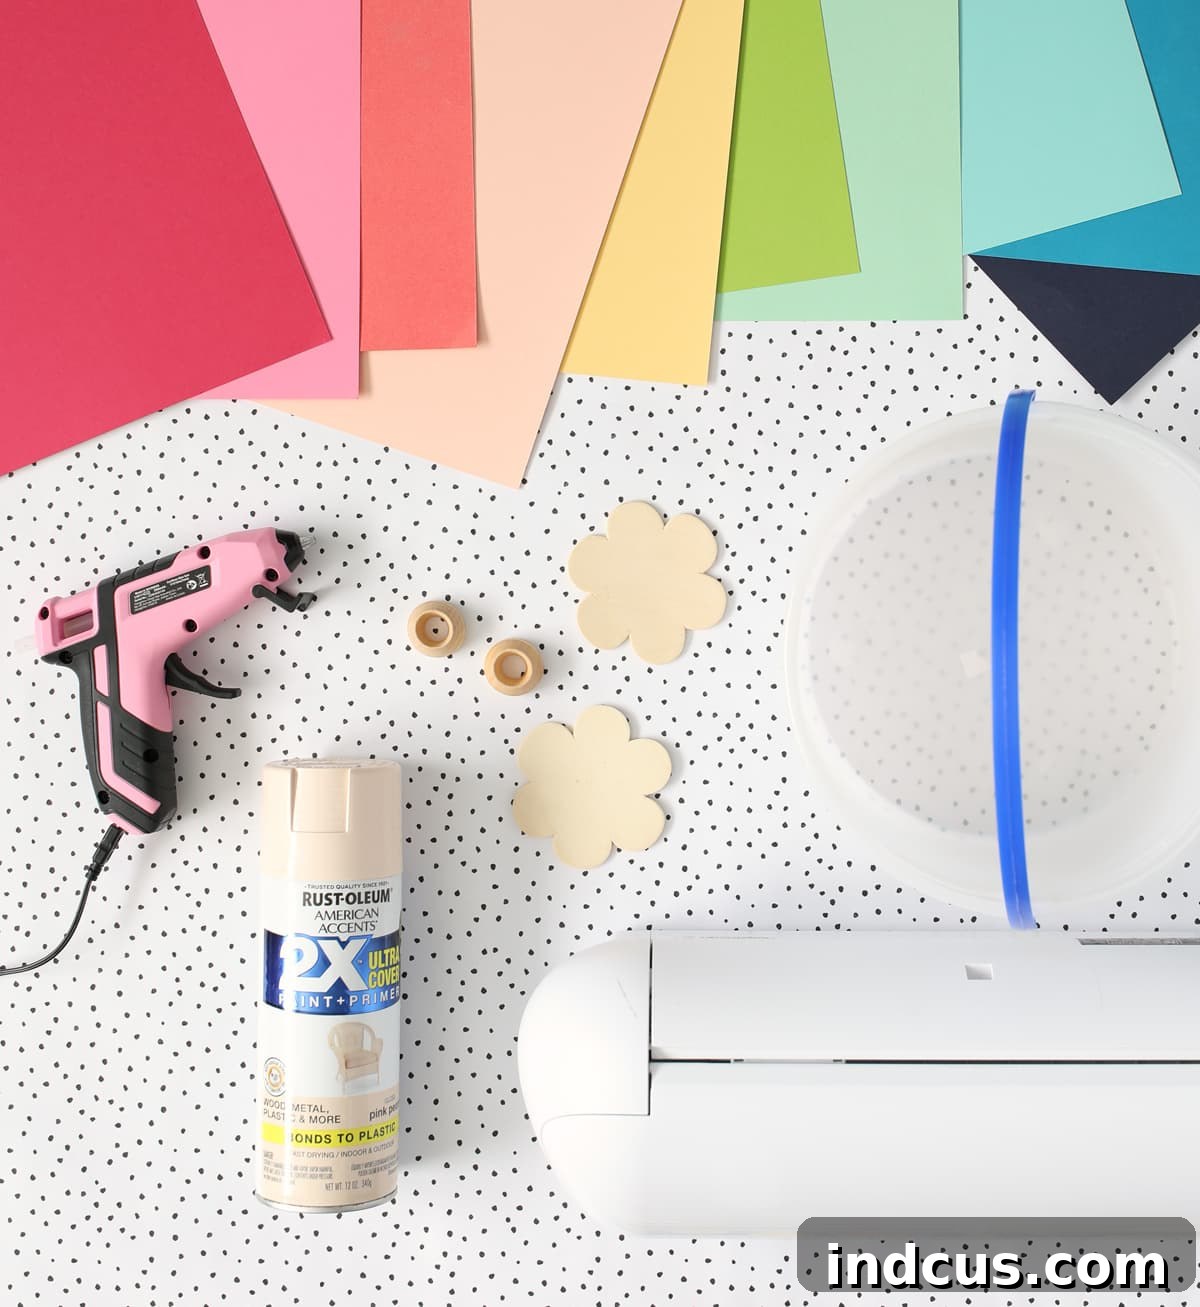
- Ice Cream Bucket Handle: This often-overlooked item is the secret ingredient for our unique rainbow arch. Its sturdy yet flexible design is perfect for forming the base.
- Two Flat Wood Flower Shapes: These will serve as the decorative bases for our rainbow arch, providing stability and a touch of natural charm. Choose any shape that complements your style.
- Two Clothespin Doll Stands: These small wooden stands will elevate our floral bases and create the necessary height for the arch. Their stability is key to the finished structure.
- Spray Paint: Select a color that complements your chosen cardstock or acts as a subtle background. Light pastel shades work wonderfully to allow the butterflies to truly shine.
- Hot Glue Gun + Glue Sticks: An essential tool for quick and secure assembly. Ensure you have plenty of glue sticks on hand for attaching all those beautiful butterflies.
- Silhouette or Cricut Machine + Cutting Mat: For effortless and precise cutting of numerous butterflies. If you don’t have one, you can use scissors and butterfly templates, though it will take more time.
- Cardstock (in a rainbow of colors): Choose a variety of bright, vibrant cardstock sheets to mimic the colors of a rainbow (red, orange, yellow, green, blue, indigo, violet). Opt for a medium weight cardstock that holds its shape well.
- 3D Butterfly Cut Files from Creative Fabrica: These digital files are crucial for creating the intricate, multi-layered butterflies that give this project its stunning dimension.
Step-by-Step Instructions: Crafting Your Paper Butterfly Rainbow
Follow these detailed steps to bring your enchanting paper butterfly rainbow to life. Remember, the beauty of crafting lies in the process as much as the final product!
Step 1: Preparing Your Arch Base – The Ice Cream Bucket Handle
Begin by carefully removing the plastic handle from an old ice cream bucket. This might require a little wiggling or gentle prying, but it should detach fairly easily. Once removed, clean the handle thoroughly to ensure it’s free of any residue or stickiness. This handle forms the primary structure of your rainbow arch, so make sure it’s clean and ready for the next step.
Step 2: Adding a Touch of Color – Painting Your Components
Take your ice cream bucket handle, the two flat wood flower shapes, and the two clothespin doll stands to a well-ventilated area. Lay them out on a protective surface, such as old newspaper or a drop cloth. Using your chosen spray paint, apply a thin, even coat to all the pieces. I opted for a soft, light pink color, which provides a gentle contrast to the vibrant butterflies. Allow the paint to dry completely according before applying a second coat if desired. Ensure all surfaces are evenly covered and smooth. Patience during this drying phase is key to a flawless finish.
Step 3: The Heart of the Project – Cutting Your Butterflies
While your painted pieces are drying, it’s time to prepare the stars of our show: the butterflies! This step involves cutting a significant number of butterflies from your rainbow-colored cardstock. The more butterflies you cut, the fuller and more magnificent your rainbow will appear. Using a Silhouette or Cricut machine with the 3D Butterfly Cut Files from Creative Fabrica will make this process incredibly efficient and enjoyable.
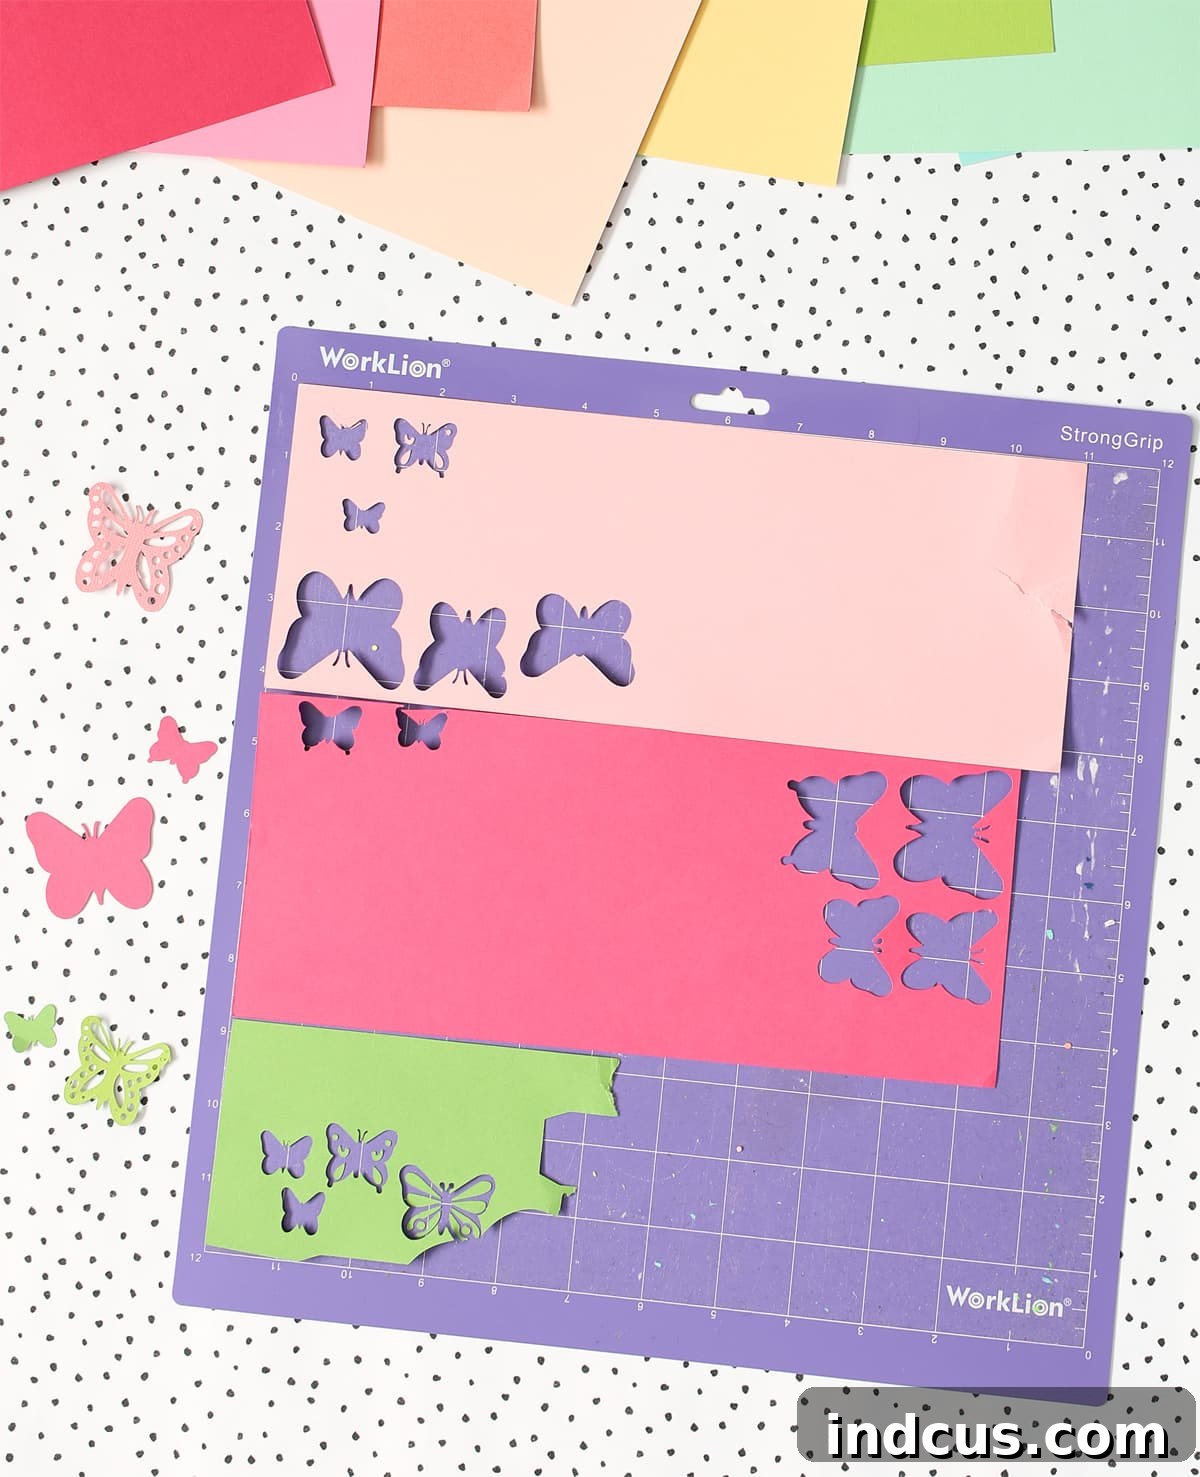
Timesaving Tip for Cutting: To maximize your efficiency, arrange several smaller pieces of different colored cardstock onto a single cutting mat simultaneously. This allows your machine to cut multiple colors at once, significantly reducing the overall cutting time. This technique is particularly helpful for projects that require a large quantity of small, varied pieces, like our butterfly rainbow.
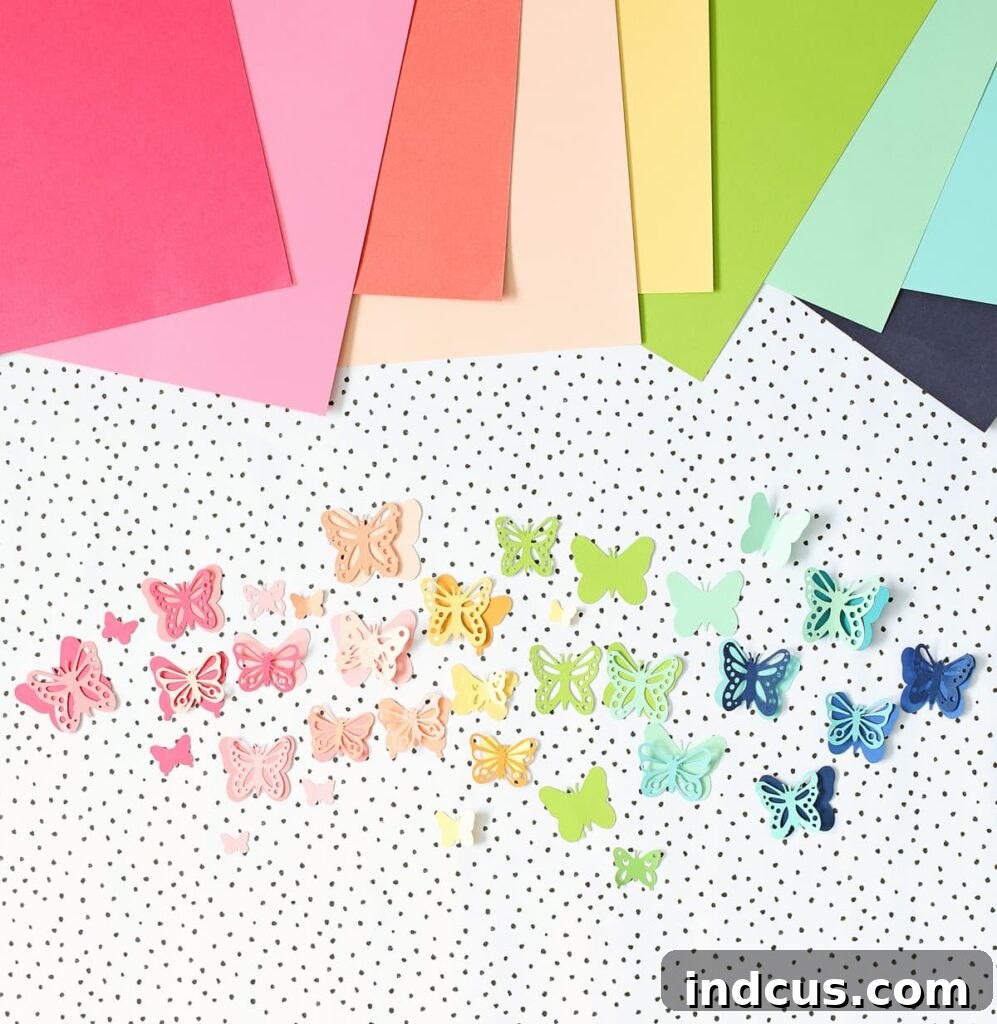
Once cut, you’ll have an impressive collection of layered paper butterflies. The 3D butterfly designs from Creative Fabrica are truly exceptional, allowing you to layer a solid base butterfly with a more intricate, detailed cutout. This layering technique adds incredible depth and dimension to each butterfly, making them appear almost lifelike. Before gluing, gently bend the wings of each butterfly upwards at different angles. This simple action creates a dynamic, fluttering effect and enhances the realistic quality of your paper creations.
Step 4: Assembling the Arch Structure
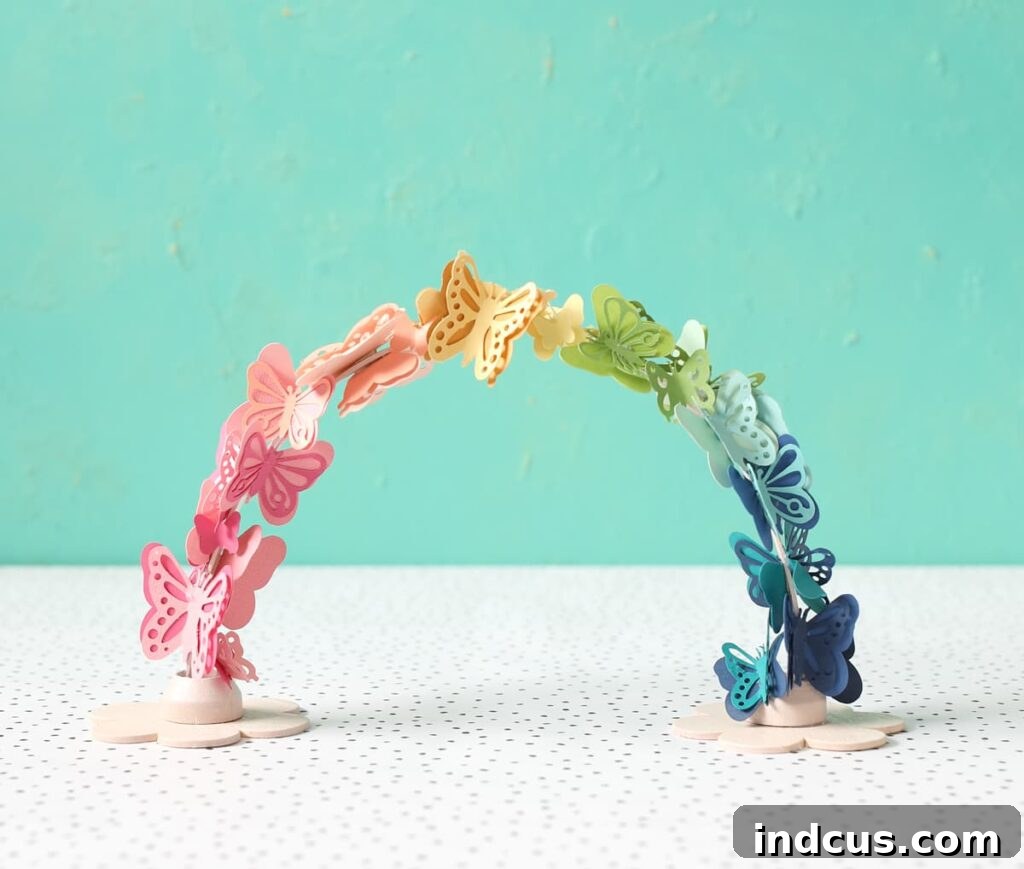
With your painted base pieces thoroughly dry, it’s time to assemble the framework for your butterfly rainbow. First, take your hot glue gun and securely glue the clothespin doll stands into the centers of the two wood flower shapes. These stands will provide the necessary height and stability for your arch. Next, carefully attach one end of the ice cream bucket handle into the hole of the first flower base, securing it firmly with hot glue. Repeat this process for the other end of the handle and the second flower base. Ensure both connections are strong and stable. This step forms the elegant arch shape that will soon be adorned with your beautiful butterflies, creating the perfect foundation for your decorative rainbow.

Step 5: Bringing the Rainbow to Life – Attaching the Butterflies
Now for the most exciting part: creating the rainbow effect! Starting from one end of the arch, begin hot gluing your paper butterflies onto the bucket handle. The goal is to completely cover the handle, ensuring no part of the base structure remains visible. As you work your way along the arch, gradually transition through the colors of the rainbow. Start with red, then orange, yellow, green, blue, indigo, and finally violet. Overlap the butterflies slightly to create a dense, flowing effect. Experiment with different sizes and wing angles to add even more texture and visual interest. This stage is where your butterfly rainbow truly comes alive, transforming from an arch into a vibrant cascade of color and beauty.
Creative Variations and Personalization Tips
While the rainbow color scheme is classic and beautiful, don’t hesitate to personalize your butterfly arch! Consider these ideas to make your creation truly unique:
- Monochromatic Magic: Instead of a rainbow, choose various shades of a single color (e.g., light blue to deep navy) for a sophisticated, ombre effect.
- Seasonal Swaps: Adapt the colors for different seasons. Think pastels for Easter, warm oranges and browns for autumn, or glittering whites and silvers for winter.
- Add Sparkle: Before assembling, lightly mist some butterflies with glitter spray or apply subtle dabs of glitter glue for an extra touch of enchantment.
- Vary Sizes: If your cut files allow, cut butterflies in a few different sizes. Mixing small, medium, and large butterflies will add dynamic visual interest.
- Different Bases: While the wood flowers are charming, you could experiment with other base shapes like clouds, leaves, or geometric designs to match your decor.
- Beyond Butterflies: Explore other 3D cut files from Creative Fabrica! Dragonflies, bees, or even small floral elements could create a different, equally charming display.
Why You’ll Love This Paper Butterfly Rainbow
This craft isn’t just about making a beautiful object; it’s about the joy of creation and the warmth it brings to your home. Here’s why this project is a must-try:
- Instant Mood Booster: The vibrant colors and delicate fluttering butterflies are guaranteed to bring a smile to your face and brighten any room.
- Unique Home Decor: Stand out from mass-produced decorations with a truly one-of-a-kind piece that reflects your creativity.
- Engaging Crafting Experience: From cutting dozens of butterflies to arranging them perfectly, each step is therapeutic and rewarding.
- Versatile Display: Perfect for a child’s nursery, a craft room, a mantelpiece, a bookshelf, or even as a centerpiece for a spring celebration.
- Eco-Friendly Potential: Repurposing an ice cream bucket handle gives new life to an item that might otherwise be discarded.
I absolutely couldn’t believe my initial wild idea worked out so beautifully! This project turned out even cuter than I imagined, and it brings me immense joy every time I see it sitting proudly on my craft room shelf. It’s a testament to the fact that creativity can truly transform the mundane into something magical.
A huge part of this project’s success is thanks to the incredible 3D butterfly cut files I sourced from Creative Fabrica. Their vast library of digital assets is an absolute game-changer for crafters, offering a treasure trove of design files, fonts, and unique project templates.
Discover the World of Creative Fabrica for Your Crafting Needs
Have you had the pleasure of exploring Creative Fabrica before? If not, you’re in for a treat! It’s an extraordinary online hub brimming with creative resources for every type of crafter imaginable. Their expansive collection includes everything from fonts and graphics to embroidery designs and, of course, a super fun section dedicated to 3D SVG crafts.
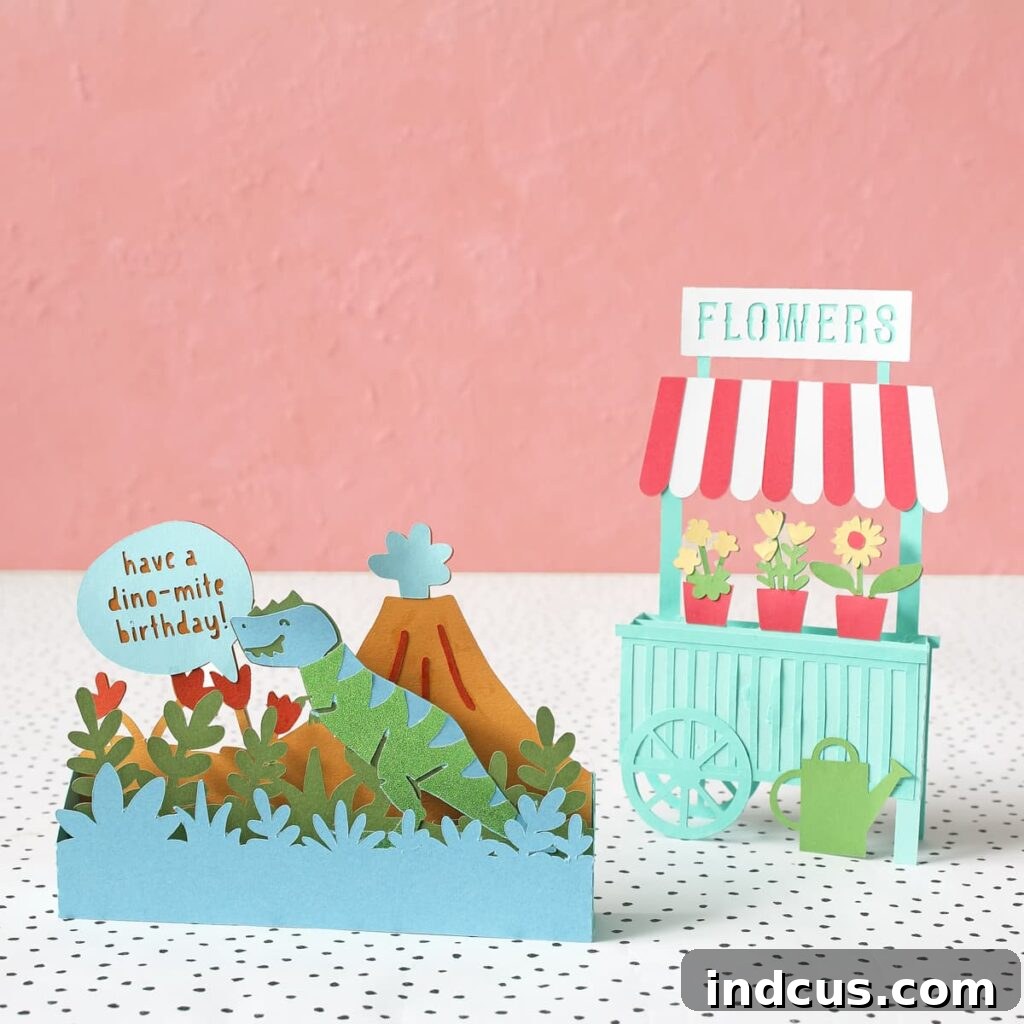
What makes Creative Fabrica truly stand out is not just the quality and variety of their files, but also the support they offer. Many of their projects come with detailed video tutorials, guiding you through the assembly process once you’ve purchased the files. This is invaluable, especially for more intricate 3D designs. For instance, I recently made some darling 3D box cards using files from Creative Fabrica, and they turned out absolutely adorable! The level of detail and ingenuity in their designs is simply captivating.
My kids are already buzzing with excitement to try some of the other fantastic 3D projects I’ve discovered on Creative Fabrica. It’s truly the perfect platform for fostering creativity and enjoying quality time with family through crafting. Imagine the possibilities for personalized gifts, party decorations, or just everyday beautiful items!
And here’s some fantastic news for you: Creative Fabrica is extending a generous offer to my readers—a one-month free trial subscription! This incredible opportunity allows you to download up to ten fonts, SVG files, or any other crafty goodies that capture your imagination. You can explore their extensive library, experiment with new designs, and see firsthand the value they bring to your crafting endeavors. You have the flexibility to cancel at no cost at the end of your trial, or you can choose to continue your subscription if you find it as indispensable as I do. The choice is entirely yours, with no strings attached!
Claim your free trial here and unlock a world of crafting possibilities!
That wraps up our guide to creating your very own paper butterfly rainbow. I genuinely hope you enjoyed this slightly unconventional, yet utterly charming, craft idea. It’s a wonderful way to infuse your home with handcrafted beauty and celebrate the vibrant spirit of spring. Happy crafting, and may your days be filled with color and creativity!