
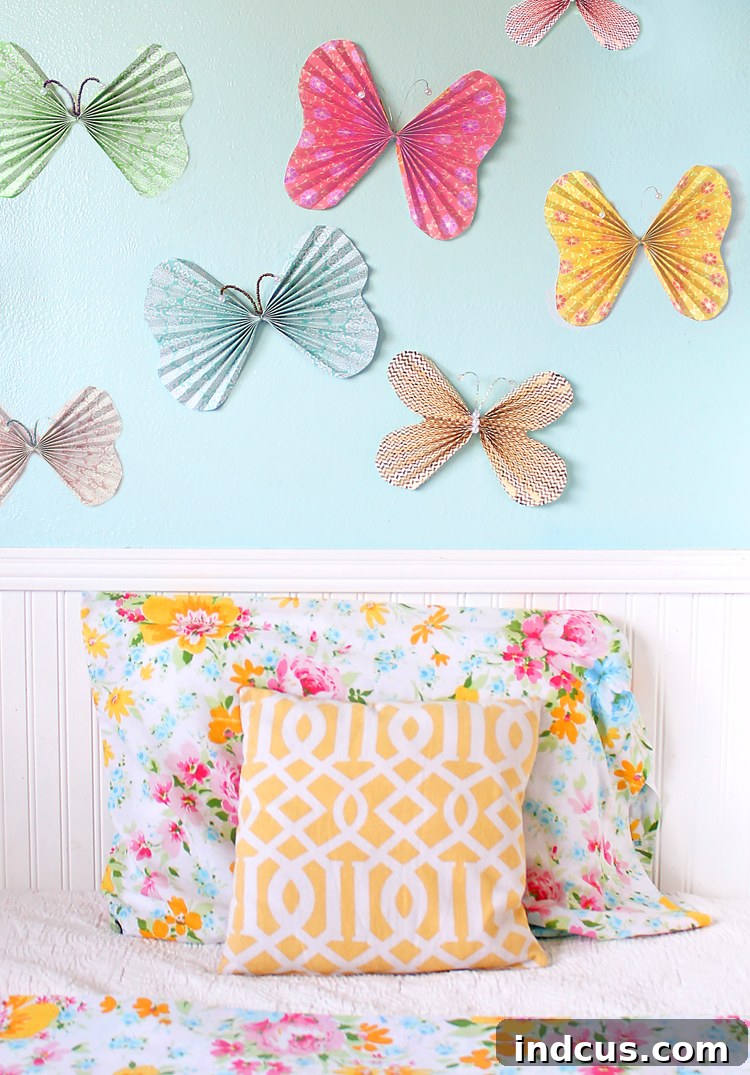
Enchanting Accordion Fold Paper Butterflies: A Creative DIY Guide
Transform ordinary paper into a flock of delightful butterflies with this engaging accordion fold craft. Perfect for crafters of all ages, from enthusiastic children to seasoned DIYers, these charming paper butterflies offer a simple yet elegant way to infuse beauty into any space. Elevate their charm by incorporating sparkling beads, shimmering metallic scrapbook paper, or vibrant patterns to truly make them your own. Whether you’re seeking adorable and budget-friendly wall decor for a little girl’s bedroom or nursery, or aiming to add a whimsical touch to a spring celebration, these handmade wonders are an absolute delight. Get ready to unleash your creativity and bring these fluttering beauties to life!
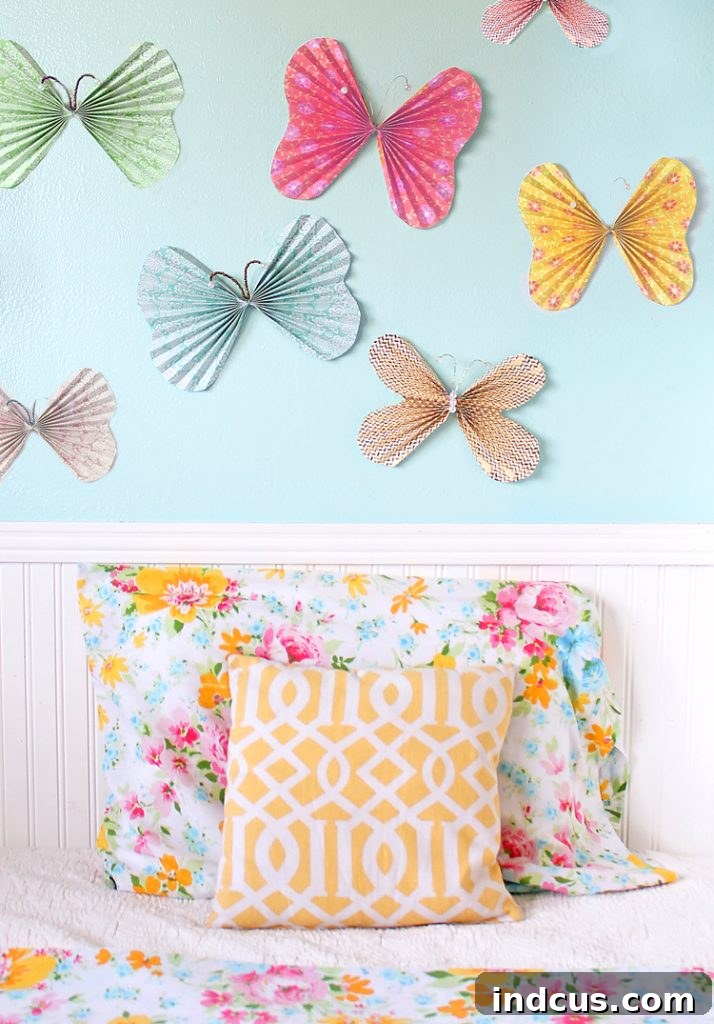
Why Create Your Own Paper Butterflies?
The allure of DIY paper butterflies extends far beyond just being a fun craft project; they offer a wealth of benefits and creative possibilities. First and foremost, they are incredibly cost-effective. Utilizing scrapbook paper or even repurposed materials allows you to create stunning decorations without breaking the bank, making them an ideal choice for large-scale party decor or decorating multiple rooms. Beyond affordability, these butterflies offer unparalleled opportunities for personalization. You have complete control over the colors, patterns, and textures of your paper, ensuring each butterfly perfectly complements your existing decor or party theme. From vibrant hues to subtle pastels, the choice is yours.
Moreover, this craft is fantastic for developing fine motor skills and encouraging artistic expression, especially for younger crafters. The repetitive motion of scoring and folding can be meditative and satisfying for adults, offering a relaxing escape from daily stresses. The satisfaction of creating something beautiful with your own hands is immense, and these butterflies are a testament to that. They serve as unique, heartfelt gifts, charming party favors, or captivating embellishments for greeting cards and scrapbooks. Embrace the joy of crafting and discover the endless potential of these enchanting paper creations!
Gather Your Crafting Essentials: Materials Needed
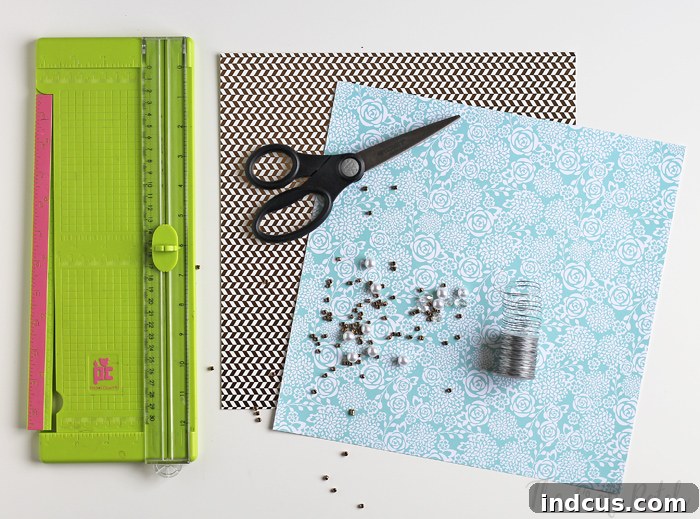
Before you begin your butterfly-making journey, it’s essential to gather all the necessary materials. Having everything at hand ensures a smooth and enjoyable crafting experience. Here’s a detailed look at what you’ll need:
- Scrapbook Paper: This is the star of your project! Choose papers with appealing patterns, solid colors, or metallic finishes. The weight of the paper is important; a medium to heavy cardstock (around 65-80 lb) works best as it holds the accordion folds well and provides structural integrity to the wings. Lighter paper might be too flimsy, while overly thick paper can be challenging to fold cleanly. Experiment with different textures and designs to create a diverse collection of butterflies.
- Assorted Beads: Beads add a touch of sparkle and serve as the butterfly’s body and antenna embellishments. Consider a variety of sizes, shapes, and colors to match your paper choices. Seed beads, pony beads, glass beads, or even small wooden beads can all work beautifully. Have fun mixing and matching to create unique looks for each butterfly.
- Craft Wire: A thin, easily bendable craft wire is crucial for forming the butterfly’s body and antennas. A 24-gauge wire is ideal as it’s sturdy enough to hold its shape but flexible enough to manipulate with ease. You might also find 26-gauge wire suitable for very delicate designs. Choose a wire color that complements your beads and paper, such as silver, gold, or copper.
- Scissors: A sharp pair of craft scissors will ensure clean, precise cuts for your wing shapes. Having both a larger pair for general cutting and a smaller, detail-oriented pair can be helpful, especially when creating intricate wing patterns.
- Paper Scorer (Optional, but highly recommended): While not strictly mandatory, a paper scorer significantly simplifies the process of creating crisp, uniform accordion folds. It allows you to quickly and accurately score parallel lines across your paper, leading to professional-looking results. If you don’t have a paper scorer, you can use a ruler and a dull tool like a bone folder, a scoring stylus, or even the back of a butter knife to create indentation lines. However, a dedicated paper scorer will make your life much easier and your folds much neater.
Step-by-Step Guide: Crafting Your Beautiful Paper Butterflies
Now that you have all your materials ready, let’s dive into the creative process of making these delightful accordion fold paper butterflies. Follow these detailed steps to ensure beautiful results every time.
Step 1: Design and Cut Your Butterfly Wing Shape
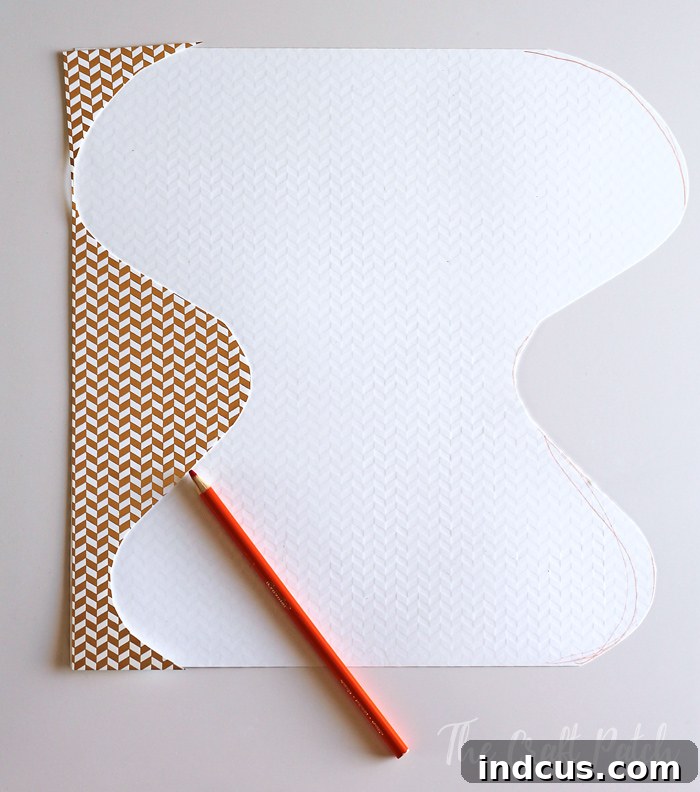
The first step is to create the foundation of your butterfly: the wings. Begin by taking a sheet of your chosen scrapbook paper. To ensure perfect symmetry without having to fold your paper down the middle (which can leave an unwanted crease), use a clever trick:
Cut one side of your desired curvy butterfly wing shape into the paper. Don’t worry about the other side yet. Once you have one half of the wing cut, move the discarded paper scraps from that cut to the other side of your intact paper. Align the cut edge of the scrap perfectly with where you want the other wing to begin. Trace along the cut edge of the scrap piece onto your main paper, then carefully cut along this traced line. This method guarantees perfectly symmetrical wings every time, providing a professional and polished look. Experiment with different wing shapes – classic, elongated, broad, or even more abstract designs – to create a diverse collection of butterflies. The shape you choose will significantly impact the final aesthetic of your butterfly.
Step 2: Score Parallel Lines Across the Paper
This step is crucial for achieving crisp, uniform accordion folds. Using your paper scorer (or a ruler and dull tool), create parallel lines across the entire sheet of paper. Aim for lines that are approximately 1/2 inch apart. Consistency is key here; try to keep the spacing as even as possible for the best results. The scoring lines act as guides for your folds, making the subsequent accordion folding process much easier and resulting in sharper creases. The width of your scores (e.g., 1/2 inch) will determine the density and texture of your butterfly’s wings. Wider scores will create larger, more relaxed folds, while narrower scores will yield a more intricate, densely folded wing. If using a ruler and a bone folder, press firmly enough to create a visible indentation without tearing the paper.
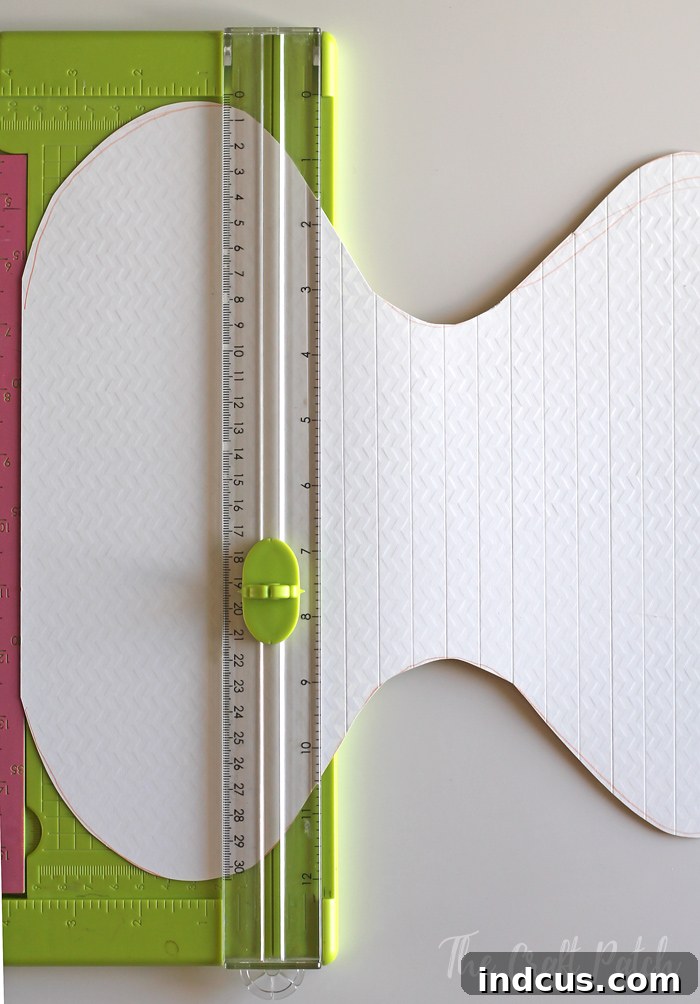
Step 3: Master the Accordion Fold
Once your paper is scored, it’s time to bring your wings to life with the accordion fold. Starting from one end, fold the paper back and forth along the scored lines. Imagine you’re folding a fan: create a mountain fold, then a valley fold, and continue this pattern until you reach the end of your paper. Press firmly along each fold to create sharp creases. The more precise your folds, the more defined and elegant your butterfly’s wings will appear. This repetitive folding action transforms the flat paper into a beautiful, textured structure that mimics the delicate veins and movement of real butterfly wings. When you’re finished, you’ll have a compact, fan-like shape, as shown in the image below, ready for the final assembly.
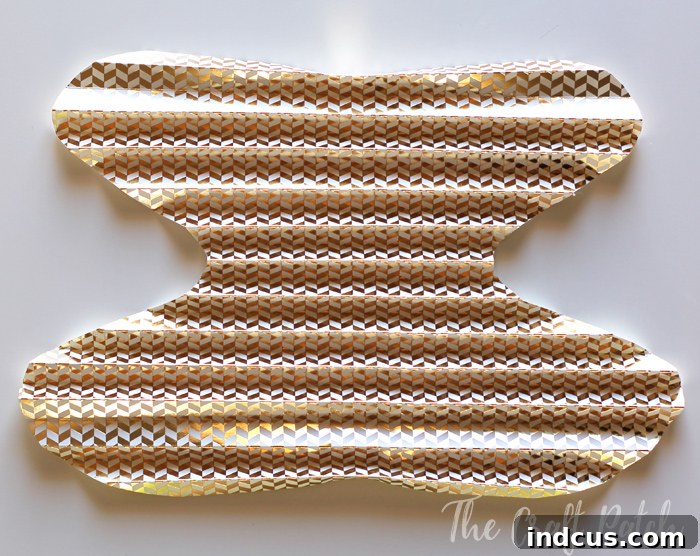
Step 4: Assemble the Butterfly Body and Antennas
With your accordion-folded wings ready, it’s time to add the finishing touches. Carefully pinch the center of your folded paper together. This will form the body of your butterfly. Take your craft wire and tightly wrap it around this pinched center. Ensure the wire is secure to hold the folds in place. Leave two long ends of wire sticking out from the top; these will elegantly become the butterfly’s antennas. Now for the embellishment! If desired, thread assorted beads onto the two wire ends to create decorative antennas. You can use different sizes or colors of beads to add more personality. For a more pronounced butterfly body, hot glue a selection of beads over the wired center area. This creates a visually appealing and three-dimensional effect, making your butterfly truly stand out. You can use larger beads for the body and smaller ones for the head, mimicking the natural anatomy of a butterfly.
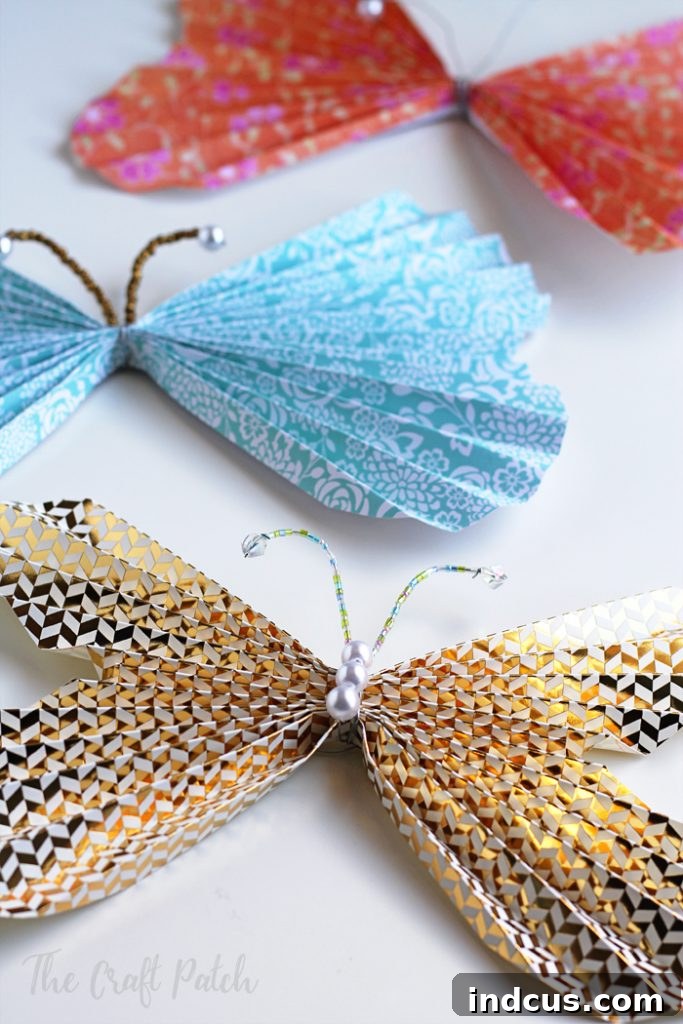
And there you have it – your magnificent accordion fold paper butterflies are complete! These beautiful creations are surprisingly simple to make yet yield impressive results. The versatility of this craft allows for endless customization, ensuring each butterfly is a unique work of art. Attach them to walls using discreet Command Strips or mounting putty, arranging them in a delightful swarm or a graceful flying path. For an even more enchanting display, hang them from fishing line at varying heights to create the illusion of them fluttering in mid-air, adding a magical touch to any room. You’ll be amazed at how a simple choice of paper and wing shape can completely transform their look. Get ready to create dozens of these pretty paper companions!
Creative Variations and Display Ideas for Your Paper Butterflies
The beauty of the accordion fold paper butterfly craft lies in its incredible adaptability. Once you’ve mastered the basic technique, a world of creative possibilities opens up, allowing you to personalize each butterfly and display them in countless imaginative ways.
Personalization and Customization
- Paper Power: Don’t limit yourself to just scrapbook paper. Experiment with metallic cardstock for a shimmering, elegant look, vellum for a translucent, ethereal quality, or even recycled magazine pages for an eco-friendly, eclectic vibe. Patterned papers can give a playful or sophisticated feel, while solid colors offer a minimalist charm that can be enhanced with glitter or paint.
- Wing Wonders: Beyond the classic curved shape, try different wing profiles. Think elongated swallowtail wings, broad monarch-inspired shapes, or even more abstract, geometric cuts. You can also layer two different paper wing shapes, one slightly smaller than the other, to create depth and a multi-dimensional effect.
- Embellishments Galore: The beads on the antennas and body are just the beginning. Consider adding a touch of glitter glue along the wing edges for extra sparkle. Tiny self-adhesive rhinestones or sequins can be strategically placed to create intricate patterns. Use different colored craft wire, or even wrap thin ribbon around the wire body for added texture.
- Size Matters: Create butterflies of varying sizes to add visual interest to your displays. Large statement pieces can anchor an arrangement, while smaller ones fill in gaps and add a sense of movement.
Inspiring Display Ideas
- Whimsical Wall Art: As mentioned, Command Strips are perfect for attaching butterflies directly to walls. Create a dynamic swarm effect, arrange them in a heart or flower shape, or design a path as if they’re flying across the room. Mix and match different sizes, colors, and patterns for a truly captivating display in a child’s room, nursery, or even a craft studio.
- Enchanting Mobiles: String several butterflies together with fishing line or clear thread to create a delicate mobile. Hang it above a crib, in a window, or in a quiet corner to watch them gently sway with the air currents.
- Party Perfection: These butterflies are ideal for party decorations. String them into garlands or banners, use them as unique table centerpieces (perhaps attached to floral arrangements), or scatter them across dessert tables. They can even serve as charming party favors that guests can take home.
- Gift Toppers & Card Embellishments: Elevate your gift wrapping by attaching a handmade paper butterfly to the top of a present. They also make exquisite embellishments for handmade greeting cards, adding a personal and artistic touch that will surely be appreciated.
- Seasonal Accents: Use specific paper colors and patterns to match holidays or seasons. Pastel butterflies for spring and Easter, vibrant hues for summer, or even white and silver for a winter wonderland theme.
- Fairy Garden Flair: Integrate smaller paper butterflies into indoor or outdoor fairy gardens, adding a touch of magic and life to miniature landscapes.
- Book Page Markers: A small accordion folded butterfly can make a beautiful and functional bookmark, especially when made from thinner, lighter paper.
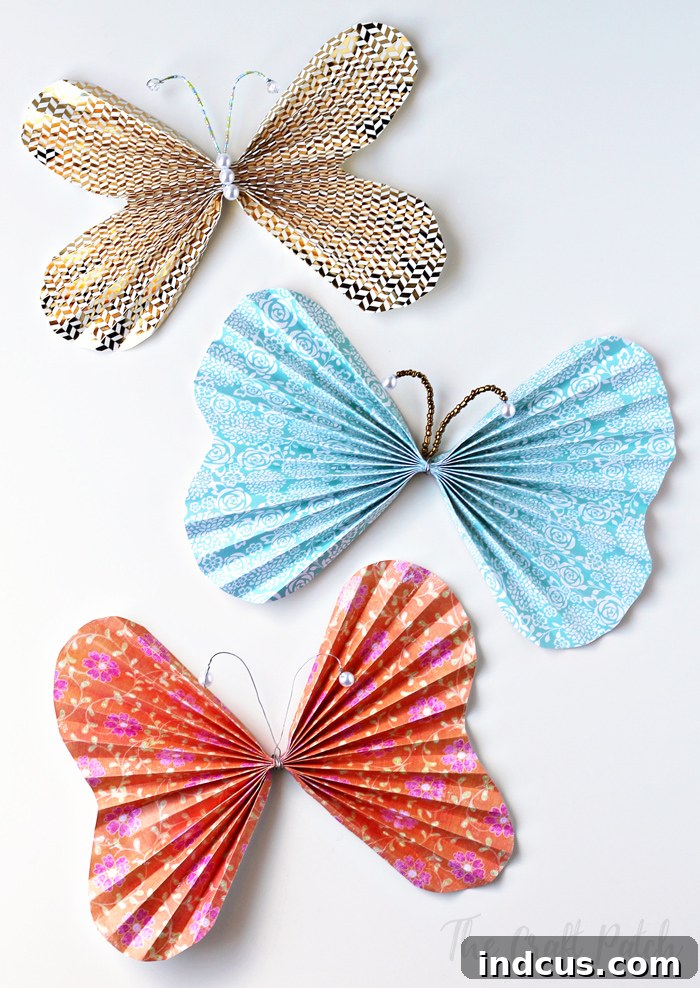
The joy of crafting these accordion fold paper butterflies lies in their accessibility and the boundless potential for creative expression. Each butterfly you create will carry a piece of your personality, making them more than just decorations – they are tiny works of art that bring a smile to your face. So, gather your materials, let your imagination soar, and prepare to fill your world with these enchanting paper wonders!







