
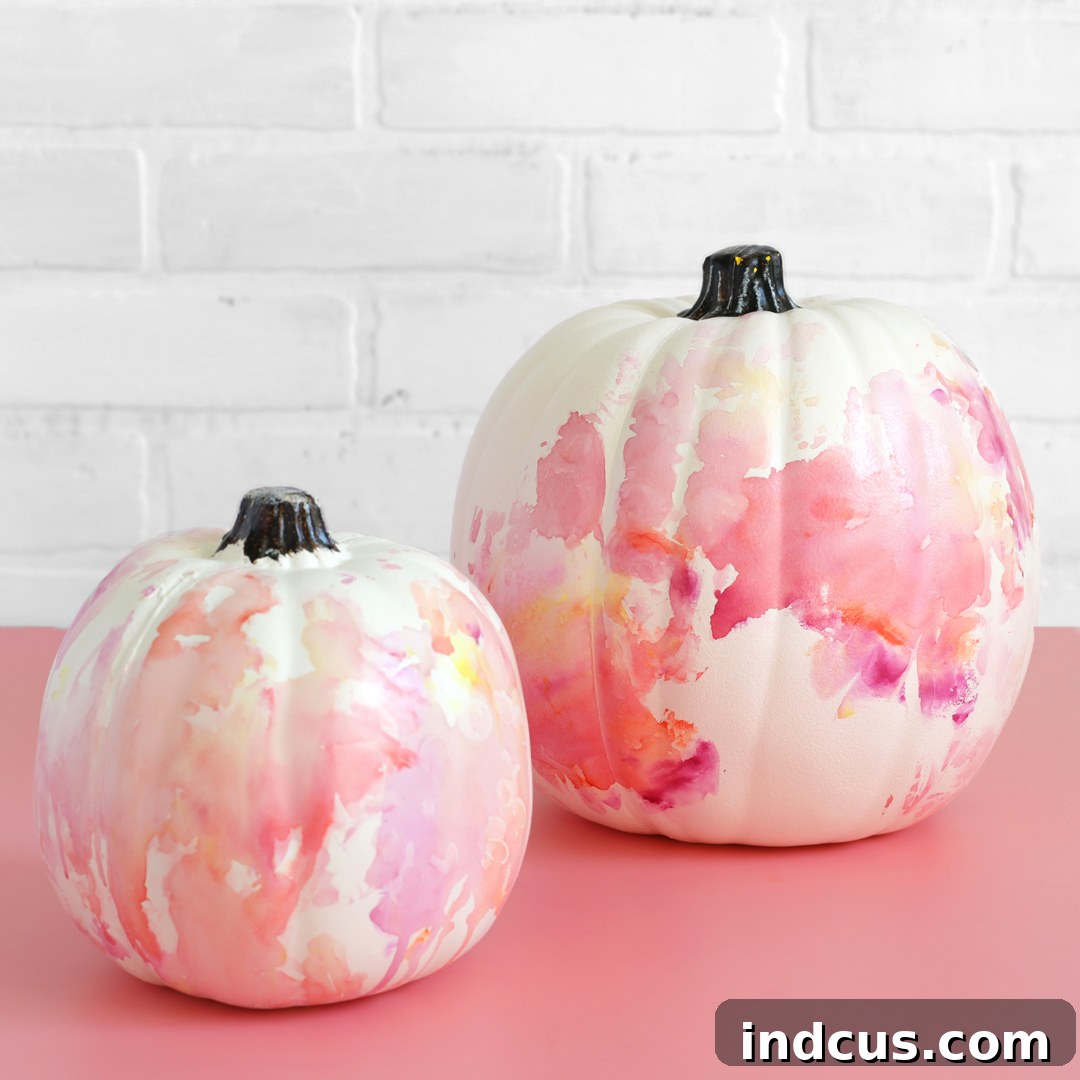
DIY Faux Watercolor Pumpkins: A Simple Sharpie & Alcohol Technique for Stunning Fall Decor
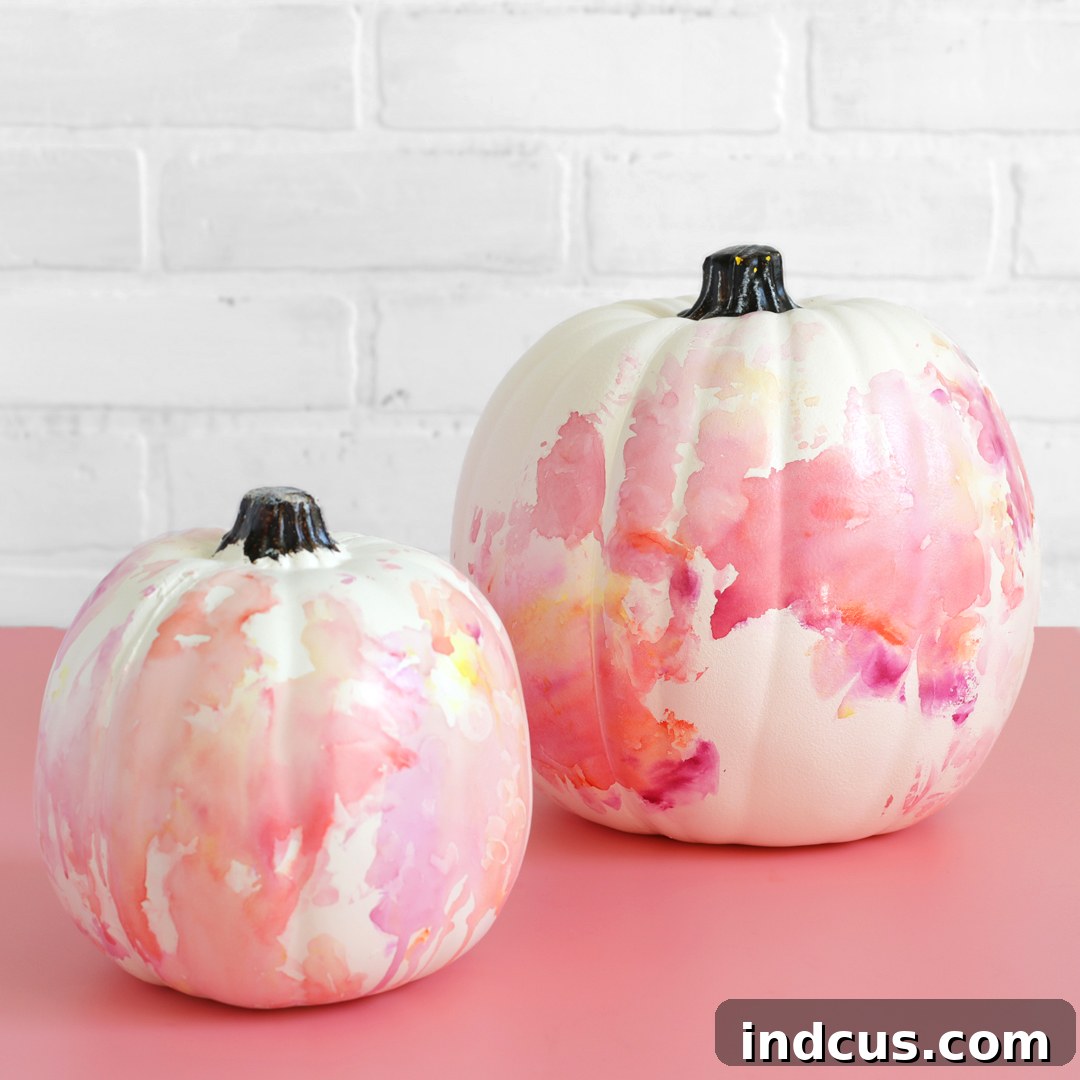
As the vibrant colors of summer give way to the rich hues of autumn, our homes begin to reflect the season’s charm. Fall decorating is a beloved tradition, and at the heart of it all are pumpkins. While traditional pumpkin carving offers a classic appeal, it can be a messy, temporary endeavor that requires specific tools and a steady hand. Many crafters and home decorators seek alternative, less intimidating ways to infuse their spaces with fall spirit, often turning to painted pumpkins. But what if you could achieve a sophisticated, artistic look without any advanced painting skills, brushes, or even extensive drying times? Get ready to discover your new favorite fall craft!
Today, we’re thrilled to unveil an incredibly fun and surprisingly easy pumpkin painting technique that utilizes everyday Sharpie markers and a common household item: rubbing alcohol. This clever combination creates a mesmerizing faux watercolor effect that will make your pumpkins look like they’ve been hand-painted by a professional artist. If you’ve been looking for unique, long-lasting, and truly beginner-friendly pumpkin decorating ideas, you’ve stumbled upon a creative game-changer. Prepare to be amazed at how effortlessly you can transform plain craft pumpkins into eye-catching, vibrant centerpieces for your autumn display.
Why This Faux Watercolor Pumpkin Technique Will Be Your New Go-To Fall Craft
This method isn’t just easy; it’s genuinely rewarding and offers numerous advantages over other pumpkin decorating approaches:
- Effortlessly Artistic Results: No prior painting experience or artistic talent is required. The magic happens as the alcohol naturally blends the Sharpie inks, creating beautiful, organic watercolor patterns.
- Quick and Convenient: This project comes together in a surprisingly short amount of time, making it perfect for last-minute decorating or a spontaneous crafting session.
- Unique and Visually Stunning: Each pumpkin will be a one-of-a-kind piece, boasting vibrant, blurred colors that mimic genuine watercolor artistry.
- Clean and Tidy: Say goodbye to pumpkin guts, sticky seeds, and spilled paint. This technique is remarkably clean compared to carving or even traditional painting.
- Long-Lasting Decor: Crafted on artificial pumpkins, your masterpieces will endure throughout the entire fall season and can be cherished year after year, becoming a treasured part of your autumn traditions.
- Budget-Friendly: Most of the necessary supplies are likely already in your home or can be purchased affordably.
- Family-Friendly Fun: This is a fantastic activity for all ages, though adult supervision is recommended when handling rubbing alcohol. It’s a wonderful way to engage children in a creative, sensory craft.
Gather Your Essential Materials: Preparing for Your Watercolor Pumpkin Project
Before you dive into the vibrant world of Sharpie and alcohol art, let’s ensure you have all your tools ready. One of the many appealing aspects of this craft is that it requires only a handful of readily available items, meaning you can often start creating without a trip to the craft store!
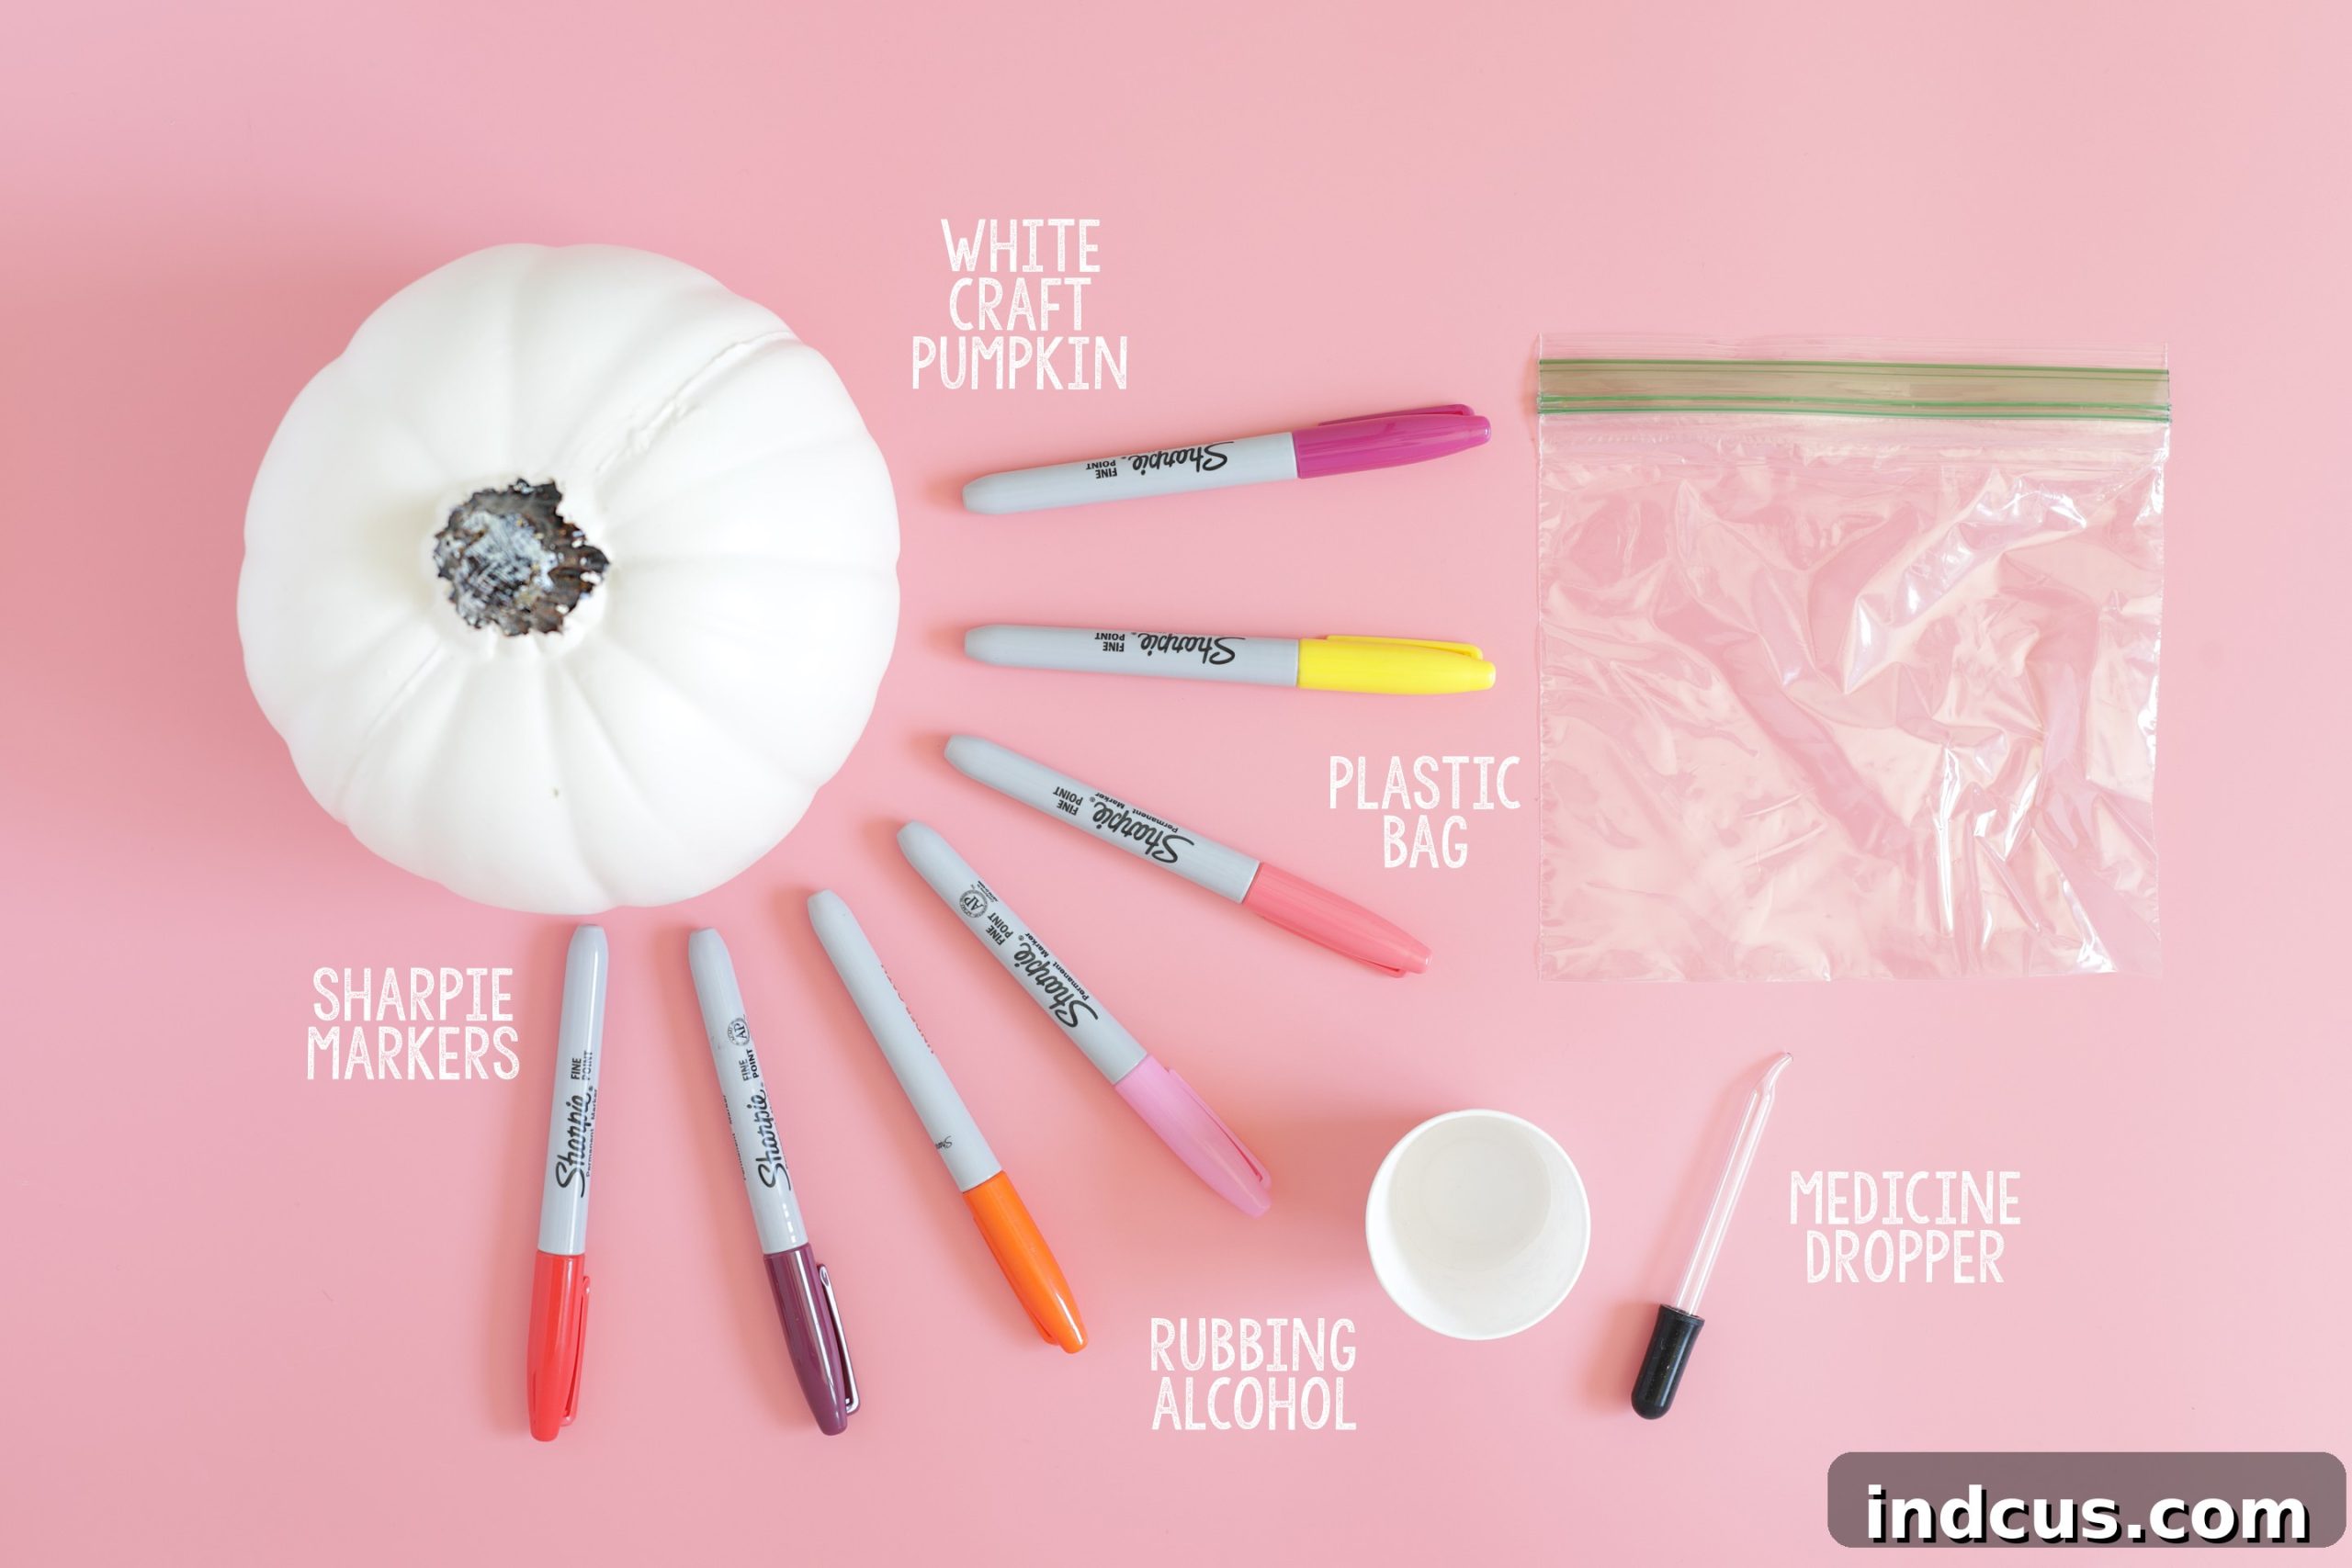
Materials Needed:
- Plain White Craft Pumpkin: While you could technically use real pumpkins, artificial craft pumpkins (typically made from foam, plastic, or resin) are highly recommended. Their smooth, non-porous white surface provides the ideal canvas, allowing the Sharpie inks to spread beautifully and vibrantly. Furthermore, craft pumpkins offer the significant advantage of lasting indefinitely, allowing you to enjoy your creations season after season. They come in various sizes, perfect for creating a dynamic display.
- Sharpie Markers (Assorted Colors): These permanent markers are the stars of our show! Select a range of colors that appeal to you. Classic chisel-tip Sharpies work exceptionally well for covering larger areas, but you can also incorporate fine or ultra-fine tips for more detailed accents if desired. Consider a warm autumnal palette (oranges, reds, yellows, browns, deep greens) for traditional fall decor, or venture into bolder, contrasting hues for a more modern, eclectic look. The richer the pigment, the more dramatic and beautiful your watercolor effect will be.
- Isopropyl Rubbing Alcohol (70% or 91%): This is the key solvent that unlocks the watercolor magic. When applied, it causes the Sharpie ink to bleed and blend, mimicking the flow of traditional watercolors. Both 70% and 91% concentrations are effective, though 91% might produce a slightly faster and more pronounced spread. Always use rubbing alcohol in a well-ventilated area.
- Plastic Bag (Ziploc, grocery bag, or similar): This acts as your essential transfer medium. A smooth, non-absorbent plastic surface is crucial for the alcohol to spread the ink effectively without soaking it up. A large Ziploc bag, a clean grocery bag, a sheet protector, or even a piece of plastic wrap laid flat will work perfectly.
- Medicine Dropper or Pipette: Precision is vital for controlled application of the rubbing alcohol. A medicine dropper allows you to carefully dispense small, controlled drops, preventing oversaturation and ensuring delicate, blurred watercolor effects rather than simply washing out the color. If a dropper isn’t available, a small spoon can be used, but exercise extra caution for controlled pours.
- Protective Work Surface: Always lay down several layers of newspaper, an old towel, a plastic tablecloth, or a craft mat to protect your workspace from any stray ink, alcohol, or accidental drips.
- Disposable Gloves (Optional but Recommended): For those who prefer to keep their hands completely clean, especially when working with numerous colors or for extended periods, a pair of disposable gloves can be very helpful.
Step-by-Step Guide: Crafting Your Faux Watercolor Pumpkin Masterpiece
With all your materials neatly organized, it’s time to unleash your inner artist! This process is wonderfully forgiving and encourages experimentation, so embrace the unexpected beauty that unfolds with each step.
Step 1: Lay Down Your Base Colors on the Plastic Bag
Begin by flattening your plastic bag smoothly on your protected work surface. This bag will serve as your temporary palette. Using your Sharpie markers, draw various splotches, dots, lines, or abstract shapes directly onto the plastic. There’s no need to aim for perfection here; the beauty lies in the spontaneous flow of the colors. Think about your desired color scheme: do you want warm autumn tones, cool blues and greens, or a vibrant rainbow? Consider how different colors might blend. For instance, placing analogous colors (like yellow, orange, and red) near each other will create smooth transitions, while complementary colors (e.g., blue and orange) can create striking contrasts or, if mixed heavily, a muddy effect. Ensure you color an area on the bag that is at least as large as the section of the pumpkin you intend to cover. Don’t press too hard, but ensure a good, even layer of ink for optimal color transfer.
Step 2: Activate the Ink with Rubbing Alcohol
Once your plastic bag is adorned with your Sharpie design, it’s time for the captivating transformation to begin. Fill your medicine dropper with isopropyl rubbing alcohol. Carefully and sparingly, apply small drops of alcohol onto the colored areas of the plastic bag. You’ll immediately notice the Sharpie ink reacting – it will begin to dissolve, bleed, and spread outwards, creating stunning, organic watercolor-like patterns. The alcohol acts as a powerful solvent, releasing the pigments from the permanent marker. Avoid oversaturating the bag; it’s better to start with fewer drops and add more if needed. You want the colors to gently diffuse and blend, not completely wash away. Observe how varying drop sizes and placements influence the final patterns and experiment until you achieve the desired level of diffusion.
Step 3: Transfer the Watercolor Effect to Your Pumpkin
Now for the most exciting part! While the ink on the plastic bag is still wet and actively spreading from the alcohol, gently roll your plain white craft pumpkin over the activated colored areas. Apply a light, even pressure to ensure that the wet, beautifully blended ink transfers smoothly and comprehensively onto the pumpkin’s surface. For areas that are harder to reach or to create more controlled patterns, you can carefully lift sections of the plastic bag and press them directly onto the pumpkin. The goal is to pick up the dissolved Sharpie ink in its gorgeous, blurred, and layered state. If you desire more coverage, greater depth, or a multi-layered design, simply repeat the process: color another section of your plastic bag, apply alcohol, and then roll or press the pumpkin over it again. Don’t worry if the initial transfer looks abstract or imperfect; the charm of this technique lies in its unpredictable, artistic nature.
Step 4: Allow Your Watercolor Masterpiece to Dry
Once you are completely satisfied with the faux watercolor design on your pumpkin, carefully place it aside in a well-ventilated area to dry. The rubbing alcohol evaporates quite rapidly, so the Sharpie ink will typically be dry to the touch within 5 to 10 minutes, depending on the amount of alcohol used and the environmental humidity. As the alcohol dissipates, the colors will set, permanently revealing the stunning, unique watercolor effect you’ve created. Once fully dry, your vibrant, custom-designed Sharpie watercolored pumpkin is ready to be proudly displayed and admired as a focal point of your autumn decor!
Video Tutorial Guide
While these written instructions provide a detailed roadmap, sometimes seeing a craft in action can clarify nuances and inspire new ideas. The dynamic process of watching the Sharpie ink react with rubbing alcohol and transfer to the pumpkin is truly captivating. We highly recommend searching for a video tutorial on platforms like YouTube (a simple search for “Sharpie alcohol watercolor pumpkin” or “faux watercolor pumpkin tutorial” will yield many helpful results) to complement these steps. A visual guide can offer invaluable insights into the precise application of alcohol, the ideal wetness of the ink, and effective transfer techniques, helping you achieve even more spectacular results with your own pumpkin project.
Love this creative pumpkin decorating idea? Don’t forget to pin it to your Fall Decor, DIY Crafts, or Pumpkin Inspiration boards so you can easily find it later!
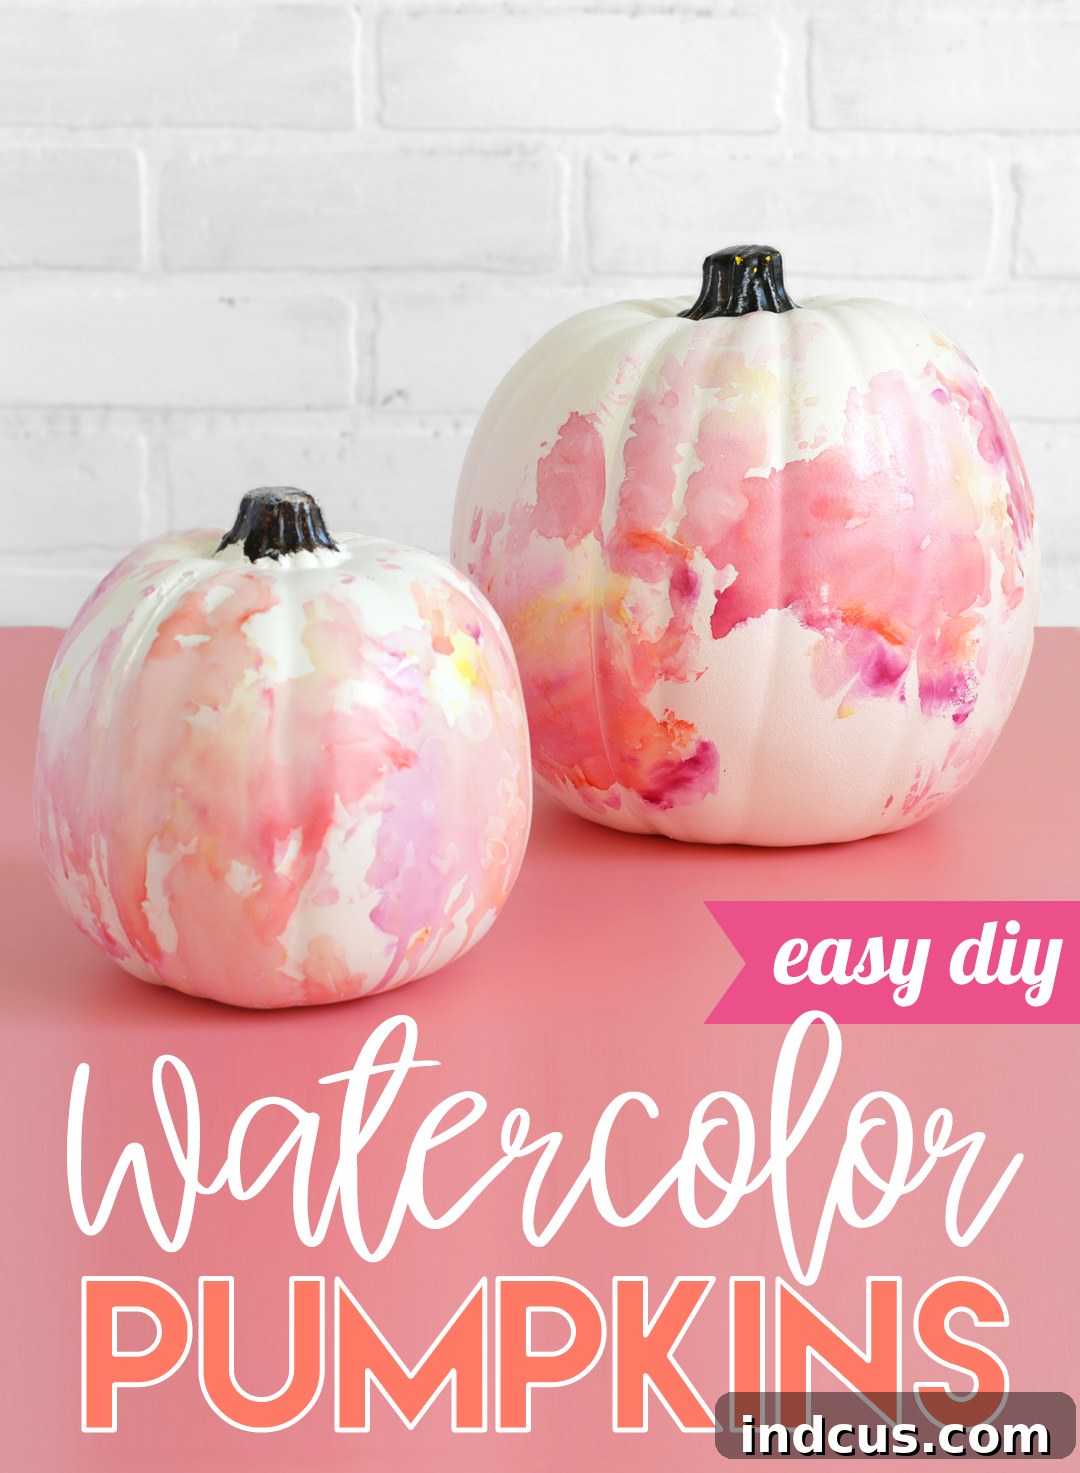
Pro Tips for Achieving the Best Faux Watercolor Results
To ensure your faux watercolor pumpkins are as stunning as possible, keep these expert tips in mind:
- Thoughtful Color Selection: The colors you choose will dramatically impact the final look. For harmonious blends, opt for analogous colors (those next to each other on the color wheel, like blue, purple, and pink). For vibrant contrast, use complementary colors (opposites on the color wheel, such as blue and orange), but be mindful that direct heavy mixing can sometimes create muddy brown tones. Consider monochromatic schemes using different shades of a single color for an elegant, understated effect.
- Exercise Alcohol Control: When applying rubbing alcohol, remember that “less is often more.” Start with small, controlled drops. You can always add more alcohol if needed, but applying too much initially can dilute the colors excessively or cause them to run off the bag entirely, diminishing the distinct watercolor effect.
- Experiment with Surfaces: While a plastic bag is highly effective, don’t be afraid to experiment with other smooth, non-absorbent surfaces. You might try glossy cardstock, ceramic tiles, or even smooth plastic sheeting to see if you achieve different textural results.
- Seal for Enhanced Durability: For an extra layer of protection and to ensure your beautiful design endures for many seasons to come, consider applying a clear acrylic sealant spray once your pumpkin is completely dry. A matte or glossy finish can be chosen based on your aesthetic preference. Sealing also helps prevent any potential smudging of the Sharpie ink over time and offers mild protection if your craft pumpkins are displayed in a sheltered outdoor area (though indoor display is always recommended for longevity).
- Layering for Depth and Dimension: Don’t limit yourself to a single application. Once your first layer of color is dry, you can apply new Sharpie colors to a fresh section of the plastic bag, activate it with alcohol, and then re-roll or press your pumpkin over it. This technique allows you to build up complex, multi-dimensional designs with beautiful overlapping colors.
- Safety First with Kids: This is a wonderful craft for children, but adult supervision is crucial, especially when handling rubbing alcohol. Ensure good ventilation, explain the importance of not ingesting the alcohol, and protect all surfaces. For younger children, adults can pre-draw the Sharpie colors onto the bag, allowing the children to focus on the exciting step of applying the alcohol with the dropper.
Beyond Pumpkins: Exploring Other Sharpie & Alcohol Crafts
The ingenuity of the Sharpie and rubbing alcohol technique extends far beyond just pumpkin decoration! Once you’ve mastered the basic principle, you’ll find that it can be applied to a plethora of other surfaces and projects, allowing your creativity to flourish in exciting new directions. As highlighted in the original content, a variation of this very method can be used to create incredibly stylish tie-dye effects on canvas sneakers. Imagine stepping out in vibrant, custom-designed footwear that perfectly reflects your personal flair!
This versatile technique also yields fantastic results on various other materials. Consider applying it to ceramic tiles to craft unique coasters, glass ornaments for personalized holiday decorations, plain plastic phone cases for bespoke accessories, or even certain fabrics (though fabric applications typically require specific fabric markers and heat-setting for permanence). The possibilities are genuinely endless once you understand how to manipulate the ink and alcohol. So, after you’ve curated your stunning collection of faux watercolor pumpkins, don’t hesitate to think about what other everyday items around your home could benefit from a touch of personalized, watercolor-inspired artistry!
Embrace Your Inner Artist This Fall
Crafting these faux watercolor pumpkins with Sharpie markers is more than just a simple project; it’s an invitation to unleash your creativity, experiment fearlessly with color, and experience the immense satisfaction of creating something truly beautiful with your own hands. It offers a refreshing and sophisticated alternative to traditional, often messy, pumpkin carving, and it’s an excellent way to add a unique, whimsical, yet elegant touch to your autumn home decor.
Whether you’re preparing your home for a festive Halloween gathering, enhancing the cozy ambiance of your Thanksgiving table, or simply seeking a fun and accessible craft project to enjoy with family and friends, these Sharpie watercolor pumpkins are guaranteed to impress. Gather your supplies, select your favorite autumnal or vibrant hues, and prepare to be utterly delighted by the stunning, one-of-a-kind results. We encourage you to share your amazing creations – we absolutely love seeing how you interpret and personalize this wonderfully inventive technique!







