
This post is sponsored by Farm Rich. All opinions are my own. #TastyTimeOut
From Garage Salvage to Rainbow Craft Room Masterpiece: A DIY Journey of Fails, Fuel, and Creative Triumphs
Every home tells a story, and ours began five years ago with a neglected cabinet in the garage. This wasn’t just any old piece of furniture; it was a relic, a bulky, unloved fixture that most would dismiss as junk. But for a DIY enthusiast like me, it was a blank canvas brimming with potential. My husband, ever the supportive partner in my creative endeavors, helped me liberate it from its dusty perch on the garage wall. We hauled it inside, and with a fresh coat of paint and some TLC, it transformed into a functional and stylish media center, serving our living space faithfully for years. It was a testament to the magic of upcycling, proving that one person’s trash can indeed be another’s treasure.
The Evolution of a Cabinet: Embracing New Needs and Spaces
Life, however, is a constant state of flux, and so are our storage needs. As my passion for crafting grew, so did my collection of supplies – fabrics, paints, beads, papers, and countless tools all clamoring for a designated home. My craft room, a sanctuary of creativity, started to feel a little overwhelmed. It became clear that the beloved media cabinet, though still functional, could serve a higher purpose. It was time for a second act, a new chapter in its upcycled journey. I envisioned it becoming a vibrant, organized storage unit for my ever-expanding craft empire, a piece that would not only serve a practical purpose but also infuse the room with an undeniable sense of joy and artistic flair.
A Bold Vision for My Craft Room: The Quest for Color and Organization
With renewed determination, I decided to give this versatile bookcase another makeover. My craft room is a hub of inspiration, a place where colors explode and ideas blossom. I wanted this cabinet to mirror that energy, to be a kaleidoscope of hues that would ignite my imagination every time I walked in. I delved into my existing paint stash, pulling out a vibrant assortment of colors, convinced I could create something truly special. The vision was clear: a playful, colorful centerpiece that would perfectly complement the whimsical decor of my creative space. Armed with brushes and an optimistic spirit, I set to work, eager to bring my colorful dream to life.
The Epic Craft Fail: When Creativity Takes a Wrong Turn
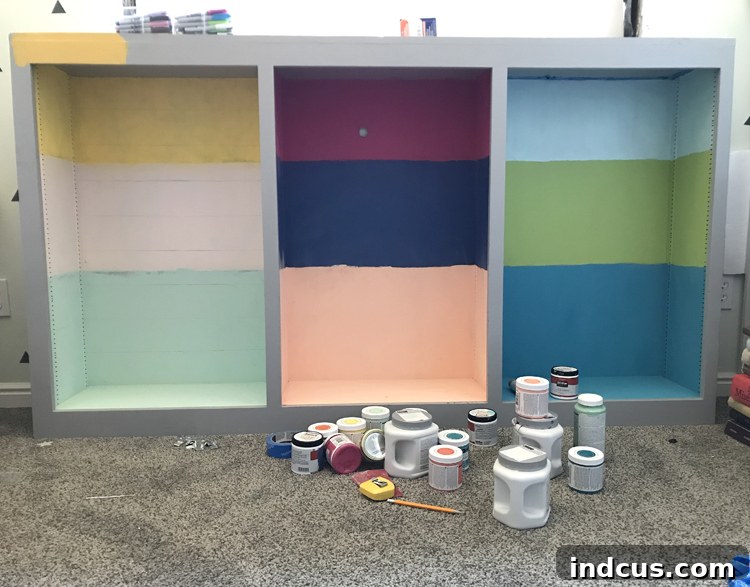
Oh, the best-laid plans! What started with such excitement quickly spiraled into an “epic craft fail.” As I applied the paint, layer after layer, a sinking feeling began to set in. The colors, which had seemed so promising in their individual cans, clashed horribly when brought together on the cabinet. They were discordant, chaotic, and frankly, an eyesore. I spent hours meticulously painting each section, pouring my time and effort into this project, only to step back and realize I absolutely detested it. The vibrant vision I had held so dearly in my mind’s eye had morphed into a garish nightmare. It was utterly discouraging, a profound creative setback that left me feeling drained and defeated. Every crafter knows this feeling – that moment when your vision crumbles, and you’re left staring at a project that’s gone completely awry. It’s enough to make you want to throw in the towel and abandon your artistic pursuits altogether.
Pressing Pause: Recharging with Farm Rich Time Outs™
In moments of creative crisis, a strategic retreat is often the best course of action. Facing the visual assault of my failed cabinet, I knew I needed to step away, clear my head, and regroup. This wasn’t just a physical break; it was a mental and emotional recharge. And what better way to do that than with the comforting indulgence of Farm Rich Time Outs™? These weren’t just snacks; they were my personal invitation to pause, to breathe, and to find my way back to a place of creative optimism. Their convenient, single-serving nature makes them perfect for those quick breaks when you need a little something wholesome and satisfying without disrupting your flow. It’s like a mini-retreat for your taste buds, providing the perfect fuel to tackle whatever creative challenge comes next.
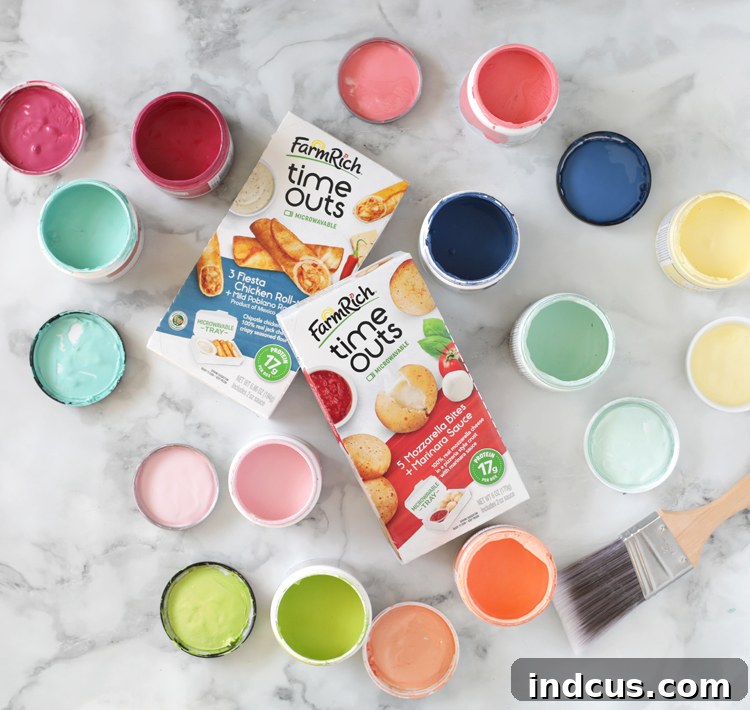
If you haven’t discovered the magic of Farm Rich Time Outs yet, you’re in for a treat! These wholesome, protein-packed, warm snacks are specifically designed for those moments when you need to refuel and refocus. Whether you’re deep into a crafting marathon, taking a much-needed study break, or simply need a moment to yourself, they’re an ideal choice. You can find them conveniently located in the freezer section at your local Walmart and Publix, typically priced around $3.49 to $4.49, making them an affordable luxury. The best part? They cook up quickly in the microwave – often in just a few minutes – and come in their own containers. This means less time spent on dishes and more precious minutes reclaimed for what truly matters: your creative pursuits, your self-care, or simply enjoying a moment of peace. It’s the ultimate hassle-free snacking experience for busy individuals who appreciate both convenience and quality.
Discovering Your Perfect Time Out Flavor
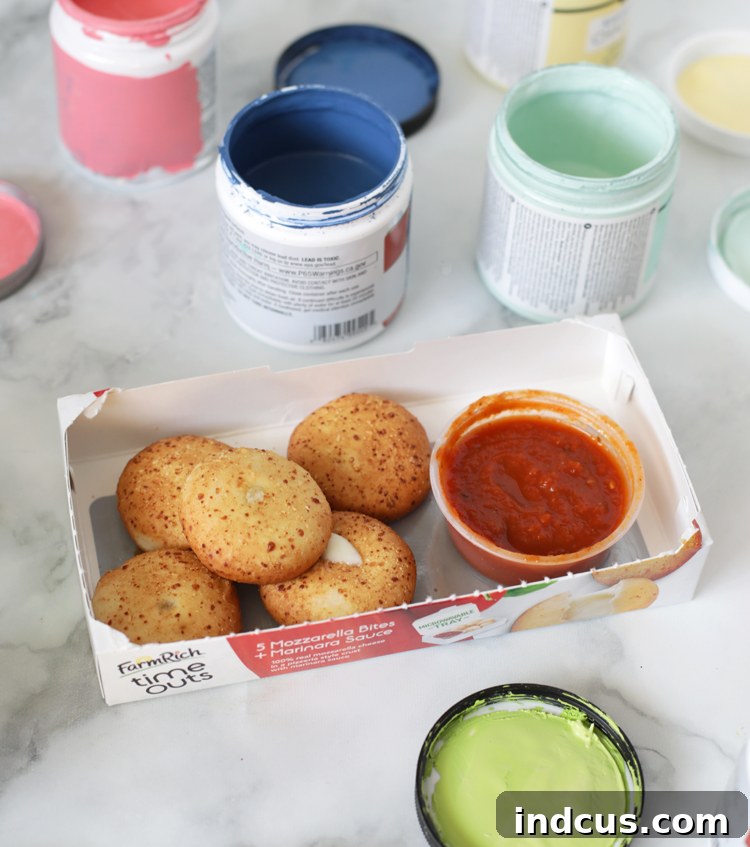
One of the delights of Farm Rich Time Outs is the variety they offer, ensuring there’s a delicious option for every craving. Each of the four varieties comes with its own perfectly paired, yummy dipping sauce, elevating the snack experience. You can savor the savory goodness of Fiesta Chicken Roll-ups, perfectly complemented by a mild Poblano Ranch Sauce that adds a creamy, zesty kick. For pizza lovers, the Pepperoni Pizza Roll-ups, served with a classic Marinara Sauce, offer a comforting and familiar flavor. If you’re in the mood for something hearty, the Boneless Chicken Bites come with a delightful Sweet BBQ Sauce, providing a satisfying blend of savory and tangy notes. And, of course, no snack lineup would be complete without the timeless appeal of Mozzarella Bites, paired perfectly with Marinara Sauce for that irresistible cheesy goodness. Each option is crafted to provide a moment of culinary pleasure, helping you unwind and recharge before diving back into your day.
From Discouragement to Dazzling: A New Game Plan Emerges
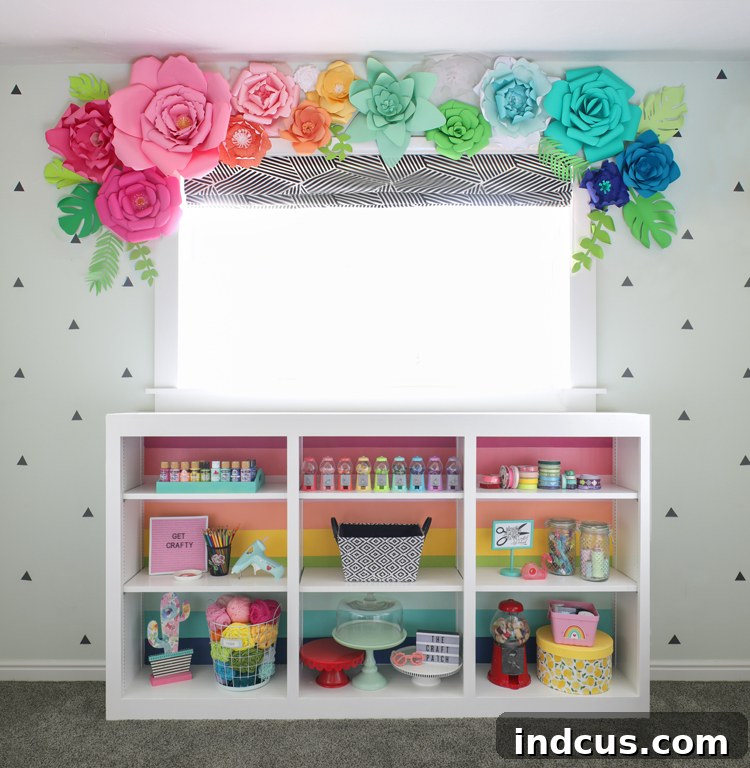
After my Farm Rich-fueled time out and a bit of “soul searching” (okay, perhaps that’s a tad dramatic for contemplating a cabinet makeover, but creative blocks can feel quite existential!), clarity began to emerge. The initial frustration slowly dissipated, replaced by a fresh wave of inspiration. I knew I couldn’t leave the cabinet in its current, dreadful state. It needed a complete overhaul, a design that truly reflected the vibrant spirit of my craft room. My gaze drifted towards the stunning giant paper flowers adorning my craft room window – a burst of color, perfectly arranged in a beautiful rainbow gradient. That was it! Rainbow is, after all, my favorite “color” – an entire spectrum of joy. I decided on rainbow stripes. This time, I wouldn’t rely on my random stash. I carefully selected sample sizes of paint, ensuring they perfectly matched the specific hues of those inspiring paper flowers, guaranteeing a cohesive and harmonious look. With a new vision and a clear plan, I felt a renewed sense of purpose, ready to paint over my big fail and transform it into a masterpiece.
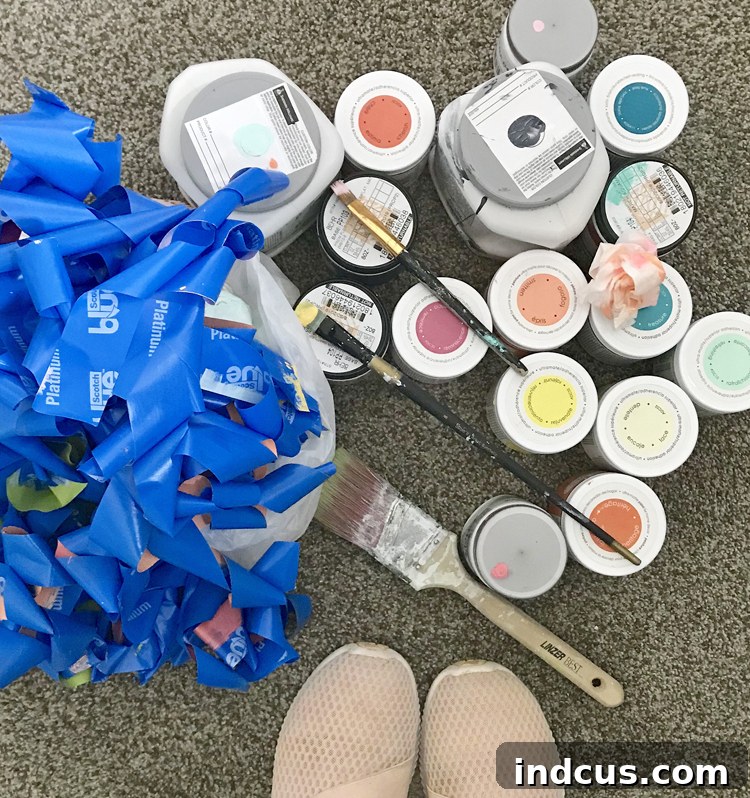
DIY Rainbow Stripes: A Step-by-Step Guide to Colorful Success
Creating perfectly crisp rainbow stripes might seem daunting, but with a bit of patience and precision, it’s an incredibly rewarding DIY project. Here’s how I tackled it, turning a craft fail into a design triumph, and how you can achieve a similar vibrant look for your own furniture or walls. Remember, the key is careful measurement and strategic taping to ensure those lines are as sharp as can be.
-
Measure and Mark Your Vision: The first crucial step is meticulous measurement. Begin by measuring the entire height or width of the surface you wish to stripe. Once you have this total measurement, determine how many colors you want to incorporate into your rainbow. I used nine distinct colors, so I divided the total height of my bookcase into nine equal parts. This ensures each stripe will have a consistent width, creating a balanced and professional appearance. Don’t rush this step; accuracy here will save you headaches later.
-
Precision with Pencil and Level: With your measurements in hand, it’s time to mark your lines. Use a reliable level to draw faint pencil lines across your surface, marking the boundaries of each stripe. A good quality level is your best friend here, as even a slight tilt can throw off the entire design. Make sure your pencil lines are light enough to be covered by paint but clear enough for you to see. This forms the blueprint for your colorful transformation.
-
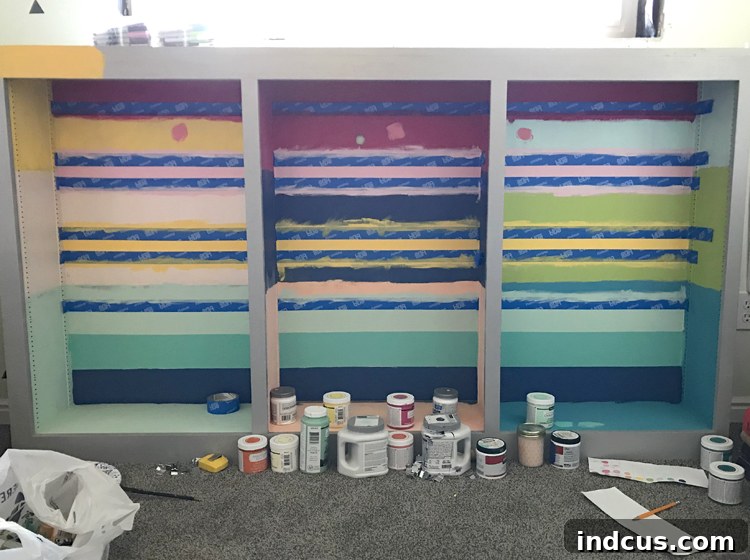
Tape, Paint, and Patience (Phase One): Now for the taping! Apply high-quality painter’s tape along every other section of your marked lines. Ensure the tape is pressed down firmly, especially along the edges where the paint will meet, to prevent any bleeding. Once your tape is securely in place, carefully paint in the exposed sections. Apply thin, even coats to achieve good coverage without saturating the tape. This initial painting phase establishes your first set of colors. Allow this paint to dry completely – and I mean *completely* – before moving on.
-
The Grand Reveal (Phase Two): Once the first set of painted stripes is absolutely dry to the touch (this might take several hours or even overnight, depending on your paint), it’s time to readjust your tape. Carefully remove the tape from the sections you just painted, then apply new tape to cover these newly painted stripes, exposing the unpainted sections. Now, paint in the remaining sections with your chosen colors. This two-phase taping and painting method is critical. It ensures that two neighboring colors of wet paint will never smear together by accident, resulting in beautifully crisp, defined lines. Patience through the drying stages is paramount for a professional finish.
The Finished Masterpiece: My Dream Craft Room Storage
Are you ready to see how my rainbow bookcase turned out? After all the measuring, taping, painting, and waiting, the moment of truth arrived. Peeling back that final piece of painter’s tape was like unwrapping a gift, and the reveal was pure magic. *Gah!* I’m absolutely in love! The vibrant stripes pop with personality, perfectly capturing the joyful and creative atmosphere I envision for my craft room. Each color flows seamlessly into the next, a testament to the meticulous process and the power of perseverance. It’s more than just a storage unit; it’s a statement piece, a burst of optimism that greets me every time I step into my creative sanctuary.
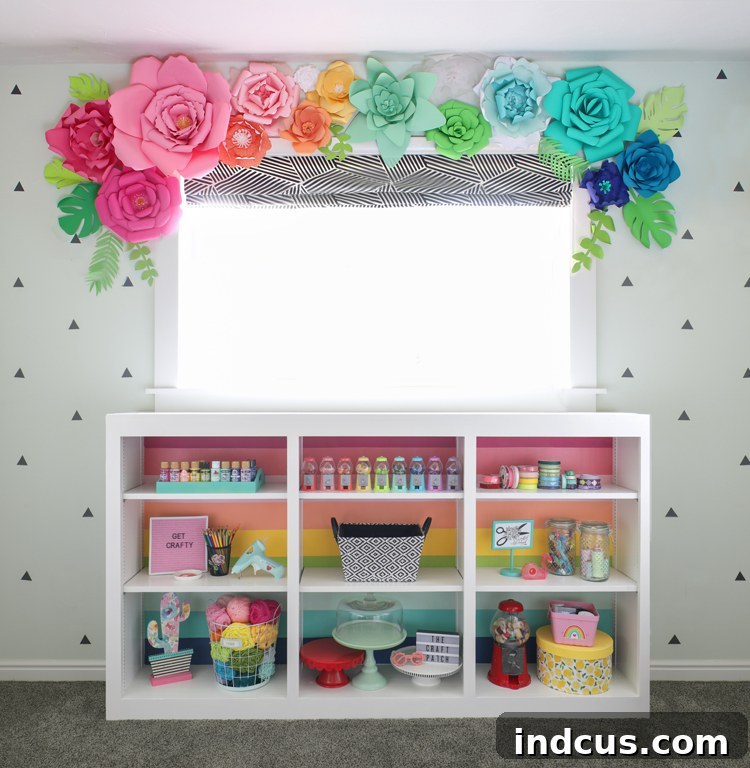
I am so incredibly glad I hung in there and kept going on this project, despite the initial setback and the overwhelming feeling of a “craft fail.” It’s a powerful reminder that not every creative endeavor goes smoothly from the start, and sometimes, the most beautiful outcomes arise from moments of frustration and the courage to try again. This cabinet isn’t just a functional piece of furniture; it’s a symbol of resilience, a colorful beacon proving that even when things go wrong, a little determination and a well-deserved break can turn disaster into delight. And all I’m saying is, maybe it was my delicious cheesy Farm Rich snack that fueled this little bit of creative genius, providing that essential pause needed to transform a bad idea into an absolute triumph!
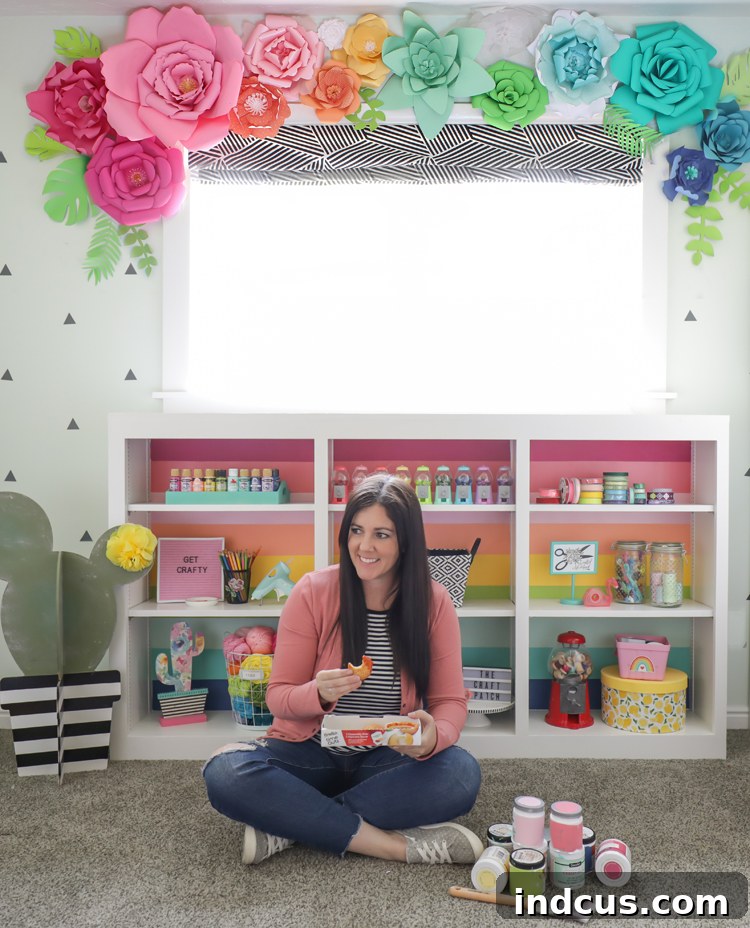
Your Creative Journey: Share Your Craft Fails and Triumphs!
Every crafter, DIYer, and creative individual has a story of a project that didn’t quite go as planned, or perhaps one that started disastrously but ended in unexpected glory. It’s part of the process, a rite of passage for anyone who dares to create. Have you ever had a craft fail that nearly made you give up, only for a moment of inspiration (or perhaps a delicious snack!) to guide you to a stunning success? Or maybe you have a go-to strategy for overcoming creative blocks? I’d love to hear about your experiences! Share your own craft fails, your resilience, and your ultimate triumphs in the comments below. Let’s celebrate the messy, unpredictable, and wonderfully rewarding journey of DIY together!







