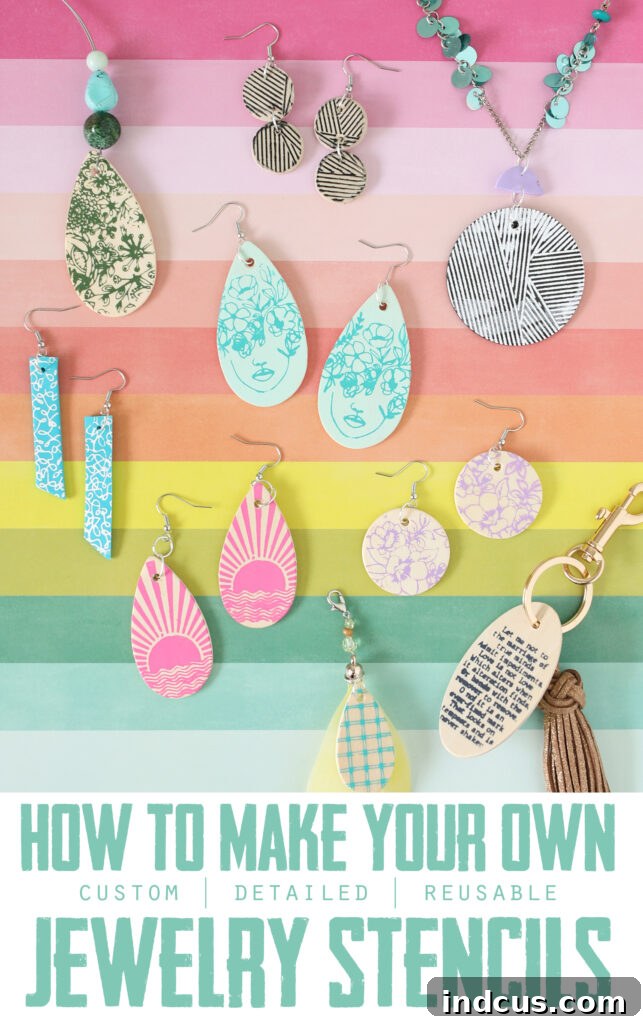
Unlock Your Creativity: Custom Screen Stencils for Personalized Handmade Jewelry with IKONART
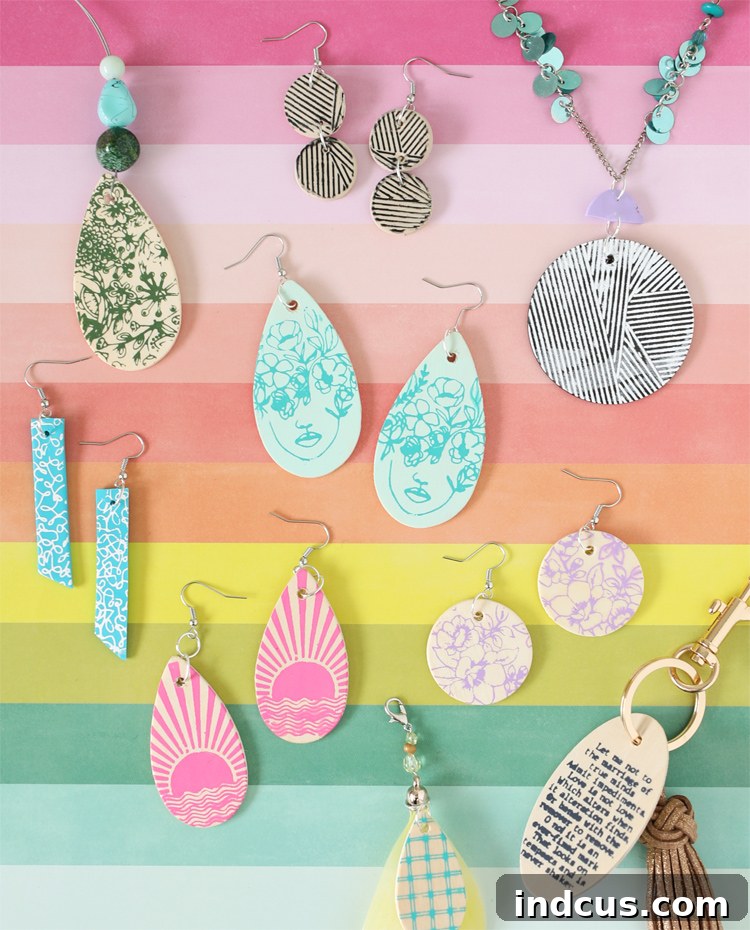
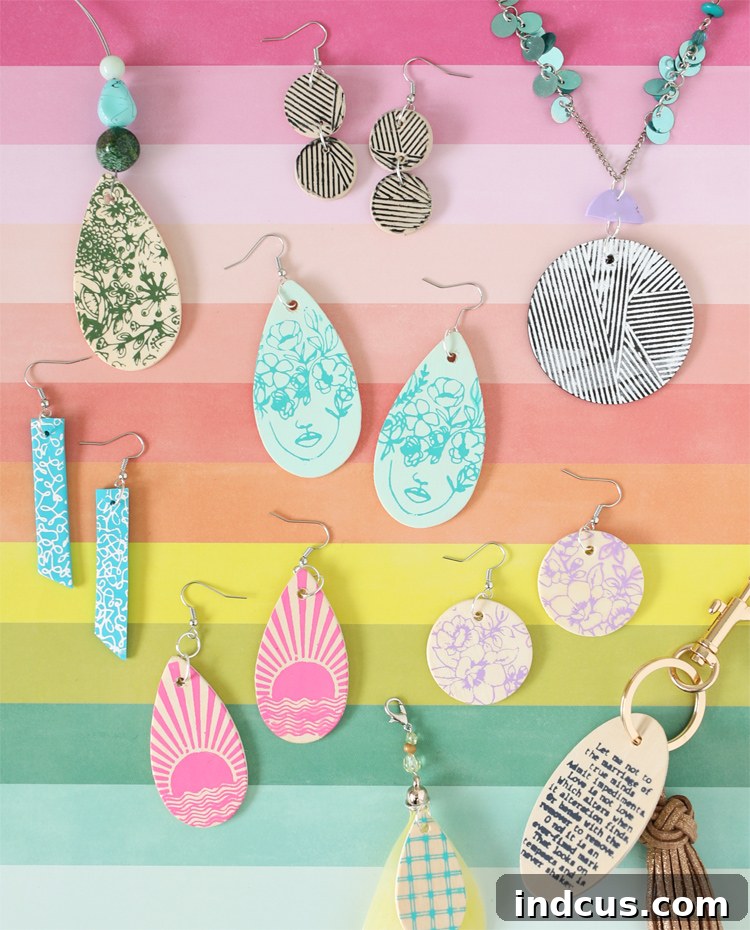
Are you looking for a revolutionary way to add intricate, personalized details to your handmade jewelry? Imagine transforming simple blanks into unique wearable art with designs only you could dream up. Today, we’re diving into an incredibly exciting and accessible method to achieve just that: using IKONART screen stencils. This innovative system allows you to create custom, reusable stencils right in your own home, opening up a world of design possibilities that were previously unattainable for the average crafter.
The true magic of IKONART Stencils lies in their remarkable ability to capture incredible detail, even for the most miniature patterns. We put this capability to the ultimate test by designing tiny, delicate motifs specifically for jewelry pieces. The results were astounding, proving that high-definition, professional-looking designs are well within reach for anyone with a creative spark and the IKONART system.
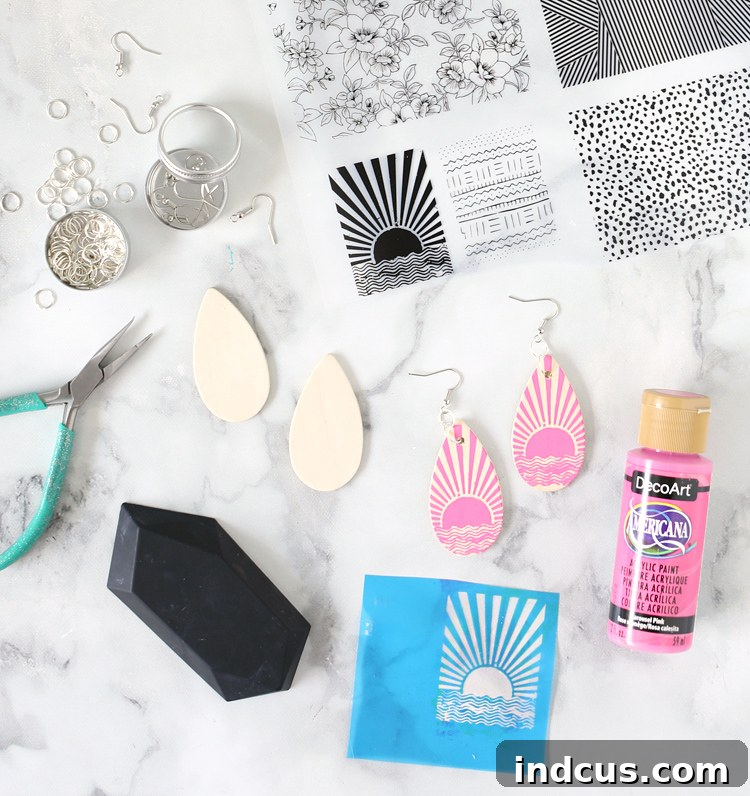
This post is sponsored by IKONART Stencils. All opinions expressed are solely mine. Affiliate links may be included to provide you with easy access to recommended products.
What Makes IKONART Stencils a Game-Changer for Jewelry Makers?
IKONART Stencils utilize cutting-edge, light-sensitive materials that undergo a chemical change when exposed to UV light. This ingenious process allows the areas of your design printed in black ink to wash away, revealing a fine mesh perfect for screen printing. Concurrently, the surrounding stencil material solidifies into a durable, sturdy plastic. This unique mechanism is what sets IKONART apart from traditional stenciling methods, especially for projects requiring precision like jewelry customization.
Key Benefits of IKONART Stencils That Empower Your Crafting:
- Completely Customizable: The freedom to create virtually any design imaginable is truly transformative. If you can print it on paper – be it your own hand-drawn art, intricate typography, company logos, or complex patterns – you can transform it into a high-quality stencil. This limitless customization means your jewelry pieces can truly reflect your unique style or brand.
- Reusable: Unlike single-use stencils, IKONART stencils are designed for longevity. With proper care and cleaning, a single stencil can be used multiple times across numerous projects, offering excellent value and sustainability for your crafting endeavors.
- No Weeding Required: This is a massive time-saver and a joy for anyone who has struggled with vinyl cutting machines. Forget the tedious, eye-straining process of weeding tiny vinyl pieces. IKONART eliminates this step entirely, allowing you to focus purely on the creative application.
- No Transfer Tape Needed: Another common hassle in crafting is the need for transfer tape to move delicate designs. IKONART stencils are self-adhesive and repositionable, making placement accurate and application straightforward without extra materials.
- No “Bridges” Necessary: Traditional stencils often require “bridges” to hold internal parts of a design together (e.g., the center of an “O” or “A”). Screen stencils eliminate this, allowing for continuous, unbroken designs that look professional and clean.
- Can Print “Islands”: Building on the previous point, the mesh design allows for isolated elements (islands) within your stencil, capturing intricate details that would otherwise be impossible with conventional stencil cutting techniques.
- Works on a Multitude of Surfaces: From the smooth surface of metal and glass to the porous textures of wood, fabric, and even leather and clay, IKONART stencils are incredibly versatile. This adaptability makes them perfect for various jewelry components like pendants, earrings, charms, and more.
- Compatible with Water-Based Paints: You can use a wide range of water-based paints with IKONART stencils, including acrylic craft paints, fabric paints, ceramic paints, and enamels. This flexibility ensures you can achieve the desired finish and permanence for any jewelry material.
- Repositionable: The stencils feature a gentle adhesive backing that allows you to position, remove, and reposition them on your project surface until you achieve the perfect alignment. This feature is particularly useful for small, delicate jewelry pieces.
- Unmatched Detailed Designs: This is perhaps the most compelling benefit for jewelry makers. The fine mesh in the design area of an IKONART screen stencil holds every tiny element together, enabling you to replicate exceptionally detailed artwork that would simply tear or be impossible to cut with traditional methods. We’re talking about intricate filigree patterns, minuscule text, or highly specific motifs that bring your jewelry to life with unparalleled precision.
Unlike traditional stencils, which rely on open cut-outs for paint application, screen stencils integrate a micro-fine mesh within the design area. This mesh acts as a supportive matrix, holding even the most delicate parts of your design together while allowing paint to pass through. This innovative structure is what empowers crafters to achieve levels of detail previously reserved for professional screen printers. For this jewelry project, we truly pushed the boundaries, and while a few extremely fine lines required a second attempt, almost all of our incredibly small designs came out perfectly. With a little practice, every design is achievable!
What’s Included in Your IKONART Stencil Kit?
The IKONART Stencil Kit provides everything you need to start creating custom stencils right out of the box. It’s a comprehensive package designed for ease of use, making the screen printing process accessible for beginners and seasoned crafters alike.
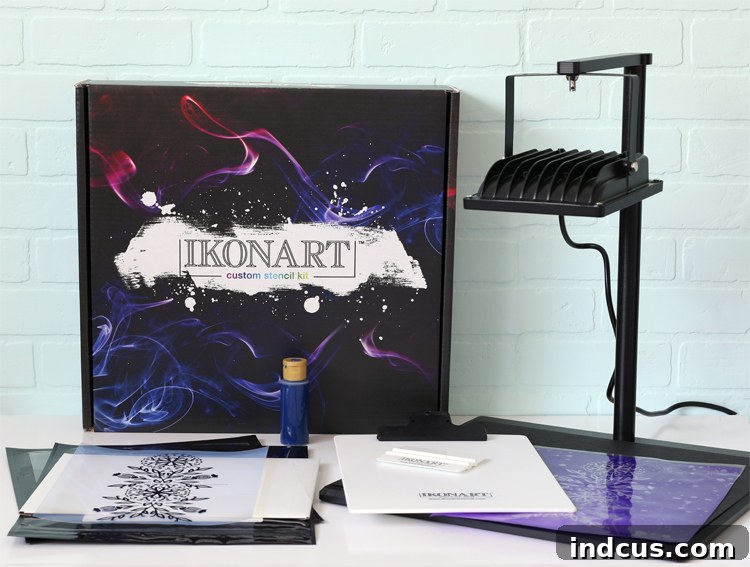
- Exposure Stand: This sturdy stand securely holds your stencil film and artwork in place during the crucial UV light exposure phase, ensuring precise alignment.
- UV LED Light: The heart of the IKONART system, this specialized light unit cures the stencil film, revealing your intricate designs. Its compact size makes it perfect for home use.
- IKONART Stencil Film (10″ x 12″ 5-Sheet Pack): These light-sensitive films are where your designs come to life. The larger size allows you to create multiple small jewelry stencils on one sheet, maximizing efficiency.
- Inkjet Printer Film (8.5″ x 11″ 5-Sheet Pack): Specifically designed for inkjet printers, these transparent films are used to print your black designs, creating the opaque barrier necessary for the UV exposure process.
- Laser Printer Film (8.5″ x 11″ 5-Sheet Pack): Similar to the inkjet film, this pack is optimized for laser printers, ensuring crisp, dark prints that are essential for accurate stencil creation.
- IKONART Clipboard: This handy clipboard is used to hold your stencil film securely during the washing-out phase, providing a stable surface for rinsing.
- IKONART Plastic Squeegee: An essential tool for applying paint evenly across your stencil, ensuring a clean and consistent transfer of your design onto your jewelry pieces.
- Exposure Stand Setup Guide: A clear, step-by-step guide to help you assemble and position your exposure stand correctly.
- User Guide: A comprehensive manual covering everything from preparing your designs to the final stenciling steps, ensuring a smooth crafting experience.
As an added bonus for our readers, we’ve secured an exclusive discount code! This is a fantastic opportunity to kickstart your personalized jewelry-making journey or expand your existing crafting tools.
Simply visit ikonartstencil.com and apply the code THECRAFTPATCH at checkout to enjoy 15% off your entire order!
Watch Our DIY Custom Stenciled Jewelry Tutorial
To give you the best possible overview of the IKONART process, a comprehensive video tutorial demonstrating the creation of custom stenciled jewelry from start to finish is available. This visual guide will walk you through each step, ensuring you feel confident and prepared to tackle your own projects.
Now, let’s walk through the entire process together. From printing your initial design to seeing the final, stunning result on your jewelry, we’ll cover every step so you can confidently create your own personalized masterpieces.
Step-by-Step Instructions: Crafting Your Custom IKONART Stencils for Jewelry
The beauty of the IKONART system lies in its straightforward yet powerful process. Follow these detailed steps to transform your digital designs into tangible, reusable stencils perfect for jewelry personalization.
Step 1: Preparing Your Design for Print
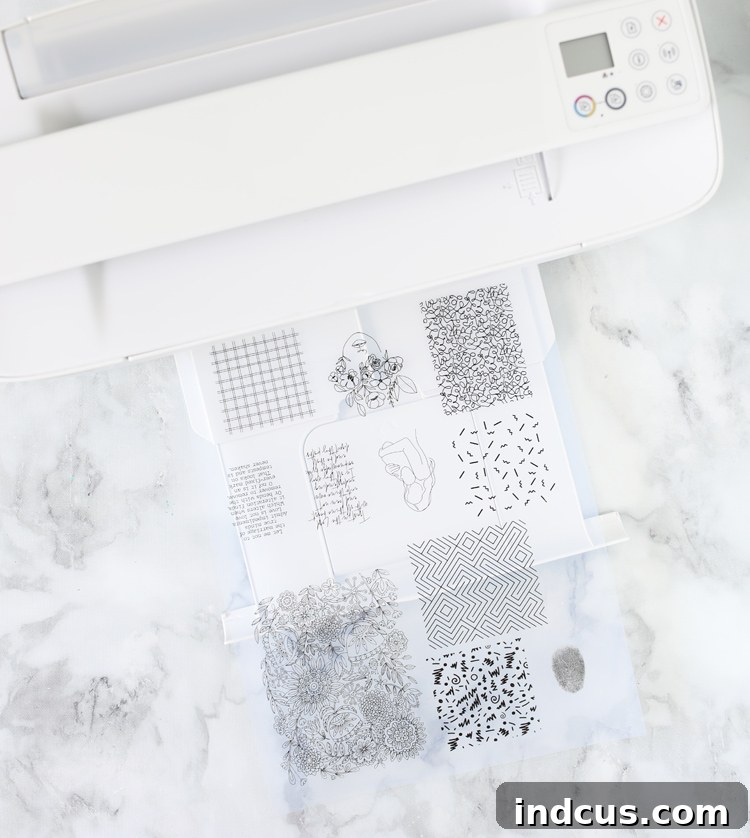
The first crucial step is to print your chosen design onto the specialized PRINTER FILM included in your IKONART kit. The kit thoughtfully provides films compatible with both inkjet and laser printers, ensuring you have the right materials for your home setup. Once you’ve used these initial sheets, you can easily reorder the specific type that works best with your printer. When preparing your design, remember that dark, opaque black ink is essential for proper stencil exposure. Ensure your printer settings are configured for the highest quality black output. Consider the size and complexity of your jewelry pieces; often, designing multiple small patterns on a single sheet of printer film is the most efficient approach for jewelry making.
Step 2: The UV Exposure Process
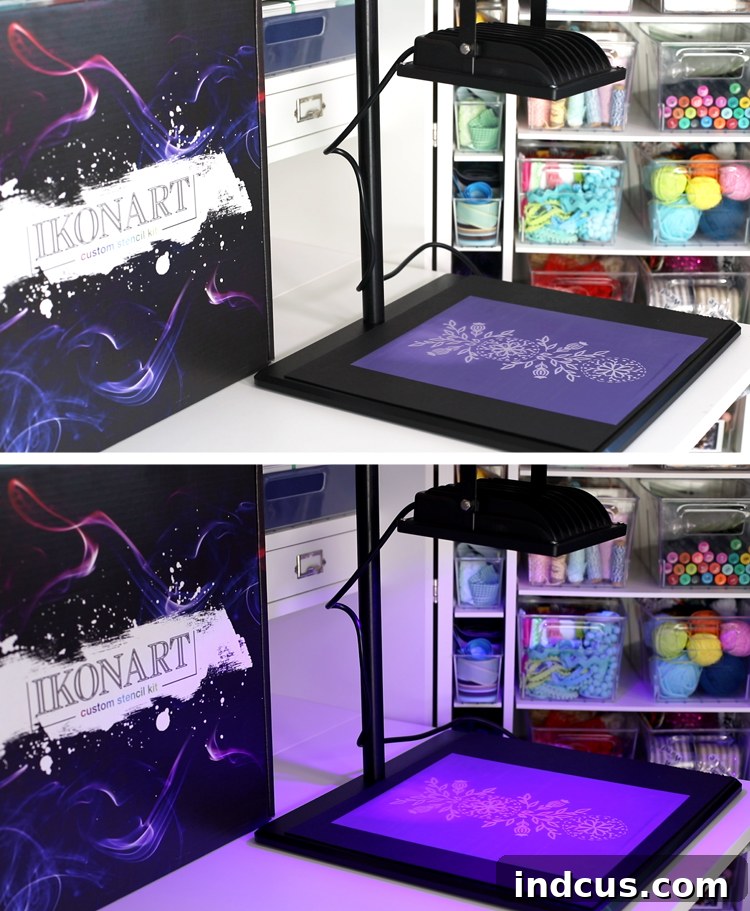
Set up the UV LED light on a stable, flat surface, then place the provided black cardstock onto the base area of the exposure stand. Carefully position the STENCIL FILM, shiny side down, onto the black cardstock. Next, place your printed artwork directly on top of the stencil film. If your design has a specific orientation (like text), ensure you can read it correctly. Finally, cover everything with the clear exposure sheet found in the film pack. Turn on the UV light. For designs printed with an inkjet printer, expose for precisely 35 seconds. If you’re using laser-printed designs, a shorter exposure time of 30 seconds is required. This precise timing is crucial for proper stencil development, as under or over-exposure can affect the detail and durability of your stencil.
Step 3: Revealing Your Design Through Washing
Immediately after the exposure period, you won’t see your design visible on the stencil film – it’s still largely hidden. Attach the exposed stencil film to the included IKONART clipboard. Now, it’s time for the magical reveal! Using a spray nozzle, wash the stencil vigorously with warm or hot water. Continue washing consistently until your intricate design gradually appears, becoming completely clear, crisp, and fully open. The unexposed areas of the film (where your black ink was) will wash away, leaving behind the fine mesh of your design. Be thorough but gentle, especially with very fine details, to ensure all unexposed emulsion is removed without damaging the delicate mesh.
Step 4: Drying and Curing for Durability
Once your design has fully emerged and the stencil is thoroughly washed, gently blot it with a paper towel to remove excess water. Then, hang the stencil to air dry completely for approximately 45 minutes. It’s imperative that the IKONART stencil film is bone dry before proceeding to the next step. Once fully dry, place the stencil back under the UV light for a final 60-second cure. This vital post-exposure curing step significantly increases the durability and longevity of your stencil, making it more resilient for repeated use and ensuring your investment in creativity lasts.
Step 5: Bringing Your Jewelry to Life with Stenciling
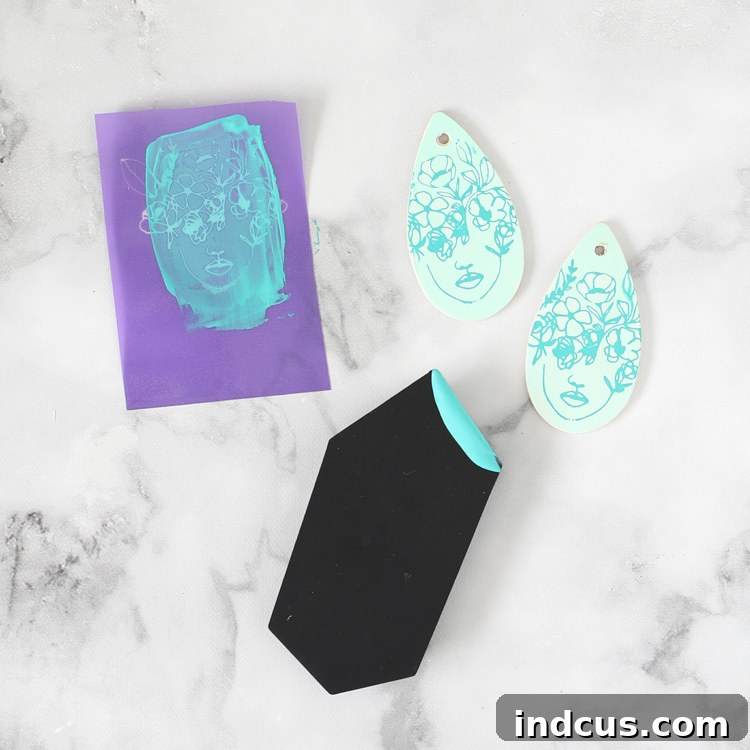
Now for the most exciting part: applying your custom designs to your jewelry! If you’ve created multiple small stencils on a larger sheet, carefully cut them apart. Peel off the clear, shiny carrier sheet from the back of your stencil and save it – it’s useful for storing your stencil after use. Position the sticky side of the stencil onto your jewelry piece, ensuring it adheres smoothly and without bubbles. For paint, a thin line of regular acrylic craft paint works wonderfully for most jewelry materials. Using the IKONART squeegee, scrape the paint evenly across the design area, ensuring every part of the mesh is covered. Apply gentle, consistent pressure to achieve a clean, sharp transfer. Immediately after applying the paint, carefully peel the stencil off your jewelry piece to reveal your beautifully stenciled design. Allow the paint to dry completely according to the manufacturer’s instructions before handling further.
Expert Tips and Tricks for Flawless Jewelry Stenciling
To help you achieve the best possible results and streamline your jewelry customization process, here are some invaluable tips gathered from experience:
- Securing Small Pieces: When working with tiny jewelry components like earrings, pendants, or small charms, it can be challenging to keep them stable. A helpful trick is to use painter’s tape to secure the jewelry pieces firmly to your work surface. This prevents them from shifting while you apply paint and makes it significantly easier to peel the stencil off cleanly without disturbing the fresh design.
- Gentle Washing for Delicate Designs: The washing-out step is critical for revealing your design, but it requires a delicate touch, especially for highly intricate or fine-lined patterns. Avoid overly vigorous water spray, as excessive force can potentially remove more of the emulsion than intended, leading to damaged or incomplete designs. A steady, moderate spray with warm water is ideal. If you find certain areas are resistant, allow the stencil to soak for an extra minute or two before gently spraying again.
- Unlock Endless Jewelry Possibilities: Remember the incredible versatility of IKONART stencils. They can be used on a vast array of materials commonly found in jewelry making, including natural wood beads and blanks, various metals (like brass, copper, or silver-plated items), polymer clay and ceramic pieces, genuine or faux leather components, and even glass cabochons or bottles. This opens up countless design avenues – imagine personalized wooden earrings, intricate metal pendants, custom clay charms, or branded leather cuffs. Each material may require a specific type of water-based paint or ink, so always check for compatibility.
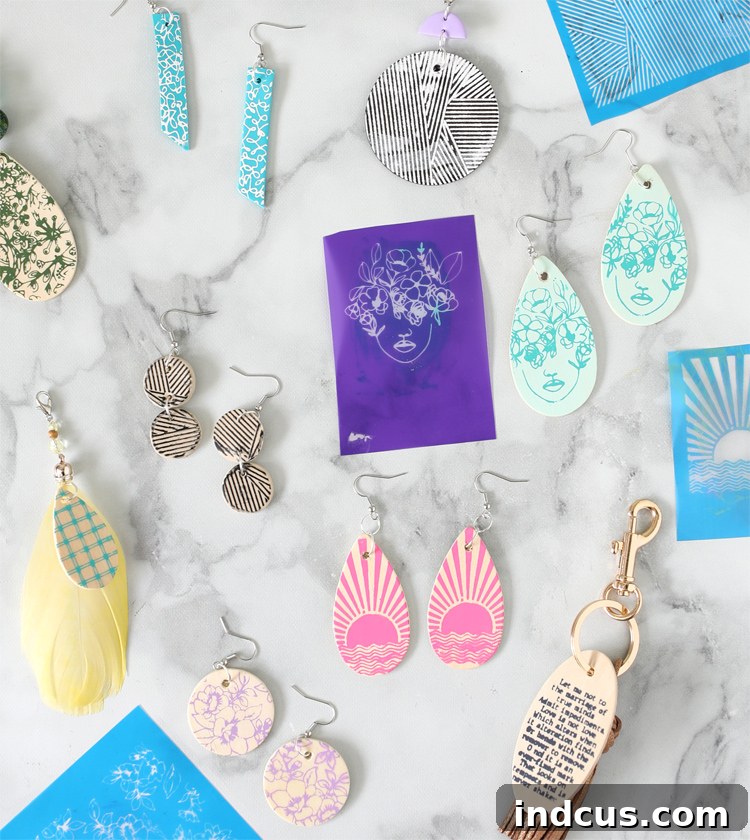
The results achieved with IKONART stencils are truly breathtaking and simply not possible with traditional stencil methods or even with designs cut using vinyl machines. Can you envision the nightmare of trying to weed vinyl designs with this level of minute detail? The precision and ease offered by IKONART are a game-changer. The possibilities for stenciling jewelry are vast and exciting; imagine creating layered stencils with multiple colors for even more depth and dimension. We are incredibly excited to explore all the creative avenues this technology unlocks!
For more inspiring project ideas and to dive deeper into the world of custom stencil creation, head over to ikonartstencil.com. Don’t forget, when you’re ready to transform your jewelry-making process, use the exclusive discount code THECRAFTPATCH at checkout to receive 15% off your entire order!
Love this project and want to save it for later? Pin it to your favorite crafting board!