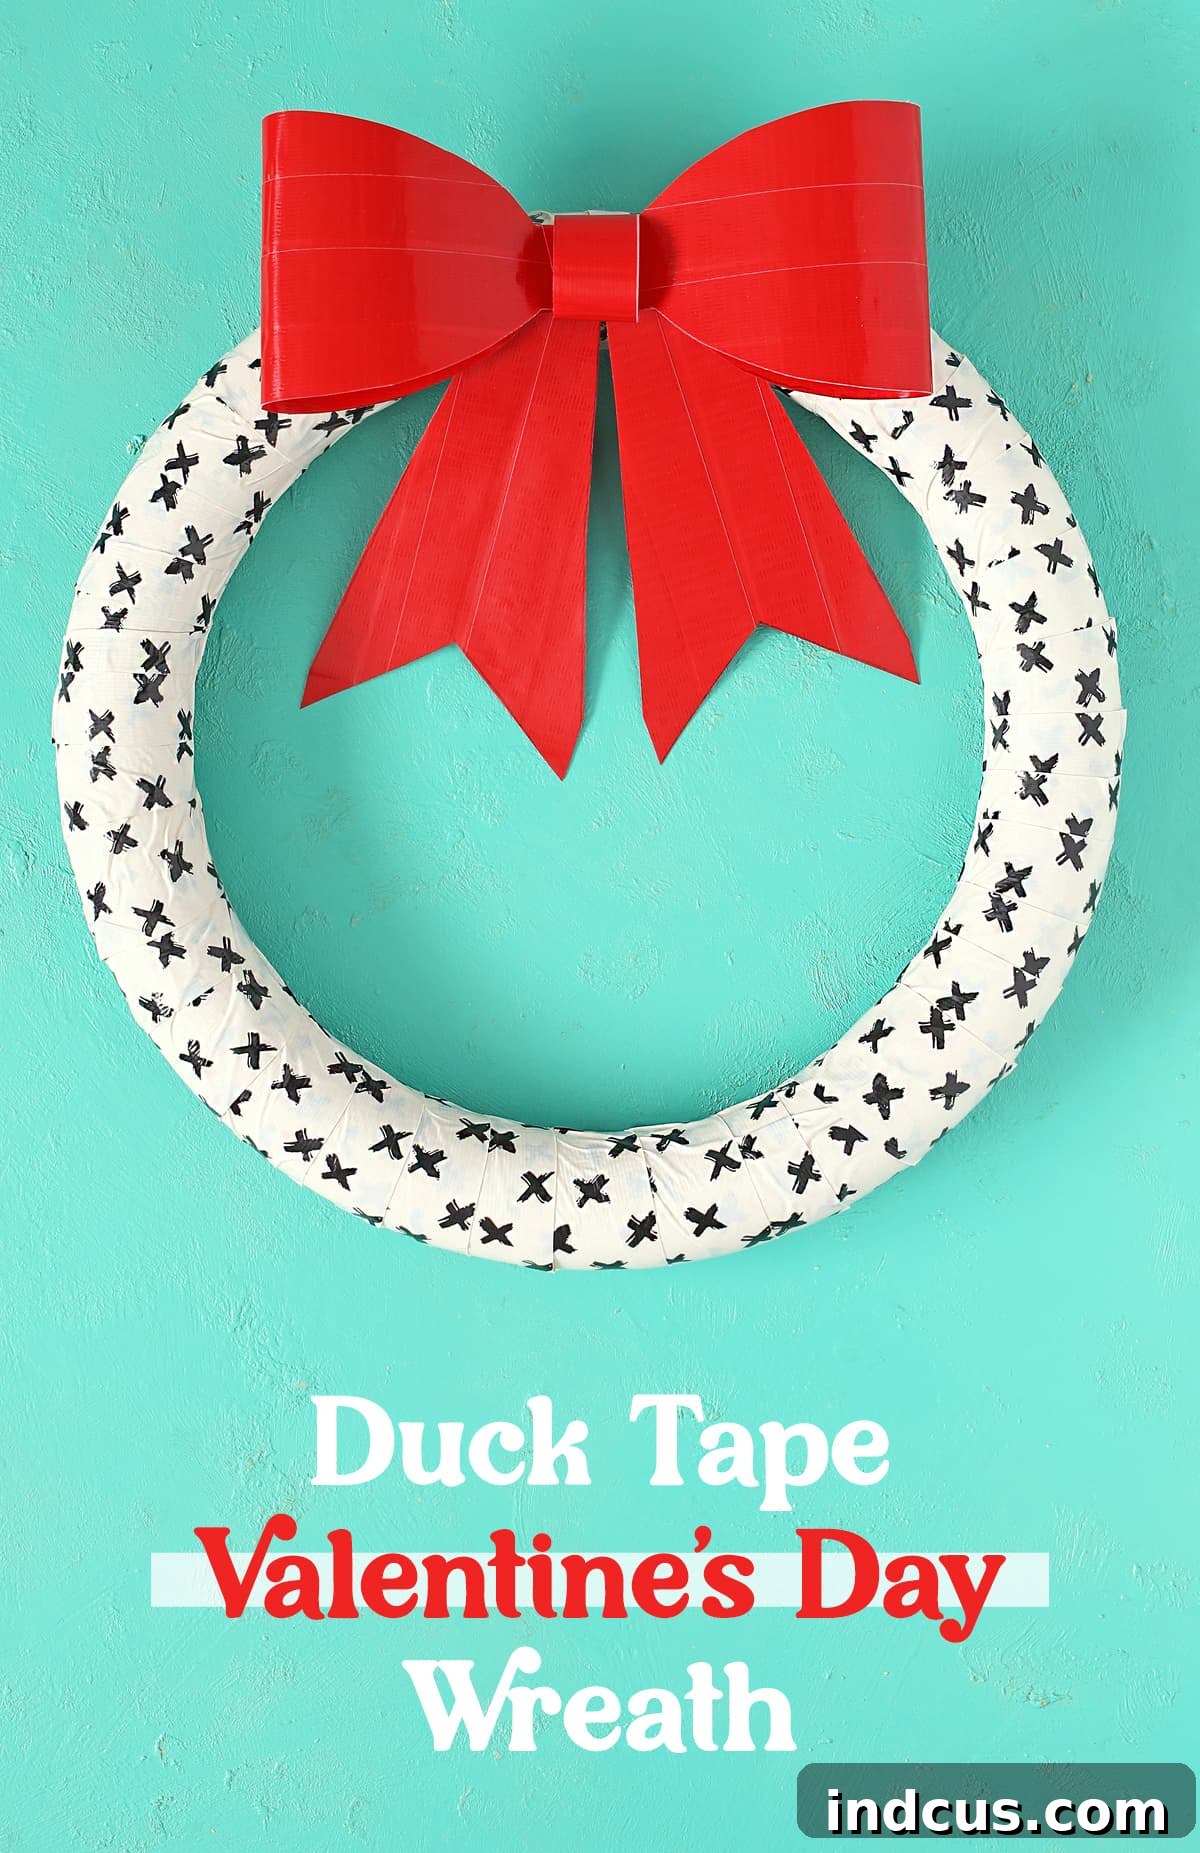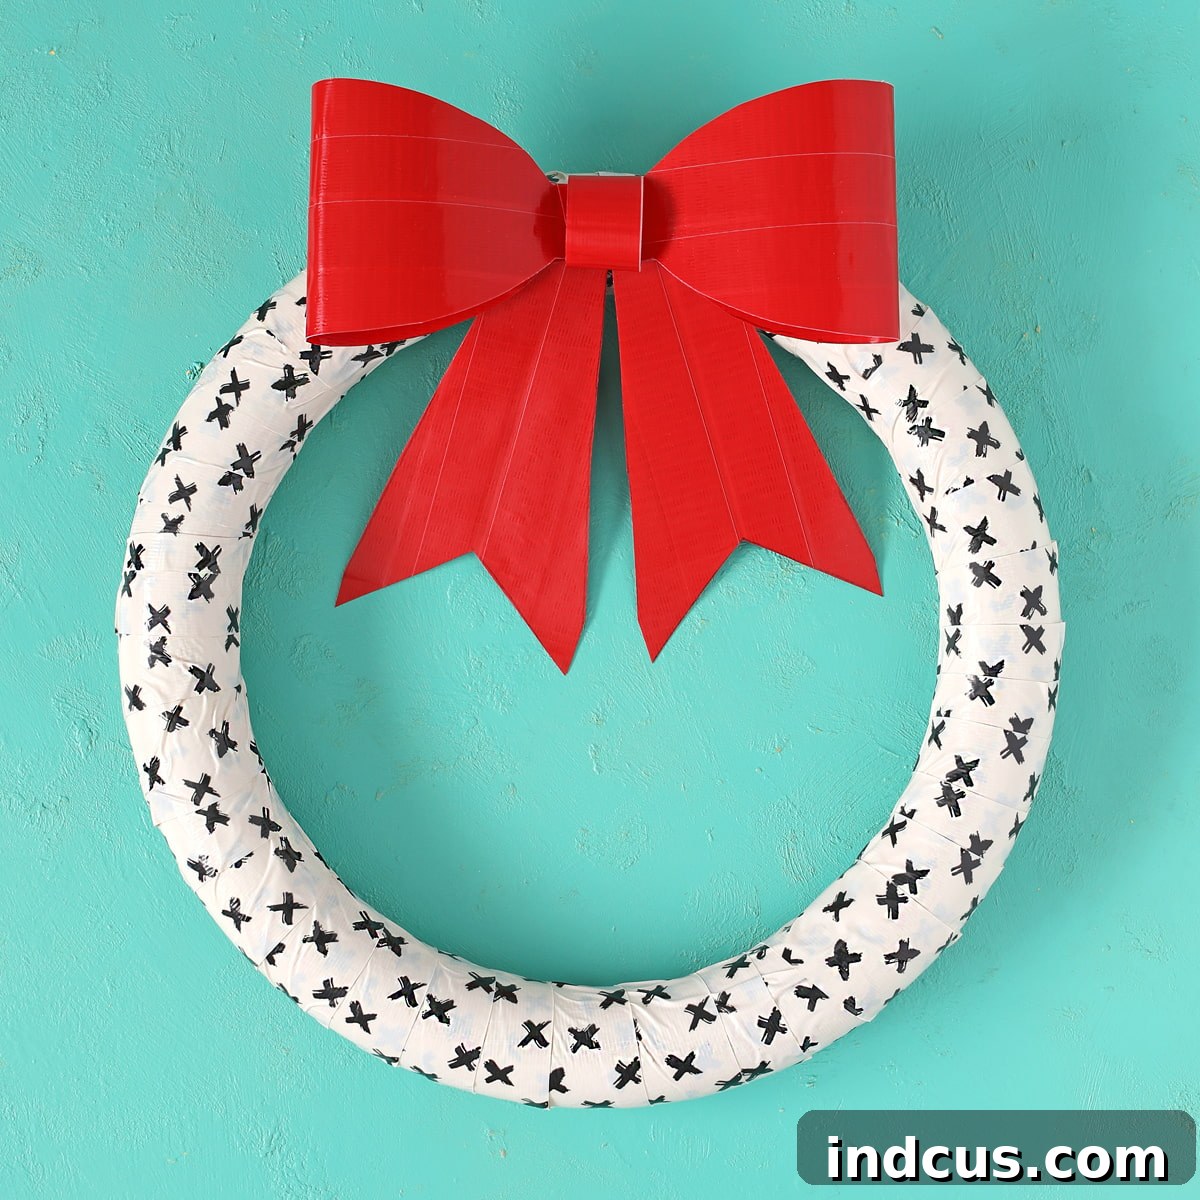
DIY Duck Tape Valentine’s Day Wreath: Craft a Unique & Weatherproof Decoration
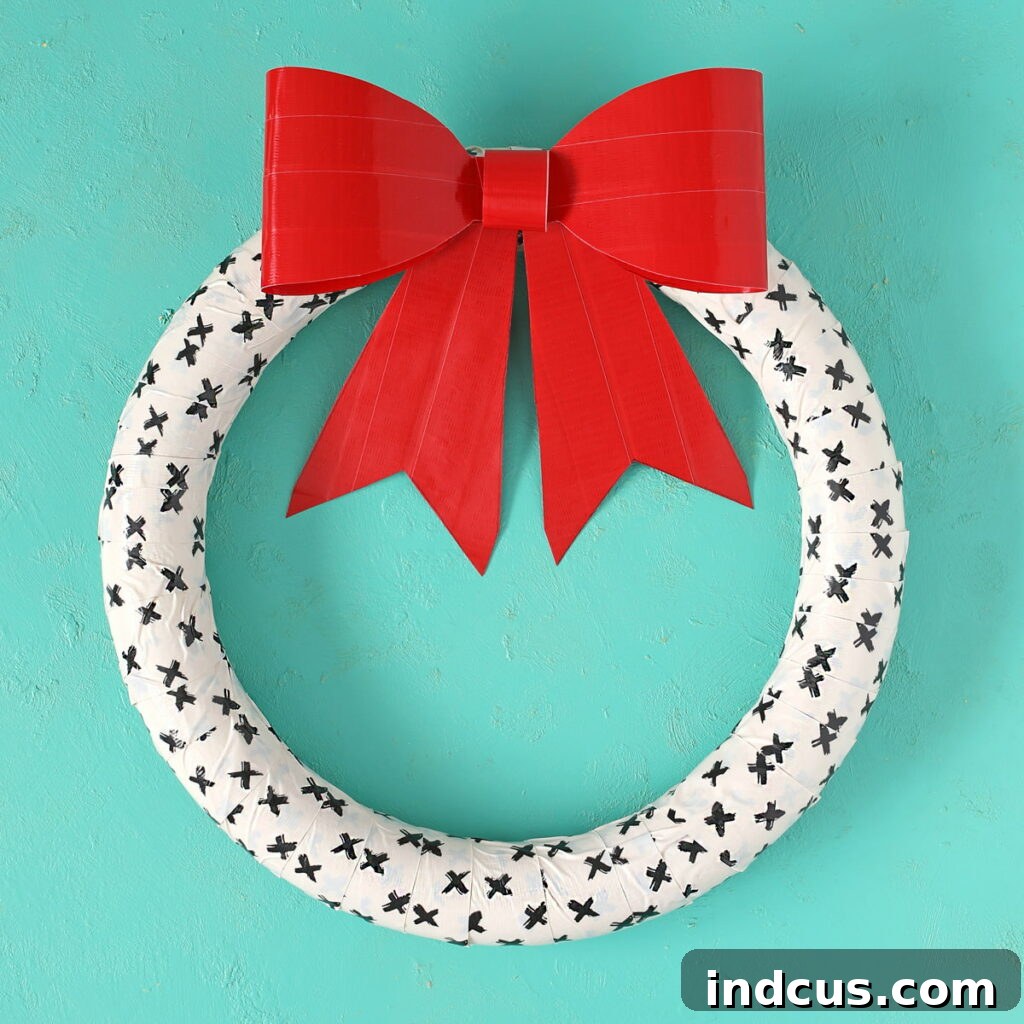
Are you searching for a unique and eye-catching way to decorate your home for Valentine’s Day, or perhaps any special occasion throughout the year? Look no further than this delightful DIY Duck Tape wreath! Combining durability with vibrant aesthetics, this craft project is not only incredibly fun to make but also surprisingly simple. Imagine a giant, festive bow crafted entirely from Duck Tape, becoming the focal point of a beautifully patterned wreath. It’s a statement piece that truly stands out, adding a personal touch to your decor that store-bought items simply can’t match.
February, the month of love, presents the perfect opportunity to embrace the charm of a big, bold red bow. However, the beauty of crafting with Duck Tape lies in its incredible versatility. With an extensive palette of colors and an ever-growing collection of patterns, you have the freedom to customize this wreath to suit any holiday, season, or personal style. Whether you envision a classic red and white for Christmas, spooky black and orange for Halloween, or cheerful pastels for spring, the possibilities are endless. This project invites you to experiment, allowing your unique personality to shine through in every tape strip you place.
This post is proudly sponsored by Duck Brand, bringing you innovative and fun crafting solutions.
Why Choose Duck Tape for Your Wreath? The Benefits of Crafting with Adhesive Art
When it comes to DIY decor, Duck Tape might not be the first material that comes to mind, but its unique properties make it an exceptional choice for wreath making. Unlike traditional crafting materials that might require messy glues, paints, or intricate stitching, Duck Tape offers a clean, straightforward, and incredibly strong adhesive solution. This means less drying time, fewer mistakes, and a much faster path to a finished project. The tape’s robust nature ensures your wreath will withstand the test of time, holding its shape and vibrant colors season after season.
Furthermore, Duck Tape is renowned for its impressive durability and weather resistance. This makes your handmade wreath not just a beautiful indoor decoration but also a fantastic option for outdoor display. Imagine hanging your festive creation on your front door, a garden gate, or even a window, knowing it will hold up against rain, wind, and varying temperatures without losing its charm. This resilience is a significant advantage, particularly for seasonal decor that you want to display prominently without worry. Its non-fraying edges and waterproof surface make it a low-maintenance masterpiece, ready to brighten any space.
Beyond its practicality, crafting with Duck Tape opens up a world of creative expression. The wide array of Color Duck Tape and Printed Duck Tape available allows for truly personalized designs. From bold solids to intricate patterns, glitter finishes to holographic effects, you can mix and match to create a wreath that perfectly captures your vision. This project isn’t just about making a wreath; it’s about transforming a simple foam form into a unique piece of art that reflects your style and celebrates the joy of crafting.
Essential Materials for Your Duck Tape Wreath
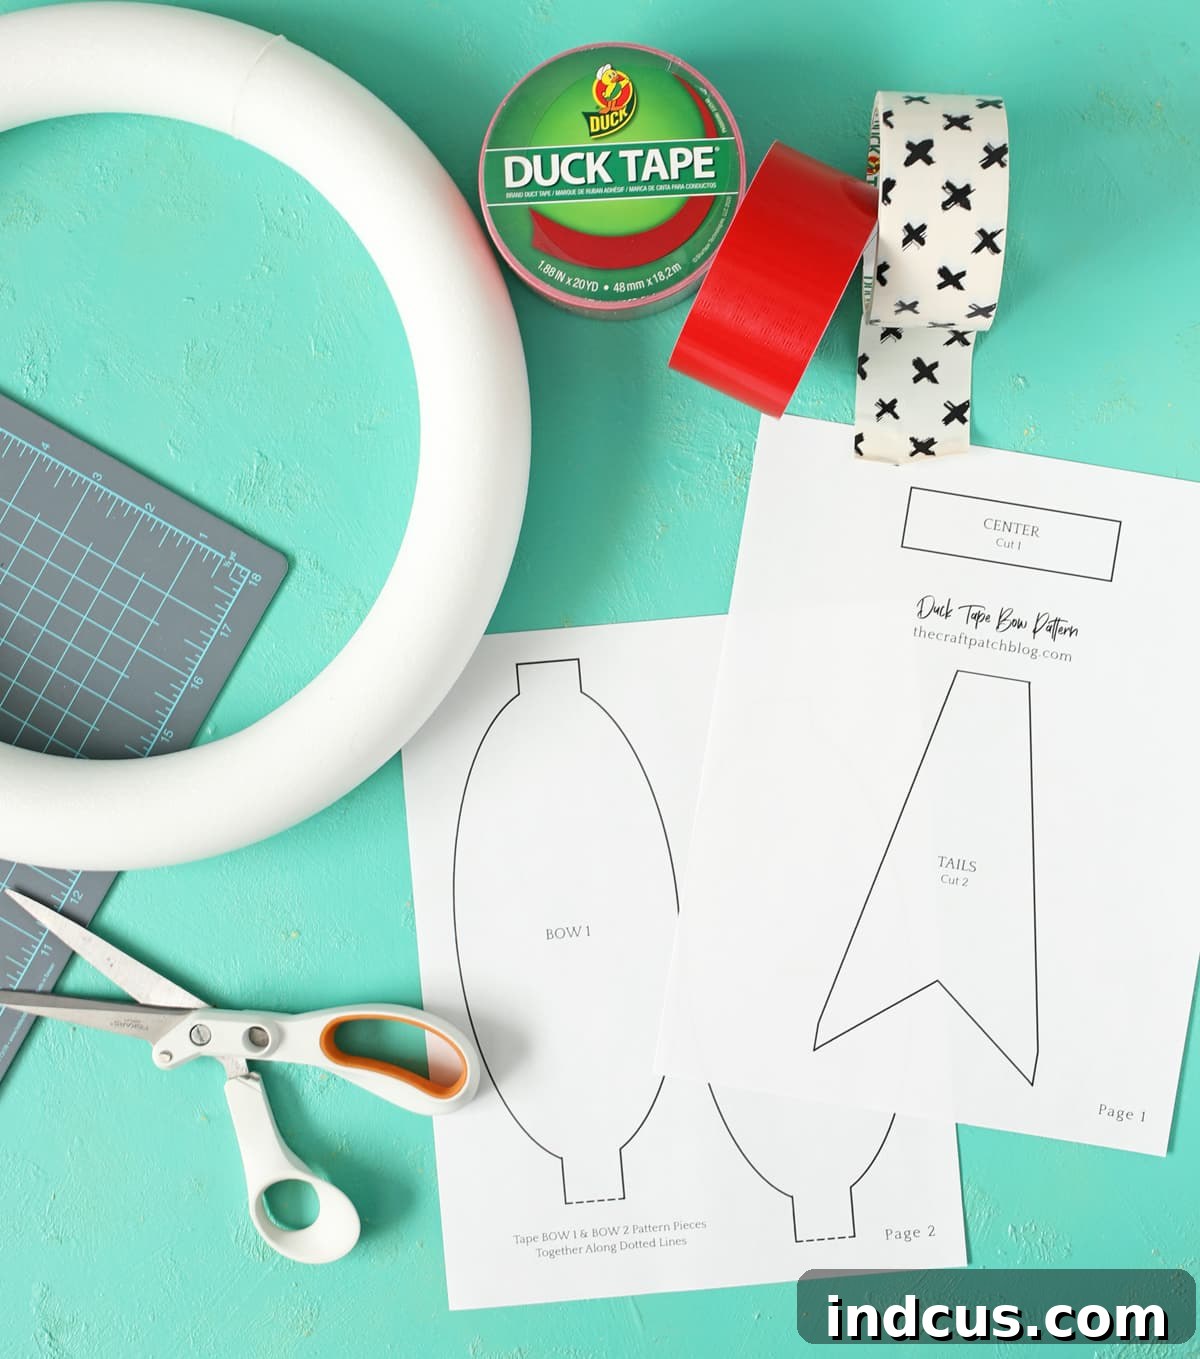
Gathering your materials is the first exciting step in bringing your Duck Tape wreath to life. The beauty of this project lies in its minimal requirements, making it accessible to crafters of all levels. Here’s what you’ll need, along with a few tips for selection:
- Color Duck Tape: This will be the star of your bow! Choose a vibrant shade like red for Valentine’s Day, or select a color that complements your chosen patterned tape. You’ll want a roll of good quality tape to ensure a crisp, clean bow.
- Printed Duck Tape: This will cover your wreath form, providing a base design that truly sets the tone. Consider patterns that reflect the holiday or season you’re decorating for, or a timeless graphic print for year-round appeal.
- Foam Wreath Form – Approx. 14 Inches: A standard 14-inch foam wreath provides a solid foundation. You can experiment with different sizes or shapes, but this size offers a good balance for a prominent display. Ensure it’s sturdy enough to hold the weight of the tape without bending.
- Sharp Scissors: Essential for clean, precise cuts. Dull scissors can lead to jagged edges, which are harder to work with and might compromise the neatness of your finished wreath.
- Ruler or Cutting Mat: Accuracy is key, especially when creating the Duck Tape sheets for your bow. A ruler will help you measure strips precisely, and a self-healing cutting mat can protect your surfaces while offering gridlines for straight cuts.
Step-by-Step Guide: Crafting Your Stunning Duck Tape Bow Wreath
Now, let’s dive into the exciting part: assembling your magnificent Duck Tape wreath! Follow these detailed instructions carefully for the best results.
Step 1: Prepare Your Wreath Form with Patterned Duck Tape
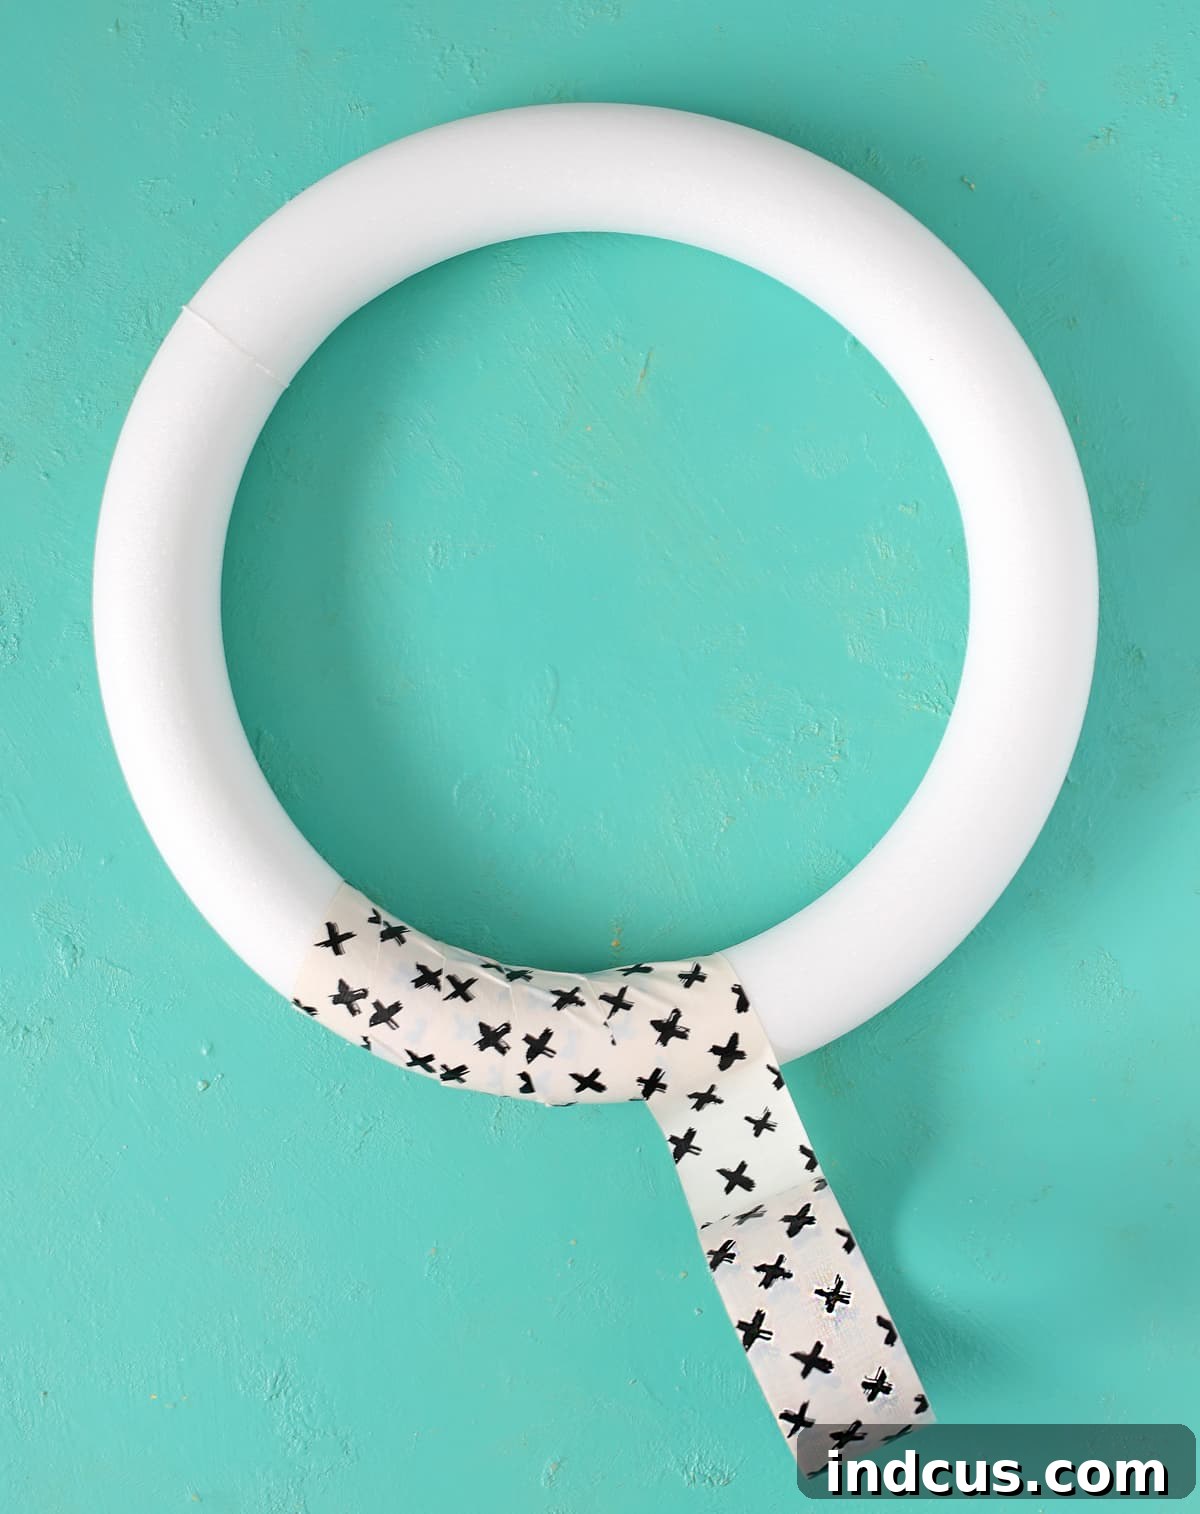
Begin by taking your chosen Printed Duck Tape. Starting at an inconspicuous spot on your foam wreath form (such as the back or bottom), firmly press the end of the tape to secure it. Now, meticulously wrap the entire foam wreath form. The trick to a smooth, professional finish is to maintain firm, consistent tension on the tape as you go. Work at a slight angle, allowing each new layer of tape to overlap the previous one by about 1/4 to 1/2 inch. This offset wrapping technique ensures full coverage and helps prevent unsightly gaps or bunching. Continue this process until the entire foam form is completely covered and no foam is visible. Trim any excess tape cleanly and secure the end firmly to complete this foundational step.
Step 2: Construct the First Layer of Your Double-Sided Duck Tape Sheet
For your grand bow, you’ll need to create sturdy, double-sided sheets of Duck Tape that mimic fabric. Take your Color Duck Tape (e.g., red for Valentine’s Day). Cut three strips, each precisely 18 inches long. Lay the first strip down on a clean, flat surface, sticky side up. Carefully align the second strip next to it, overlapping the first strip by approximately 1 inch. Press down firmly to adhere them together. Repeat this with the third strip, overlapping the second by 1 inch. You should now have a single, wider piece of tape, still sticky side up, ready for the next layer.
Step 3: Create a Seamless, Double-Sided Duck Tape Sheet
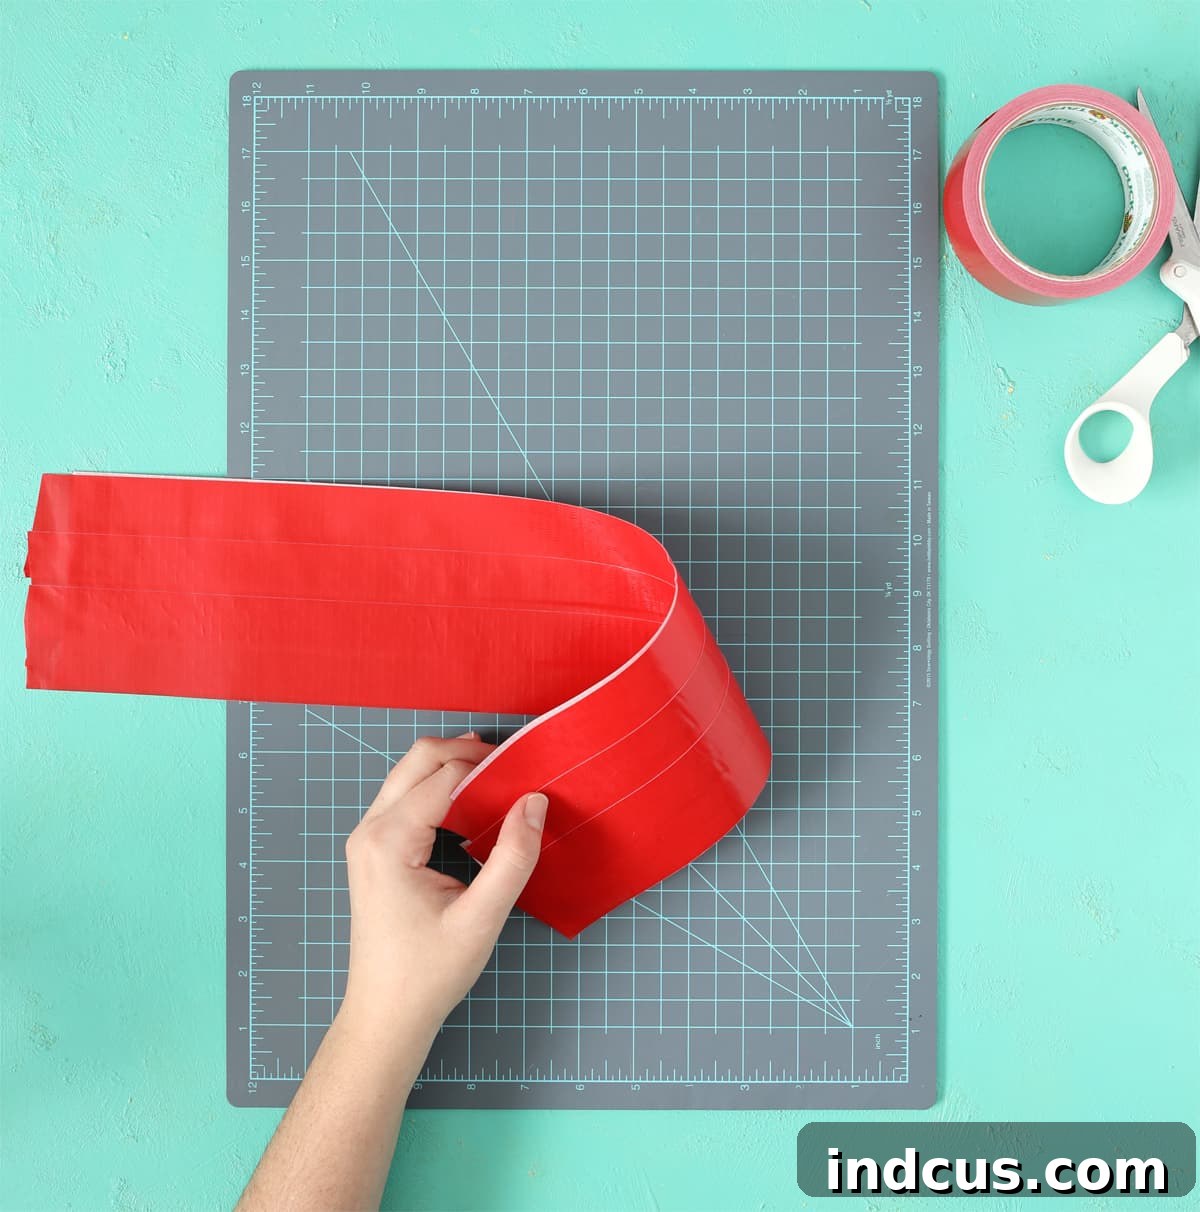
Now you’ll create the second, identical piece to form your double-sided sheet. Repeat Step 2 exactly: cut three more 18-inch strips of your Color Duck Tape and attach them together, overlapping each by 1 inch, sticky side up. Once you have this second piece, carefully take it and align it directly on top of your first constructed piece, pressing the sticky sides together. This step requires precision; try to align the edges as perfectly as possible to minimize any exposed adhesive. Work slowly, pressing out any air bubbles as you go, to create one large, smooth, double-sided sheet of Duck Tape material.
Step 4: Prepare the Second Double-Sided Duck Tape Sheet
To craft a full and impressive bow, you will need two of these sturdy, double-sided Duck Tape sheets. Repeat the entire process from Step 2 and Step 3 one more time. By the end of this step, you should have two identical, robust sheets of Duck Tape, each with two non-sticky sides, ready to be cut into your bow components.
Step 5: Trace and Cut Your Bow Pattern Pieces
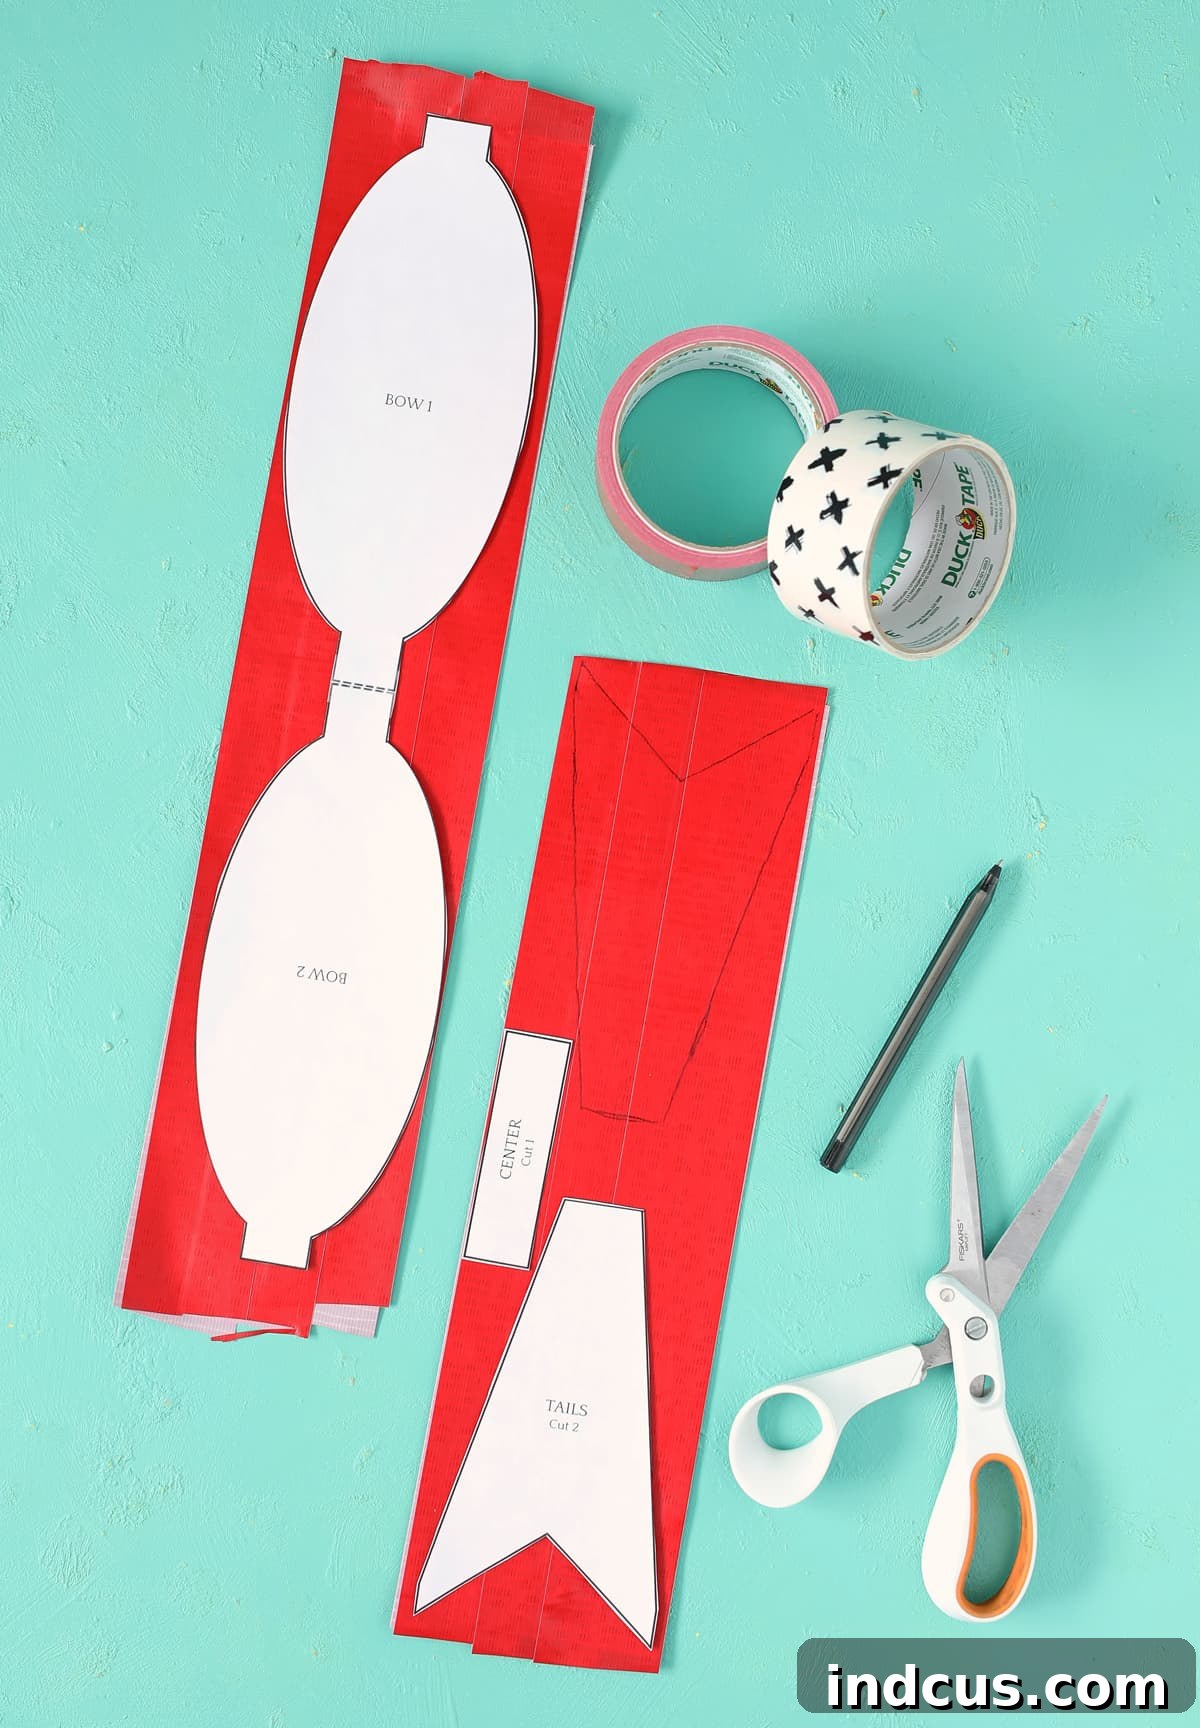
Scroll down to the bottom of this post and click the blue button to download the exclusive bow pattern. Print this pattern onto standard copy paper. Carefully cut out the individual bow pieces from the paper pattern, then tape them together along the indicated dotted lines to form the complete bow shape. Now, place this complete paper pattern onto one of your double-sided Duck Tape sheets. Trace the outline of the pattern onto the Duck Tape using a pencil or fine-tip marker. Repeat this for all necessary bow components on your two Duck Tape sheets. Once traced, use your sharp scissors to carefully cut out all the Duck Tape bow pieces. Take your time to ensure clean, precise edges, as this will significantly impact the final look of your bow.
Step 6: Form the Main Bow Loops
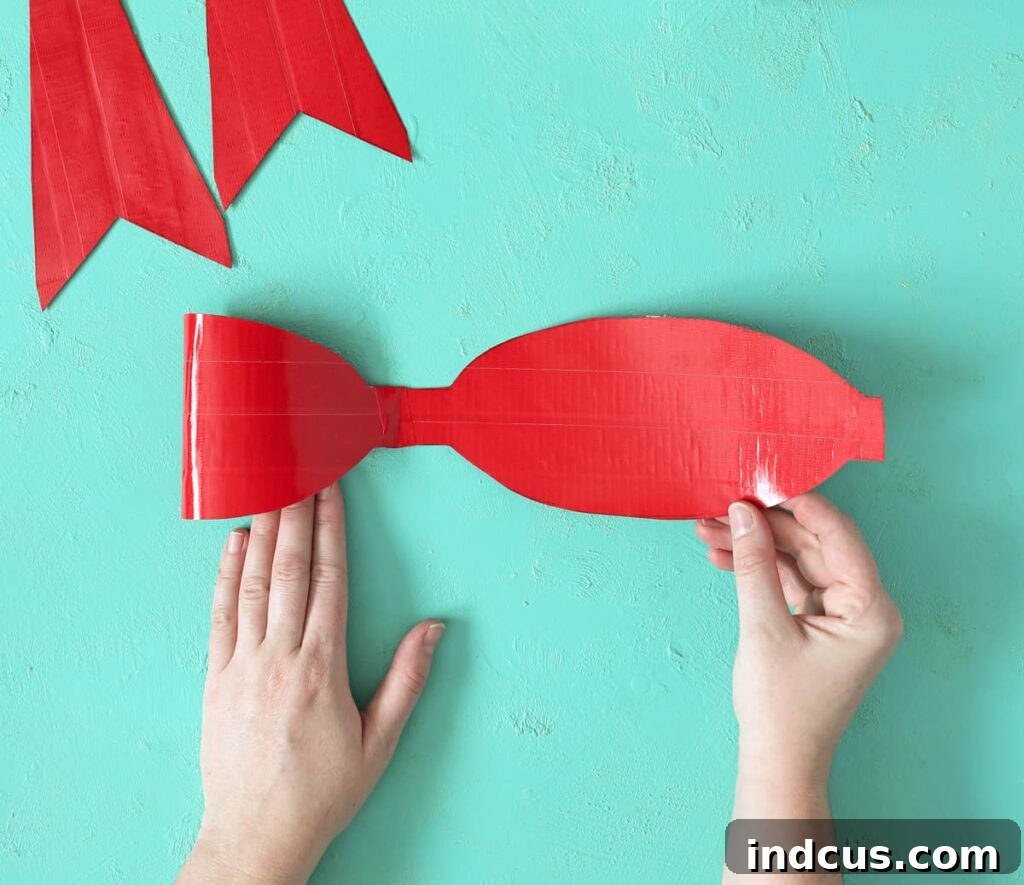
Take the largest piece of your cut-out Duck Tape bow (this will be the main body with two “wings”). Gently bring the two outer edges of this piece inwards, looping them towards the center of the bow. Overlap them slightly in the middle to create the classic bow shape. Secure these looped ends together at the center using a small, discreet piece of matching Duck Tape on the back. Ensure the loops are symmetrical and hold their rounded form, giving your bow a beautiful, dimensional appearance.
Step 7: Create the Center Loop of the Bow
Locate the smaller, rectangular piece that will form the center of your bow. Place one end of this piece onto the back of your main bow loops, in the center, and press firmly to attach it. Now, carefully loop this piece around the front of your bow, ensuring it wraps tightly and neatly around the gathered center. Bring the other end of the rectangular piece to the back of the bow and secure it firmly with another small piece of tape. This central loop adds a polished finish and truly defines the shape of your magnificent Duck Tape bow.
Step 8: Assemble the Bow onto Your Wreath
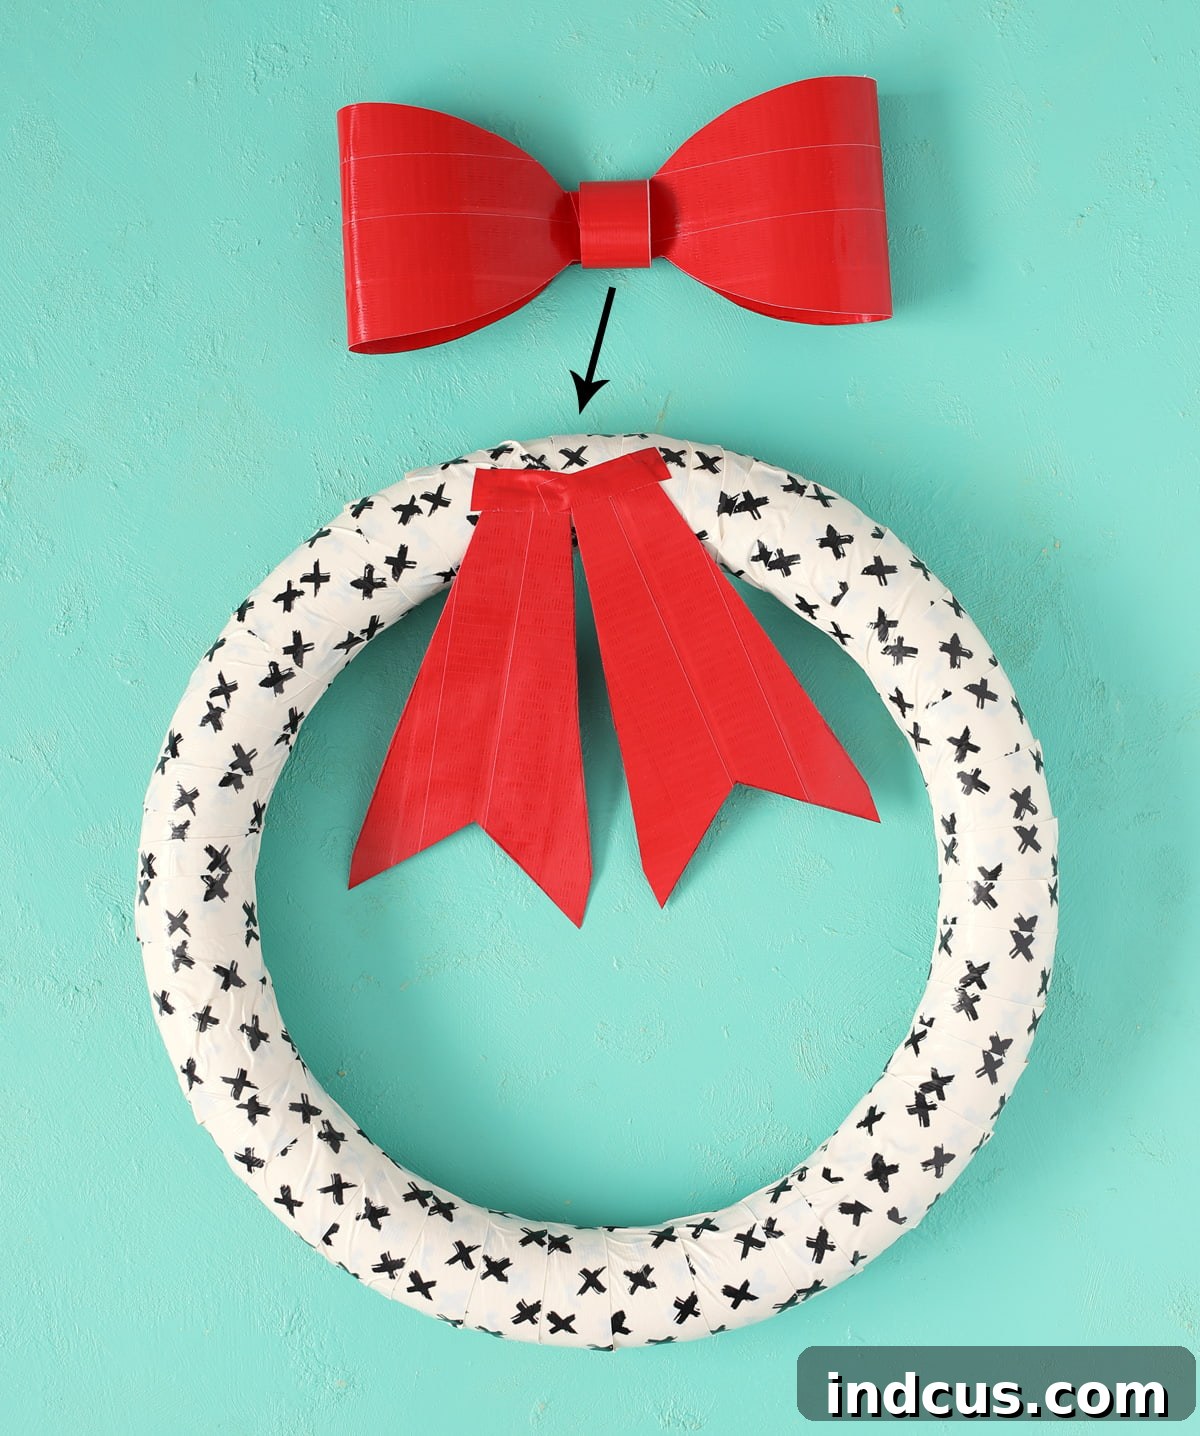
Now it’s time to bring all the elements together. Take the two bow tails you cut out earlier. Position them at the top of your wrapped wreath form, arranging them in a visually appealing manner. Secure the top of each tail firmly to the wreath form using small, strong loops of Duck Tape placed on the back of the tails, ensuring they are hidden. Once the tails are in place, take your beautifully crafted bow (from Step 7) and position it directly on top of where the tails are attached. Secure the bow firmly to the wreath using additional loops of Duck Tape, again placing them on the back of the bow or in inconspicuous areas to maintain a clean aesthetic. Ensure both the tails and the bow are securely fastened and centered to your liking.
Celebrate with Your Handmade Masterpiece!
And there you have it! Your stunning, handmade Duck Tape wreath is now complete and ready to bring a touch of festive charm to your home. That striking big red bow, combined with a graphic black and white pattern (or whatever delightful combination you chose), creates a cheerful and incredibly cute decoration that you can enjoy throughout the entire month of February, or even longer! The best part? Because it’s made from Duck Tape, this wreath is completely weatherproof. You can confidently hang it on your front door, a sun-drenched window, or any outdoor spot that might get a little wet, without a single worry about damage or fading. This resilience makes it a practical and beautiful addition to your seasonal decor, year after year.
Beyond its visual appeal, this DIY Duck Tape wreath offers the immense satisfaction of creating something beautiful with your own hands. It’s a fantastic project for crafters of all ages and skill levels, promising a rewarding experience and a truly unique piece of home decor. Imagine the compliments you’ll receive from friends and family as they admire your ingenuity and artistic flair. Get ready to embrace the joy of crafting and add a personalized touch of handmade charm to your space!
Loved this project? Pin it to save for later and inspire others!