
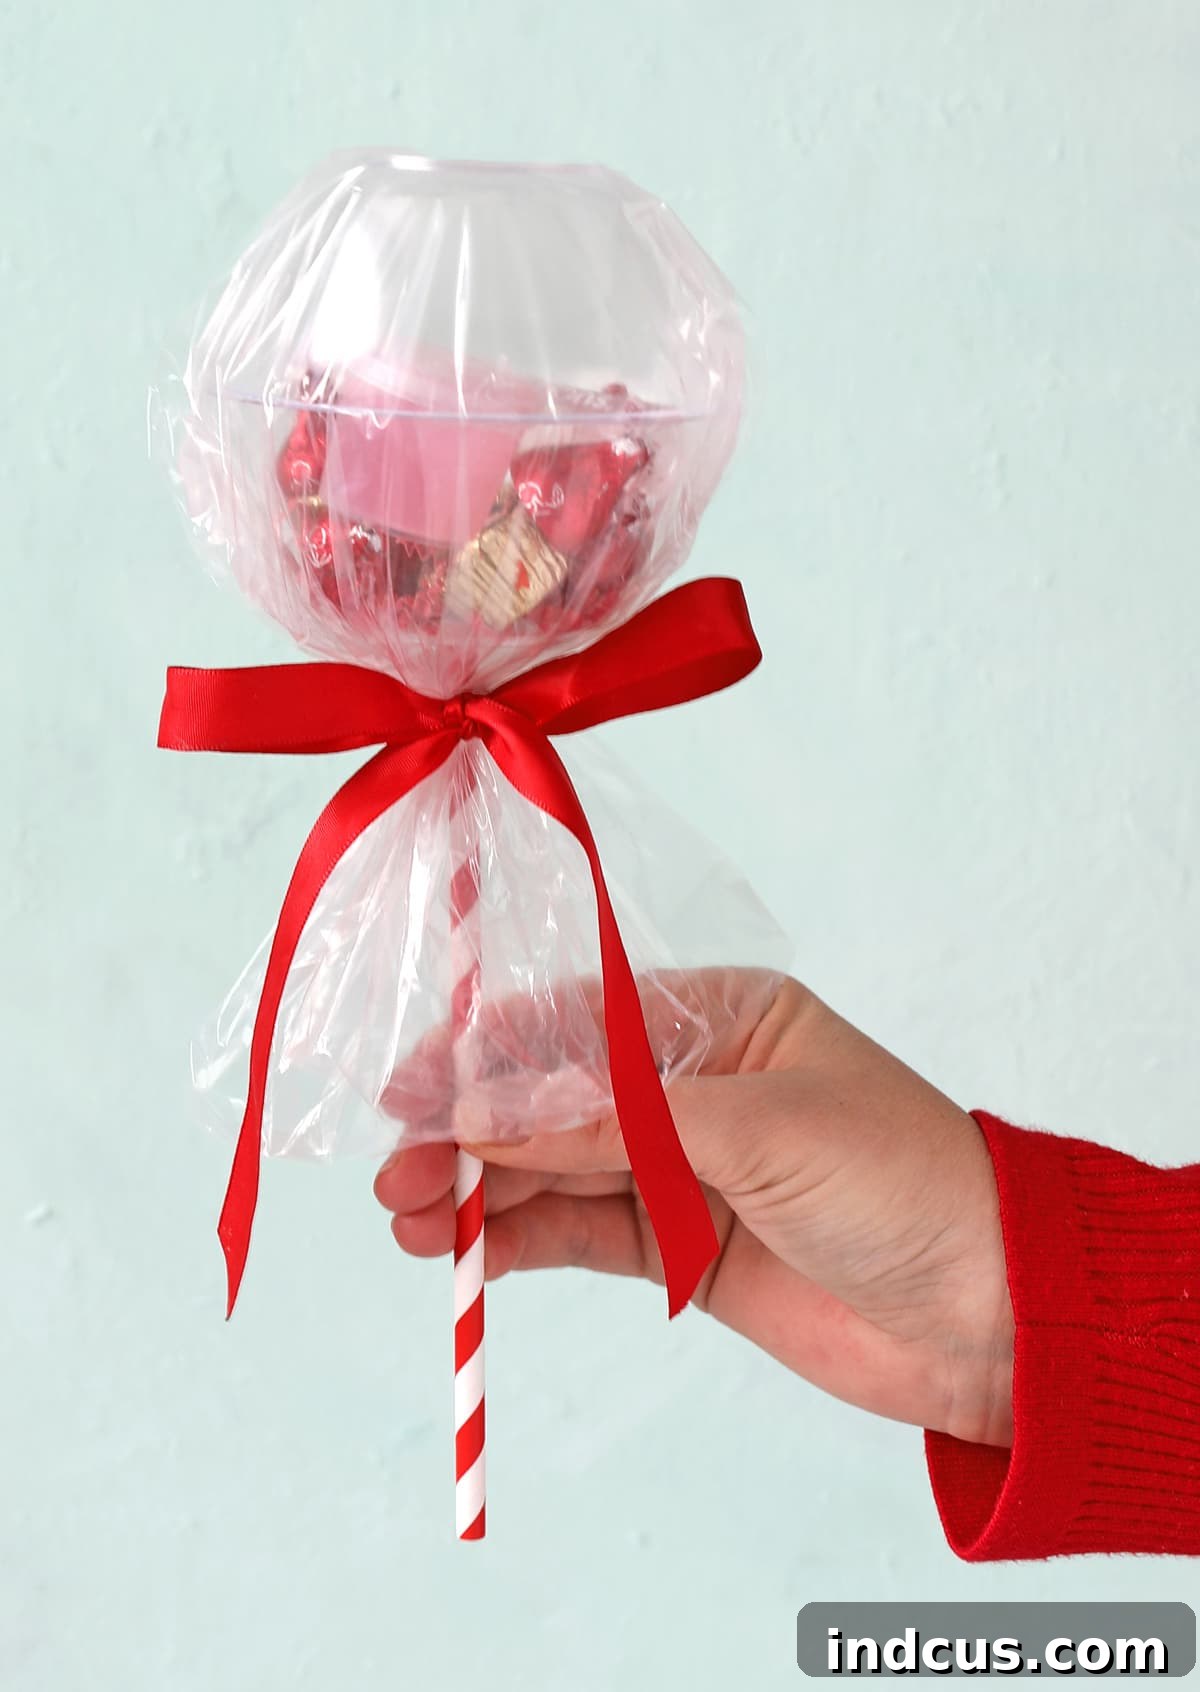
Welcome to a world where everyday objects transform into extraordinary gifts! If you’re searching for a unique, heartfelt, and incredibly fun way to present treats and small treasures, you’ve landed in the perfect spot. Today, we’re diving into the delightful craft of turning simple plastic bowls into captivating, oversized lollipops. Imagine the smiles when recipients discover these charming confections, brimming with candy and thoughtful little gifts inside. This DIY project is not just a craft; it’s an experience, a creative journey that culminates in a truly memorable presentation.
Forget the ordinary gift bags and boxes. Our giant DIY lollipops stand out, making any occasion feel extra special. Whether you’re celebrating a birthday, expressing love on Valentine’s Day, adding a touch of whimsy to Halloween, or simply wanting to spread some cheer, these customizable lollipops are your go-to solution. They are incredibly versatile, budget-friendly, and surprisingly easy to make, proving that the most impressive gifts often come from a little imagination and a personal touch.
Transform Everyday Plastic Bowls into Charming Oversized Lollipop Gifts
Why Choose DIY Giant Lollipops for Your Next Gift?
In a world saturated with mass-produced items, a handmade gift carries an unparalleled charm. These giant lollipop gifts offer a delightful blend of creativity, personalization, and affordability. They are a testament to the thought and effort you put into making someone feel special, far beyond the monetary value of their contents.
- Unleash Your Creativity: Crafting these lollipops is an enjoyable process, allowing you to experiment with colors, themes, and fillings. It’s a fantastic outlet for both seasoned crafters and beginners looking for an exciting project.
- Personalized Gifting at Its Best: Unlike generic presents, these lollipops can be tailored precisely to the recipient’s tastes and the event’s theme. Fill them with their favorite candies, small trinkets, or even a personalized note, making the gift uniquely theirs.
- Budget-Friendly Brilliance: Utilizing inexpensive materials like disposable plastic bowls and paper straws, this craft proves that you don’t need to spend a fortune to create a truly impressive gift. Many core supplies can be found at dollar stores, making this an ideal project for those on a tight budget.
- Versatile for Every Occasion: While perfect for Valentine’s Day with their sweet aesthetic, these lollipops are incredibly adaptable. Envision them as vibrant birthday surprises, spooky Halloween treats, festive Christmas presents, charming Easter basket additions, or even elegant baby shower favors. The possibilities are truly limitless – just change up the colors and contents!
Gathering Your Crafting Essentials: Materials Needed
One of the best aspects of this DIY project is the accessibility of its materials. Most items can be easily found at your local dollar store, craft store, or even around your home. Here’s a detailed list of what you’ll need to create your adorable giant lollipop gifts:
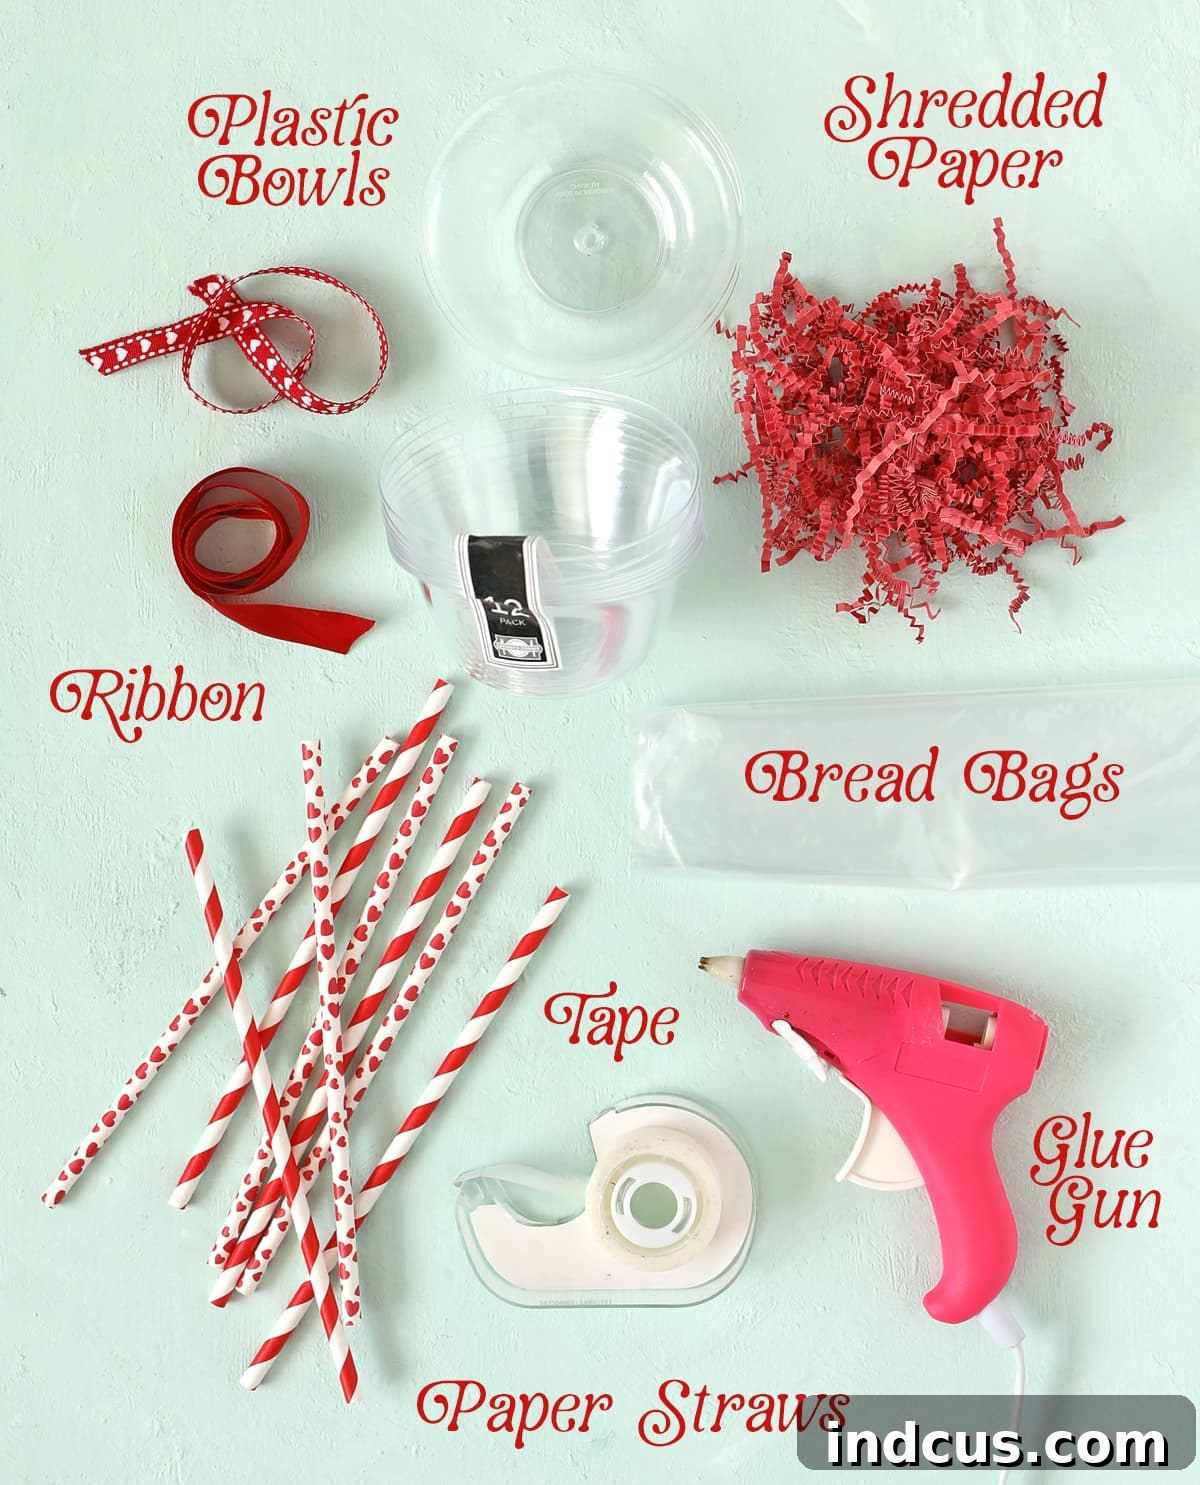
- Clear Plastic Bowls: These form the core of your lollipop. Look for disposable, thin-walled plastic bowls, typically found in the party or disposable serving dish sections of stores like Dollar Tree. A 4-inch diameter works perfectly for a good-sized lollipop, but any clear, thin plastic bowl or cup can be adapted. Their transparency allows the colorful contents to peek through, adding to the allure.
- Paper Straws: These will serve as the “stick” for your lollipop. Opt for sturdy paper straws that can support the weight of the filled bowls. You can choose solid colors to match your theme or patterned straws for an extra decorative touch.
- Plastic Bag (Bread Bag, Ziplock Bag, or Cellophane Gift Bag): This will wrap your lollipop, giving it that classic candy look. A thin plastic bag is ideal for a smooth, taut wrap. Bread bags are often perfectly sized and thin enough, but a gallon-sized Ziplock bag with the zip-top cut off, or a thin cellophane gift bag, works equally well. Ensure it’s large enough to comfortably enclose the two bowls.
- Ribbon: Essential for tying off the plastic bag and adding a decorative flourish. Choose ribbons that complement your chosen color scheme or holiday theme. Satin, grosgrain, or even curling ribbon can add a beautiful finish.
- Shredded Paper: This acts as a delightful filler and cushioning for your gifts. It adds volume, texture, and a festive touch, making the lollipop appear fuller and more appealing. Various colors are available to match any occasion.
- Glue Gun and Glue Sticks: Your trusty tool for creating the straw hole and securing it firmly. A hot glue gun provides a quick and strong bond for plastic.
- Clear Tape: For securely joining the two bowls and tidying up the plastic wrapper. Standard clear Scotch tape works perfectly.
When selecting your bowls, remember that dollar stores are a fantastic resource for these disposable items, offering great value for multi-packs. For the plastic bag, thinness is key for a smooth finish. If you only have thicker Ziplock bags, simply trim the top edge for a clean, open bag.
Step-by-Step Guide to Crafting Your Giant Lollipops
Now that you have all your materials, let’s embark on the fun process of assembling your giant lollipop gifts. Follow these detailed instructions carefully for the best results, and get ready to be amazed by how easily these come together.
Step 1: Prepare the First Bowl by Making a Straw Hole
The first crucial step is to create a neat hole in the bottom center of one of your clear plastic bowls. This hole will be where the paper straw, our lollipop stick, is inserted. Place the tip of a heated glue gun directly onto the center mark of the bowl’s exterior. Do not press too hard initially, as excessive force can crack the thin plastic. Instead, apply gentle, consistent pressure, allowing the heat from the glue gun to slowly melt through the plastic. You’ll notice the plastic softening and creating a small opening.
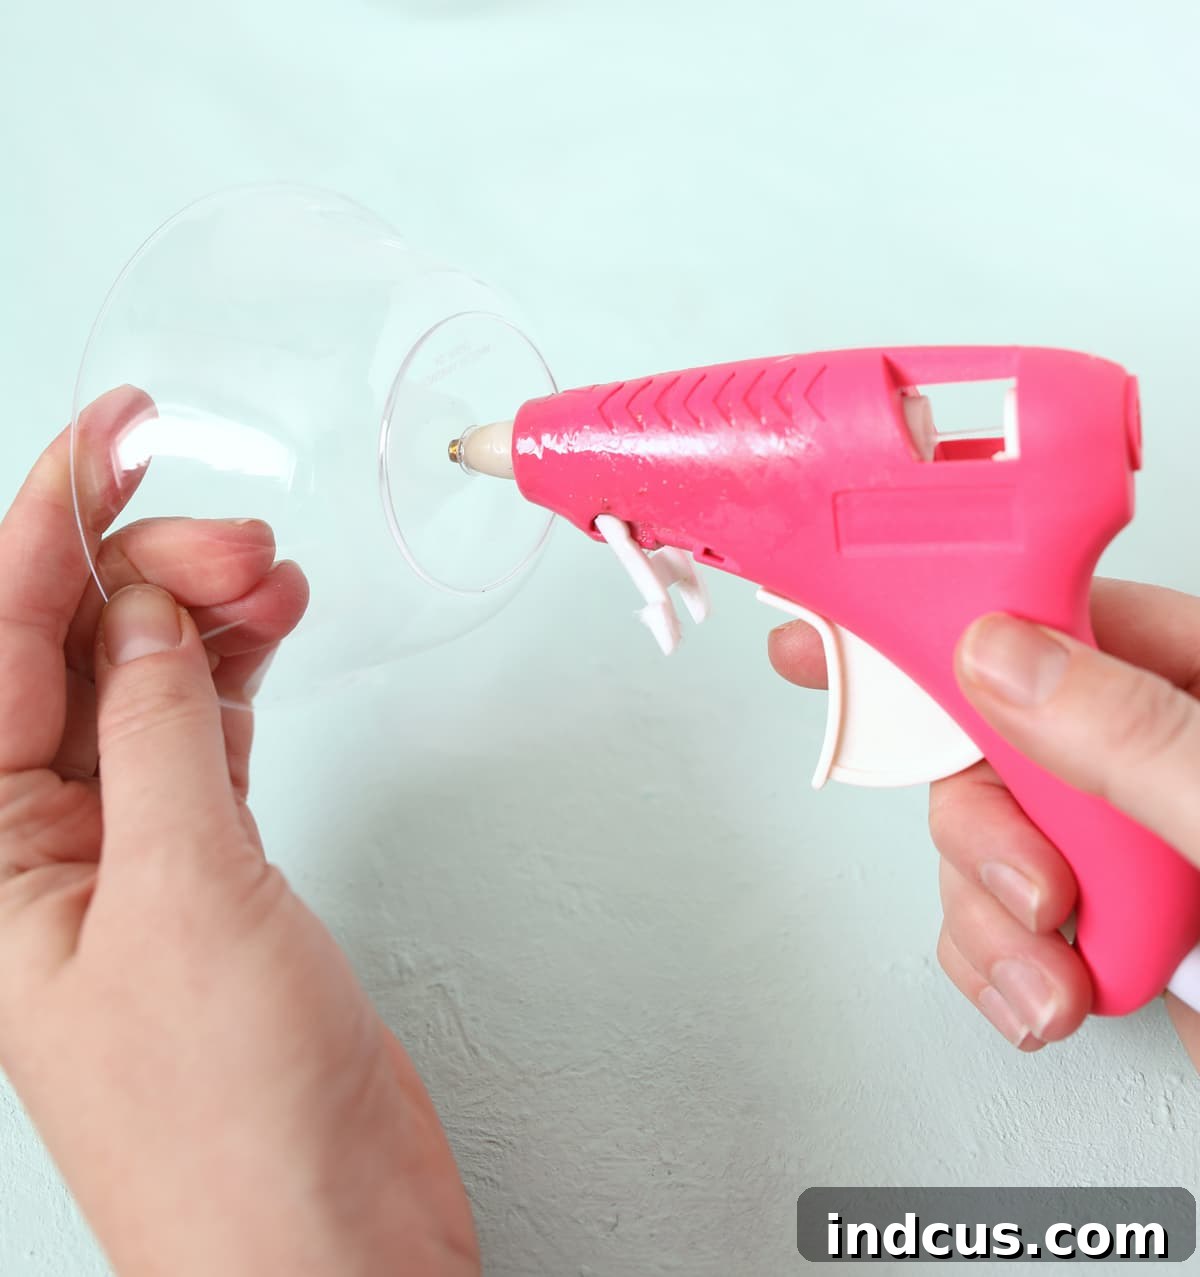
Once a small hole forms, carefully push and stretch the plastic gently with the glue gun tip until the hole is just barely large enough for your paper straw to fit through snugly. The goal is a perfect, clean hole without any jagged edges, which ensures a smooth insertion of the straw and a professional finish. This technique is surprisingly effective and yields excellent results, creating a custom-sized opening with minimal effort.
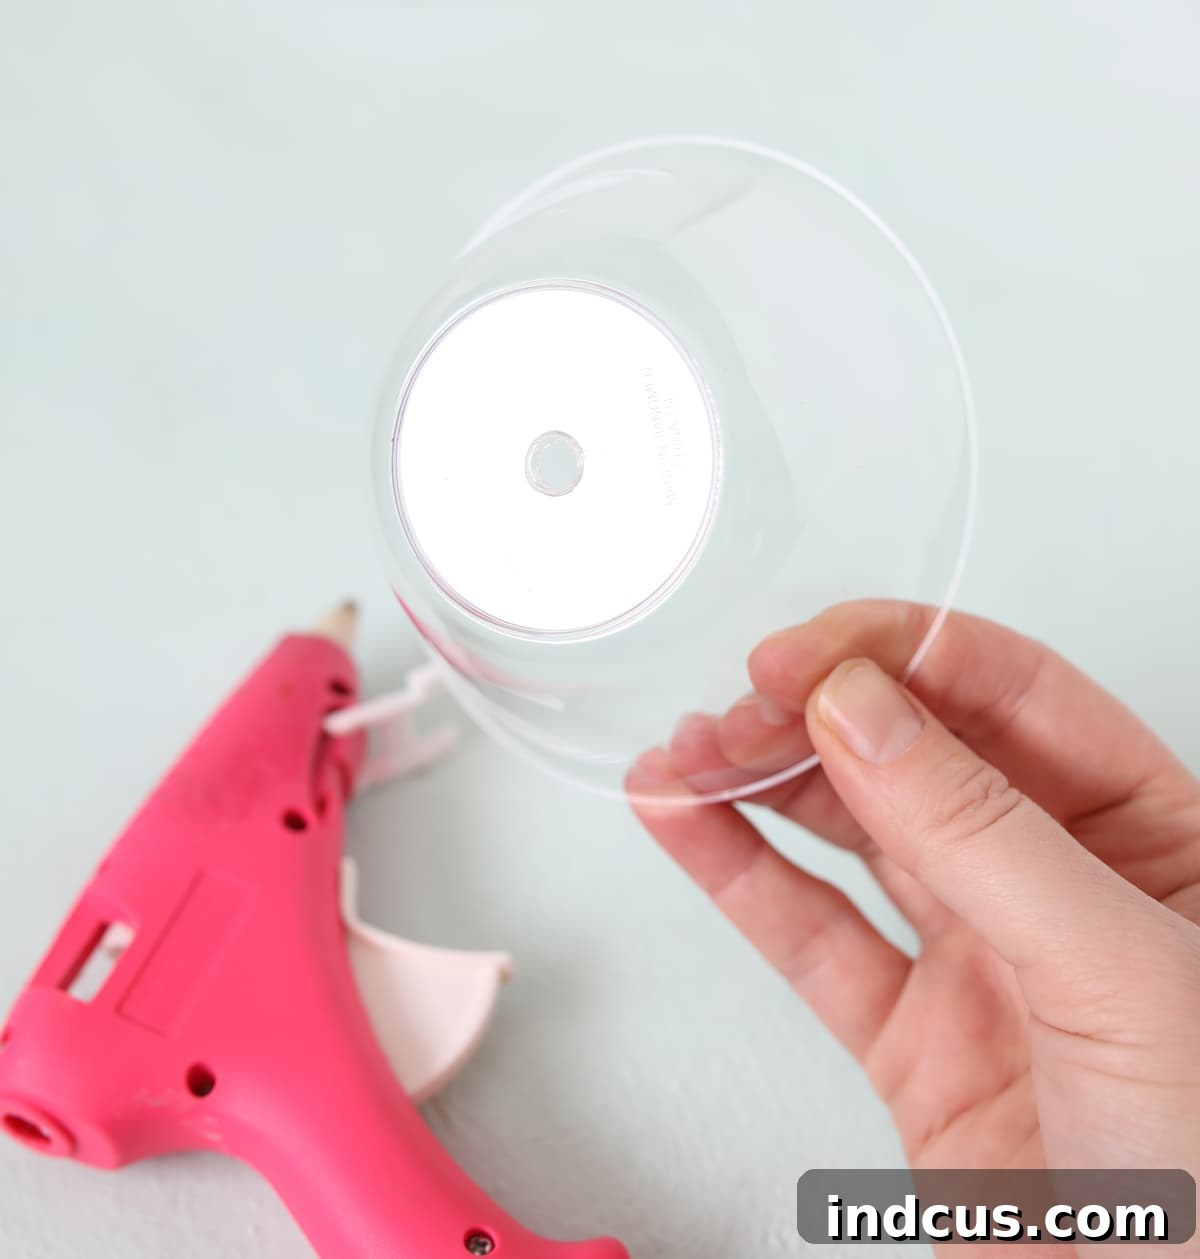
Step 2: Secure the Paper Straw in Place
With your perfectly crafted hole ready, insert one end of a paper straw through it from the outside of the bowl, pushing it a few inches inside. Ensure the straw stands upright. Now, to firmly attach the straw and prevent it from wobbling, apply a generous ring of hot glue around the base of the straw where it meets the inside bottom of the bowl. This creates a strong, stable bond, making your lollipop stick robust enough to hold the contents.
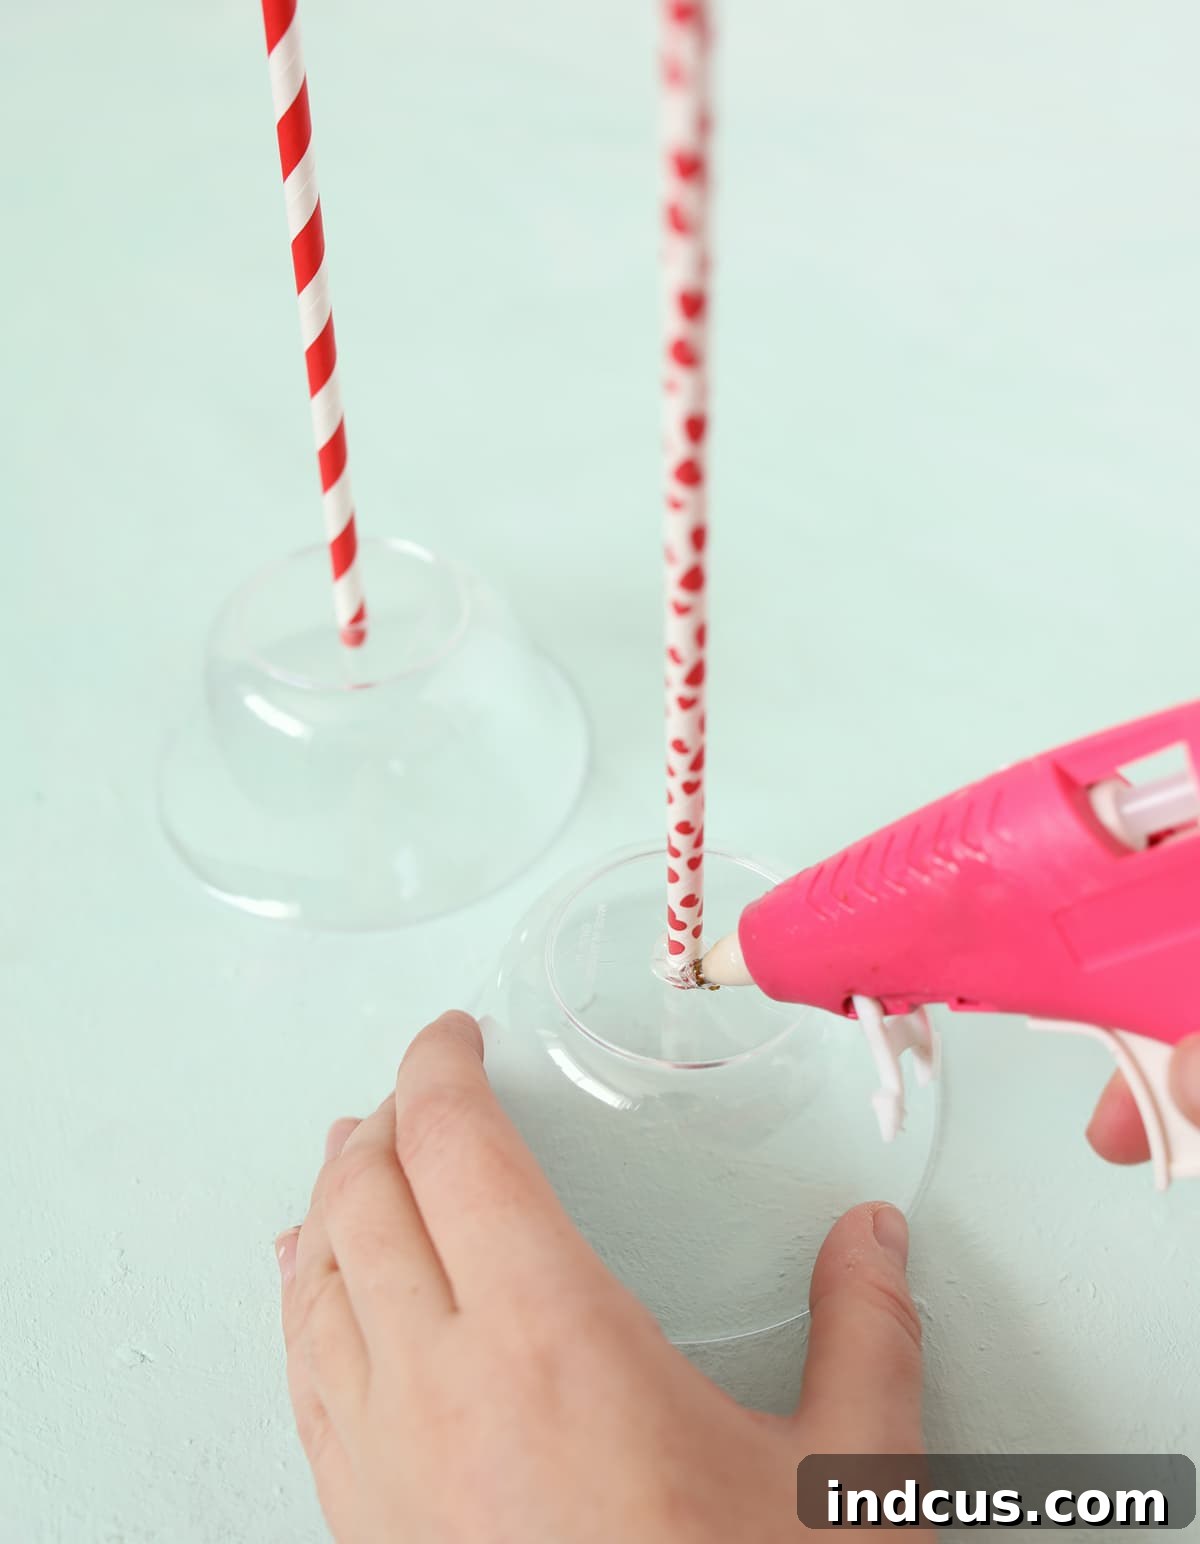
Step 3: Fill Your Lollipop with Treats and Treasures
This is where the fun really begins! Carefully fill the bowl with the secured straw with a delightful assortment of shredded paper, candies, and any small gifts you wish to include. Layer the shredded paper first to create a soft base and add volume. Then, arrange your chosen candies – chocolates, gummies, hard candies – and small trinkets like mini toys, stickers, lip balms, small craft supplies, or even a rolled-up gift card. Be mindful not to overfill, leaving enough space for the second bowl to sit on top without crushing the contents.
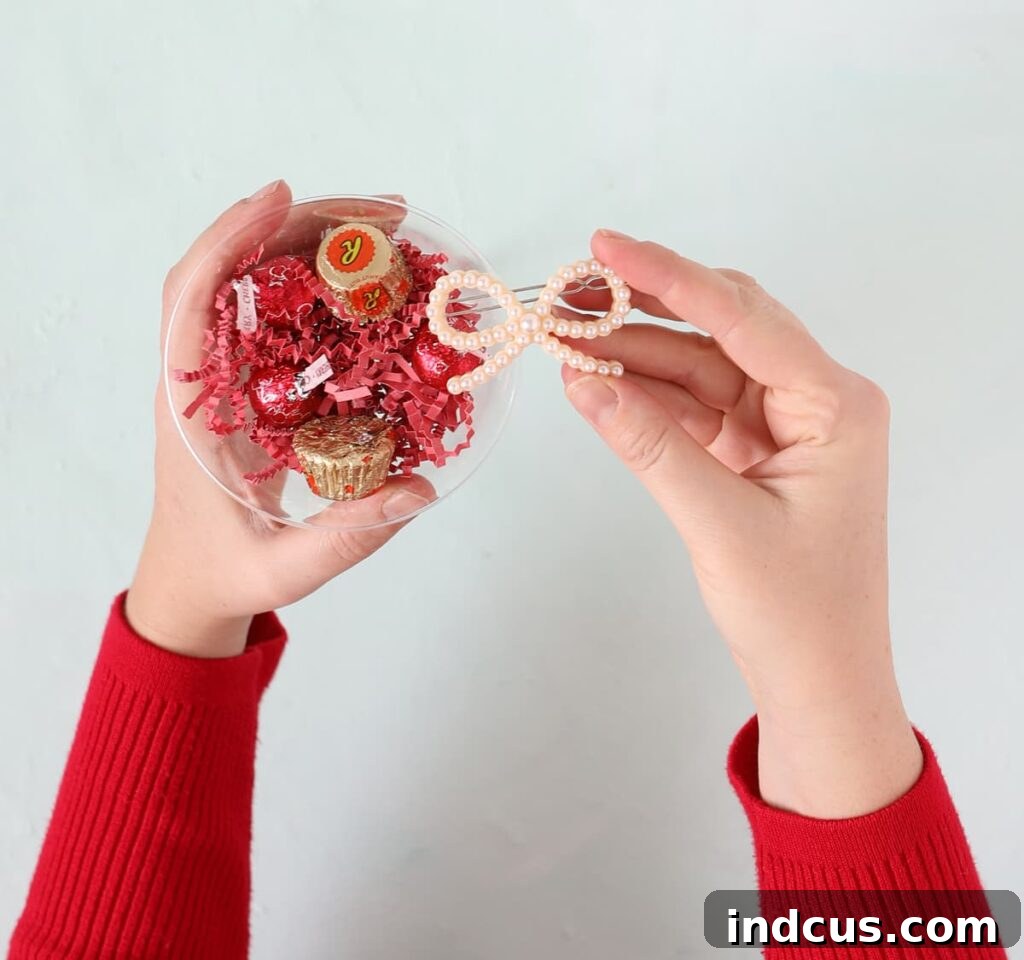
Step 4: Seal the Lollipop Shell
Take your second clear plastic bowl and place it upside down directly on top of the first filled bowl. Carefully align the rims of both bowls so they match up perfectly, forming a spherical shape. Once aligned, use strips of clear tape to securely attach the two bowls together around their joined rims. Apply several pieces of tape at various points around the circumference to ensure a strong, seamless seal, keeping all the delightful contents safely inside.
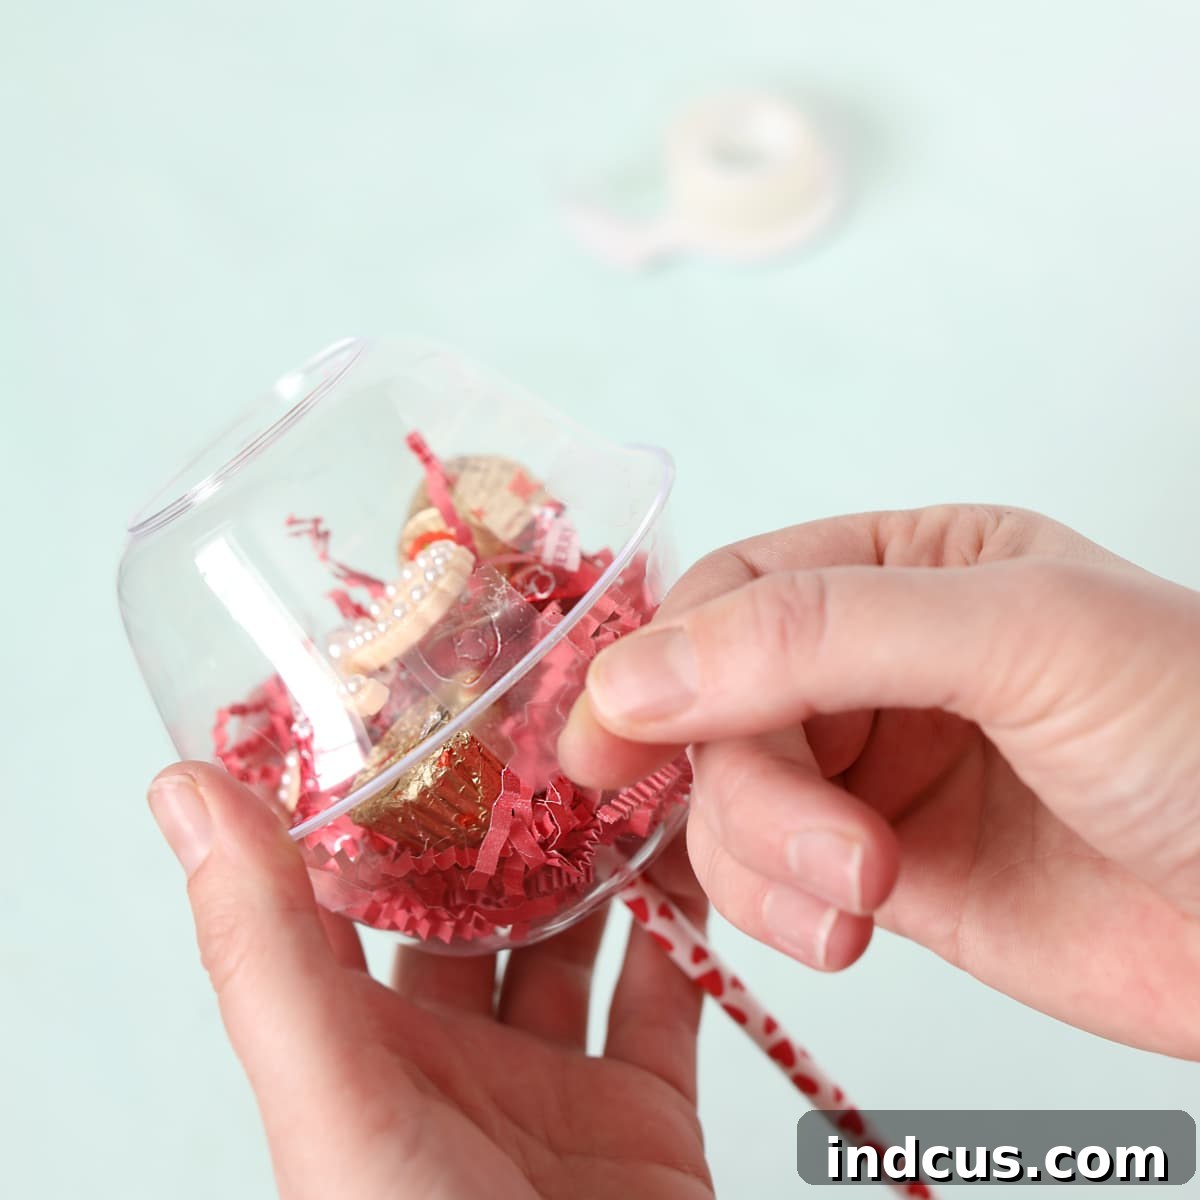
Step 5: Wrap and Decorate Your Giant Lollipop
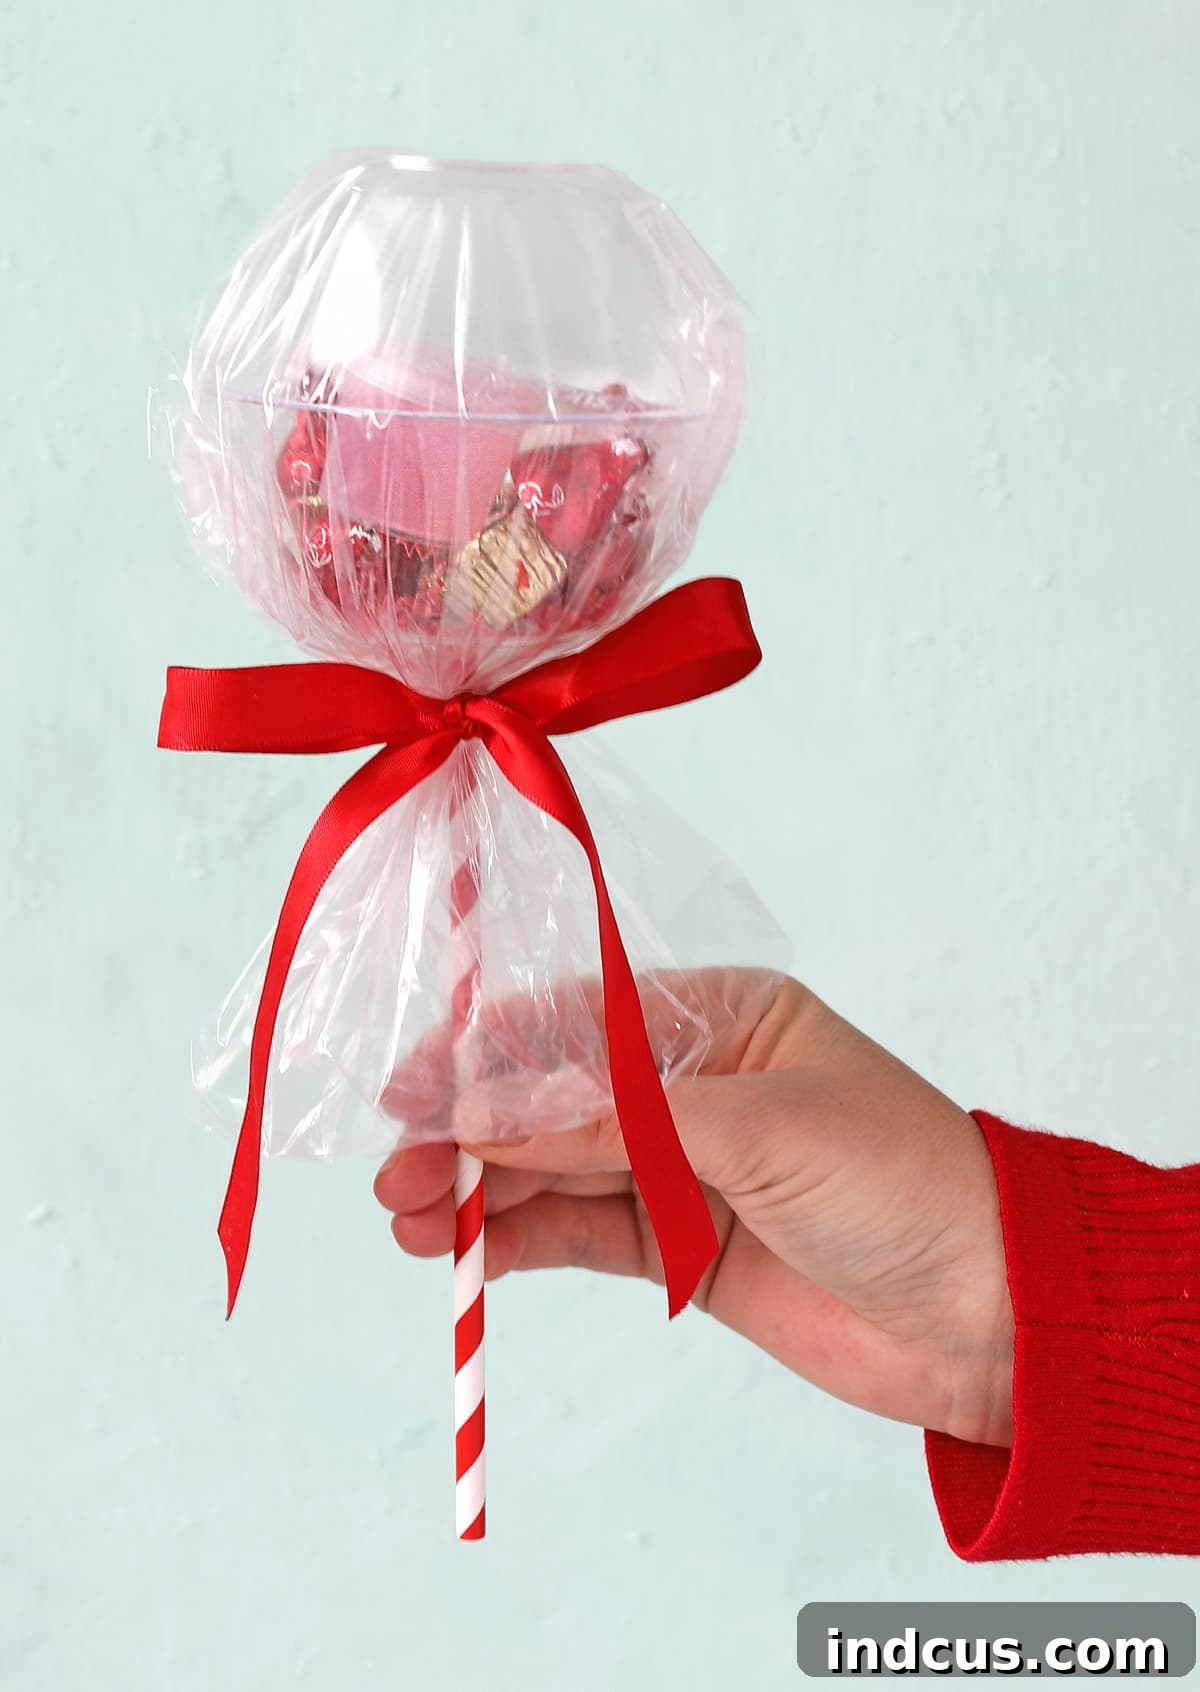
Gently slide your newly assembled lollipop (the two bowls on the straw) inside your chosen plastic bag. Position it so the lollipop “head” is centered within the bag. Gather the bottom portion of the plastic bag around the straw, just below the bowls. Using a decorative ribbon, tie a tight bow or knot around the gathered plastic and the straw. This secures the wrapper and adds a festive touch. You might find that the two top corners of the plastic bag stick out quite a bit. To create a clean, classic lollipop appearance, simply fold these corners down smoothly and secure them in place with small pieces of clear tape against the sides of the “lollipop head.”
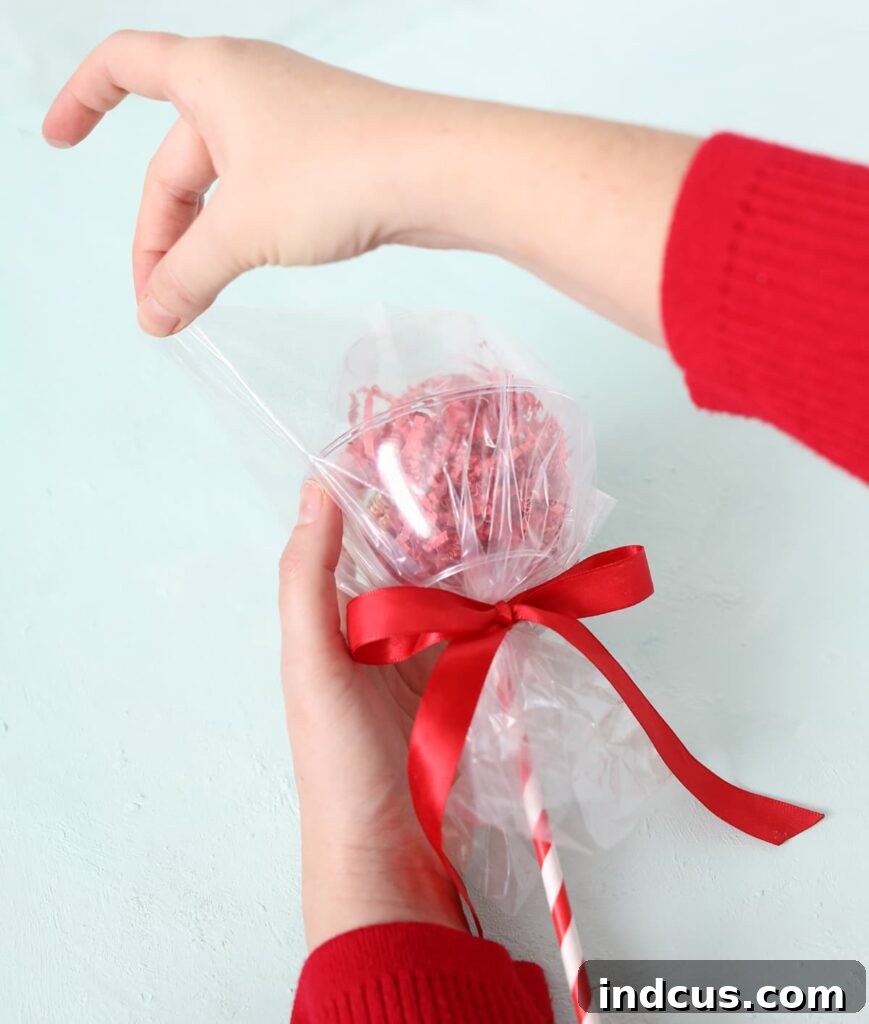
Voila! You have successfully crafted adorable, festive, and personalized giant lollipops, ready to bring joy to anyone who receives them.
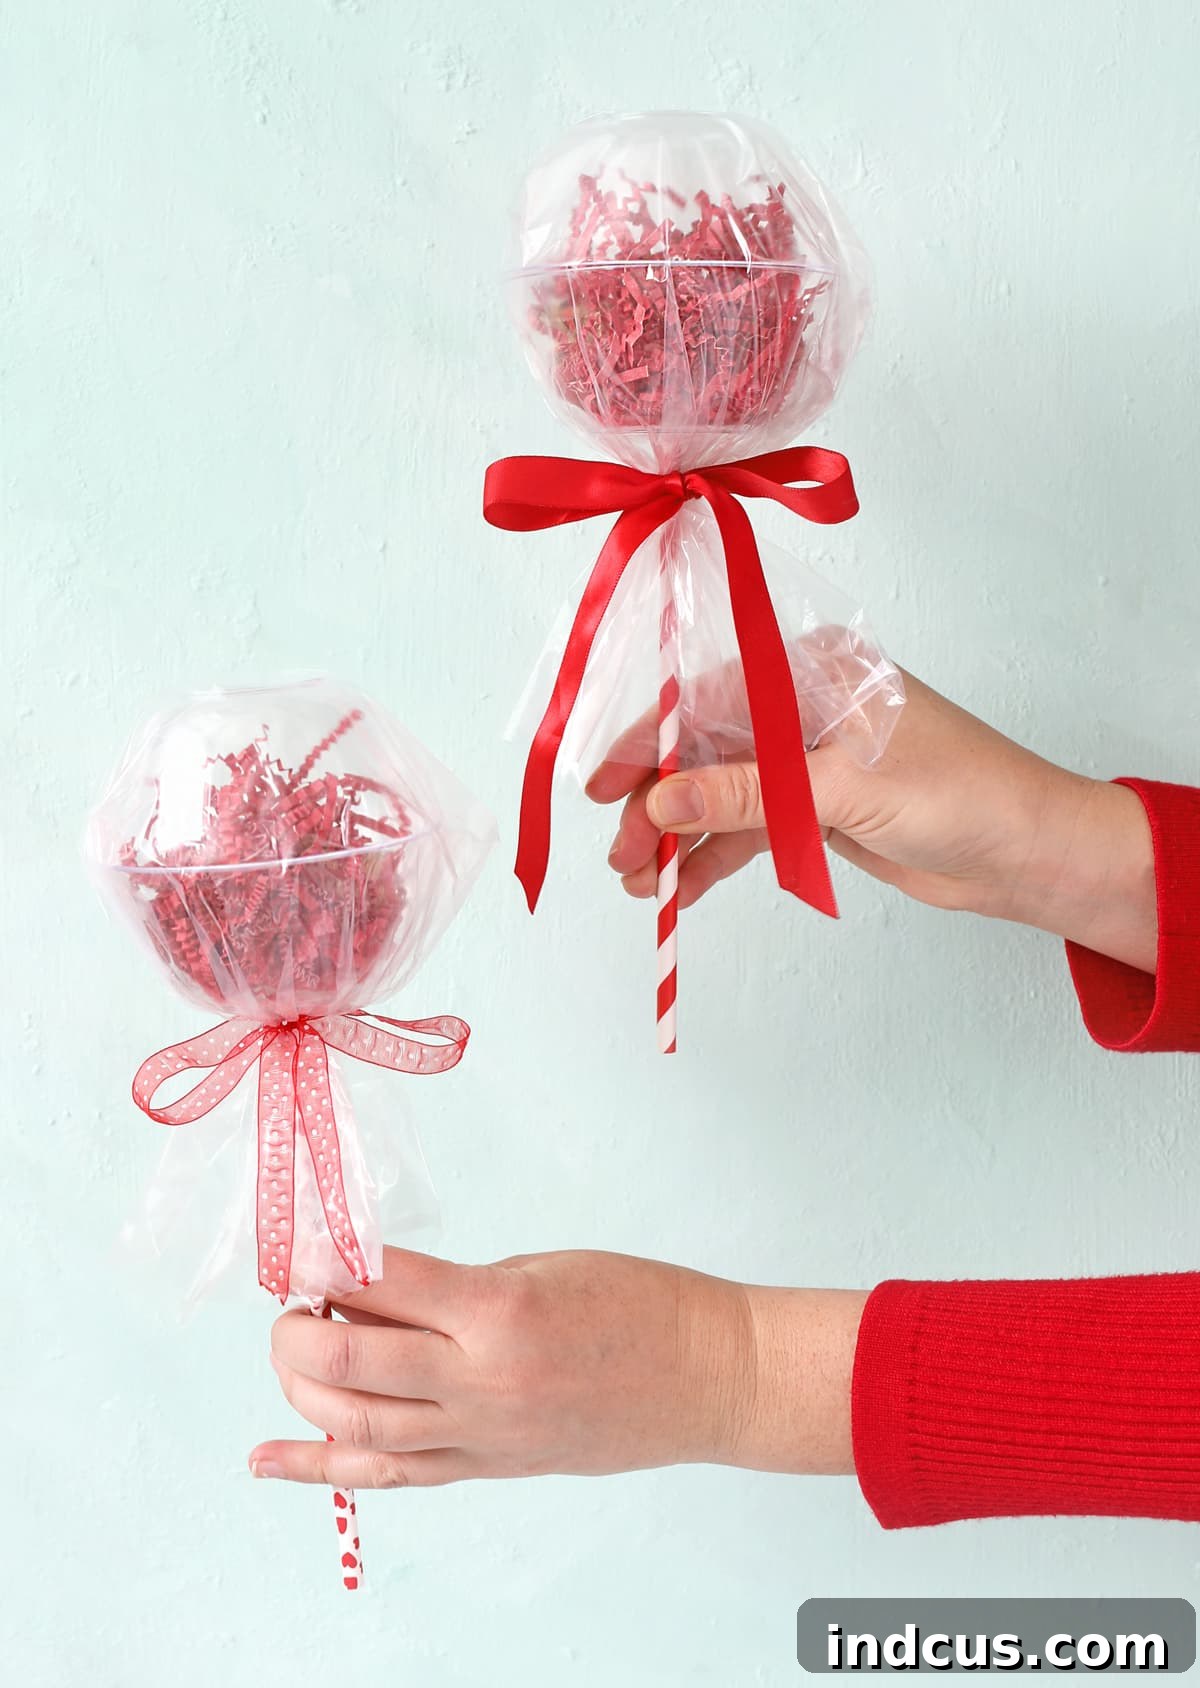
Customization and Creative Variations
The beauty of this DIY lollipop gift lies in its adaptability. You can easily modify themes, fillings, and decorations to suit any recipient or celebration. Here are some ideas to spark your creativity:
- Themed Colors and Patterns:
- Valentine’s Day: Use red, pink, and white shredded paper, heart-shaped candies, and ribbons.
- Birthdays: Opt for bright, vibrant colors, confetti-themed shredded paper, and playful patterned straws.
- Halloween: Incorporate orange, black, and purple, spooky mini toys, candy corn, and ghost or pumpkin stickers inside.
- Christmas: Go for traditional reds, greens, silvers, and golds, with candy canes, small ornaments, and festive bows.
- Easter: Pastel colors, chocolate eggs, small bunny figurines, and spring-themed ribbons.
- Baby Showers: Use baby pink or blue shredded paper, tiny baby socks, pacifiers, or small toiletries for the new arrival.
- Beyond Candy – Creative Filling Ideas:
- Small Toys: Miniature cars, bouncy balls, slime, play-doh, or tiny figurines are perfect for kids.
- Beauty Treats: Lip glosses, nail polishes, travel-sized lotions, or bath bombs for teens and adults.
- Office Supplies: Fun pens, decorative paper clips, sticky notes, or mini stress balls for coworkers or teachers.
- Craft Supplies: Small spools of ribbon, glitter vials, mini glue sticks, or decorative buttons for craft enthusiasts.
- Gift Cards: A thoughtful gift card tucked amongst shredded paper can elevate the present.
- Personalized Messages: Roll up a heartfelt letter, a list of reasons you appreciate them, or a coupon book.
- Decorating the “Stick”:
- Paint the paper straw with acrylic paint for a custom color.
- Wrap the straw with colorful washi tape or thin ribbon.
- Attach a small flag or banner with the recipient’s name or a special message.
- Presentation Matters:
If you’re making several lollipops for a party, consider how to display them. A clever idea is to cut holes the same size as the straws into a piece of cardboard. Place this cardboard inside a decorative box, then stand all the lollipops upright. This creates a charming and organized display, making them an instant hit as party favors or a centerpiece.
Tips for a Flawless Finish and Effortless Crafting
To ensure your giant lollipops turn out perfectly every time, here are some helpful tips and tricks:
- Glue Gun Safety: Always exercise caution when using a hot glue gun. The tip can get very hot. Work in a well-ventilated area and avoid direct contact with skin.
- Snug Straw Fit: When melting the hole for the straw, aim for a tight fit. A hole that’s too large will require more glue and might not be as stable. Gradually expand the hole until the straw can be pushed through with a little resistance.
- Securing the Tape: For a seamless look when taping the two bowls together, use clear, strong tape. Press firmly to ensure no gaps remain, which could allow small items to escape. You can also run a thin bead of hot glue along the rim before taping for extra security.
- Choosing the Right Bag: A thin plastic bag is key for that smooth, professional lollipop look. Thicker bags can be bulky and harder to gather neatly. If your bag is too long, you can trim the excess plastic after tying the ribbon.
- Efficient Batch Crafting: If you’re making multiple lollipops, streamline the process by completing each step for all lollipops before moving to the next. For example, melt all the holes, then insert and glue all the straws, then fill all the bowls, and so on.
- Creative Fillers: Don’t limit yourself to just candy! Consider small bath bombs, lip balms, mini stationery, or even personalized notes for a unique touch. The shredded paper adds volume and helps cushion delicate items.
Lollipop Gifts Video Tutorial
For those who prefer a visual guide, a video tutorial demonstrating each step of crafting these charming lollipop gifts is an excellent resource.
Explore More Creative Bowl Crafts
If you enjoyed transforming simple plastic bowls into these darling lollipops, you might also be inspired by other creative ways to use serving bowls in crafting. For instance, you can extend this concept to create giant cherries out of serving bowls, also perfect for filling with gifts and adding a unique, playful touch to your decor or gift-giving. The possibilities are truly endless when you look at everyday items with a creative eye!
Crafting these giant lollipop gifts is more than just a DIY project; it’s an opportunity to spread joy, ignite creativity, and give a truly memorable present. With a few affordable materials and a little imagination, you can transform ordinary plastic bowls into extraordinary tokens of affection that will surely delight anyone who receives them. So gather your supplies, follow these simple steps, and get ready to create something wonderfully sweet and utterly unique. Happy crafting!







