
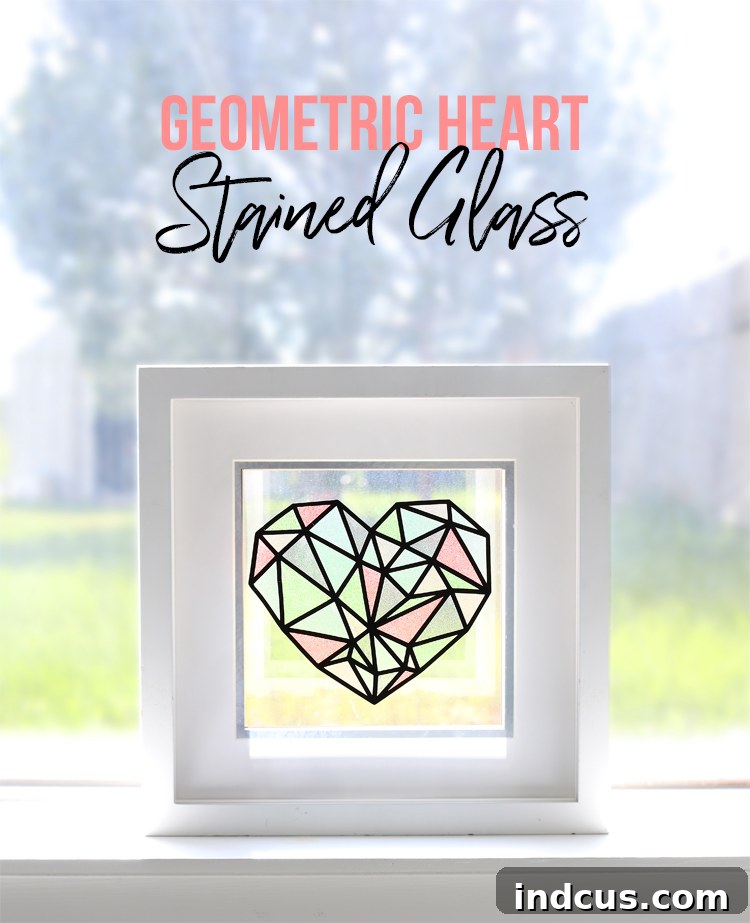
Unlock the Magic of Faux Stained Glass with a Dazzling DIY Craft Vinyl Project – Free Cut File Included!
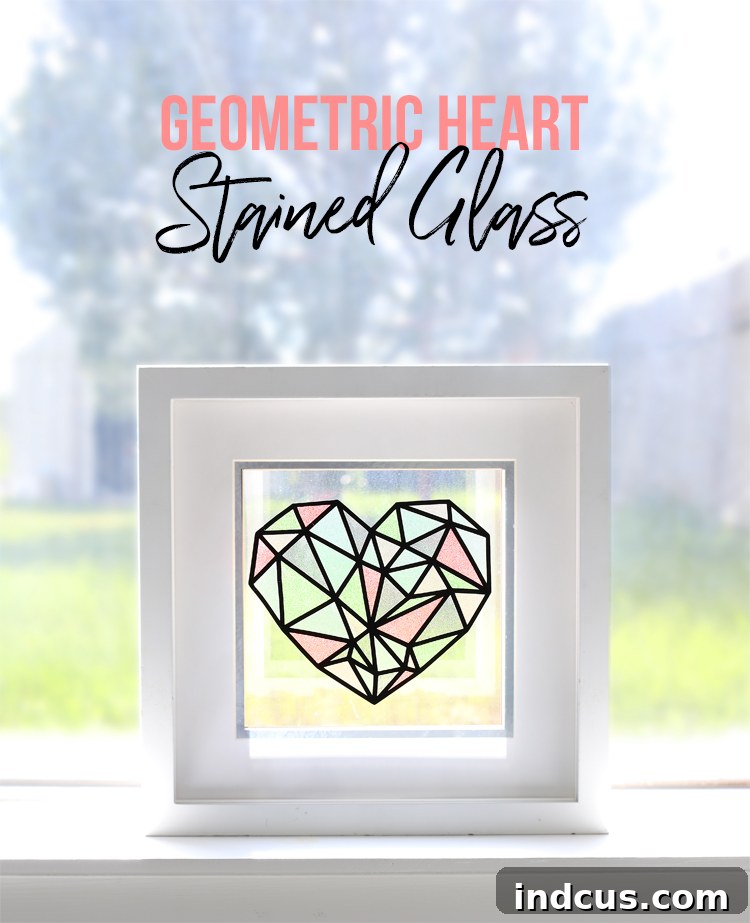
Ever dreamed of adorning your home with the timeless beauty of stained glass but felt intimidated by the complexity and cost? We have fantastic news for you! Now, you can achieve that captivating, light-catching aesthetic with an accessible, fun, and incredibly rewarding craft vinyl project. Prepare to be enchanted by the luminous sparkle of transparent glitter vinyl from Expressions Vinyl, a true game-changer in the world of DIY decor.
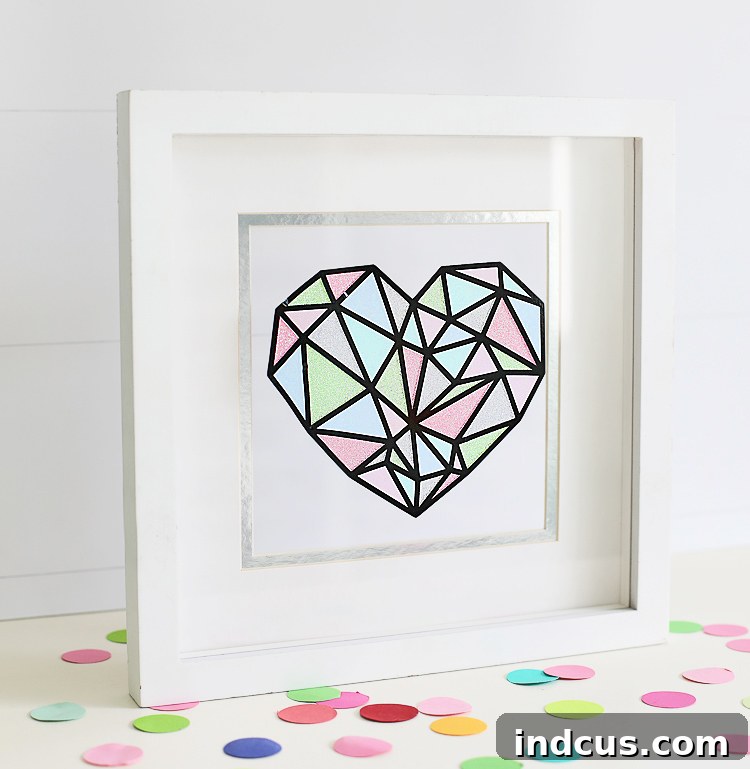
This isn’t just another craft; it’s an opportunity to create stunning, light-filtering art that transforms any space. Inspired by a beloved Christmas faux stained glass window project, we’ve designed a versatile geometric heart that radiates charm and elegance, making it a perfect piece to display year-round. When sunlight streams through the vibrant, translucent colors, the effect is nothing short of magical – casting beautiful, dancing hues across your room. It’s an instant mood-lifter and a conversation starter, all crafted by your own hands.
We had the pleasure of sharing this enchanting craft live with our friends at Expressions Vinyl. If you’re a visual learner and want to see the process in action, you can catch the full demonstration here:
Why Embrace Faux Stained Glass?
Beyond its undeniable beauty, choosing a faux stained glass project offers numerous advantages. Traditional stained glass requires specialized tools, intricate soldering, and often significant expense. Our craft vinyl method, however, provides a safe, beginner-friendly, and cost-effective alternative. You get all the visual impact of genuine stained glass – the vibrant colors, the intricate lines, and the play of light – without any of the daunting challenges. It’s also remarkably customizable, allowing you to choose colors and patterns that perfectly match your personal style and home decor. This project is not only easy to execute but also offers a therapeutic and satisfying creative outlet, akin to solving a beautiful jigsaw puzzle.
Materials You’ll Need for Your Stained Glass Heart
To bring this delightful project to life, gather the following essential materials. Using quality materials, especially the transparent glitter vinyl, will ensure a dazzling and durable finish.
- Black Adhesive Vinyl (for the “leading” lines of your stained glass design)
- Transfer Tape (crucial for accurate and smooth vinyl application)
- Assorted Colors of Transparent Glitter Vinyl (the star of the show, creating that magical stained glass effect)
- Silhouette Craft Cutting Machine (or another compatible electronic cutting machine to precisely cut your intricate designs)
- Picture Frame with Glass (the canvas for your faux stained glass masterpiece)
- Geometric Heart Cut file (available for free download at the bottom of this post, designed specifically for this project)
Having these items ready before you begin will streamline your crafting process and ensure a smooth, enjoyable experience from start to finish. Remember, the transparent glitter vinyl is key to achieving that authentic, light-catching stained glass shimmer!
Crafting Your Stained Glass Masterpiece: A Step-by-Step Guide
Let’s dive into the creative process! This project is designed to be straightforward and enjoyable, even for those new to vinyl crafting. Follow these detailed steps to create your own radiant geometric heart.
Step 1: Prepare Your Design File in Silhouette Design Studio
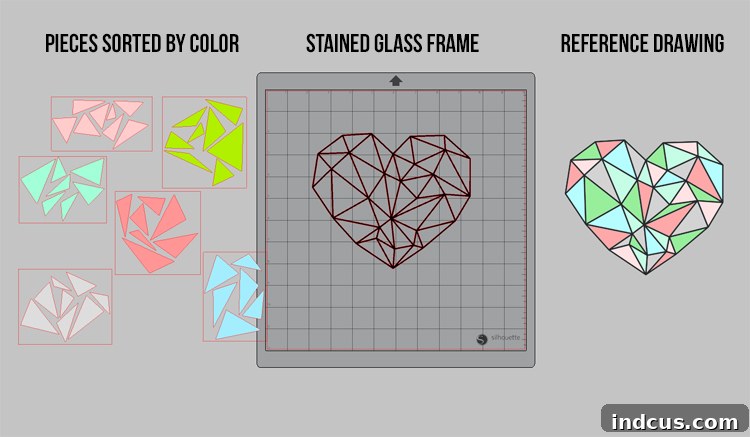
Begin by opening the provided Geometric Heart Silhouette Design Studio file on your computer. You’ll notice the file is thoughtfully organized into three distinct parts, each serving a crucial role in your project. The first section contains all the individual colored pieces that will form the vibrant segments of your heart. It’s important to cut each group of these colored pieces from a different shade of transparent glitter vinyl. To do this efficiently, you’ll need to move all the groups off the cutting mat in the software, then bring one color group onto the mat at a time to cut it. This ensures you use the correct vinyl color for each section.
The second part of the file is the intricate frame, which will serve as the black “leading” lines of your stained glass. This piece should be cut from black adhesive vinyl. Pay close attention to the size of your picture frame’s glass. You may need to resize all the separate design pieces to perfectly fit your chosen frame. If resizing is necessary, make sure to select *all* parts of the design – the colored pieces and the frame – simultaneously before adjusting the dimensions. This critical step ensures that all components remain perfectly proportional to each other, preventing any misalignment or ill-fitting parts later on.
Finally, the third part of the file is simply for reference. This visual guide illustrates how all the pieces come together to form the complete geometric heart design. You do not need to cut this reference image; it’s there to assist you during assembly, making the “puzzle” much easier to solve.
Step 2: Apply the Black “Leading” Frame to Your Glass
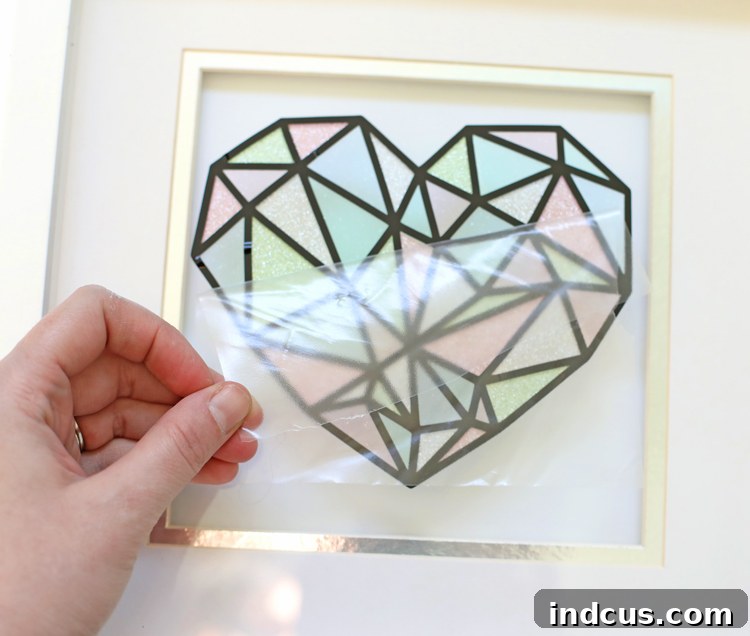
Once all your vinyl pieces are cut, it’s time to prepare the black frame. Carefully “weed” the black heart frame vinyl. Weeding involves removing all the excess vinyl around and within the design, leaving only the intricate lines that will form the outline of your stained glass. Precision here is key to a clean finish. Take your time with a weeding tool to remove even the smallest vinyl scraps.
Next, use transfer tape to meticulously apply this weeded black frame onto the front side of your picture frame’s glass. Before applying, ensure your glass is spotlessly clean and free of dust or fingerprints; this will help the vinyl adhere smoothly and prevent bubbles. Position the transfer tape with the vinyl exactly where you want it on the glass, then use a squeegee or a credit card to firmly rub over the design, ensuring good adhesion. Slowly peel back the transfer tape, leaving the black vinyl frame securely in place on the glass. Smooth out any remaining air bubbles with your squeegee.
Step 3: Fill in the Colors – The Jigsaw Puzzle Fun Begins!
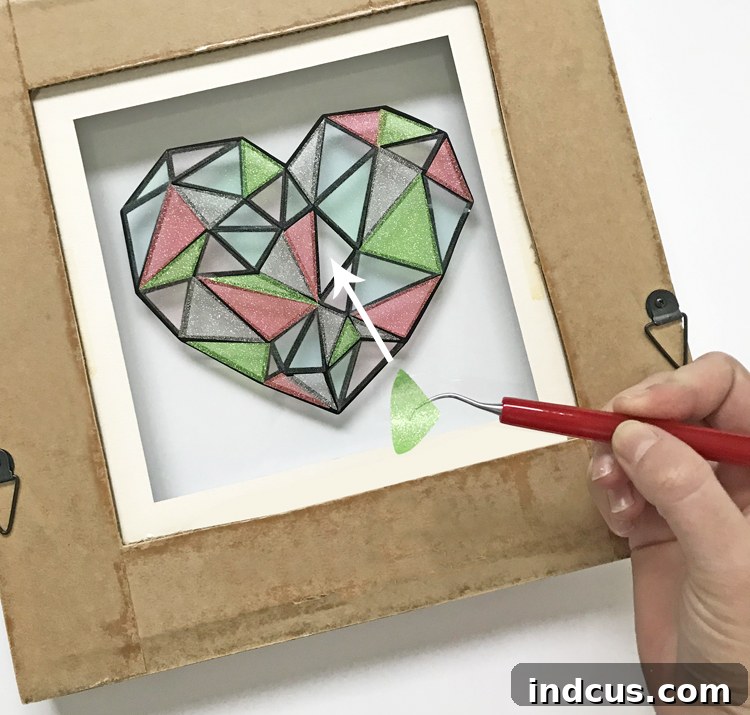
Now comes the most visually satisfying part! Turn your picture frame around so that the back of the glass is facing you. This allows you to place the colored transparent glitter vinyl pieces from the back, creating a perfectly smooth, professional-looking front surface free of any vinyl edges. Referring to the reference drawing you prepared in Step 1 will be incredibly helpful throughout this stage.
Start placing the colored pieces into their corresponding spots within the black frame. The beauty of this design is that all the pieces maintain their original direction and orientation, making it easier to identify where each one belongs. As you place each vibrant piece of transparent glitter vinyl, you’ll see your geometric heart truly come to life, mimicking the radiant glow of authentic stained glass. If you enjoy the meditative challenge of jigsaw puzzles, you’ll find this step equally therapeutic and immensely fun! Work systematically, ensuring each piece is gently pressed down to adhere properly. Take your time, enjoy the process, and watch as your stunning creation unfolds before your eyes.
Pro Tips for a Flawless Finish
To ensure your faux stained glass project shines its brightest, consider these additional tips: Always clean your glass thoroughly with a lint-free cloth and glass cleaner before applying any vinyl. This prevents trapped dust and ensures optimal adhesion. When weeding intricate designs, a bright light source beneath your vinyl can make it easier to see cut lines. For precise placement of smaller colored pieces, a craft knife or tweezers can be invaluable tools. Don’t rush the process; patience is a virtue in crafting, and it leads to a more polished, professional result. If you encounter small air bubbles, you can often gently push them to the edge with a squeegee or carefully prick them with a tiny pin and smooth them down.
Personalize Your Project: Endless Possibilities
While the geometric heart is undeniably charming, this technique opens up a world of customization. Experiment with different transparent glitter vinyl color palettes to match various seasons, holidays, or room decors. Imagine a vibrant rainbow heart for a child’s room or elegant muted tones for a sophisticated living space. You could also adapt this method to other shapes – stars, flowers, mandalas, or even custom lettering – limited only by your imagination and available cut files. This faux stained glass approach isn’t just for picture frames; consider applying it to small windowpanes, clear acrylic panels, or even mirrors for a unique, light-reflecting effect. It’s a fantastic way to add personalized, artistic touches throughout your home.
And there you have it – a magnificent faux stained glass geometric heart, crafted beautifully with the versatility of transparent glitter craft vinyl! This project is a testament to how simple materials can create truly stunning, high-impact decor. We’re confident that you’ll love the dazzling results as much as we do.
Get Your Free Geometric Heart Cut File and Start Crafting Today!
Ready to transform your space with this enchanting project? We’re thrilled to offer you the exact design file we used, absolutely free! Download your copy now and embark on your own faux stained glass adventure. It’s the perfect way to add a touch of sparkle and handmade artistry to your home or to create a heartfelt gift for a loved one.
Download Your Free Silhouette Studio Design File Here!
Don’t miss out on creating your own luminous masterpiece. Happy crafting!







